 Peter Walsh
Ragged edges on straight cuts
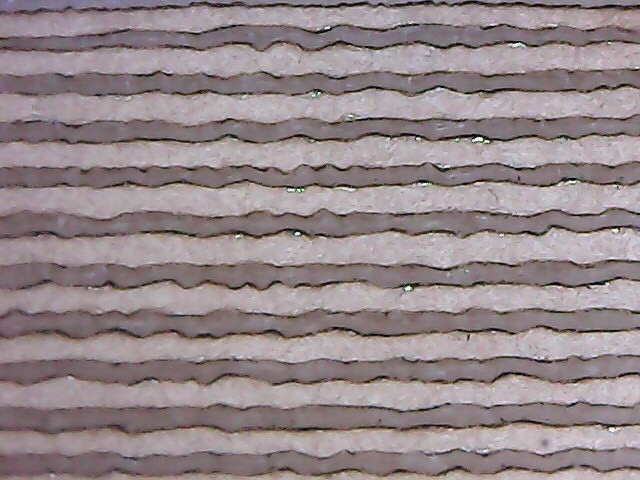
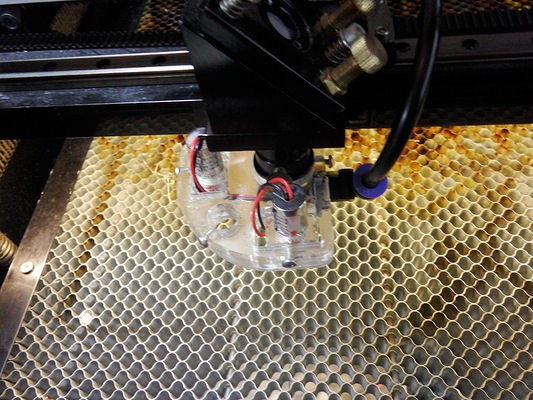
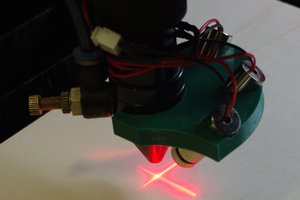
My laser cutter makes ragged edges on a straight cut.
Over the holiday I finally got into "single issue" mode where I had time to concentrate on what causes it, and how to fix it.
Scientific Inquiry
The scientific method takes a highly structured approach to answering a single question.
Scientific inquiry is a related technique that's less structured. Where the scientific method uses a strict protocol to answer a single question, scientific inquiry uses background research, experimentation, and observation to zero in on an issue. Quite possibly the final issue isn't known at the outset, the process can easily go in unexpected directions and turn up interesting situations.
Scientific inquiry is how you find that first "that's odd..." observation that leads to the scientific method.
So to address the ragged edge problem, I can use scientific inquiry to zero in on the reason.
The solution
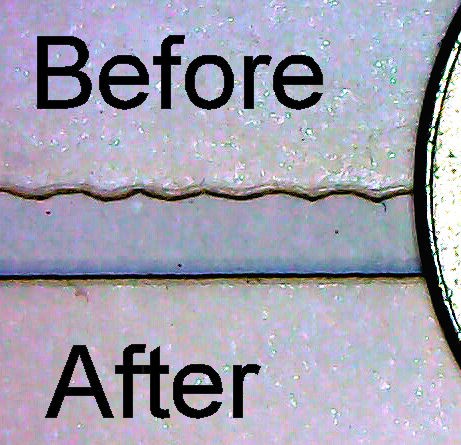
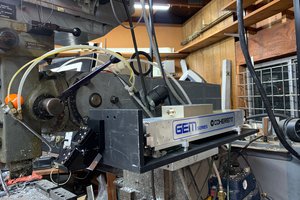
After much experimentation, I determined that the "puffing" of the air assist pump was causing the ragged edge.
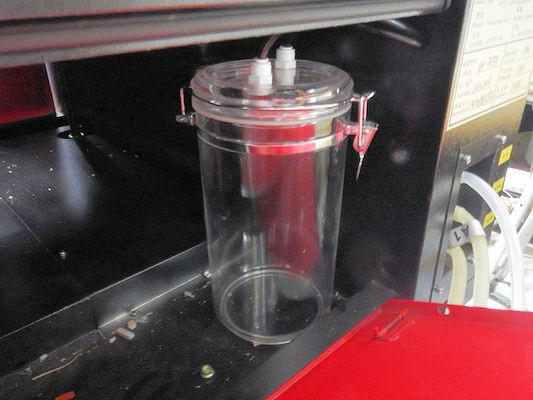
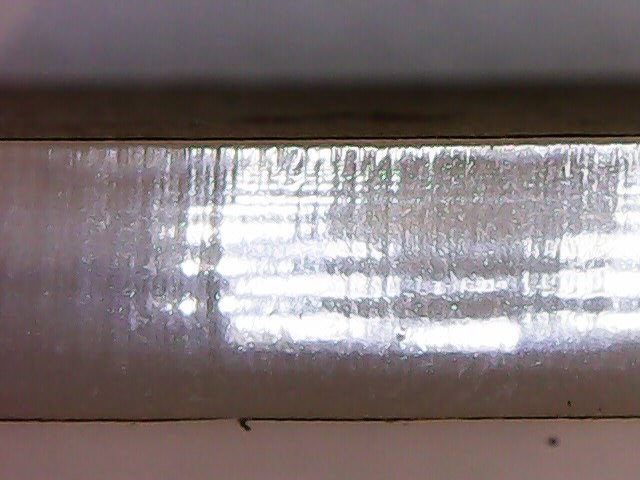
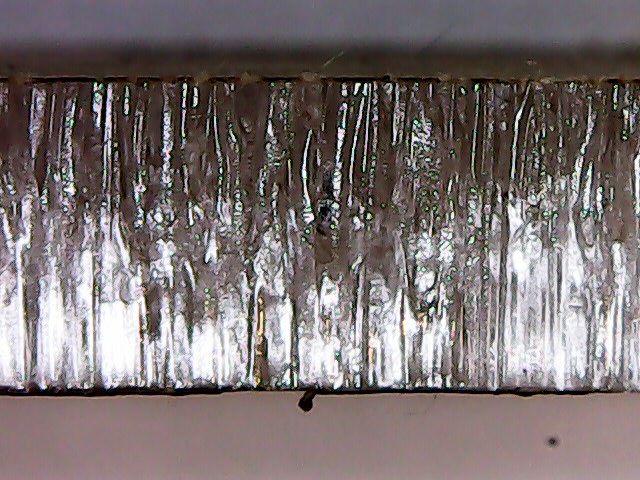
The fix was to install a tank inline with the air assist to smooth out the air puffs. The before/after images show that this completely solves the ragged edge problems.
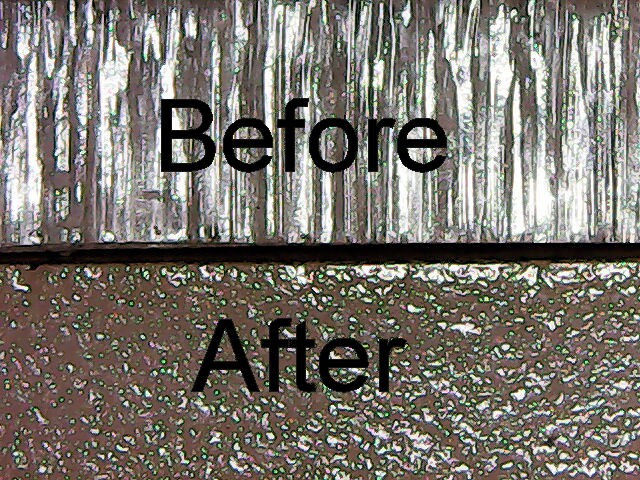
And here's the before/after for acrylic:


 Jerry Biehler
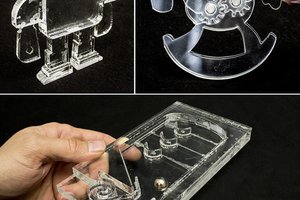
 Florian Festi
 Hari Wiguna