 Luke Van In
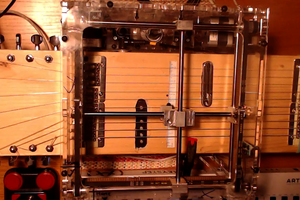
The printer holds a felt tip marker that can move in a two dimension plane, as well as vertically. The user creates an image in the iPad app, then the app controls the printer to move the pen to draw a dot at the position of each pixel.
The printer takes a piece of paper about 40mm x 30mm, and prints an image about 15mm x 15mm. The resolution of the printer is about 180 dots per centimetre (about 450 dots per inch), although the practical resolution is mostly limited by the size of the dot drawn by the pen nib.
My printer shown in the videos uses a pen that draws a dot about 1mm big, which limits the print resolution to about 15mm x 15mm. The printer takes about 5 minutes to print an image at this resolution.
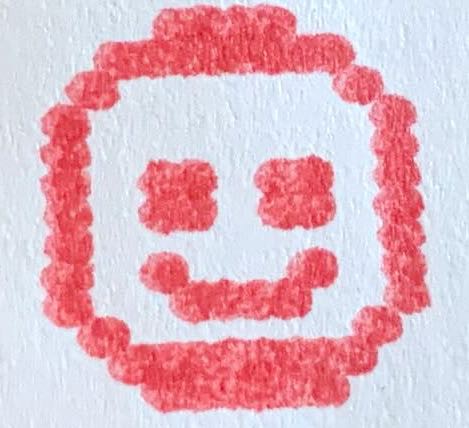
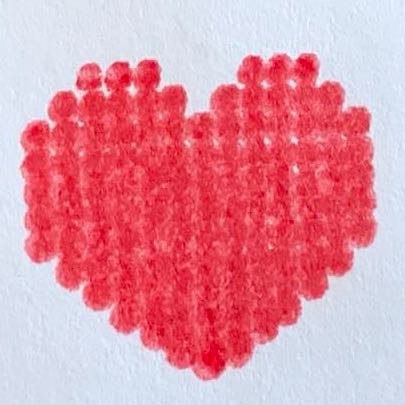
Here are some images created on the printer:
The iPad app provides a basic user interface for drawing images. It is currently hardcoded for the geometry of the printer, although it it is quite flexible and can be adapted to different configurations and resolutions with relatively little effort.
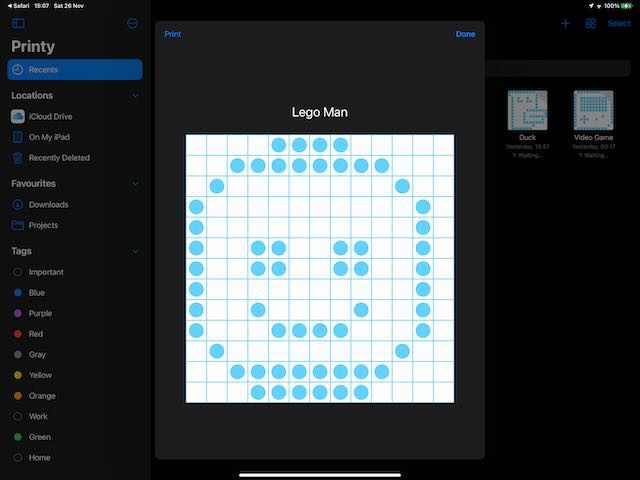
The app also has a basic interface for manually controlling the printer, which can be used for adjusting the position of the pen before printing.
The app connects to the Lego hub and sends commands to the hub to control the motion of the pen during printing. Communication with the hub is done with a custom Swift Package I wrote for the purpose of controlling Lego MindStorms and Spike Prime creations from iOS apps.
 gear_geek
 don.illusions
 coder
coder