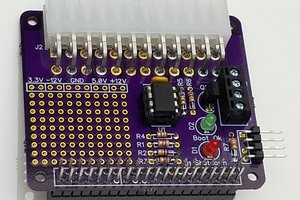
- Wide input power supply filters and offers larger voltage range for array of powered applications.
- On board LSM6DS33 offers a multitude of physical sensing ability for any movement oriented solutions by way of Accelerometer, Gyroscope, Temperature, and 6 Axis.
- On board MCP7940 RTC offers the Pi's ability to keep time through offline power-down/up scenarios as well as set accurate calendar interrupts.
- Observables Compatible Communications Module (CM) socket allows for diverse radio plug and play applications such as Cellular.
- MAX3140 availability allows for RS485 system integrations and expansion.
- Dual Latching relays allow for low-power/offline/No-power maintained control for up to 3A.
- IO Expander TCA6424A with on board PU/PD resistors make for fast, simple Digital IO integrations for up to 9 IOs.
- 2 Level shifted direct IO allow for such integrations such as Wiegand, or other longer range protocol/Level shifted IO for triggering internally or externally.
0%
0%
The AccessHAT
Raspberry Pi Expansion Board / Multi-purpose Access/IO w CM socket
Become a Hackaday.io member
Already have an account? Log in.
Just one more thing
To make the experience fit your profile, pick a username and tell us what interests you.
Pick an awesome username
hackaday.io/
Your profile's URL: hackaday.io/username. Max 25 alphanumeric characters.
Pick a few interests
Projects that share your interests
People that share your interests


 tomtibbetts
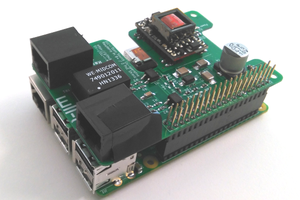
 Teemu Hakala
 Jarred
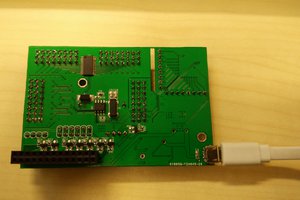
 Salvatore