A data logger (also datalogger or data recorder) is an electronic device that records data over time or about location either with a built-in instrument or sensor or via external instruments and sensors. Increasingly, but not entirely, they are based on a digital processor (or computer), and called digital data loggers (DDL). They generally are small, battery-powered, portable, and equipped with a microprocessor, internal memory for data storage, and sensors. Some data loggers interface with a personal computer and use software to activate the data logger and view and analyze the collected data, while others have a local interface device (keypad, LCD) and can be used as a stand-alone device.
The data saved can be easily opened in an Excel Sheet for further analyses. To maintain the date and time we will use the famous RTC module DS3231 and to get the Temperature and Humidity we will use the DHT11 Sensor.
We have to write the Arduino program which can do the following.
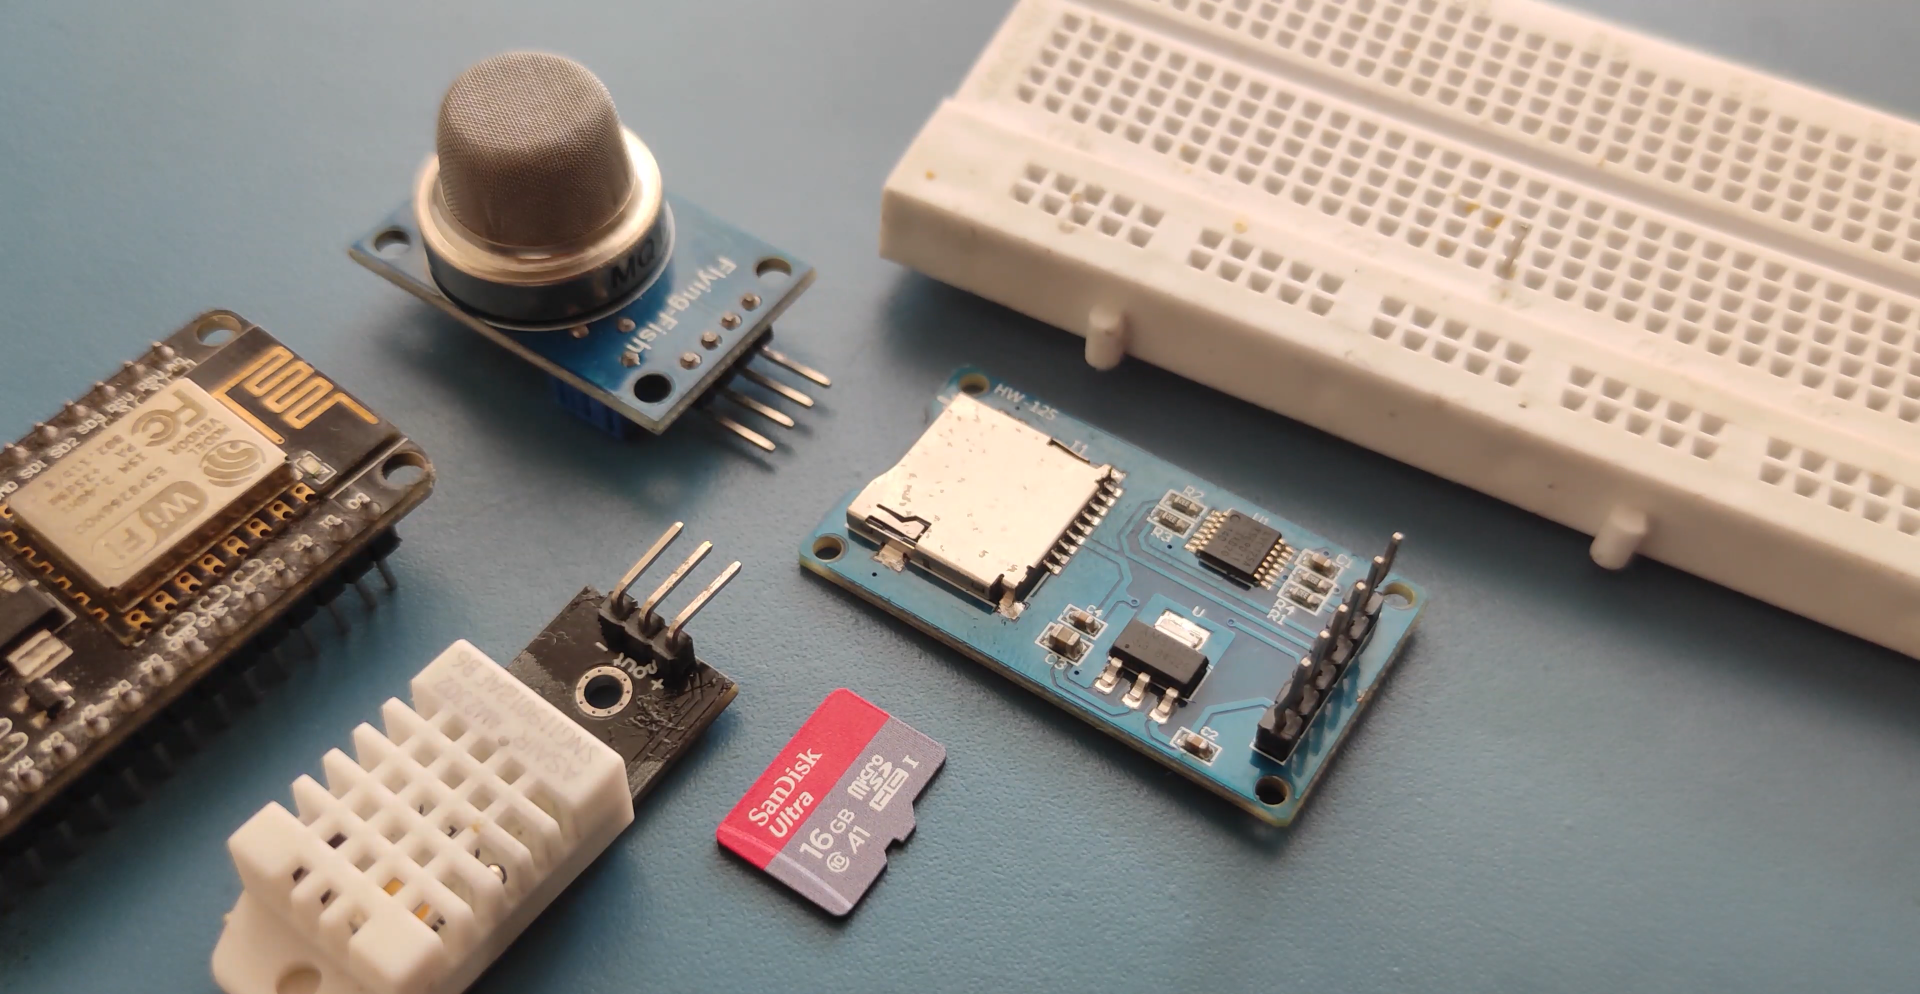
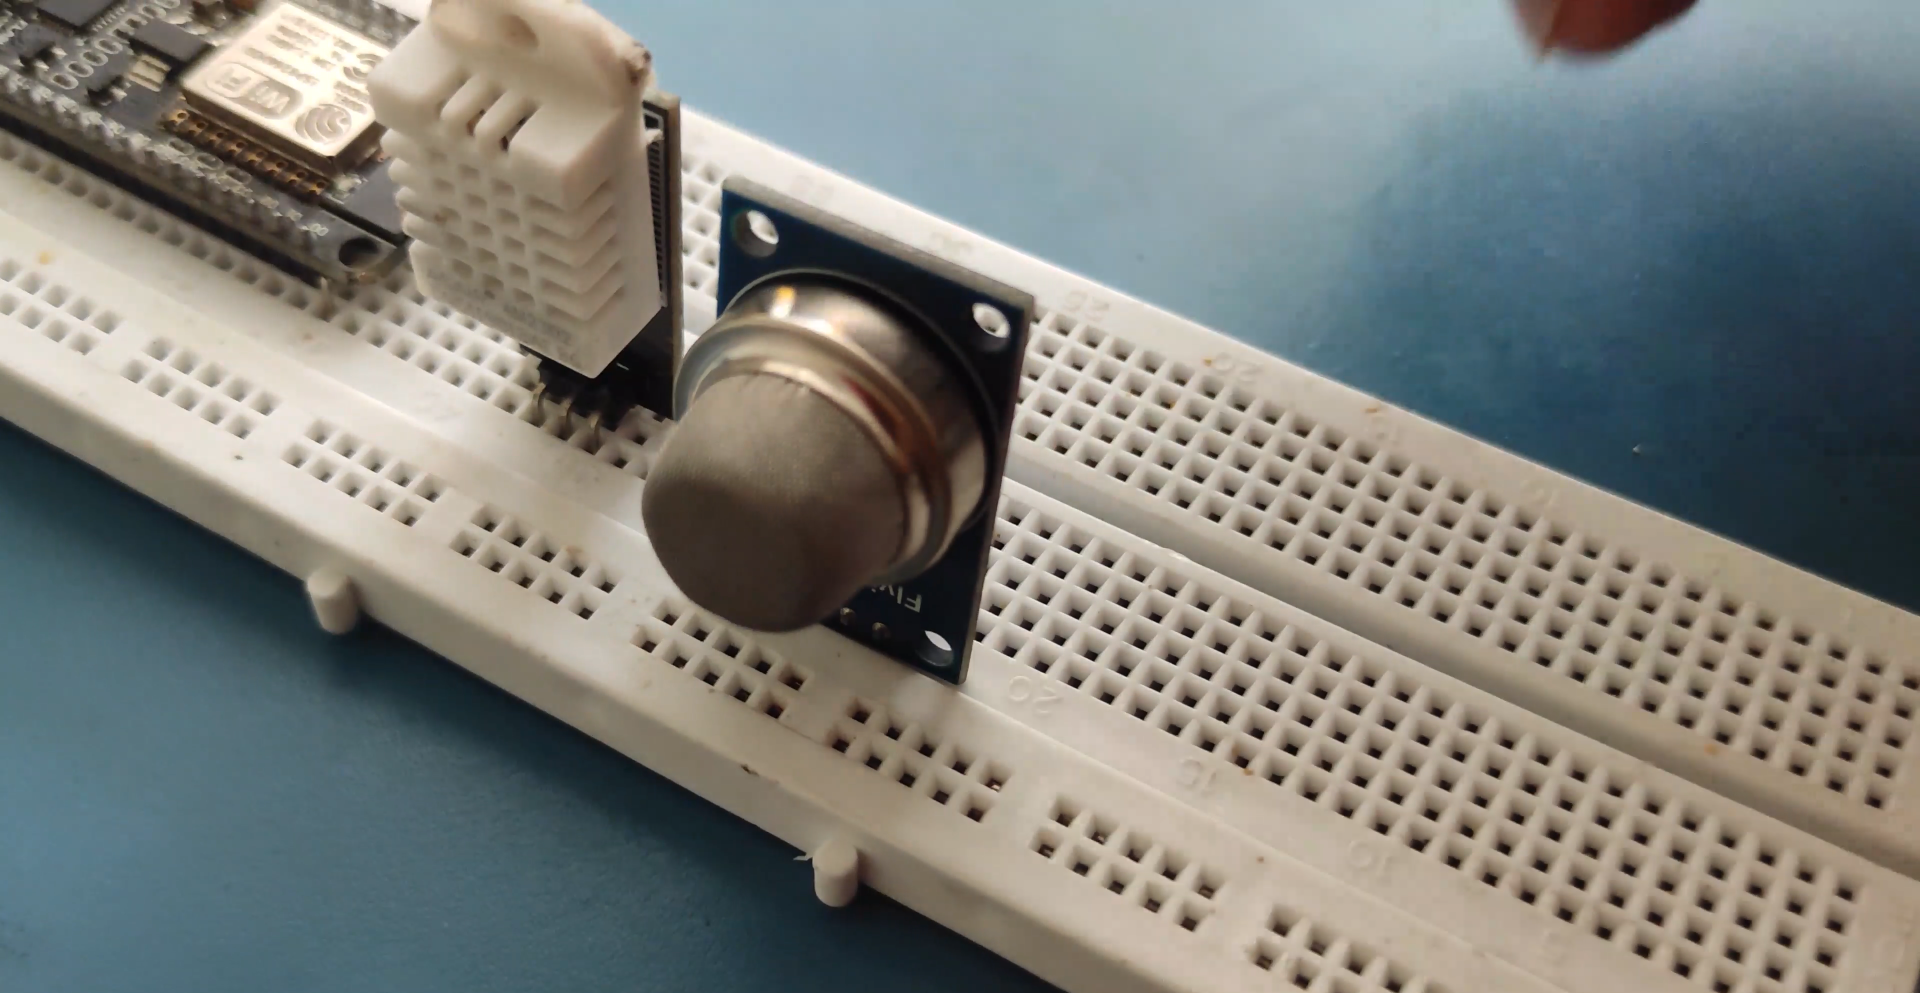
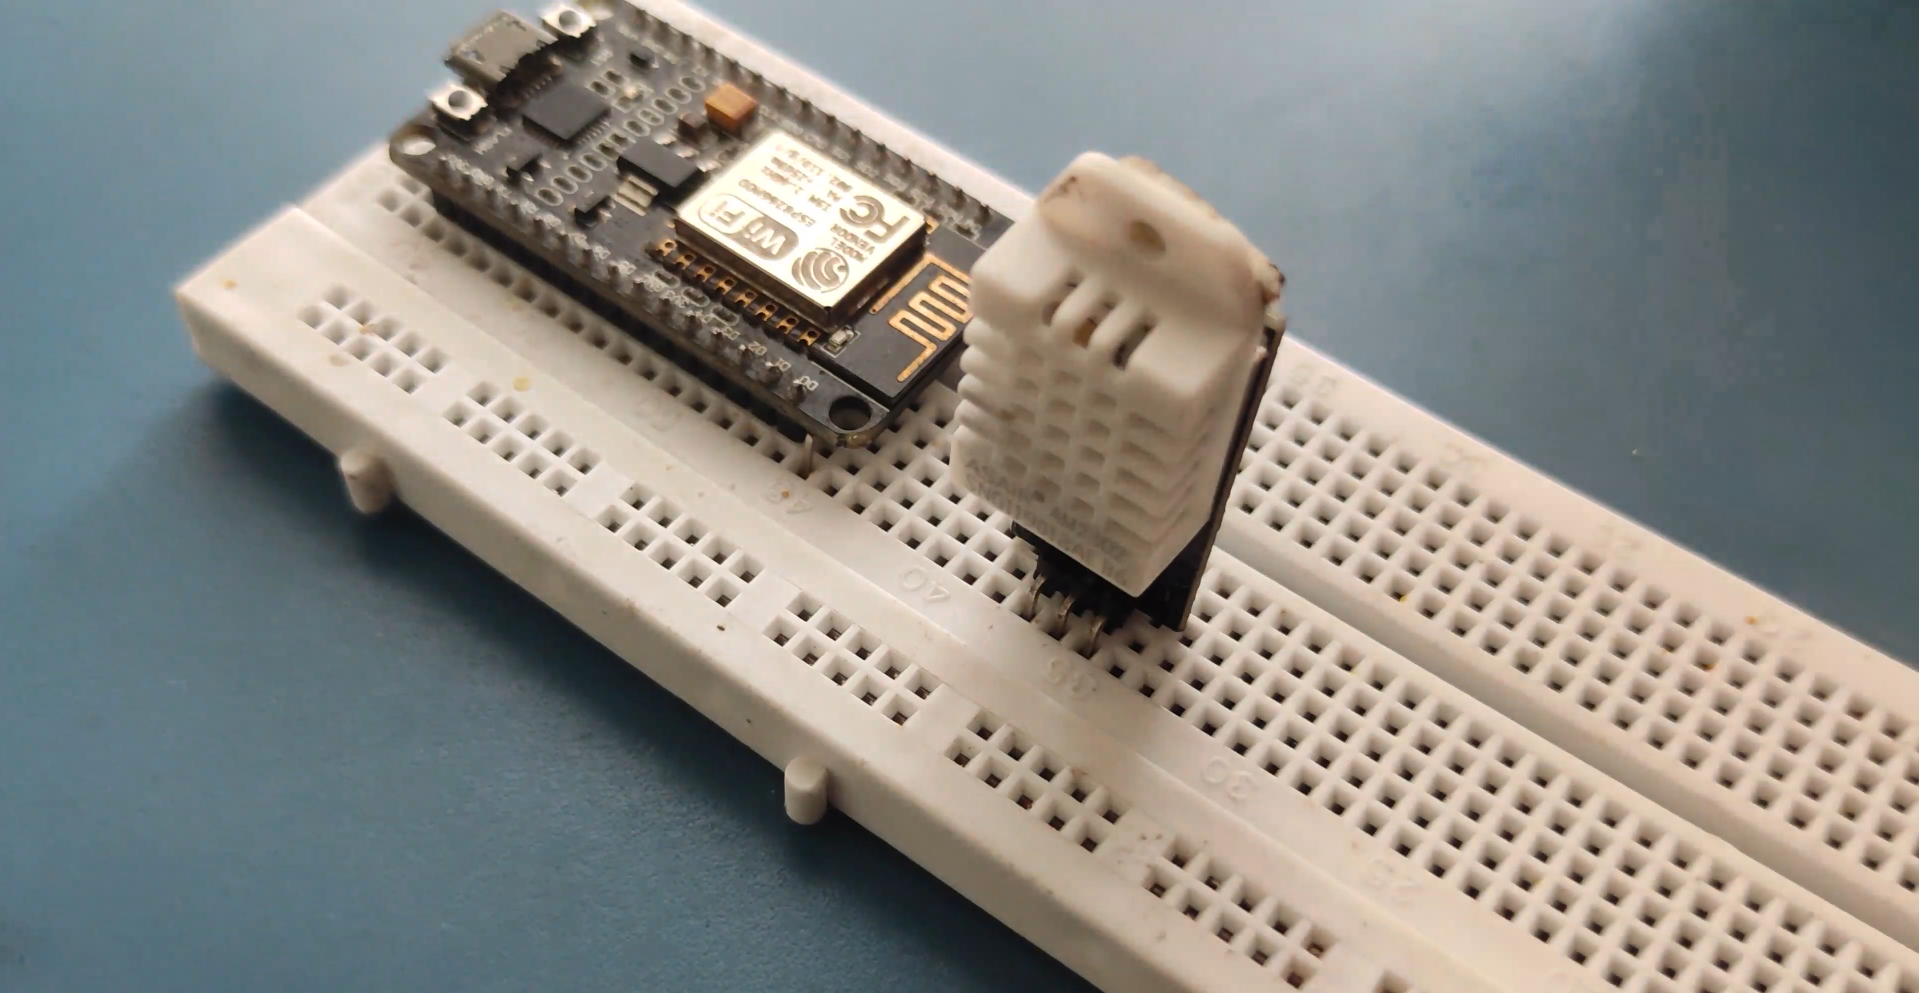
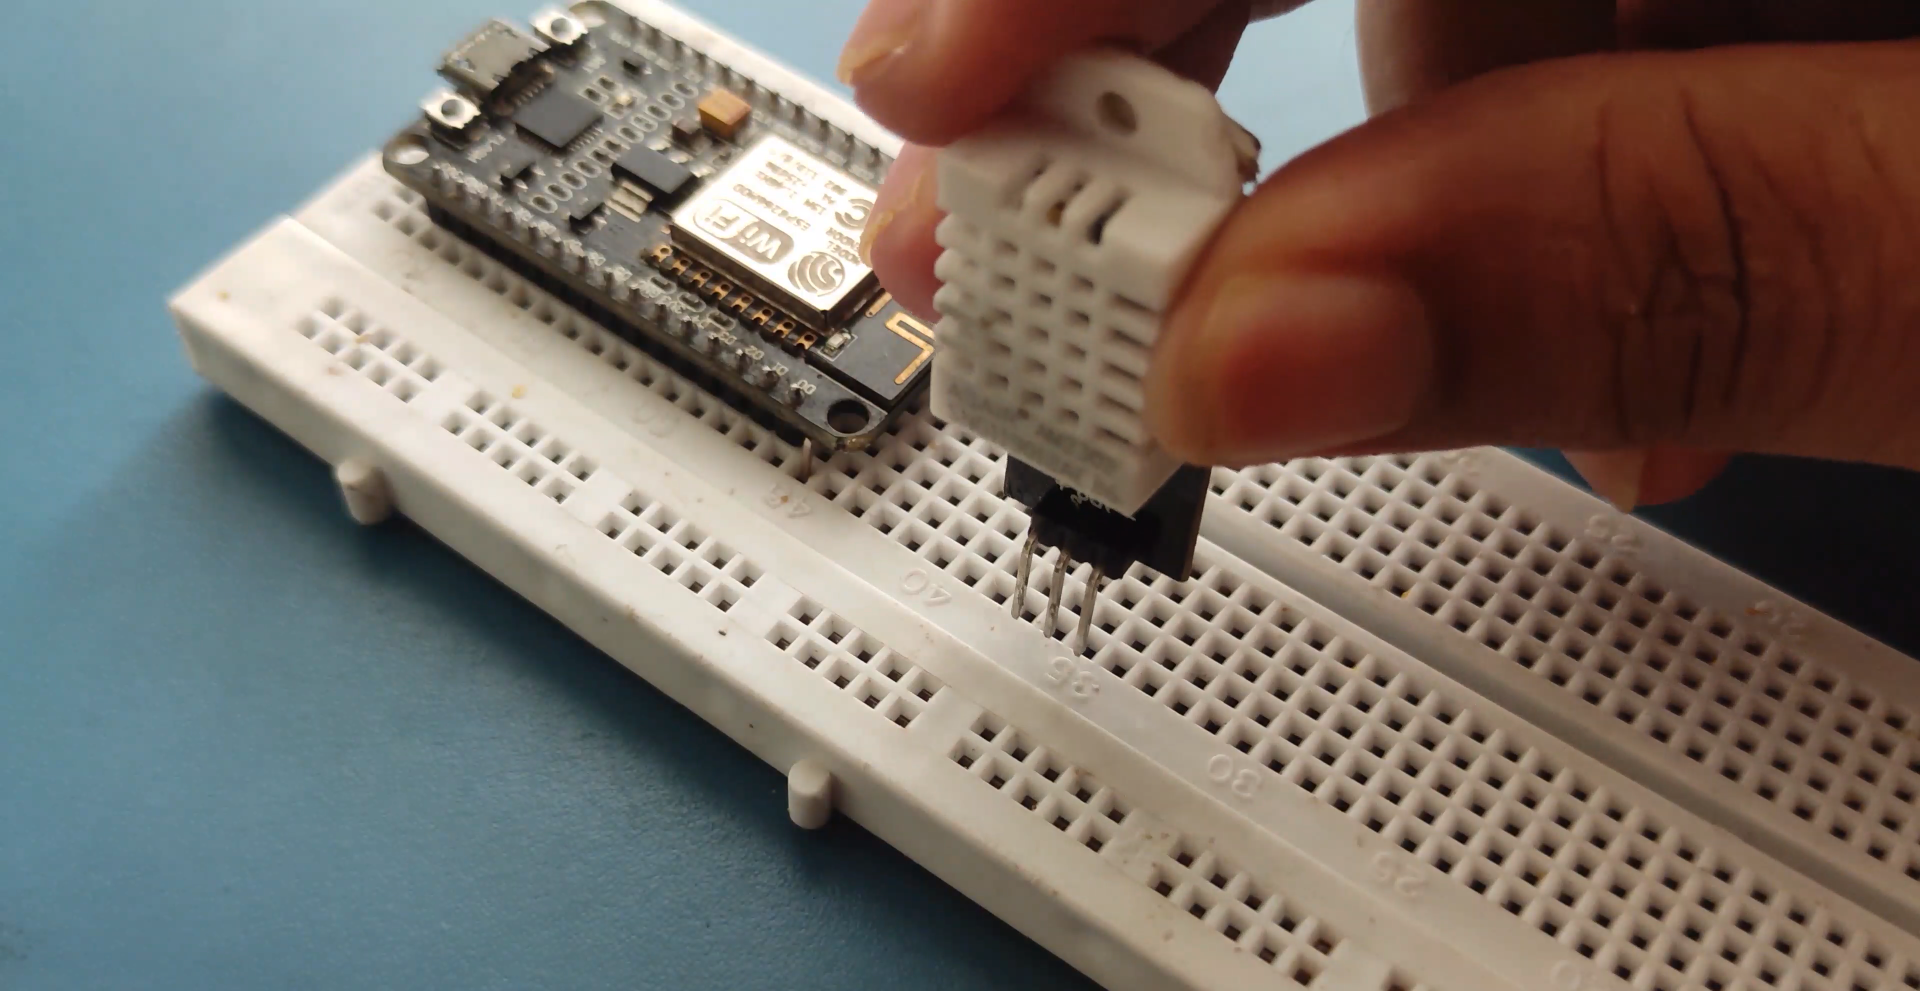
- Read data from DTH11 Sensor (or any other data that you wish to log).
- Initialize the I2C bus to read data from RTC module.
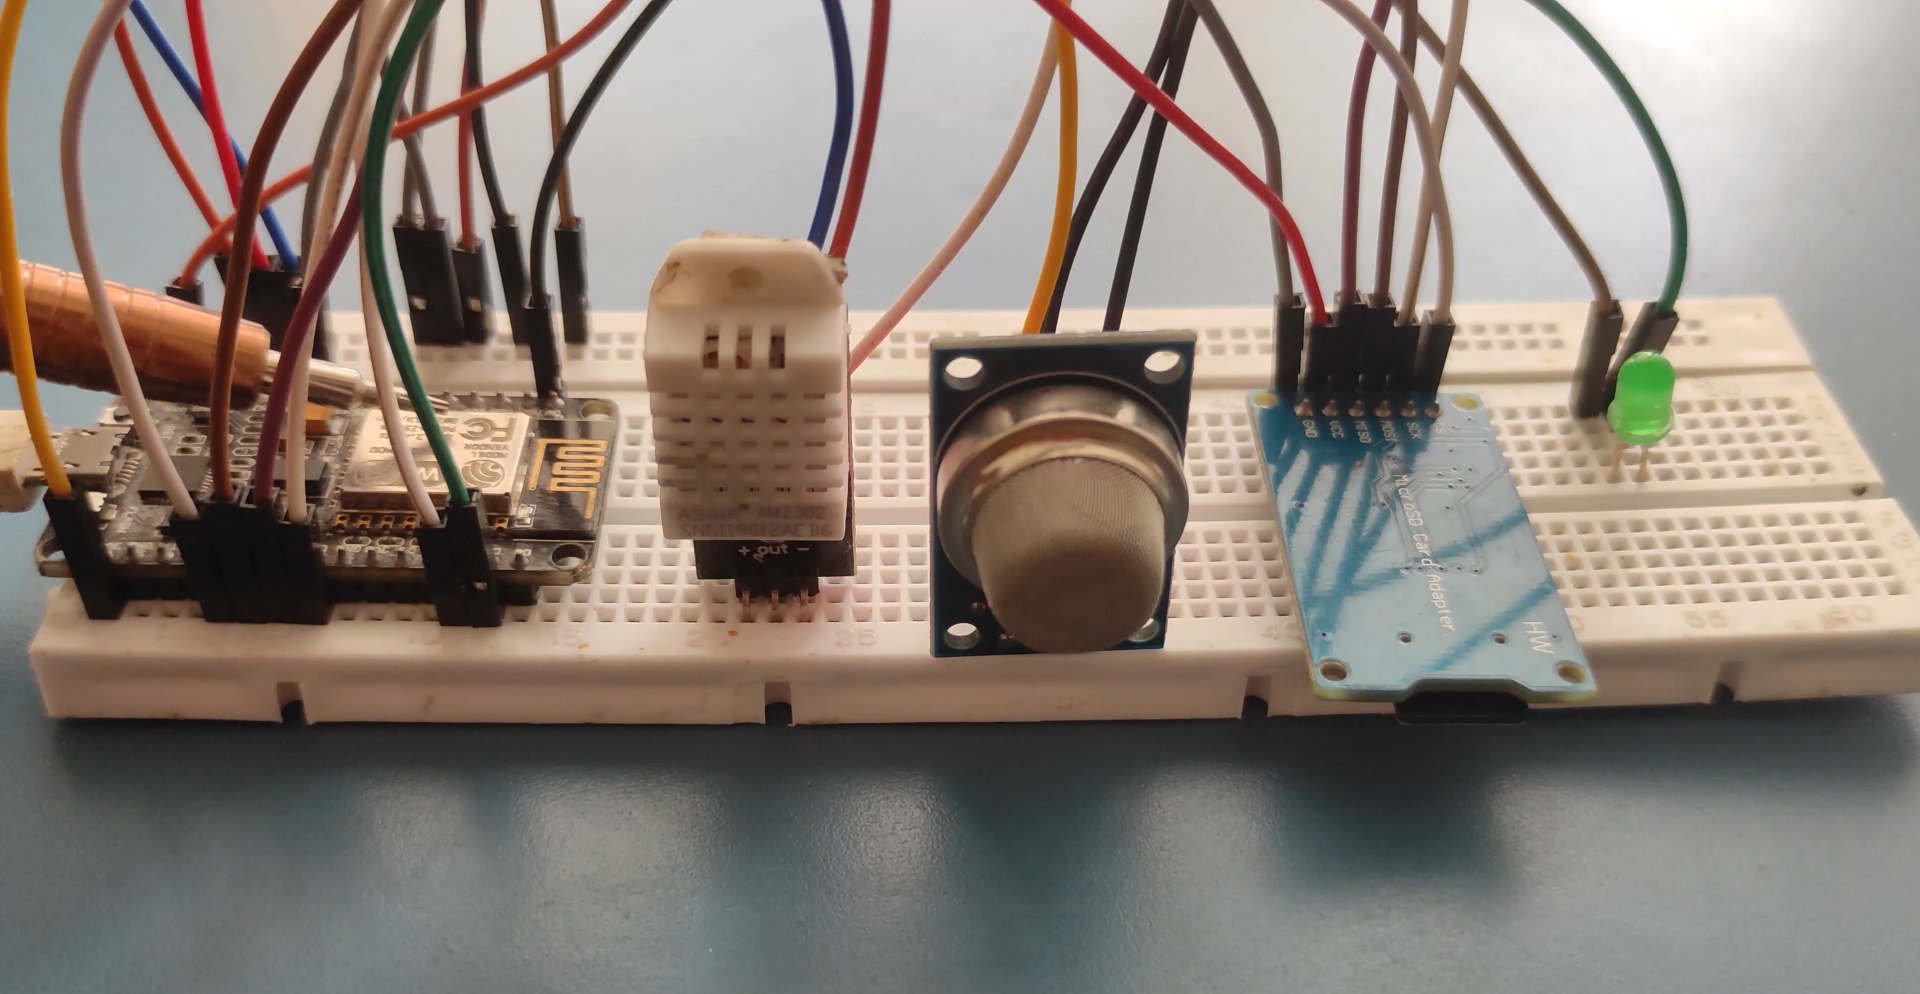
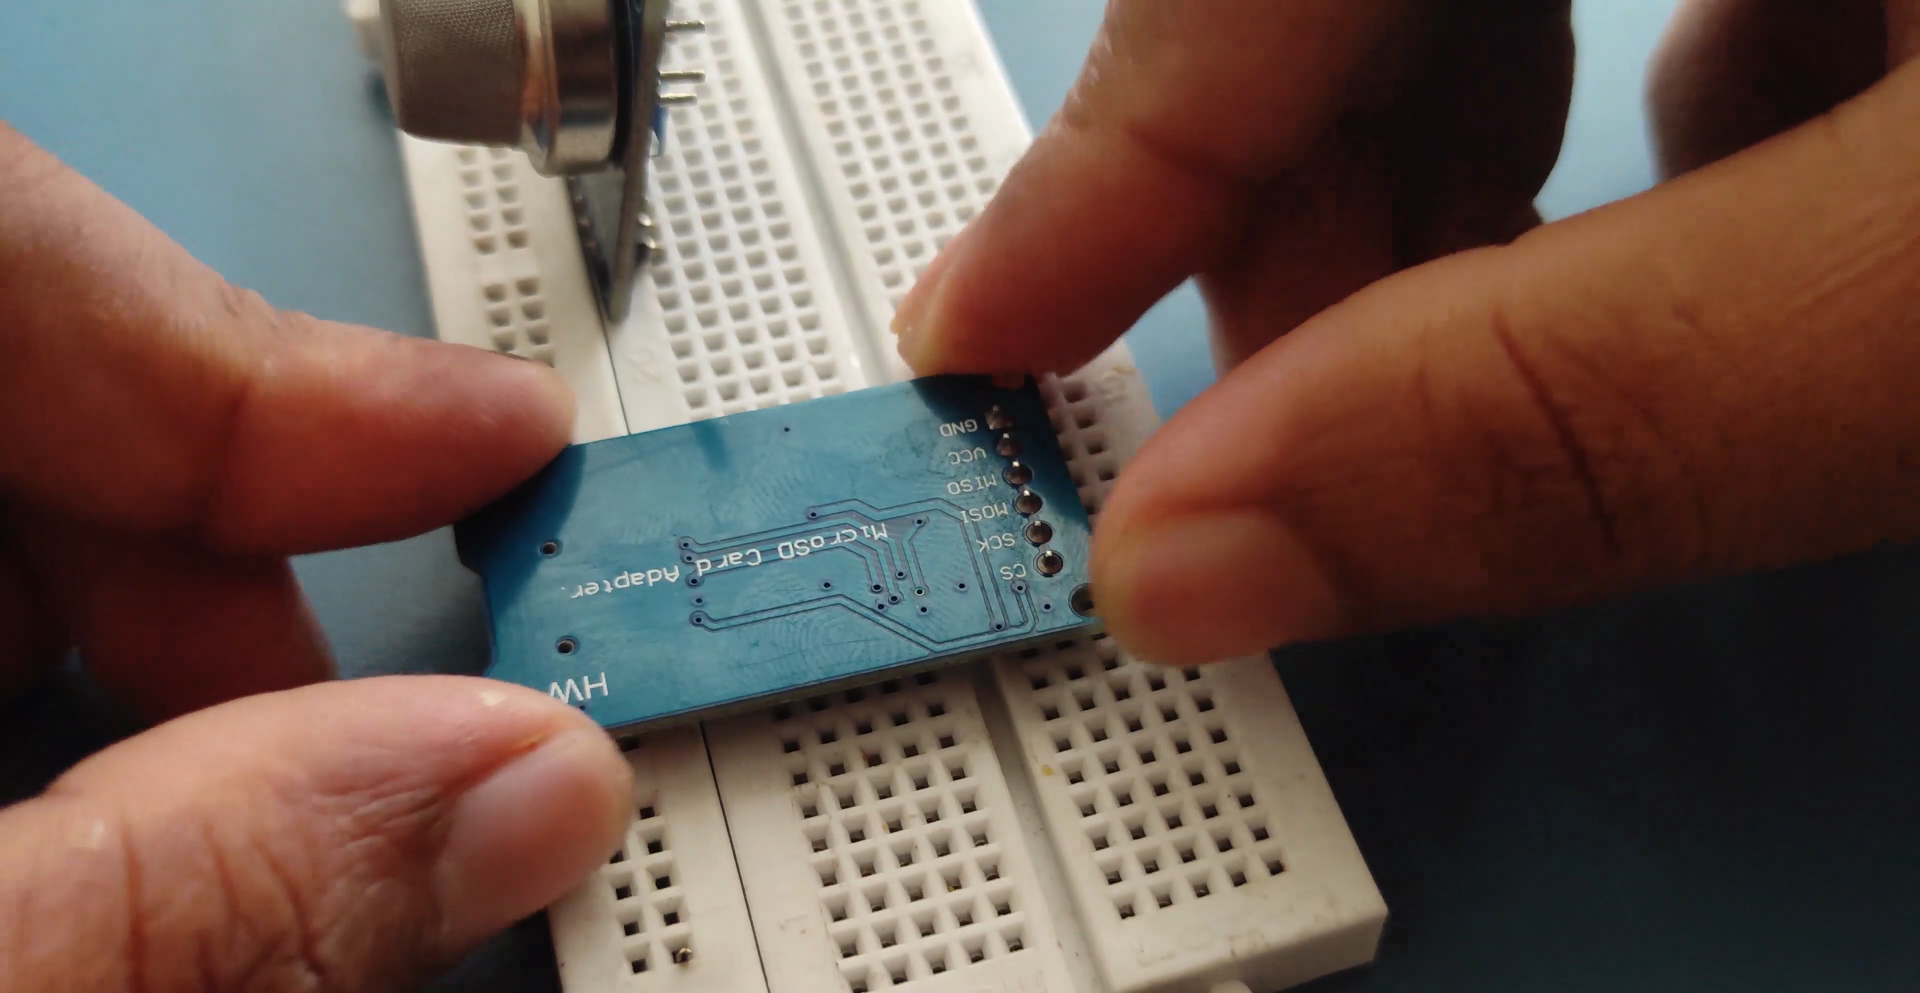
- Initialize the SPI bus to interface the SD card module with Arduino.
- Store the Date, Time, Temperature and Humidity into the SD card.
- Store the Date, Time, Temperature and Humidity on a Excel Sheet running on a computer/Laptop.
The above steps might sound complicated but they are very easy since we have the libraries to do the hard job for us. You have to download the following two libraries
To feed the data from Arduino lively into an Excel sheet on computer we will also need to install software called PLX-DAQ provided by Parallax Inc. Follow the link to download the file and install them based on your operating system. This should have created a folder named PLS-DAQ on your desktop. We will take care of it later in our working section.
1. Reading Data from DS3231:
DS3231 is a RTC (Real Time Clock) module. It is used to maintain the date and time for most of the Electronics projects. This module has its own coin cell power supply using which it maintains the date and time even when the main power is removed or the MCU has gone though a hard reset. So once we set the date and time in this module it will keep track of it always.
Using this module is very easy because of the library provided by Arduino.
// Init the DS3231 using the hardware interfaceDS3231 rtc(SDA, SCL);void Initialize_RTC(){ // Initialize the rtc object rtc.begin();//#### the following lines can be uncommented to set the date and time for the first time### /*rtc.setDOW(FRIDAY); // Set Day-of-Week to SUNDAYrtc.setTime(18, 46, 45); // Set the time to 12:00:00 (24hr format)rtc.setDate(6, 30, 2017); // Set the date to January 1st, 2014*/}
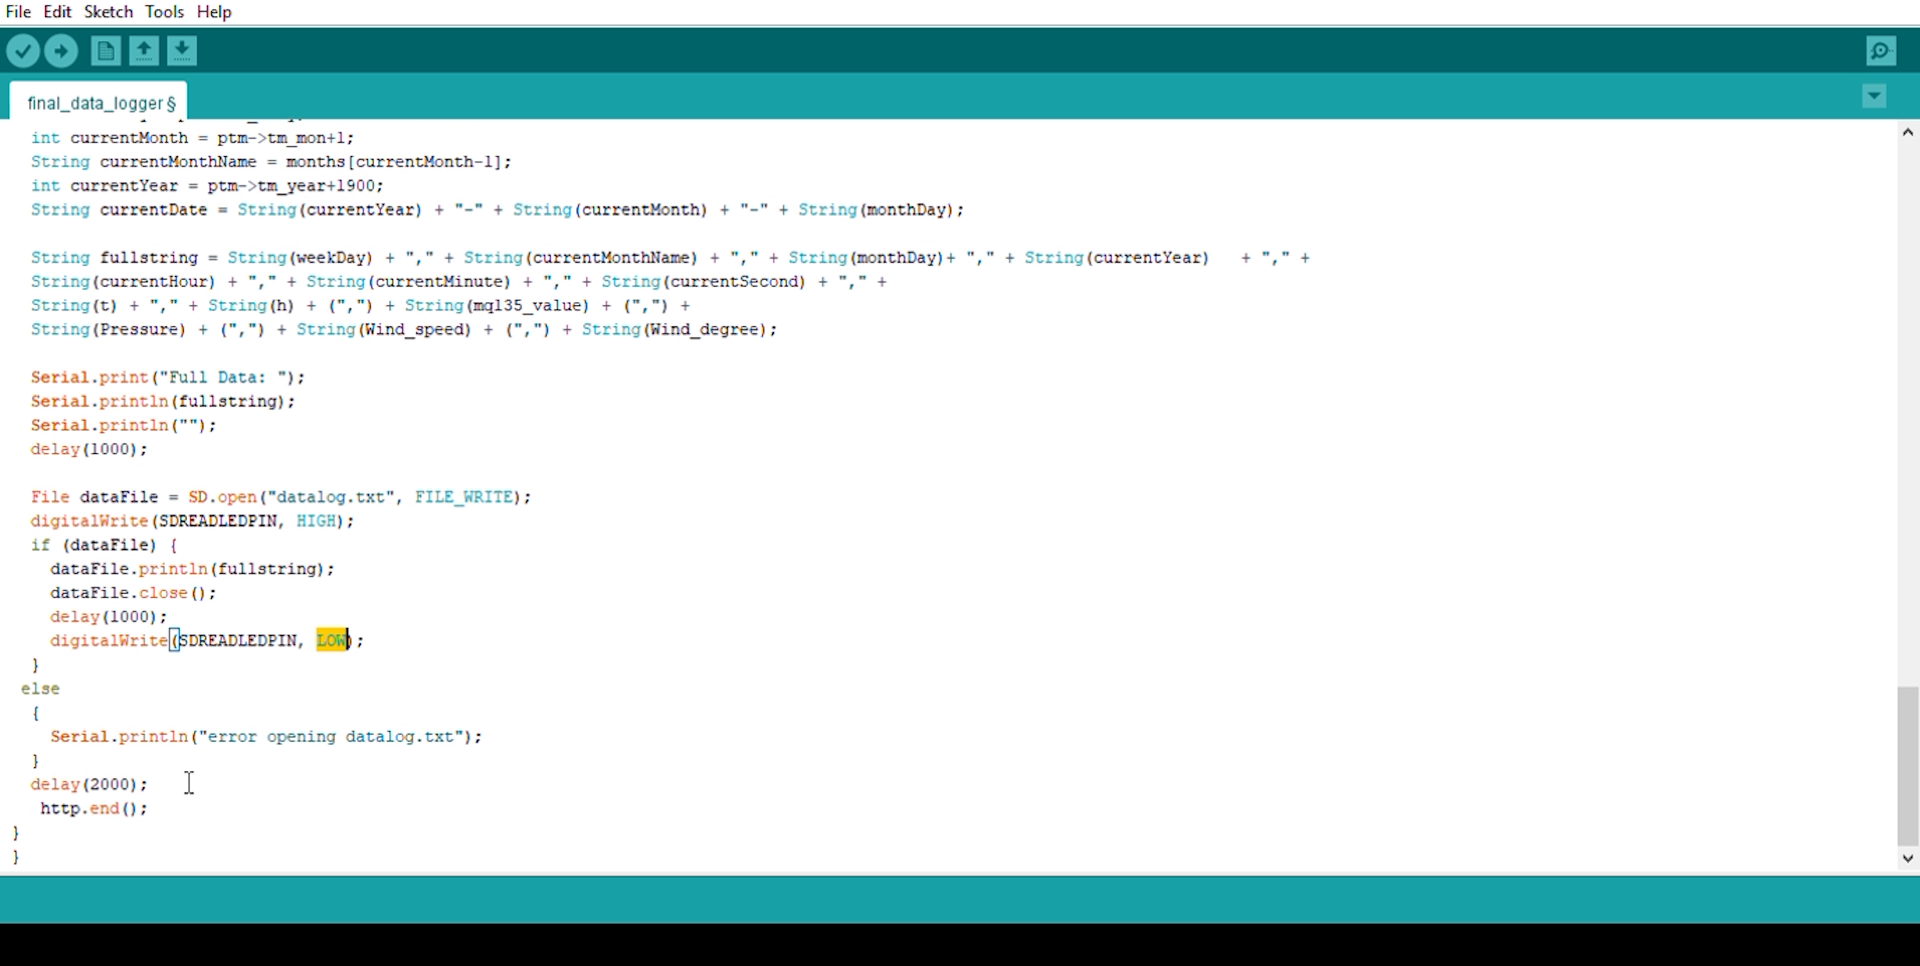
In the loop section using the Serial.print() funtion we will print the time and the temperature values on the serial monitor, with a “comma” character between them and a new line after the temperature value. We need this form of the lines so that we can easily import them and make a chart in Excel. Also note that the temperature values are converted into integers.
So these same values will also be written into the newly created “test.txt” file and at the end we just need to add a delay which will represent the interval of recording the temperature data.
Using an SD card with Arduino is easy because of the SD card library which will be added to the Arduino IDE by default. In the SD card initialize function we will create a text file named “LoggerCD.txt” and write the first row of our content. Here we separate the values by using a “,” as a delimiter. Meaning when a comma is placed it means we have to move to the next cell in the Excel sheet.
As said earlier our intention is to save the Date, Time, Temperature and...
Read more »
 Scott Clandinin
 Boris van Galvin

 Noah
Noah