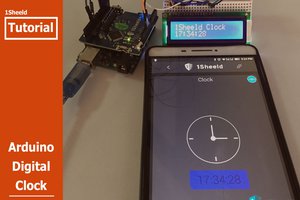
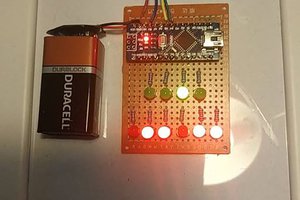
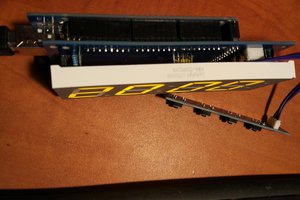
An old decoration provides the outer shell for this clock project. A non-functional Penguin that will be refurbished and enhanced with talking clock capabilities, plus some flashy multicolor LED lights. Alternatively, any semi-transparent enclosure could host the same parts we will assemble, code, and test.
For the advanced Arduino user.
Update the code from its clock function to speak over 1200+ other words. Or why not record your messages and make a unique clock? See the instructions for the details.
Practical learnings.
- Use ESP32 RTC with the Network Time Protocol.
- Remote code updates with ElegantOTA.
- Explore the Arduino Talkie library to have your ESP32 speak with a robotic voice.
- Split your Arduino sketch into multiple "helper" files based on their function.
The last point is essential. Then it's easy to maintain the code without having one huge, very long, hard-to-read single file.
 Debinix
 mircemk
 amr.mostaafaa

 Victor