A little background...
Around the year 2000, I came across CMU's Palm Pilot Robot Kit, a really cool looking omni-directional robot driven by a palm pilot. It was mind blowing to a middle schooler and a little beyond my means. About the same time, there was a fad around Quicktime QTVR panoramas, and newfangled immersive videos thanks to fancy optics and a little trig on a computer powerful enough. My pubescent brain wanted to put the two together for a telepresence robot.
Fast forward a couple decades and the electronics are cheaper, I have more money, and the programming skills to match.
So the PanoBot is born.
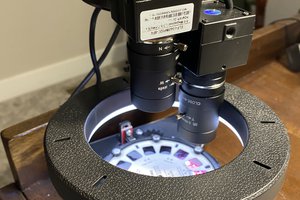
Control and streaming is from an ESP32 camera board, Panoramic video is done with fancy optics.
On the software side, the microcontroller is programmed in C++ running a small webserver with websockets. The panorama is transmitted as raw video 720x720 resolution, a decent tradeoff between framerate and video quality. **EDIT** Now streaming in 1024x1024 in the latest software version.
The website uses javascript, WebXR and webGL shaders to de-warp the image and render the scene in 3D for VR mode, and simple javascript and canvas for 2D touch control mode.
VR viewing is through my modified Samsung Gear VR headset or through an Oculus Quest 2. In VR mode, control is with either an xbox controller or Oculus touch controls.
A few gripes:
I'm pissed with Google. They abandoned Google Daydream and all of their support for WebXR on mobile. So full VR content in Chrome on Android is buggy at best. On my Pixel, the left and right images are off center because they don't account for the camera notch. You'll see what I mean in the video. AND their site for creating a Google Cardboard headset is offline. Someone didn't maintain their firebase instance!
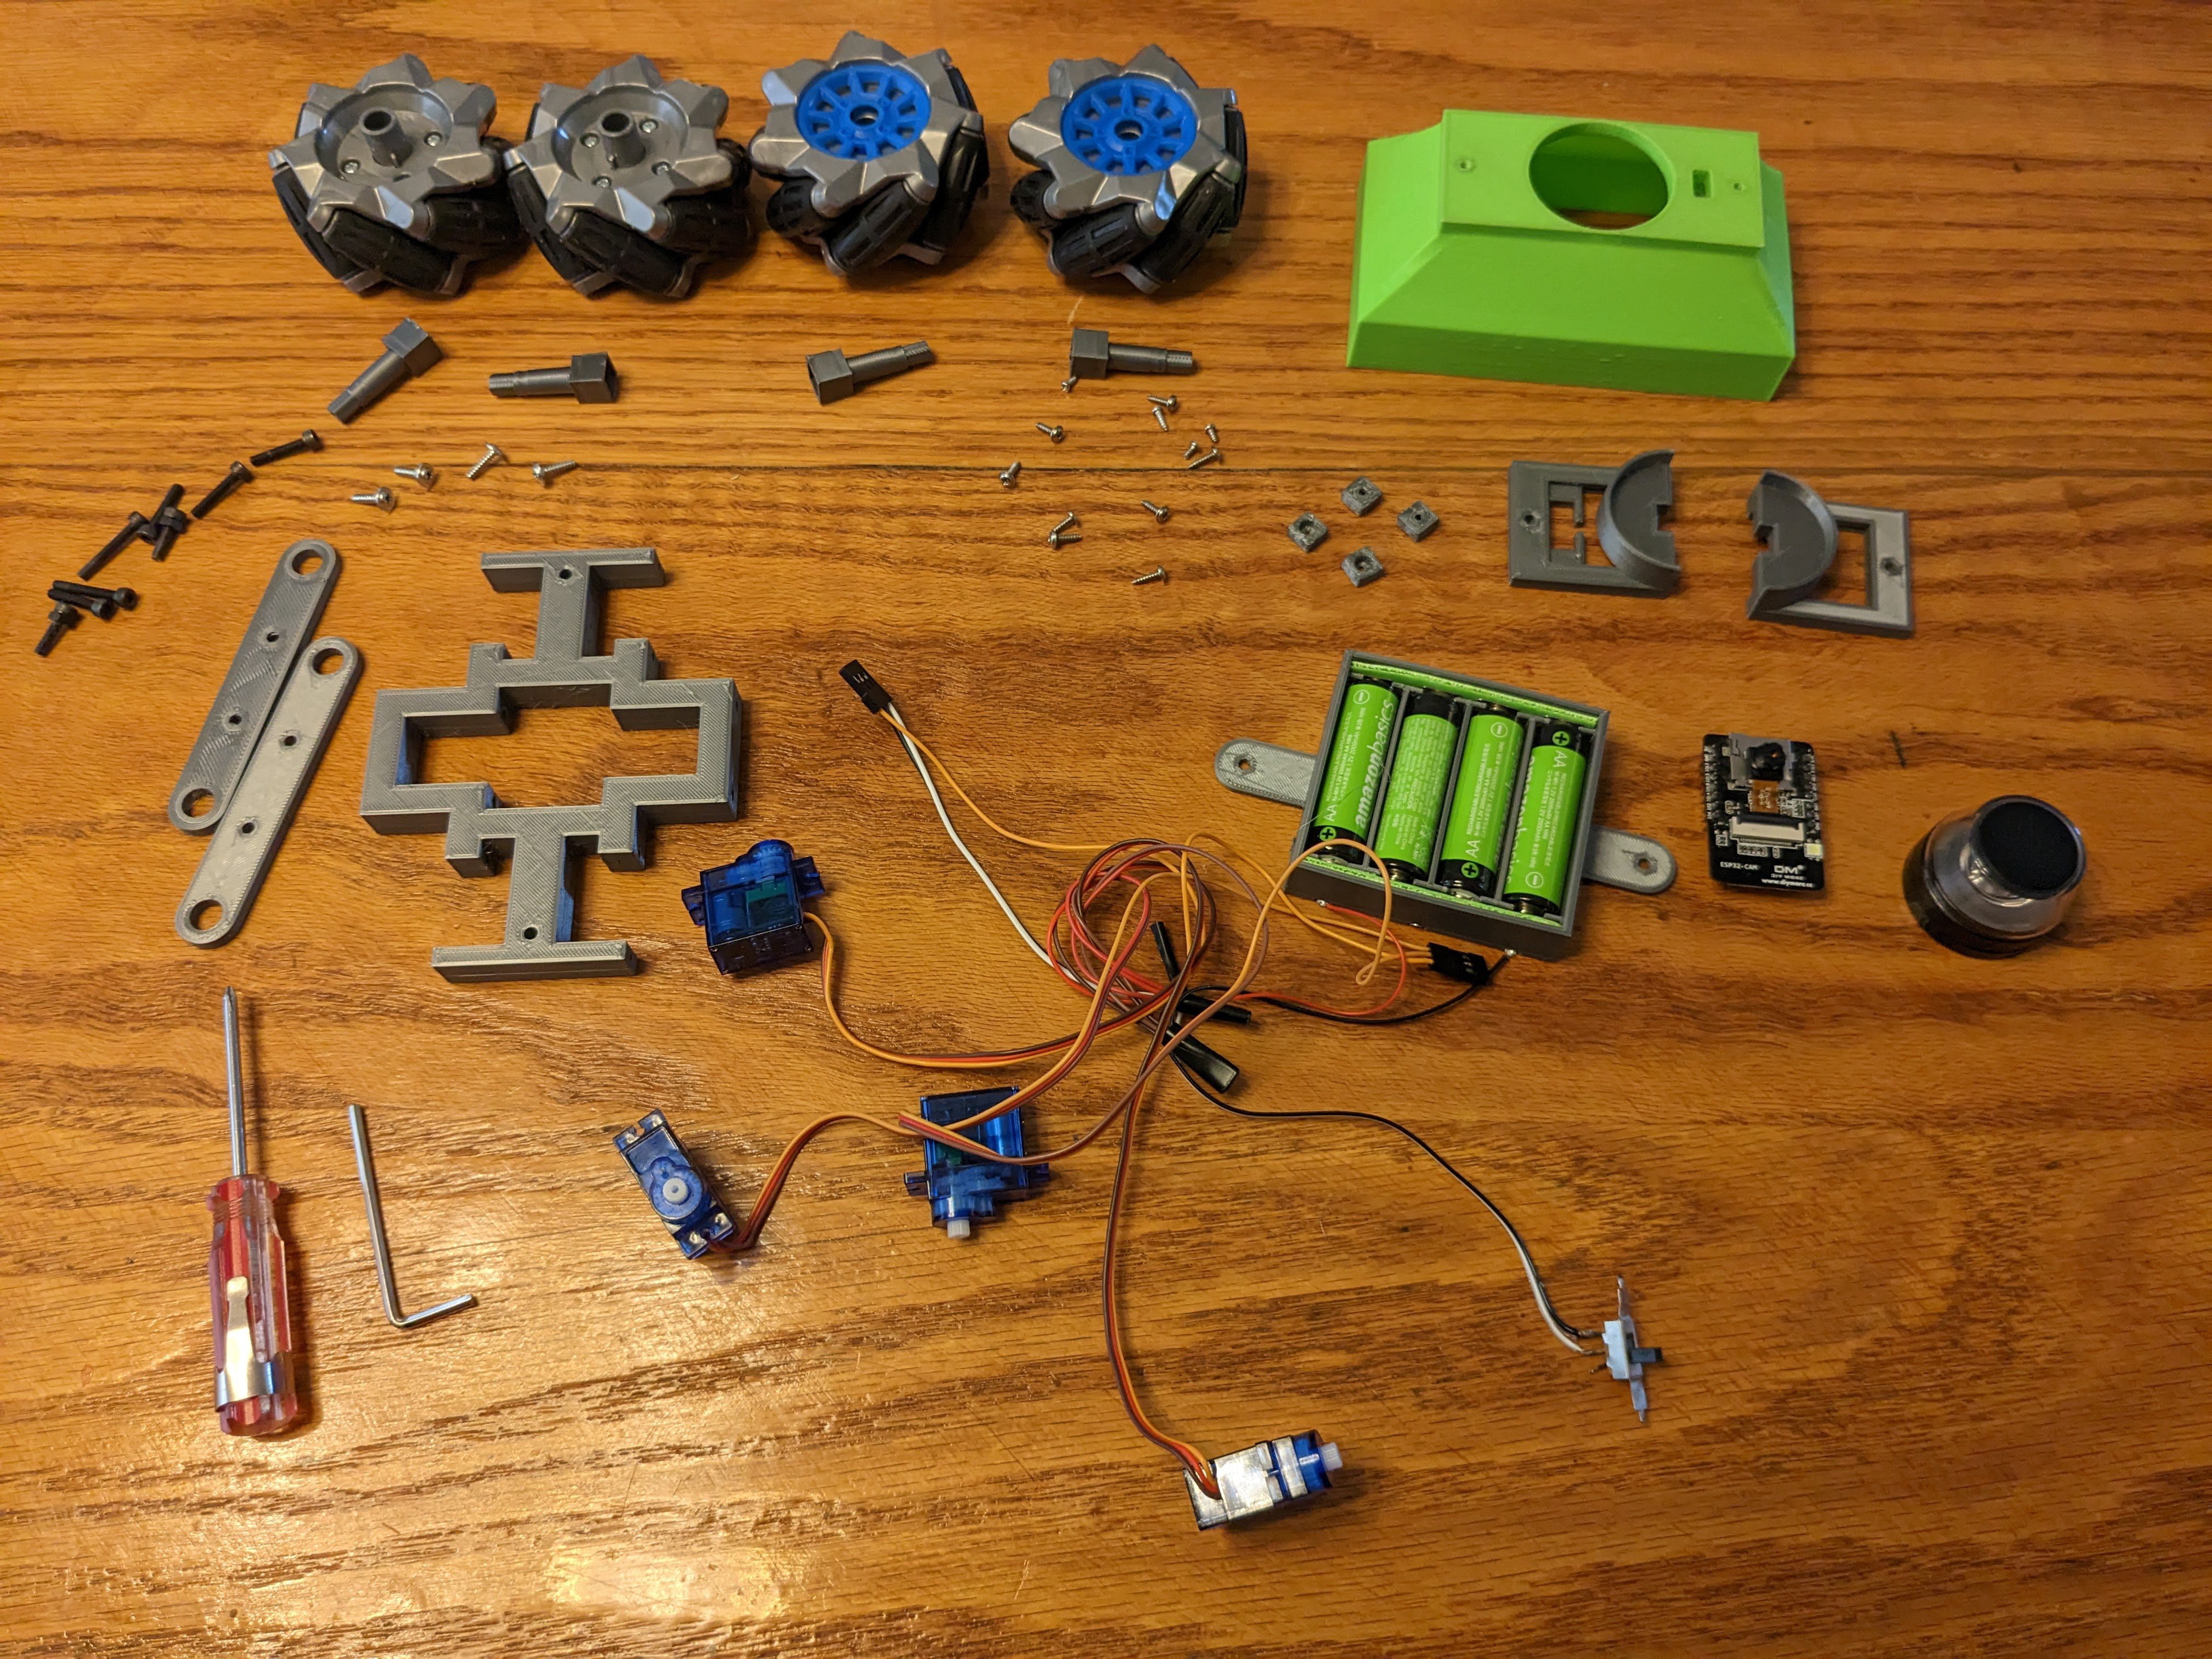
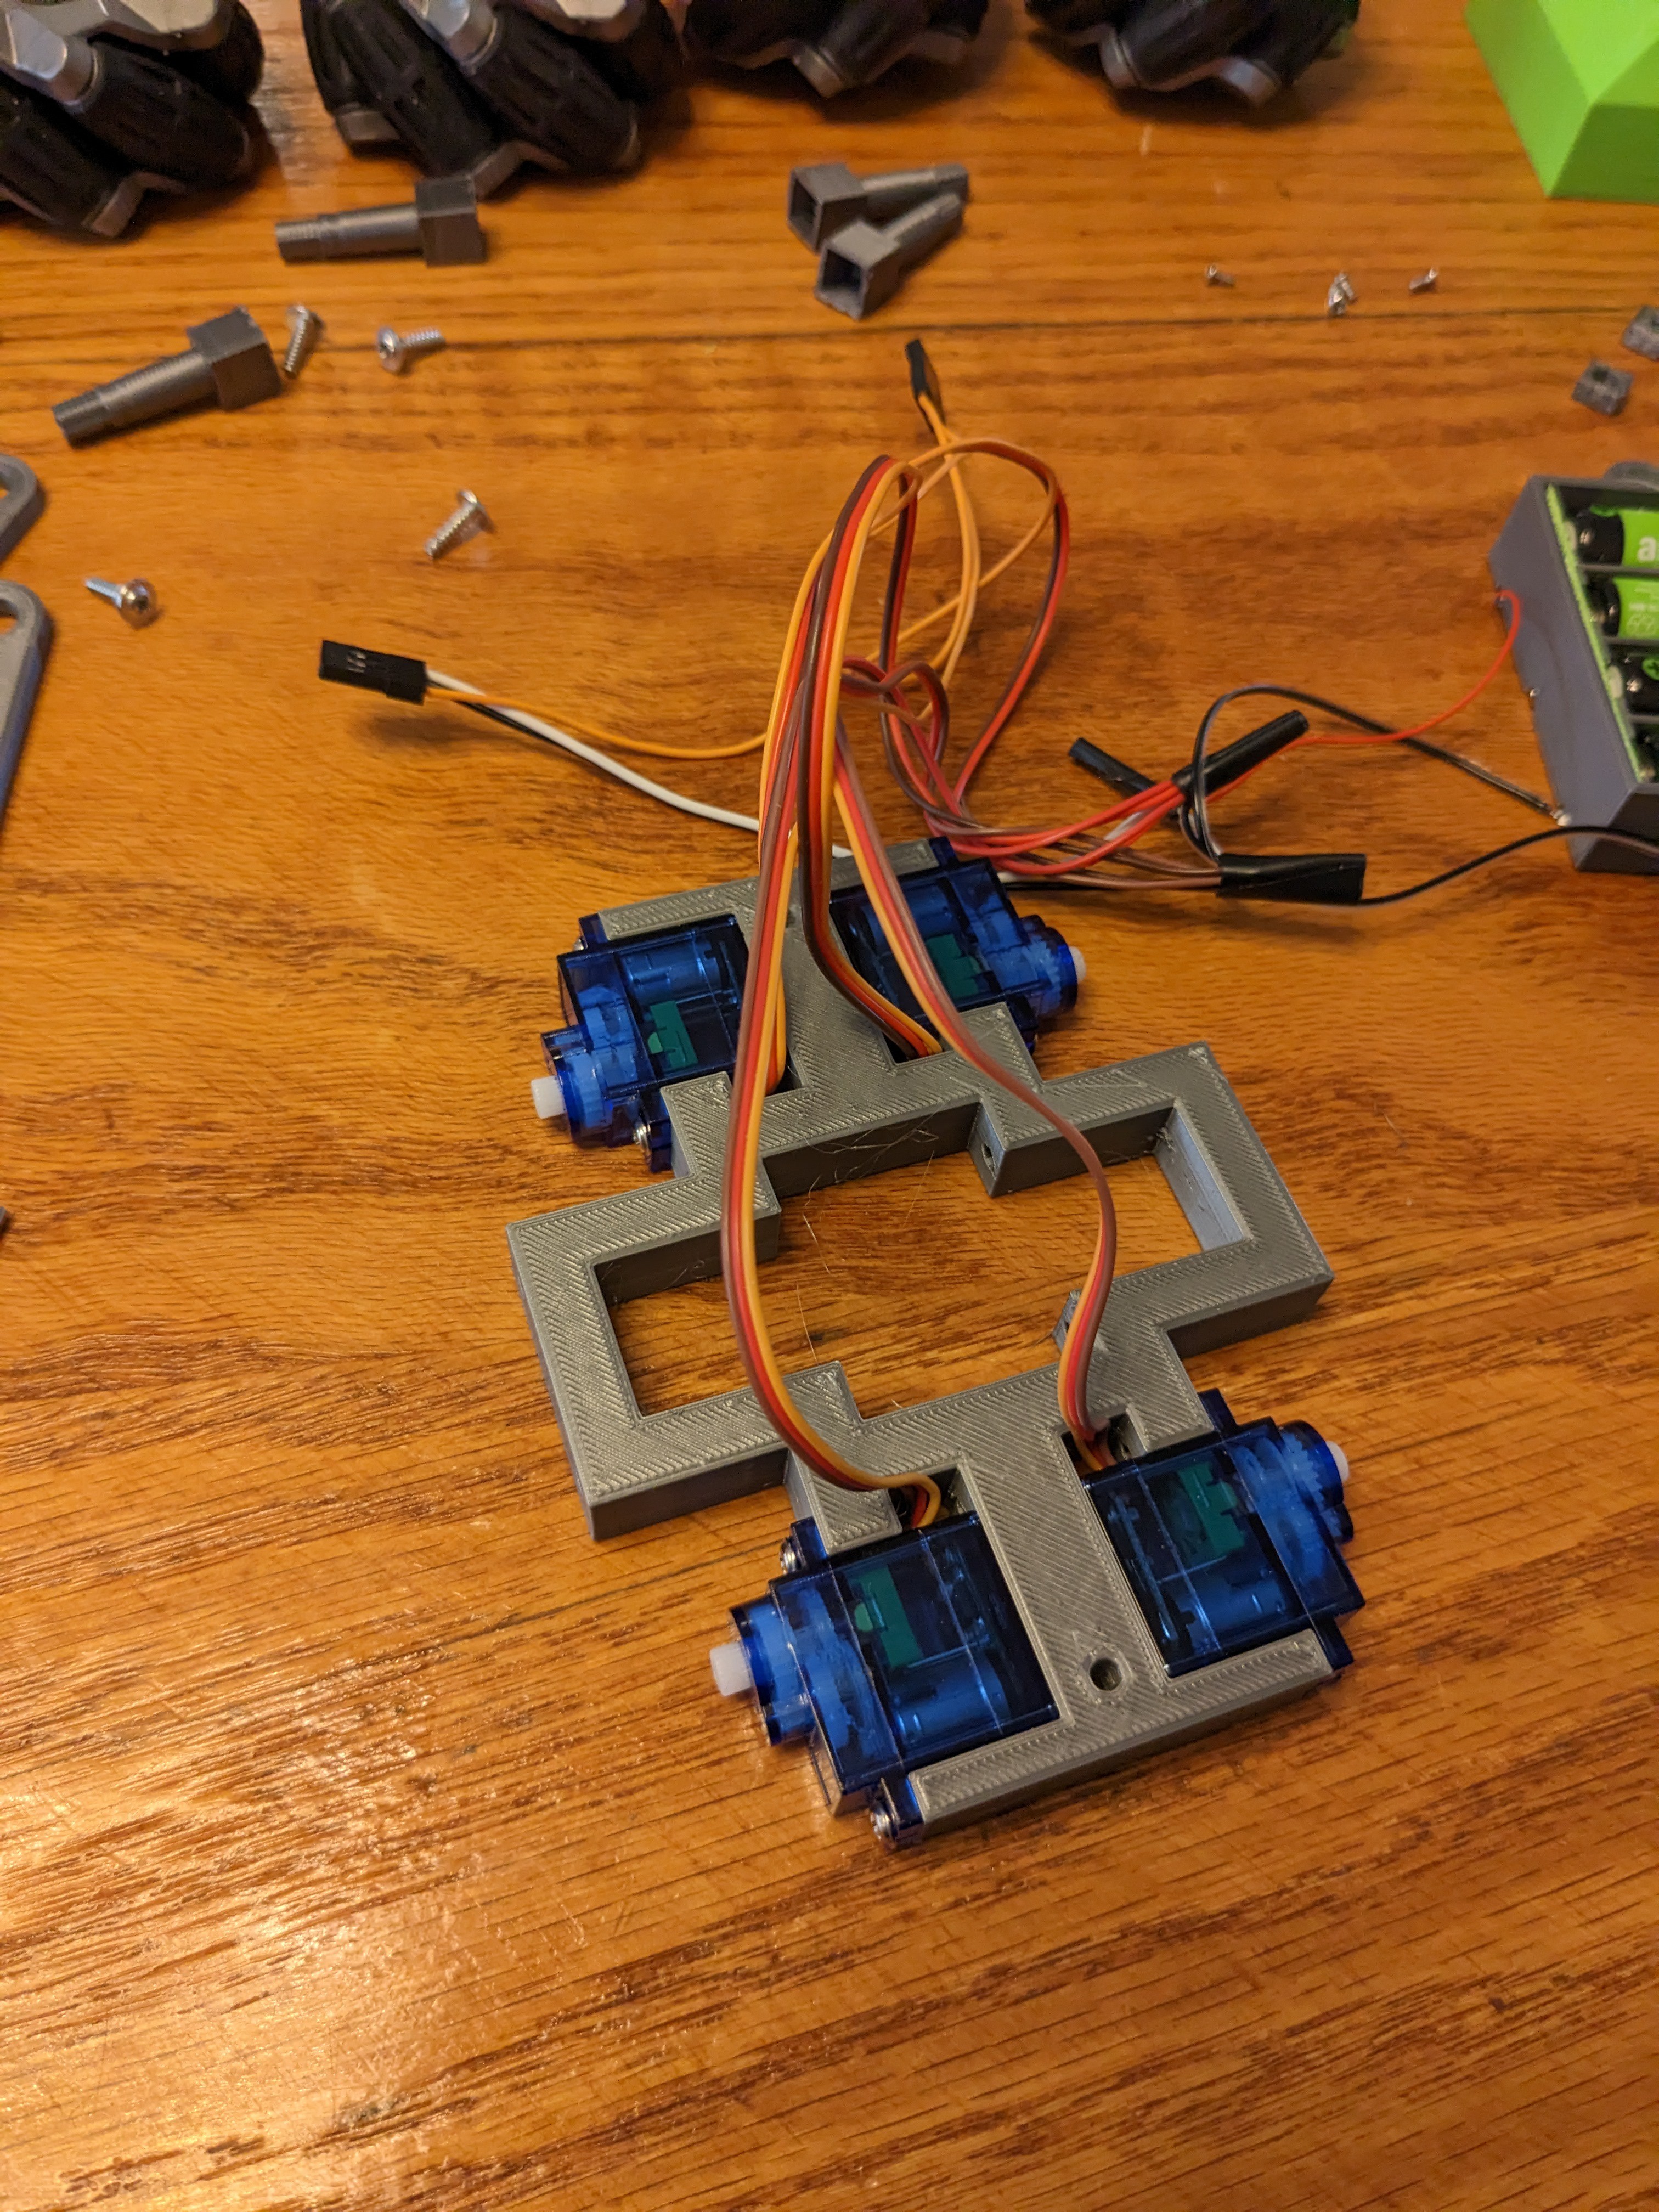
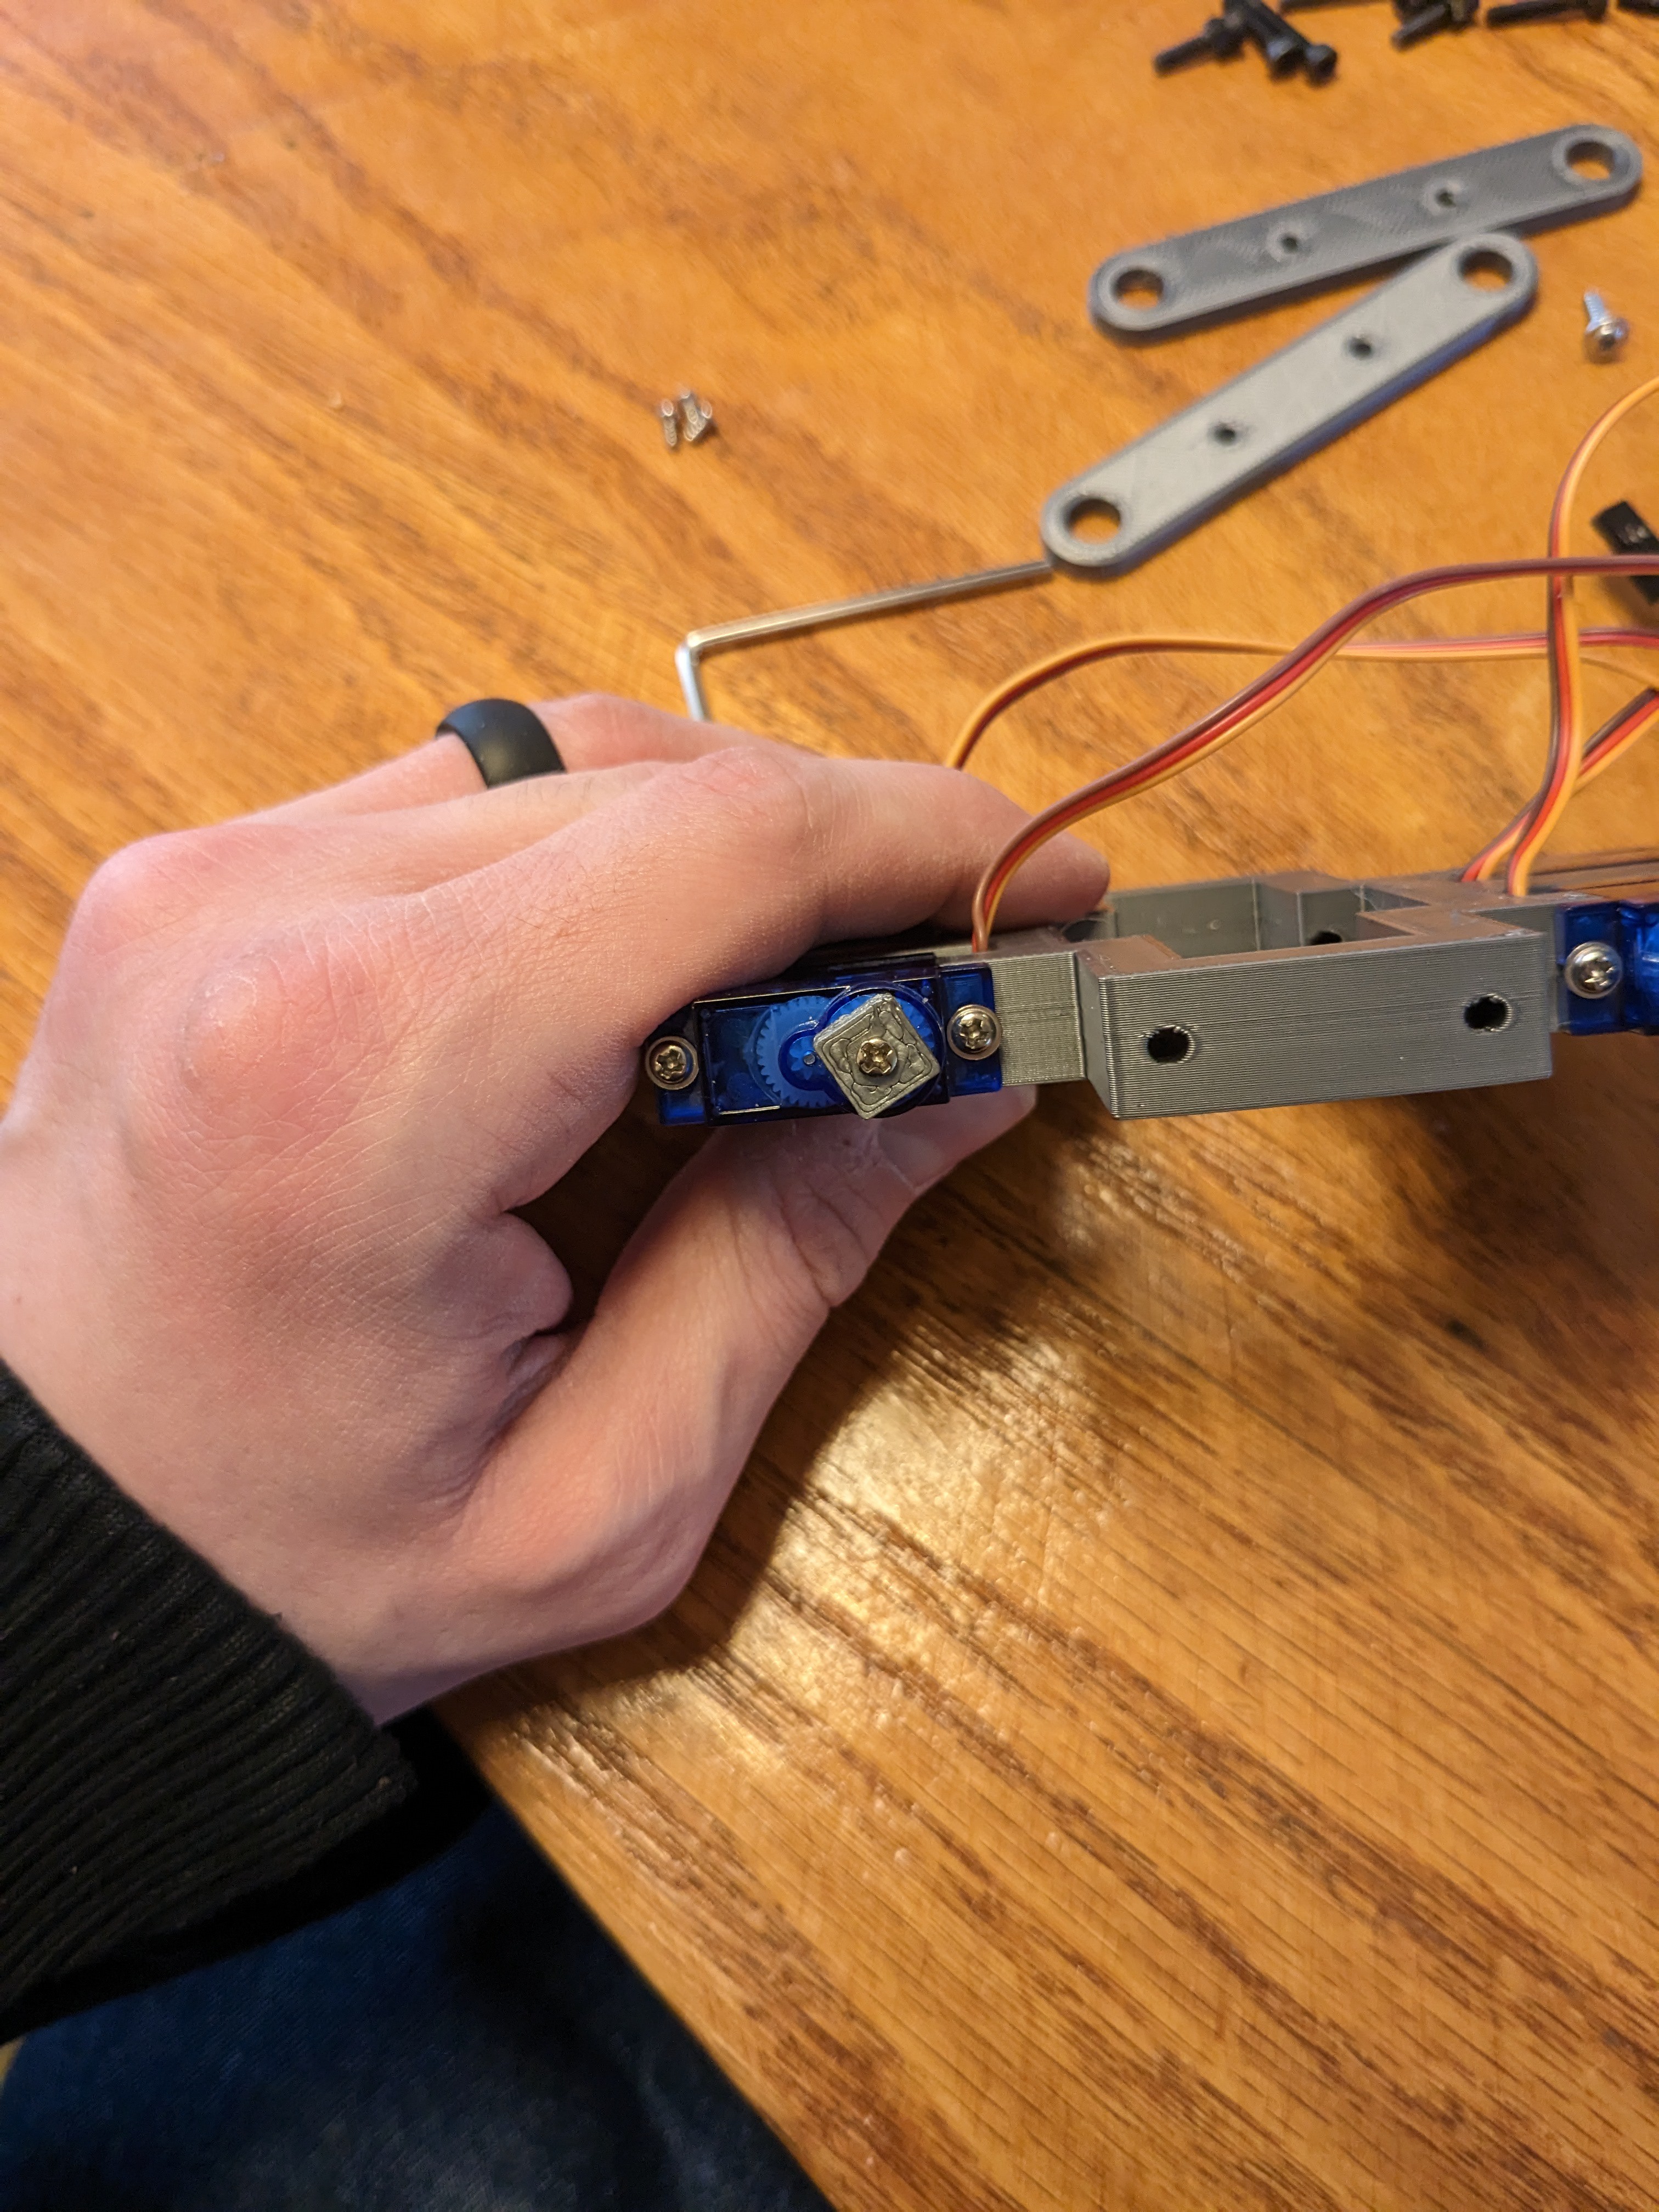
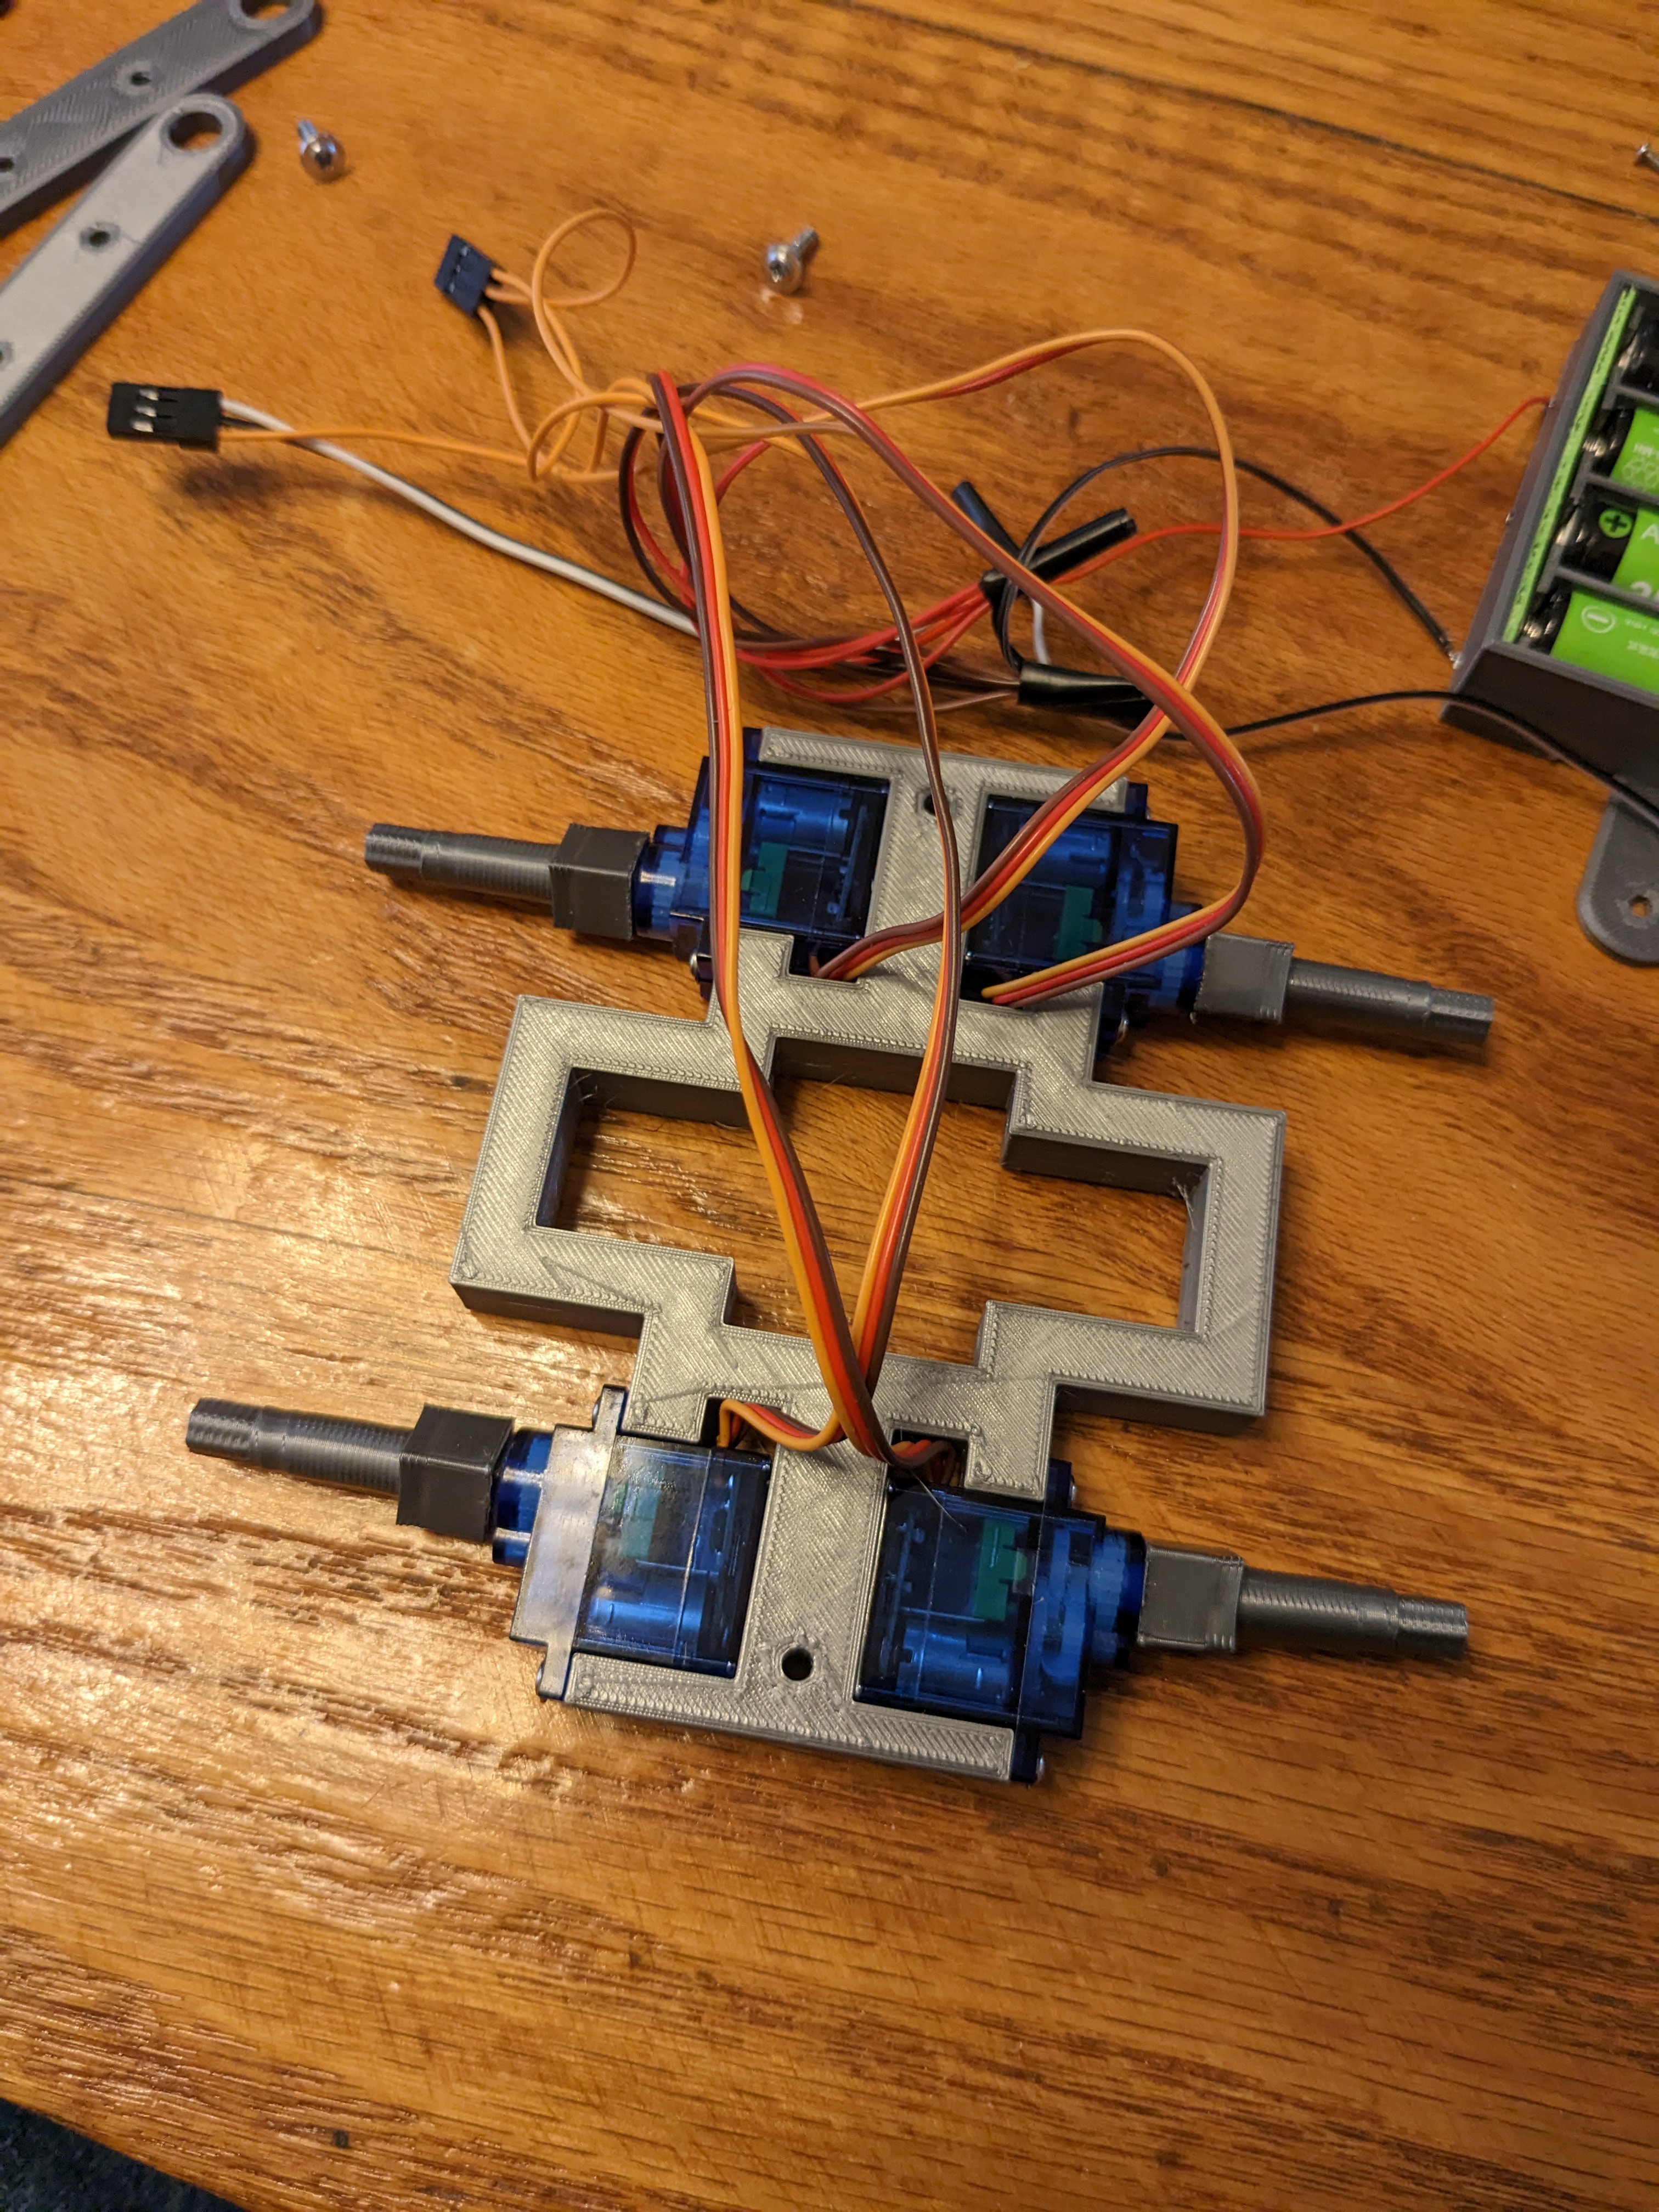
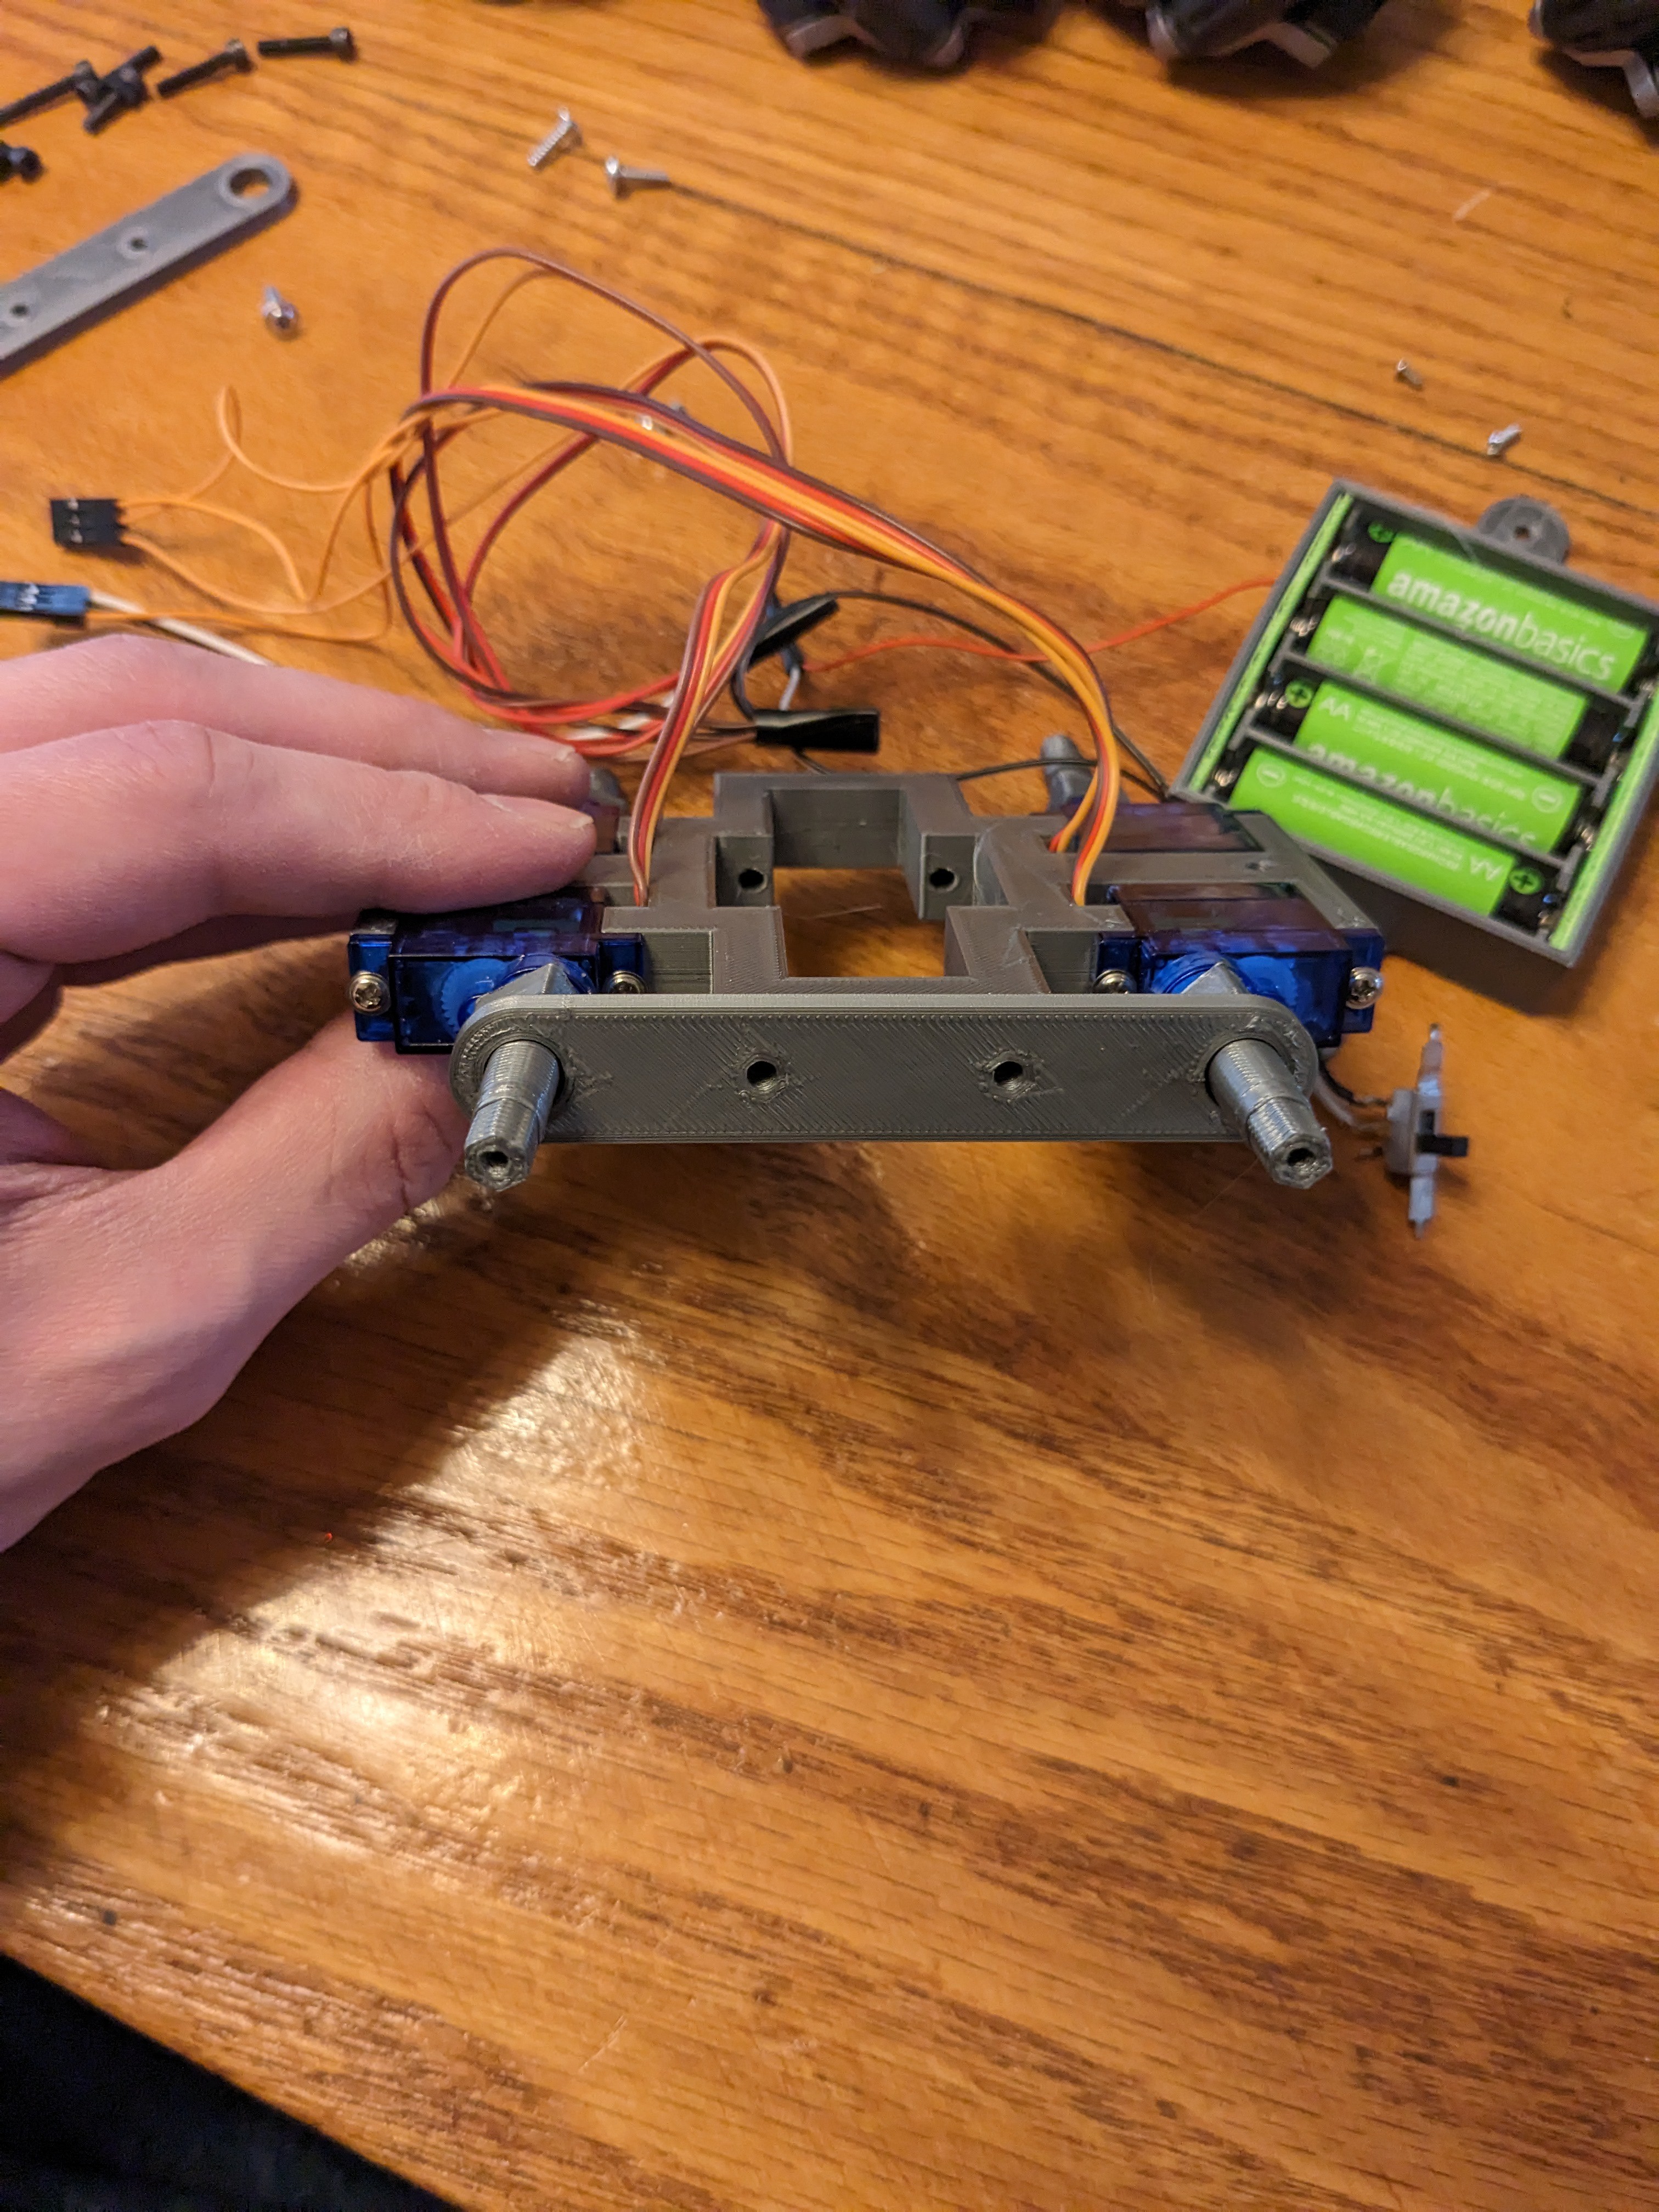
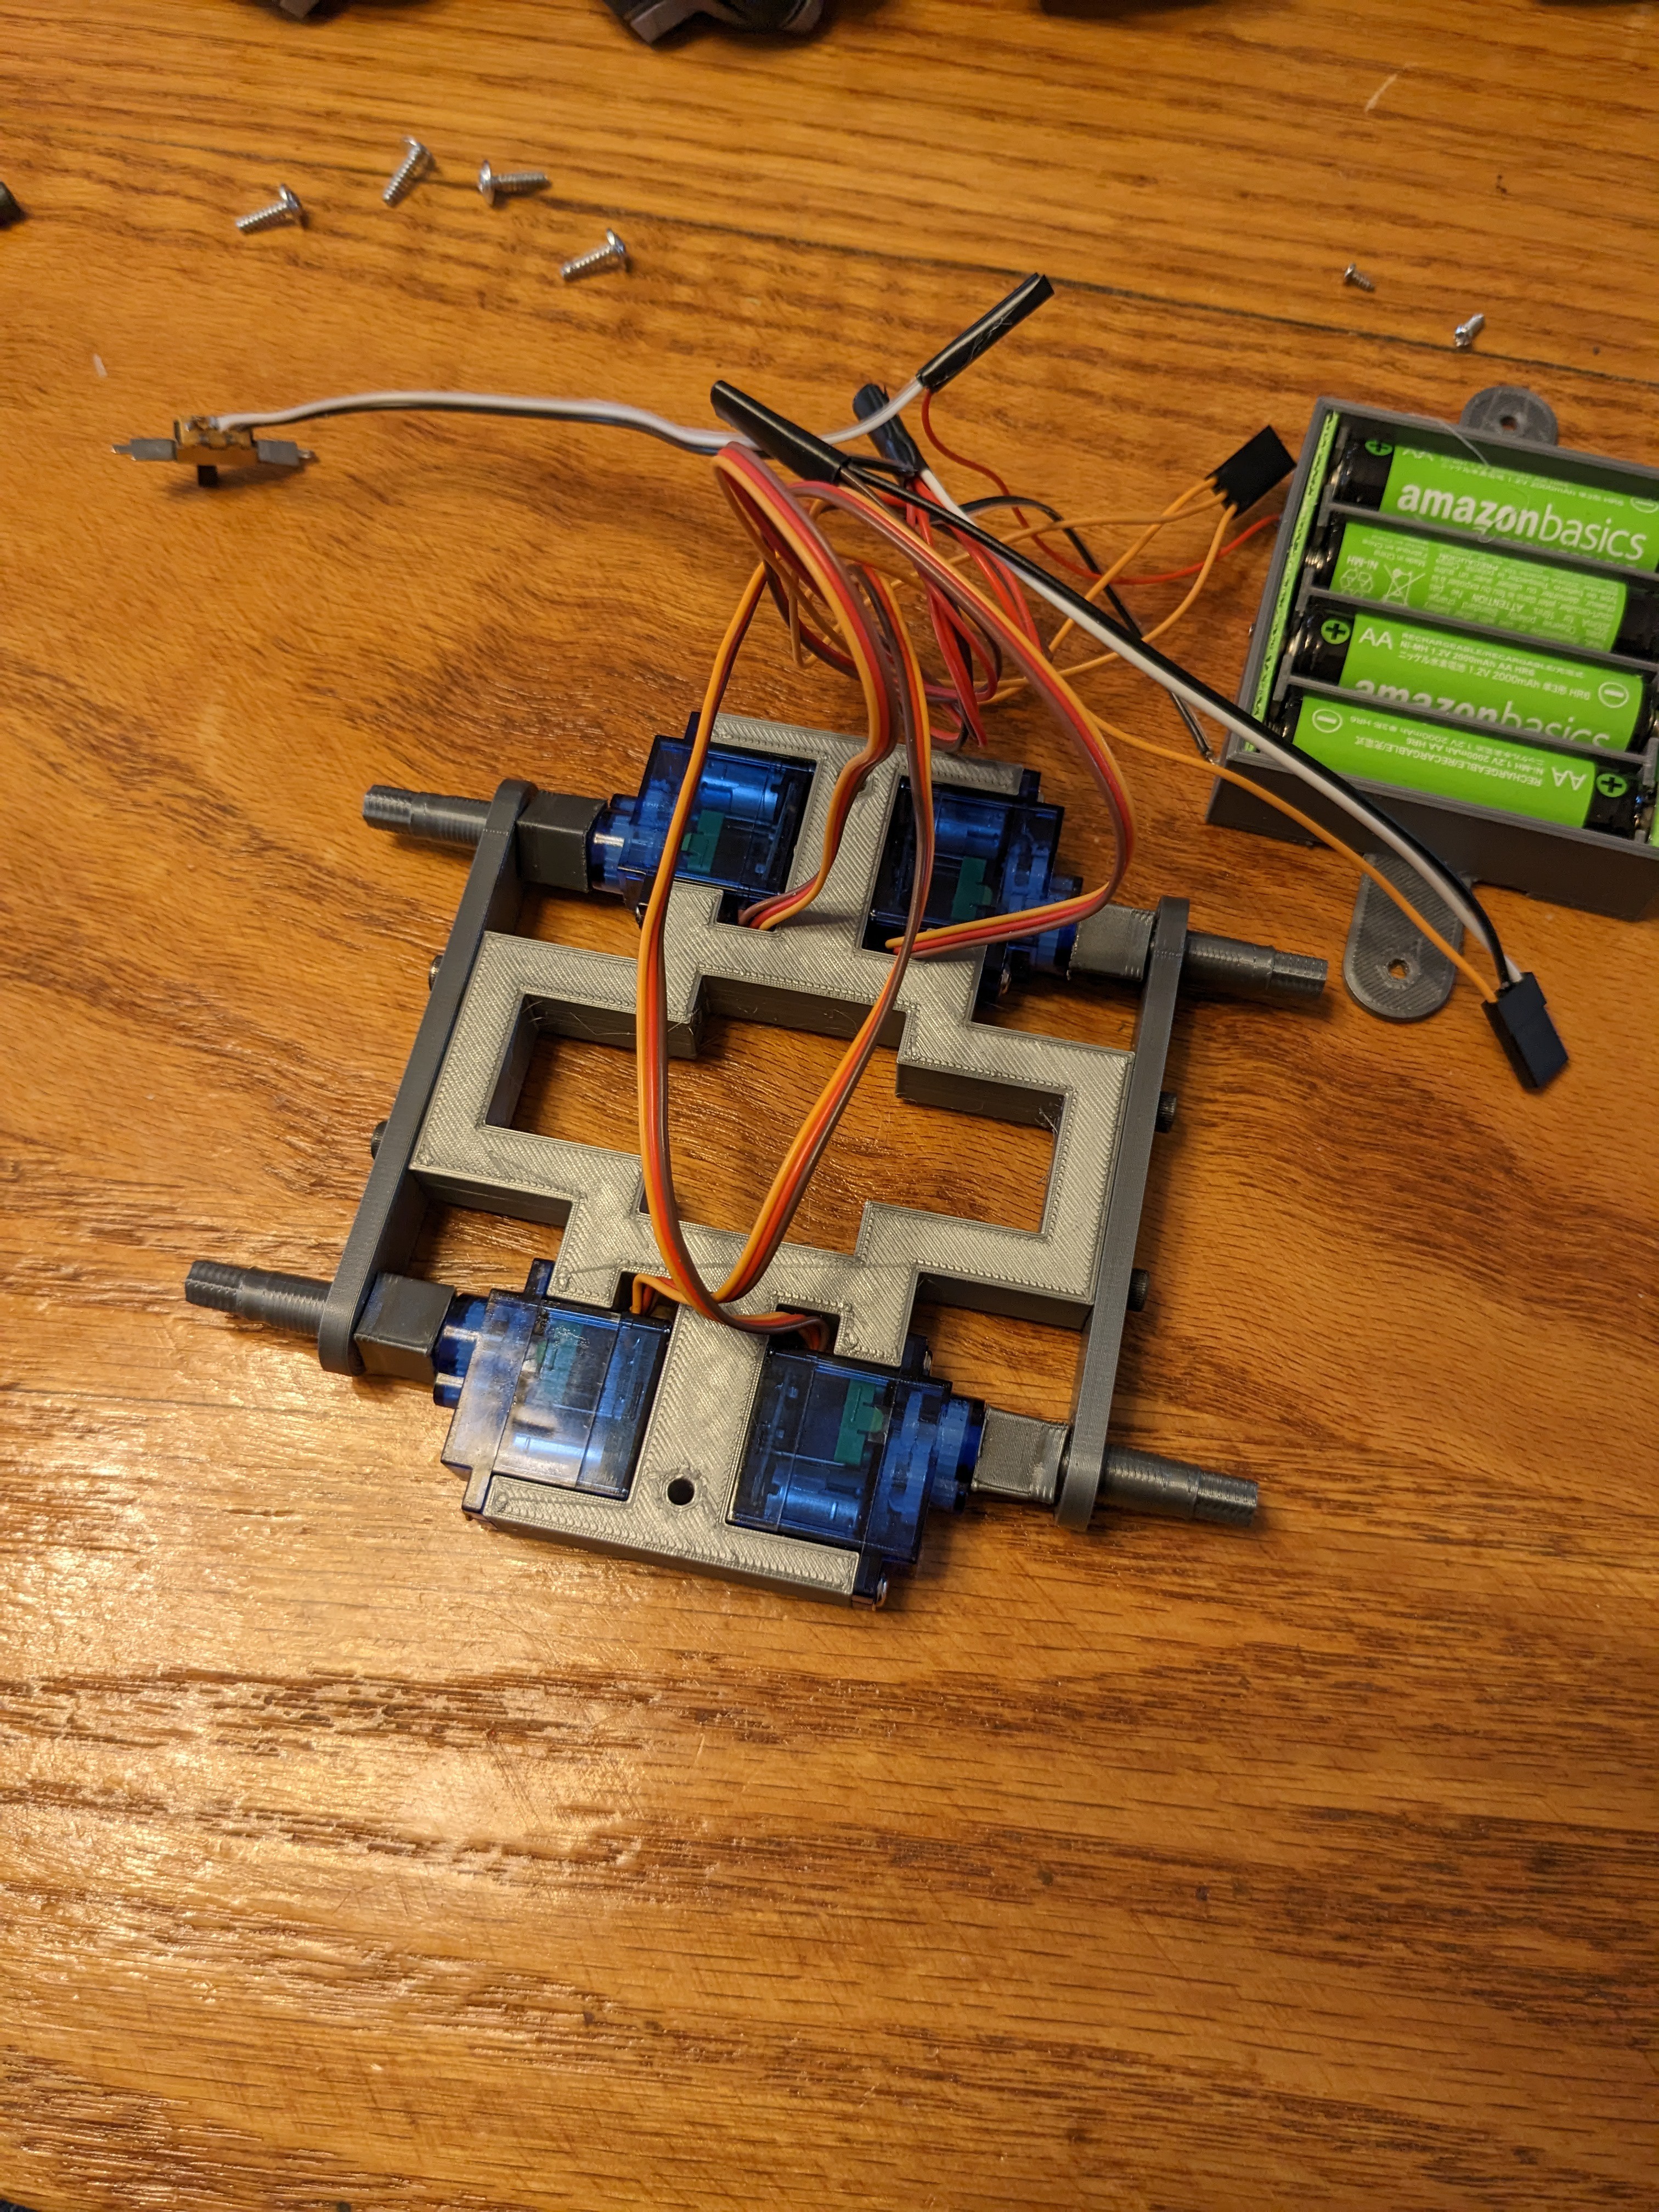
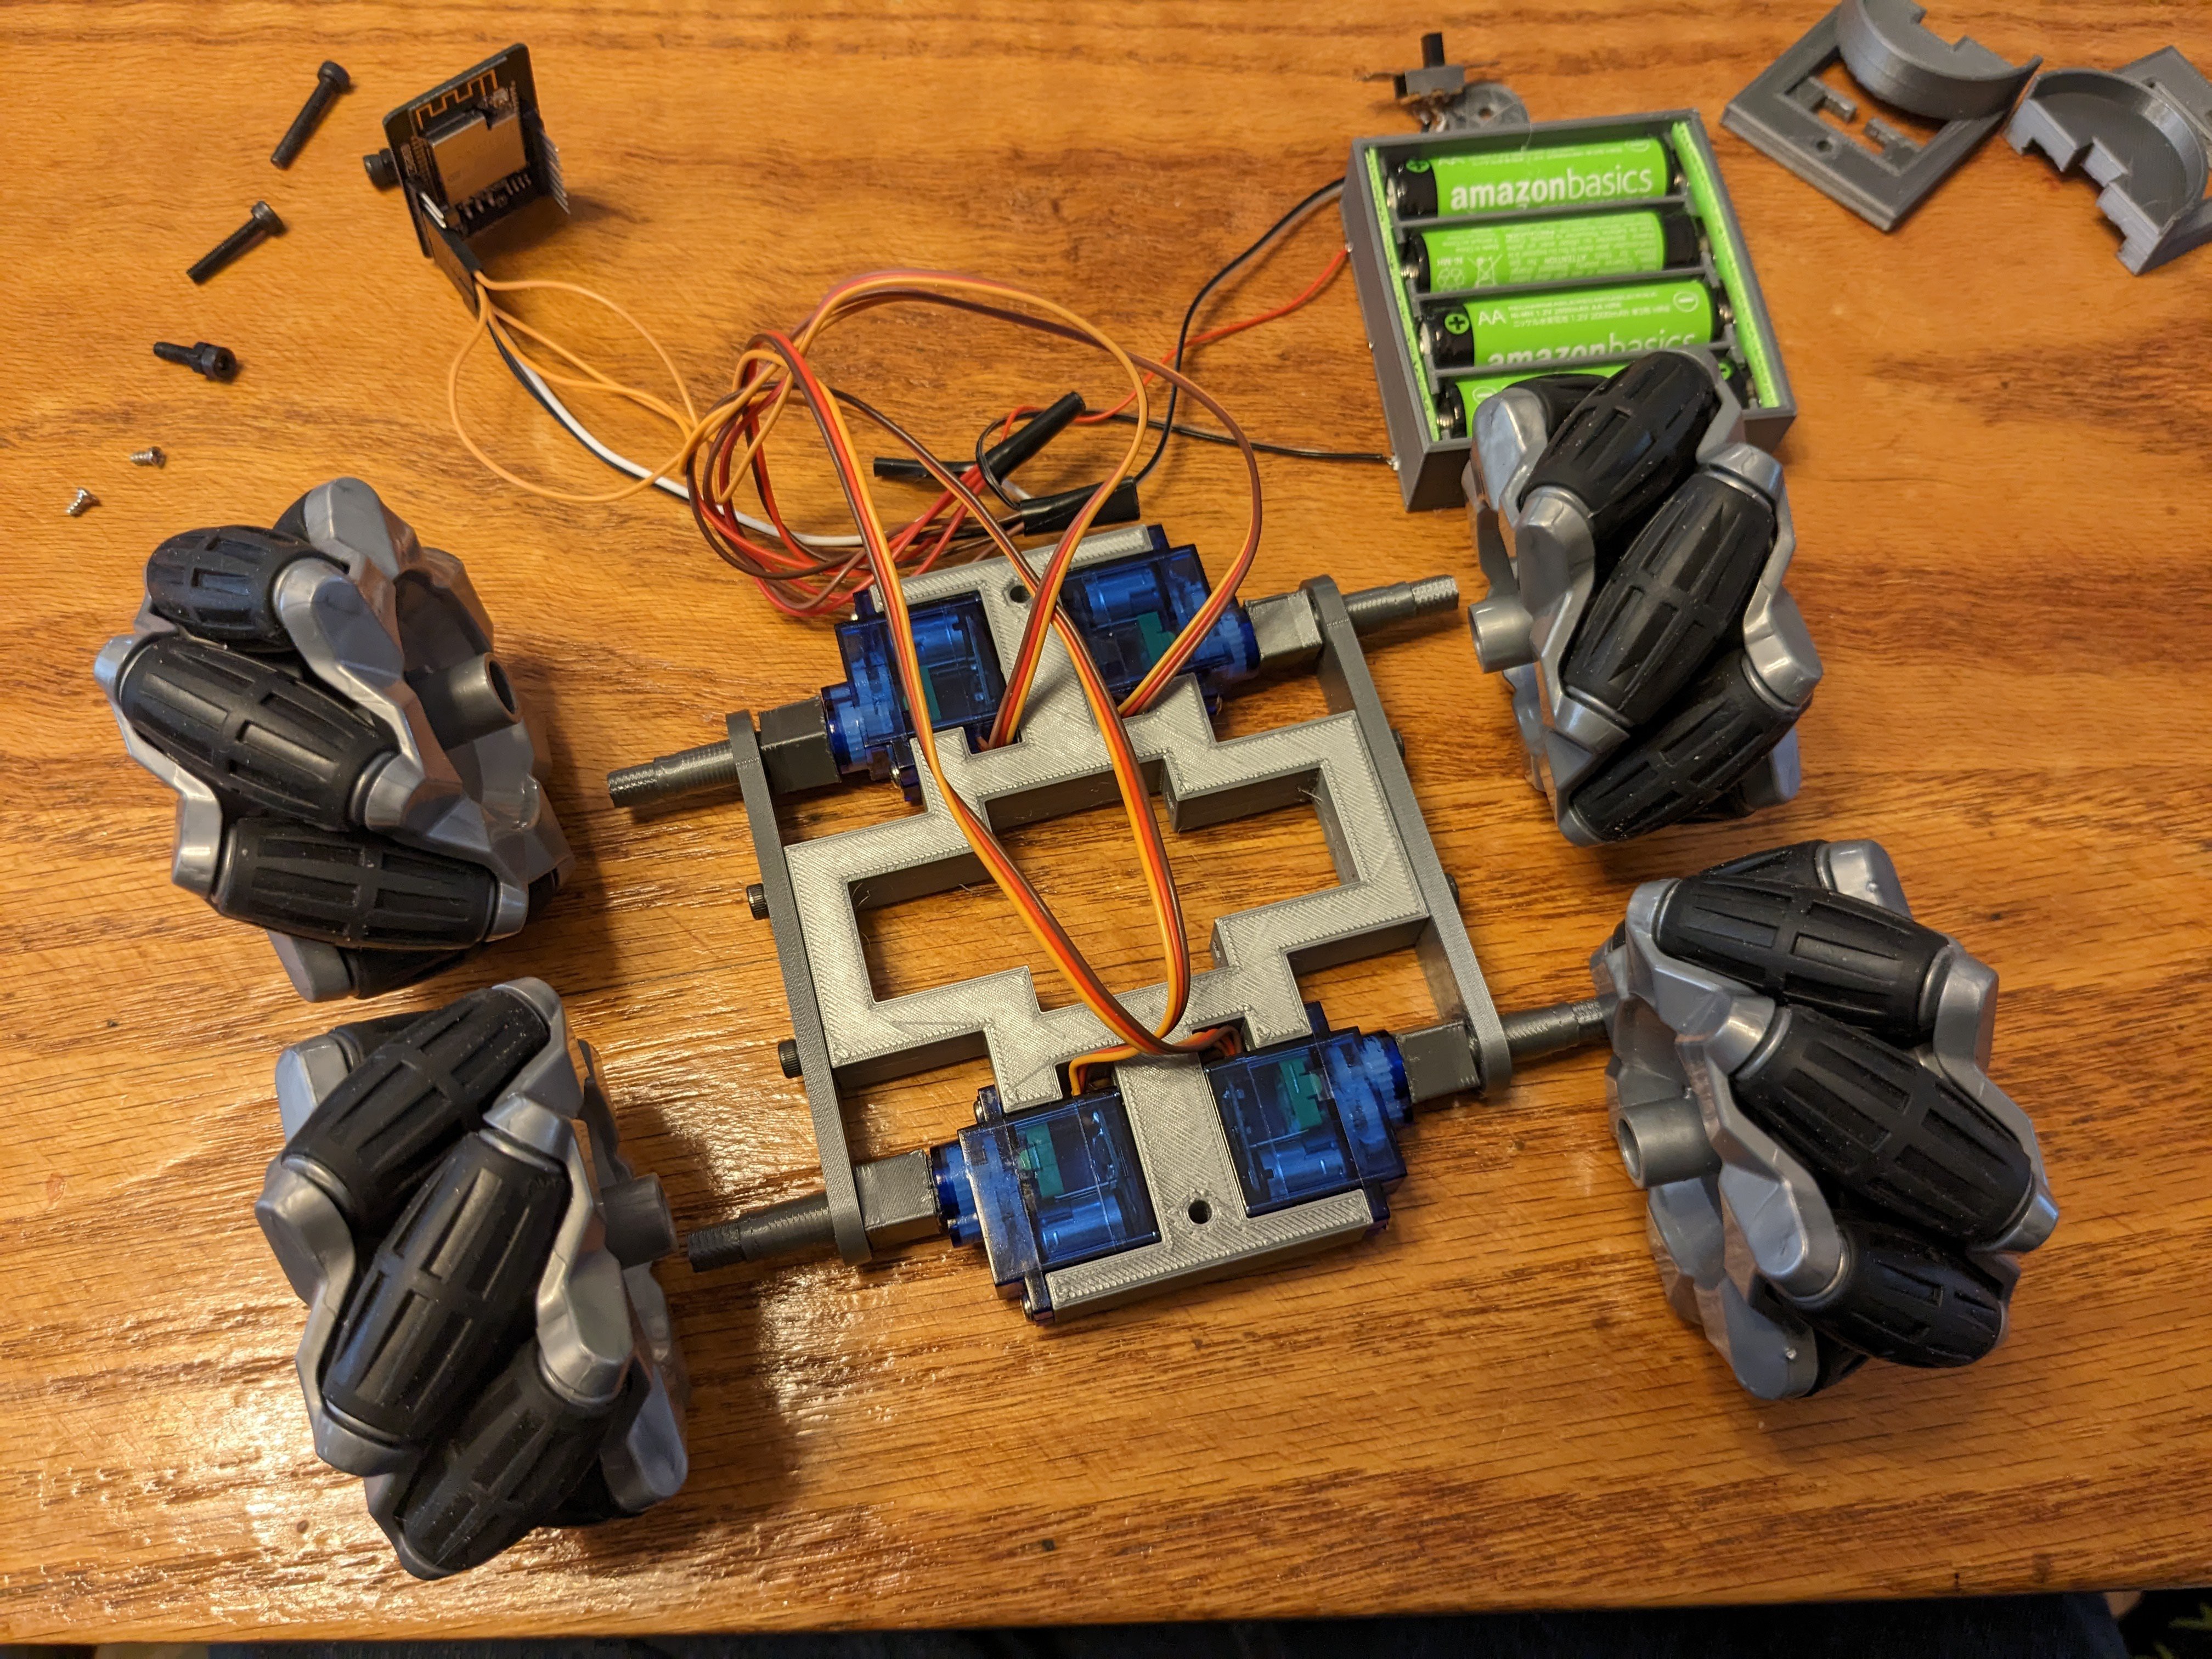
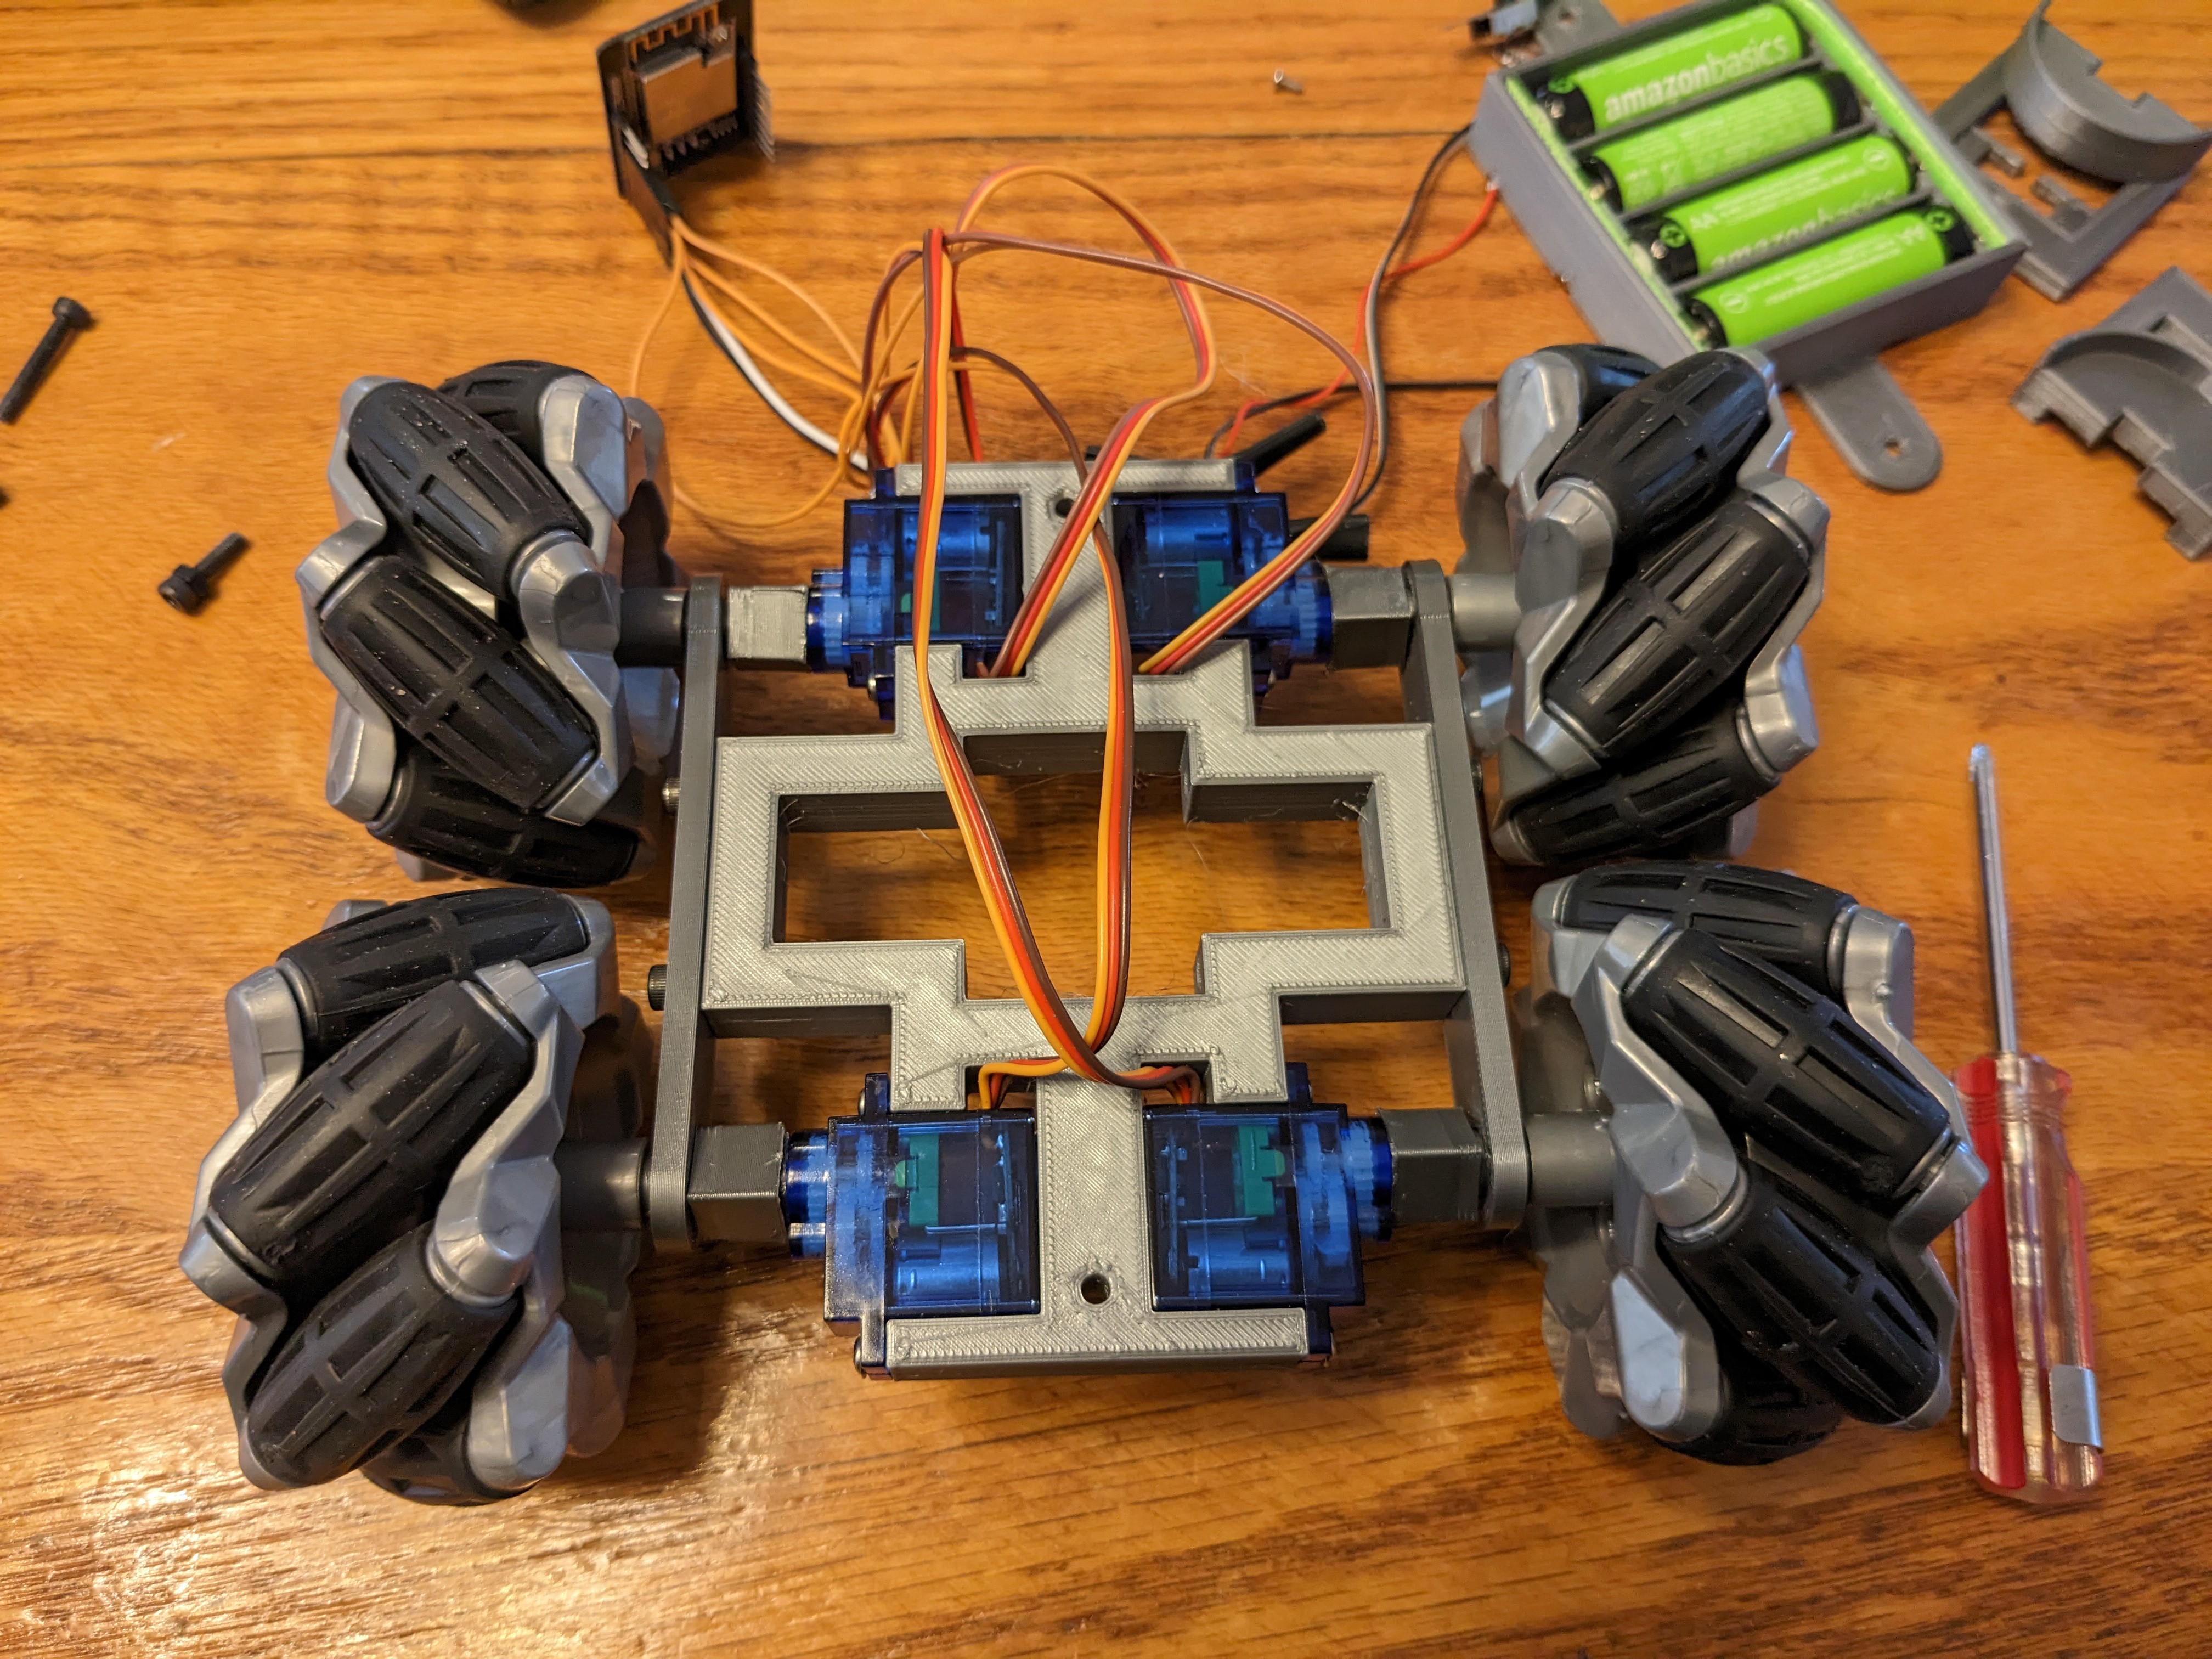
Anyway, the instructions are an afterthought. The assembly photos are of re-assembly so my kids can feel like they built it.
Here's some super crappy demo videos:
Version 1, VR mode in Cardboard, controlled with xbox controller.
Latest software version, running in Oculus Quest browser, controlled with Oculus touch controllers.

 W. Jason Altice
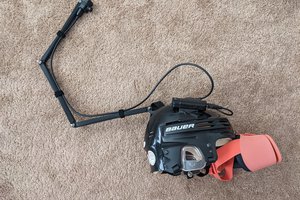
 TurkeyDev
 DackR
DackR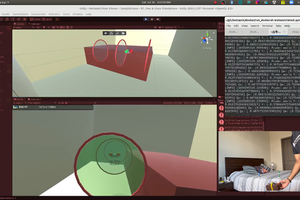
This is awesome!!! I'm curious, is the latency from the camera pretty noticeable when your driving it?
That panorama lens is cool, it's a bummer that it discontinued.