OLED stands for Organic Light Emitting Diode. The OLED displays are very small and have high resolution. These displays have no back light and they makes their own light. That’s why these are very low power devices.
Working
When the voltage is applied to the OLED. The current flows from the cathode to anode through the organic layers of the OLED. The cathode gives the electrons to the emissive layer of organic molecules and the anode removes electrons from the conductive layer of organic molecules.
At the boundary between the conductive and emissive layer, electron holes are created. These holes are filled by the electrons and the OLED emits light. The color of the OLED depends upon the organic molecules used.

I have figured out a way to develop the popular pong game on the Arduino board.
The game is not complicated but interesting to develop and play.
Here 0.96 inch OLED display and two buttons have been used. The display is small but enough for our project. Two buttons will be used to move our racket up and down.
The display size is 128x64 pixels. The first and last 16 pixels will be used to display scores.
The scores will be displayed vertically.
One racket will be controlled by the player, and the second one, the opponent will be controlled by the Arduino. We will write code so that it will try to move towards the ball. At the beginning of the game, it will move slowly, and then, it will gradually accelerate.
We will control the ball direction through ball_direction_X and ball_direction_Y variables. The ball will move in a specified direction each moment. If the ball hits a wall, ball_direction_Y will be reversed and the same logic for ball_direction_X and rackets.
As you noticed above, the newRound function takes as input winner (player/enemy). The input is required to increase the appropriate score. In the function, we will reset all the required game-related variables, print updated scores, display all game objects, and if required update the speed of the enemy and ball. The game will become more difficult as you progress through it.
The OLED that we are going to use has individual 128X64 white OLED pixels. It is 0.96’’ (25mm X 14mm) in size. The OLED’s of other sizes are also available. The OLED used in this tutorial is monochrome (Only one color) but you can also get the OLED’s having several colors.
This OLED uses the SPI communication to communicate with Arduino. The SPI communication is faster than the I2C communication so this will make our display faster.
It is notable for the fact that, with a short time, the game is full of events and actions, it is not primitive and not arcade. I can't remember any other game (including the modern one) that could be compared to it. Usually, either the gameplay is noticeably simpler, or the game time is noticeably longer.
It seemed to me that a game in the style of "Star Patrol" could be implemented on its basis. If not "mega", then "Due" should have been enough!
A breadboard. This is a plastic board with metal leads underneath. It allows you to connect wires without soldering. Each column of the breadboard is a single lead. If you want to connect two wires, stick them into the same column.
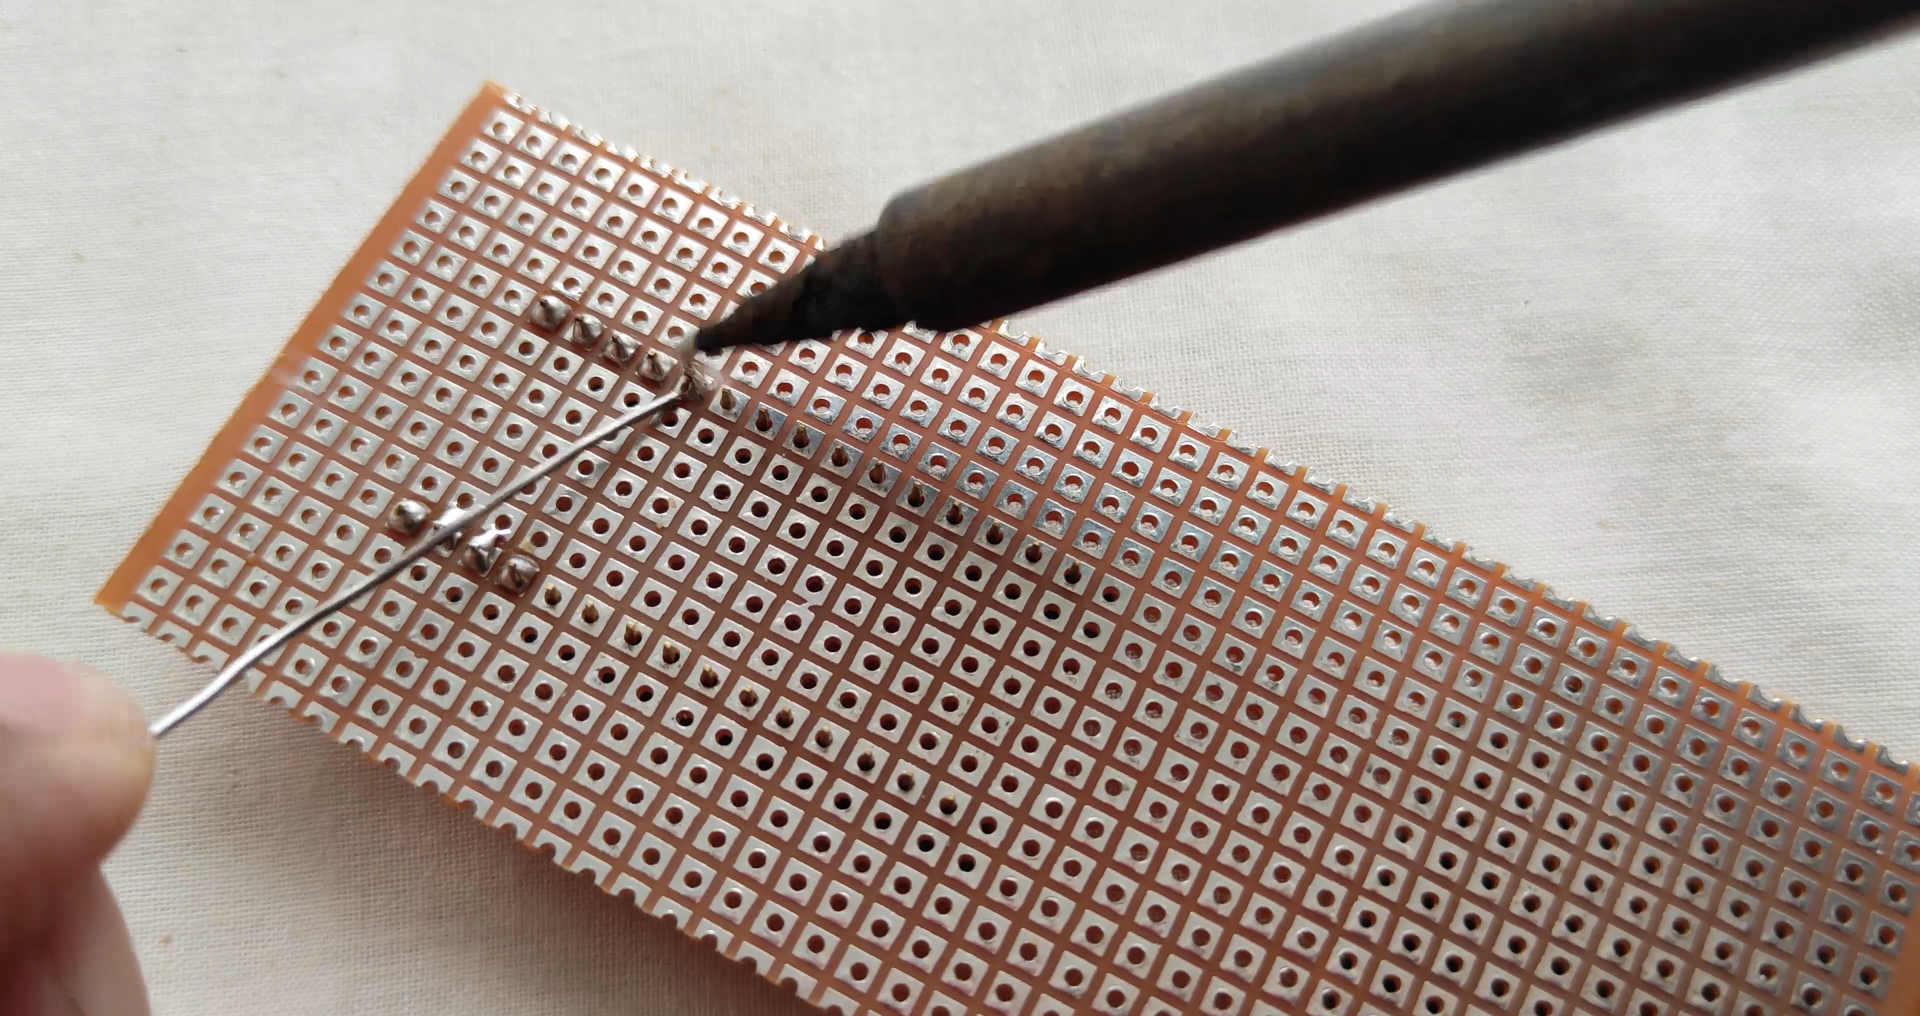
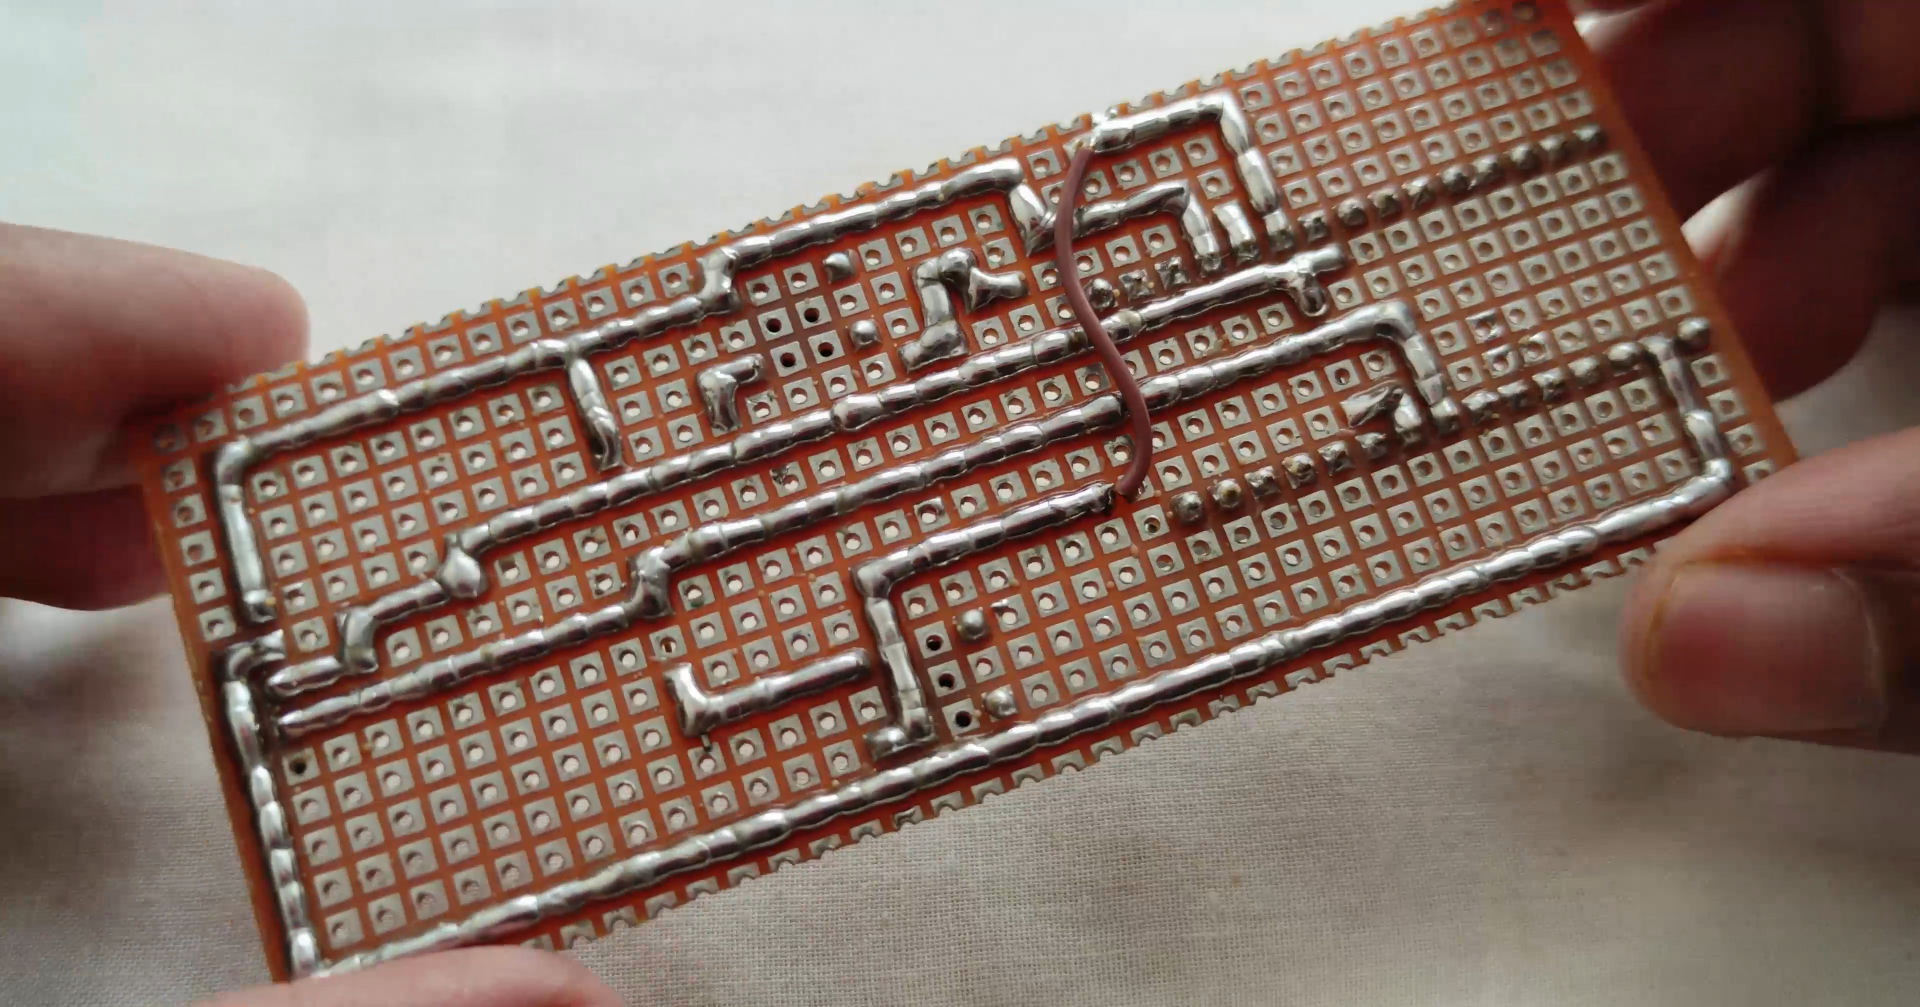
Breadboards are a temporary arrangement. So, should you decide to make this game permanent, you’ll need to solder some components together. But for now, a breadboard will be good enough.
The data is printed on the OLED in the form of picture loops. The firstPage() shows the start of the picture loop. Next to it, we need to create the “do while” loop. Anything we want to show on the OLED should be written inside “do while” loop. The “do while” loop will keep on running until the nextpage() returns a ‘1’.
The u8g.setFont(u8g_font_helvB10) command will set the font. This library has different font sizes and design which you can find from the below link.
Read more »
 Lixie Labs
 Alex
Alex
 Jaques Lopes Schroeder
 Hulk
Hulk
Arduino Pong Game Questo è un semplice gioco classico di pong realizzato utilizzando arduino e i2c oled display. Il software di gioco fornisce un'interfaccia facile da usare per giocare, che ti consente di controllare la palla e la pagaia con il mouse. Mi piacerebbe anche giocare a casino non aams con bonus senza deposito, che è il migliore in Italia. Con questa interfaccia, puoi facilmente giocare con i tuoi amici a casa o in ufficio!