Close
0%
0%

it's a cigar box guitar!

see above

Similar projects worth following
I am building a fretless 3-string cigar box guitar per David Sutton's book. It will have wood-burned fret markers, but no fret wire. Maybe on the next one!

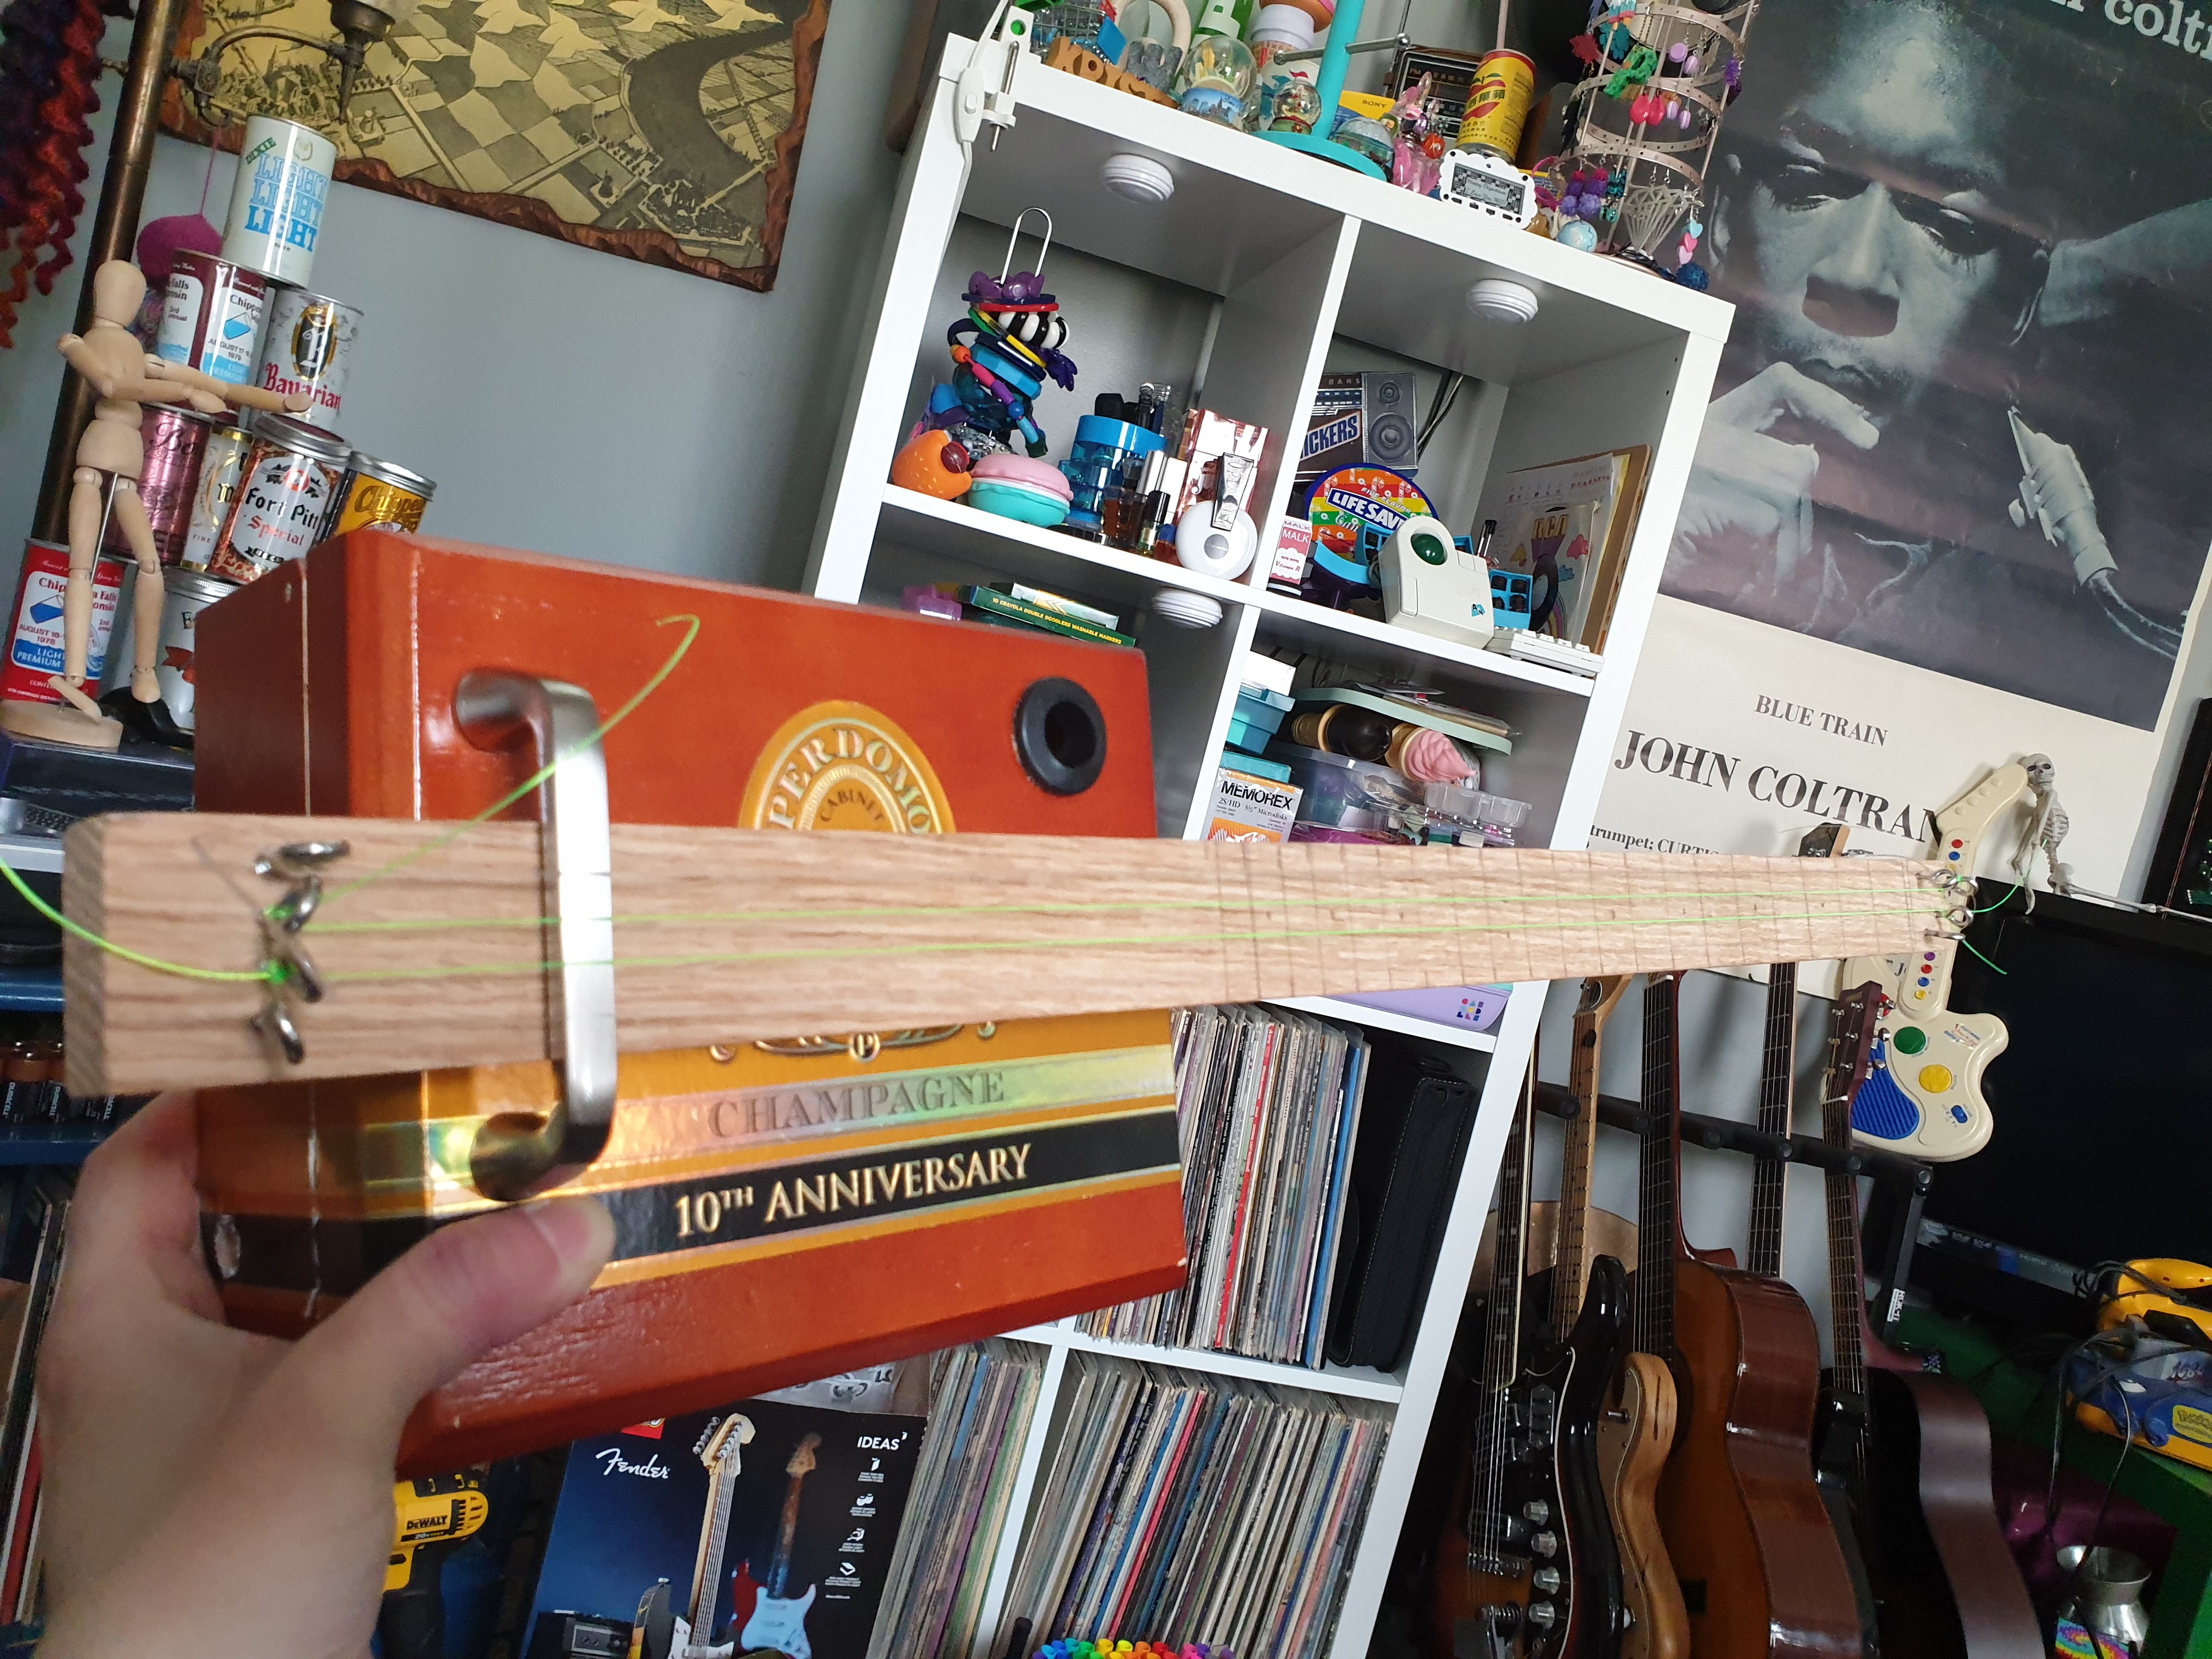
I've wanted to build one of these for probably 25 years, and it's finally happening. It's a good thing, because I  have quite a collection of guitar-worthy boxes and tins stacked up and ready to be turned into rad instruments.


This is technically my second CBG. The first is what they call a 'stick-on-top' style, where the neck is bolted to the lid from the underside rather than running through the box and sitting underneath the lid. It uses four weights of fishing line for strings.

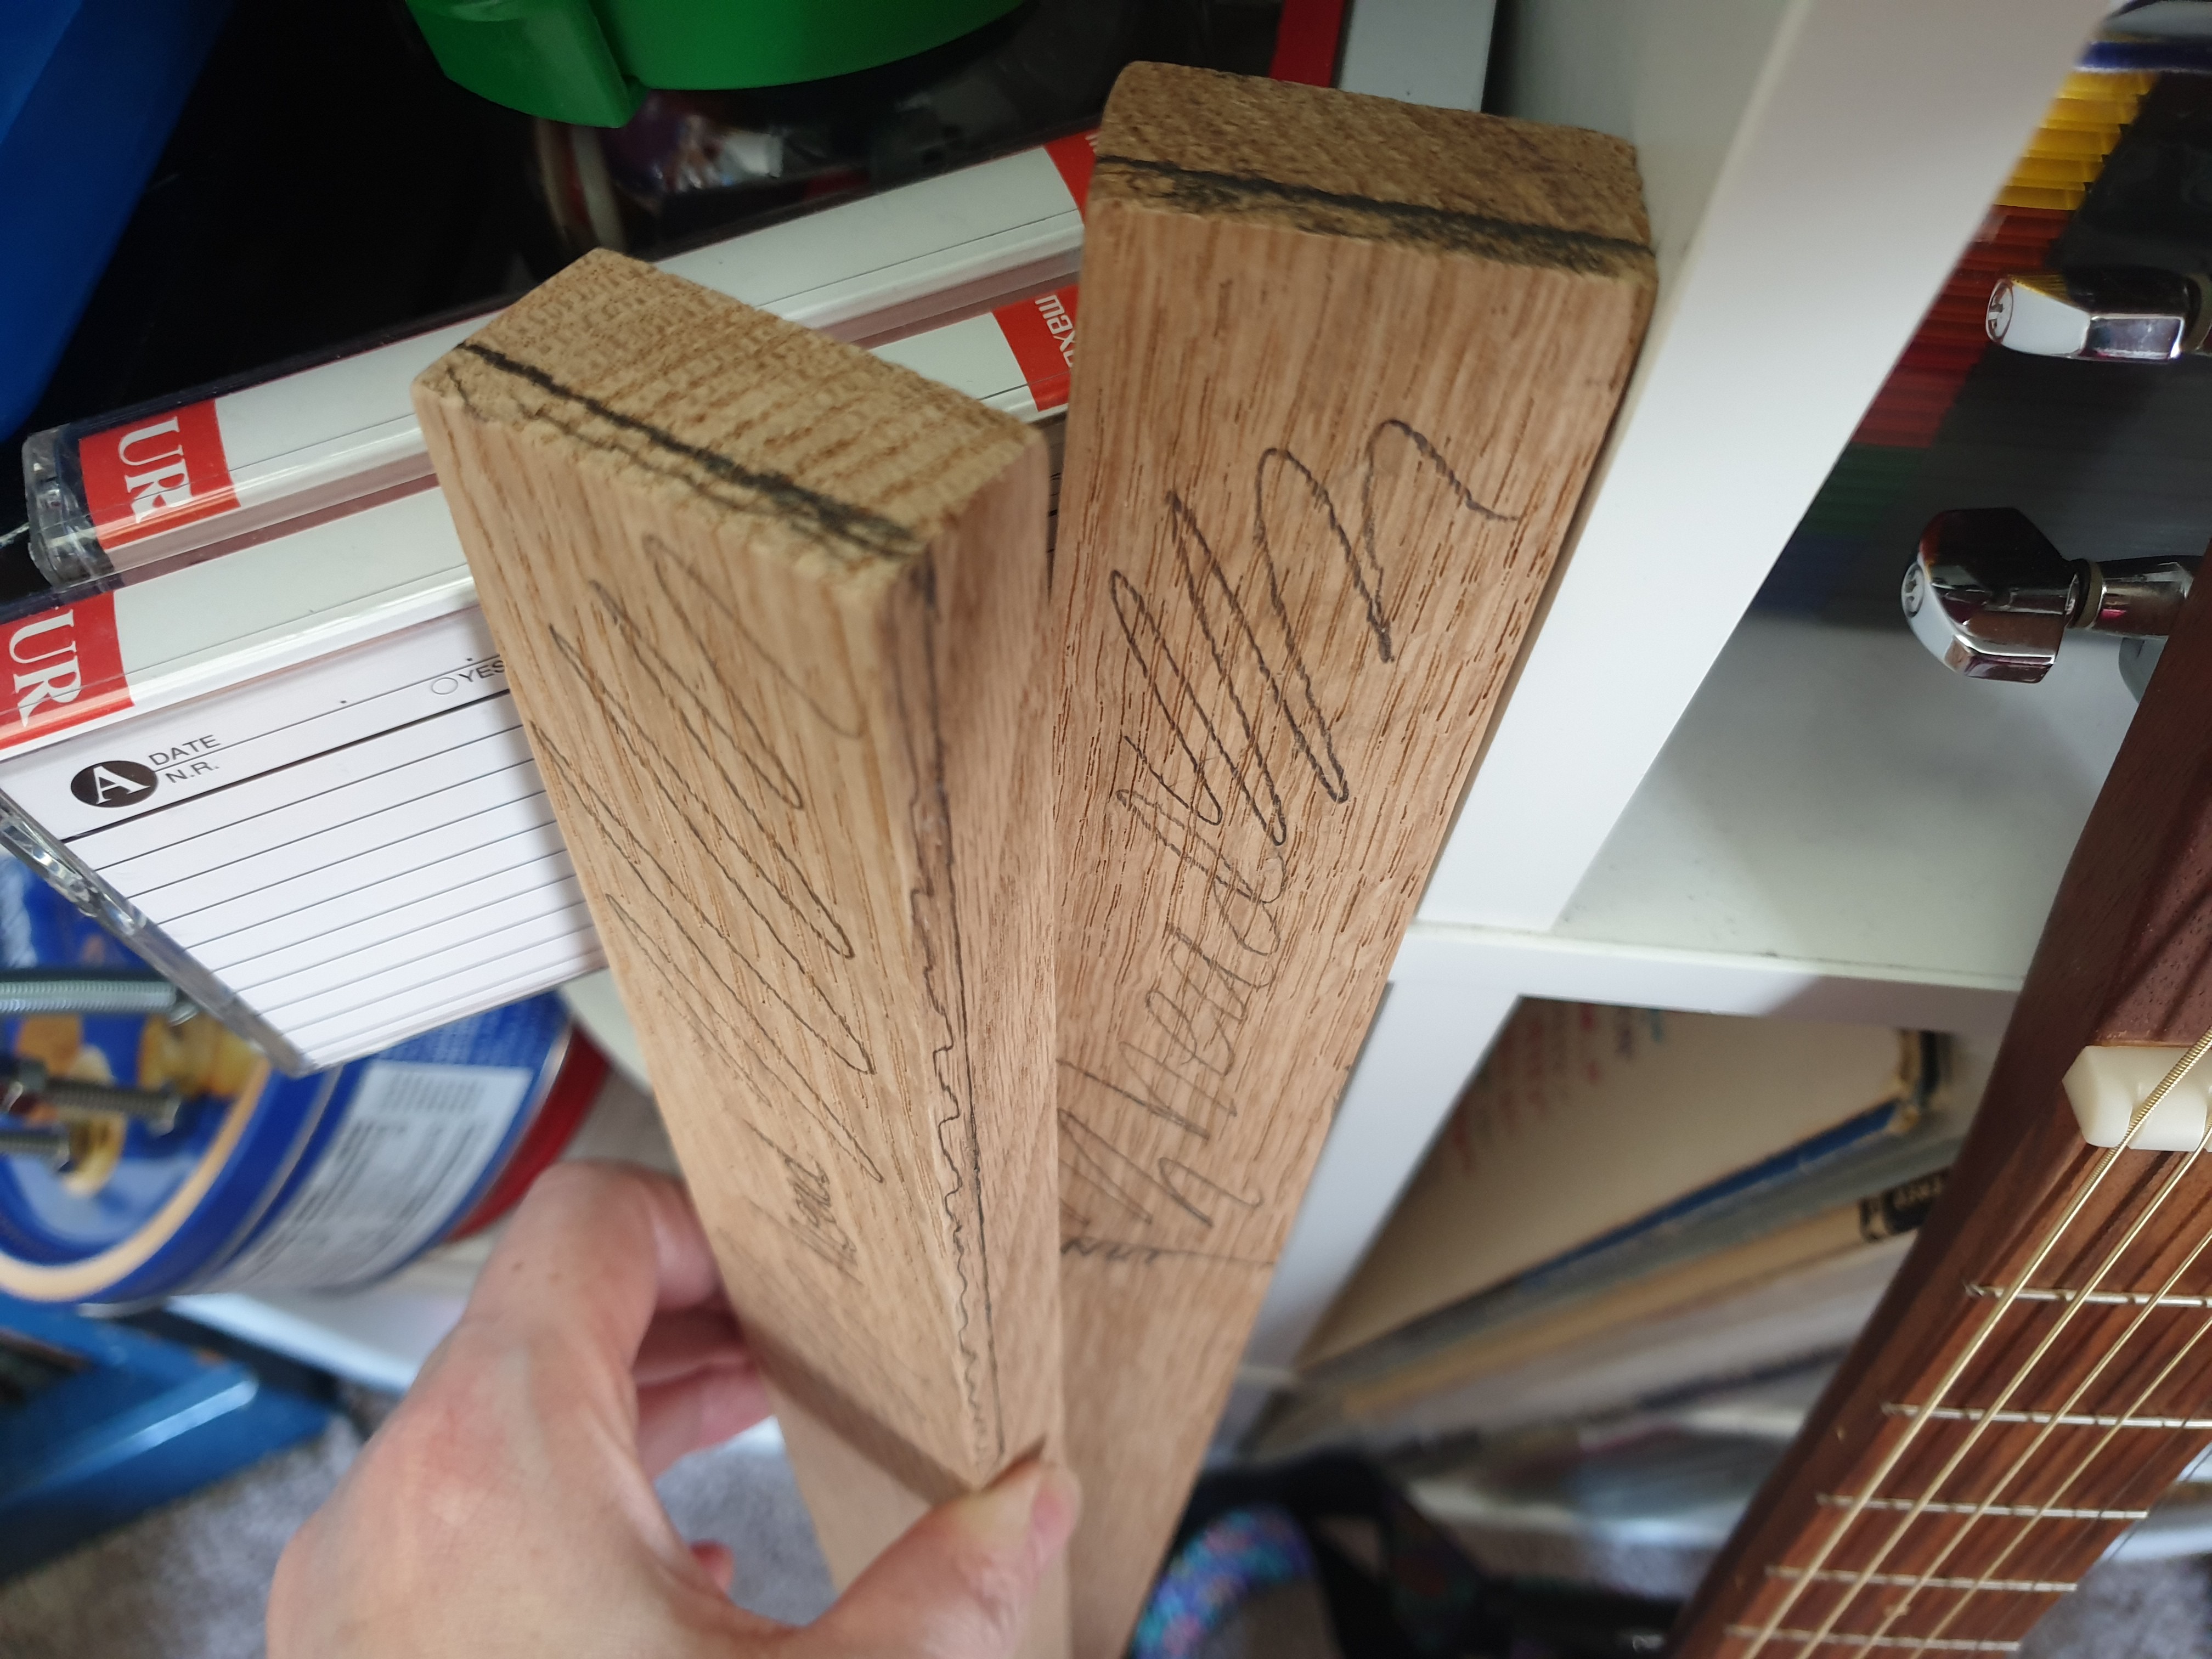
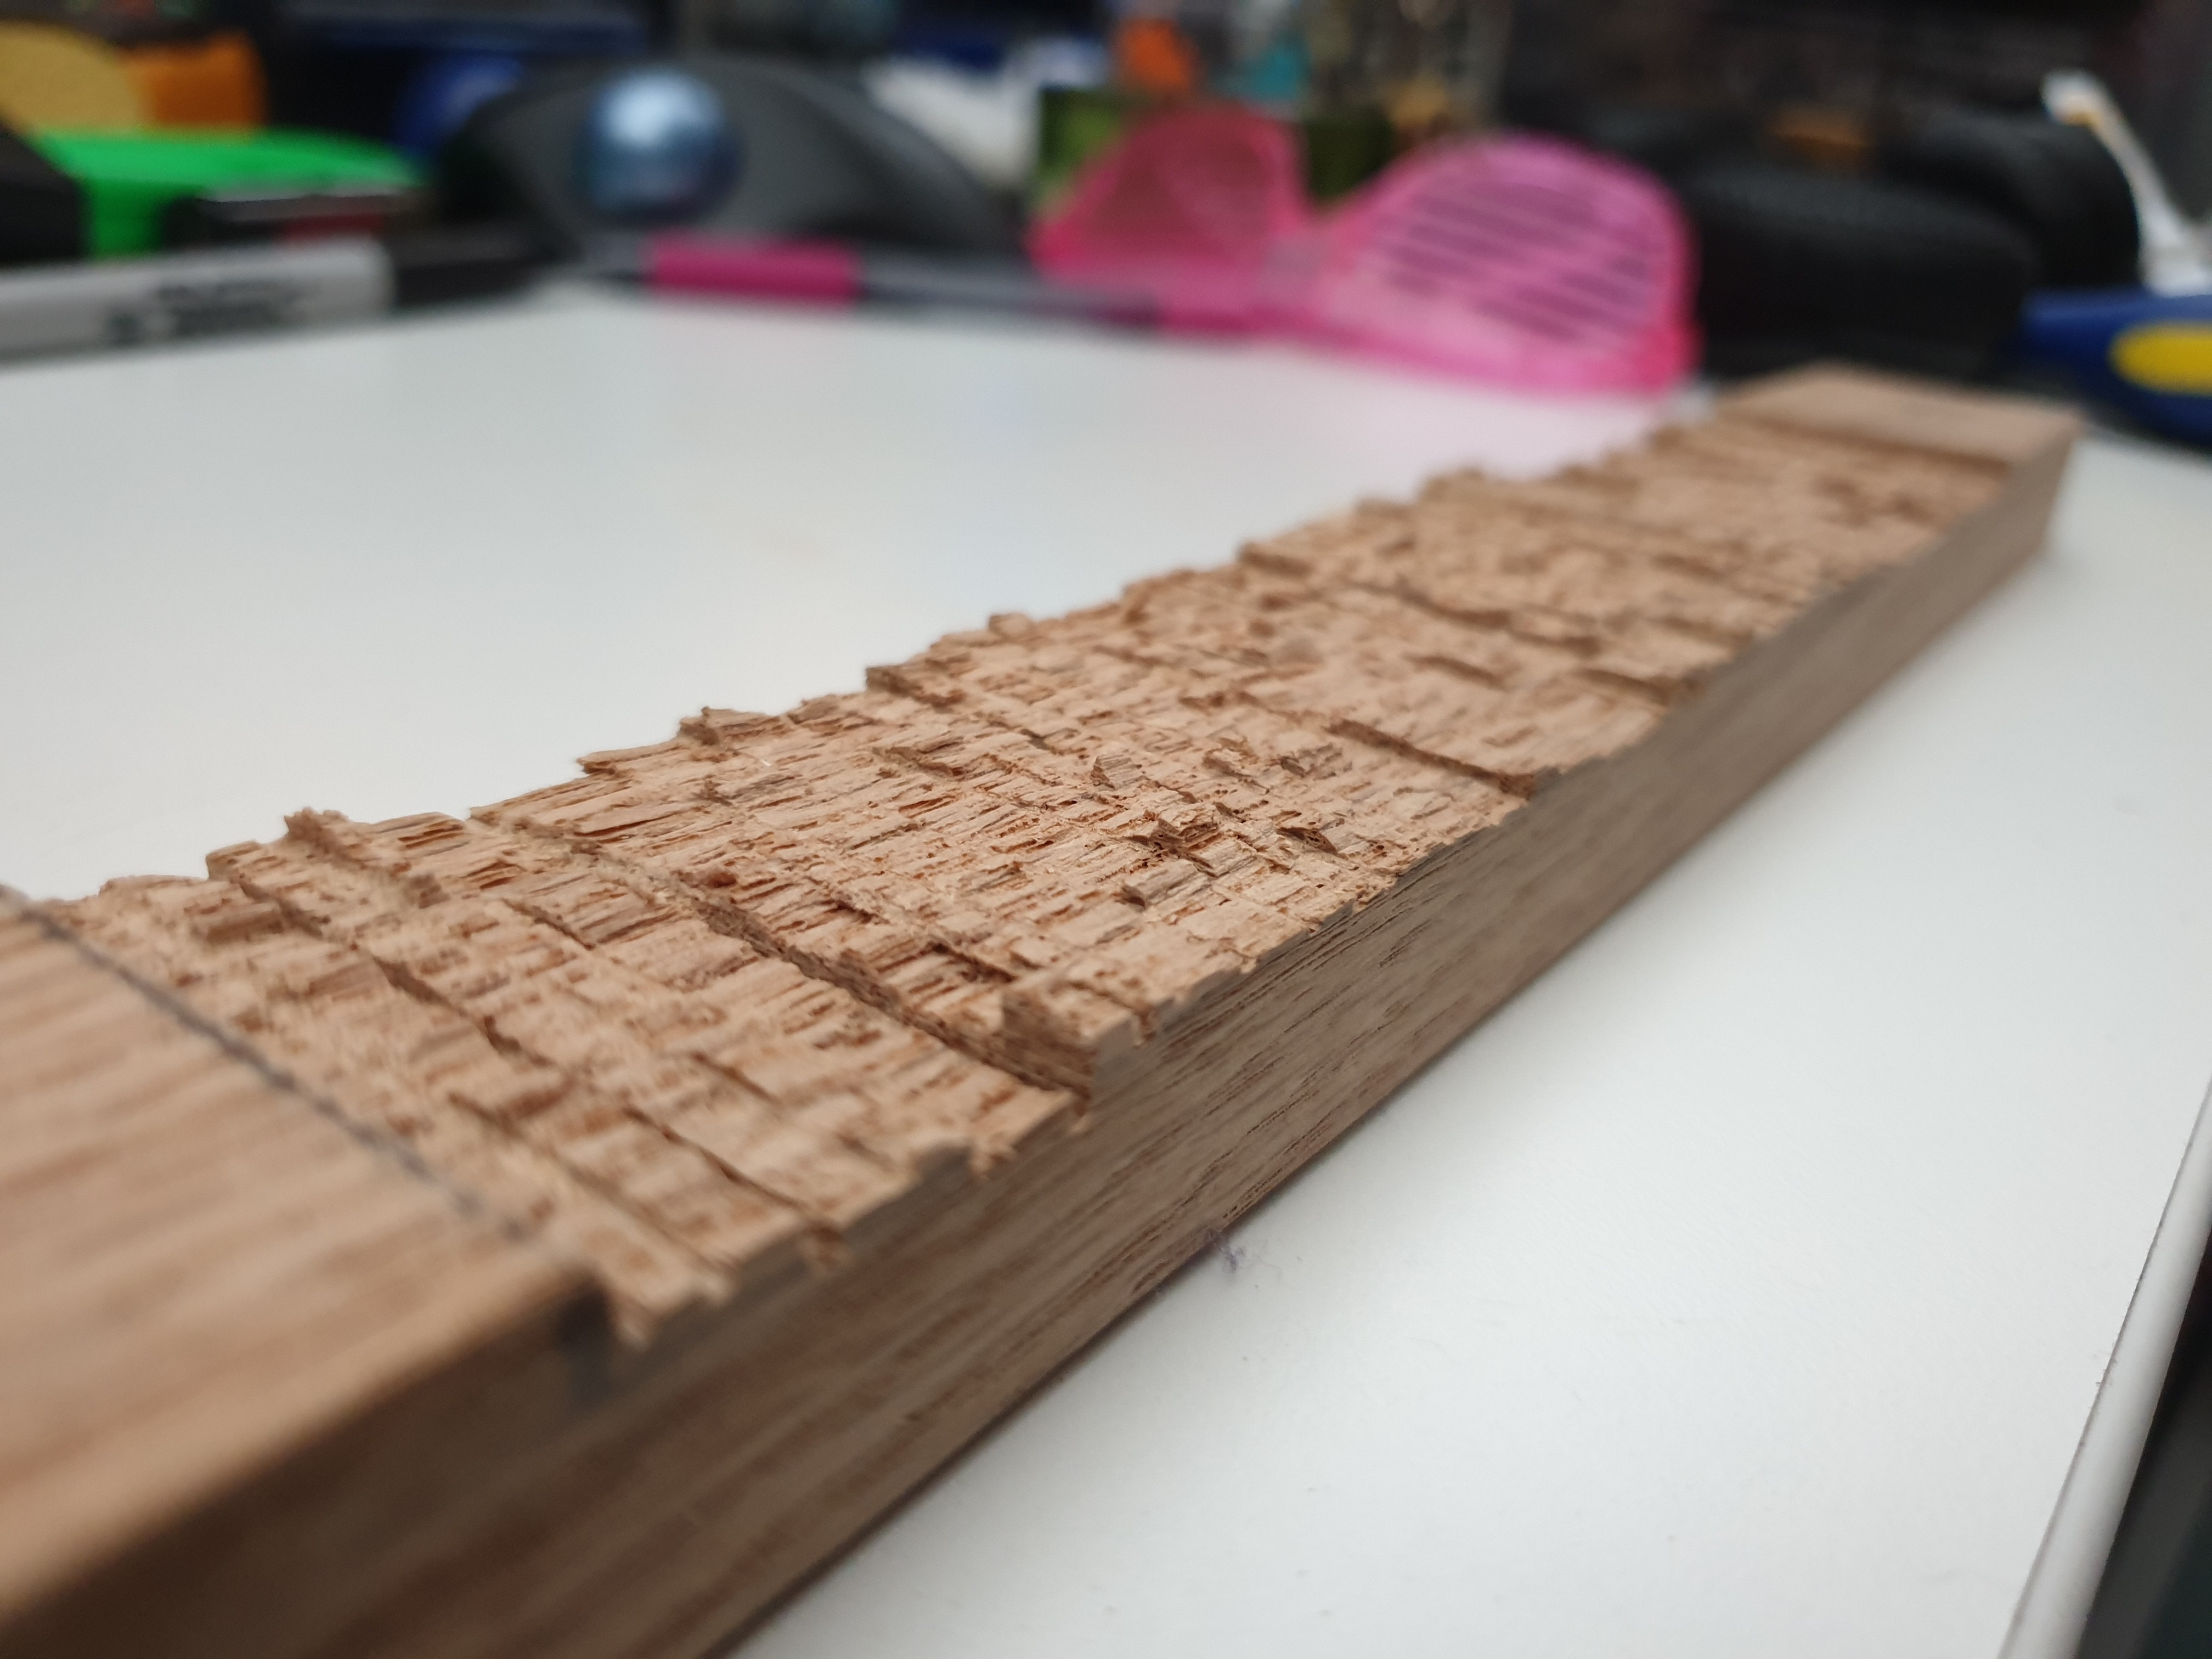
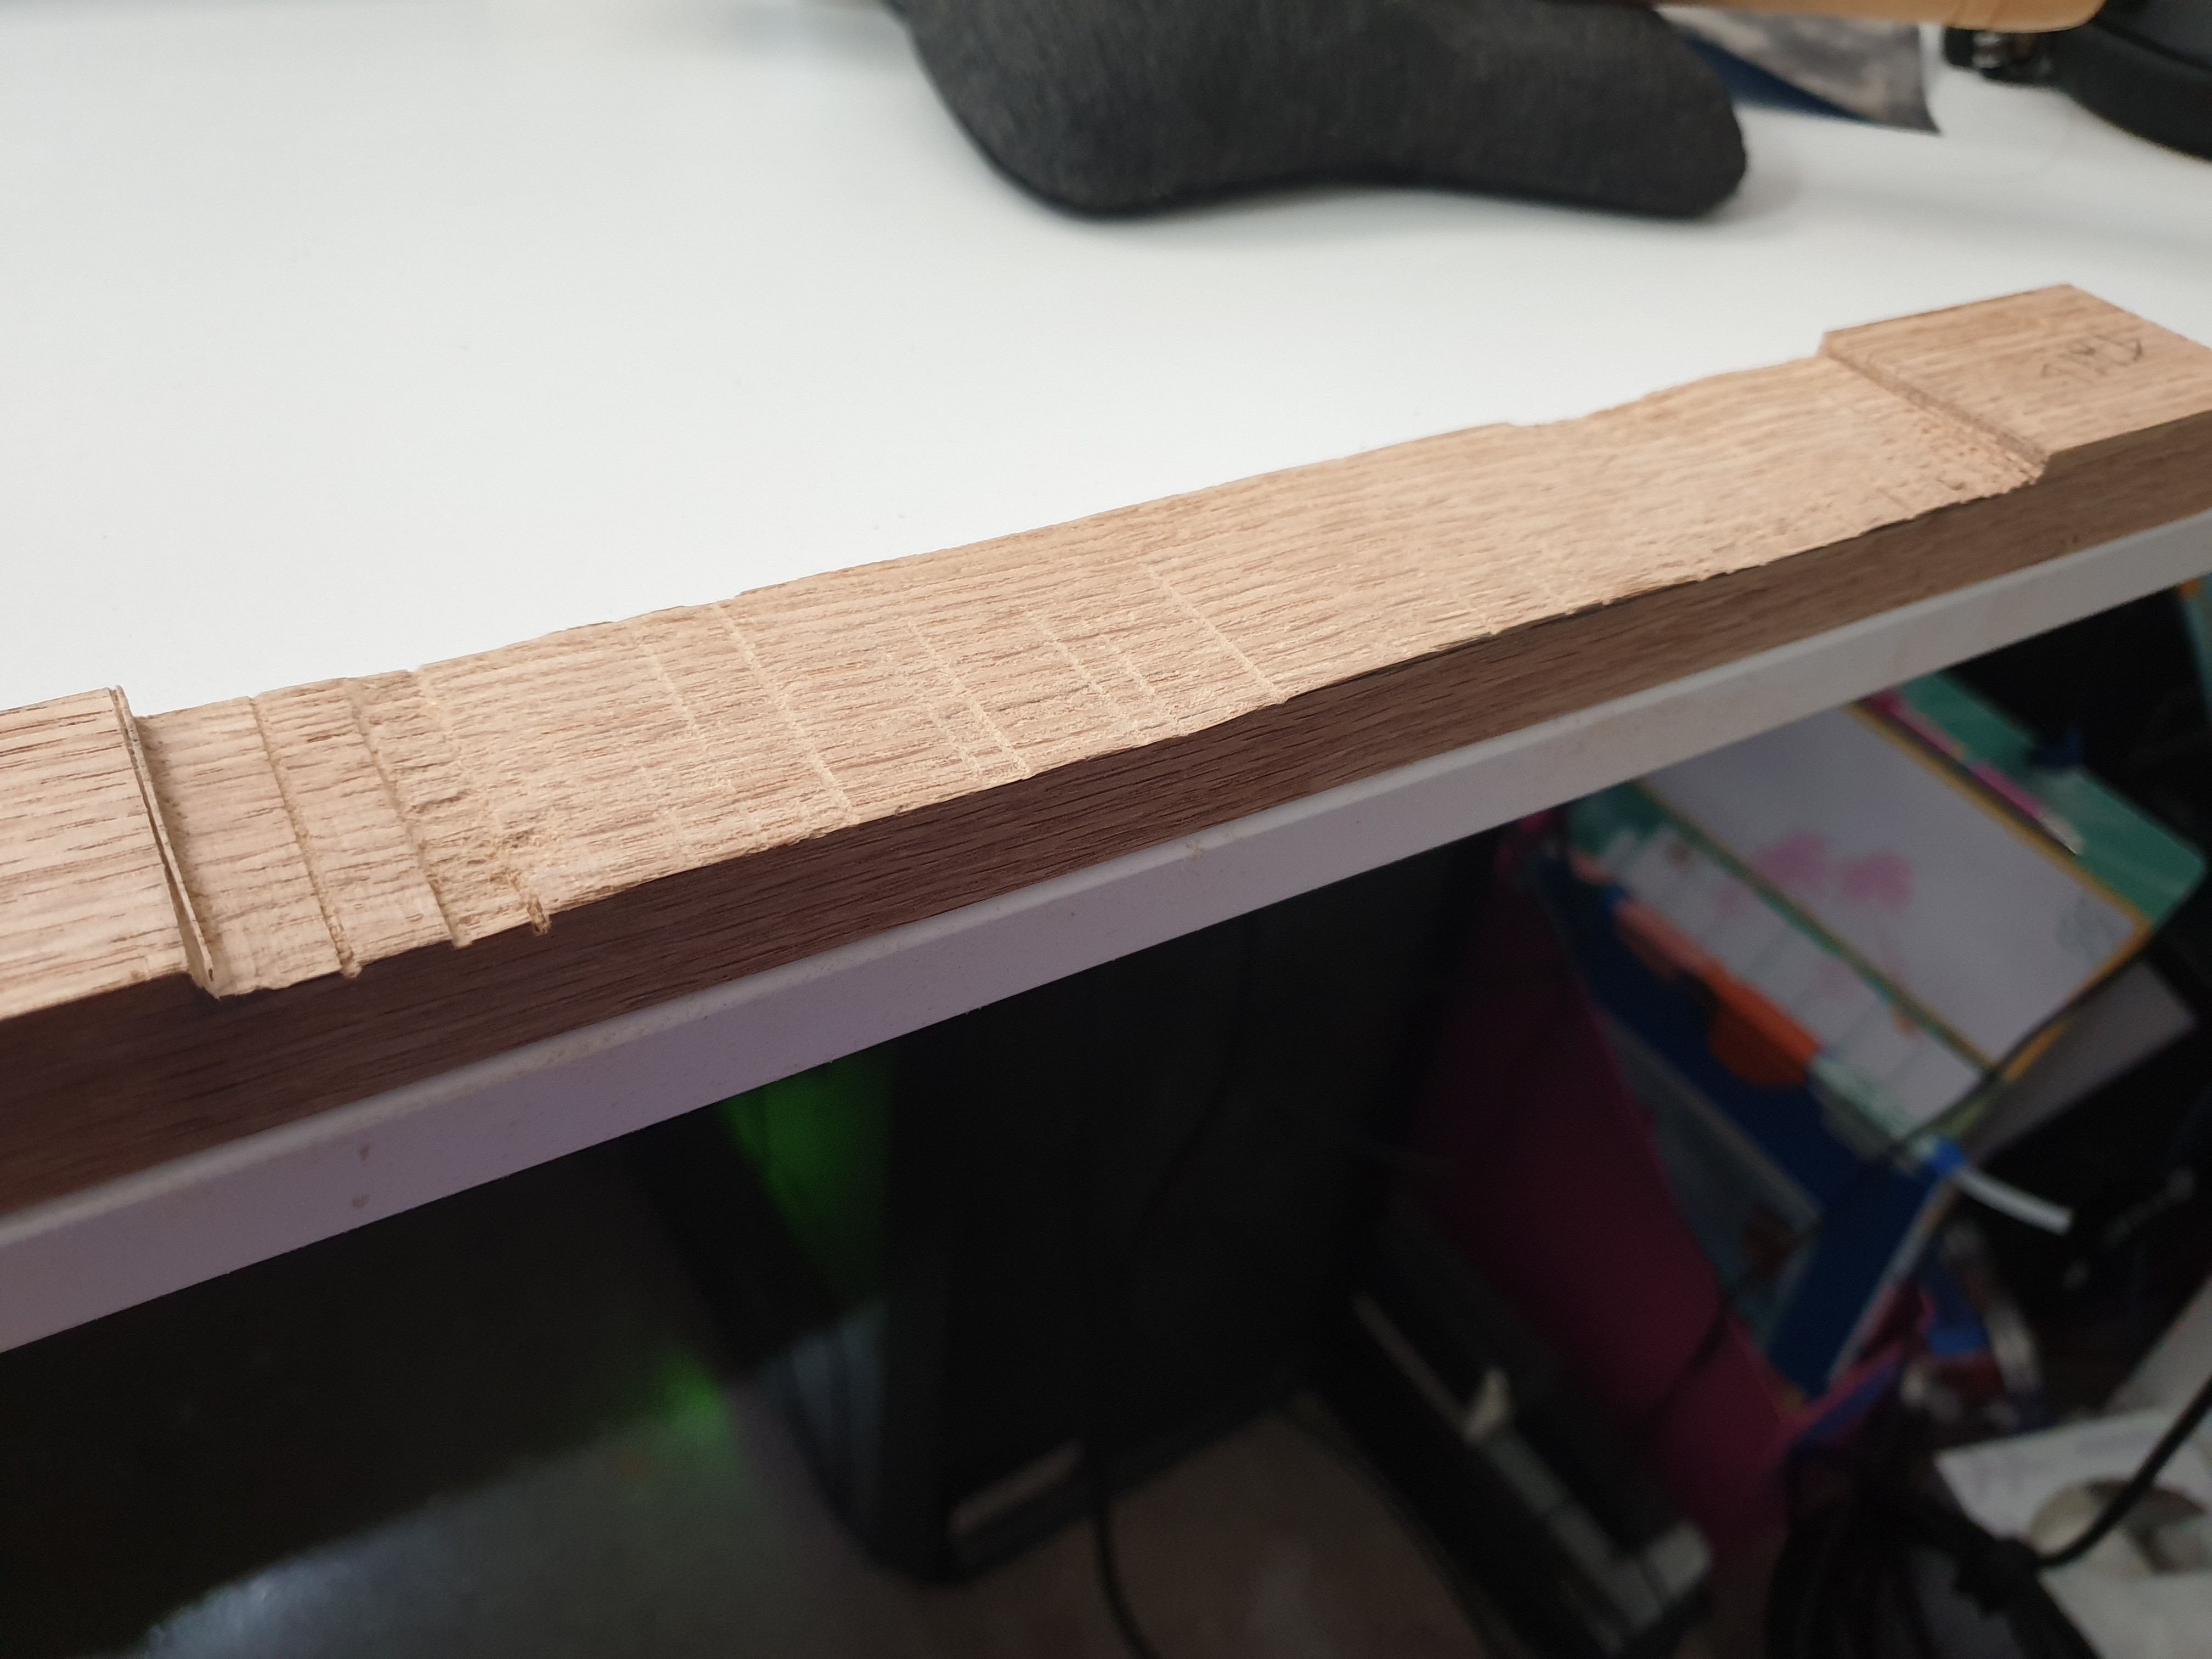
The current build involves actual woodworking, which I will be doing with a minimum of power tools.

[Header image via Wikipedia]

How-to-Build-a-Basic-Cigar-Box-Guitar.pdf

These are the free instructions from cigarboxguitar.com. They are meant for building the CB Gitty kit, but are a decent introduction into what you'd be getting into.

Adobe Portable Document Format - 3.45 MB - 01/16/2023 at 00:28

Preview
Download

  • 1 × cigar box the taller it is, the fuller it will sound
  • 1 × 34" length of 1x2 you will want a hardwood such as maple, unless you don't care if the neck bows
  • 3 × brass grommets however many sound holes you want, basically
  • 3 × brass eyelets to hold the strings
  • 1 × M6 hex head bolt, 40mm long this is the nut!

View all 10 components

  • still waiting out the plague :(

    kristina panos01/25/2023 at 18:55 0 comments

    I haven't done much with this project except to mark the headstock wood to be removed. I also marked up the other neck I had and bought enough wood for five more cigar box guitar necks, so I might as well prep those, too, for whenever I can finally go make some sawdust.

  • here's what you've missed so far

    kristina panos01/16/2023 at 00:16 0 comments

    I'll be typing up the basic instructions too, but here's what has happened so far:

    • purchased a piece of maple 1x2 from Home Depot and had them cut it down for me into two 34" lengths and one shorty piece which I used for my very first CBG that doesn't count.
    • lightly sanded maple to avoid splinters
    • marked 6" from one end to make the headstock
    • marked 24 1/2" from there to create the scale (where the bridge will go)
    • marked the tailpiece
    • notched the box sides beneath the lid where the neck will stick through
    • used a mini hacksaw and a flathead screwdriver (and then a four-in-hand) to remove enough wood so that the lid will close

View all 2 project logs

  • 1
    Procure a cigar box and notch that thing.

    You can get these from a couple different places, but your best bet for variety is gonna be a cigar store. Don't let them charge you more than a couple bucks for any box. I have also found them in thrift stores.

    Cigar boxes come in various levels of fortitude, from the humble paper box to the full-on wood box with a hasp. Get whatever you're comfortable with, knowing that you'll have to cut two notches out of the short sides to accommodate the neck. Use the 34" piece of hardwood itself to measure the notches out for a nice, tight fit. The book says to use a sharp utility knife to notch a paper box such as this one, and while I agree, there has to be an easier way to notch it cleanly. Anyway.

  • 2
    Make the neck fit in the box.

    At this point, it should fit, but you won't be able to close the lid like you used to. Use the box itself to mark the width of wood to be removed, and the lid to mark the depth.

    I used a mini hack saw and a flat head screwdriver to chisel out mine, and then a four-in-hand to file it down to the prescribed line. Yes, it took a while. No, I don't want to do the headstock the same way.

  • 3
    Cut out the headstock

    Now you need to remove wood in the same fashion, but from the 6" section marked 'headstock'. Use the 40mm M6 bolt as a depth guide. This bolt will sit right up against the 90-degree cut and serve as the nut. The strings will nest into the threads.


    [No picture for this yet as I am waiting out covid to use my FIL's router.]

View all 3 instructions

Enjoy this project?

Share

Discussions

Similar Projects

Does this project spark your interest?

Become a member to follow this project and never miss any updates