 George Gardner
I've begun the teduious process of measuring and modeling all the parts and pieces, and I'm starting to make preliminary parts.
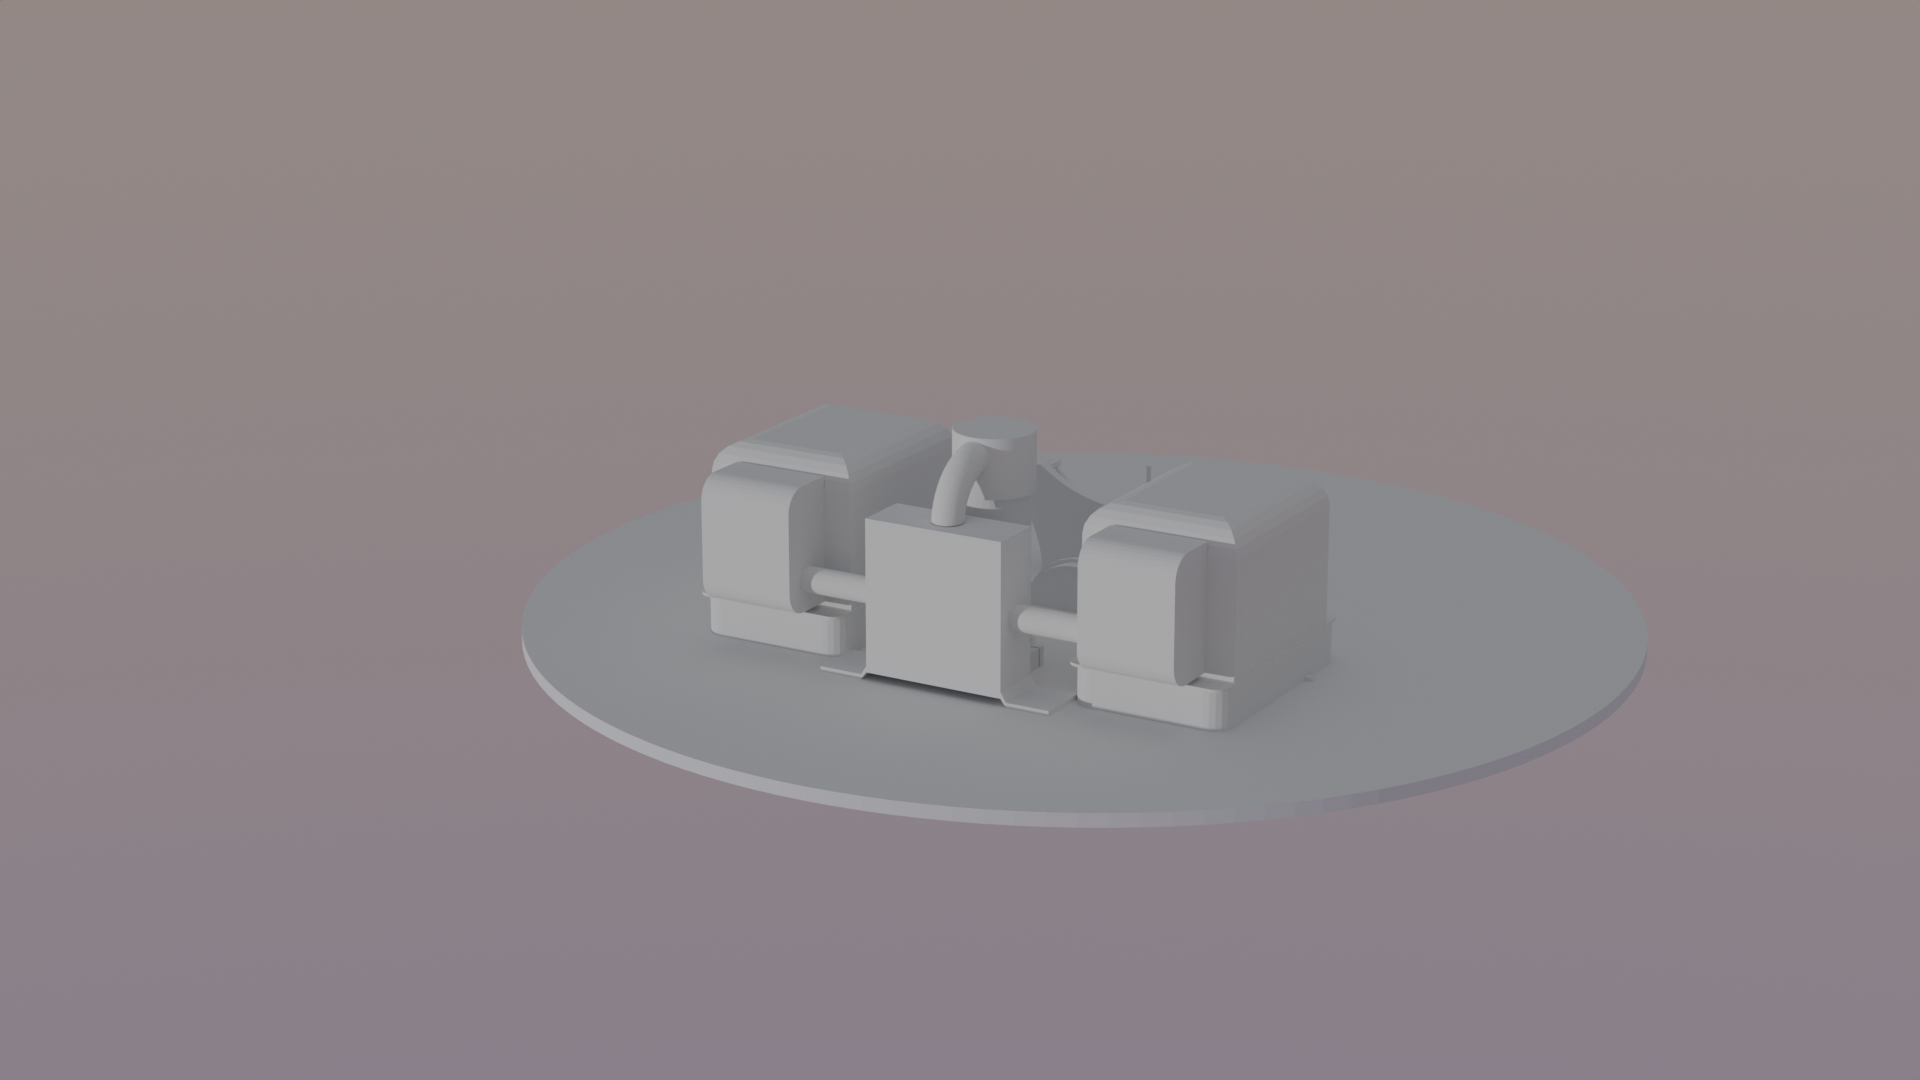
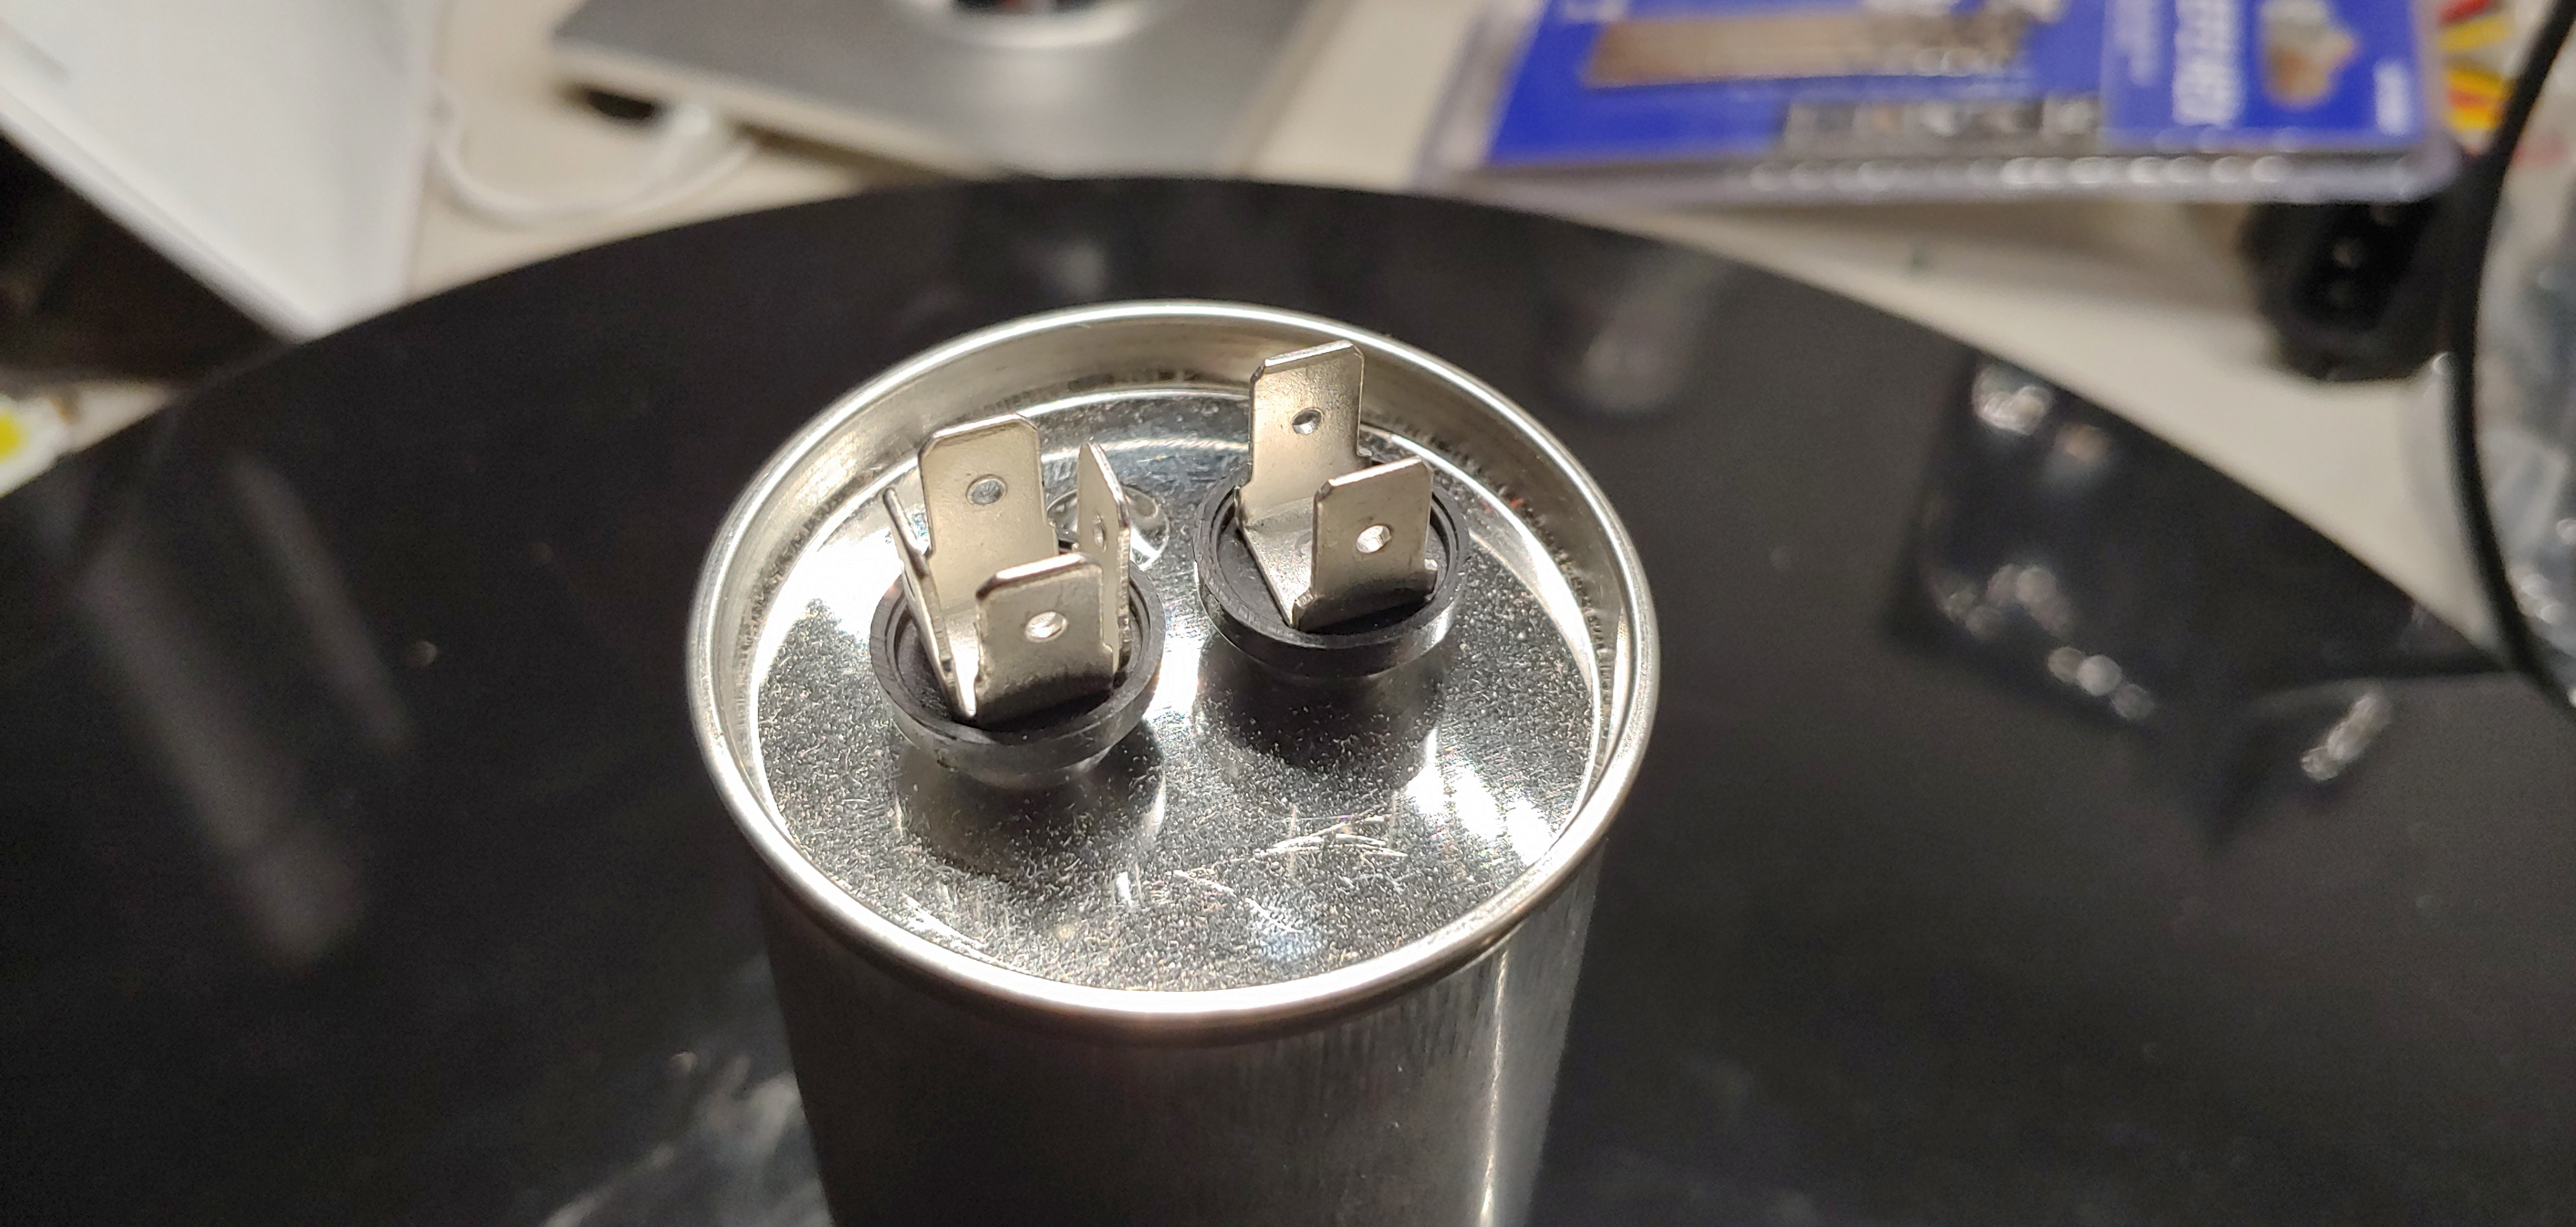
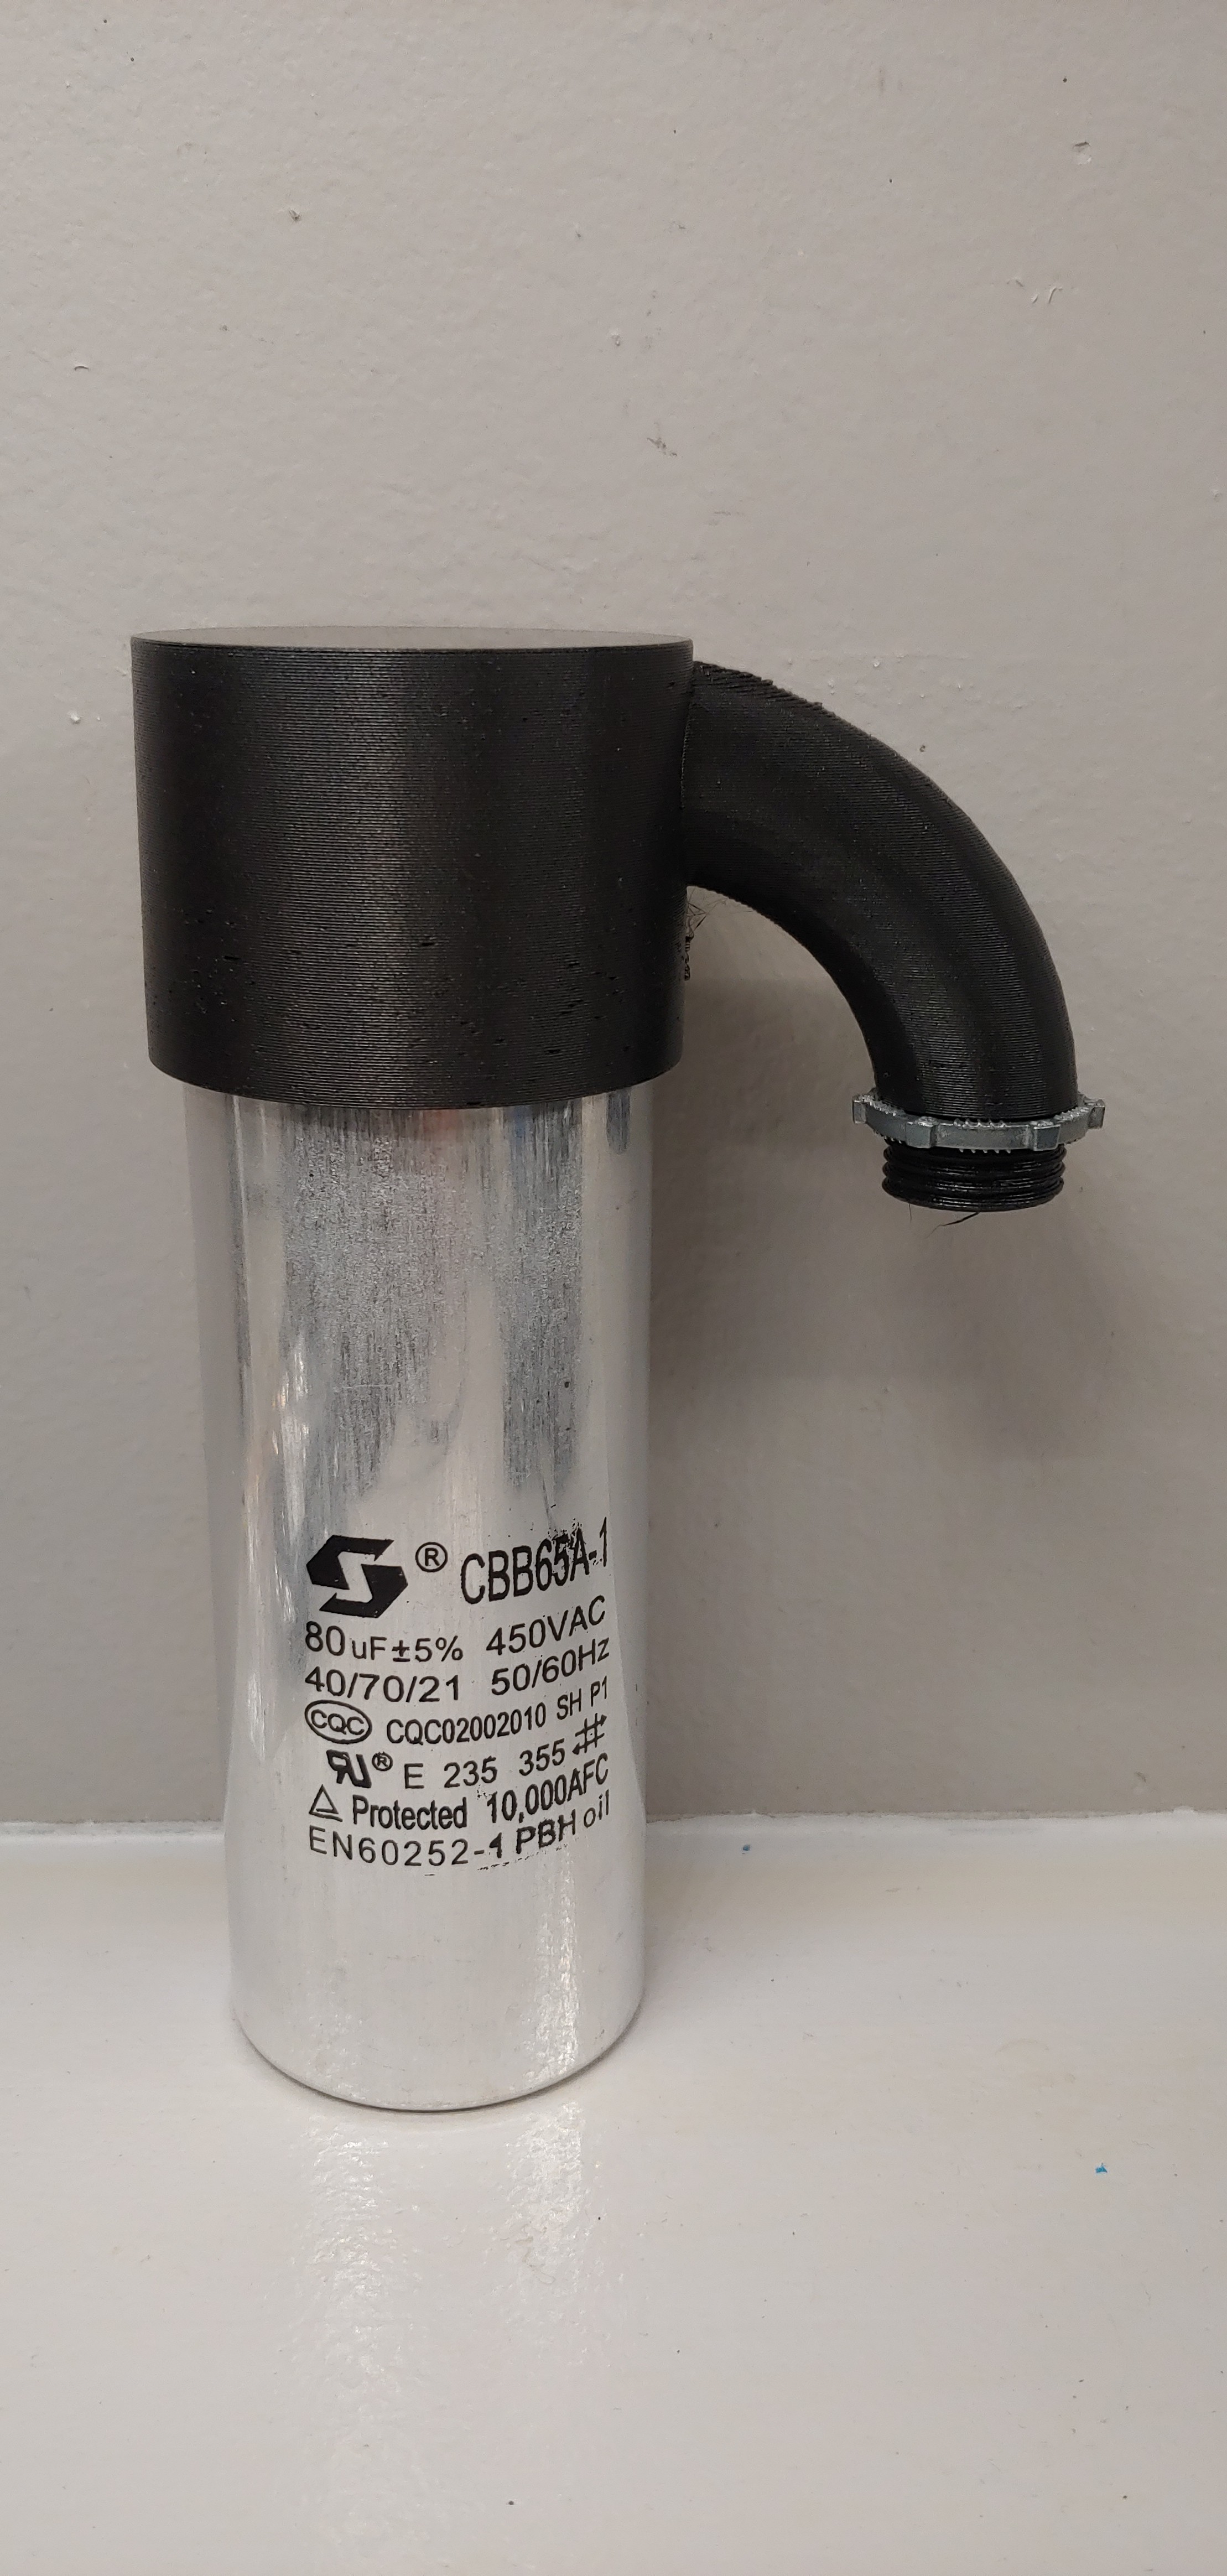
In the above render, you can see the two OBITs, connected by two conduits with a 1900 box in the center. Behind the 1900 box (hard to see) is the power factor correction capacitor. I modeled a custom cap with a conduit for it so there won't be any exposed line level voltage wires hanging out. Otherwise, the cap has some pretty exposing terminals on it that I wouldn't be satisfied with leaving it in that condition.
I went through the trouble of modeling threads on the 1900 box adapter so I can use a standard EMT nut (14 threads per inch if you're wondering).
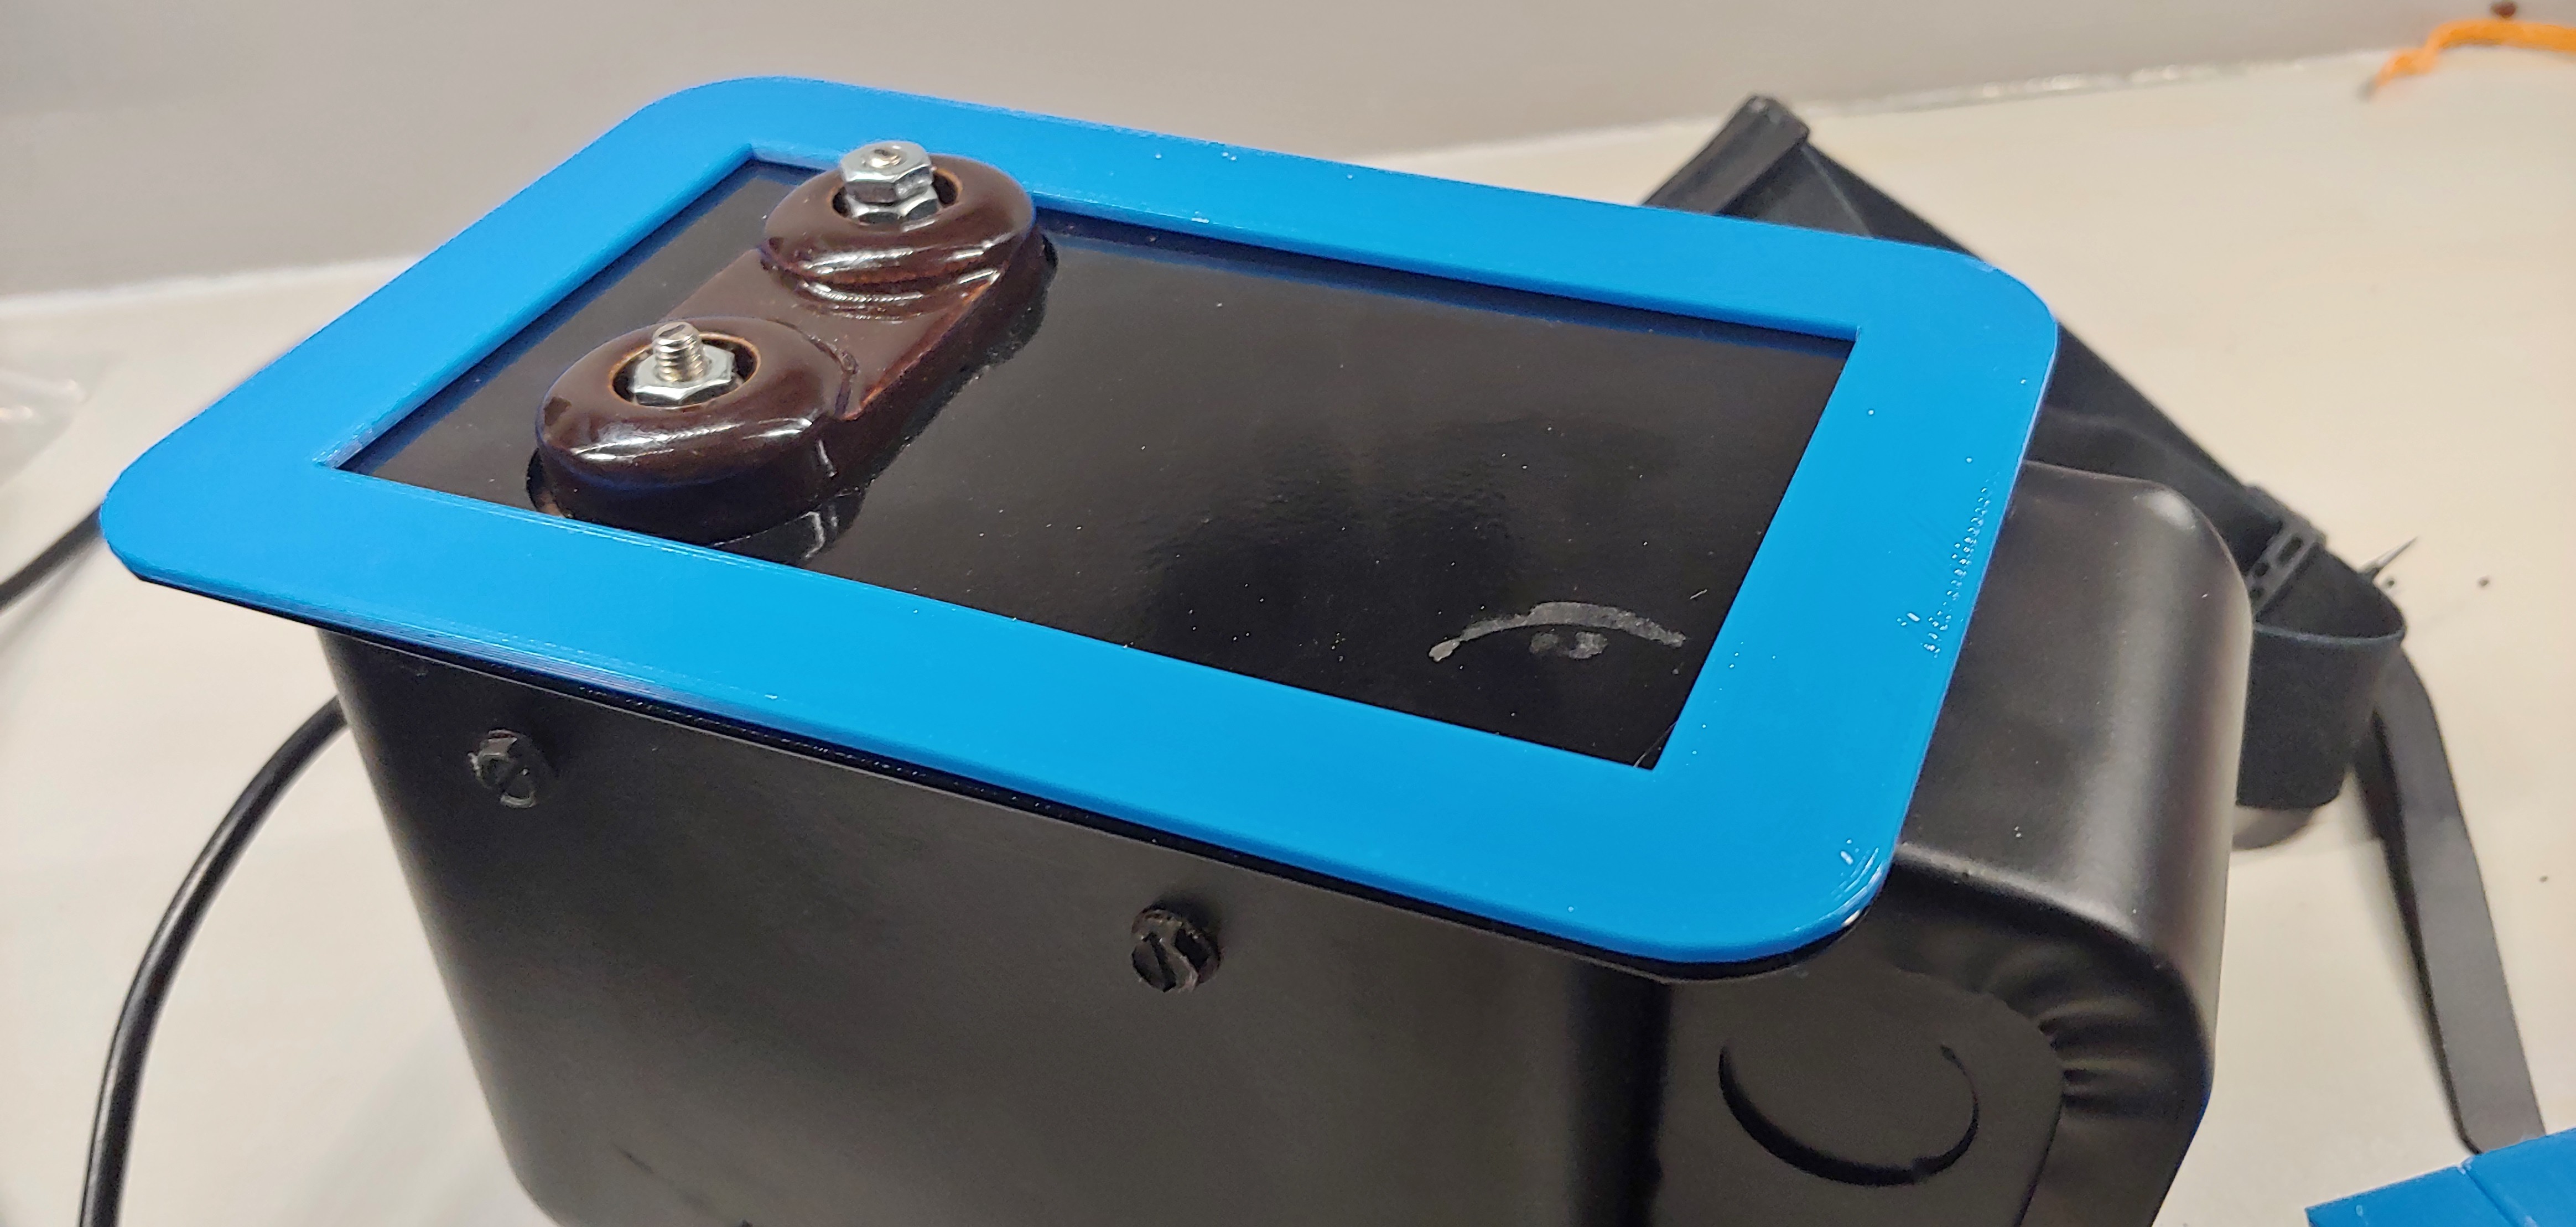
You can see the transformers are facing down towards the HPDE. I chose to have the high voltage terminals on the Transformer facing down for this build. Again, another safety consideration (not that I'll be anywhere near this thing when it's firing). I printed a few test pieces to make sure my measurements were correct.
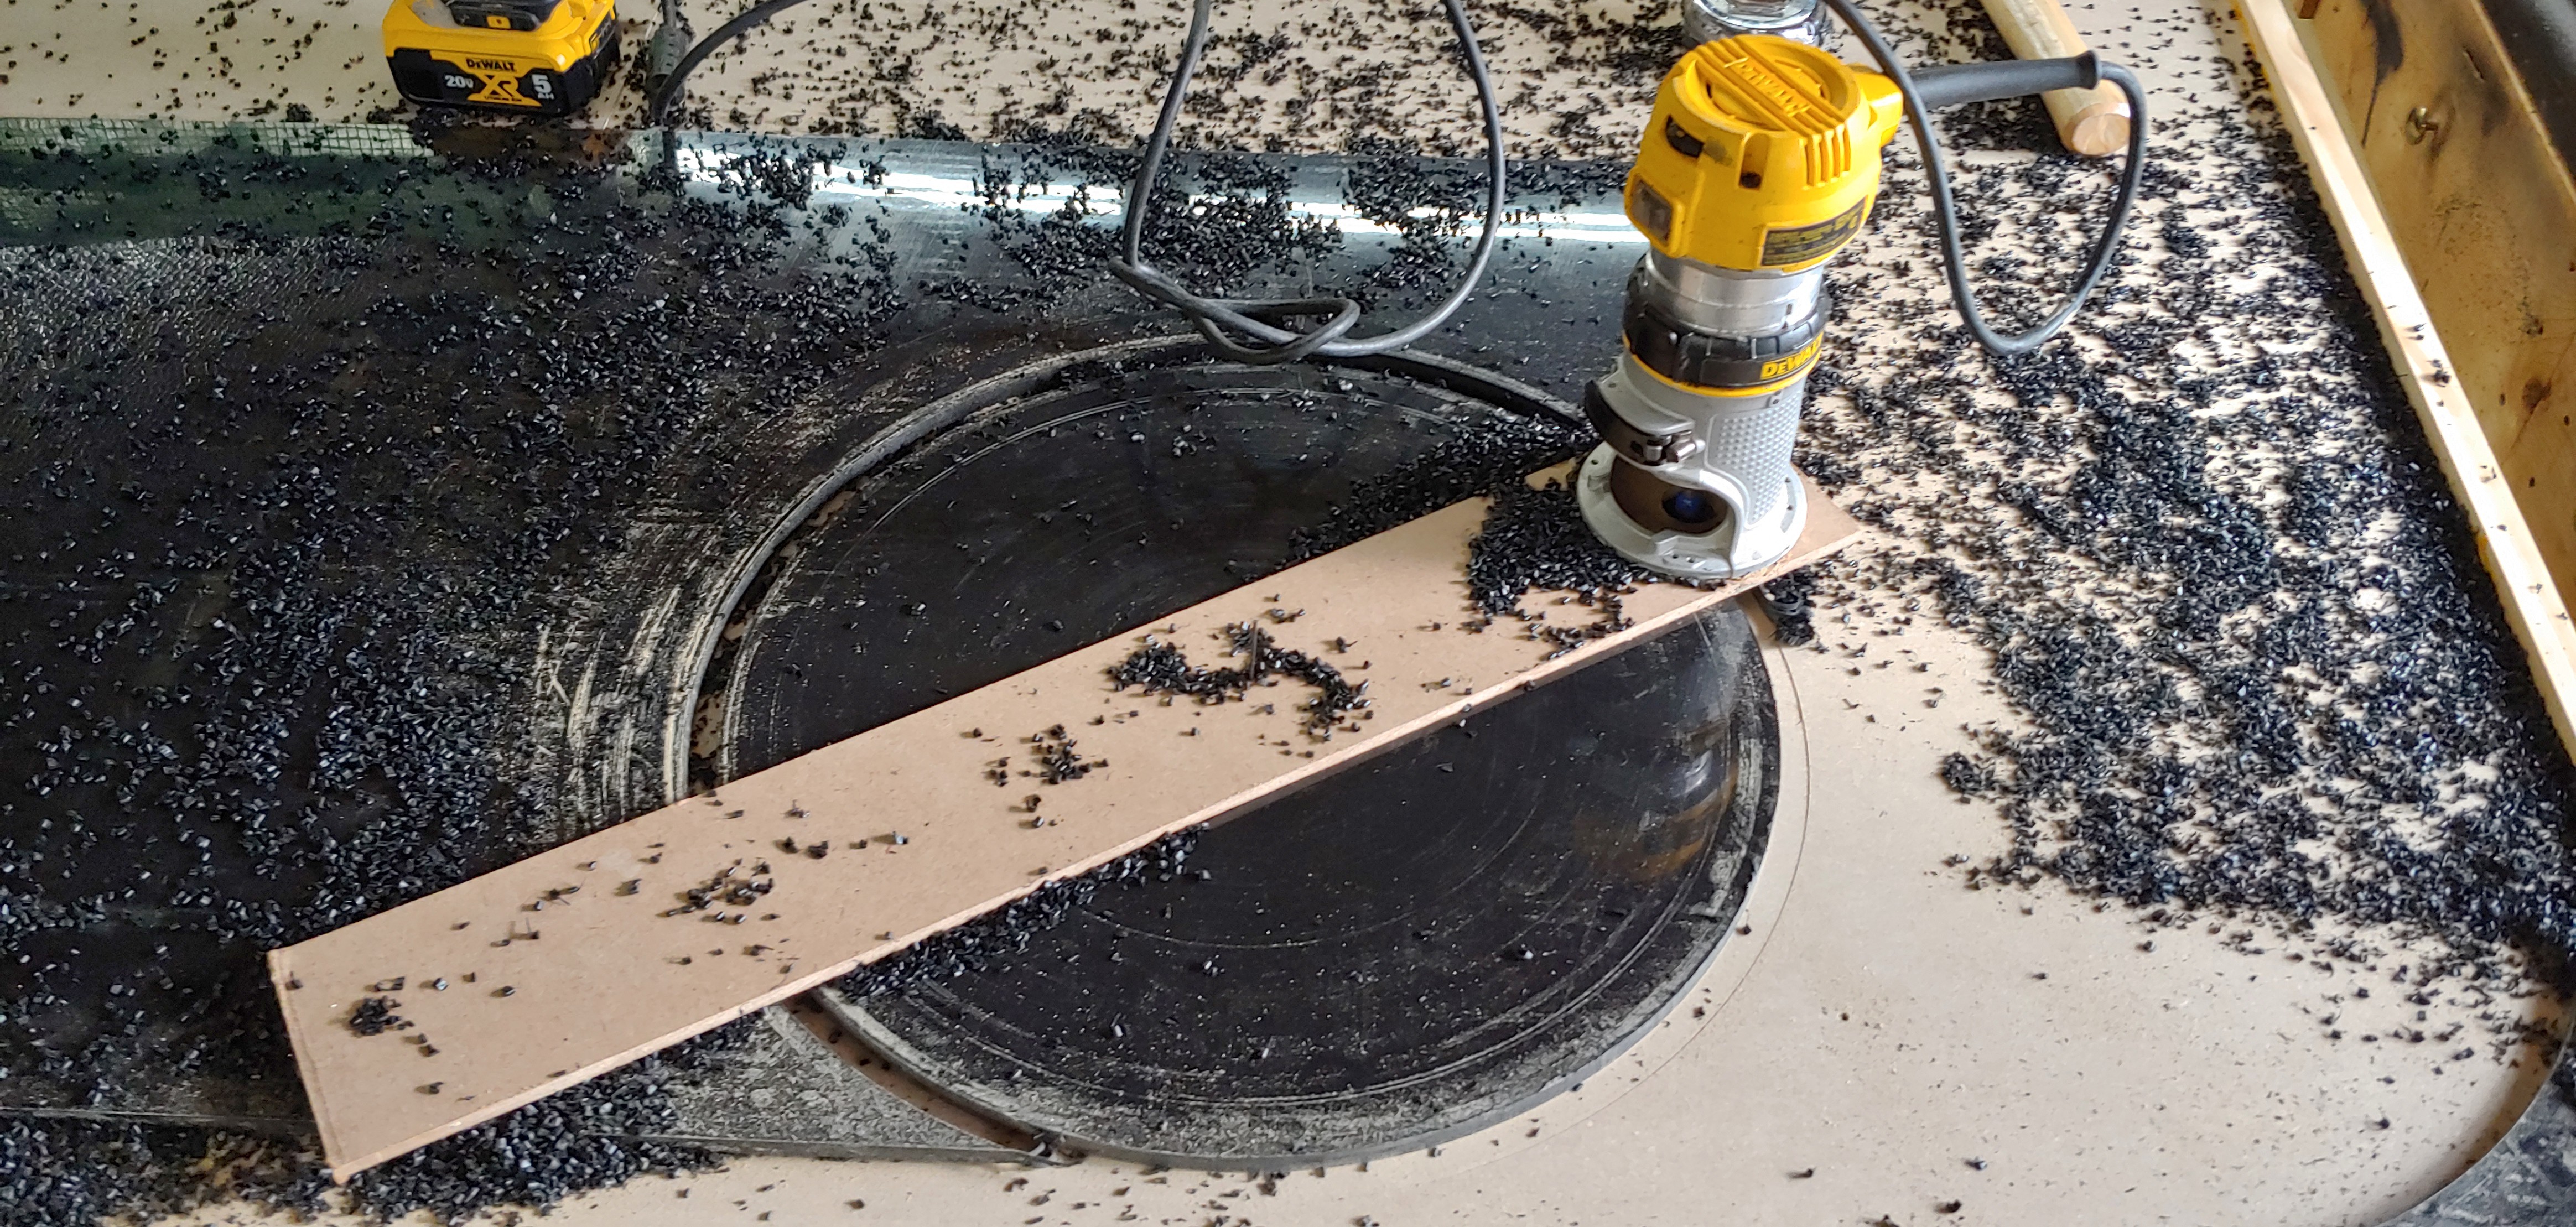
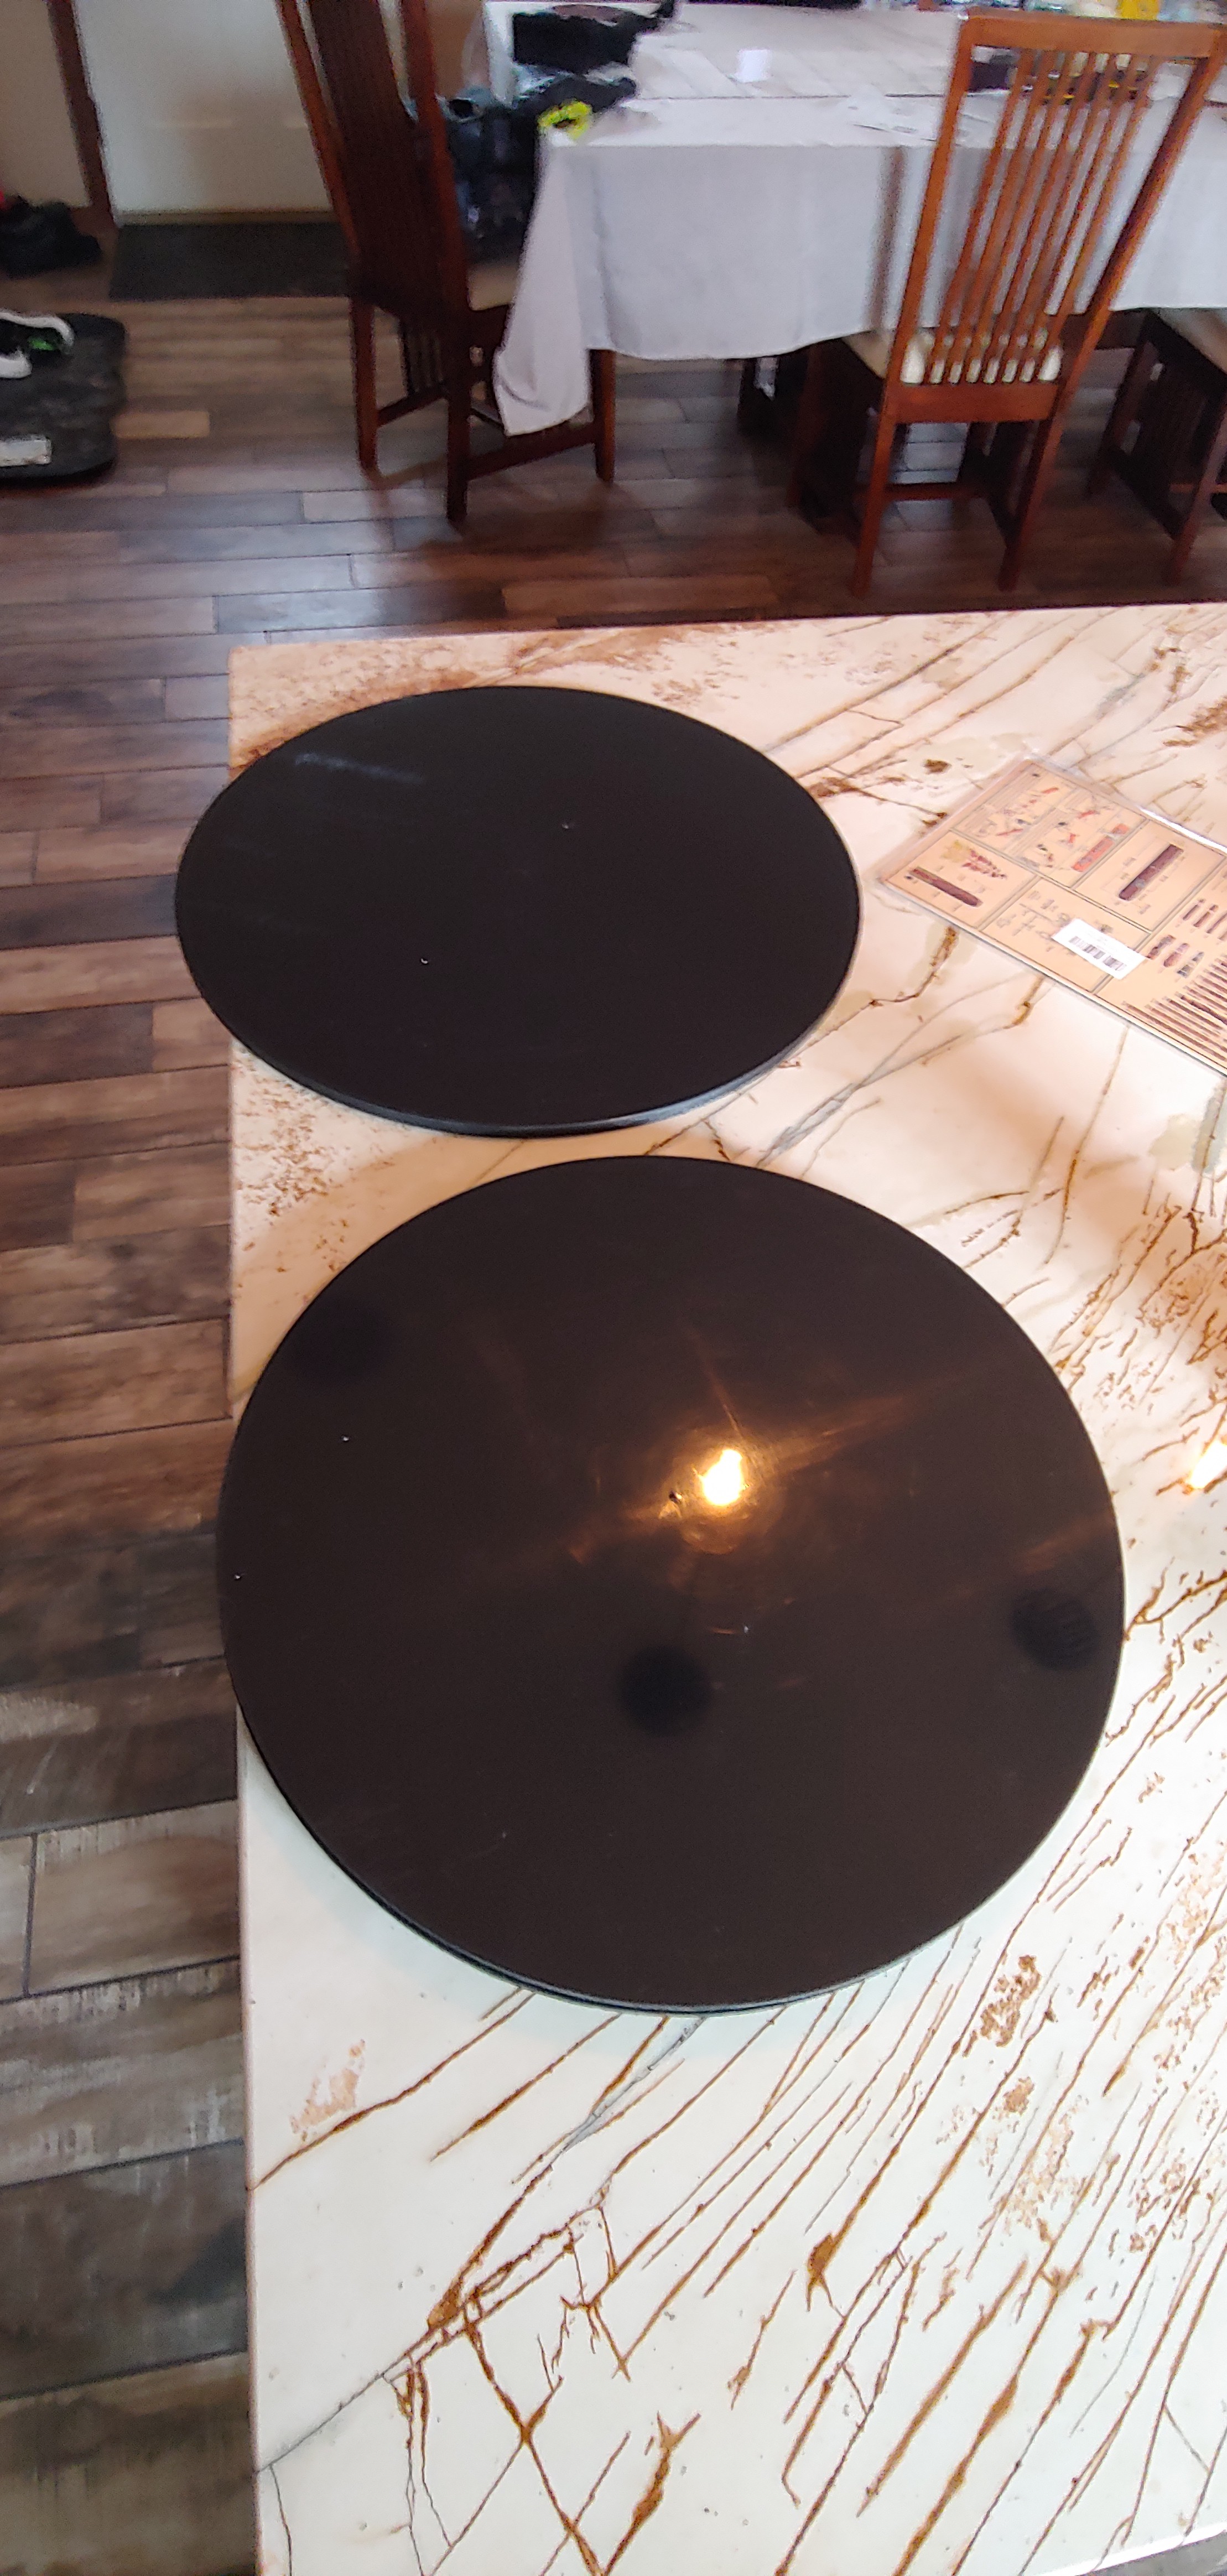
For the HPDE, I mounted a small strip of masonite to my wood router to made the radius & circle cut. I wish this stuff didn't scratch so easily!
I was originally going to have a chassis with (3) layers, but decided on omiiting the middle platform for a single base and single top piece. I'll likely double up the bottom layer (using the middle layer) due to the weight of all the components. I could use the extra support at the base as a result.
Discussions
Become a Hackaday.io Member
Create an account to leave a comment. Already have an account? Log In.