 paul
paulWhen I originally designed the printed parts for my RosBot the Vertex's were made to only have one 15/15mm vertical extrusion per corner. Once I started building and had the frame together I noticed there was a lot of twist and wobbliness and not much rigidity to the frame. This was a big problem and had to be fixed! My first thought was to use 20/20mm extrusions or something a little bigger, problem was that I had already spent most of my budget on parts for my RosBot and if I went with bigger extrusions I would also have to buy special t-nuts for whatever size I went with which would be so much more expensive and would require a re-design for all the vertex's including the screw holes and also parts that attached to the frame would have to be re-designed! Man I really didn't want to go that route and I hated the idea of losing the ability to use simple and cheap M3 bolts and nuts to secure everything. I was holding two scrap pieces of the extrusion playing around with them while I pondered this dilema, then it hit me, I'll just place two 15/15 extrusions next to each other making it 15/30mm, this would for sure stiffen my frame up, and I could still use M3 to fasten everything! Awesome, I only had to re-design the Vertex's to allow for 15/30 vertical extrusions and the screw holes would all stay the same! It just so happens that I had just received my free $150 worth of parts from Misumi with their "First 150" promotion which included 6 more 1 meter lengths of 15/15mm extrusions, 24 360mm 15/15 extrusions, along with a ton of M3 hardware to build probably 20 RosBots! So thats why in the pictures it looks as though there are two different extrusions being used for the vertical extrusions because there is! I thought this was a prety inventive way of solving the problem. The frame is super rigid now for those wondering. :-)
YouTube video: RosBot Hackaday Prize Entry Video

 Cedric Anné
 Retroplayer
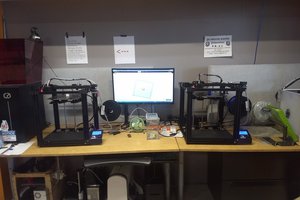
 cprossu
 Eno423