Kenji Larsen
I use this form to create biometric shirts that fit me. For this I needed a form that was accurate in capturing my dimensions, but was also articulated so that I could test a garment as it undergoes extremes of motion.
I could not find any good off-the-shelf solution available commercially, at any price. Even very expensive articulated forms (several thousand dollars) were not ideal. Not my size, not my shape, articulated at shoulder but not elbow, solid construction unable to simulate respiration at all, etc.
Since my replicant is still undergoing organ growth and my android is constantly apart while being worked on, the solution I found was to construct an articulated form out of PVC pipe, foam, polyester fiberfill, tie wraps, hot glue, and scrap wood. It was not only inexpensive but it was a fair enough interpretation of my own form that I definitely had some uncanny valley stuff going on while constructing it. It has no robotics in it yet but I may augment it or make a version two, we’ll see. For now, I manually actuate the limbs and compress the chest cavity in testing. It works quite well.
The still pictures are cool, but the videos tell the real story of how limber and bendable (in the right spots) this form is.
I definitely considered body scanning and Meshmixer, as well as lifecasting and so forth, but ultimately I wanted to end up with a covering that acted like skin. I found my answer in duct tape. There were three different kinds of duct tape used, each for their own particular characteristics. Differing amounts of stretch and differing amounts of reinforcing thread allowed judicious use of the different films in specific areas.
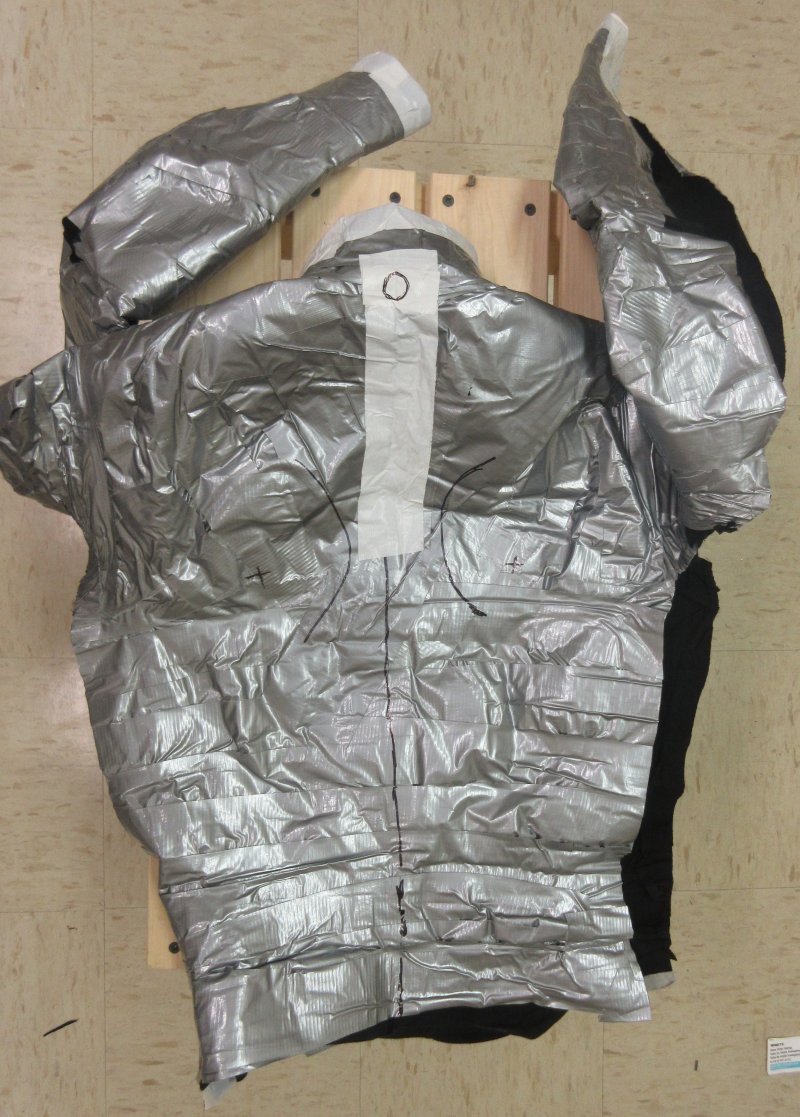
The procedure to capture the form was by just duct taping my upper body as tightly as I could stand, while still being able to breathe normally, wearing a very tight long-sleeved shirt underneath. This resulted in a skin-tight layer of duct tape, and a not-very-flexible tape was used, in order to hold the shape precisely. A neck extension was created in order to reproduce the neck shape. I avoided taping small areas in the joints for dimensional registration of these important areas.
This shirt was then cut off at the sides and under the arms. A vertical slit part way down the back of the neck allowed my head to get out. Three almost linear cuts in total, and it was therefore easy to align and re-assemble after the fact. in this photo, the neck split has been taped up, and the little circle indicates a prominent spinal bump, the area of largest spinal inflection in that area, used for spatial registration with the inner form later.
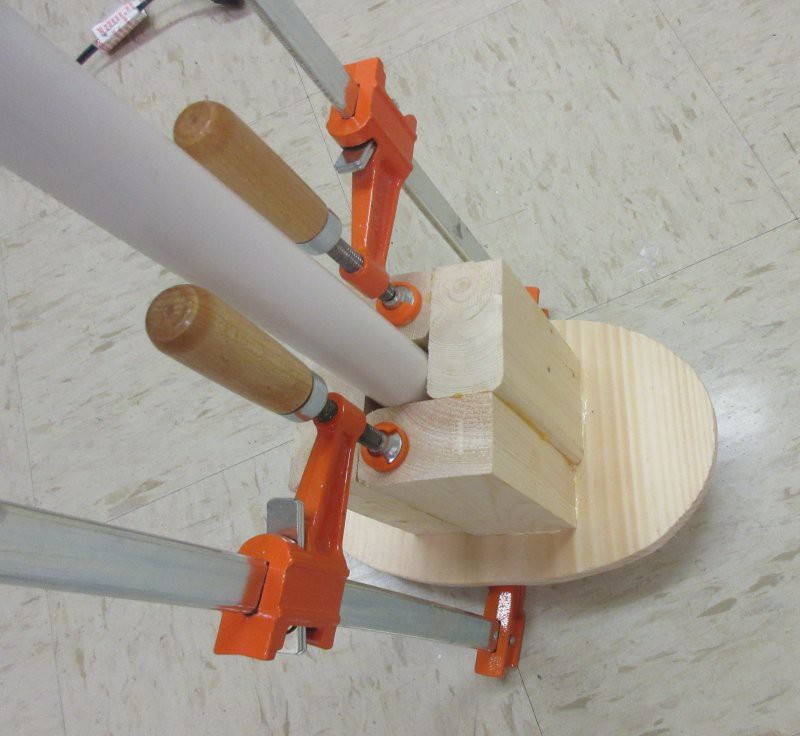
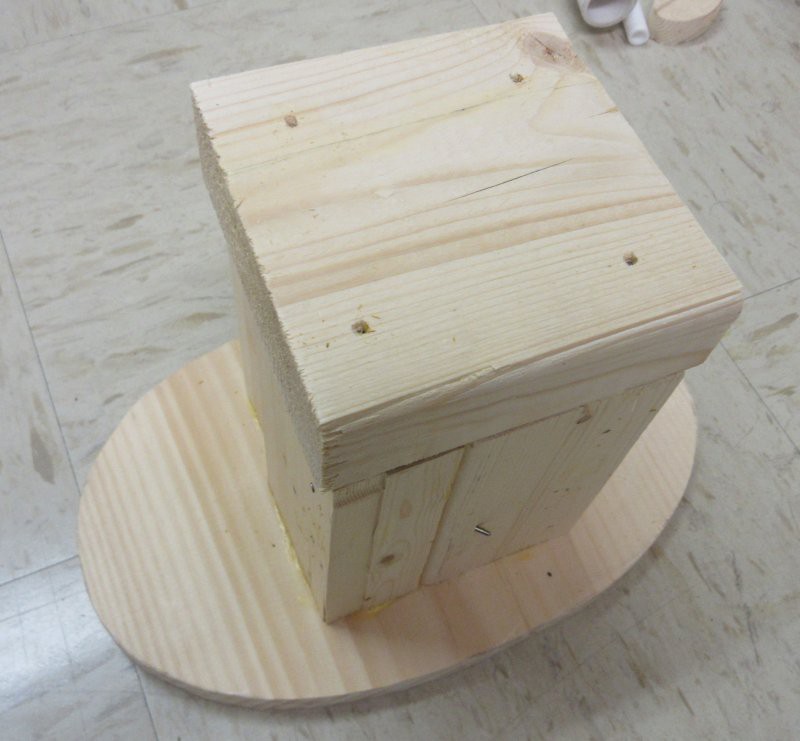
The base was made from scrap wood, arranged around a PVC pipe cut to length such that the torso will be at the correct height when finished.
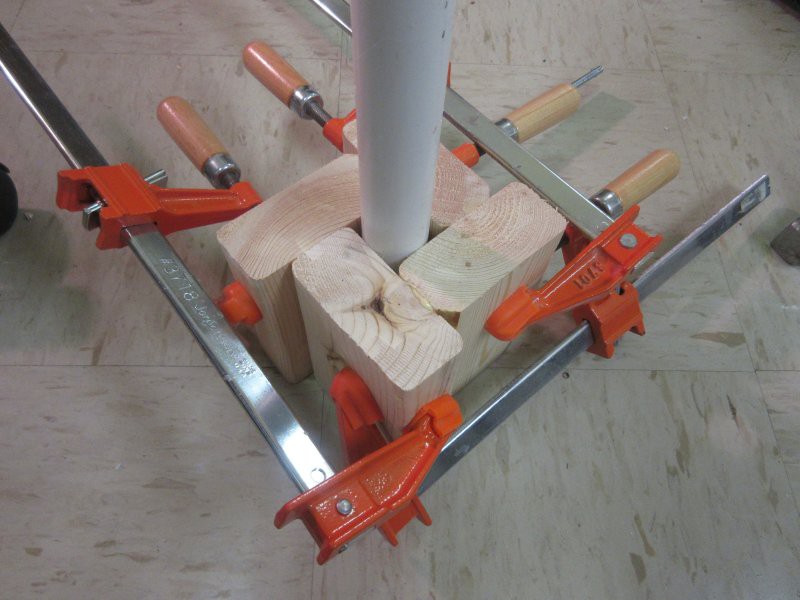
Attached to a base plate:

On the torso side, a similar arrangement:
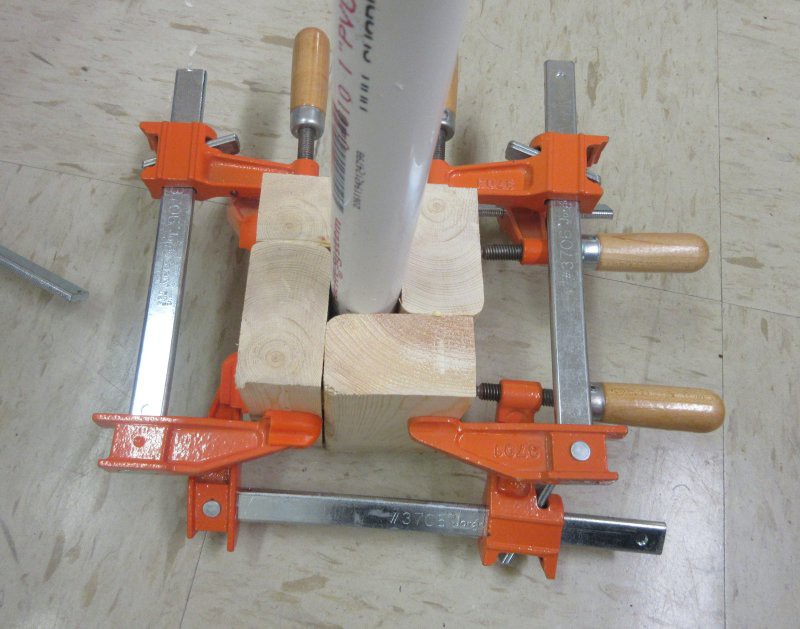
Gluing in the waist cross section plate:
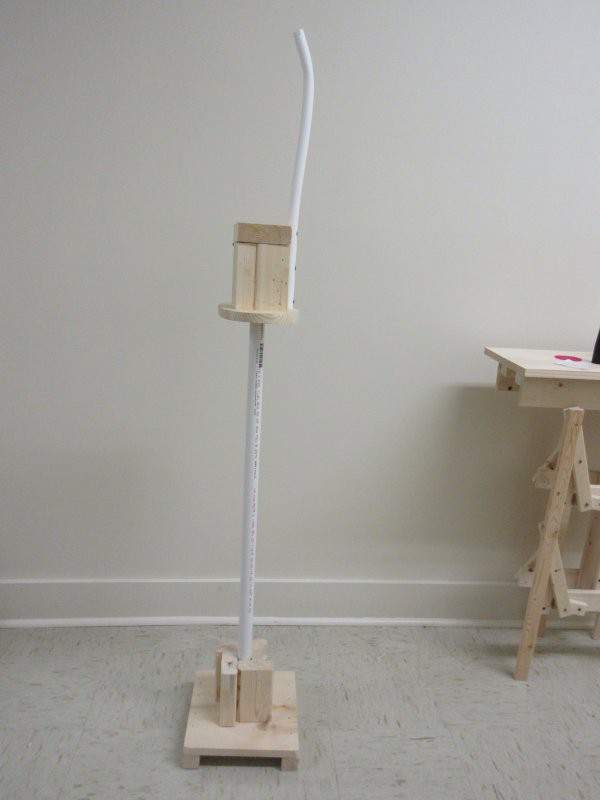
A top cap allows the torso base to swivel on top of the PVC pipe stand, and is solid enough to hold the "skeletal" frame, even while undergoing flexure and torsion.
Here is a shot of the floor stand and torso base with a spine attached. The spine is Pex tubing, which is a lot more flexible than normal PVC pipe. It can be shaped with a heat gun, in this photo it has not yet been fully shaped, but I put a preliminary shape to it so that I could give it a definite front/back orientation, so that I could attach it firmly to the torso base. To the right is the Quadralope.
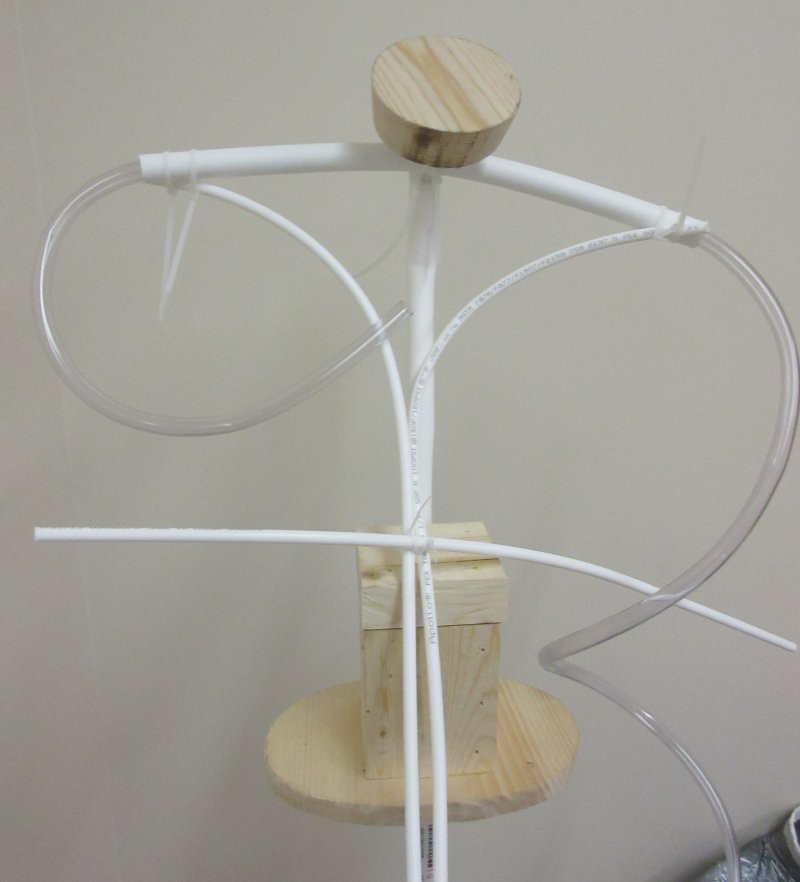
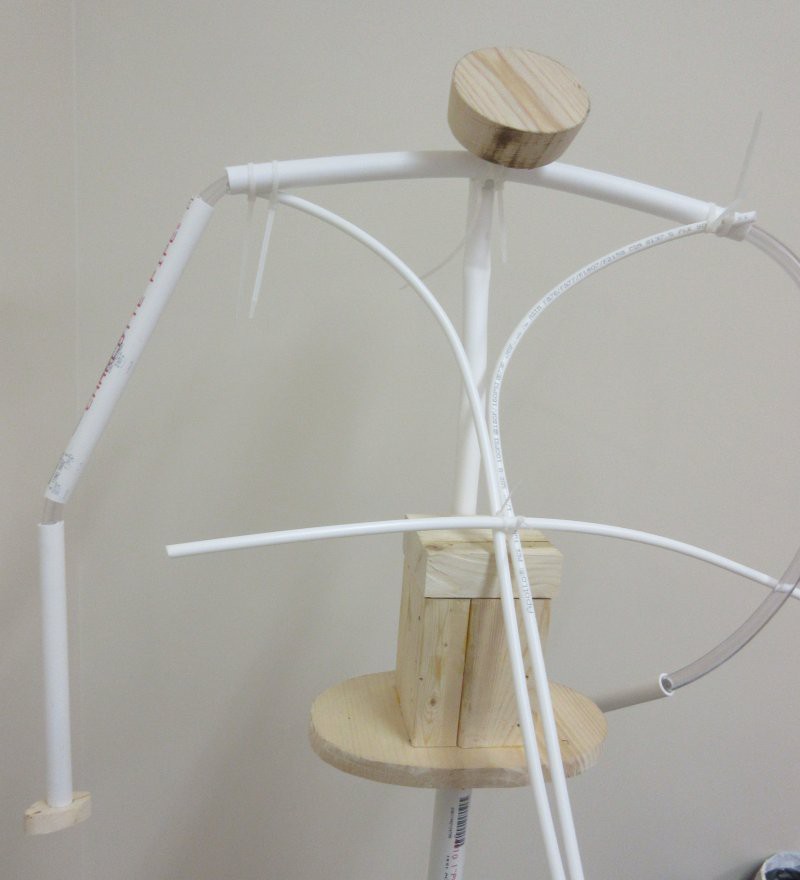
A Pex cross piece for shoulders, and smaller Pex to start creating the ribcage and shoulder blade approximations. Note, this is not intended to be a 100% true representation of the skeleton. Instead, it is designed to provide rigidity appropriately - so the shoulder blade tips needed to stick out and push the covering in the same way that my actual shoulder blades push out my skin. But they are just volumetric placeholders, there are no functional shoulder blades in this form. Note the clear vinyl tubing threaded through the shoulder crosspiece. The clear tubing acts as the joint material at shoulder and elbow, and allows rotation of the arm PVC pipes so that no radius-ulna system need be re-created. And it is tough material, takes repeated flexure well.
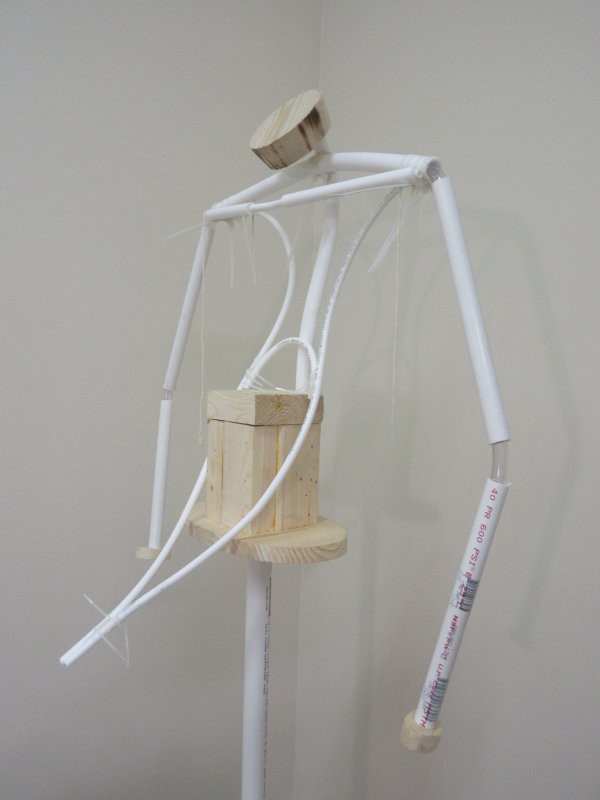
Here it is with one arm on. Friction holds it together, so it can make length adjustments while flexing. You can see the wrist blank is attached, the covering will be stapled to this wood bank.
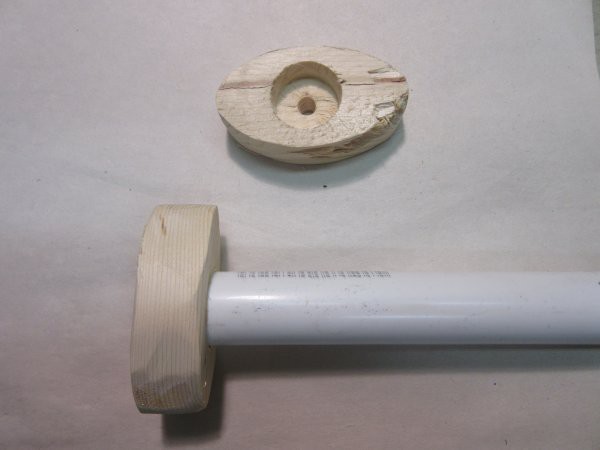
Here's a shot of the wrist blanks, scrap wood and hole bored with a spade drill bit. The PVC is hot glued in.
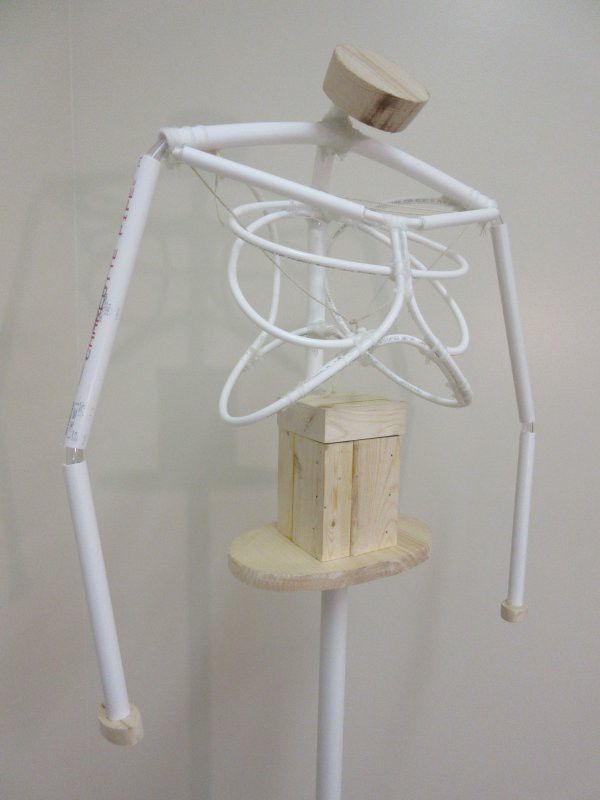
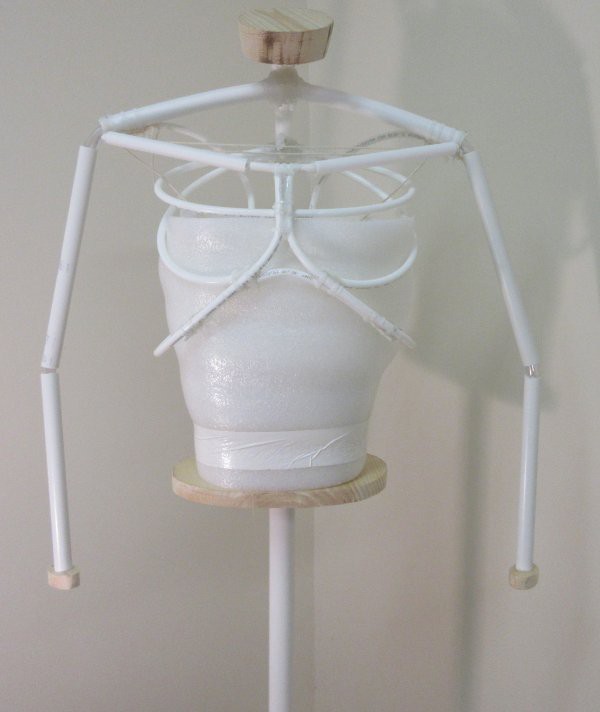
Clavicles added, and ribcage starting to take shape. The front part folds up to become the "breastbone".
It goes on and on like this, until the skeletal frame is sufficient to provide enough rigidity for the volume. It even slouches like me at this point.
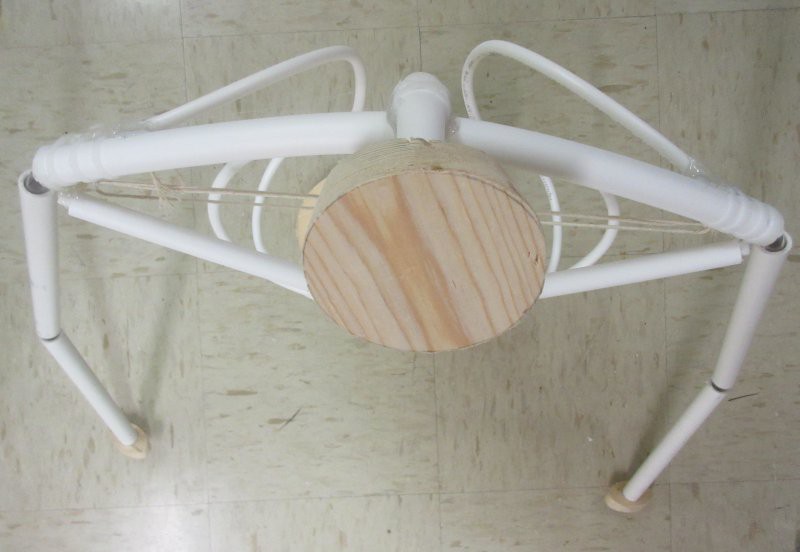
From above, you can see what I meant about the shoulder blades.
Once complete, it's time for internal organs and musculature. Again, it's just form, not function. Trying to approximate organic rigidity and flexibility as it is non-homogeneously distributed in the body. This inner foam is pretty slippery, and protects the piping from rubbing against the scrap wood base, and keeps the body somewhat centered as it goes through spinal torsion.
Foam for musculature layers, arranged so that the body can flex but retain certain shape. The chest portion is not connected to the waist portion, so that the two parts can move past each other. The arms are filled with polyester fiberfill, in order to shape them properly so they are no longer just straight sticks. They may look too thin, but there is a layer of fiberfill "fat" between this and the covering, which allows the covering to move relative to the underlying foam structure.
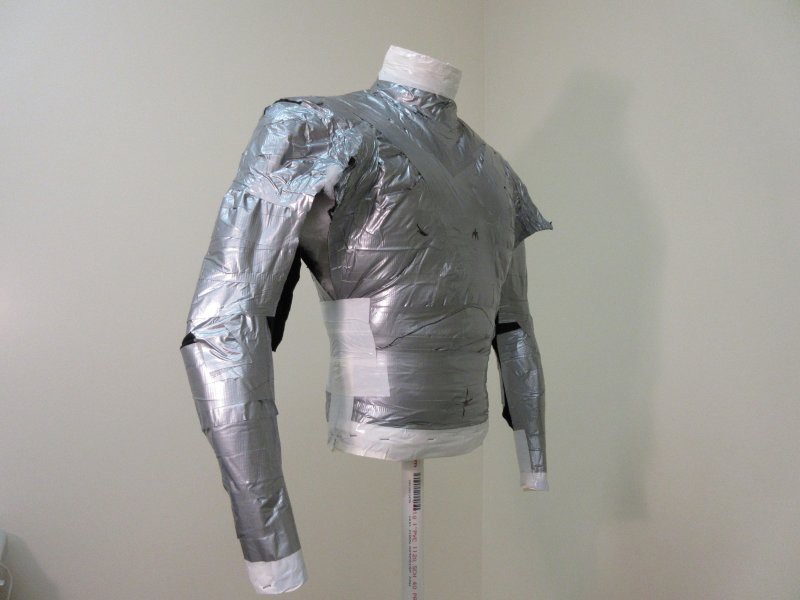
The covering goes on:
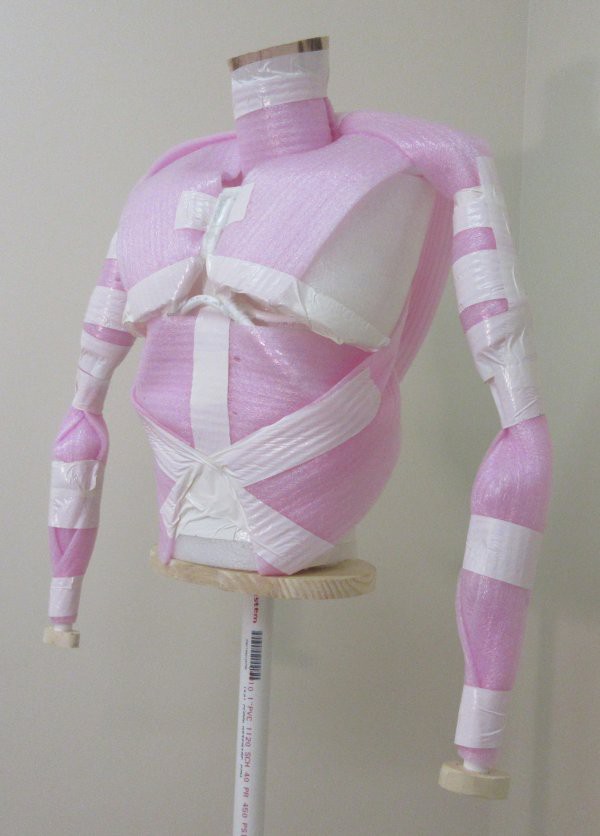
Neck wrists and waist attached (staples) and then we close up the sides with some very strong and flexible duct tape (white). This duct tape is not as rigid, but will take a lot more tension before failure. The rest of the covering has a shirt beneath it for stress to be distributed, but at these seams, the tape is the only thing holding it together, and there is a lot of tension. The form is filled up with fiberfill and it really takes on a human shape. You can compare where it is taped vs, the area above where it is not.
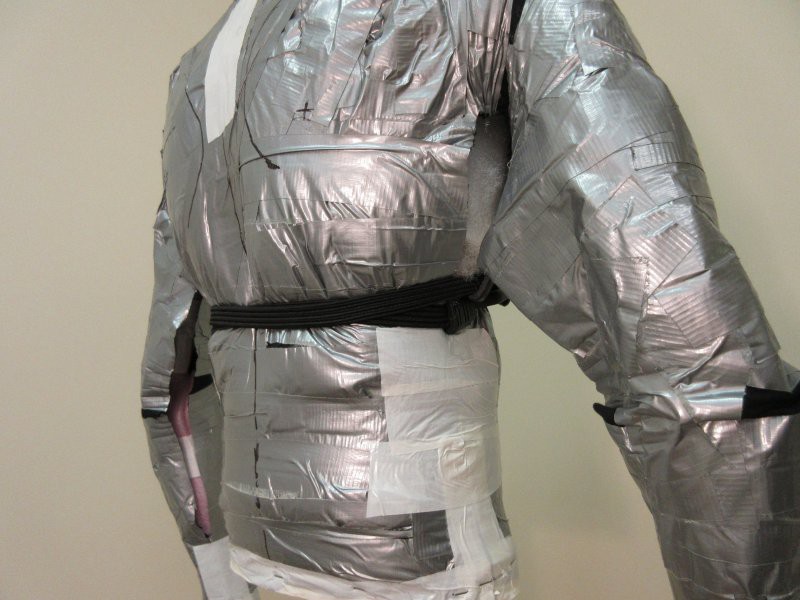
As we progress upward it becomes more difficult to fill and tape closed. Bungee cords are used to compress the chest to allow taping.
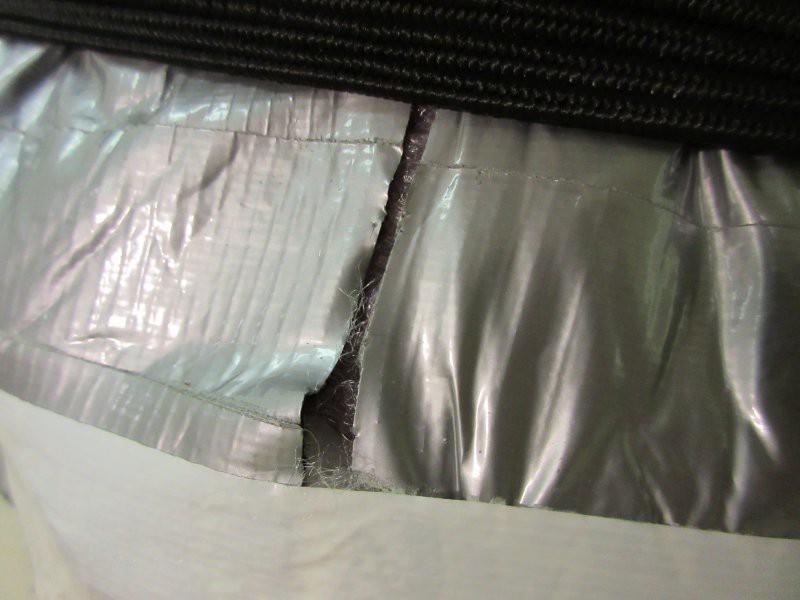
It is important to match up the seams exactly. I used the cut tape overlaps as registration marks to get it back together properly.
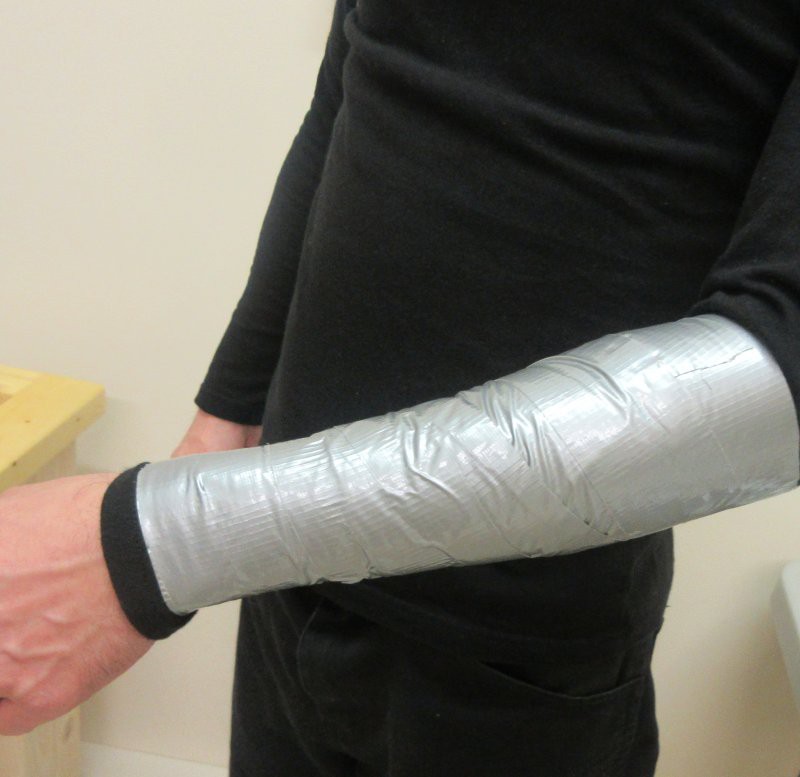
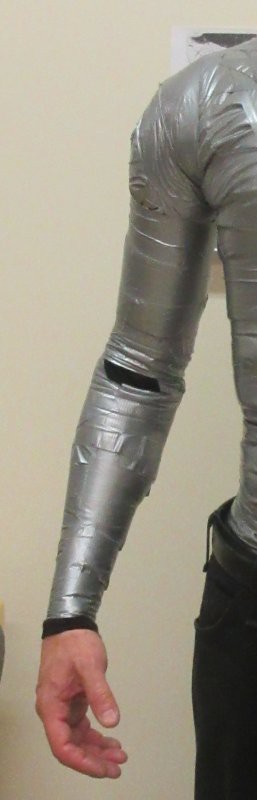
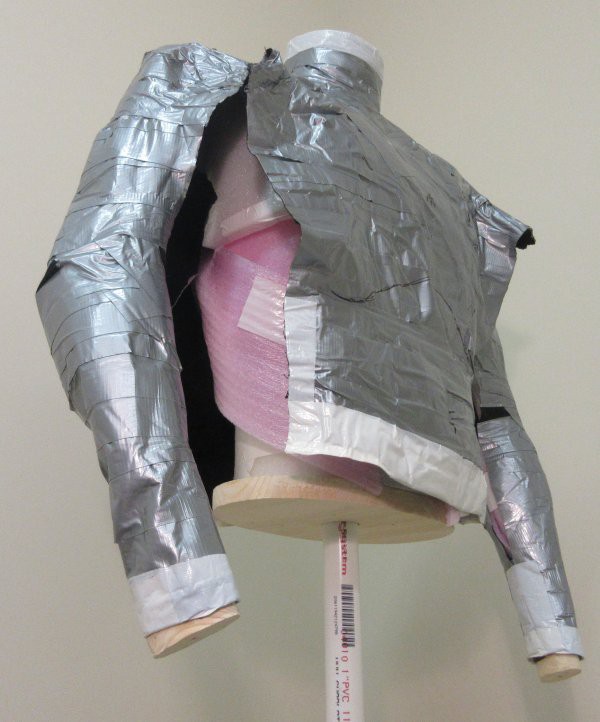
Up the side and then down the underside of the arm. This side is fully cinched up. It doesn't yet look neat, but you can see how the shape has been faithfully reproduced. Notice that the white tape, great in tension, was used for the elbow and shoulder joints all around.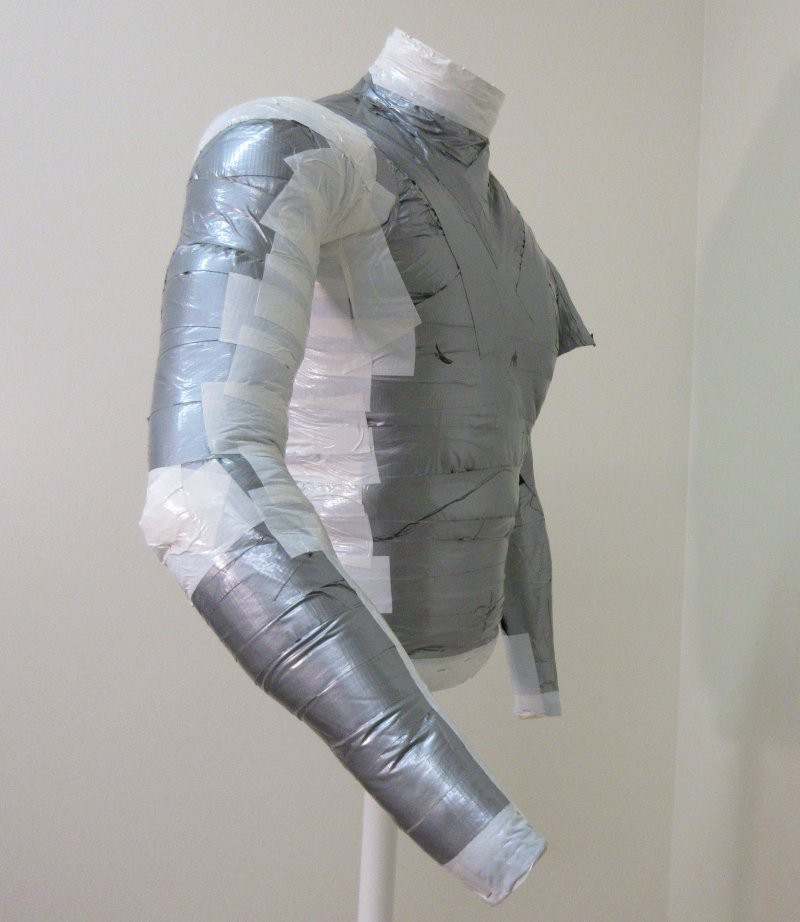
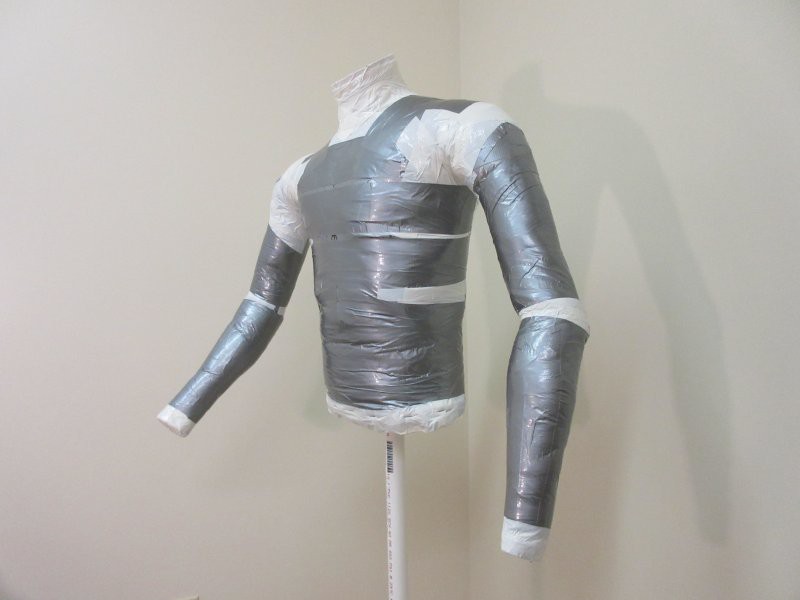
A different grey tape, one that is very flat and flexible, was used to smooth out the form. The skin tight wrapping is never going to be super uniform, because you have to pull on the tape to get it tight, and you just can't practically match that all around on an organic and squishy shape such as the body. But no matter, another layer of tape after the fact smooths things out and gives the form added strength, which is needed, because this thing can really articulate!
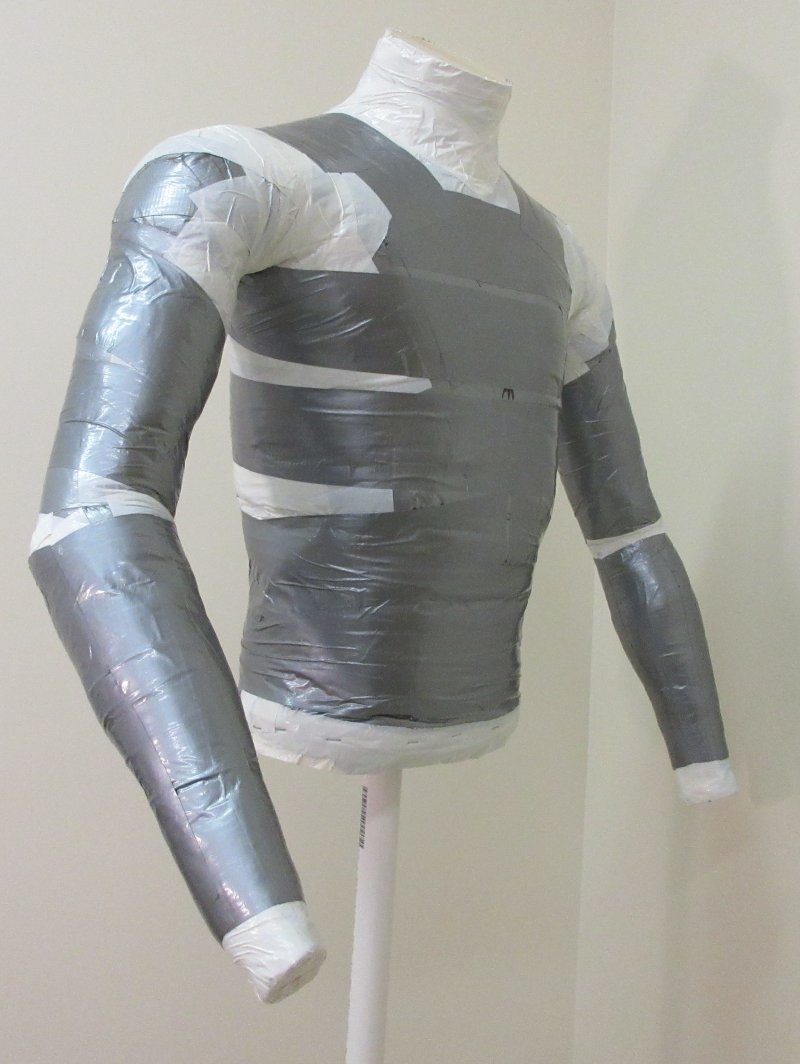
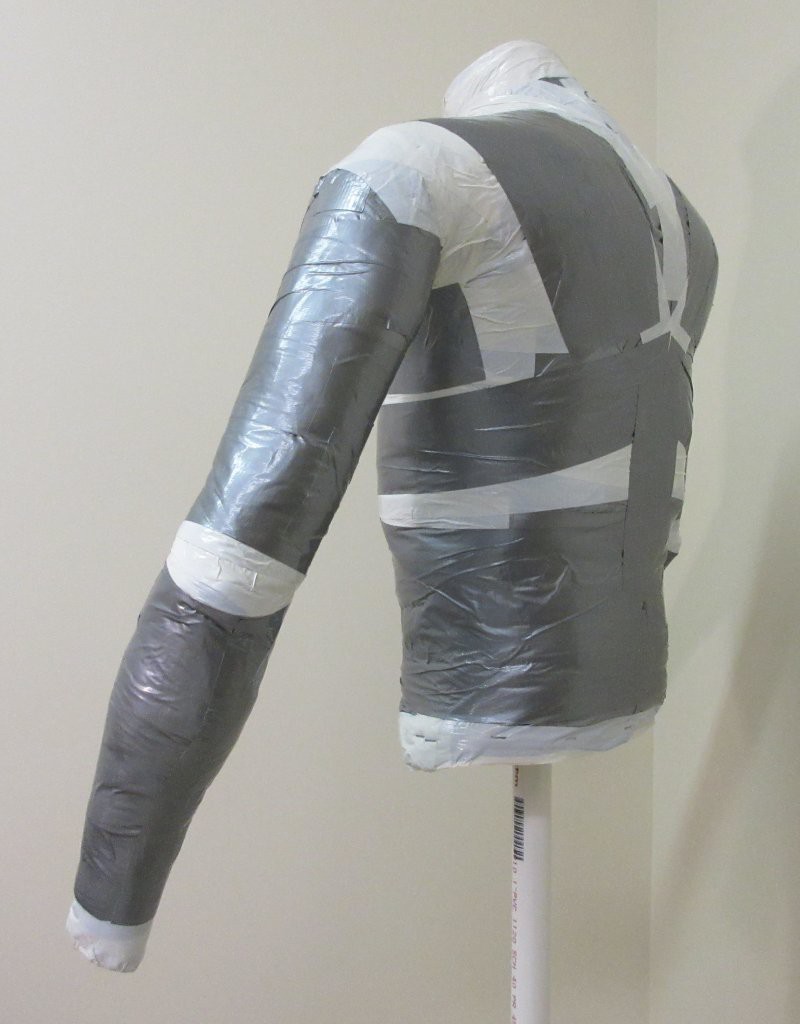
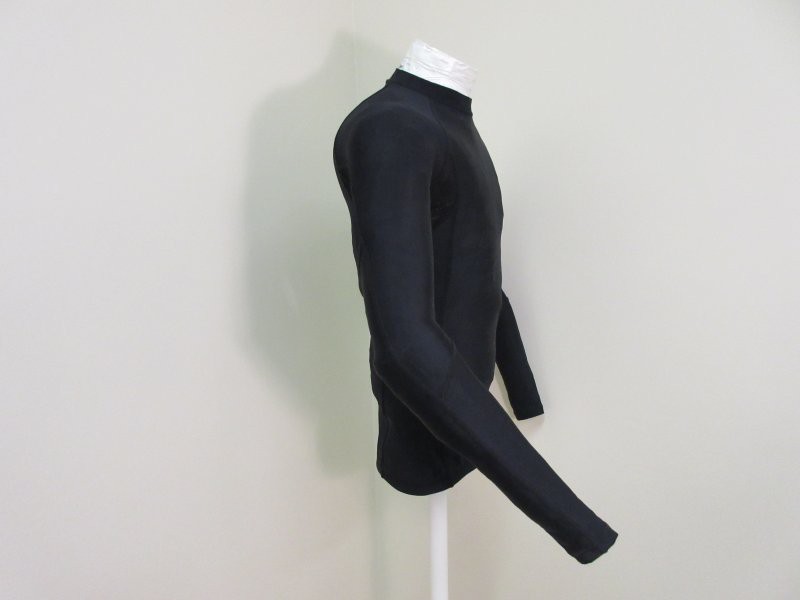
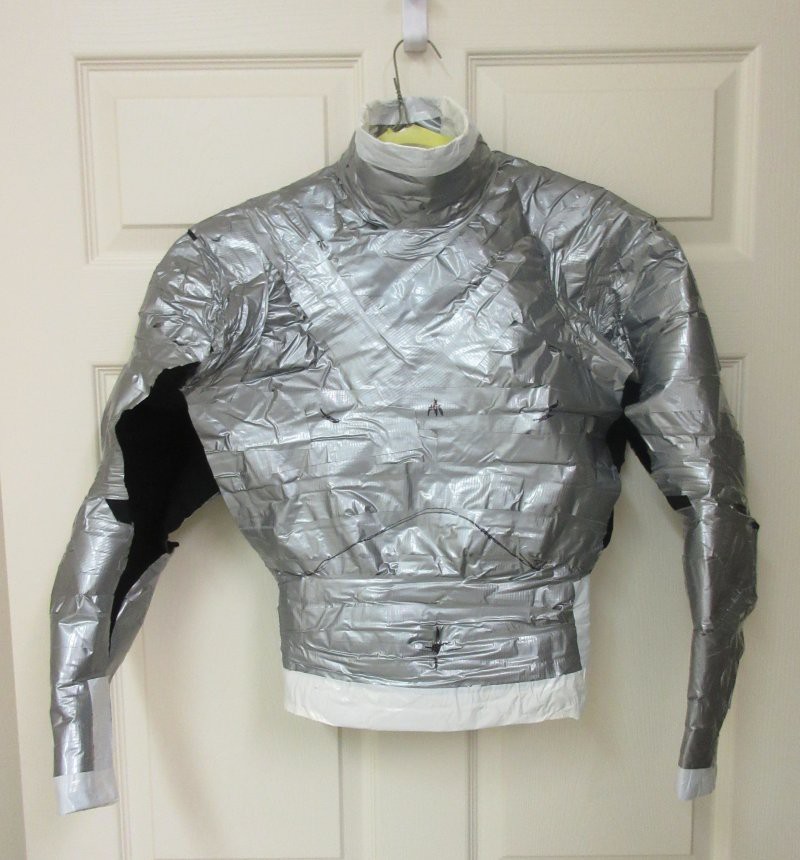
Here it is wearing a compression shirt, a new one for my next biometric shirt basis, which I will post about soon.