 Cameron
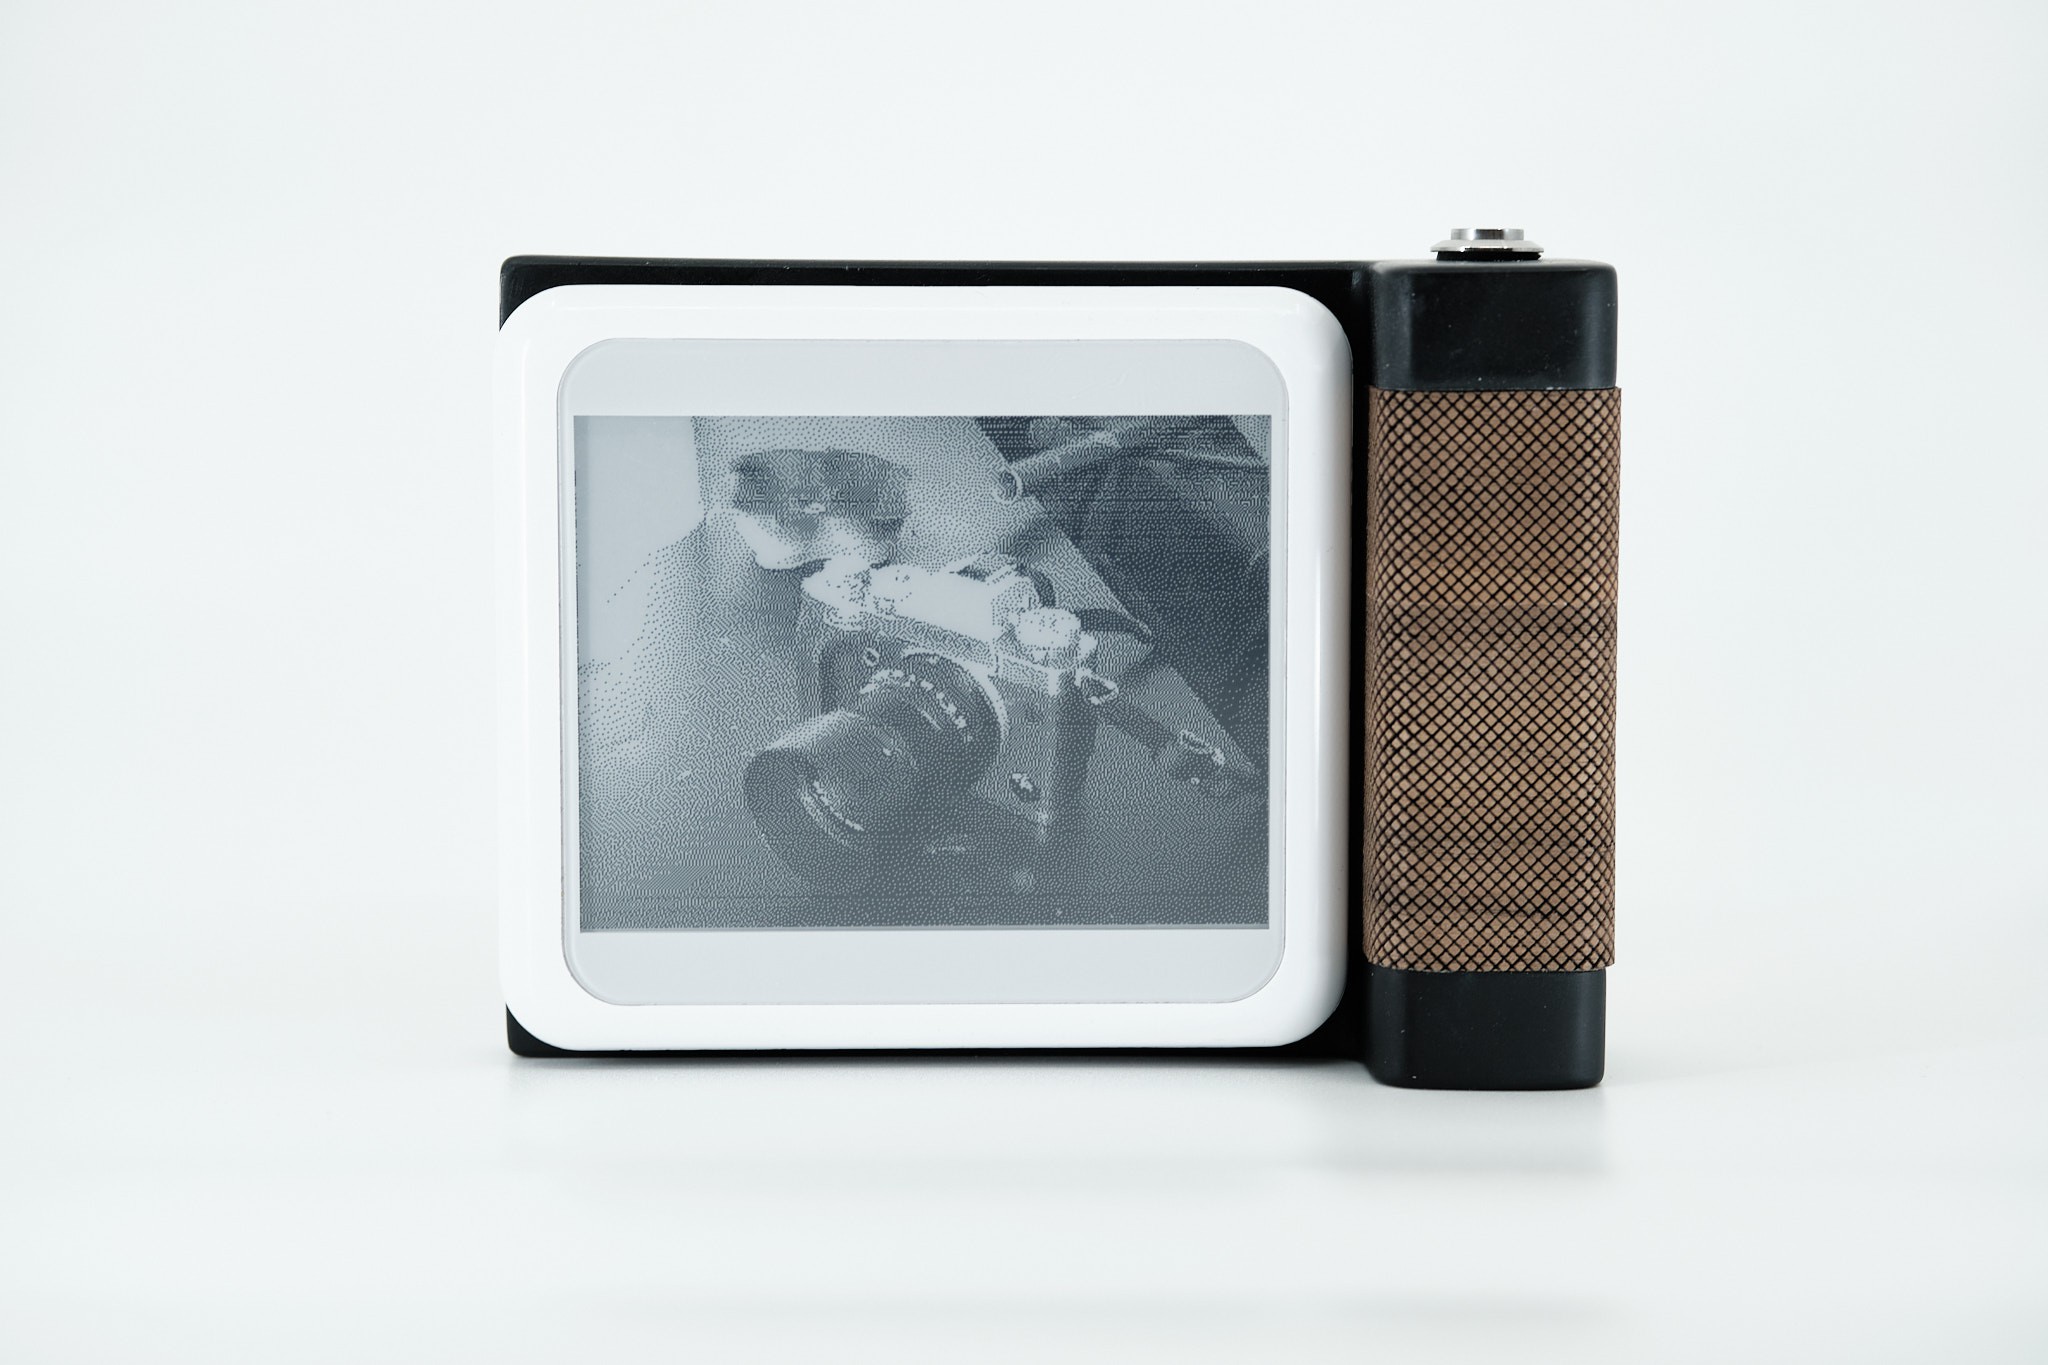
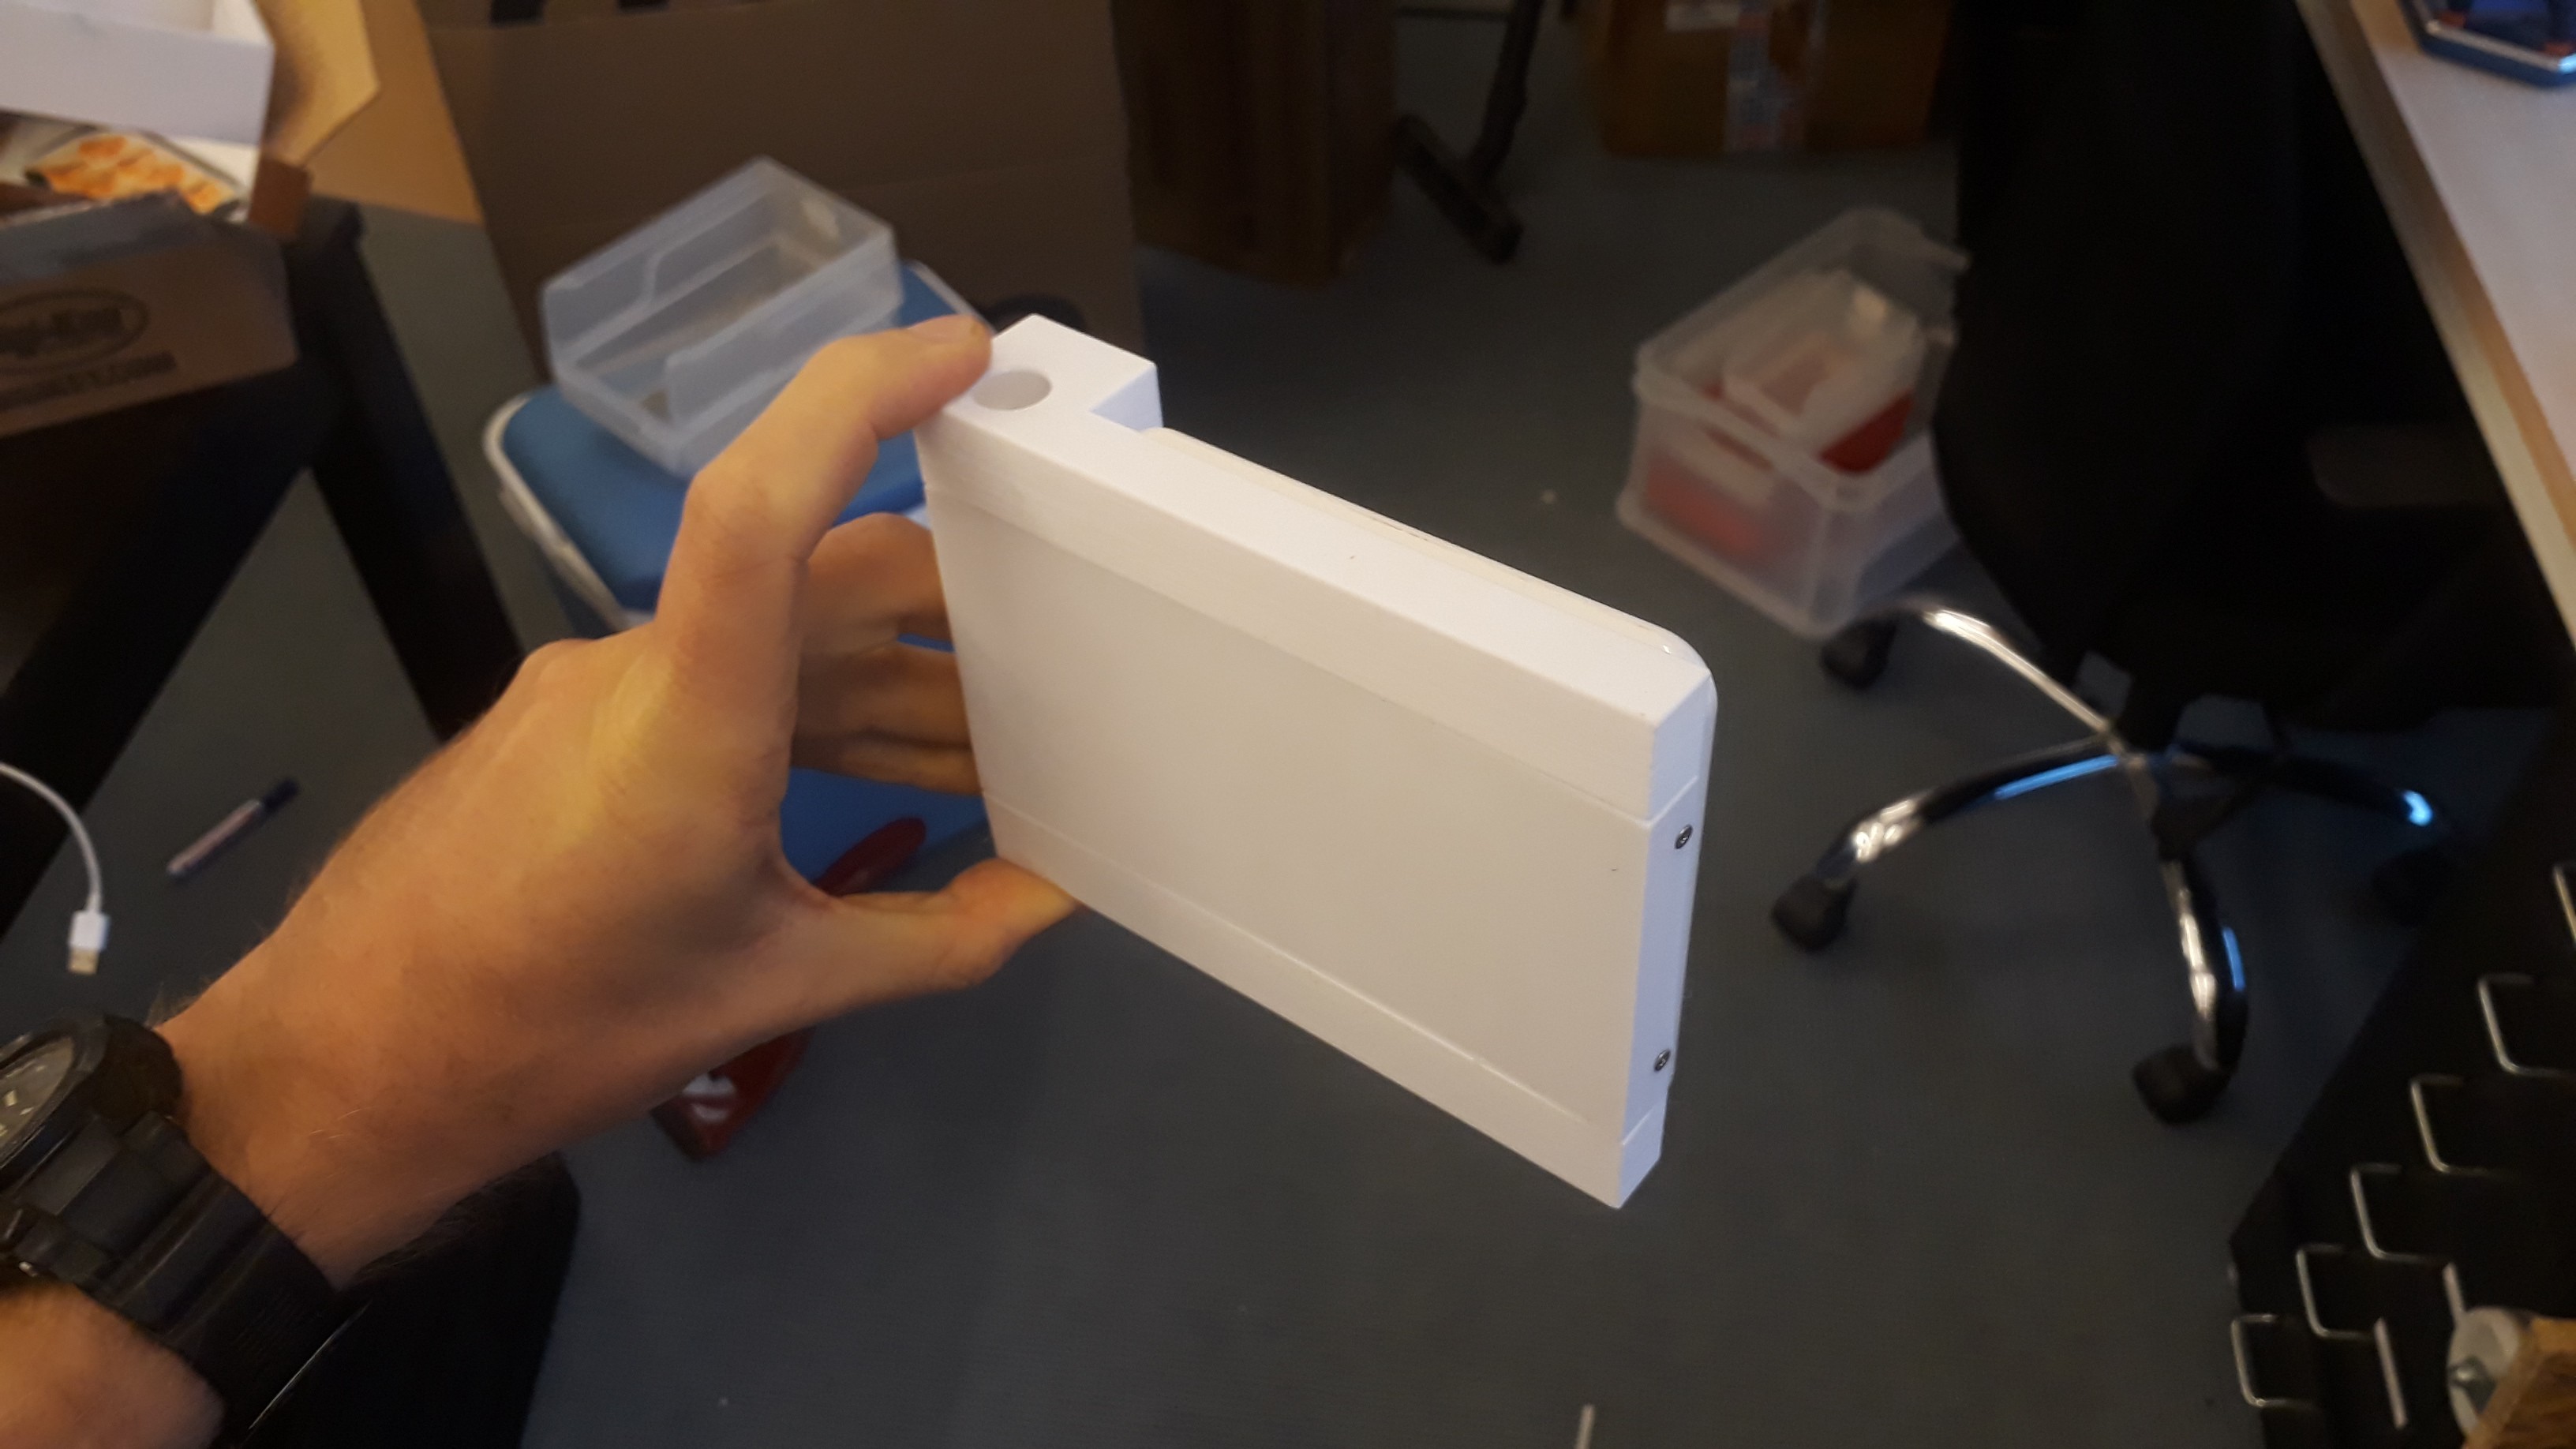
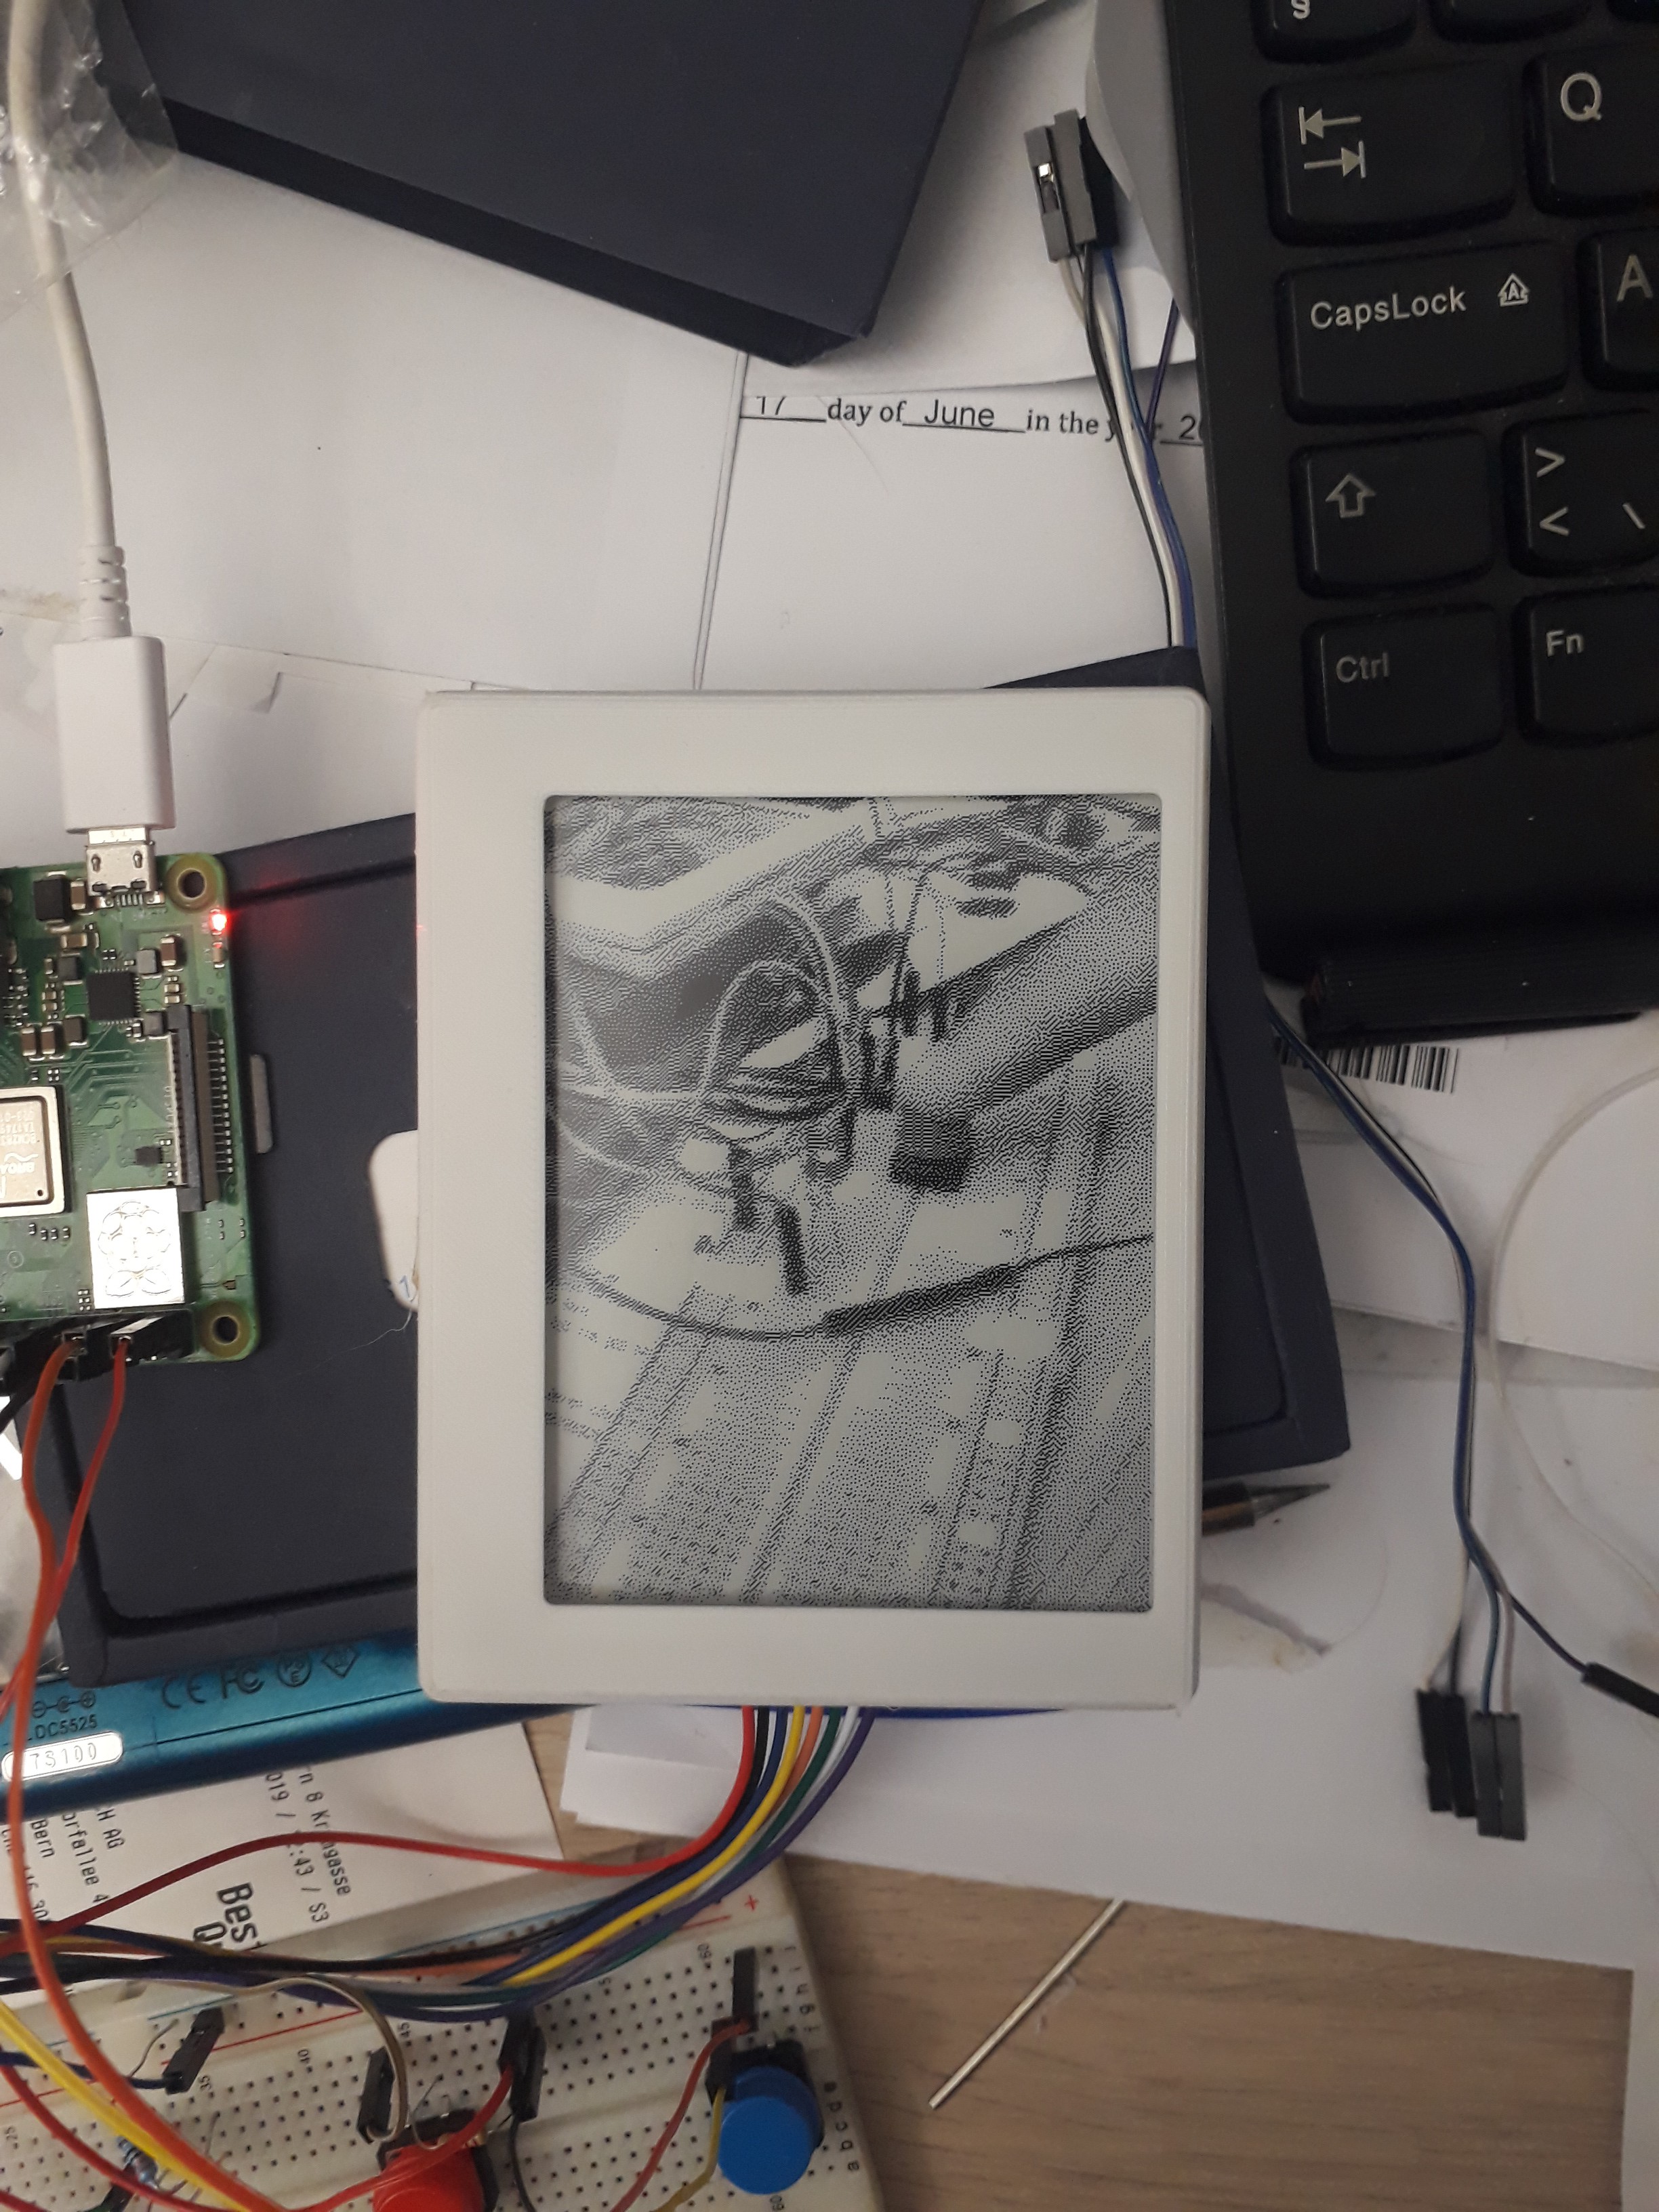
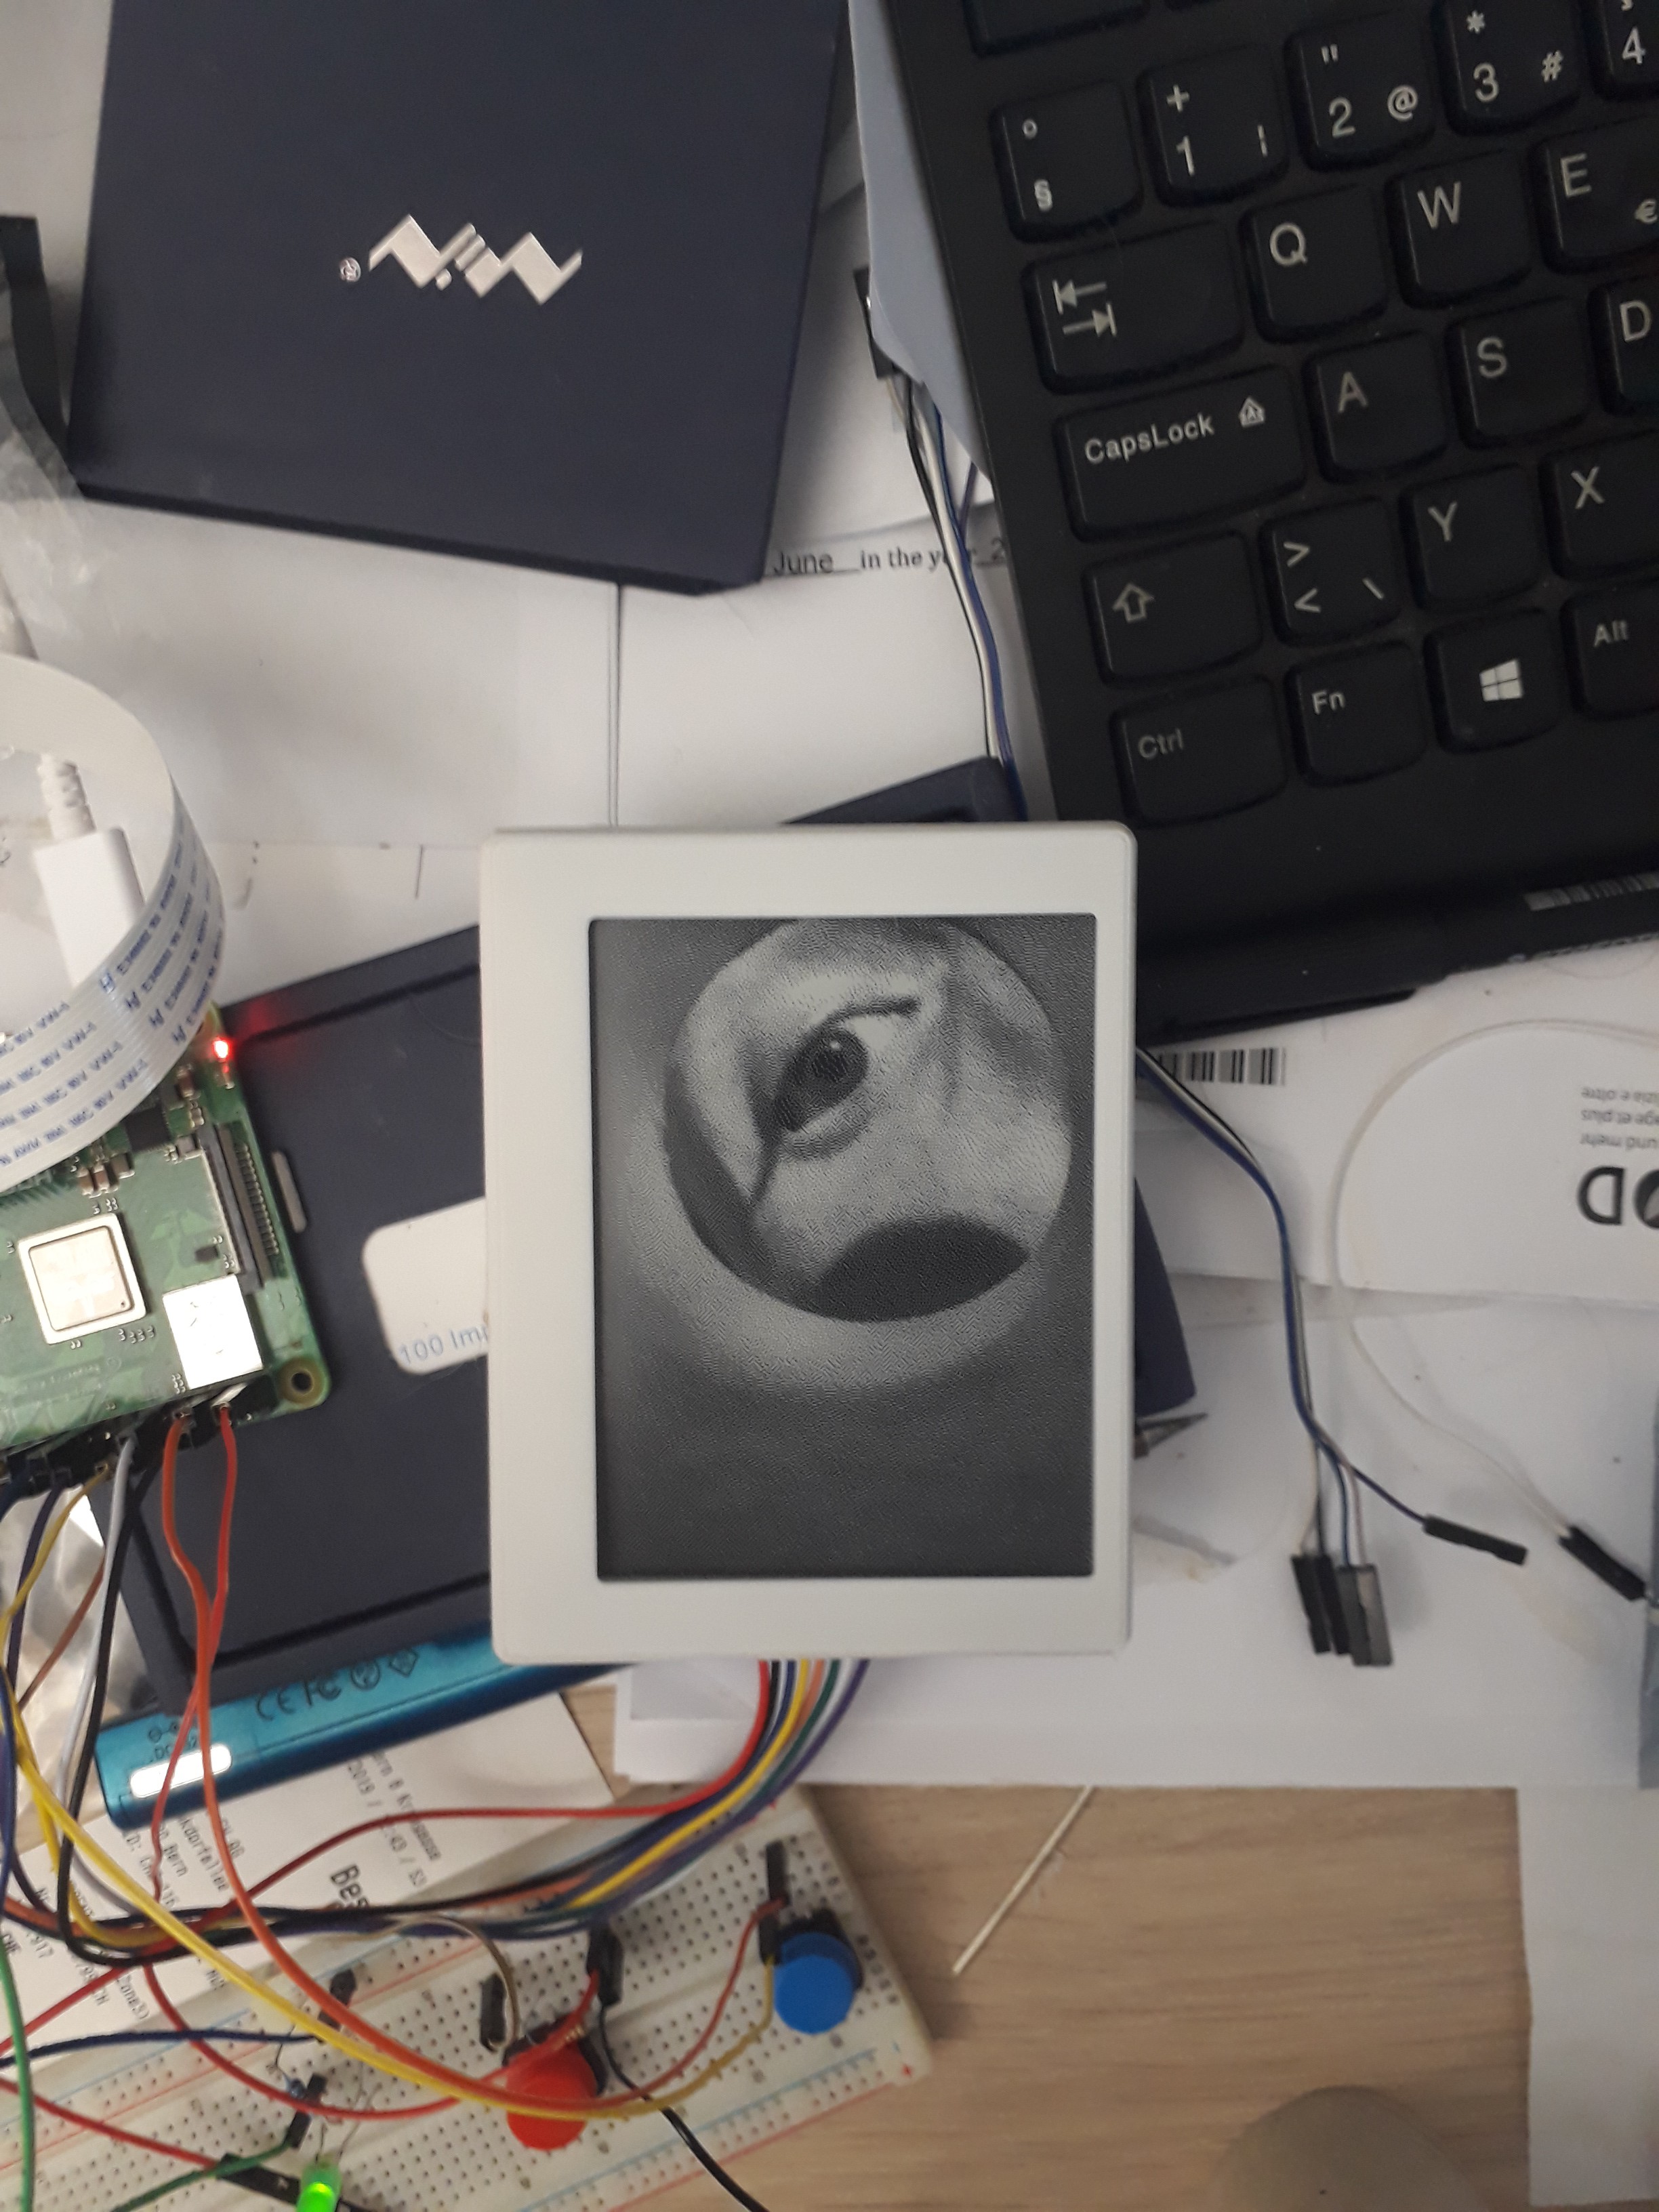
So this is a camera that takes a picture and shows it directly on an e-paper screen. The e-paper screen is updated and powered via NFC, so no connectors (and no batteries) are needed, and it is held in place on the camera by magnets. Once the picture is taken, you can hang the picture up on your fridge if you like.
If you want to take a new photo though, you need to make the decision - will the new photo be worth losing an old one forever? Of course you could also buy more NFC e-paper screens, but oh boy are those prices prohibitive.
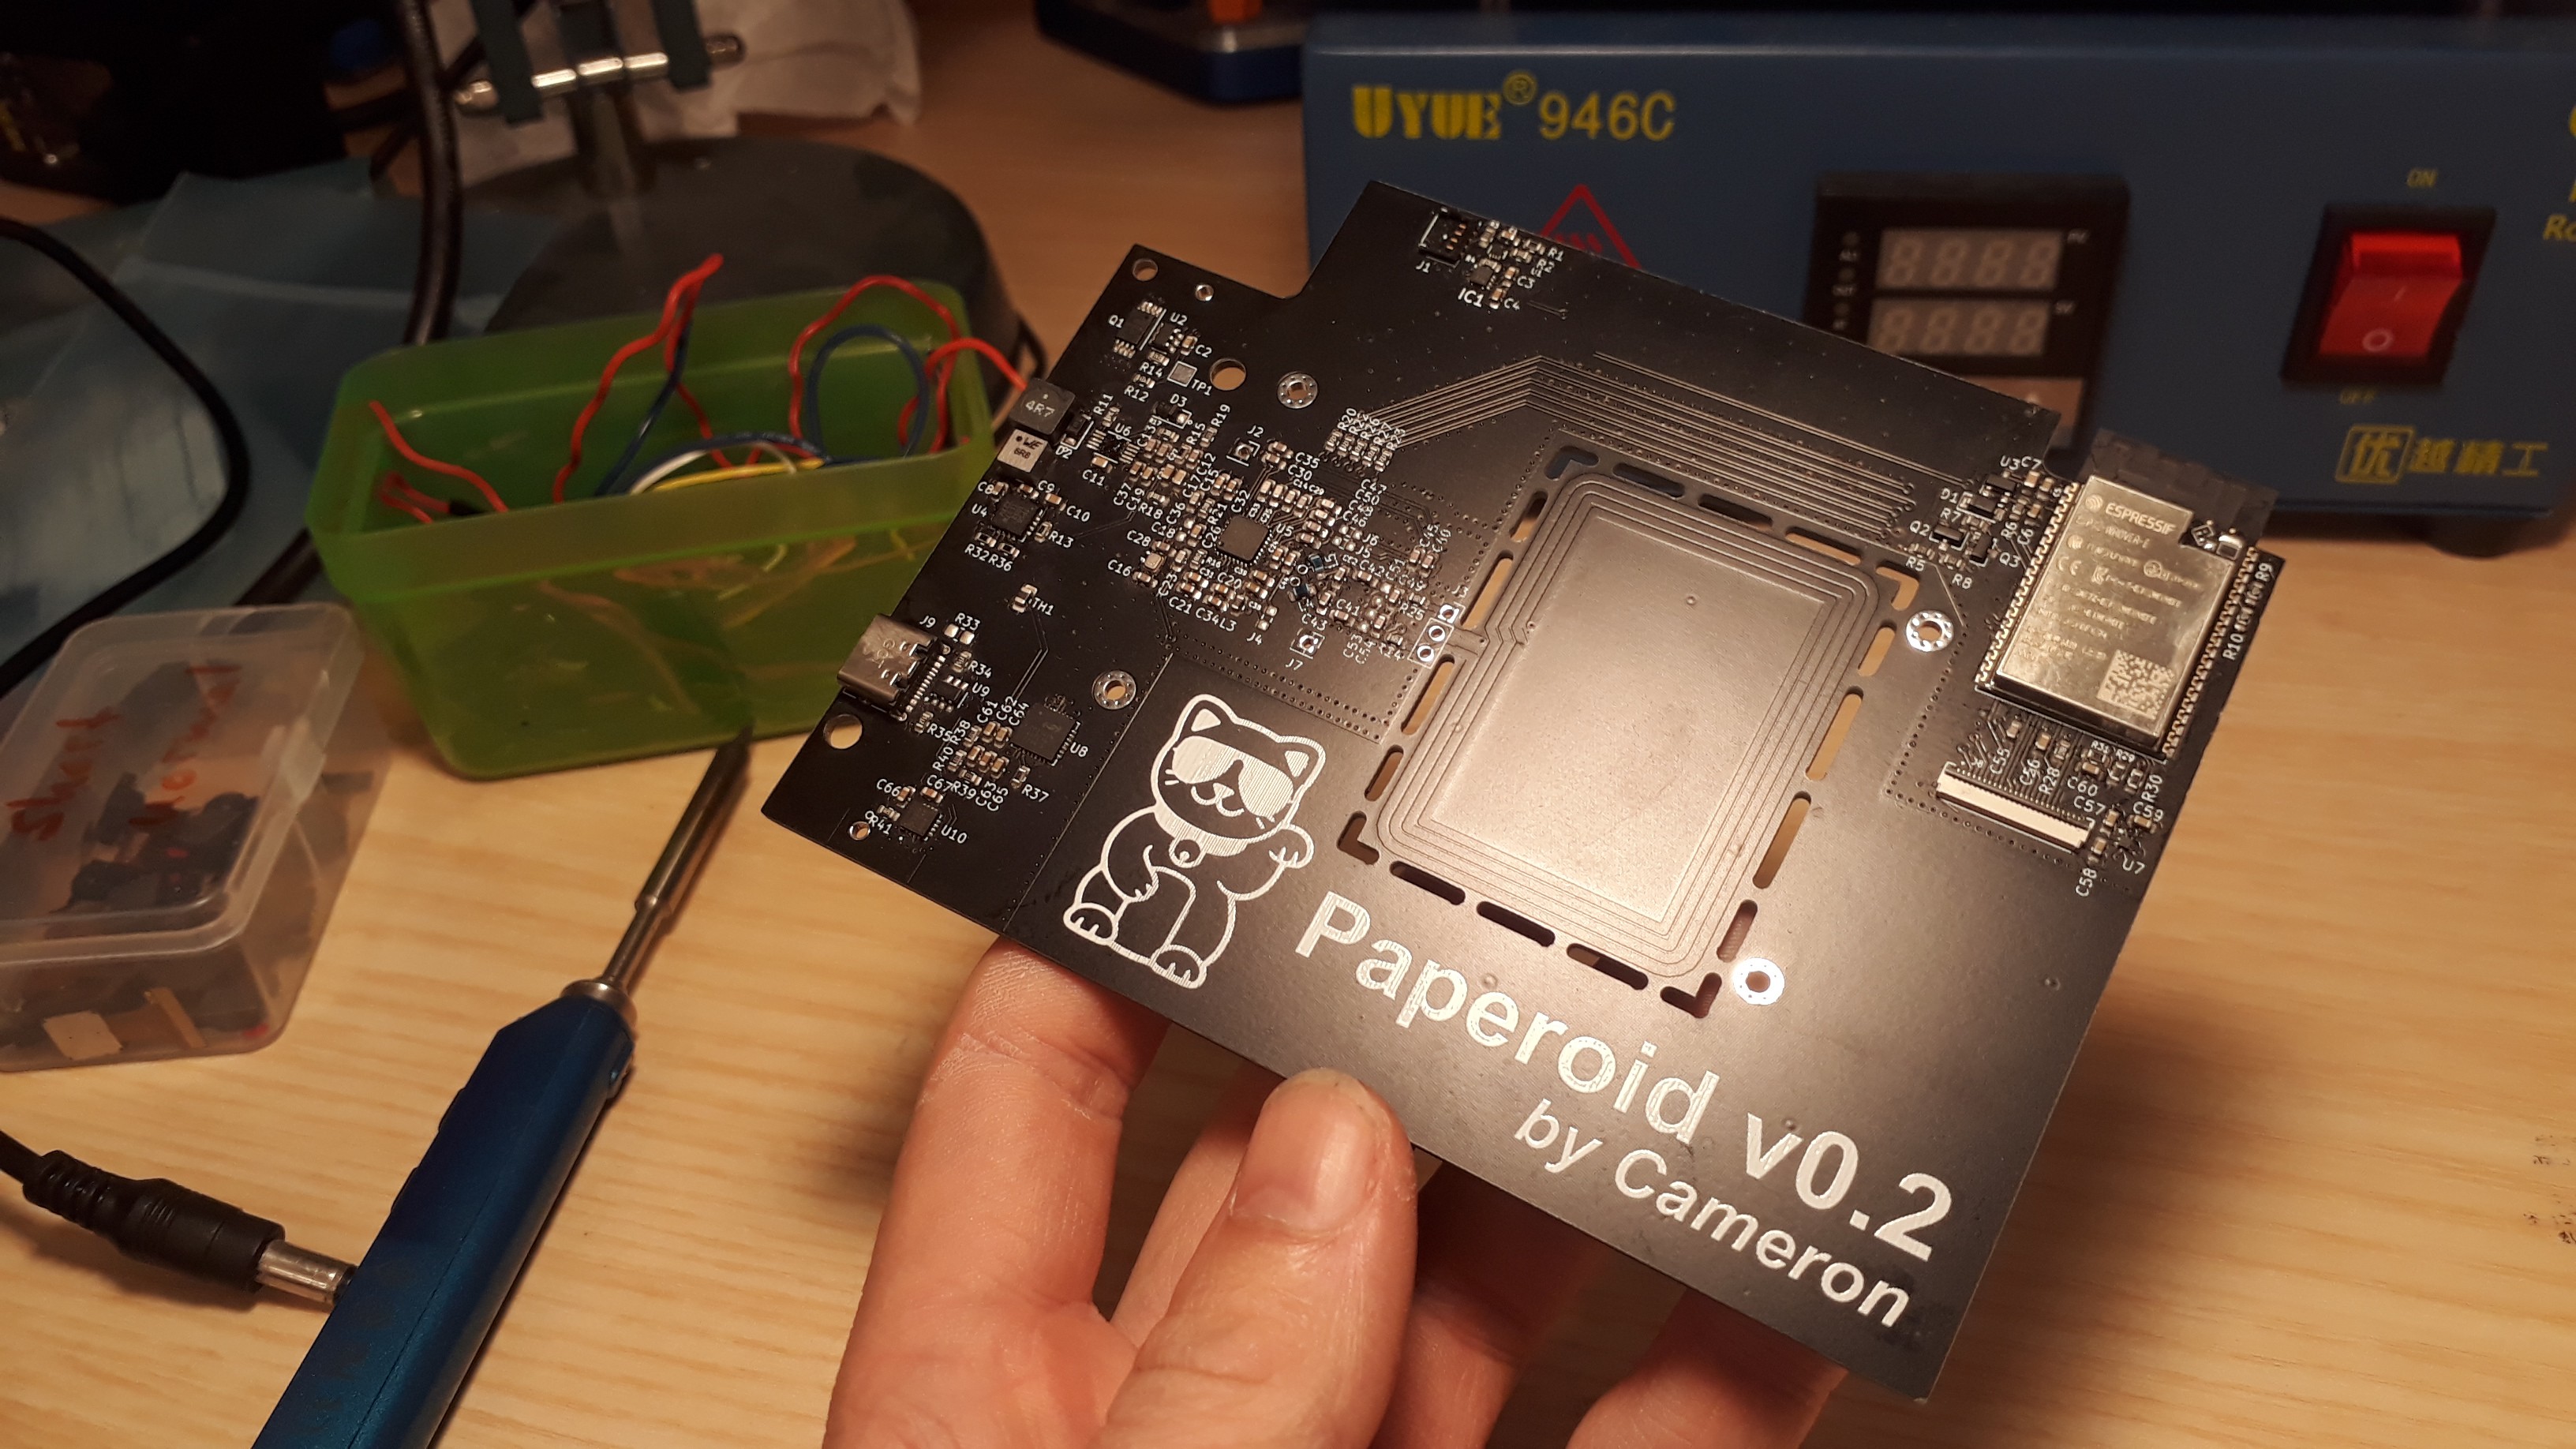
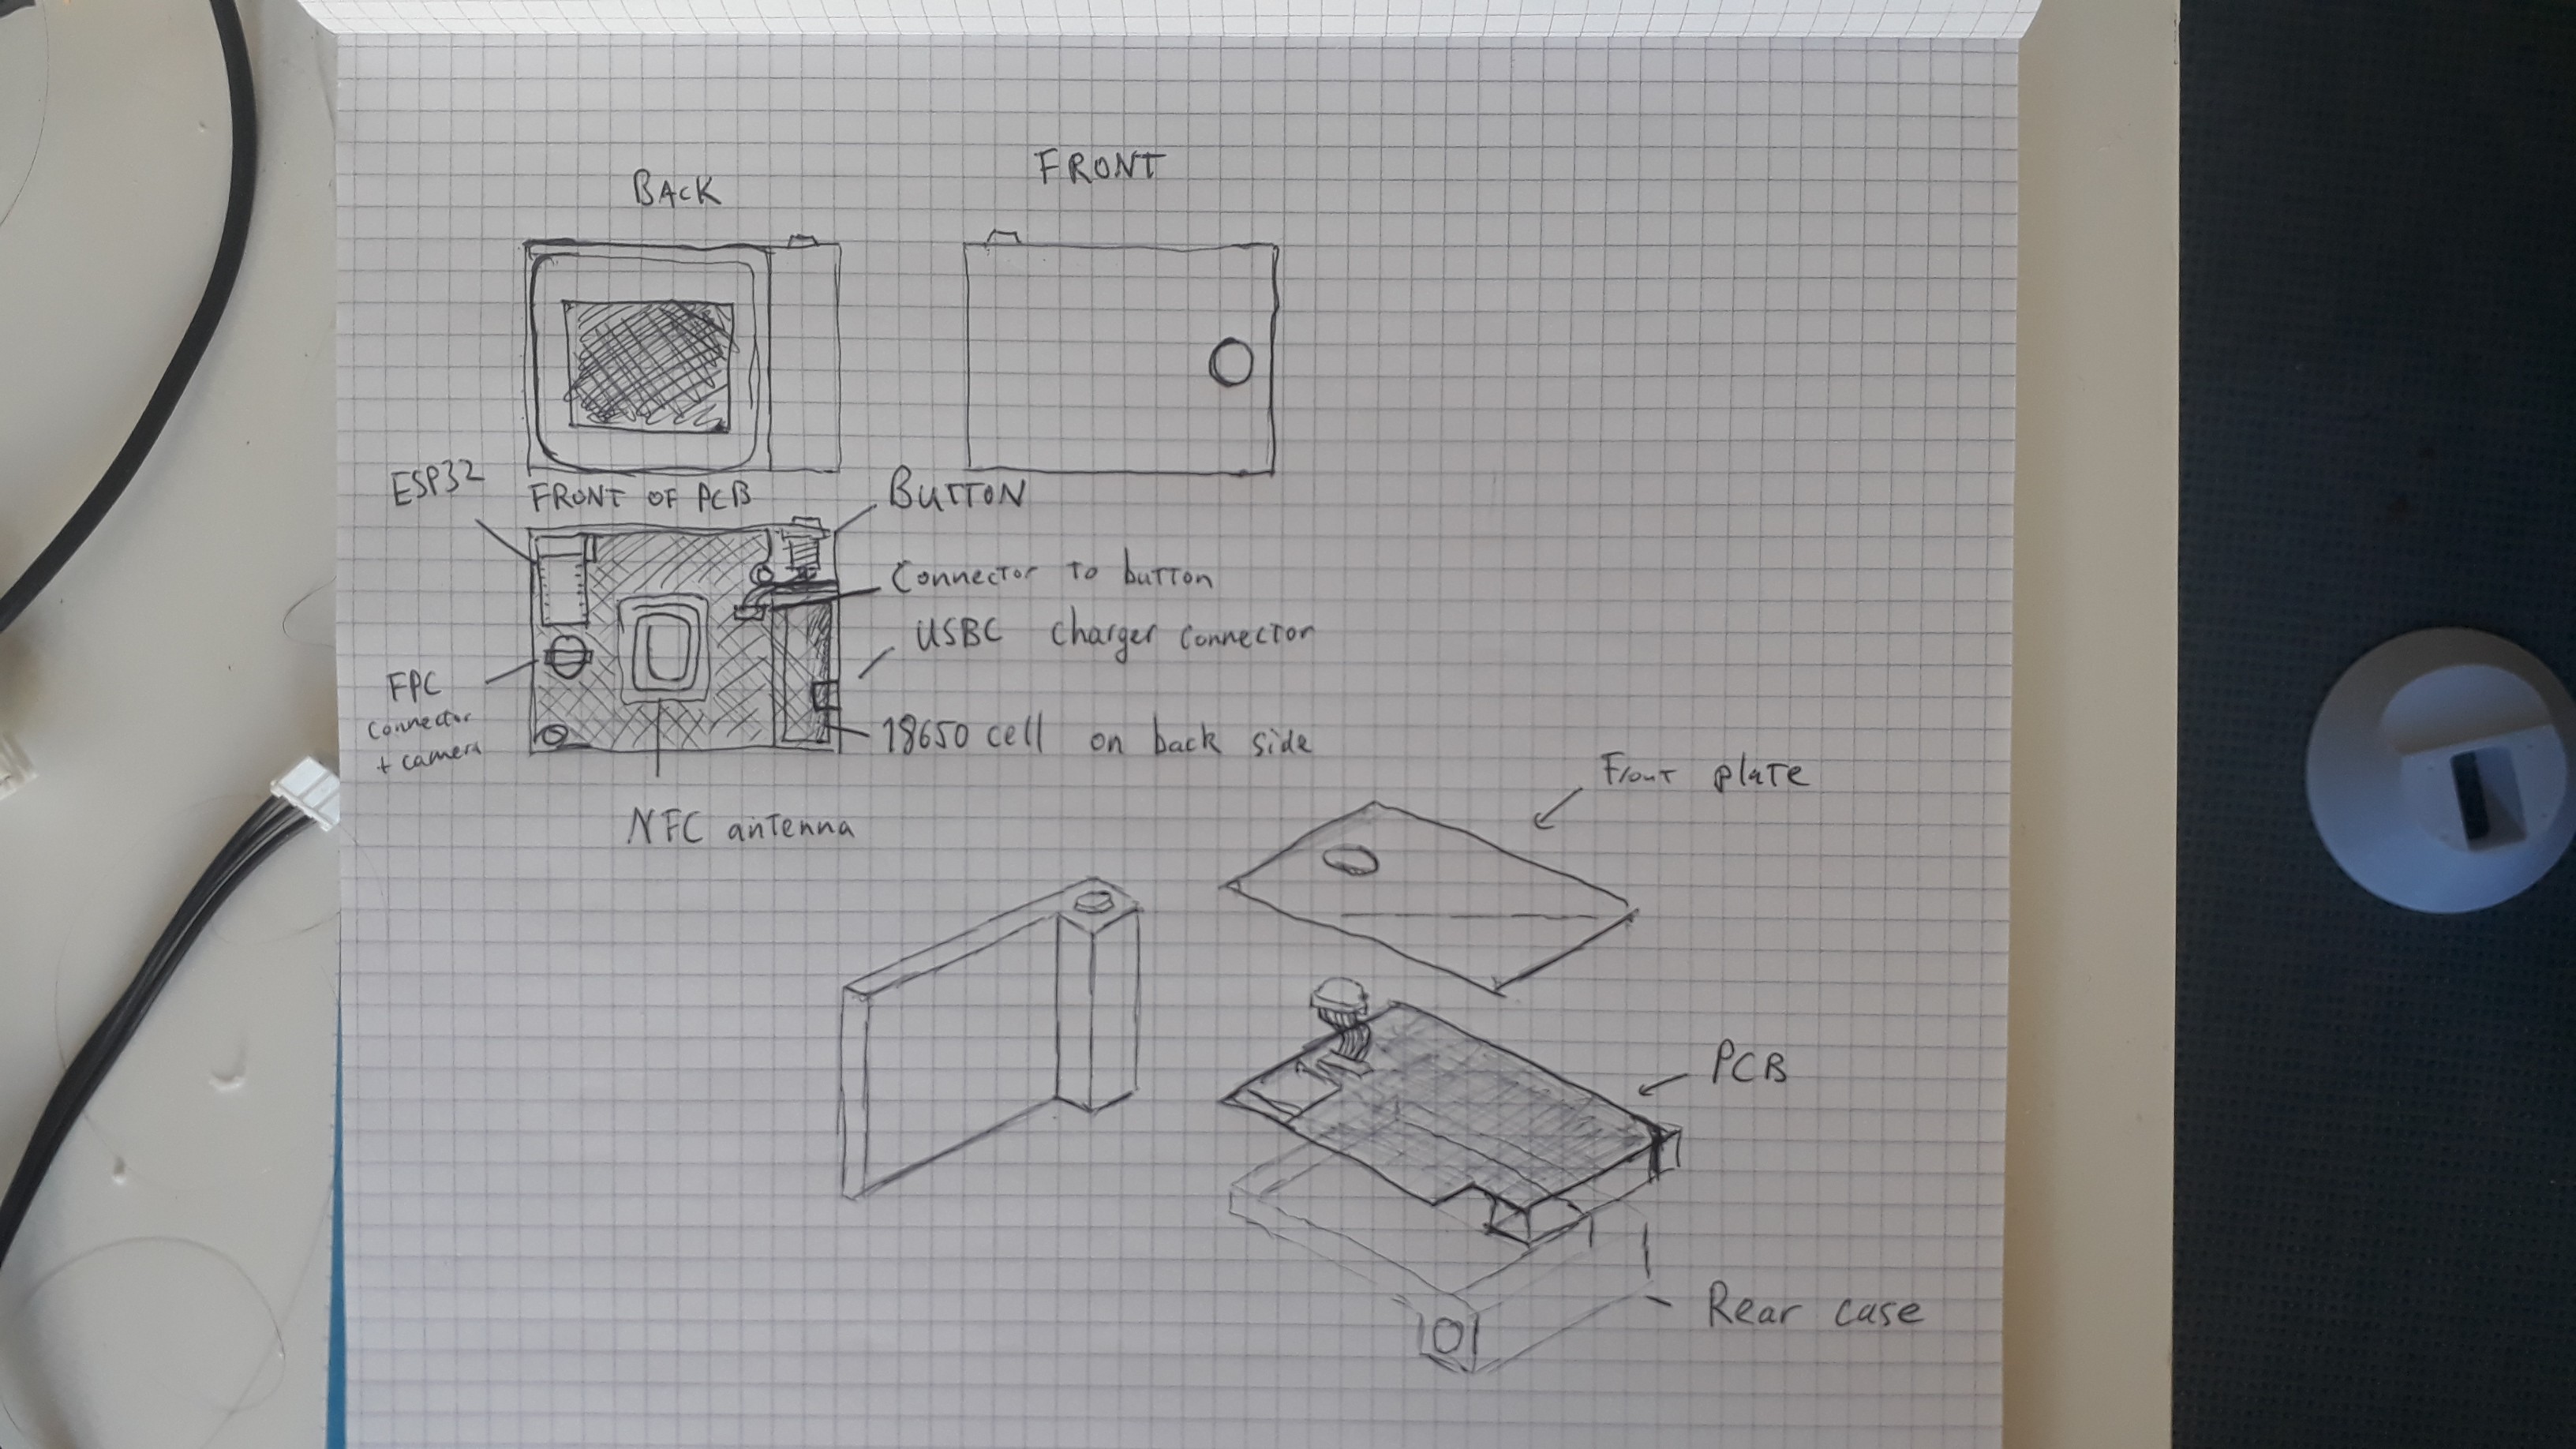
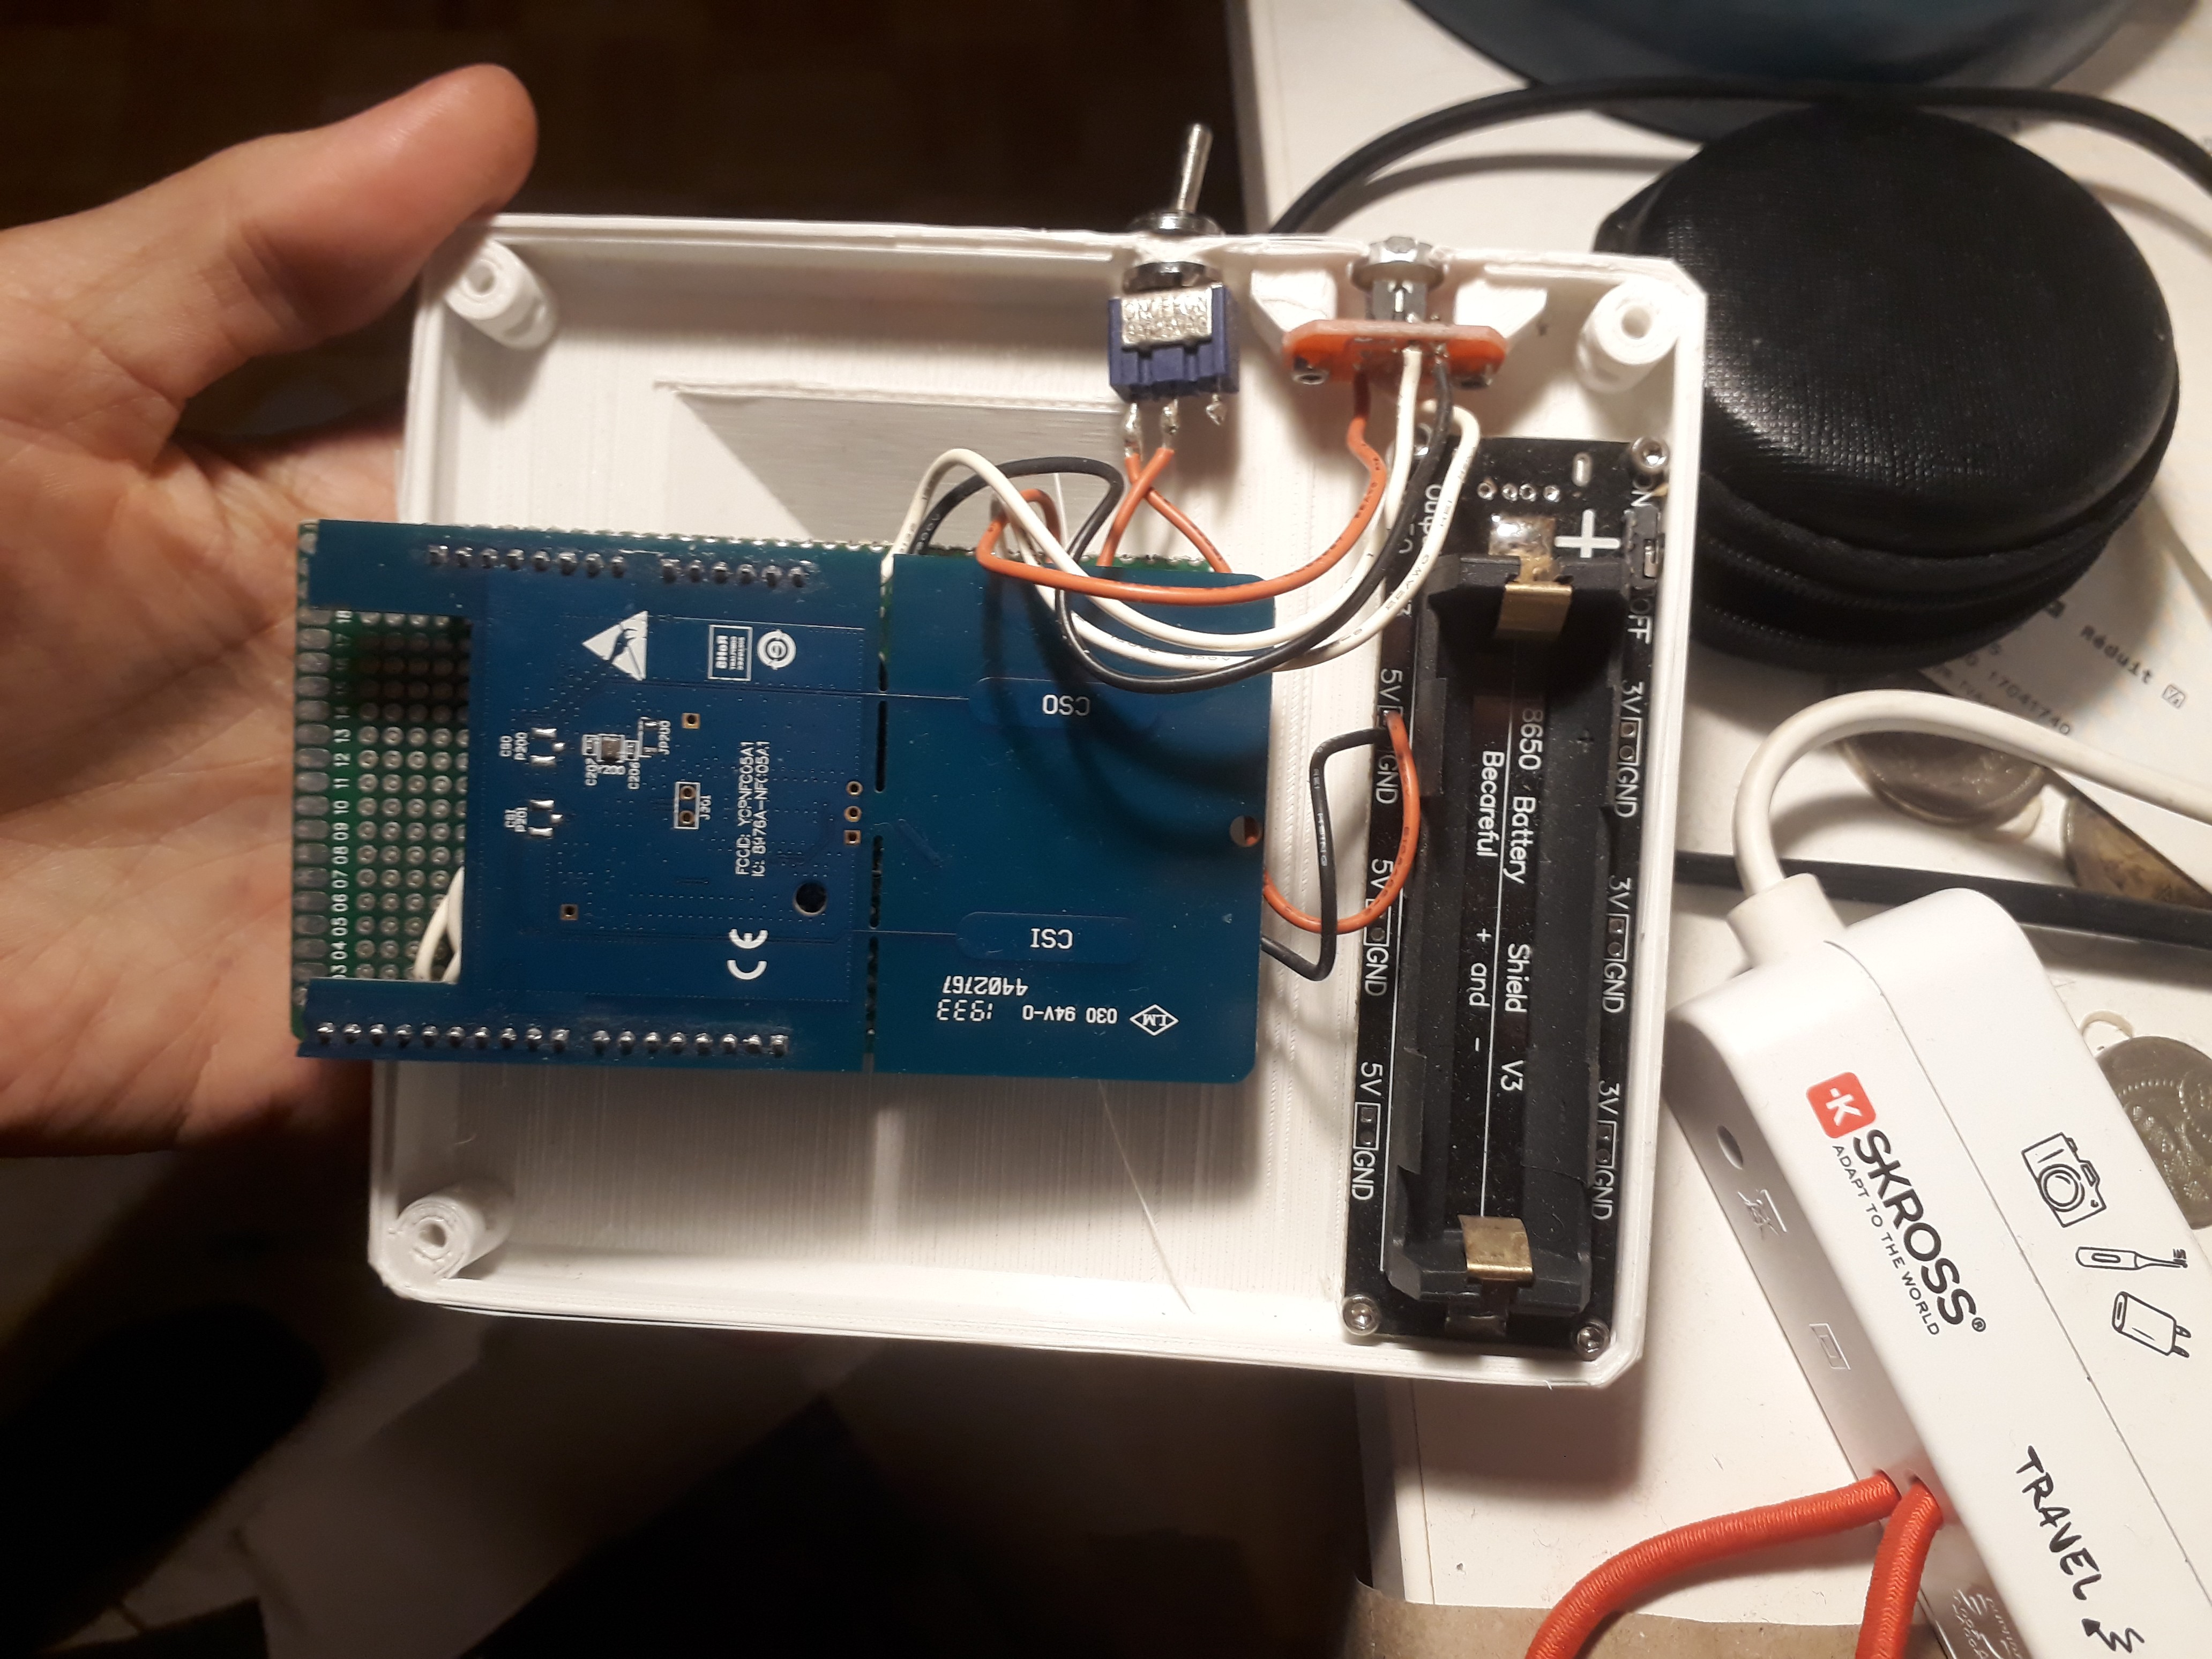
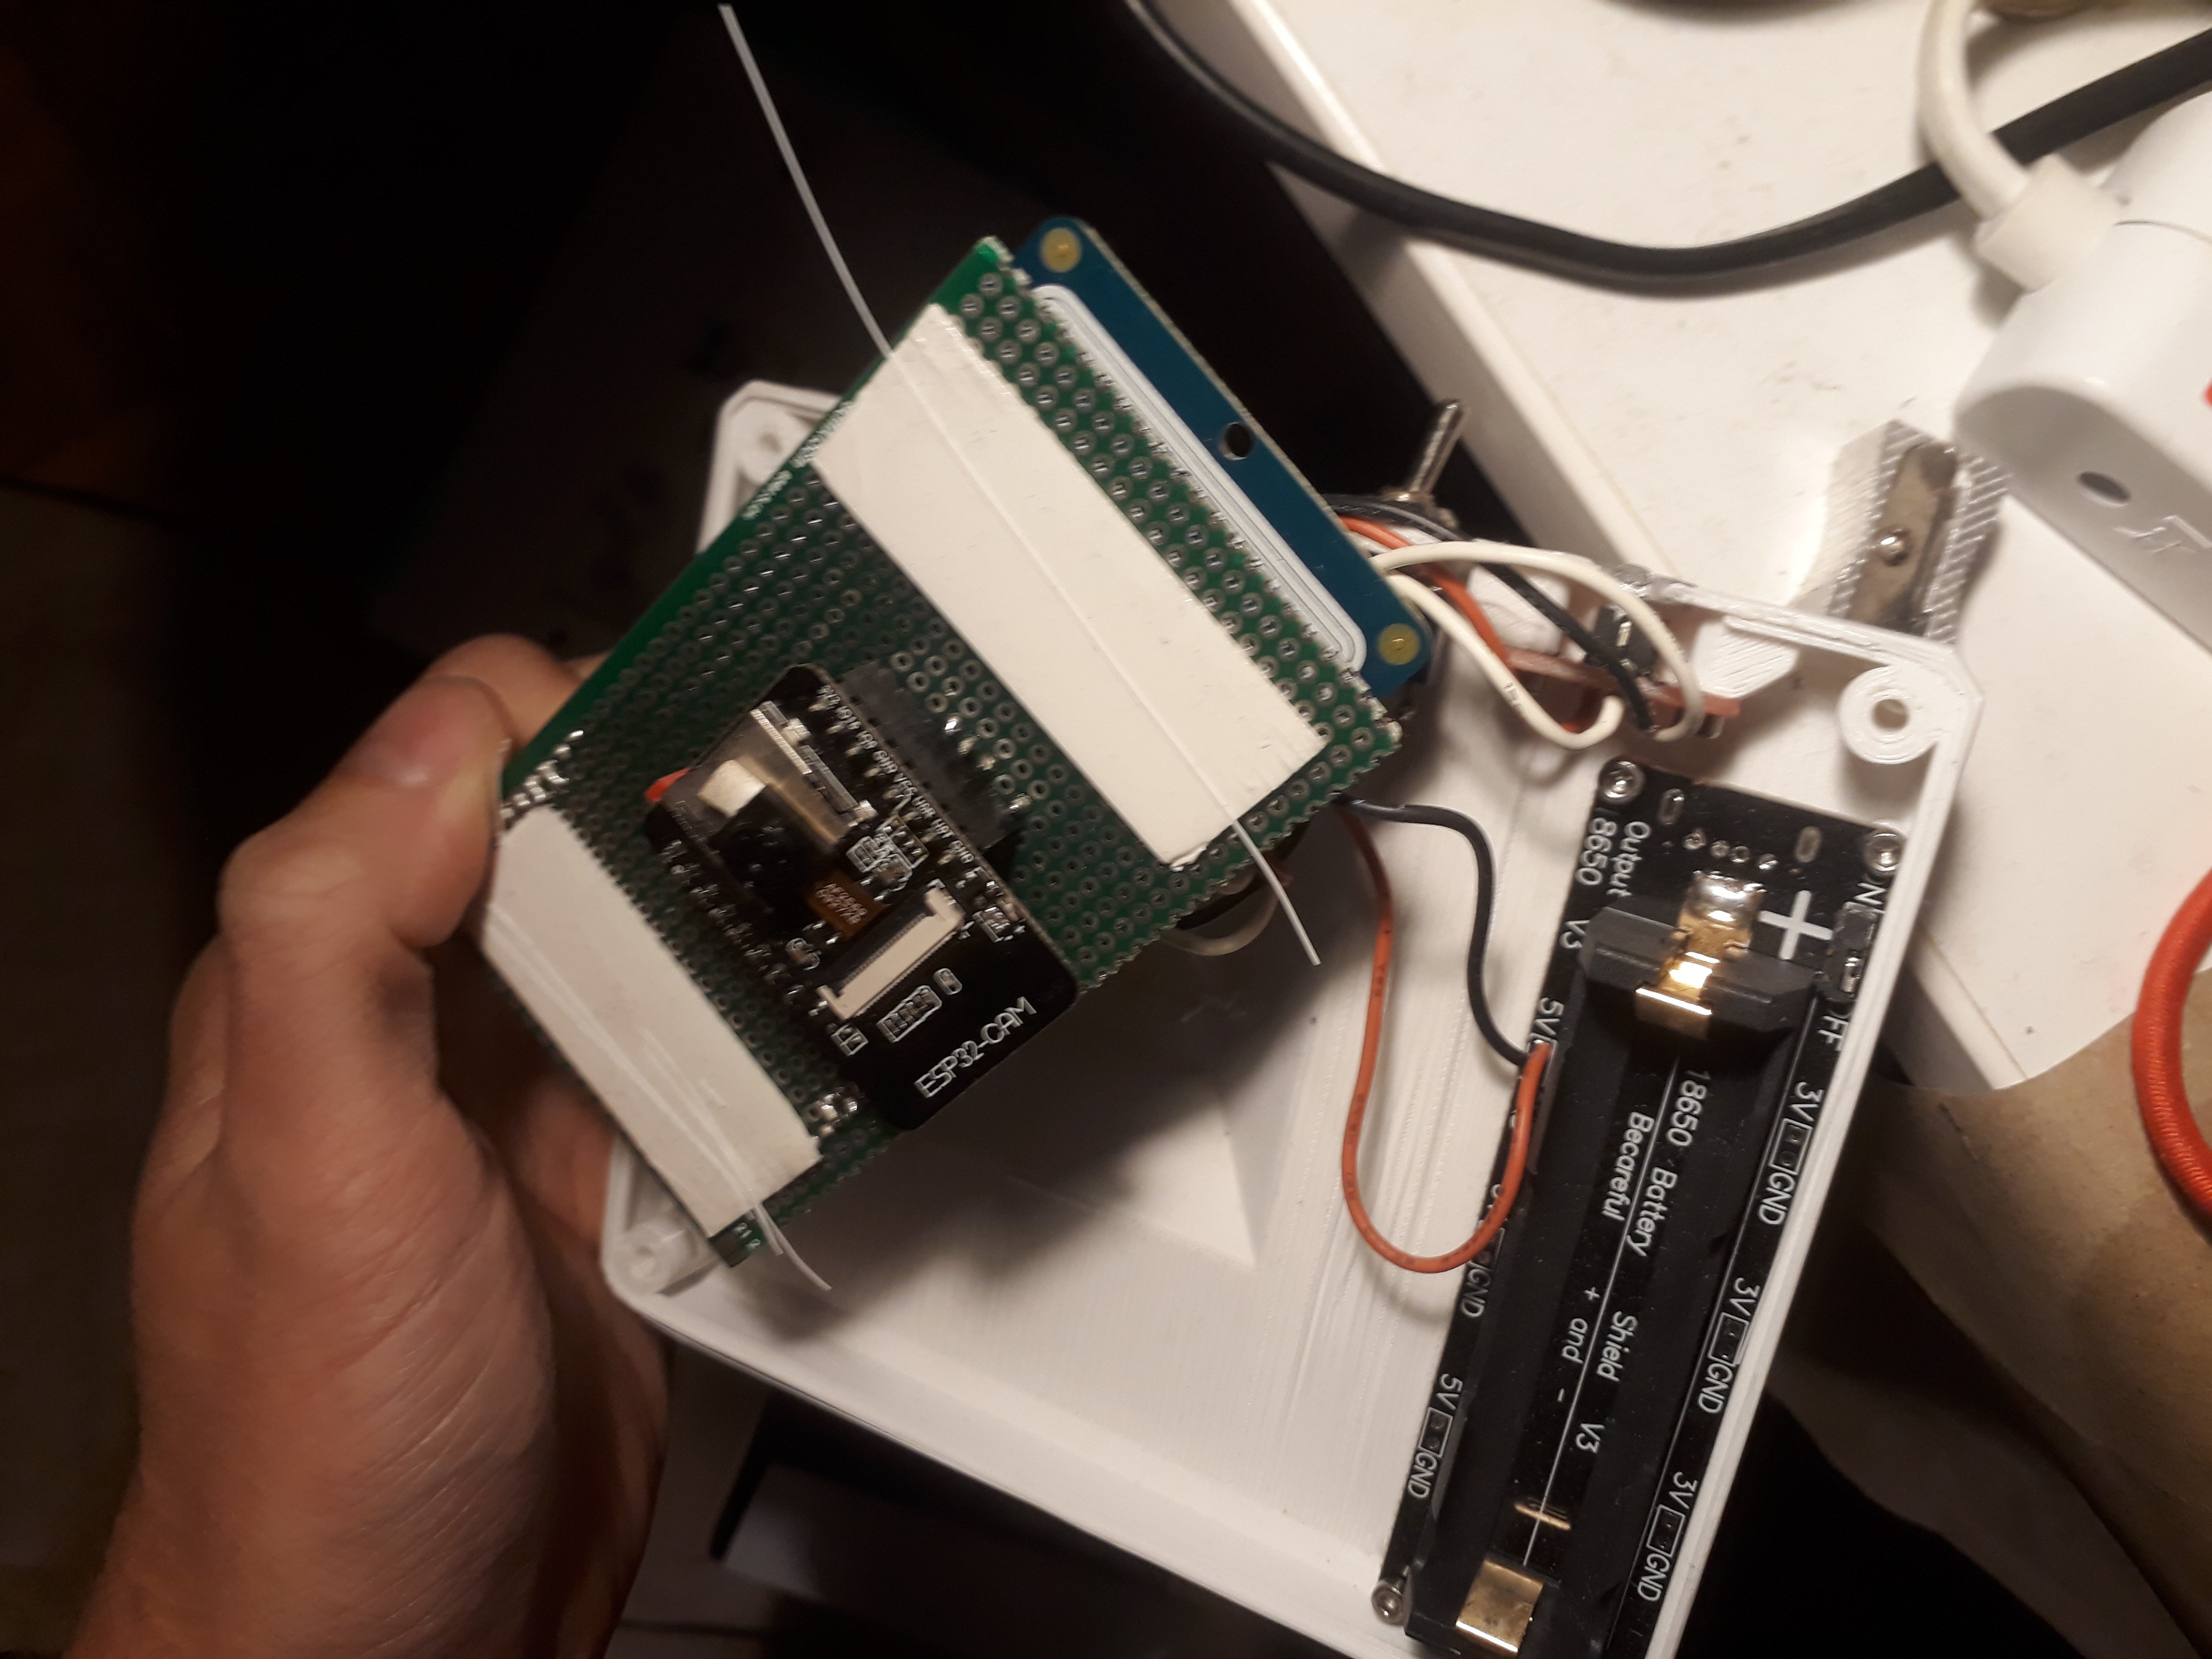
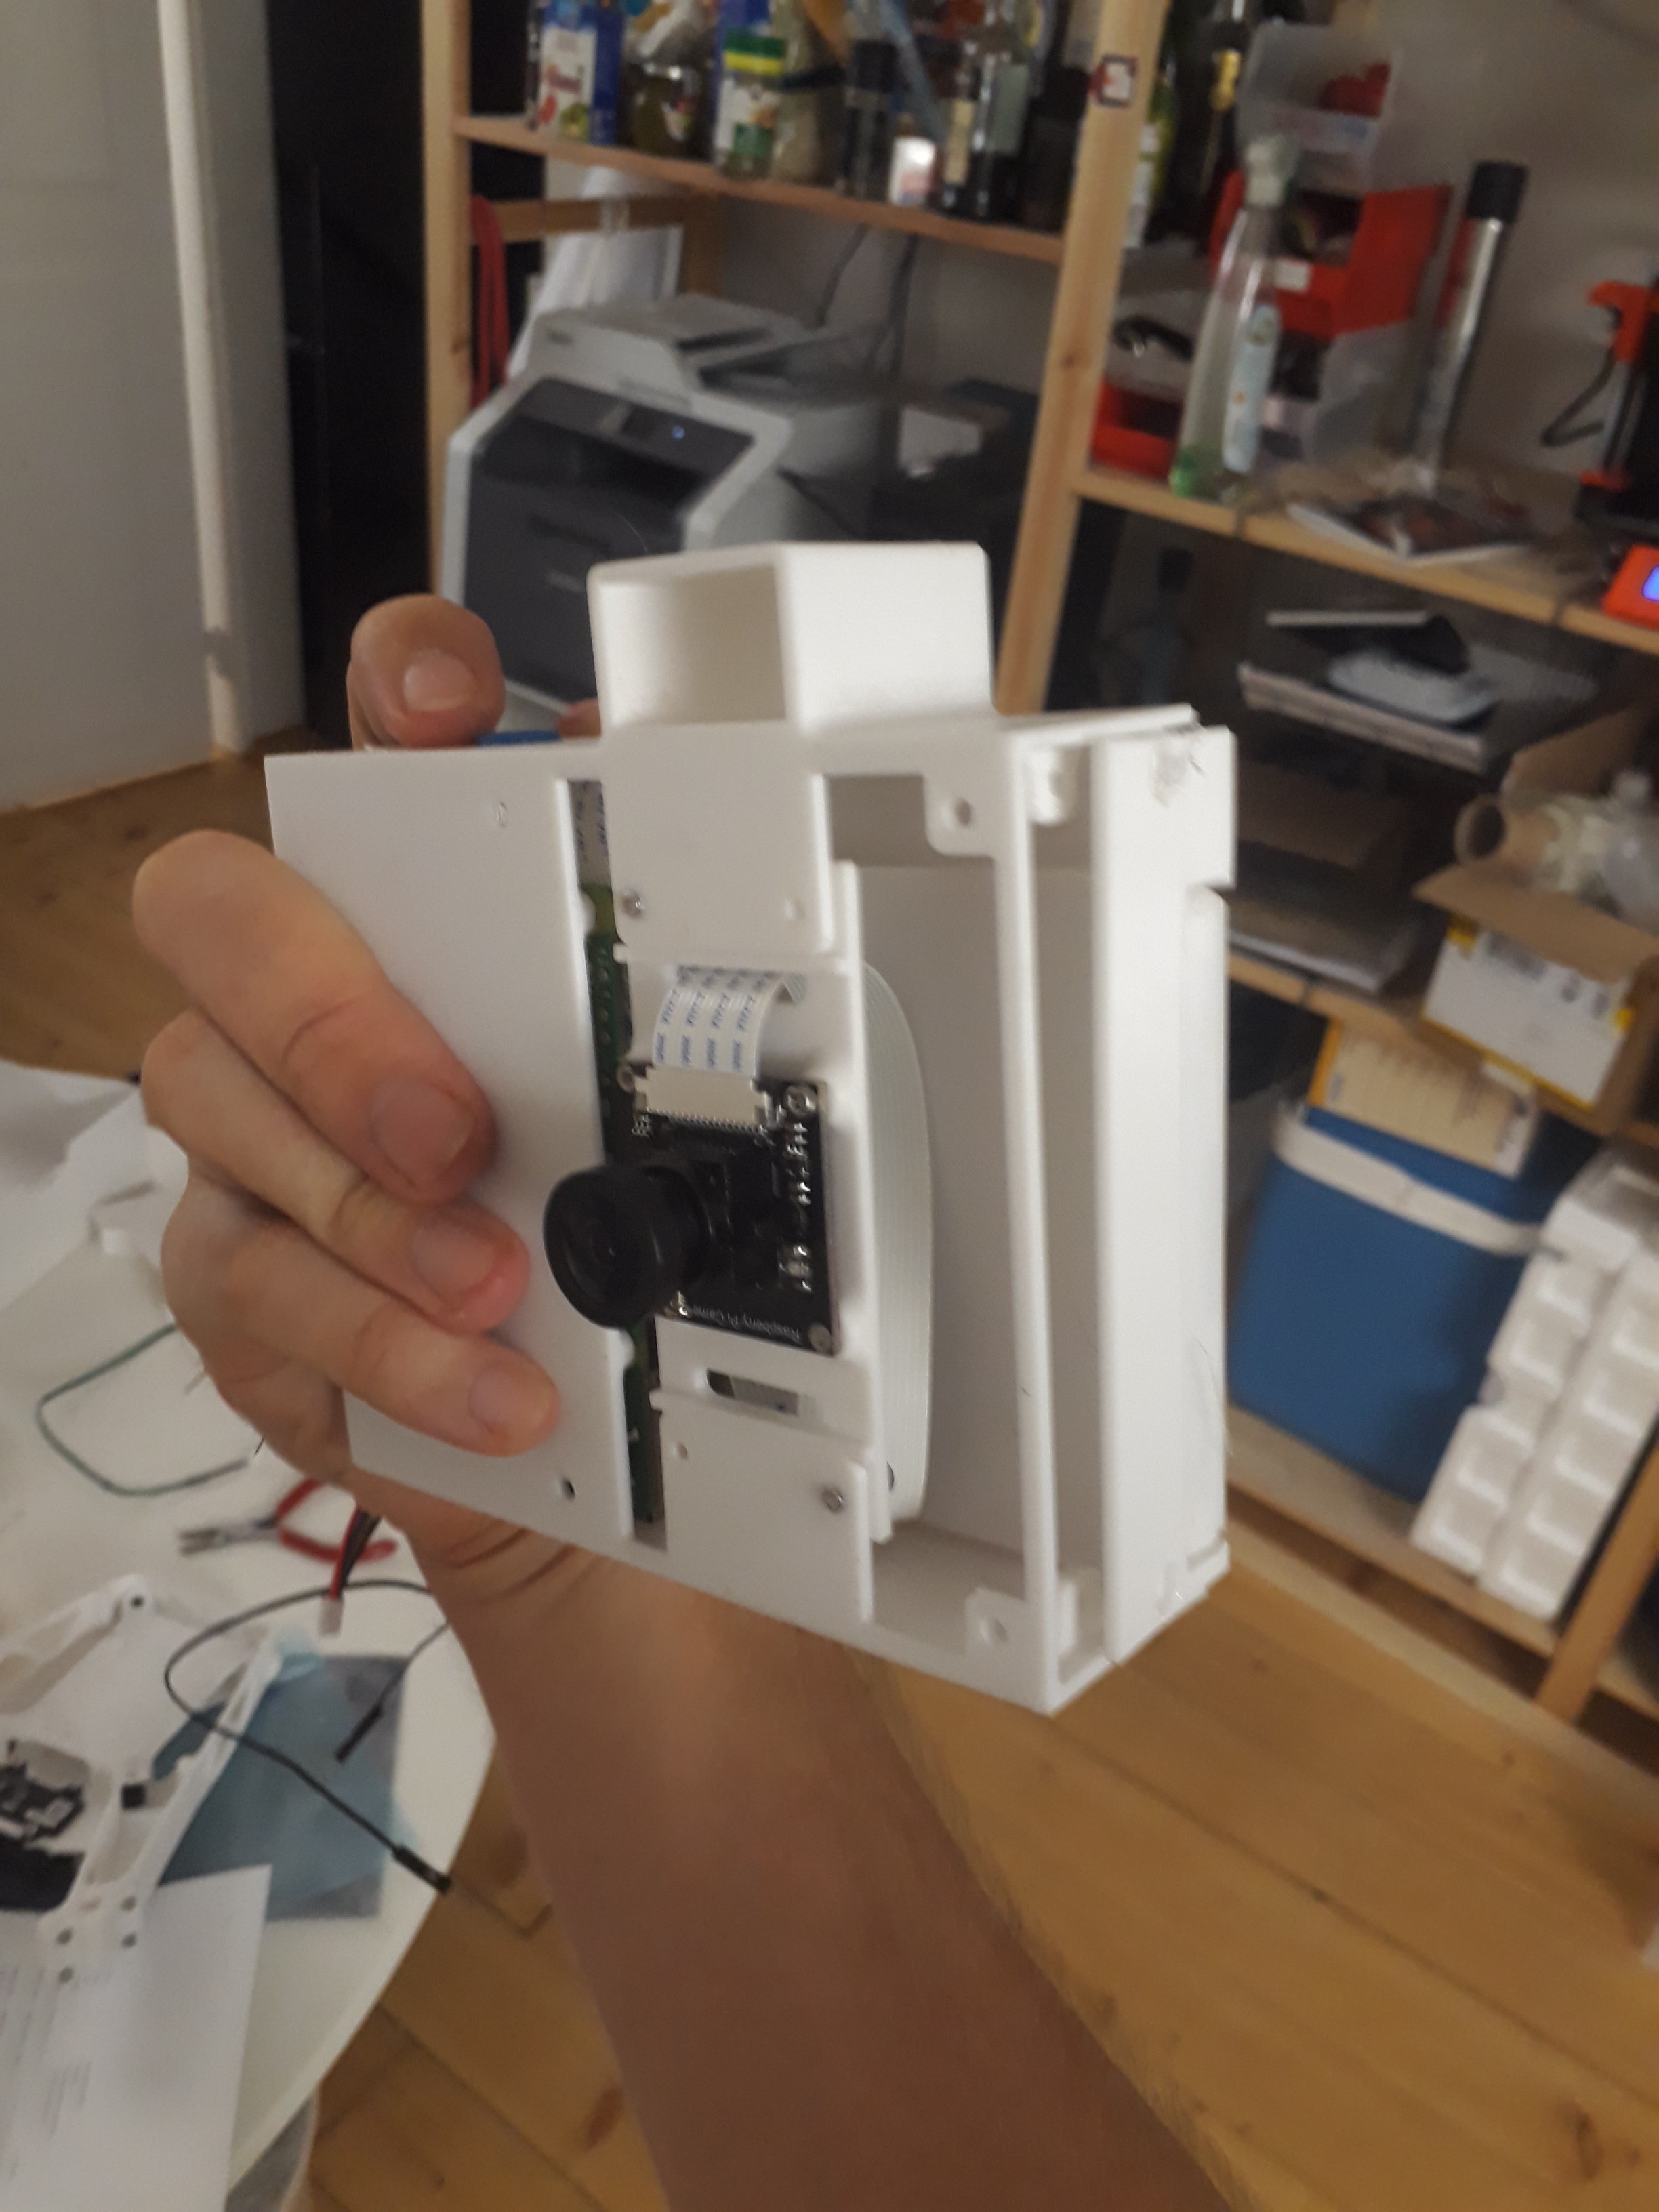
The camera itself uses an ESP32 as the brains, a very basic OV2640 camera (but for a 300x400 binary black and white display, it's already overkill), NFC communication to update the screens (Waveshare 4.2in NFC e-paper screens), and USB-C for charging an internal 18650 cell.
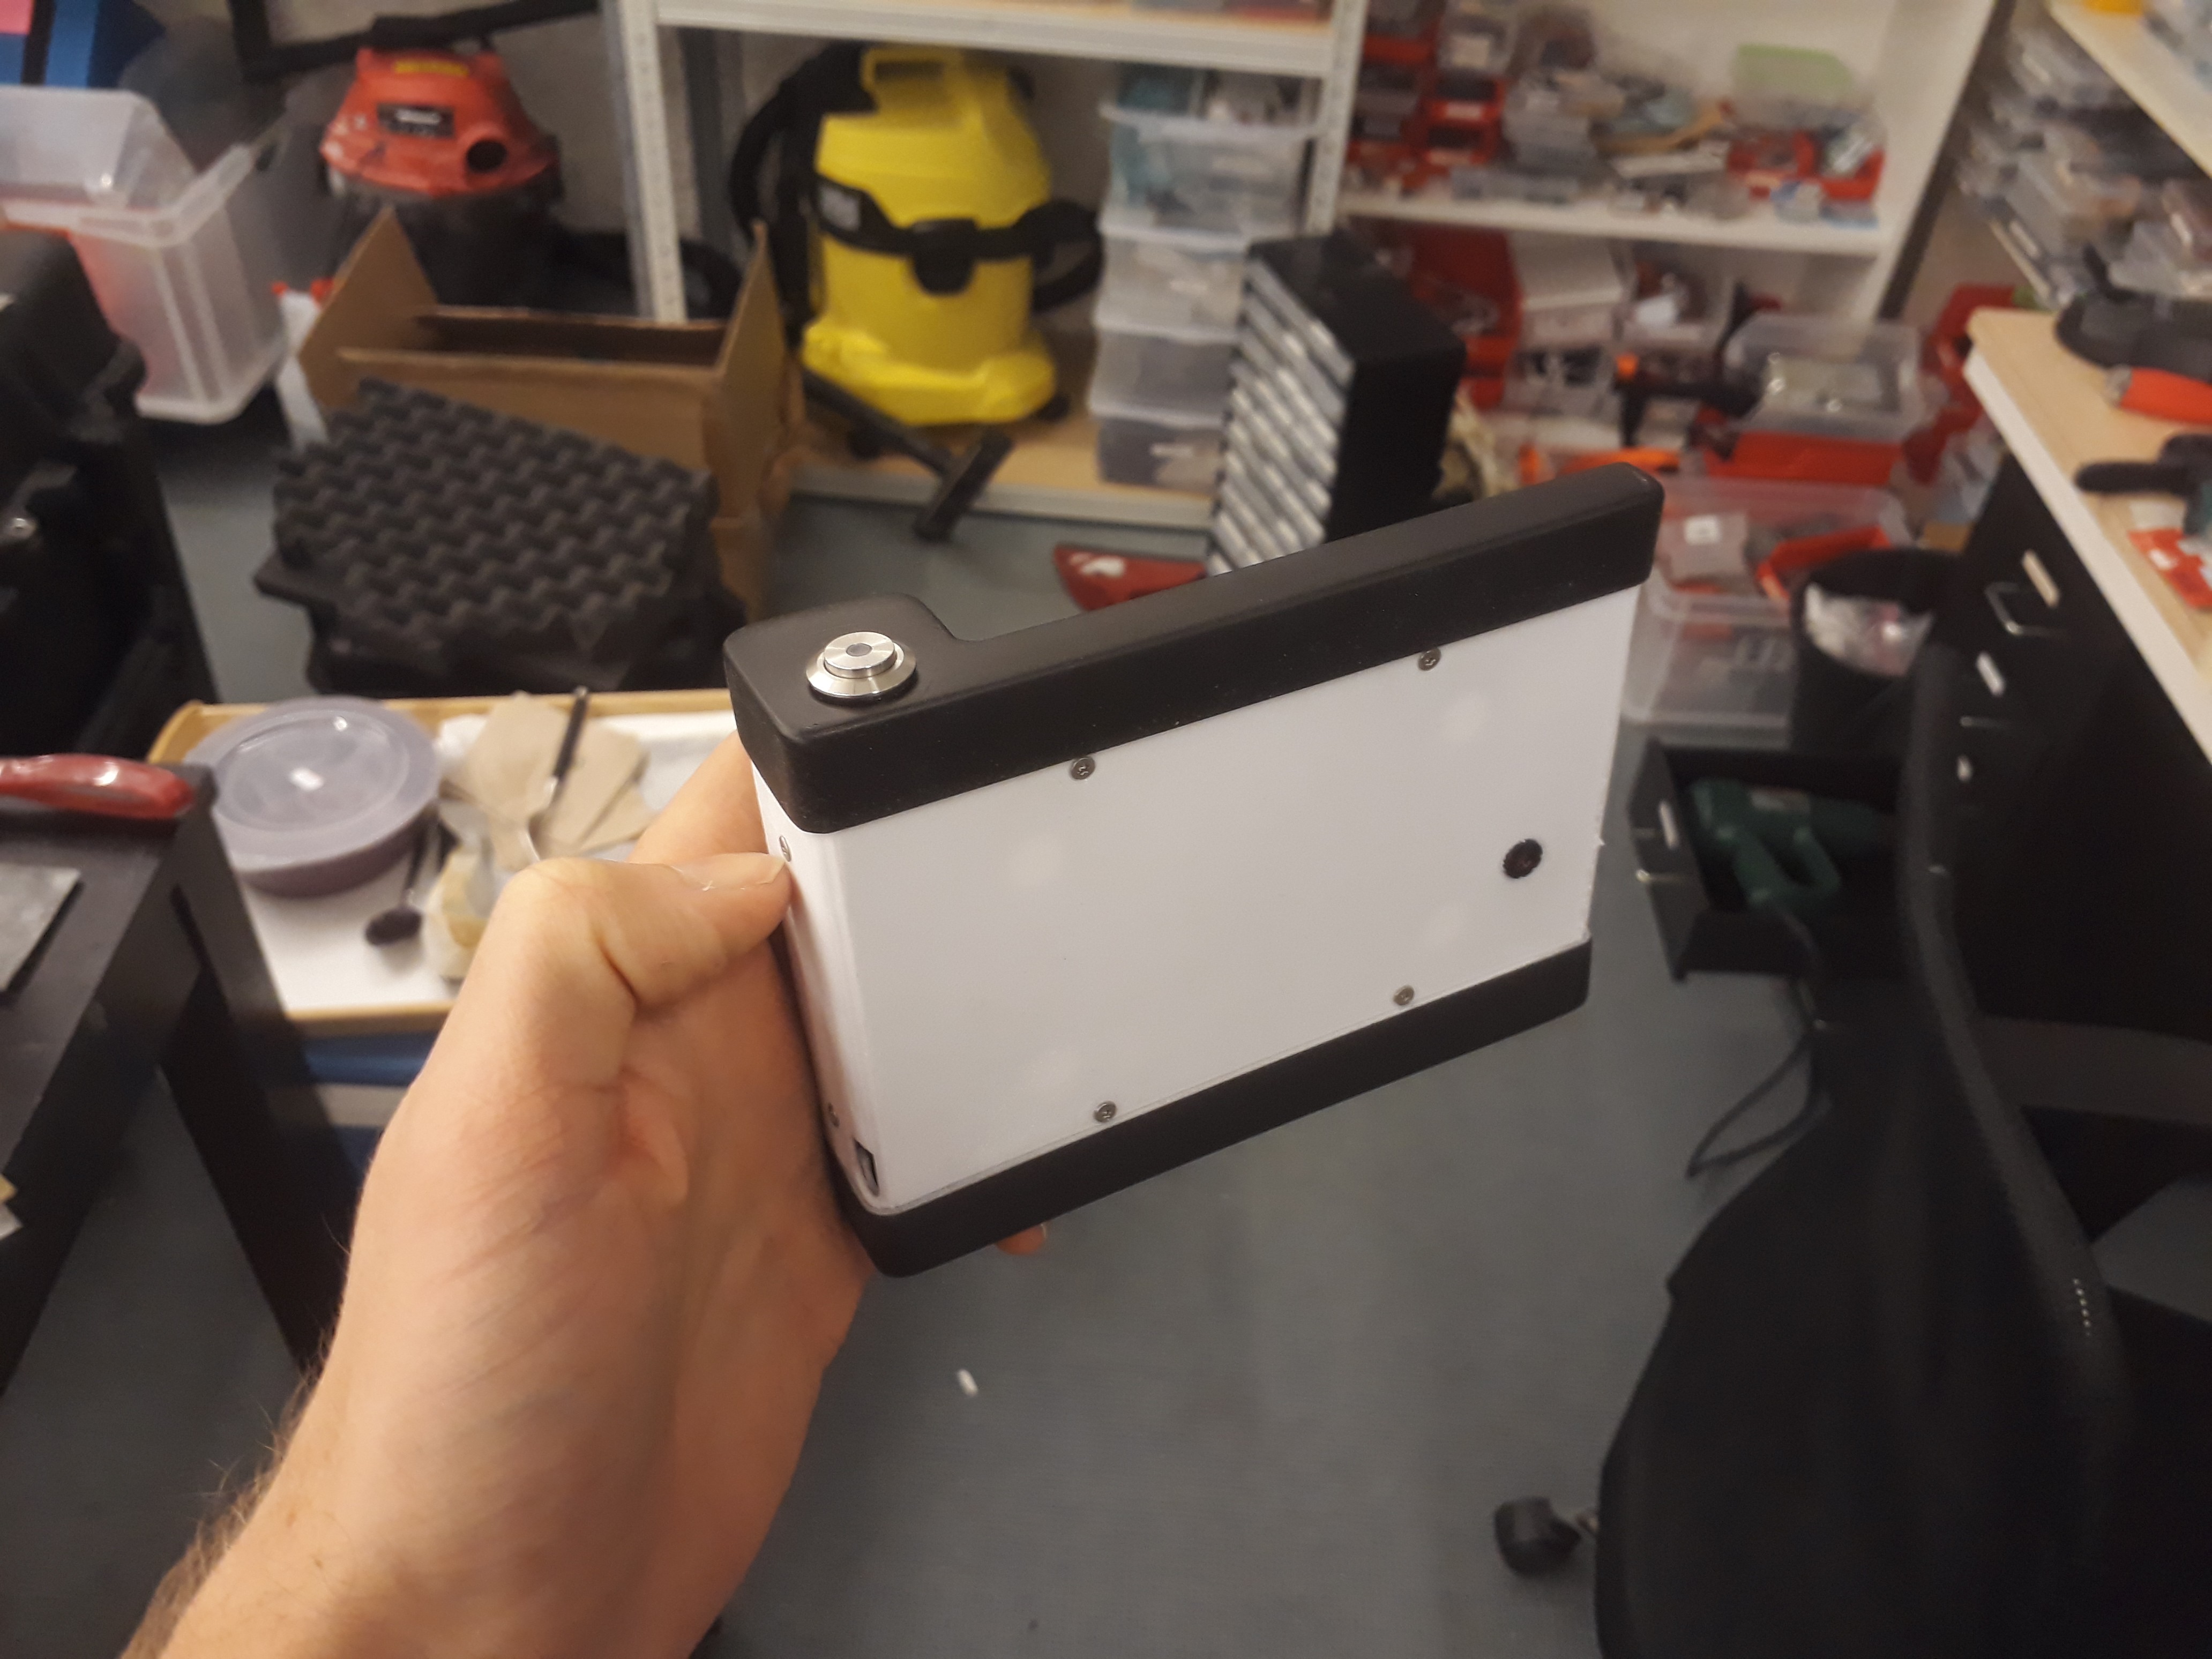
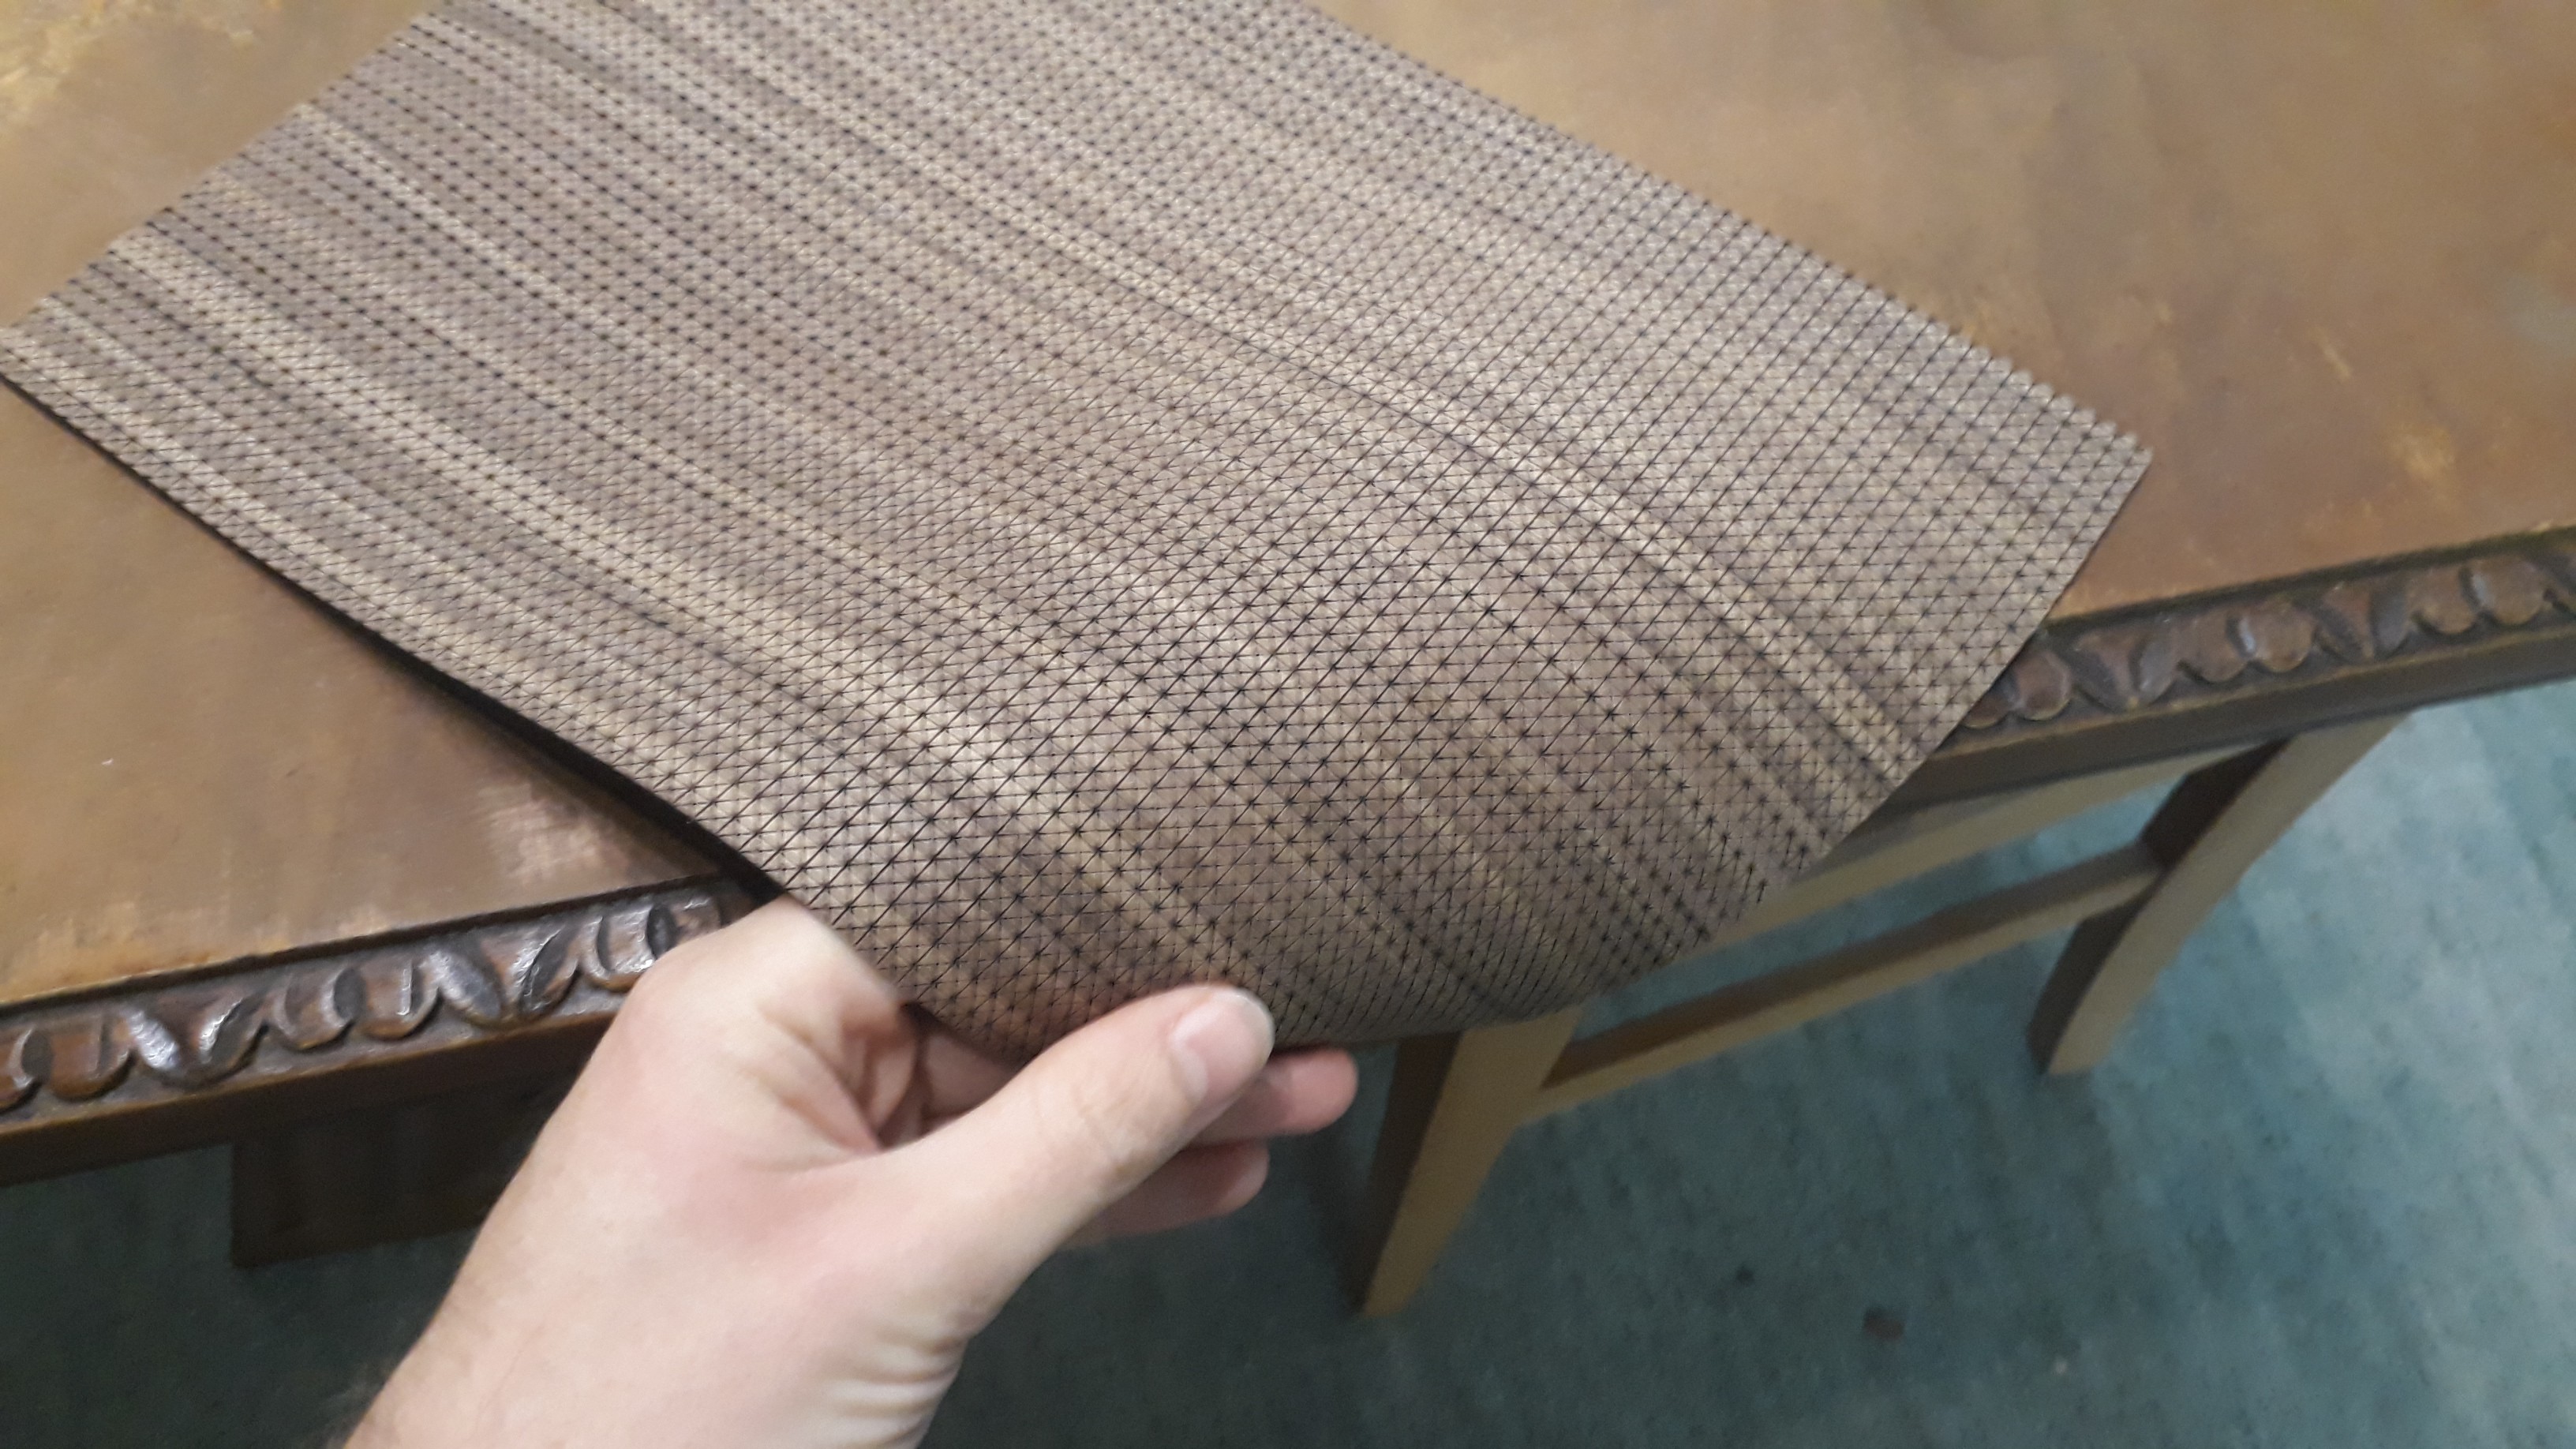
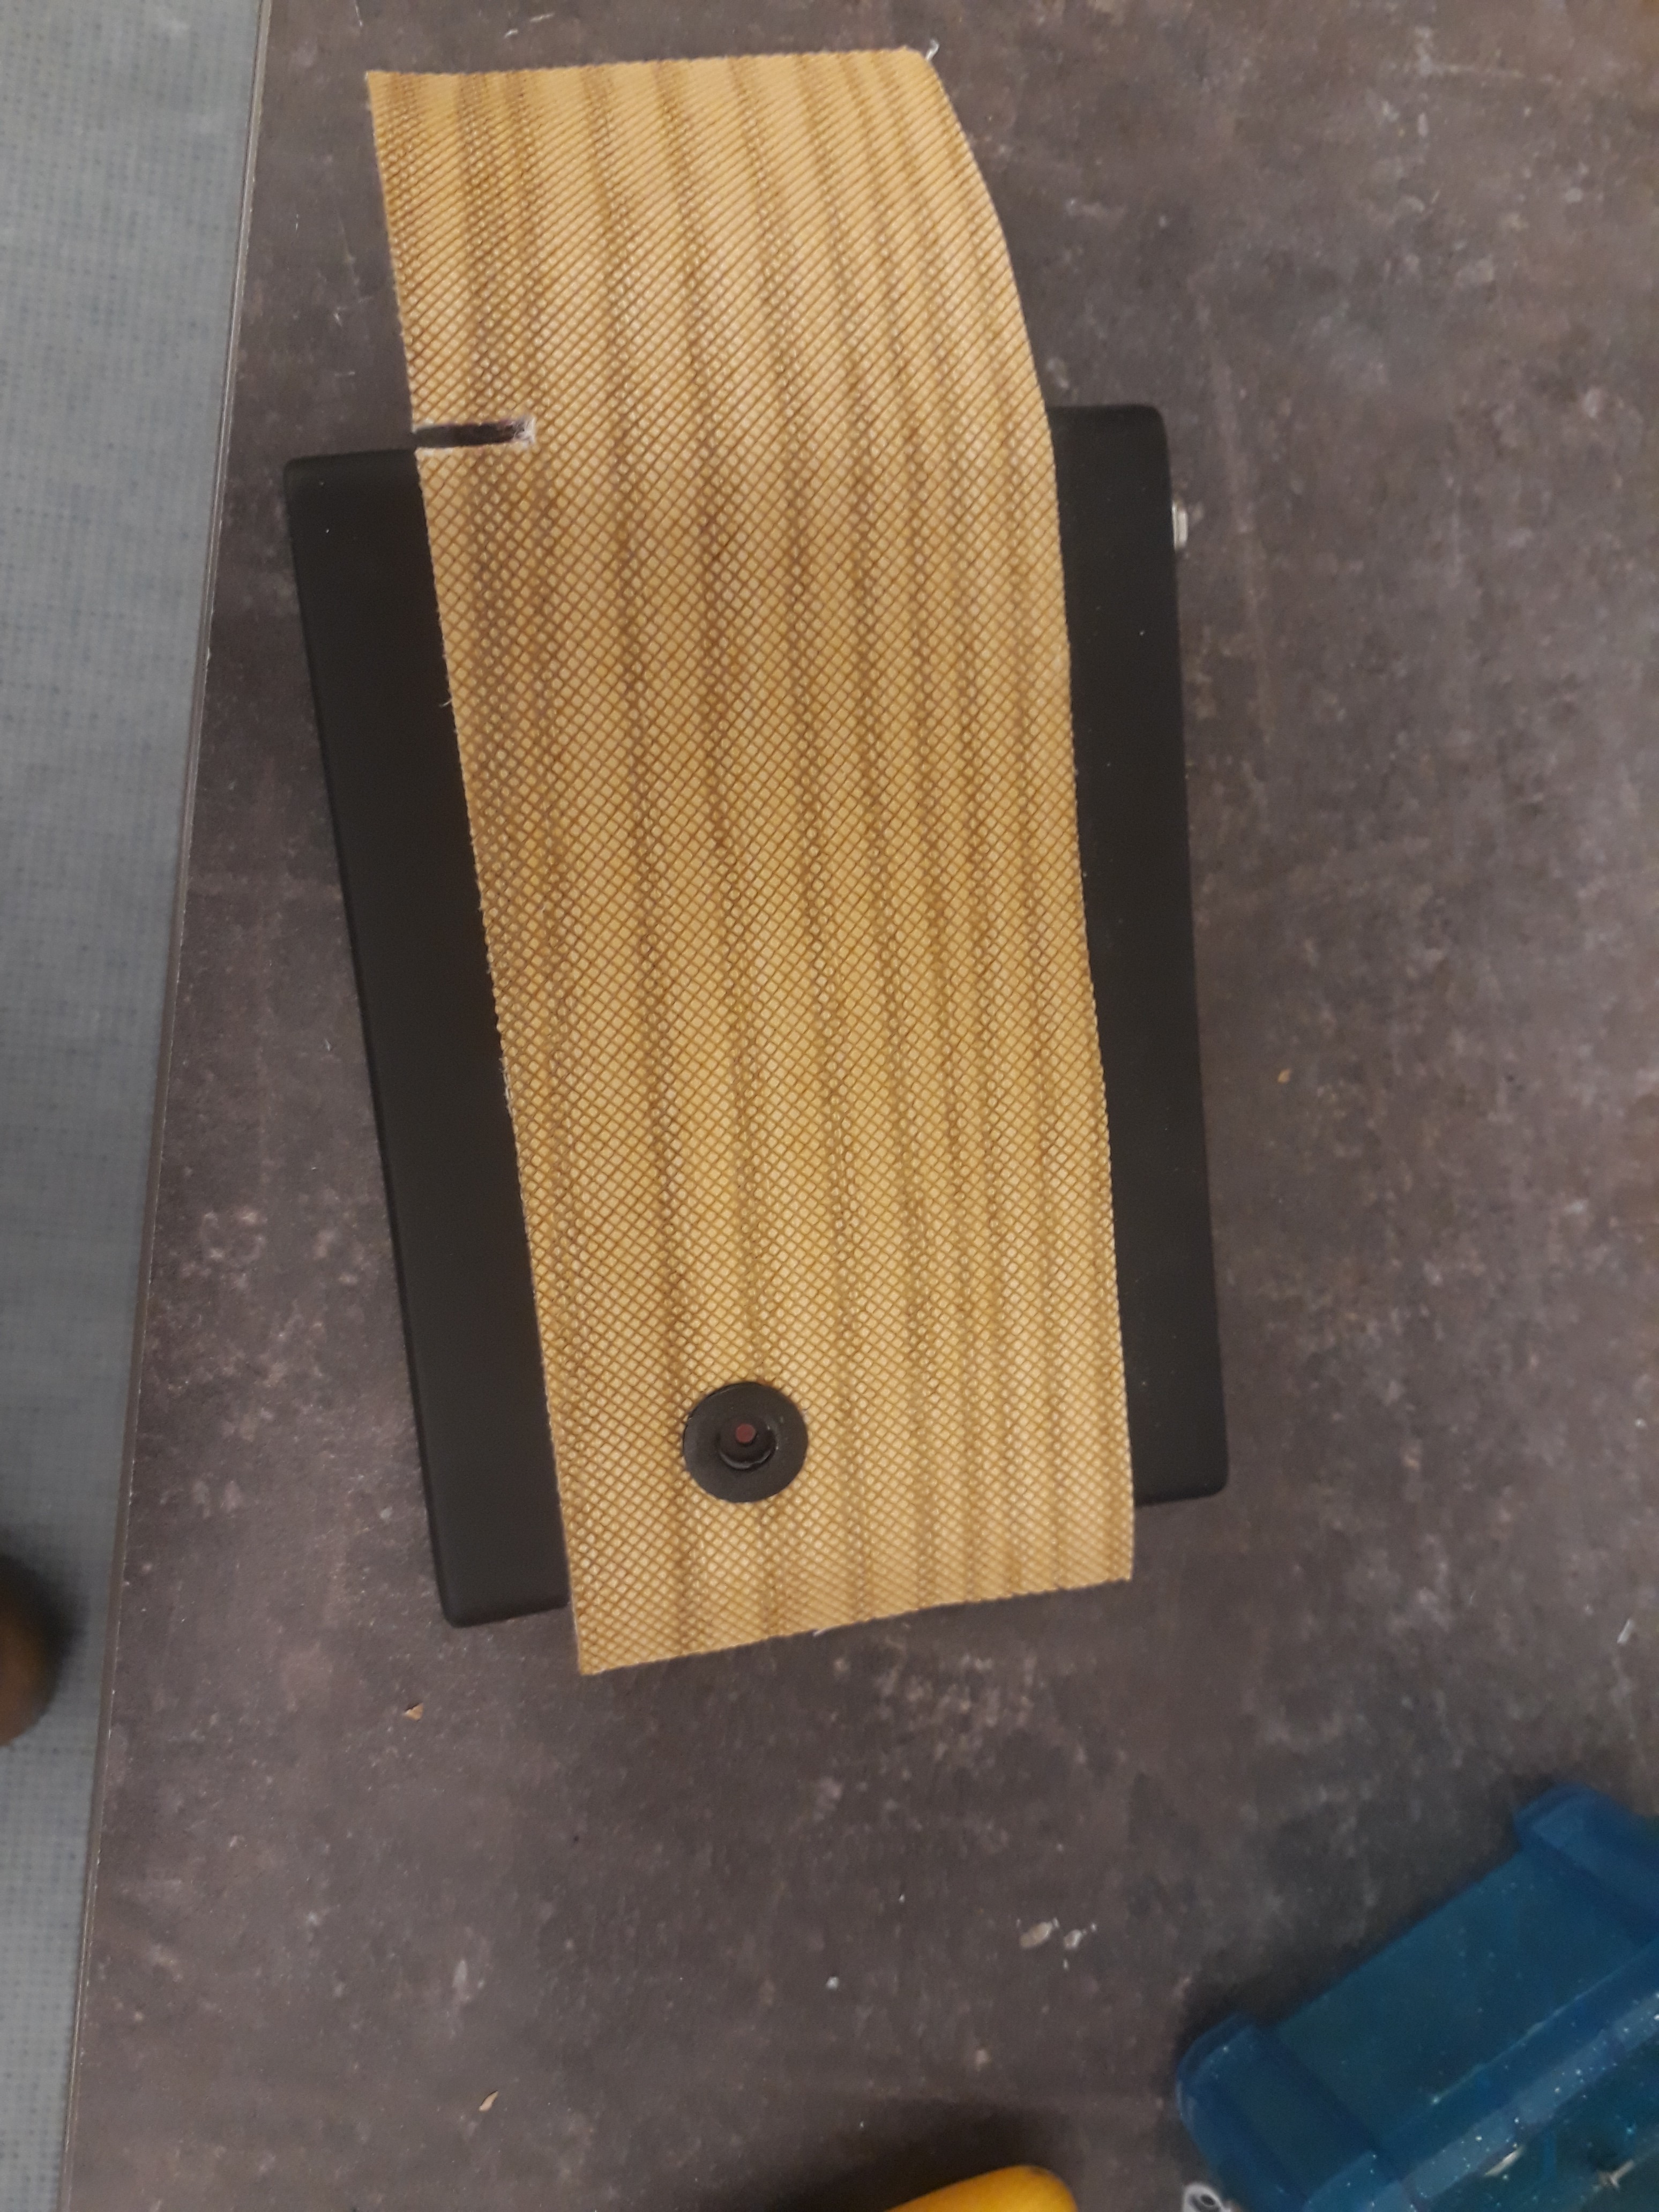
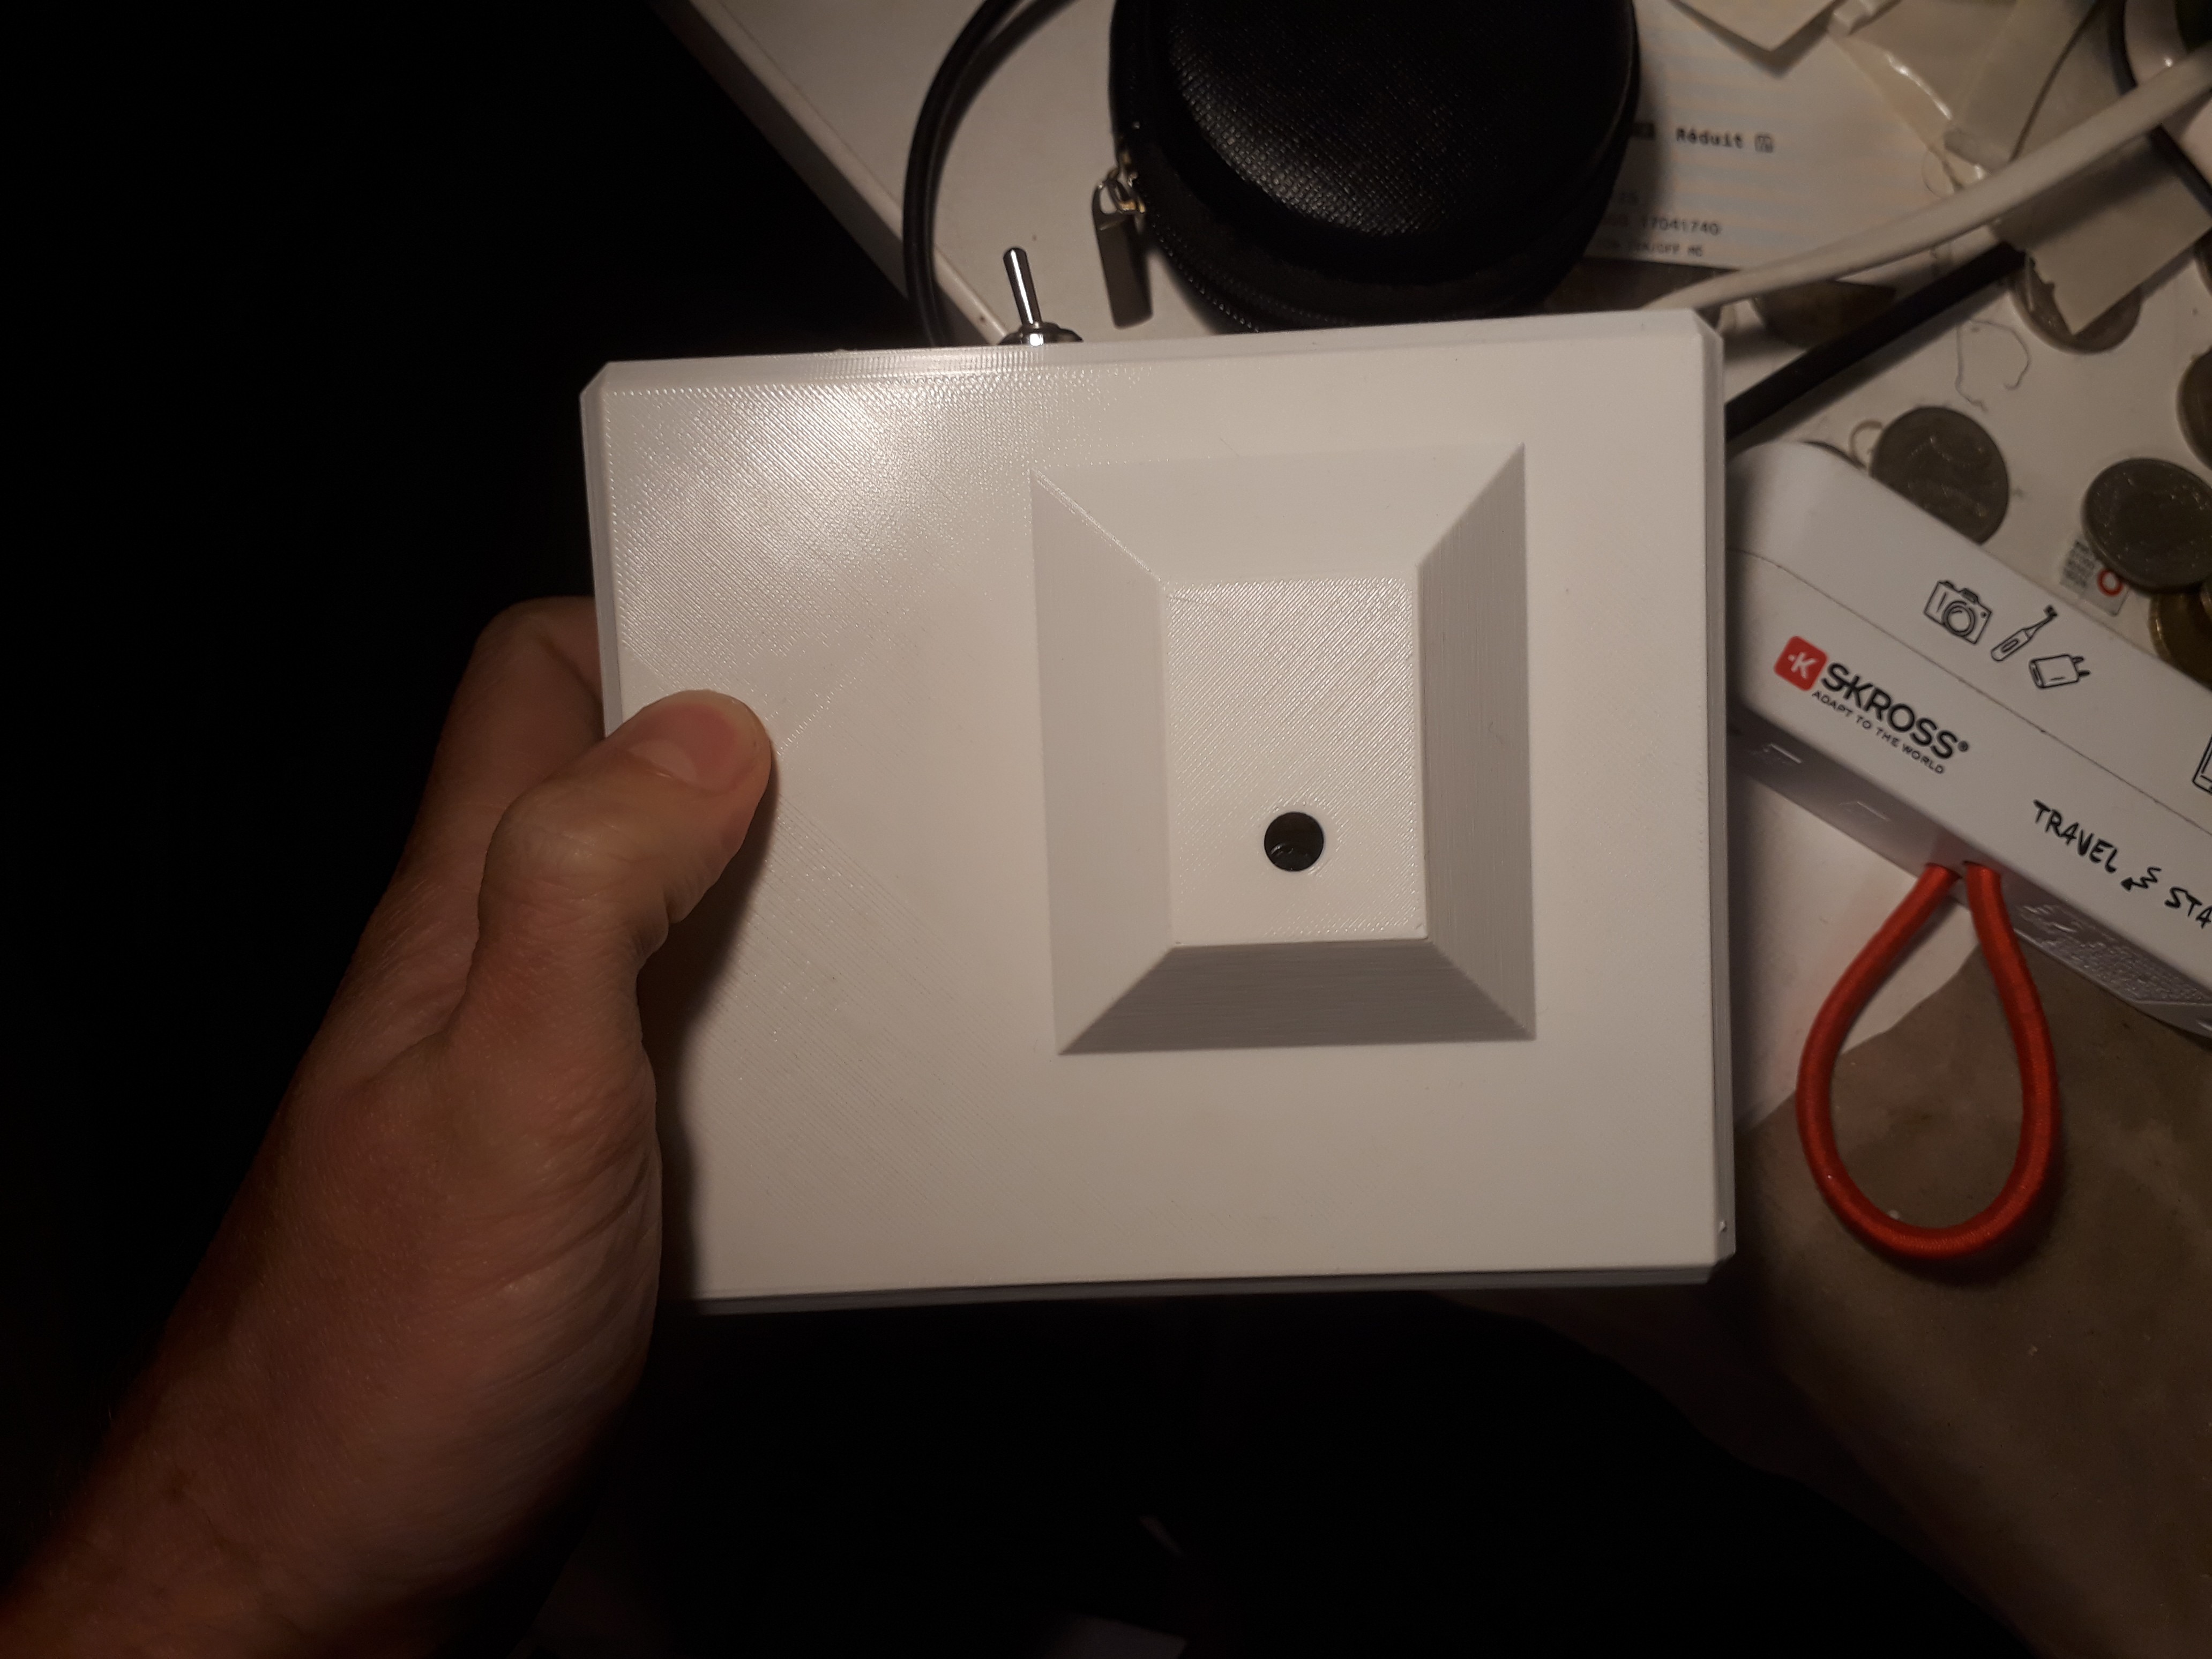
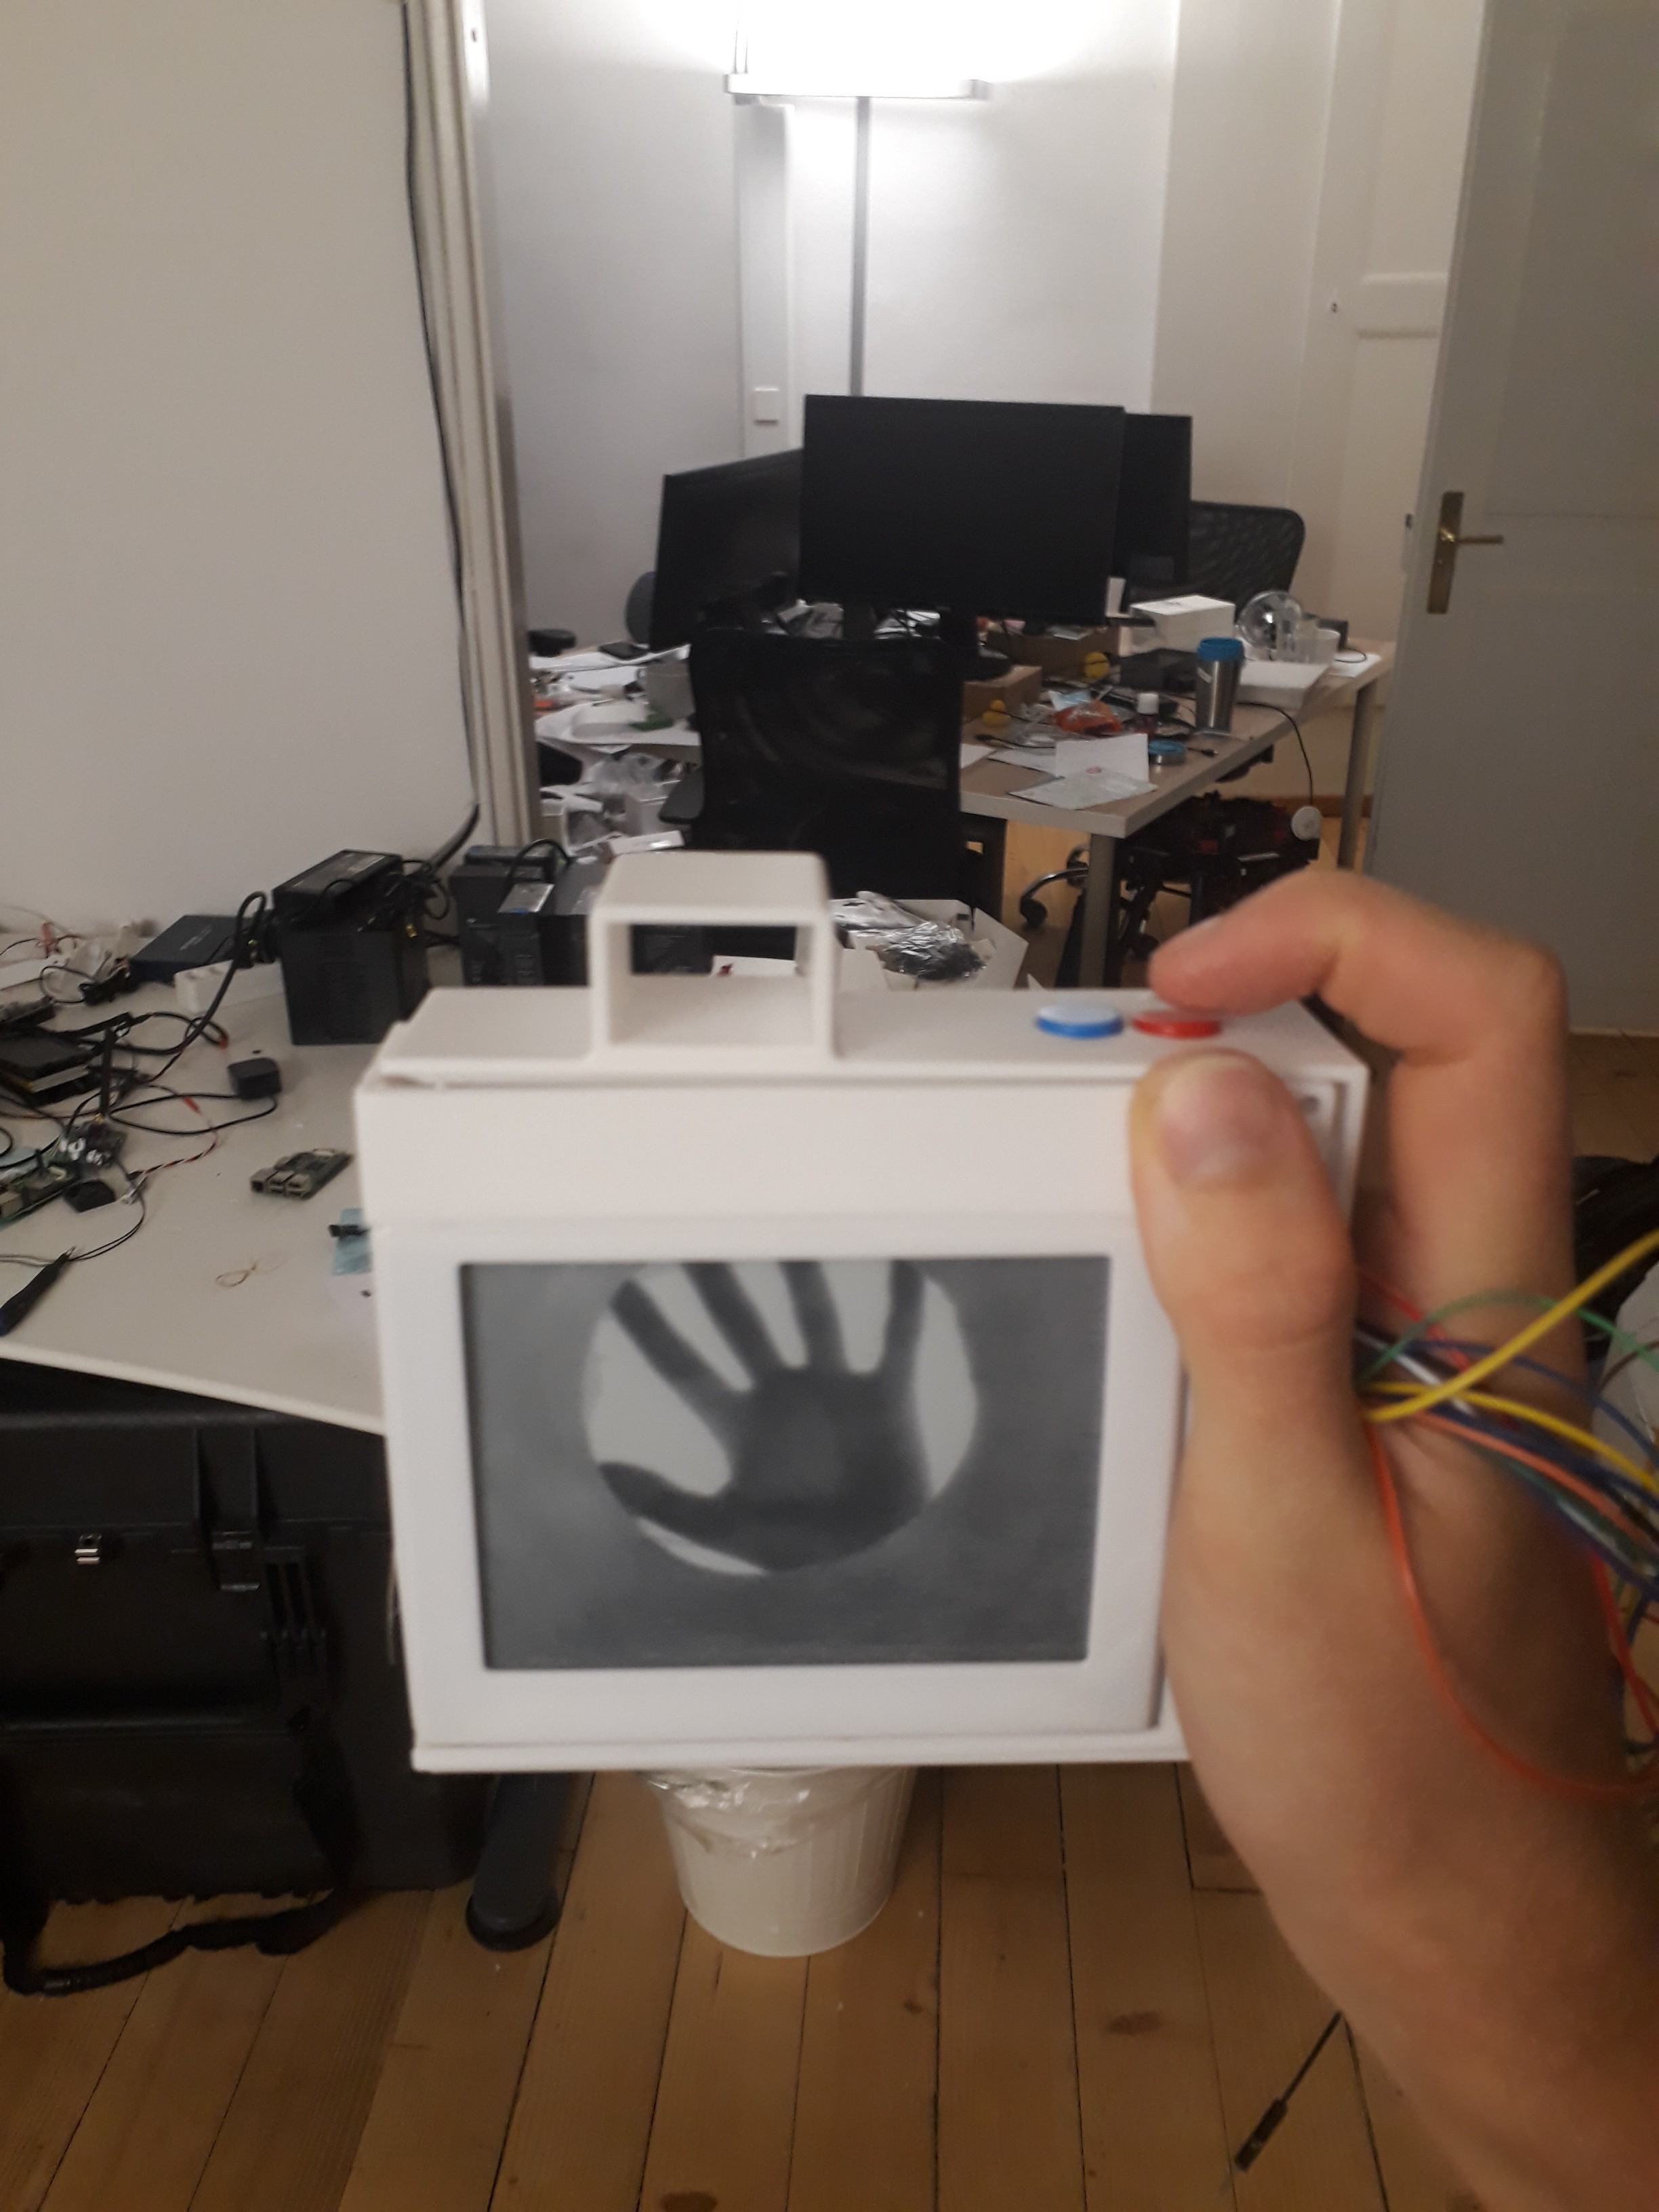
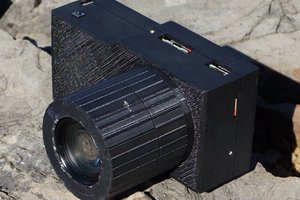
The body is 3d printed and painted, and the grip is fancy flexible engraved walnut "wood textile" from NUO. It has a single button with LED for control. Hold down the button to power on the system (a latching circuit disables the power supply IC to minimise current draw when off) and a constant red light on the LED indicates it has detected a screen and is ready to take a photo. Push the button and the LED will start blinking to indicate it has taken a photo and is uploading the image to the screen. The screen will update with the new photo, and can be disconnected from the camera if you like it. If it's a terrible photo, hey, just take another one, it's not wasting any paper.
Charging is via a USB-C connector on the side, unfortunately not so artfully hidden but I needed to leave stuff to do in the next version.
Code is available on my github, linked here in this project, but be warned, I taught myself this stuff through googling and copy and pasting, and the code is well, I'll call it "rustic". PCB files are a bit messy too but are also up on this page. I could also put up the CAD files if they are of any interest, but it's nothing fancy either. Depends how much interest there is in this I guess.
I would love to find a source of cheap NFC e-paper screens, I hear they are sometimes used in supermarkets but still looking for a cheap source. The ones I'm using now from Waveshare are not cheap enough to make this idea really fun unfortunately, but hopefully e-paper gets cheaper in the future. My next step would be to make the screens myself, as I'm not really happy with the case on them and it would be cool to have options for colour screens or different resolutions as well. But this project already took several years to get to this state so this will probably take a few more.


 Jacob David C Cunningham
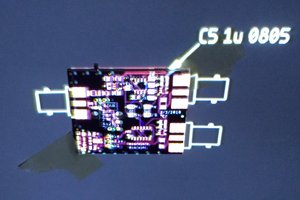
 Ted Yapo
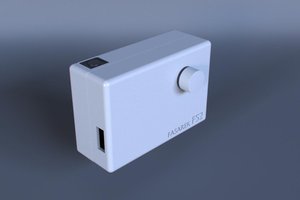
 Martin Fasani
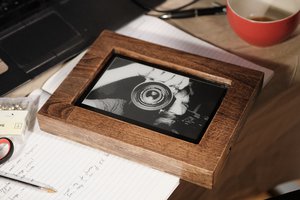
Thx for all the work you put in to this, and thx for sharing it to the community! Great Job!