 Dave Collins
Initial goals:
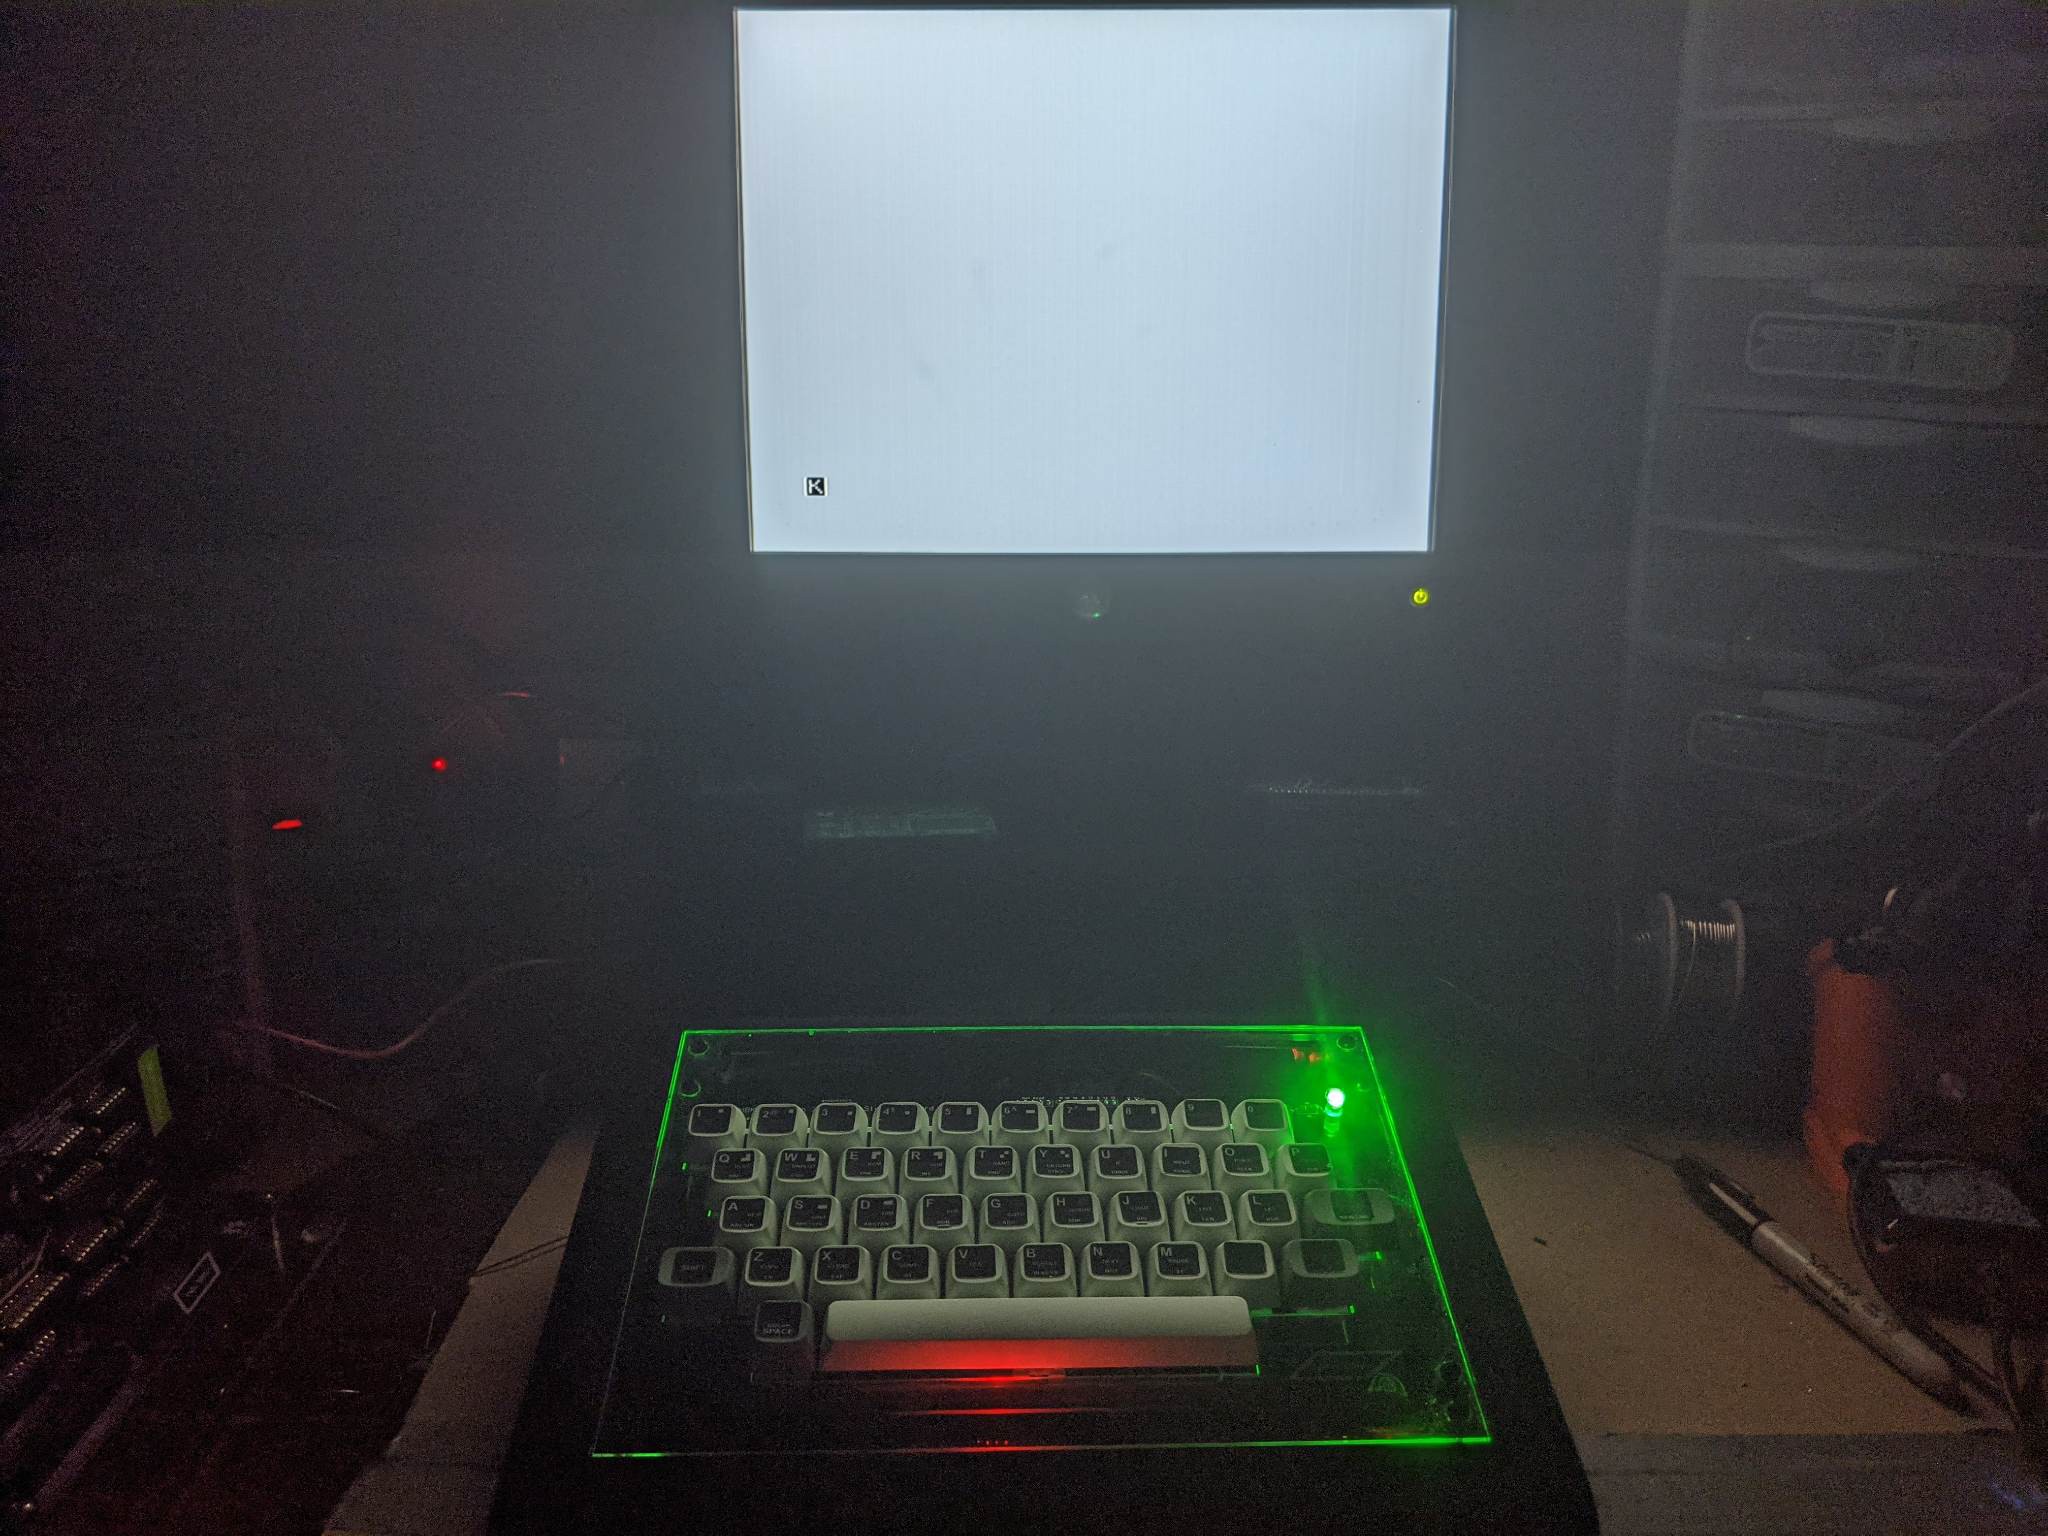
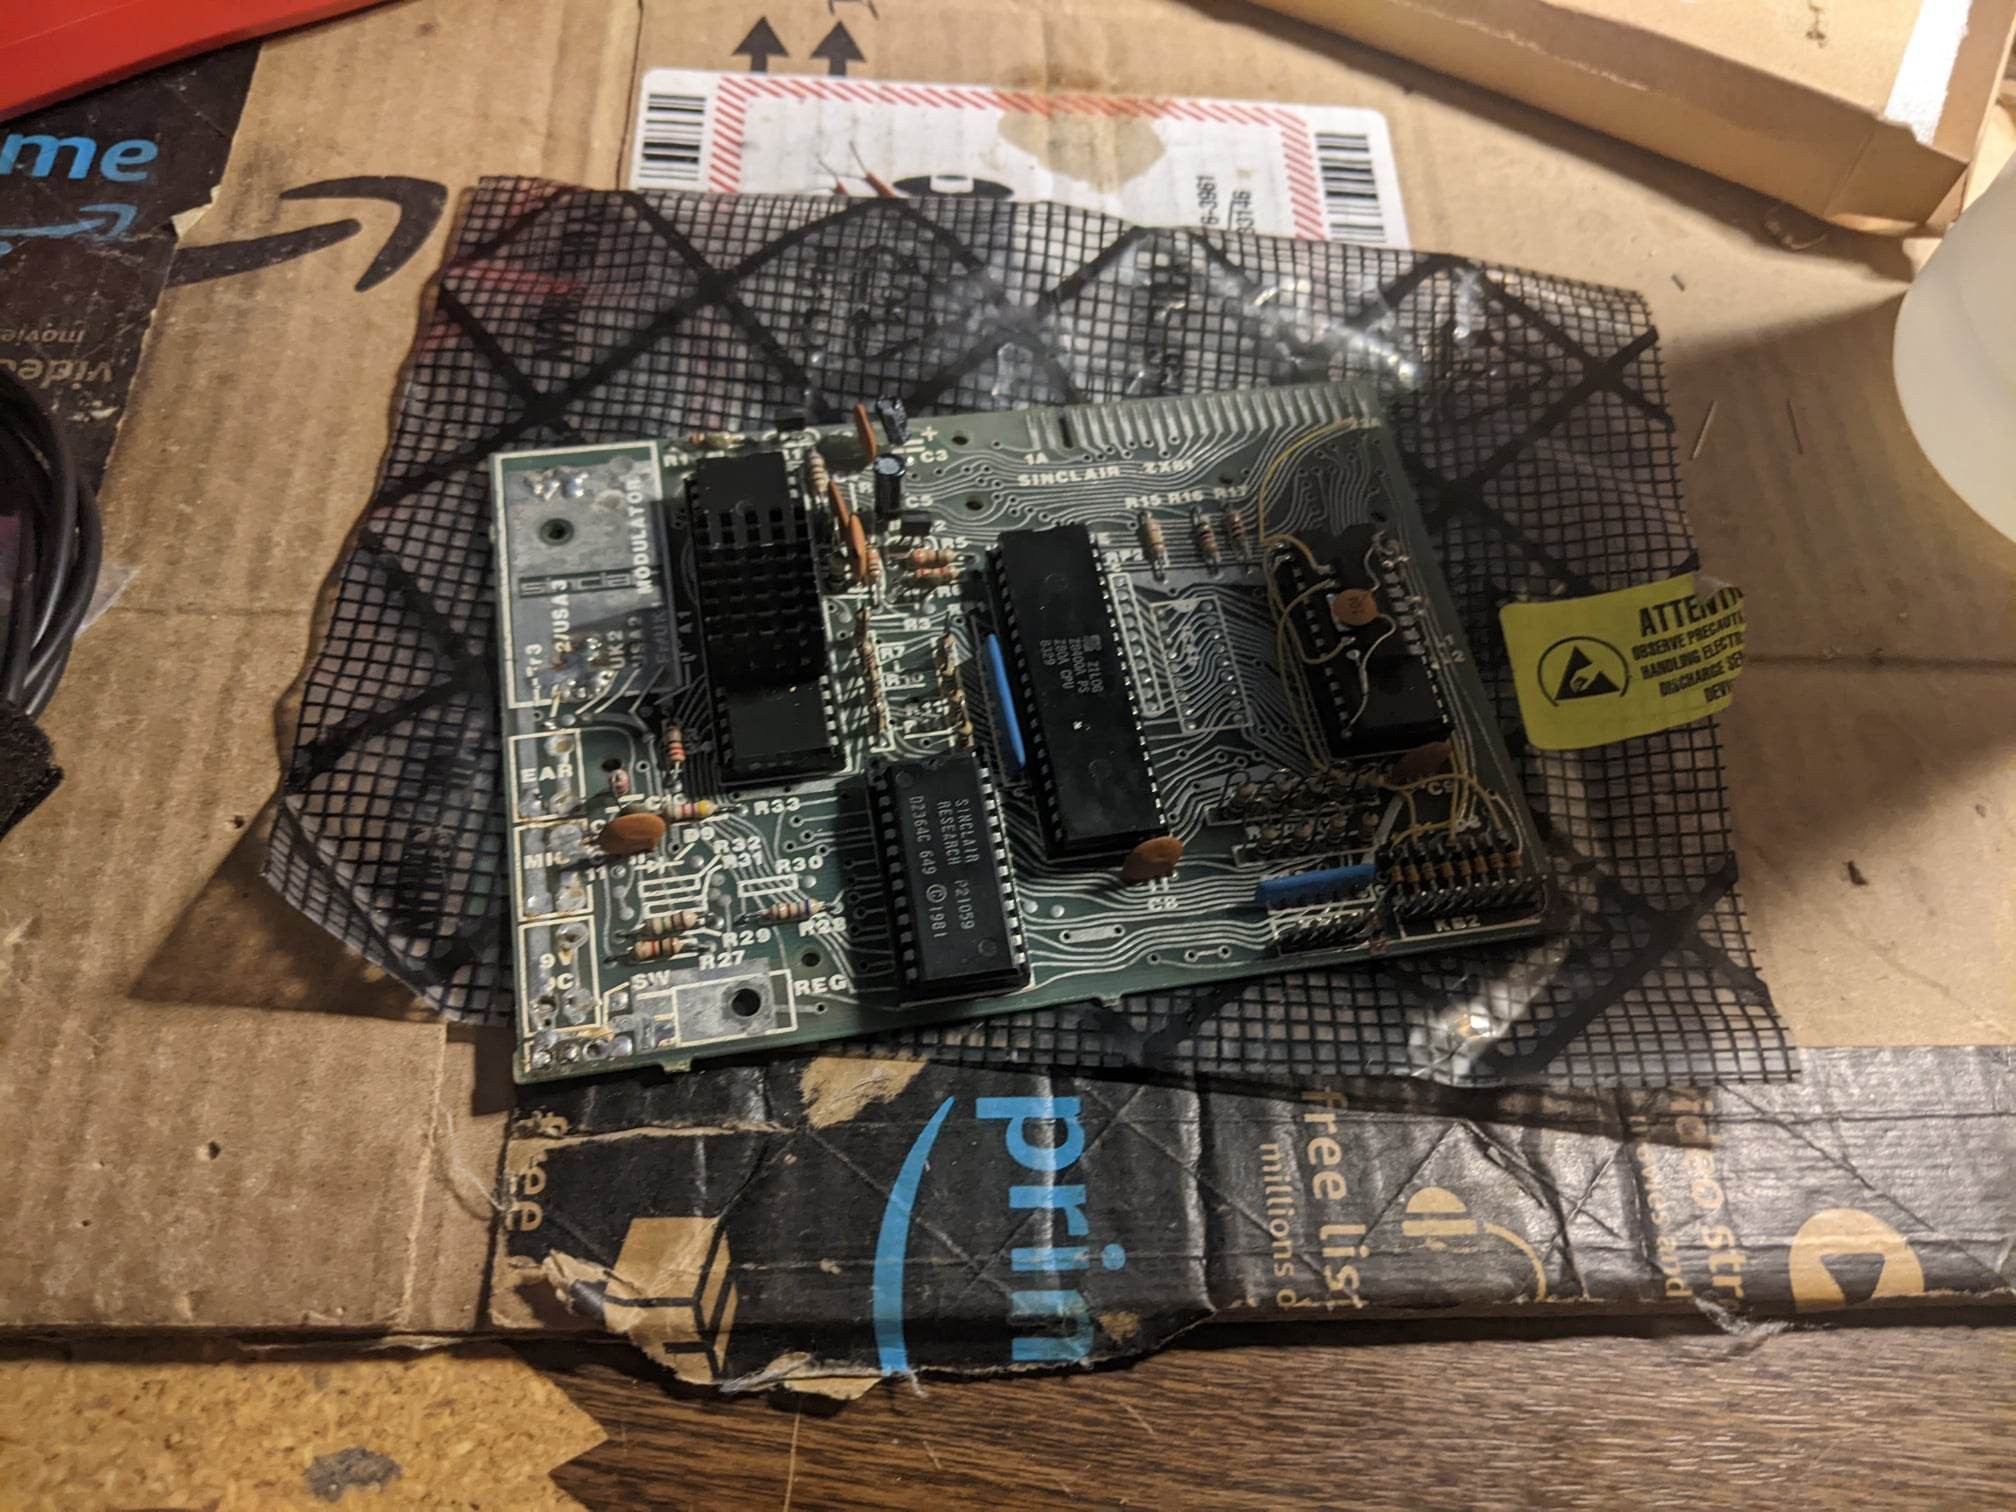
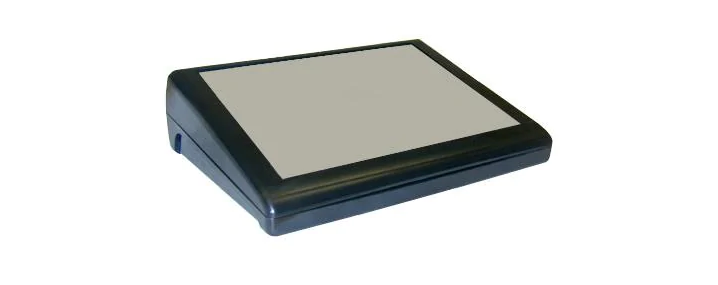
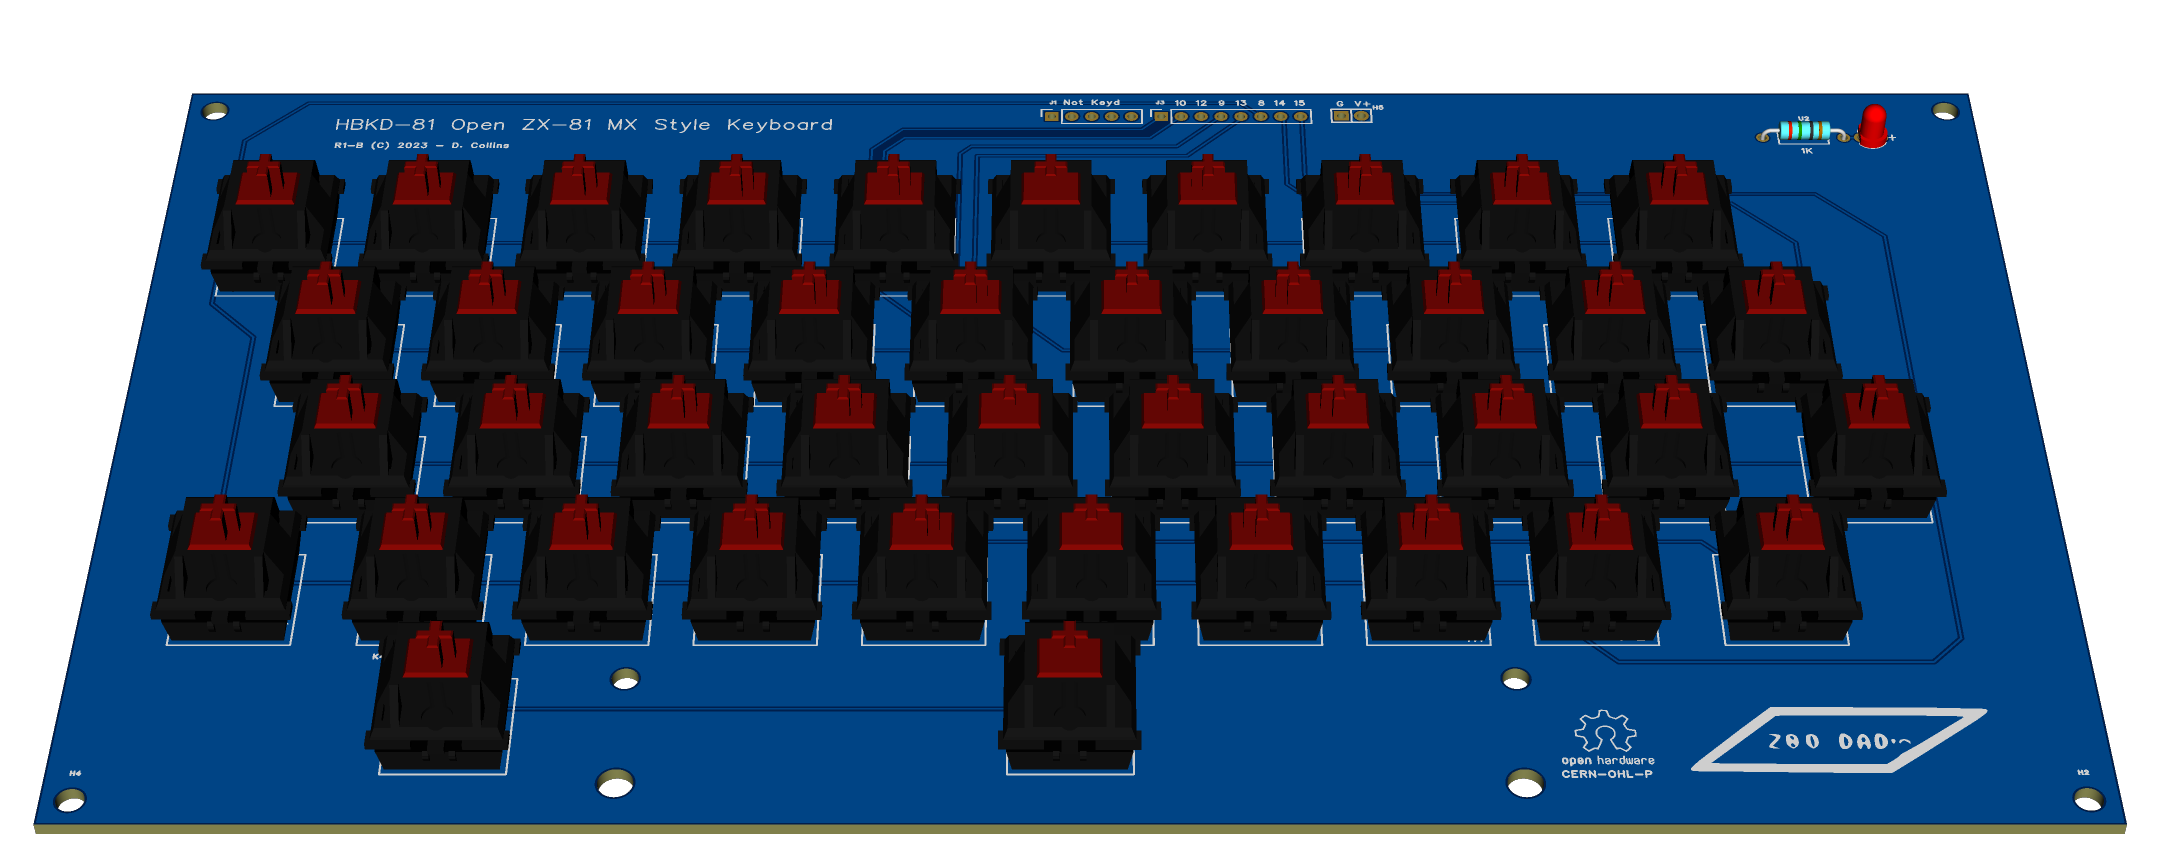
I want this to be a standard case replacement for the ZX81 first and foremost. So, to that end I have the following goals in mind:
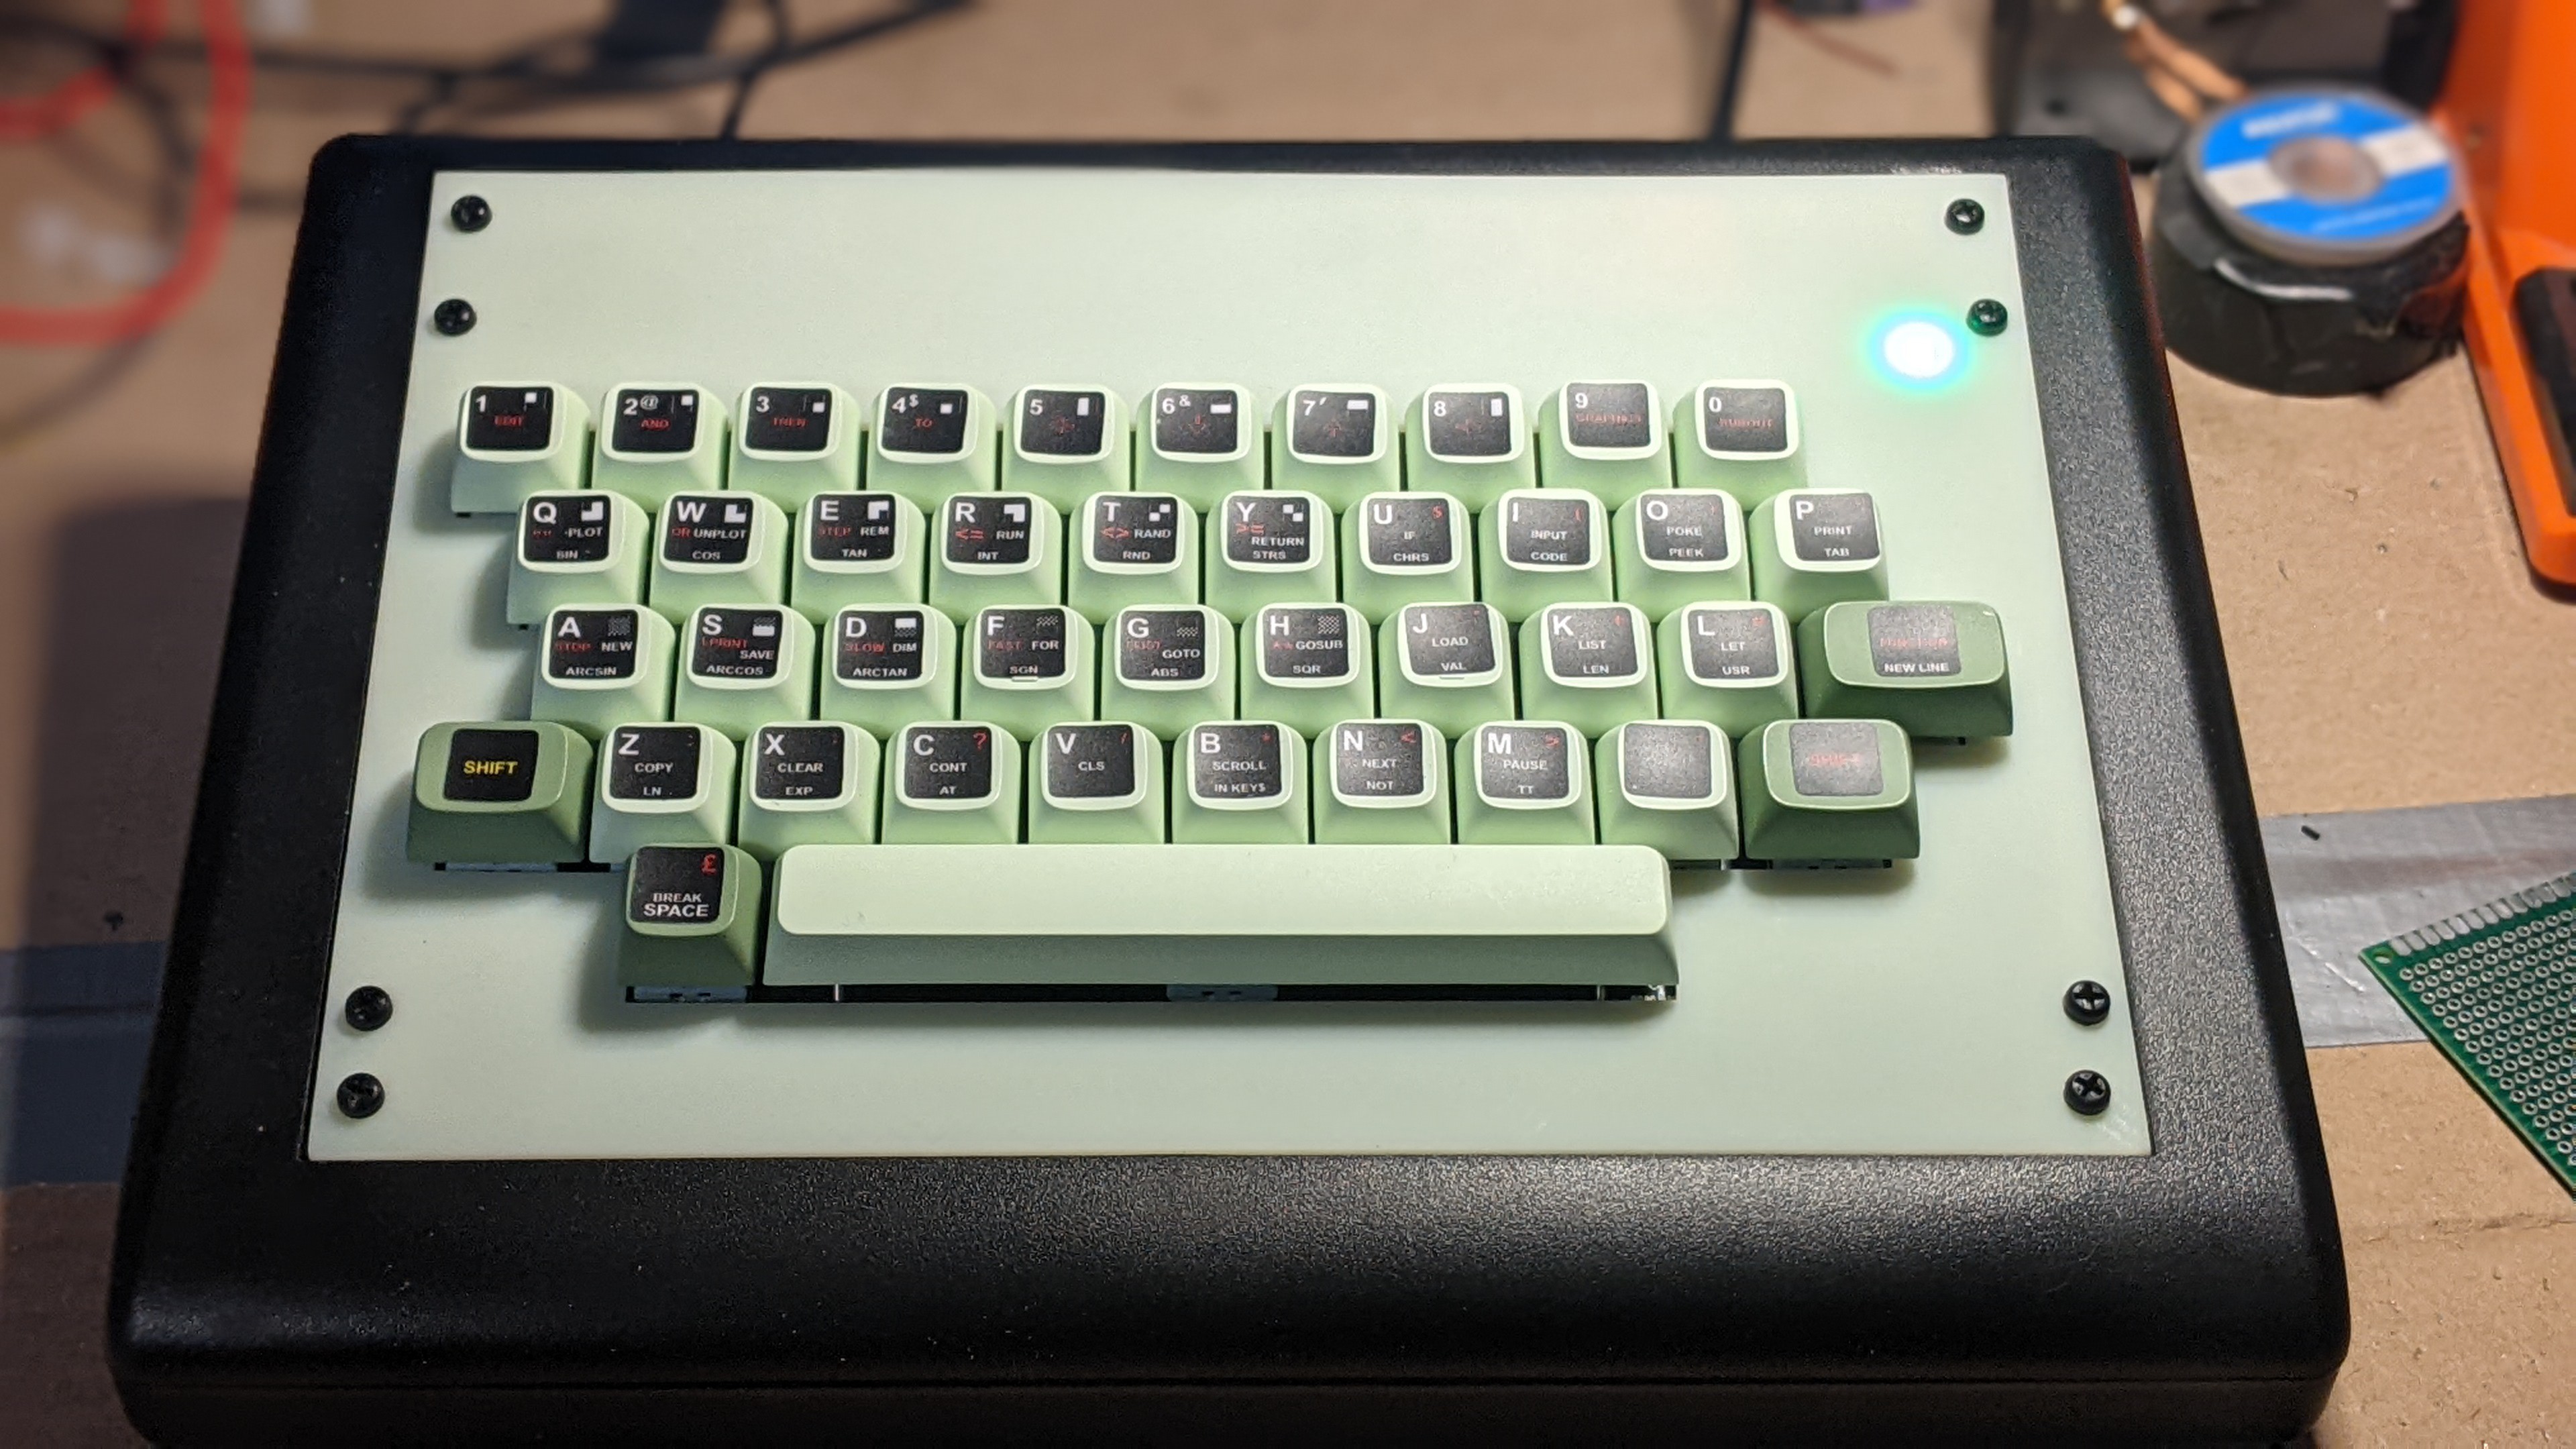
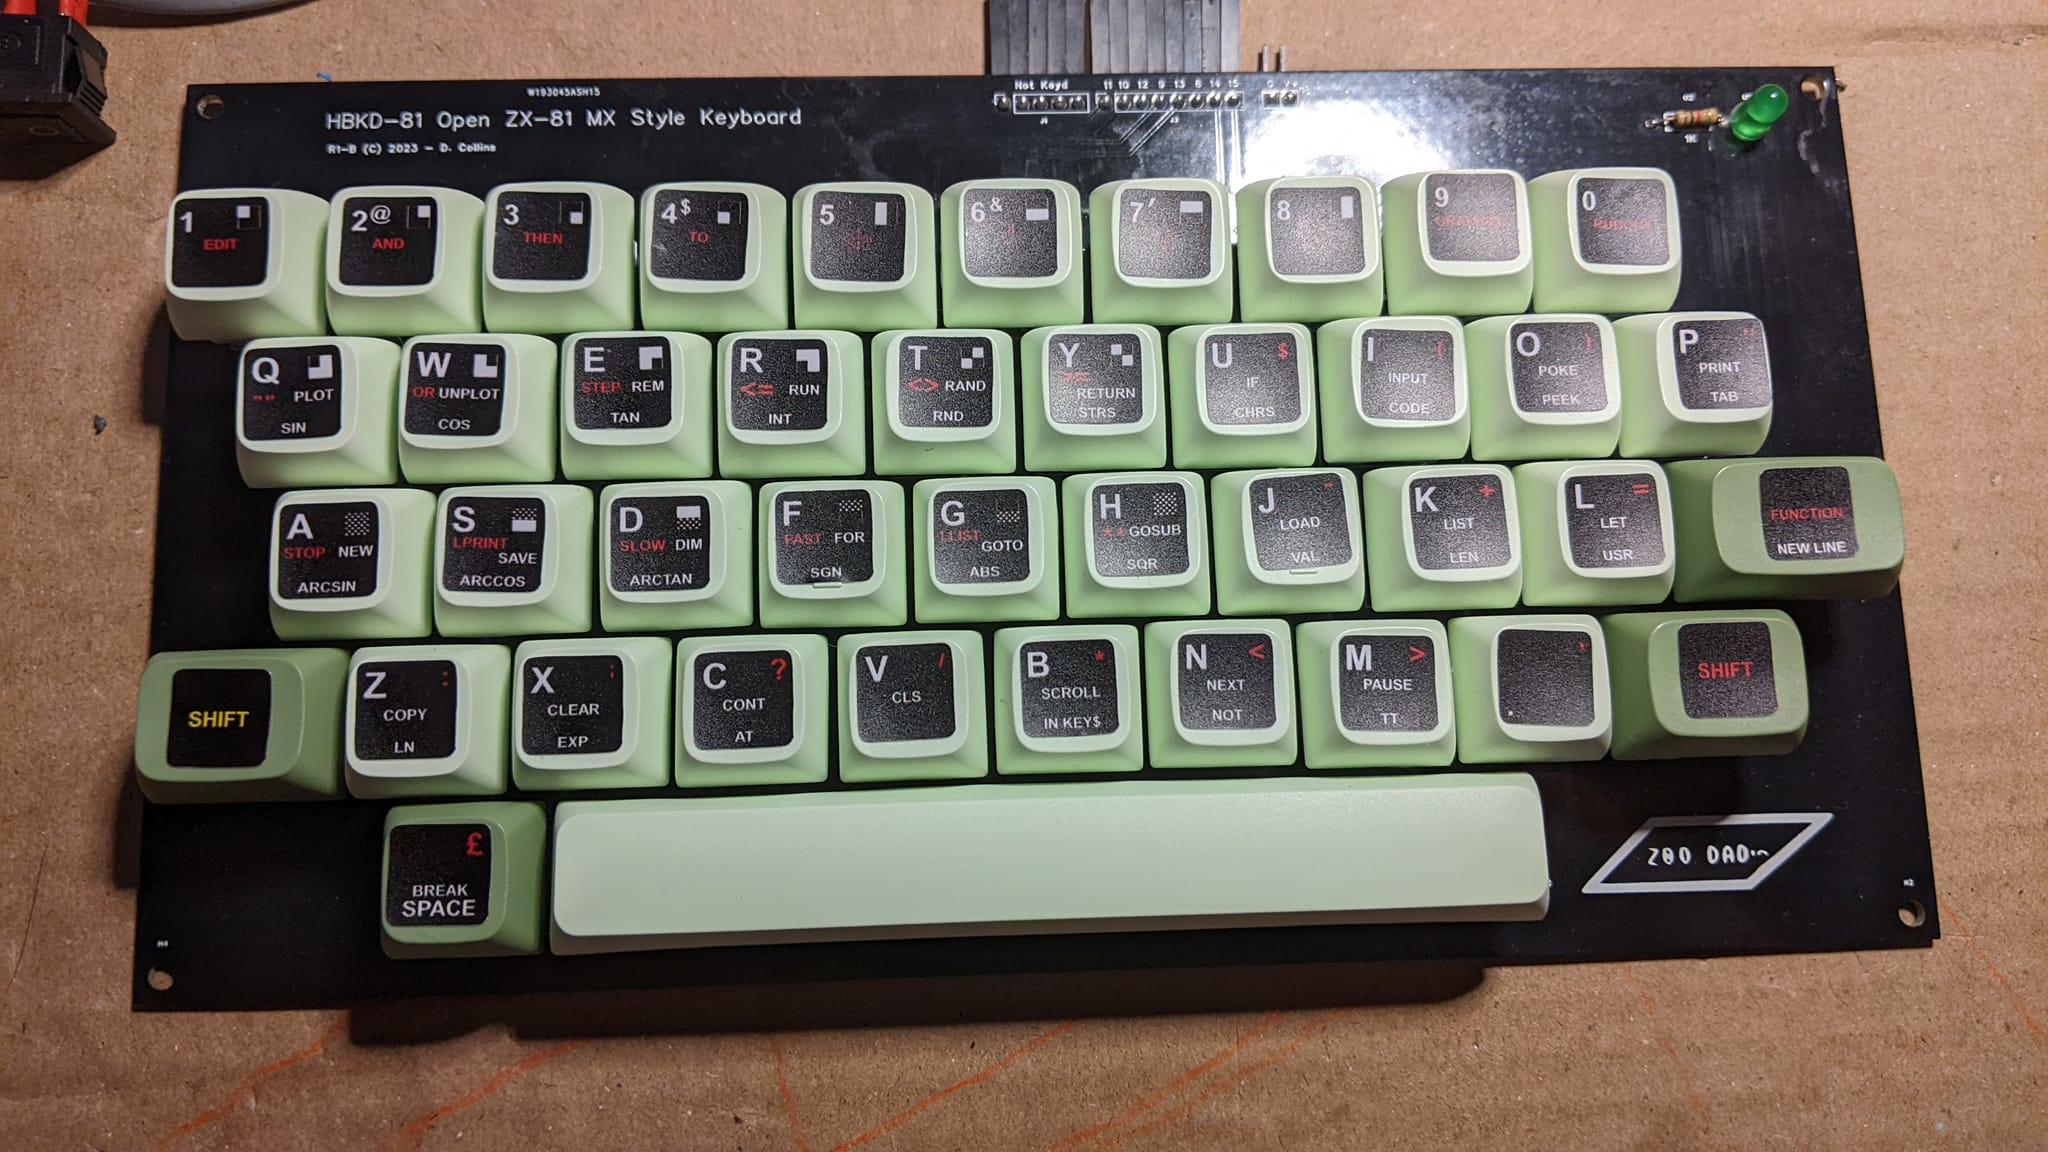
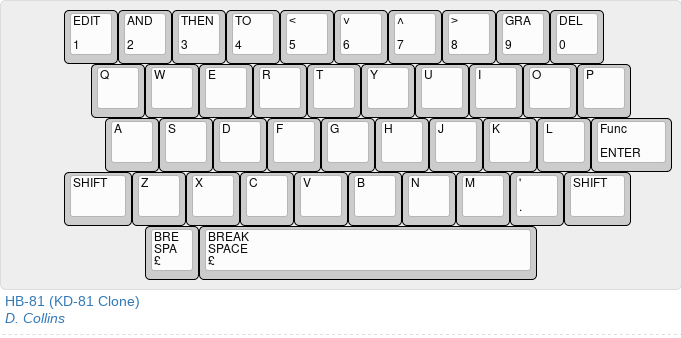
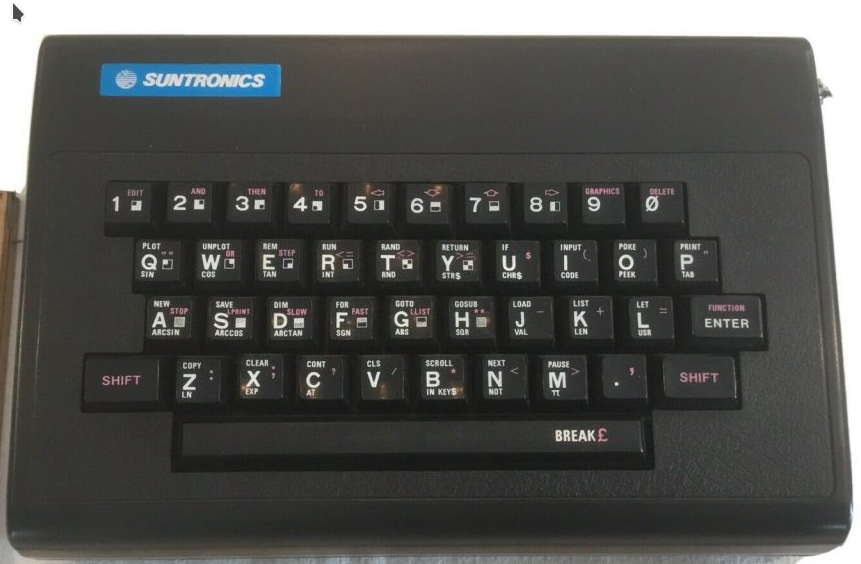
- Use the KD-81 as a reference for styling
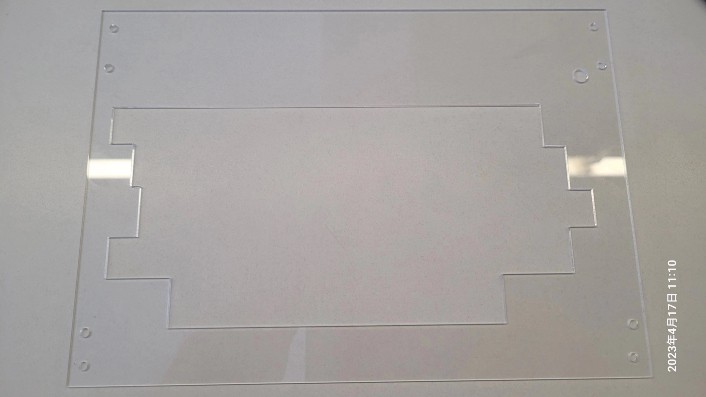
- small (ish) form factor with out having a crowded case
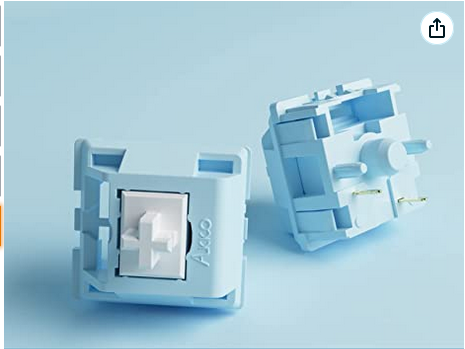
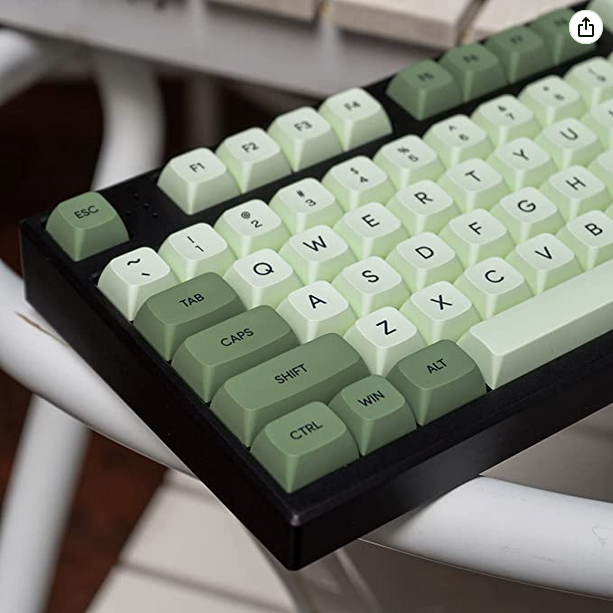
- standard size key caps, and key switches allowing for the use of salvaged parts
- standard DC-DC Power supply to provide cool, reliable power to the computer without excessive heat.
- power / reset switch header
Additional Goals:
- Make inserts for the case to use it as a stand alone terminal for other single board computers.
- Make an adapter board that turns the key-matrix into a PS/2 compliant keyboard for use with a FAB-GL terminal board. as well as does all the ancillary voltage conversion (if needed) from 5v ttl to 3.3v.
- allow for use of a serial breakout to a FTDI to allow code to be serially loaded from a host PC or other machine for computers with only a serial monitor, without disconnecting the VGA terminal.
- make a power breakout for a pico-atx power supply or source a small high quality switching supply that can be used at multiple voltages for safe cool power.
Example uses for the terminal build:
As a case for single board computers, like the Z80-MBC2, V20-MBC, 68K-MBC or Agon Lite
Links:
Full Repository for project: GitHub
Shared Project link (supports development): PCBWay Shared Projects additionally if you use use discount code: ROBOTMAKER, you can get an 5 dollars off your order, for a limited time.
extra case assembly directions:
Sponsorship:
PCBWay has kindly offered to sponsor the prototyping for HBKD-81, Its only with their kind sponsorship we are able to do these projects, and their support is greatly appreciated. If you don't know PCBWay does PCB prototyping, fabrication, 3d printing and so much more with quality that is unmatched in the industry. Thank you PCBWay!


 Simon Merrett
 T. B. Trzepacz
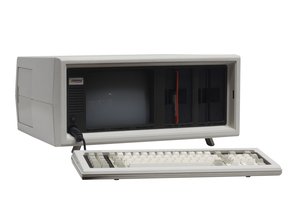
 leadacid44
 thpoll
Greetings from Cordoba, Argentina. Very good work, you have given me good ideas for a project I'm starting.