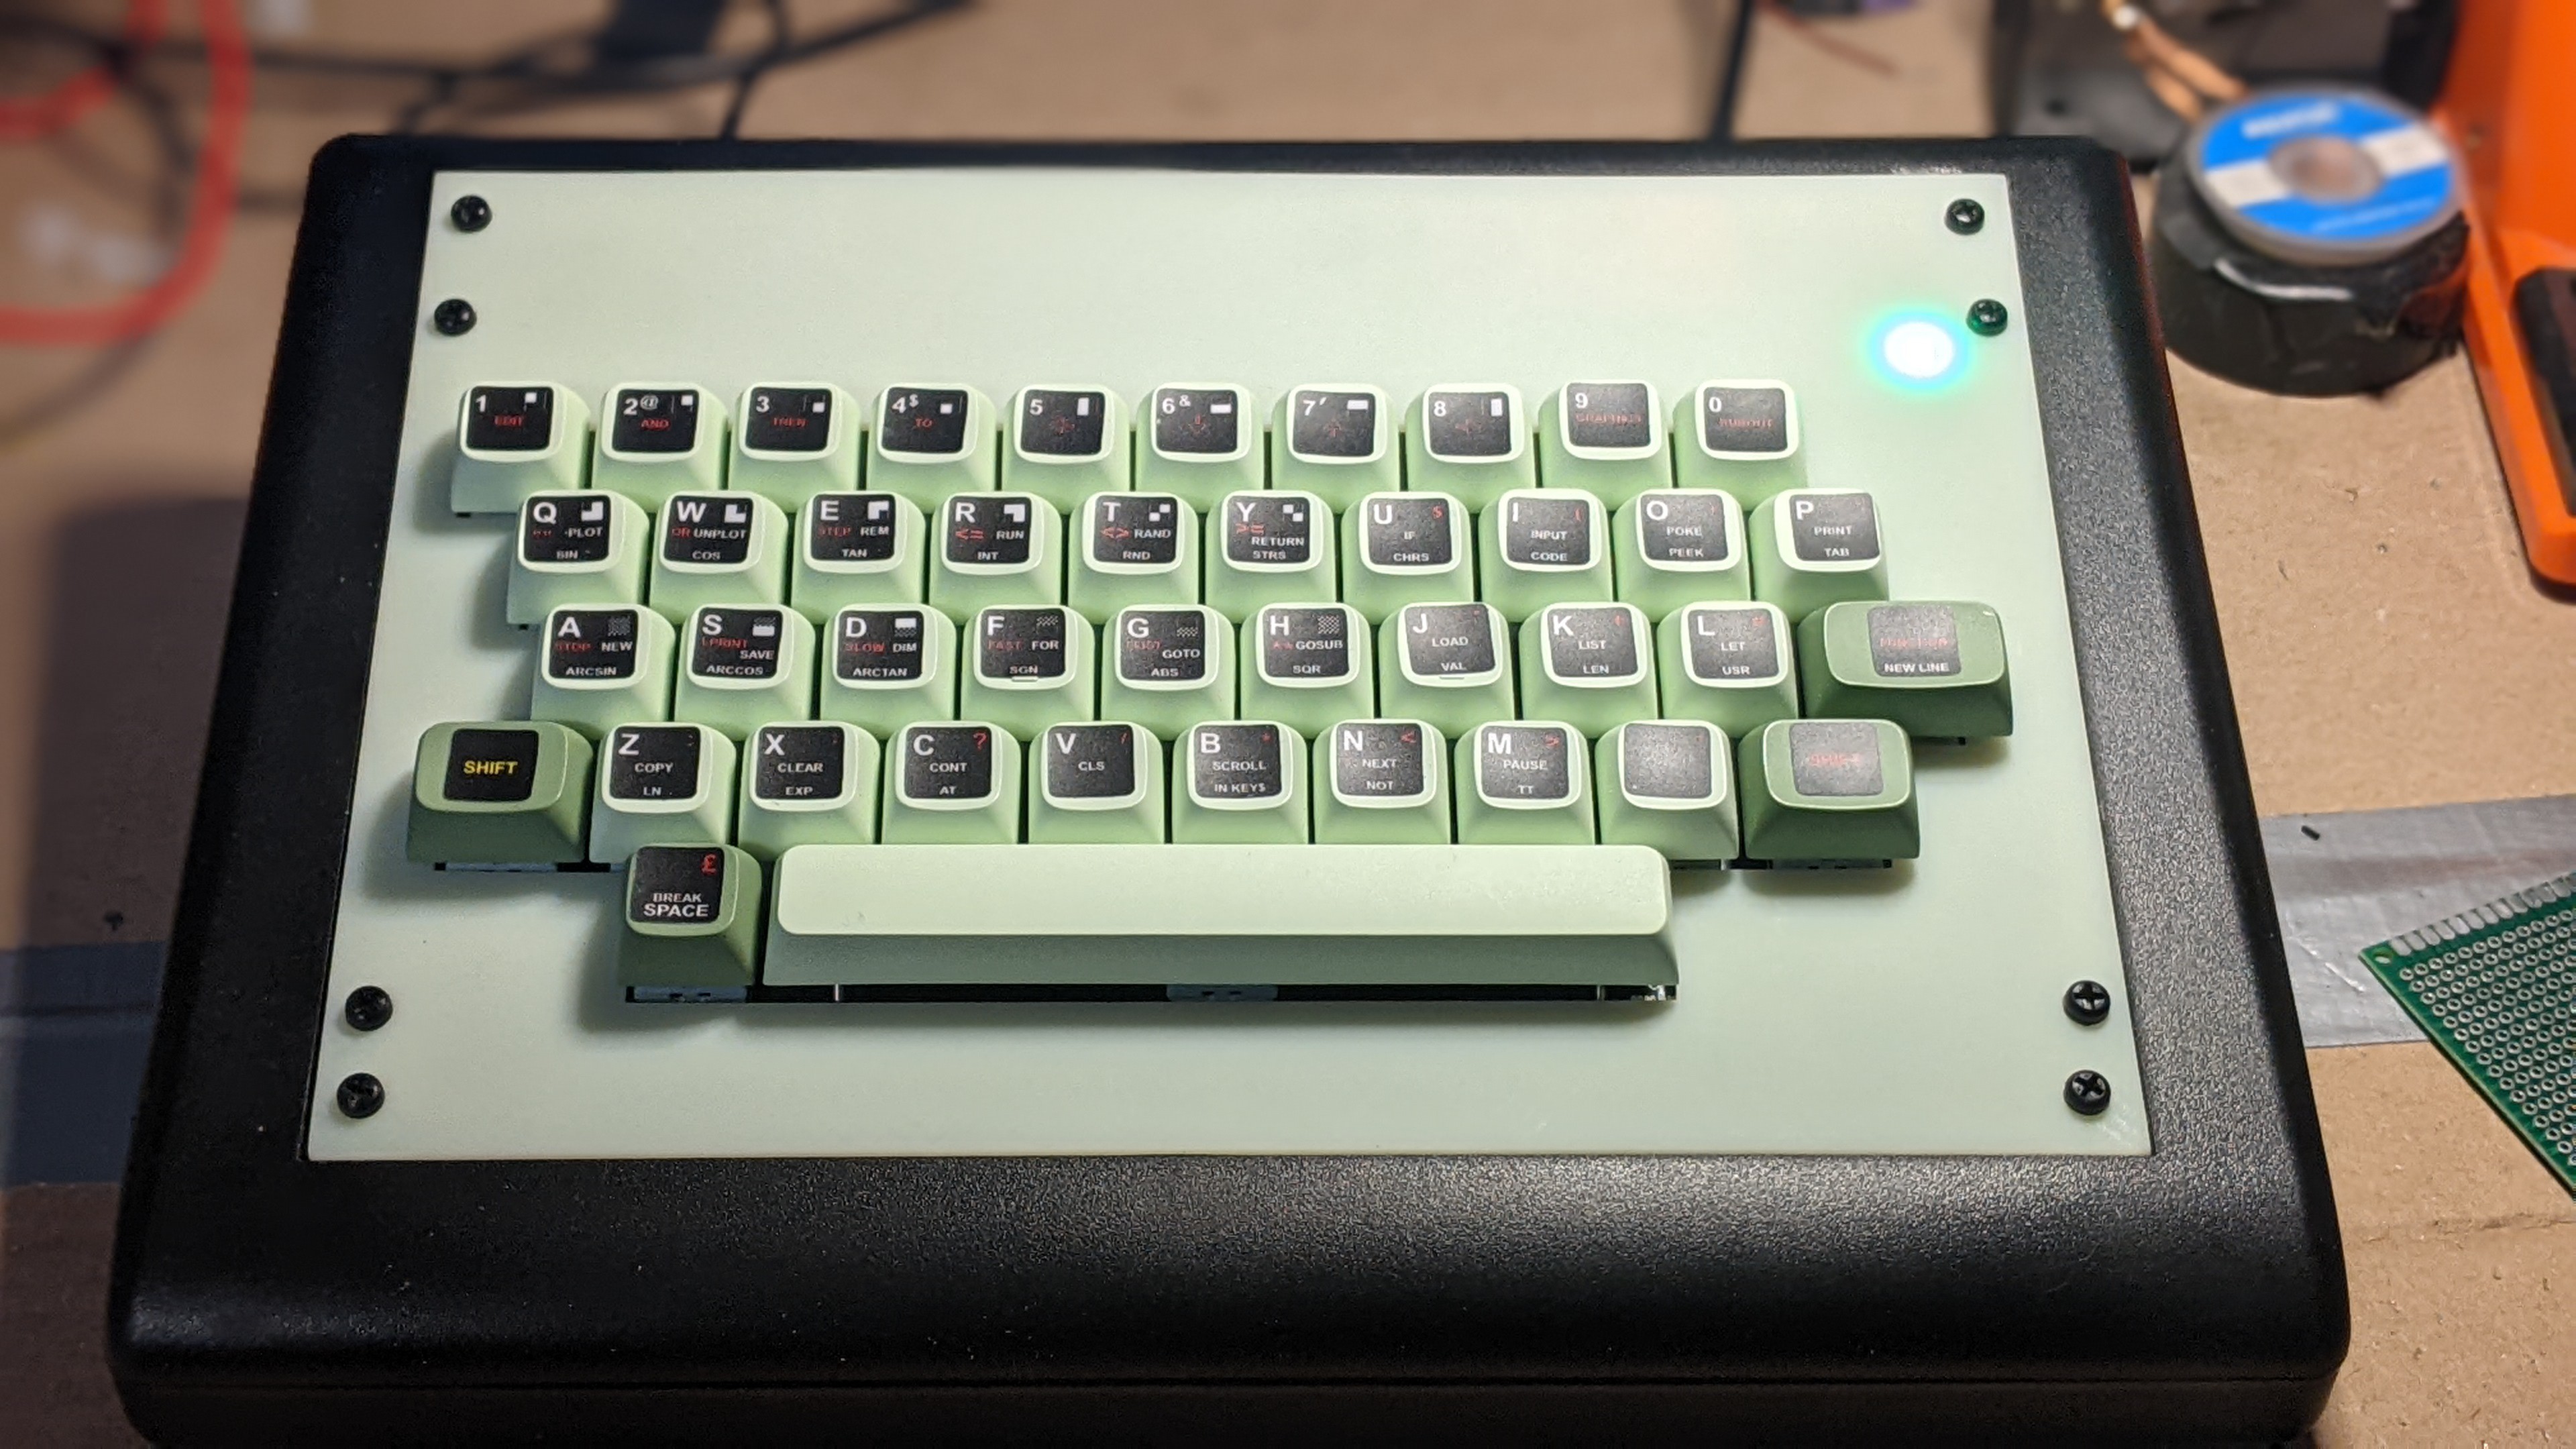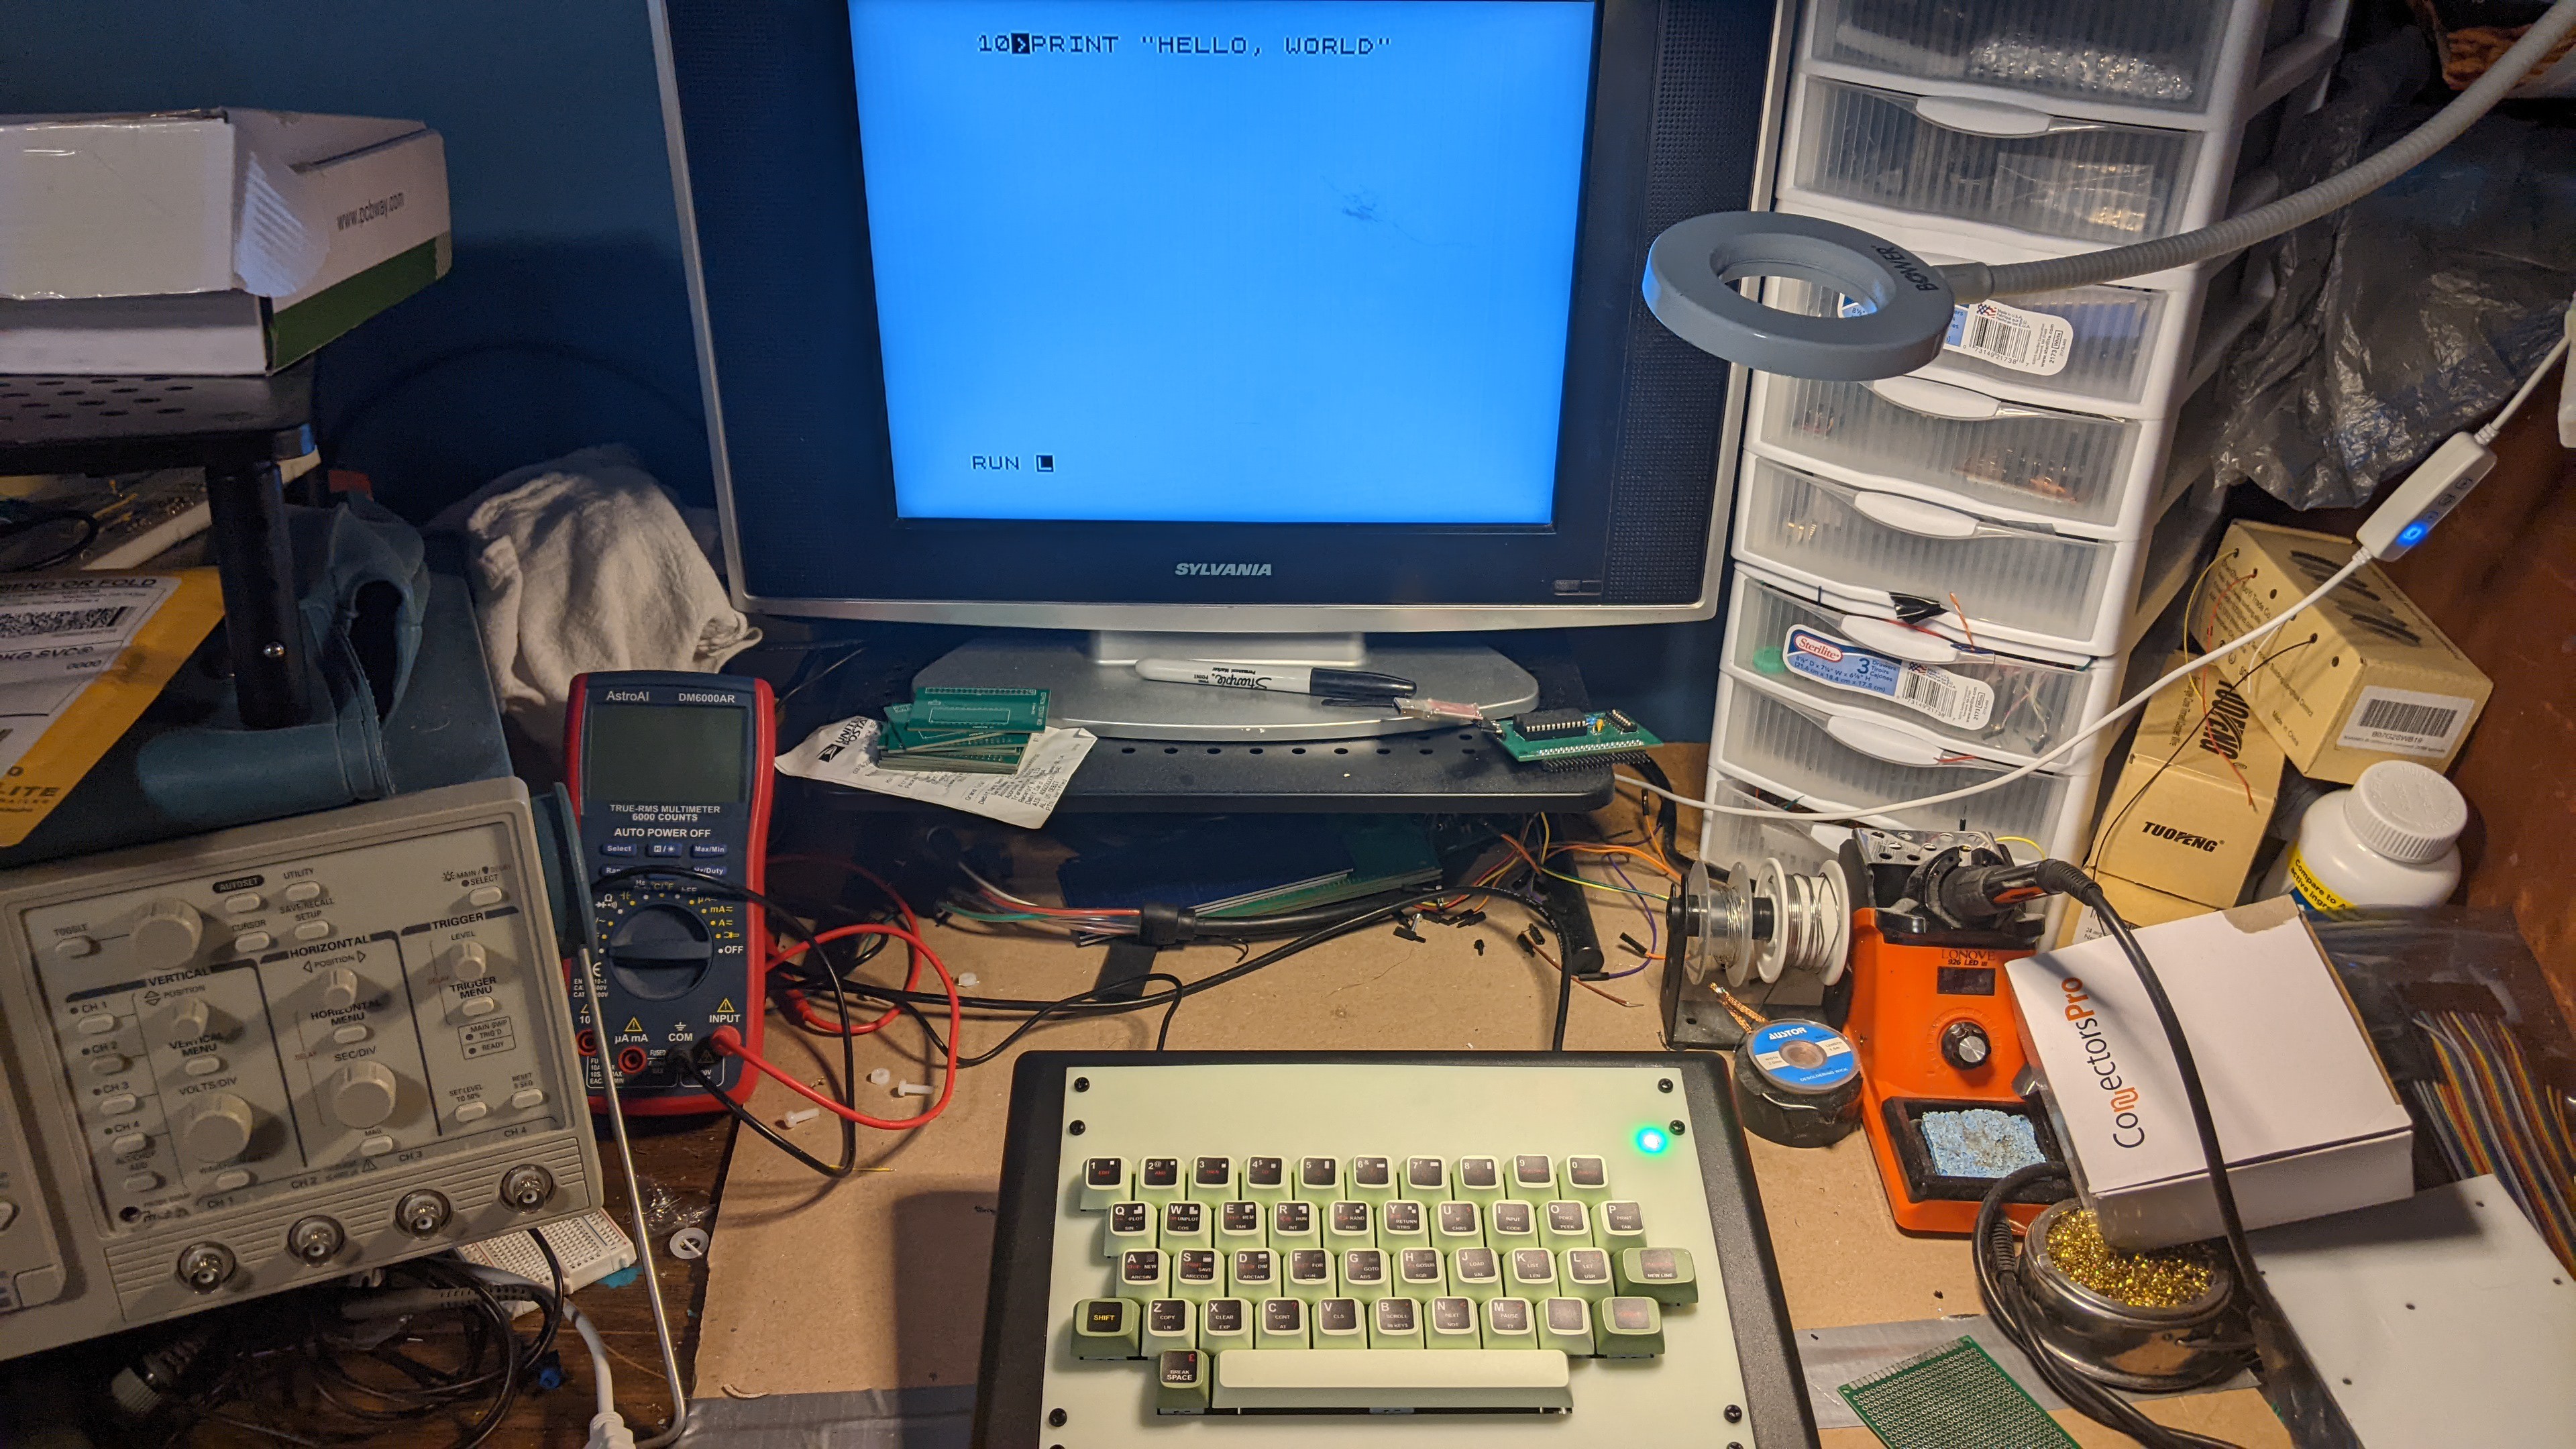
Looks like the 3d Test panels fit:
So after waiting about 2 weeks to get the panels, they came and we have basically a working case! I won't bore you with the back panel hack job I did getting the switch and the video port mounted, it's basically just drilled holes in the back of the case the switch, power port and the video port fit into. I had to do a little grinding on the round holes i drilled for the power switch, but if somebody else is doing this -- my recommendation is to go with a round panel mount; this way you don't have to cut a rectangular hole. On second inspection; it might also be better to build the USB port this way and solder all of the passives point to point. This is just a large 100uF capacitor which acts as a bypass; and to smooth things out a bit coming off the USB block. I will most likely have a new panel cut when I do the finished one's so that I can do exactly this... as I am not super happy with the way the switch looks and I think for sure the power board is overkill (just something I hacked together on a piece of strip board).
PCBWay Print Review:
The 3d Prints from PCB way came in about 2 weeks. This is due to the 3-4 day build time, plus the shipping to my house took a little longer with fed-ex than it usually takes with DHL. But DHL has gotten ridiculous in terms of price over the last month (at least to my area), so our marketing contact recommended FedEx this time, which was fast enough, and considerably more fair in charms of pricing
The print for the upper panel was done using a more rigid resin than the inside panel In the end I didn't even end up using the panel insert for the interior because the stand offs made the board sit to high in the enclosure. Additionally some of my measurements were WAY off; and so I ended up just going with that upper panel. The power LED from the keyboard was a bit large, and so I ended up just drilling out the hole. I will fix this in the STL I am uploading today but as you can see the panel fits in the top enclosure like a glove.
The prints provided were almost square to the drawing. I expected a little sagging but even this was minimal. All of the screw holes lined up perfectly, and I did not need to do much in the way of anything to get the keyboard to fit in the space it is supposed to sit. I know very little about 3d Printing but for my application they just worked, so I can say that for that I was very pleased. The rigidity of the 2mm panel was not the same as a metal panel but it does not feel like it is going to tear or shatter; if you have to go with 3d prints instead of a laser cut insert they are functional but they do wobble ever so slightly.
Over all I was very pleased with the actual quality of what I got. I would recommend this service for any large format 3d printing you would need. the prints that I got were very accurate to the drawing, and fit for my application. I don't think you can ask for more than that however, PCBWay delivers on that and so much more. They will do several finishing steps as well, such as painting the parts in the color of your choice, if you are not confident with a spray can. I would definitely recommend this as a 3d printing service, especially for large format parts.
What's next:

At this point I am happy with the build for the ZX81. The computer functions, runs basic and the keyboard is more than I could have hoped for. I'll most likely go for some laser cut panels next to really polish out the case, and I will be fitting a ZXWESPI for loading applications via WIFI. I think I will most likely do the VGA version, but I still want to think on it a bit. I will be putting the terminal build on hold for a bit as I re-consider my 6809 build next. I am going to adapt the ASSIST09 Serial Machine language monitor to work with the 16550 UART; a project I have been putting off for some time -- and I think a face lift is in order for the motherboard -- so I will be doing a rev2-mini PCB that will have minimized address decode ( a custom chip i am calling 'Bella') as well as try to bring the cost down even further. I would really like to make a PCB that fits exactly inside the terminal case when its finished.
As far as build files for the keyboard I'll be posting the STL's for the upper panel If somebody is trying to build one. I know it fits in the case and so I am comfortable releasing it. I used a set of stand offs and screws from this kit on amazon.
 Dave Collins
Discussions
Become a Hackaday.io Member
Create an account to leave a comment. Already have an account? Log In.