 M. Bindhammer
The parts for the mask adapter have also been selective-laser-sintered in PA 12 but kept white.
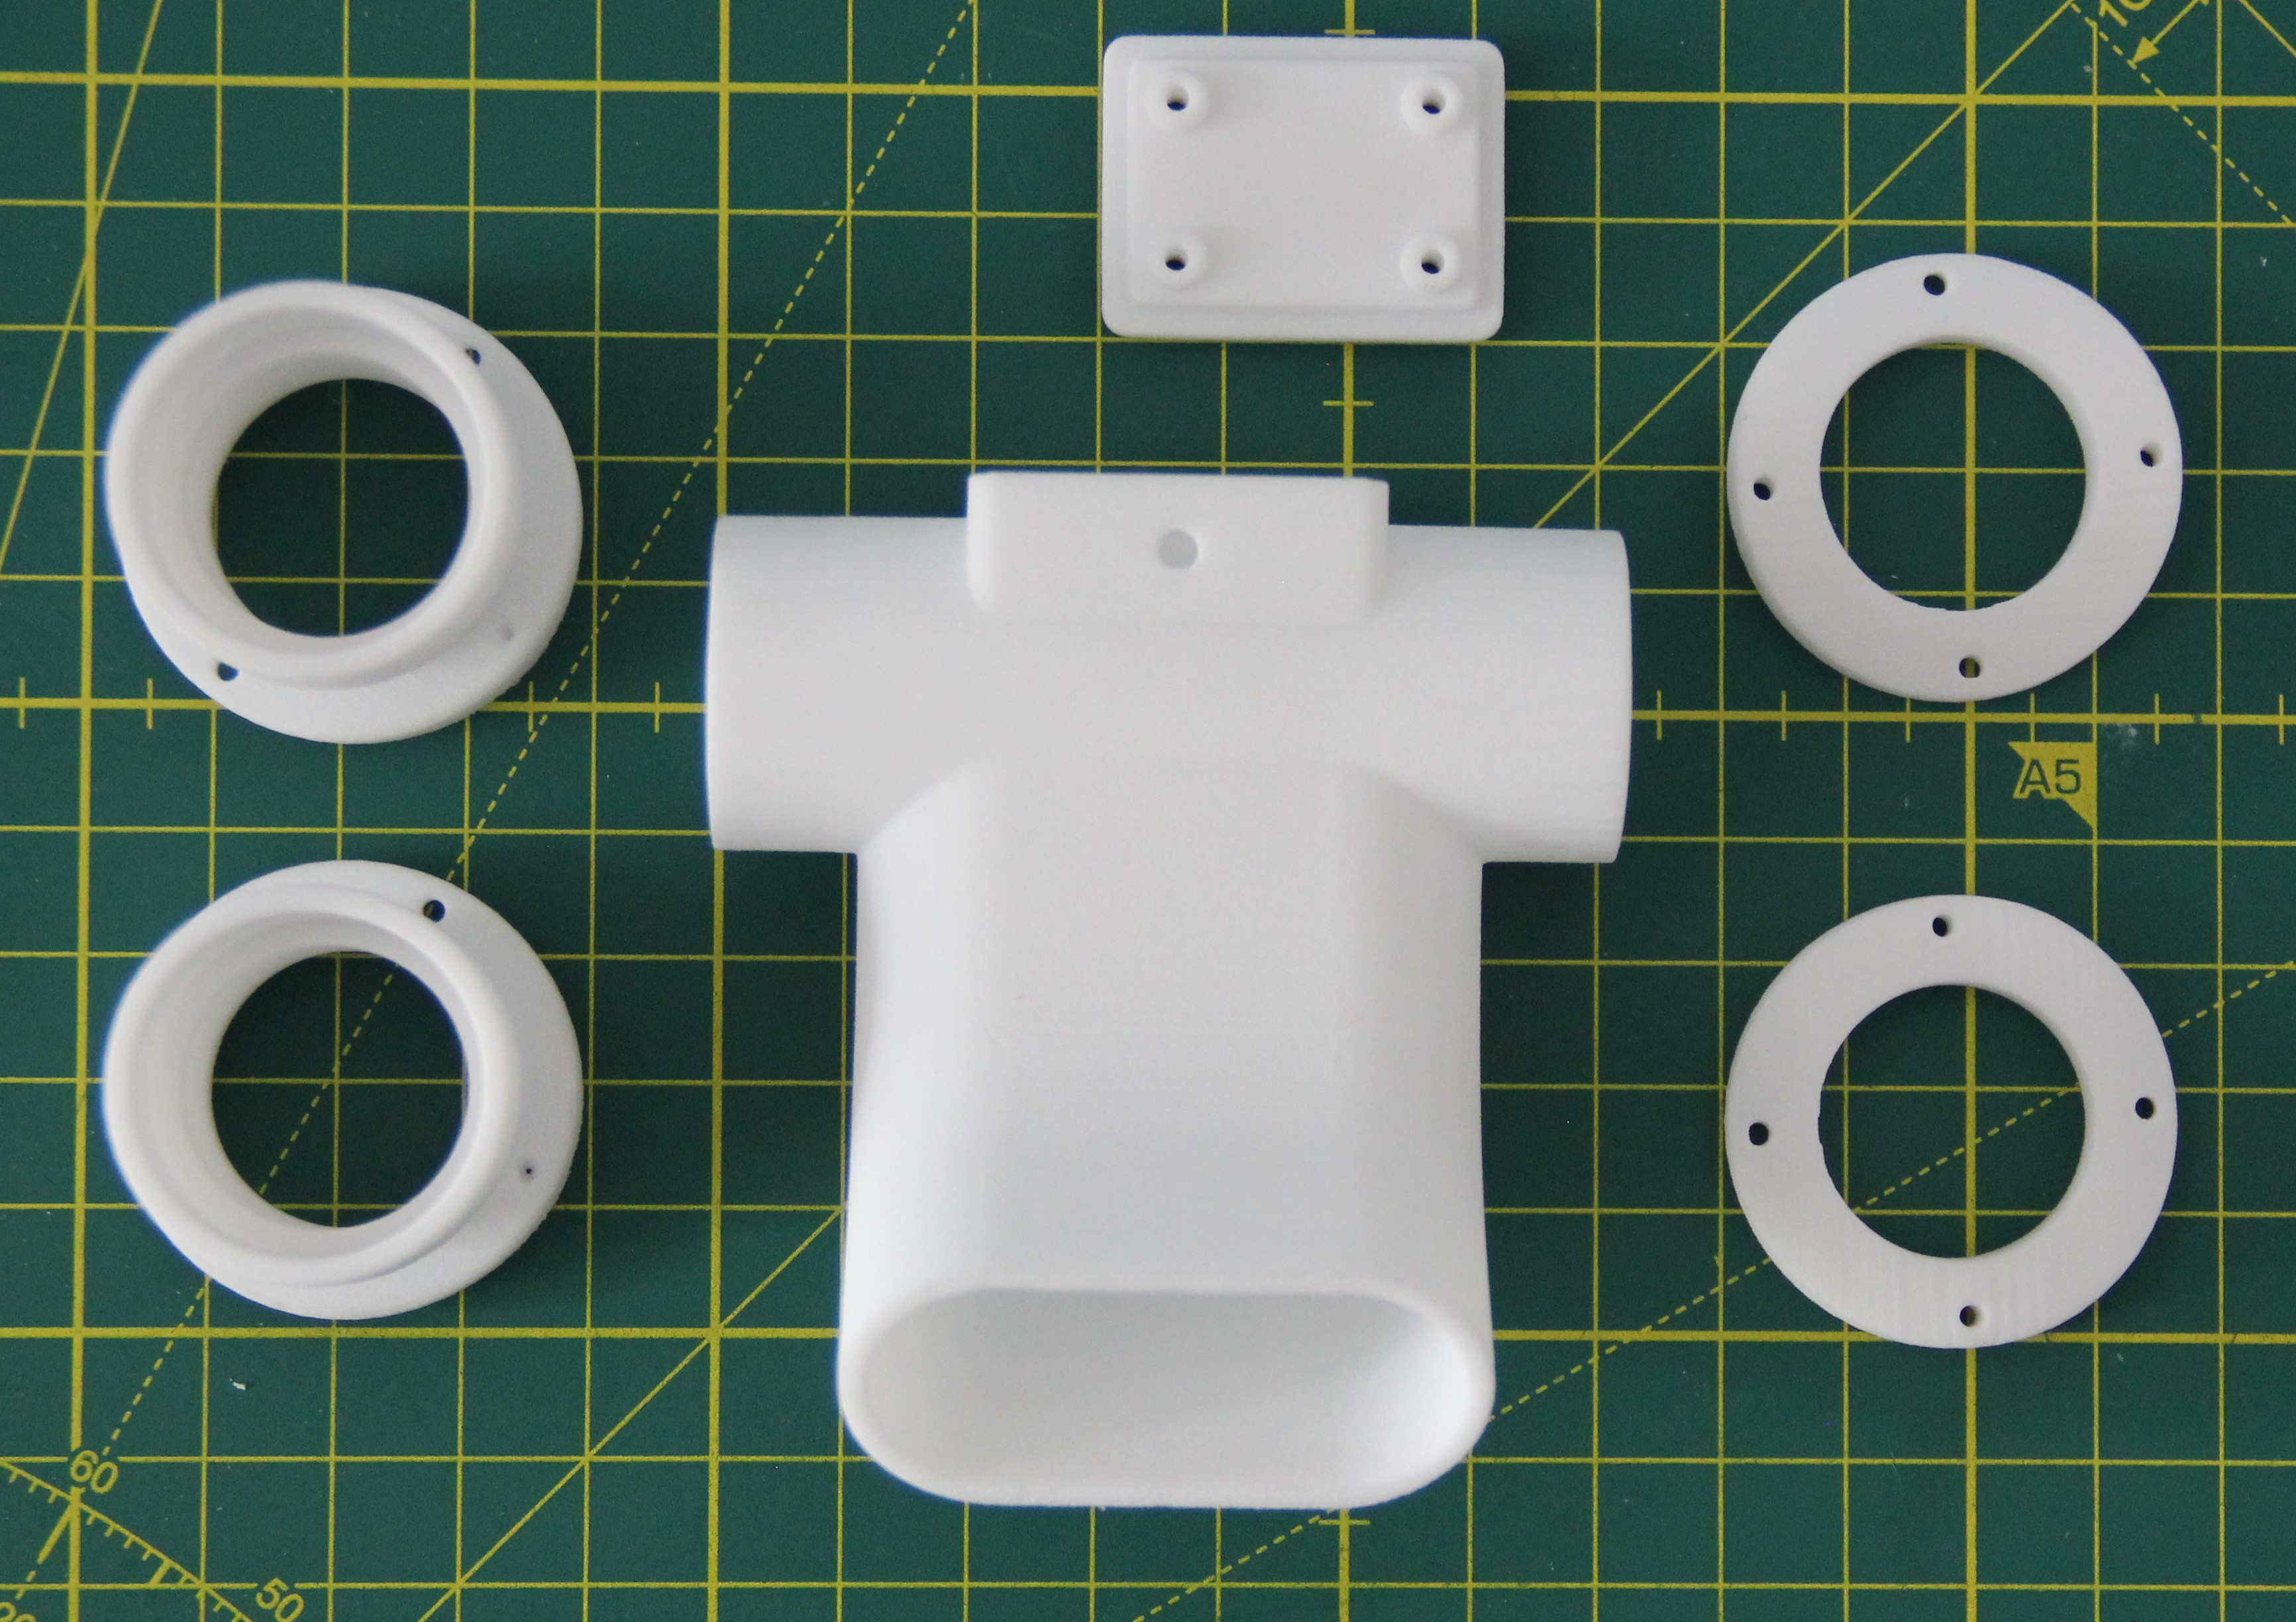
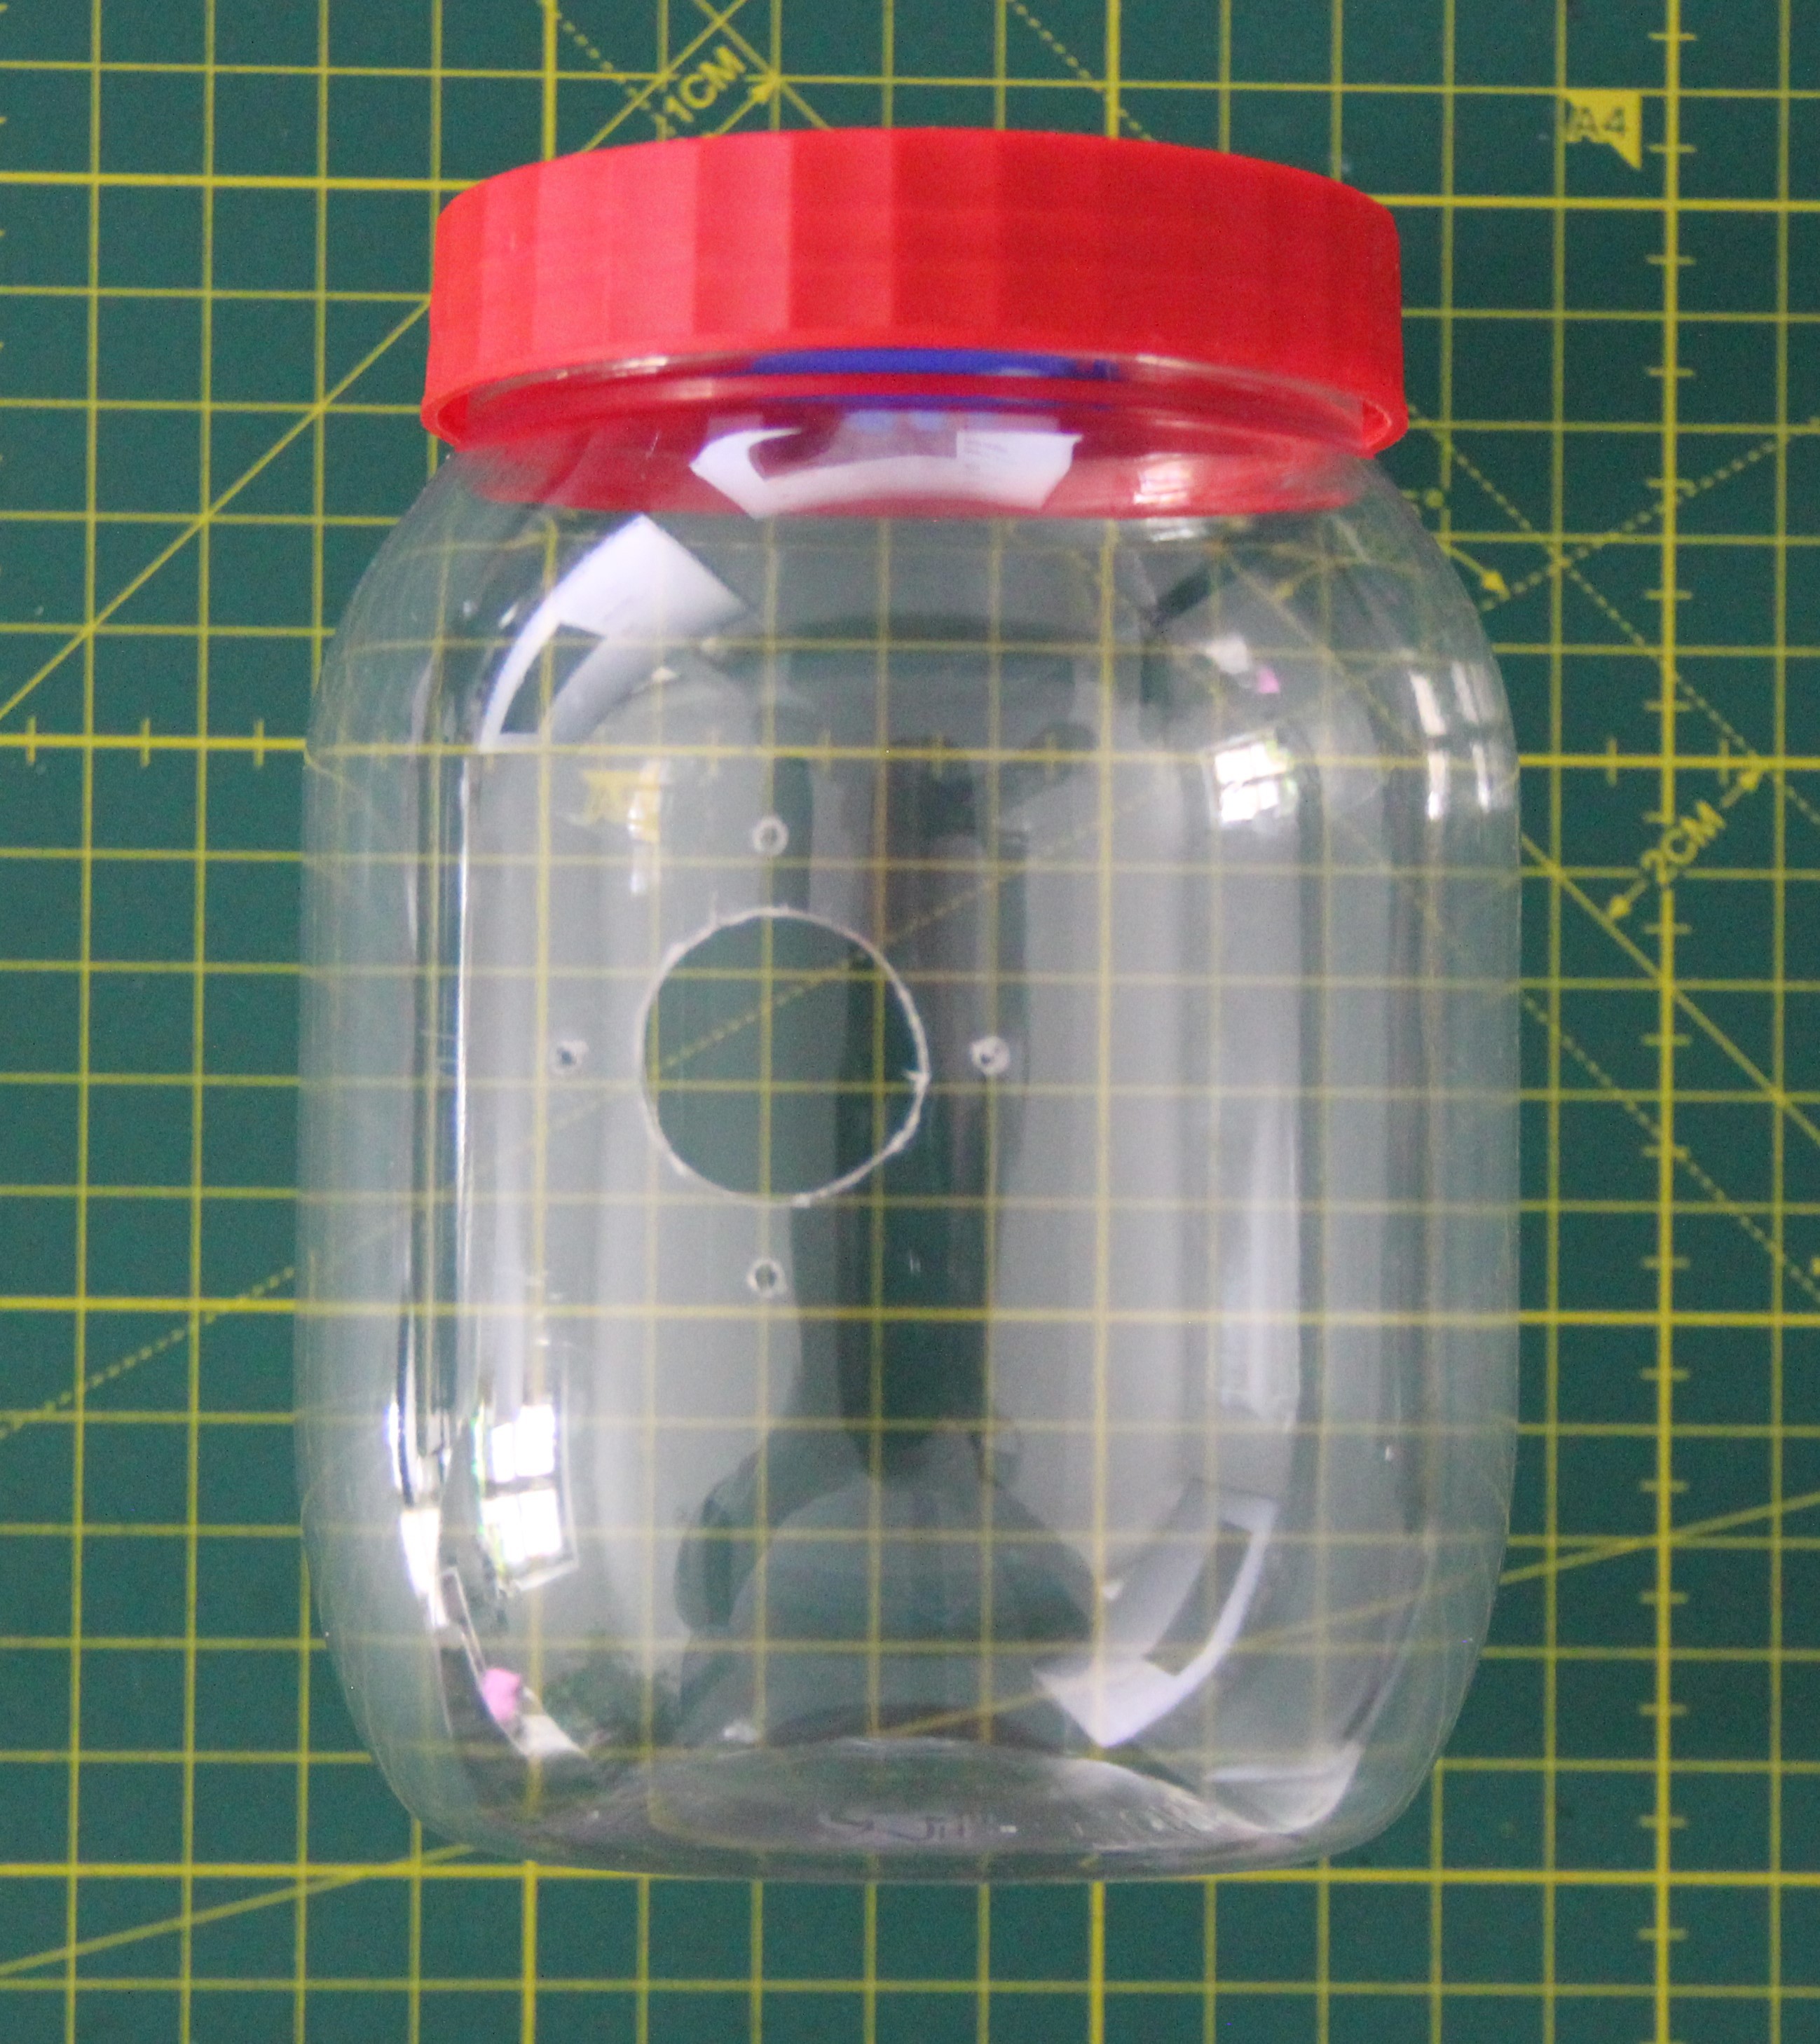
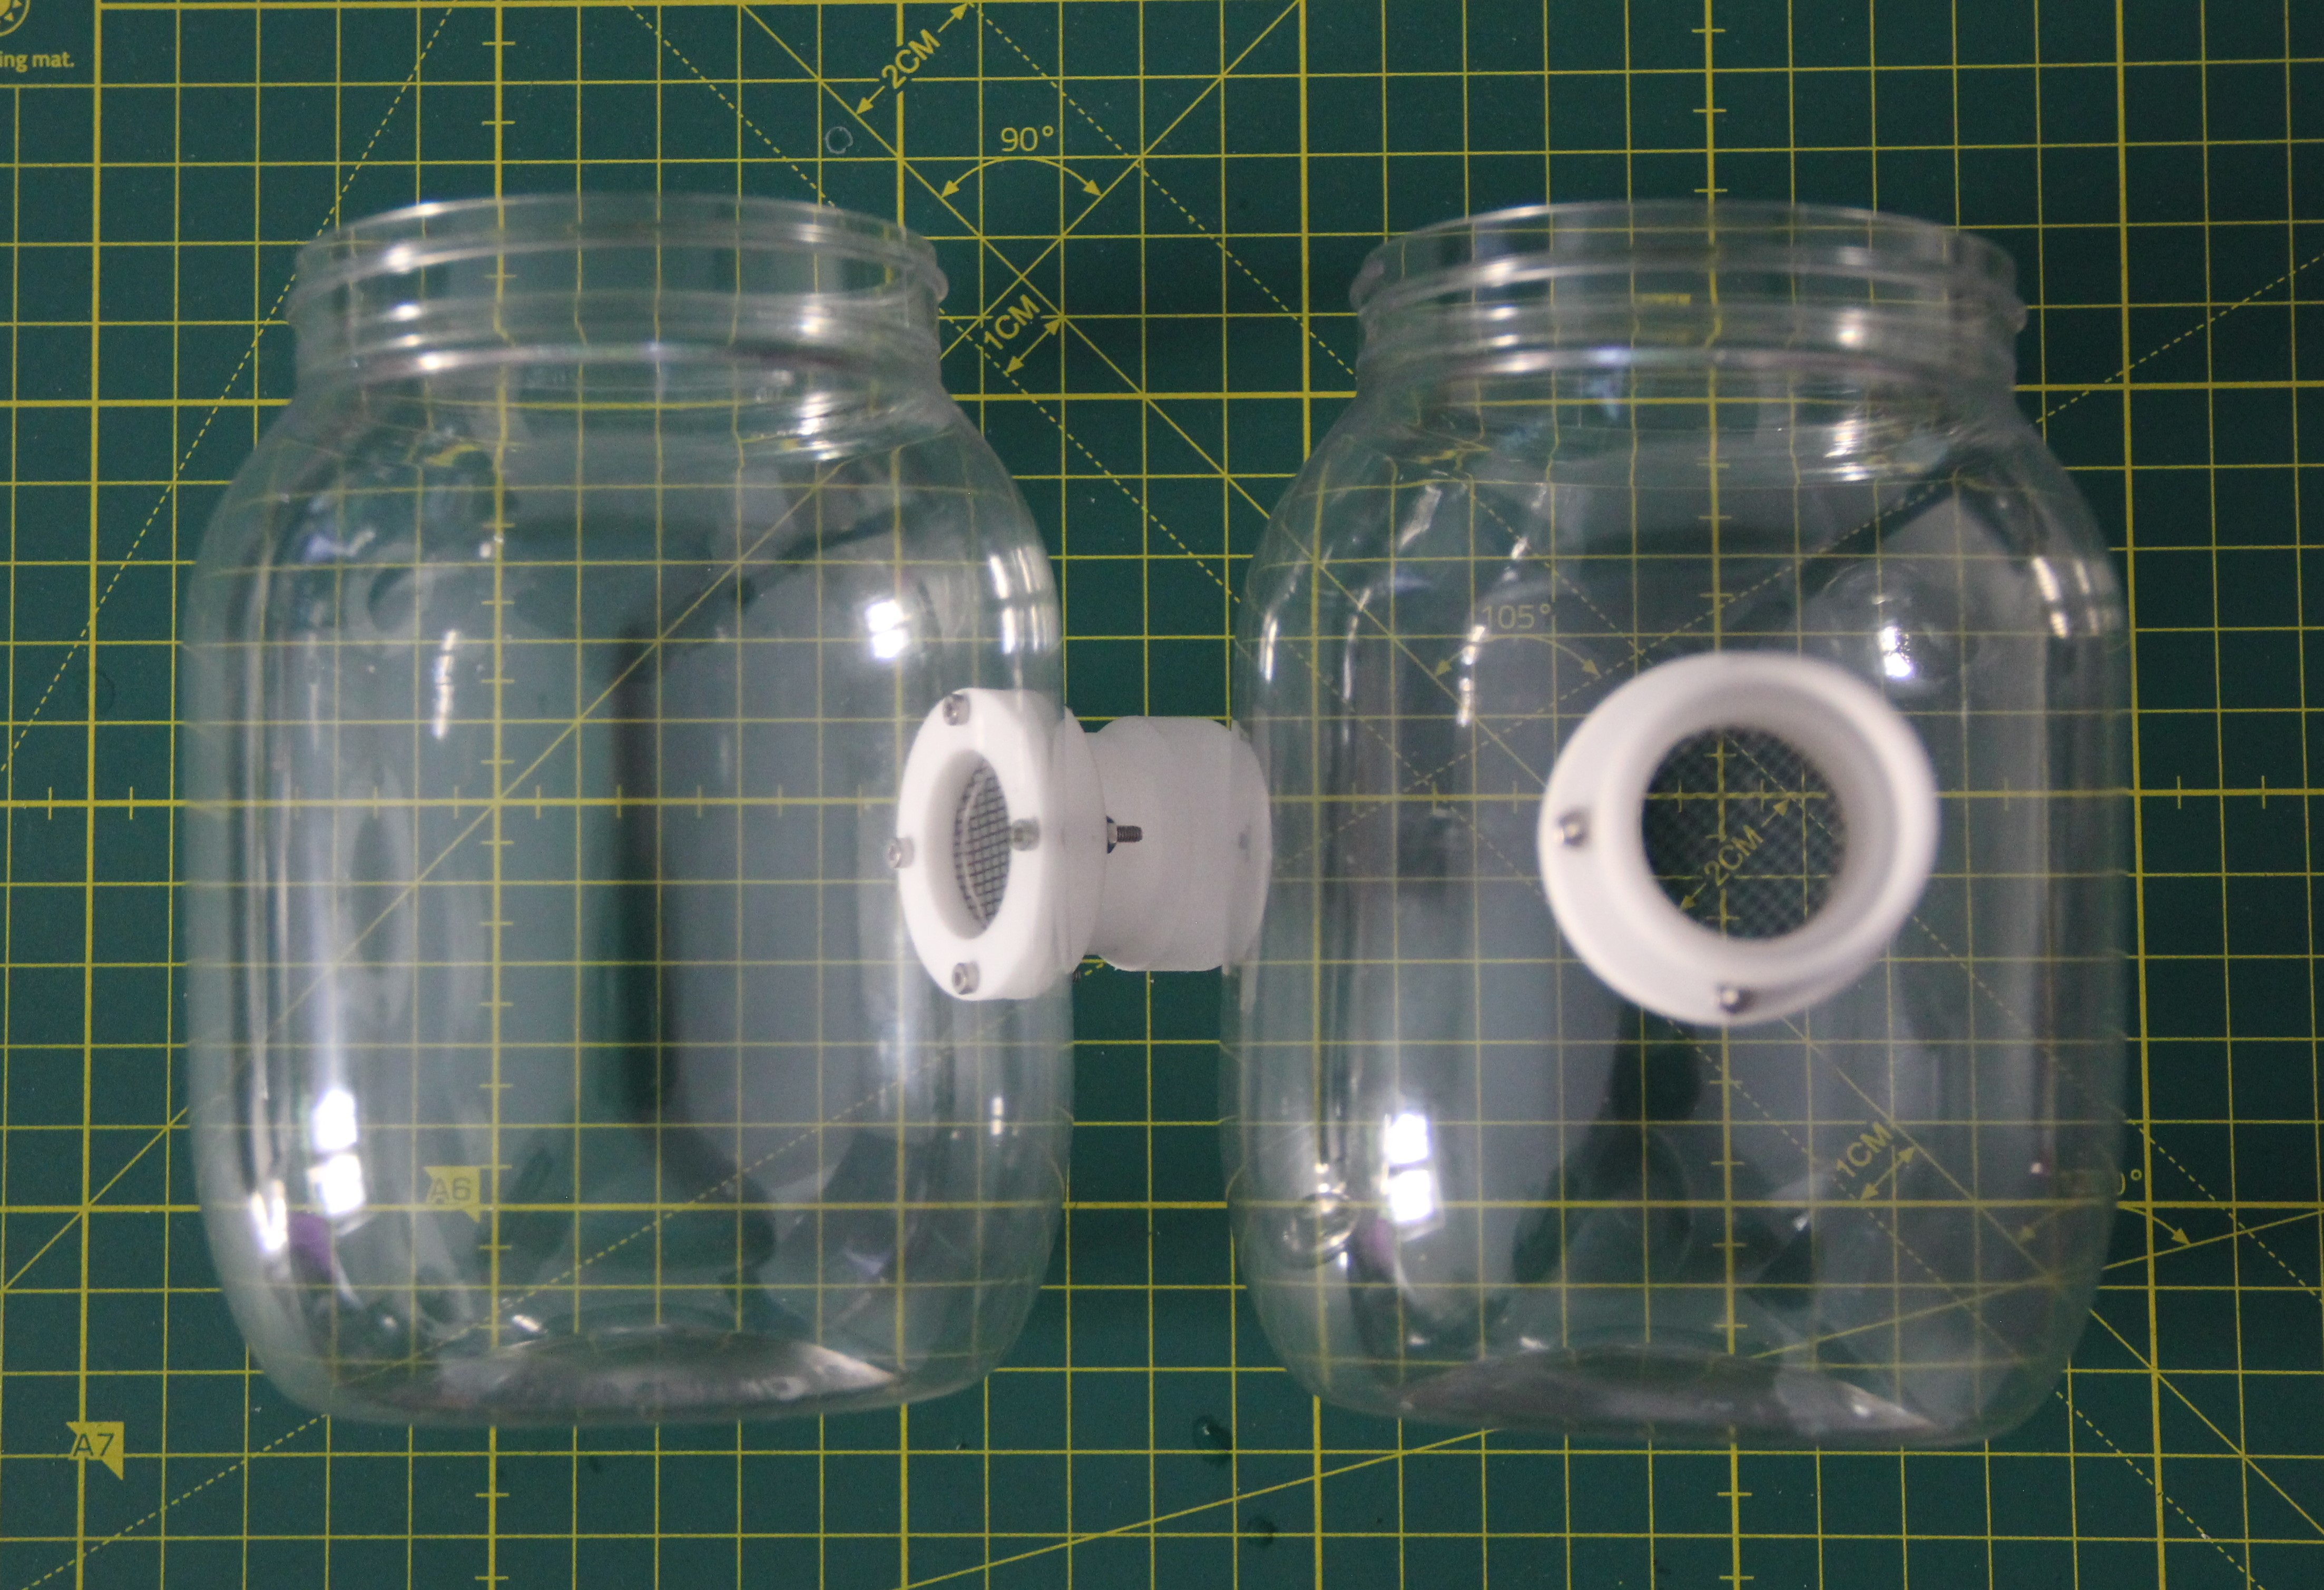
I placed valves in the lids of both containers, as described in my Log Air valves. Using a drilling template I made, I drilled the necessary holes in the containers. For the large hole, I used a step drill. The drill holes must be made at low speed, otherwise, the plastic will melt.
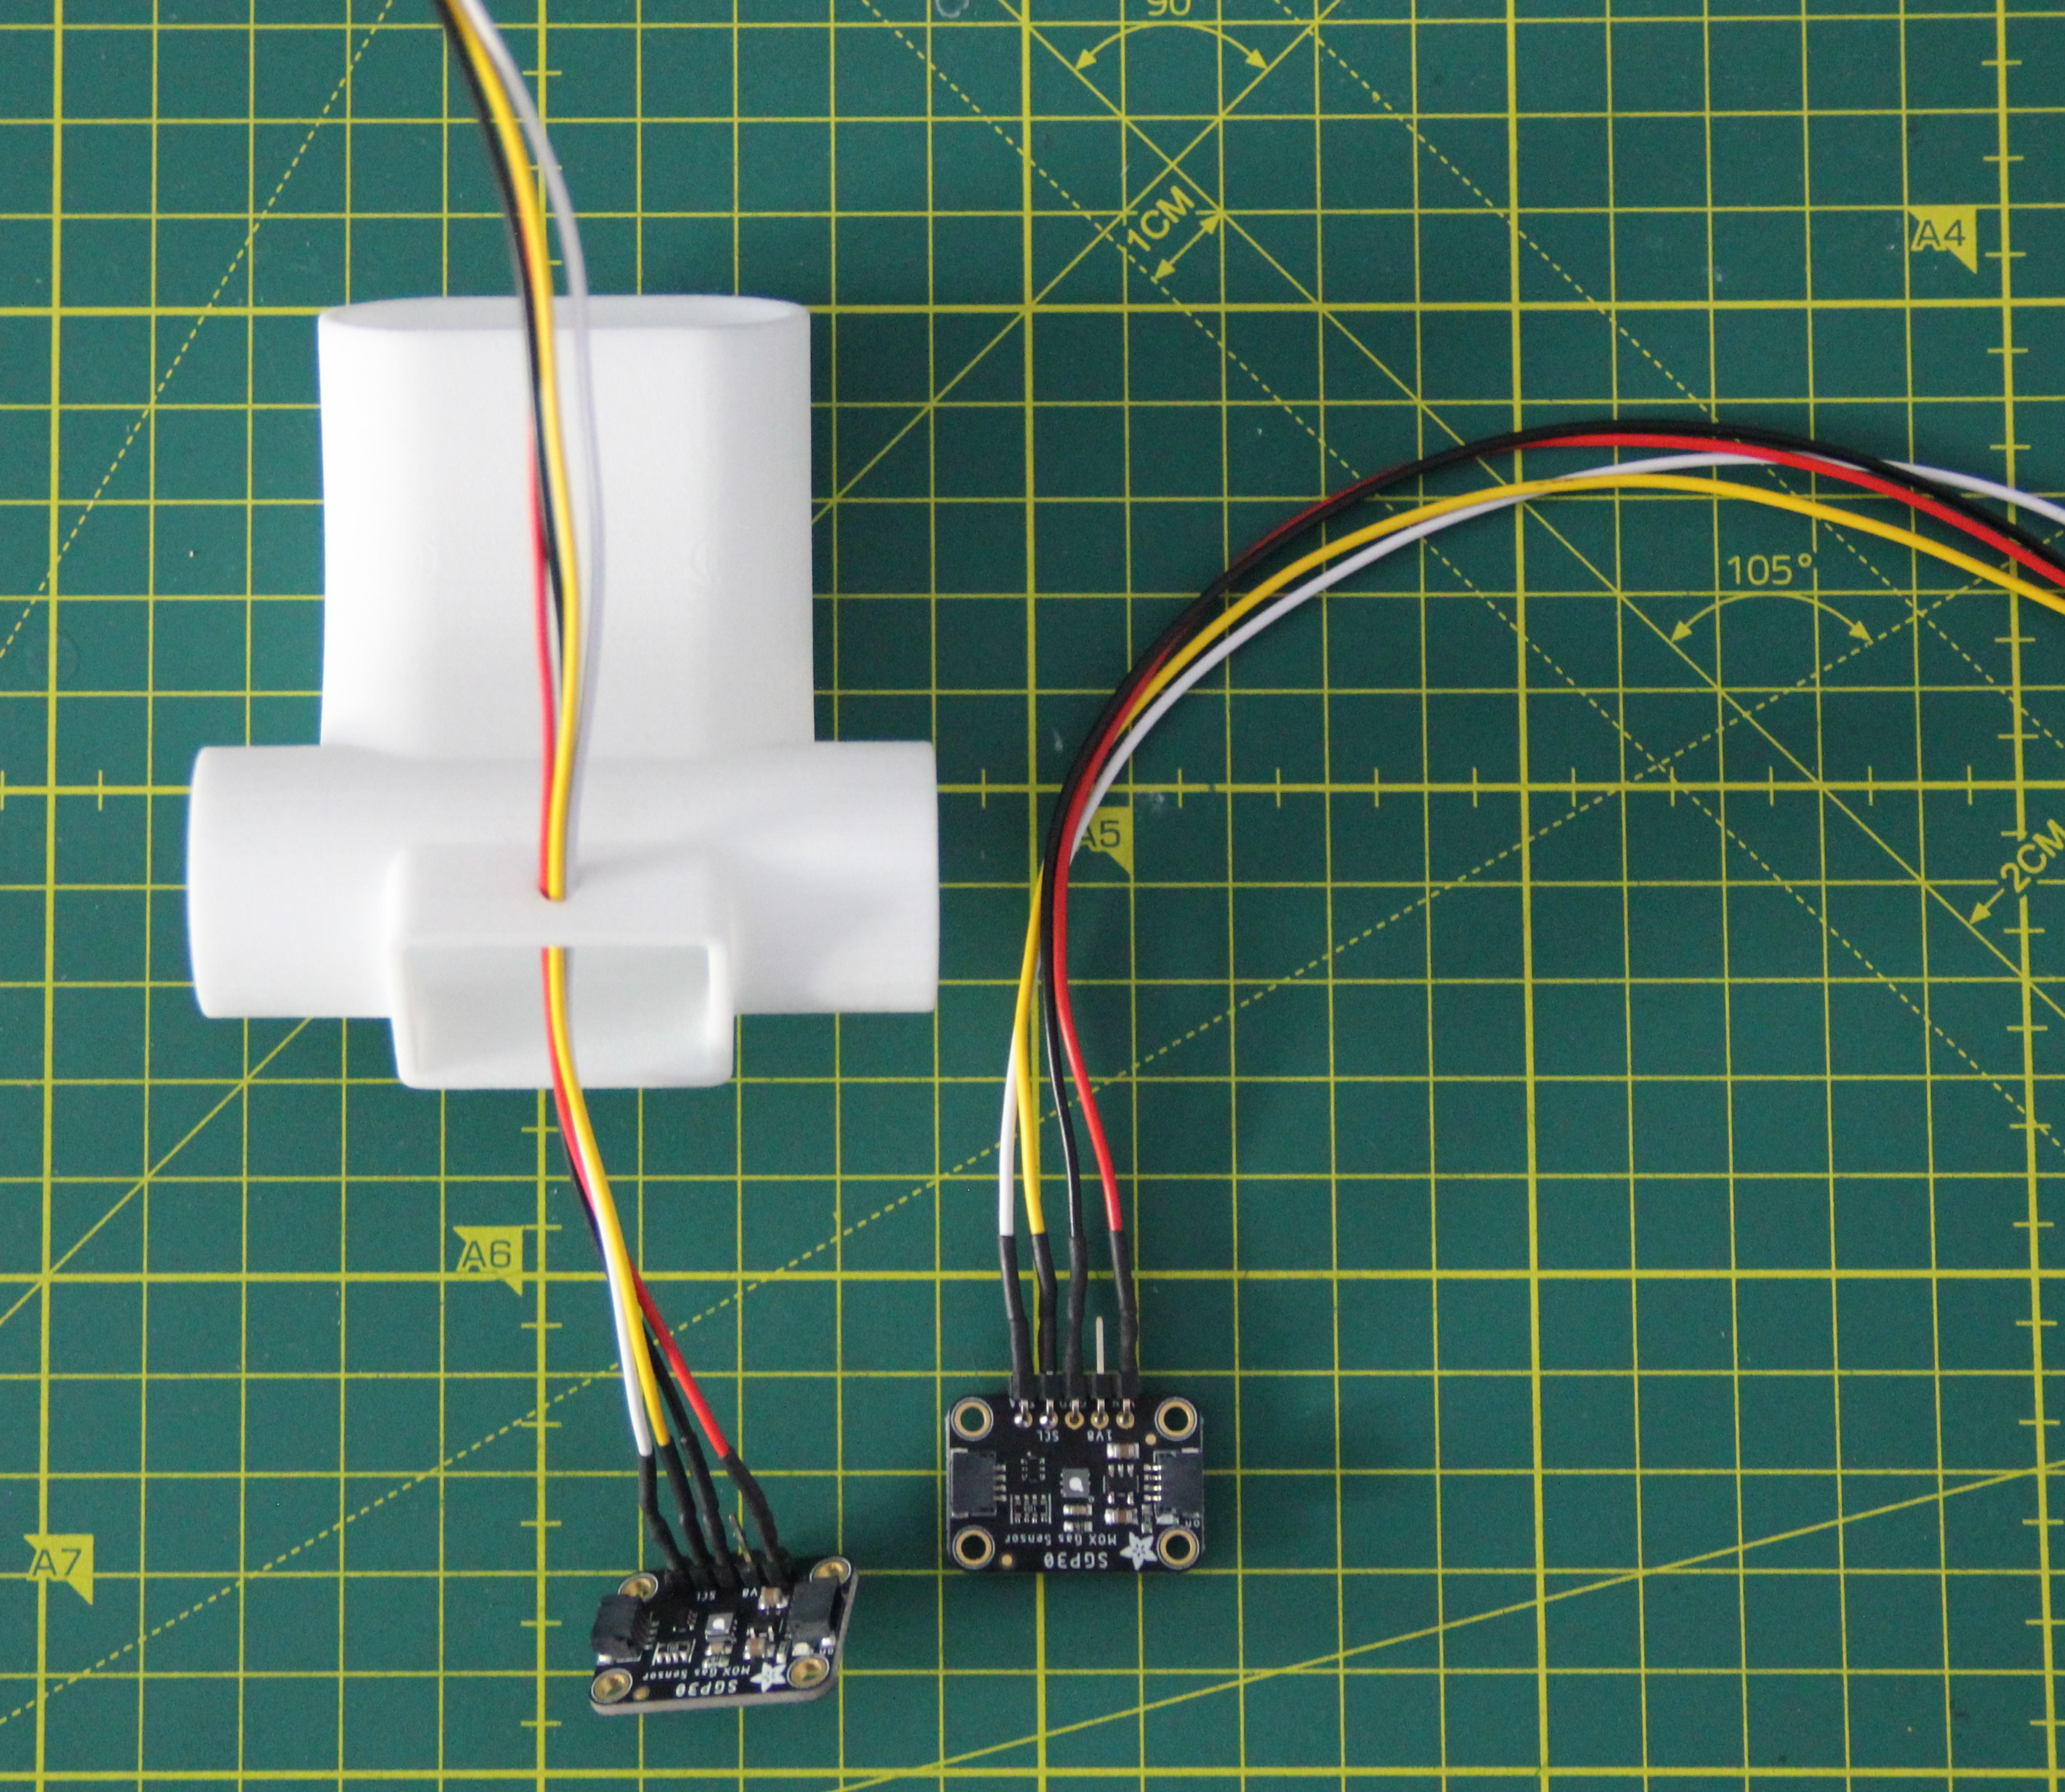
The two Adafruit SGP30 breakout boards need to have pin headers soldered into them, one straight and the other angled. Furthermore, we need two four-pin JST connectors 2.54 PH with 30 cm cable.

One wire harness was fed through the hole in the 3-D printed tee and the wires were soldered to the Adafruit SGP30 breakout board with the straight pin headers and heat shrink tubed. I did the same with the second harness and the Adafruit SGP30 breakout board with the angled pin headers.
The SGP30 breakout boards were then screwed to the cover of the tee. For that, I used four stainless steel M2 x 16 mm and nuts. The four nuts were each secured with a drop of super glue. We don't want these to become loose and possibly get into our respiratory tract.
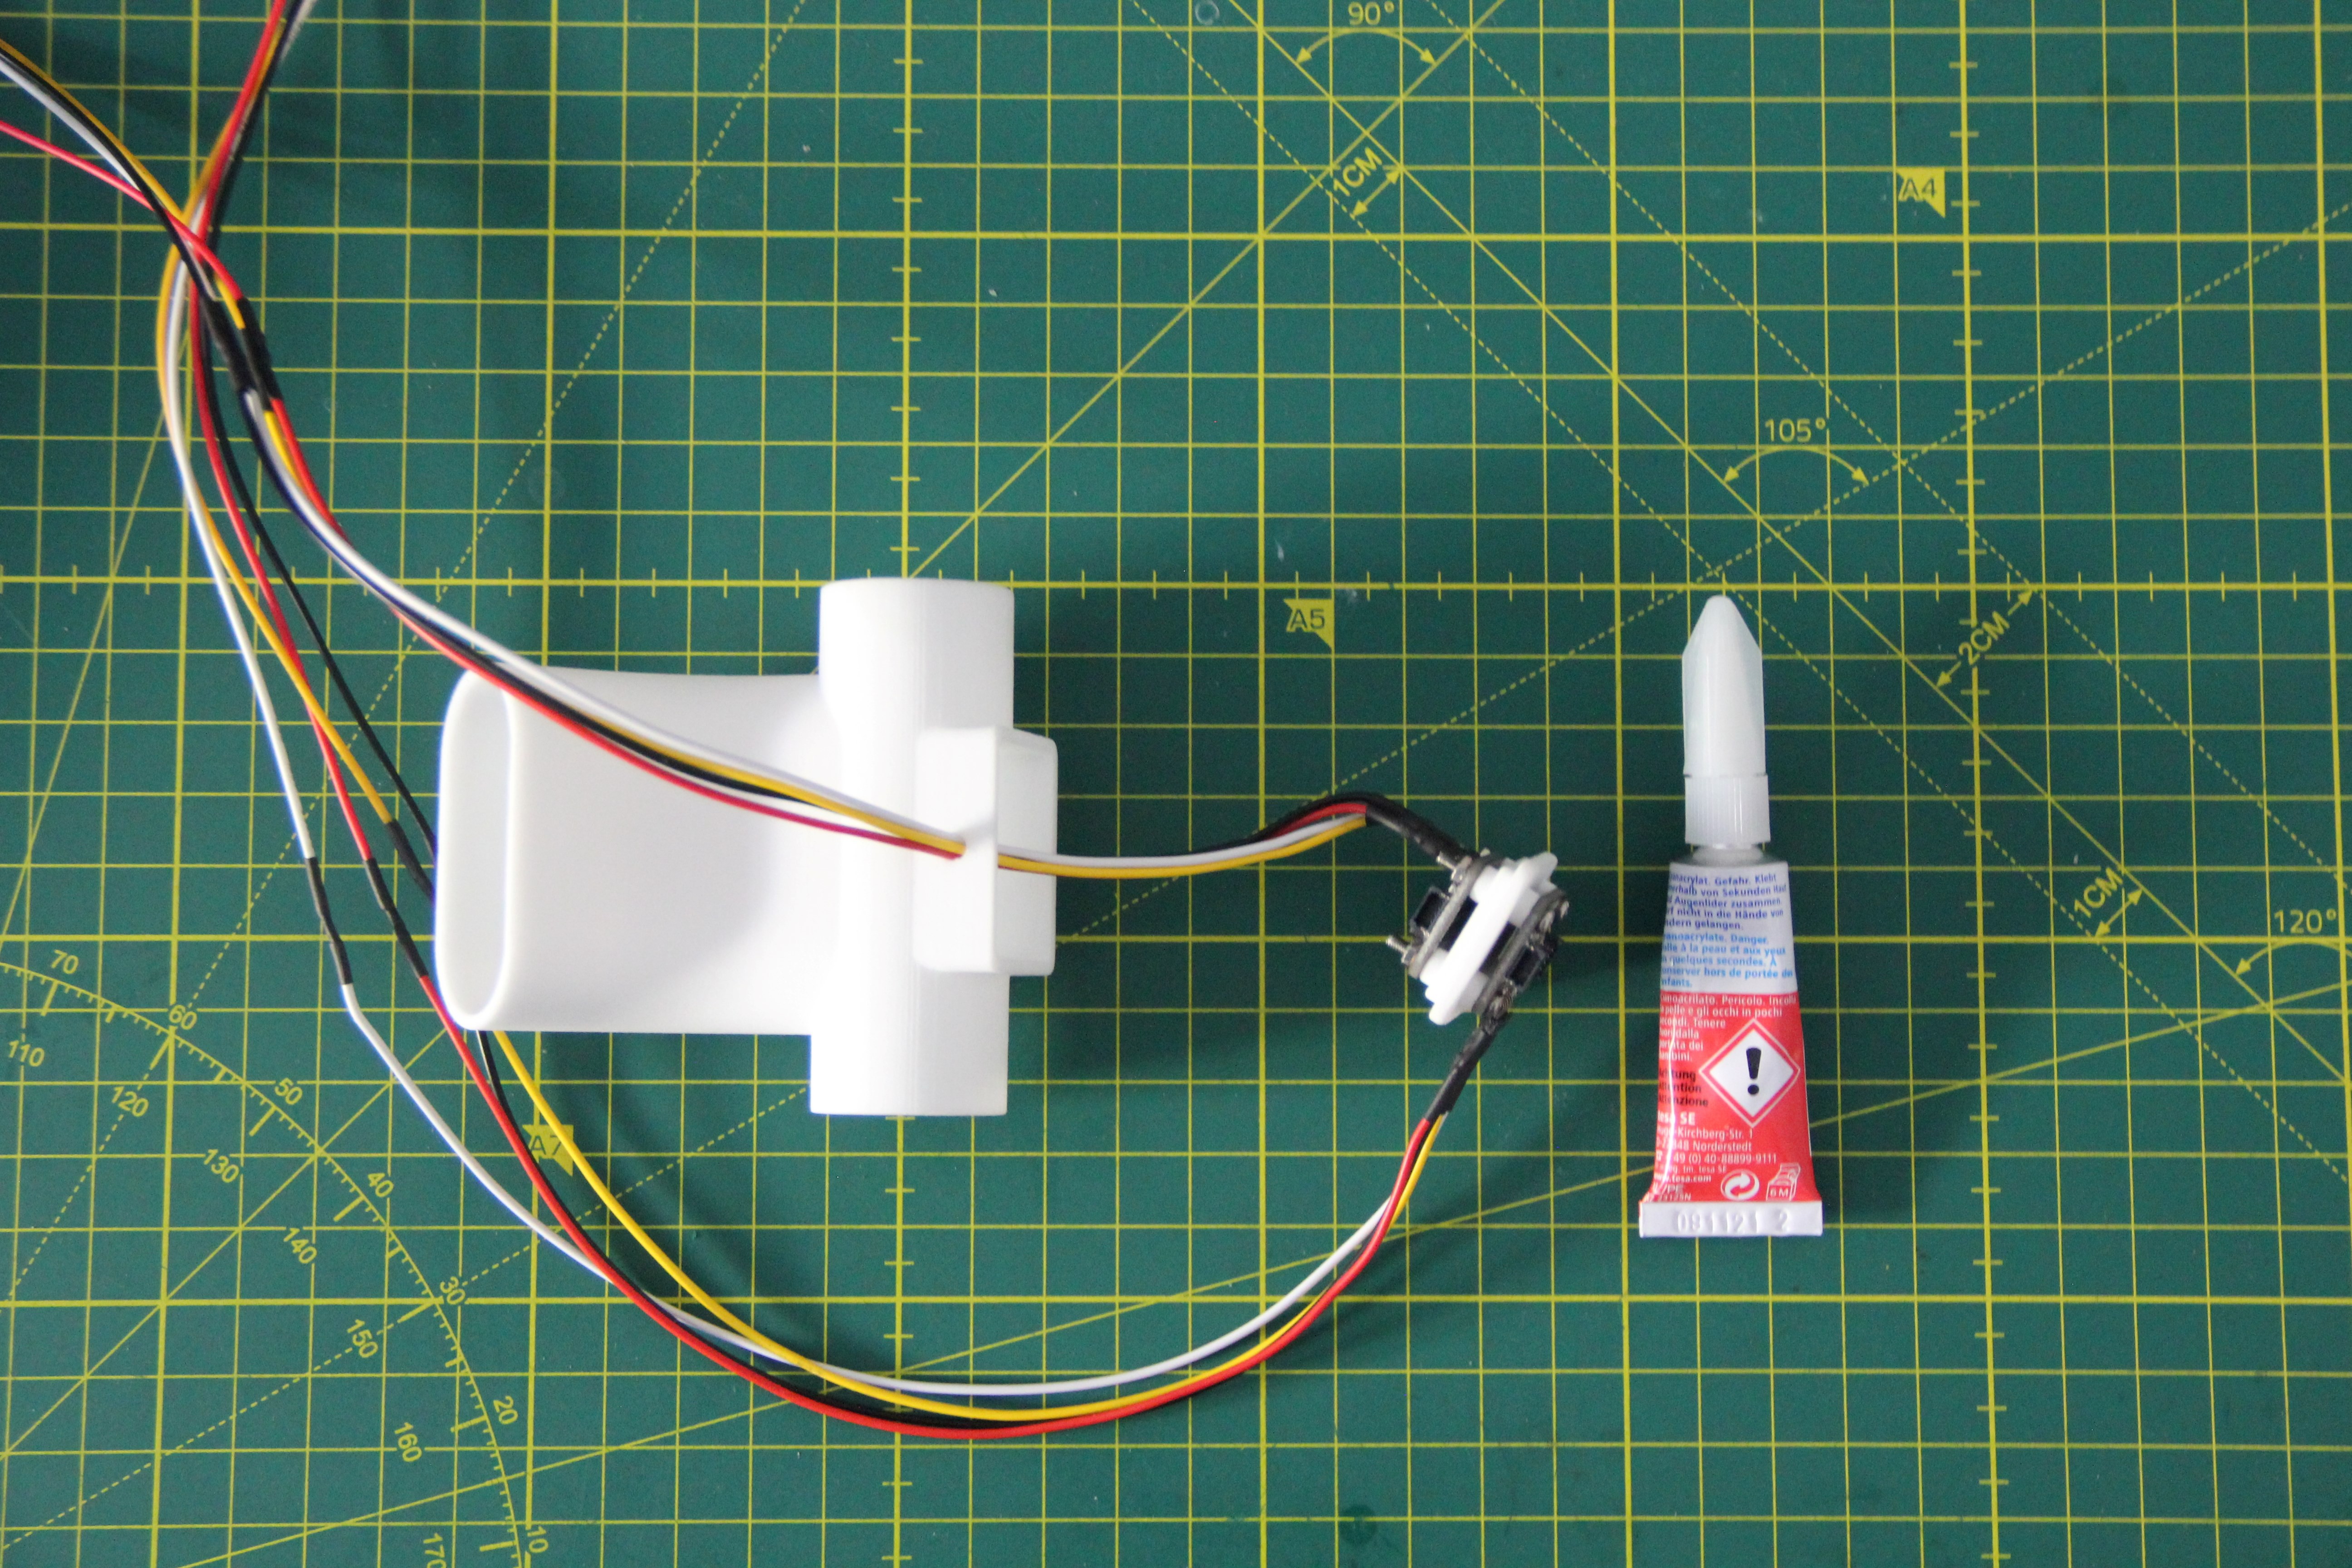
The lid was then glued into the opening of the tee with sanitary silicone. The cable gland was also sealed with silicone. Since the silicone needs 24 hours to cure, the lid was fixed with tape.
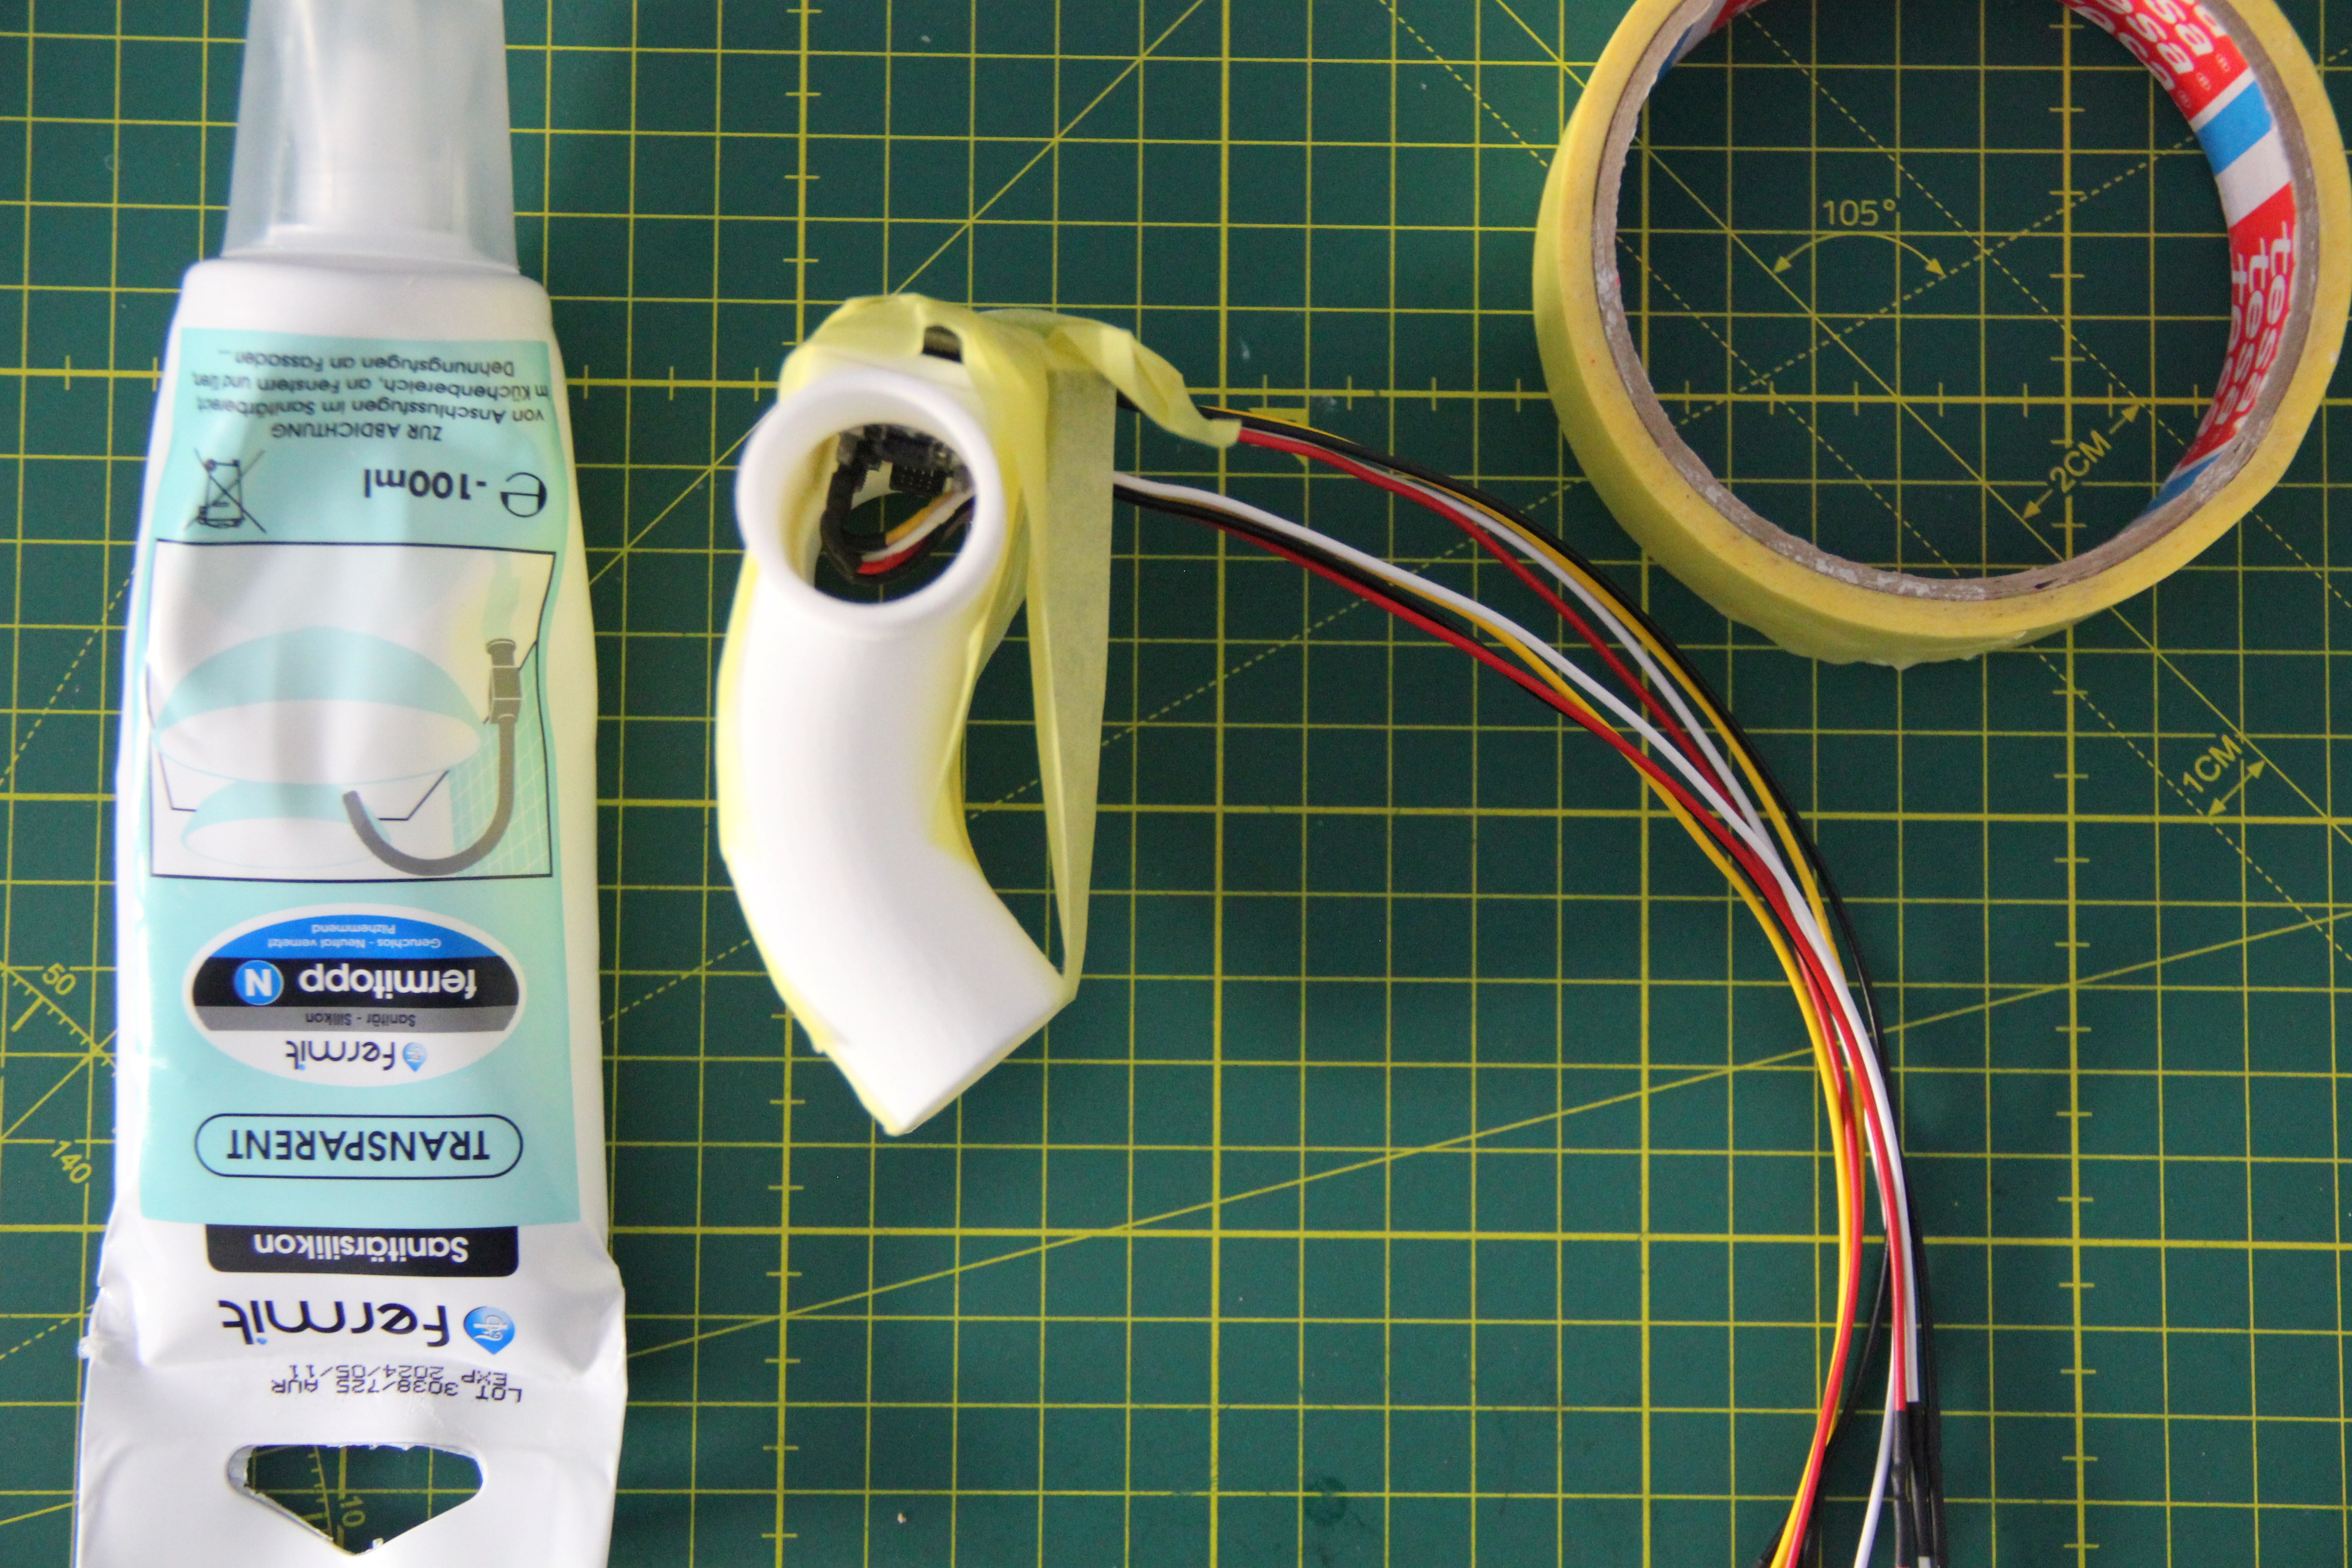
After the silicone had cured, I wrapped the two cable harnesses with spiral tubing. This looks nicer and prevents the cables from getting tangled.

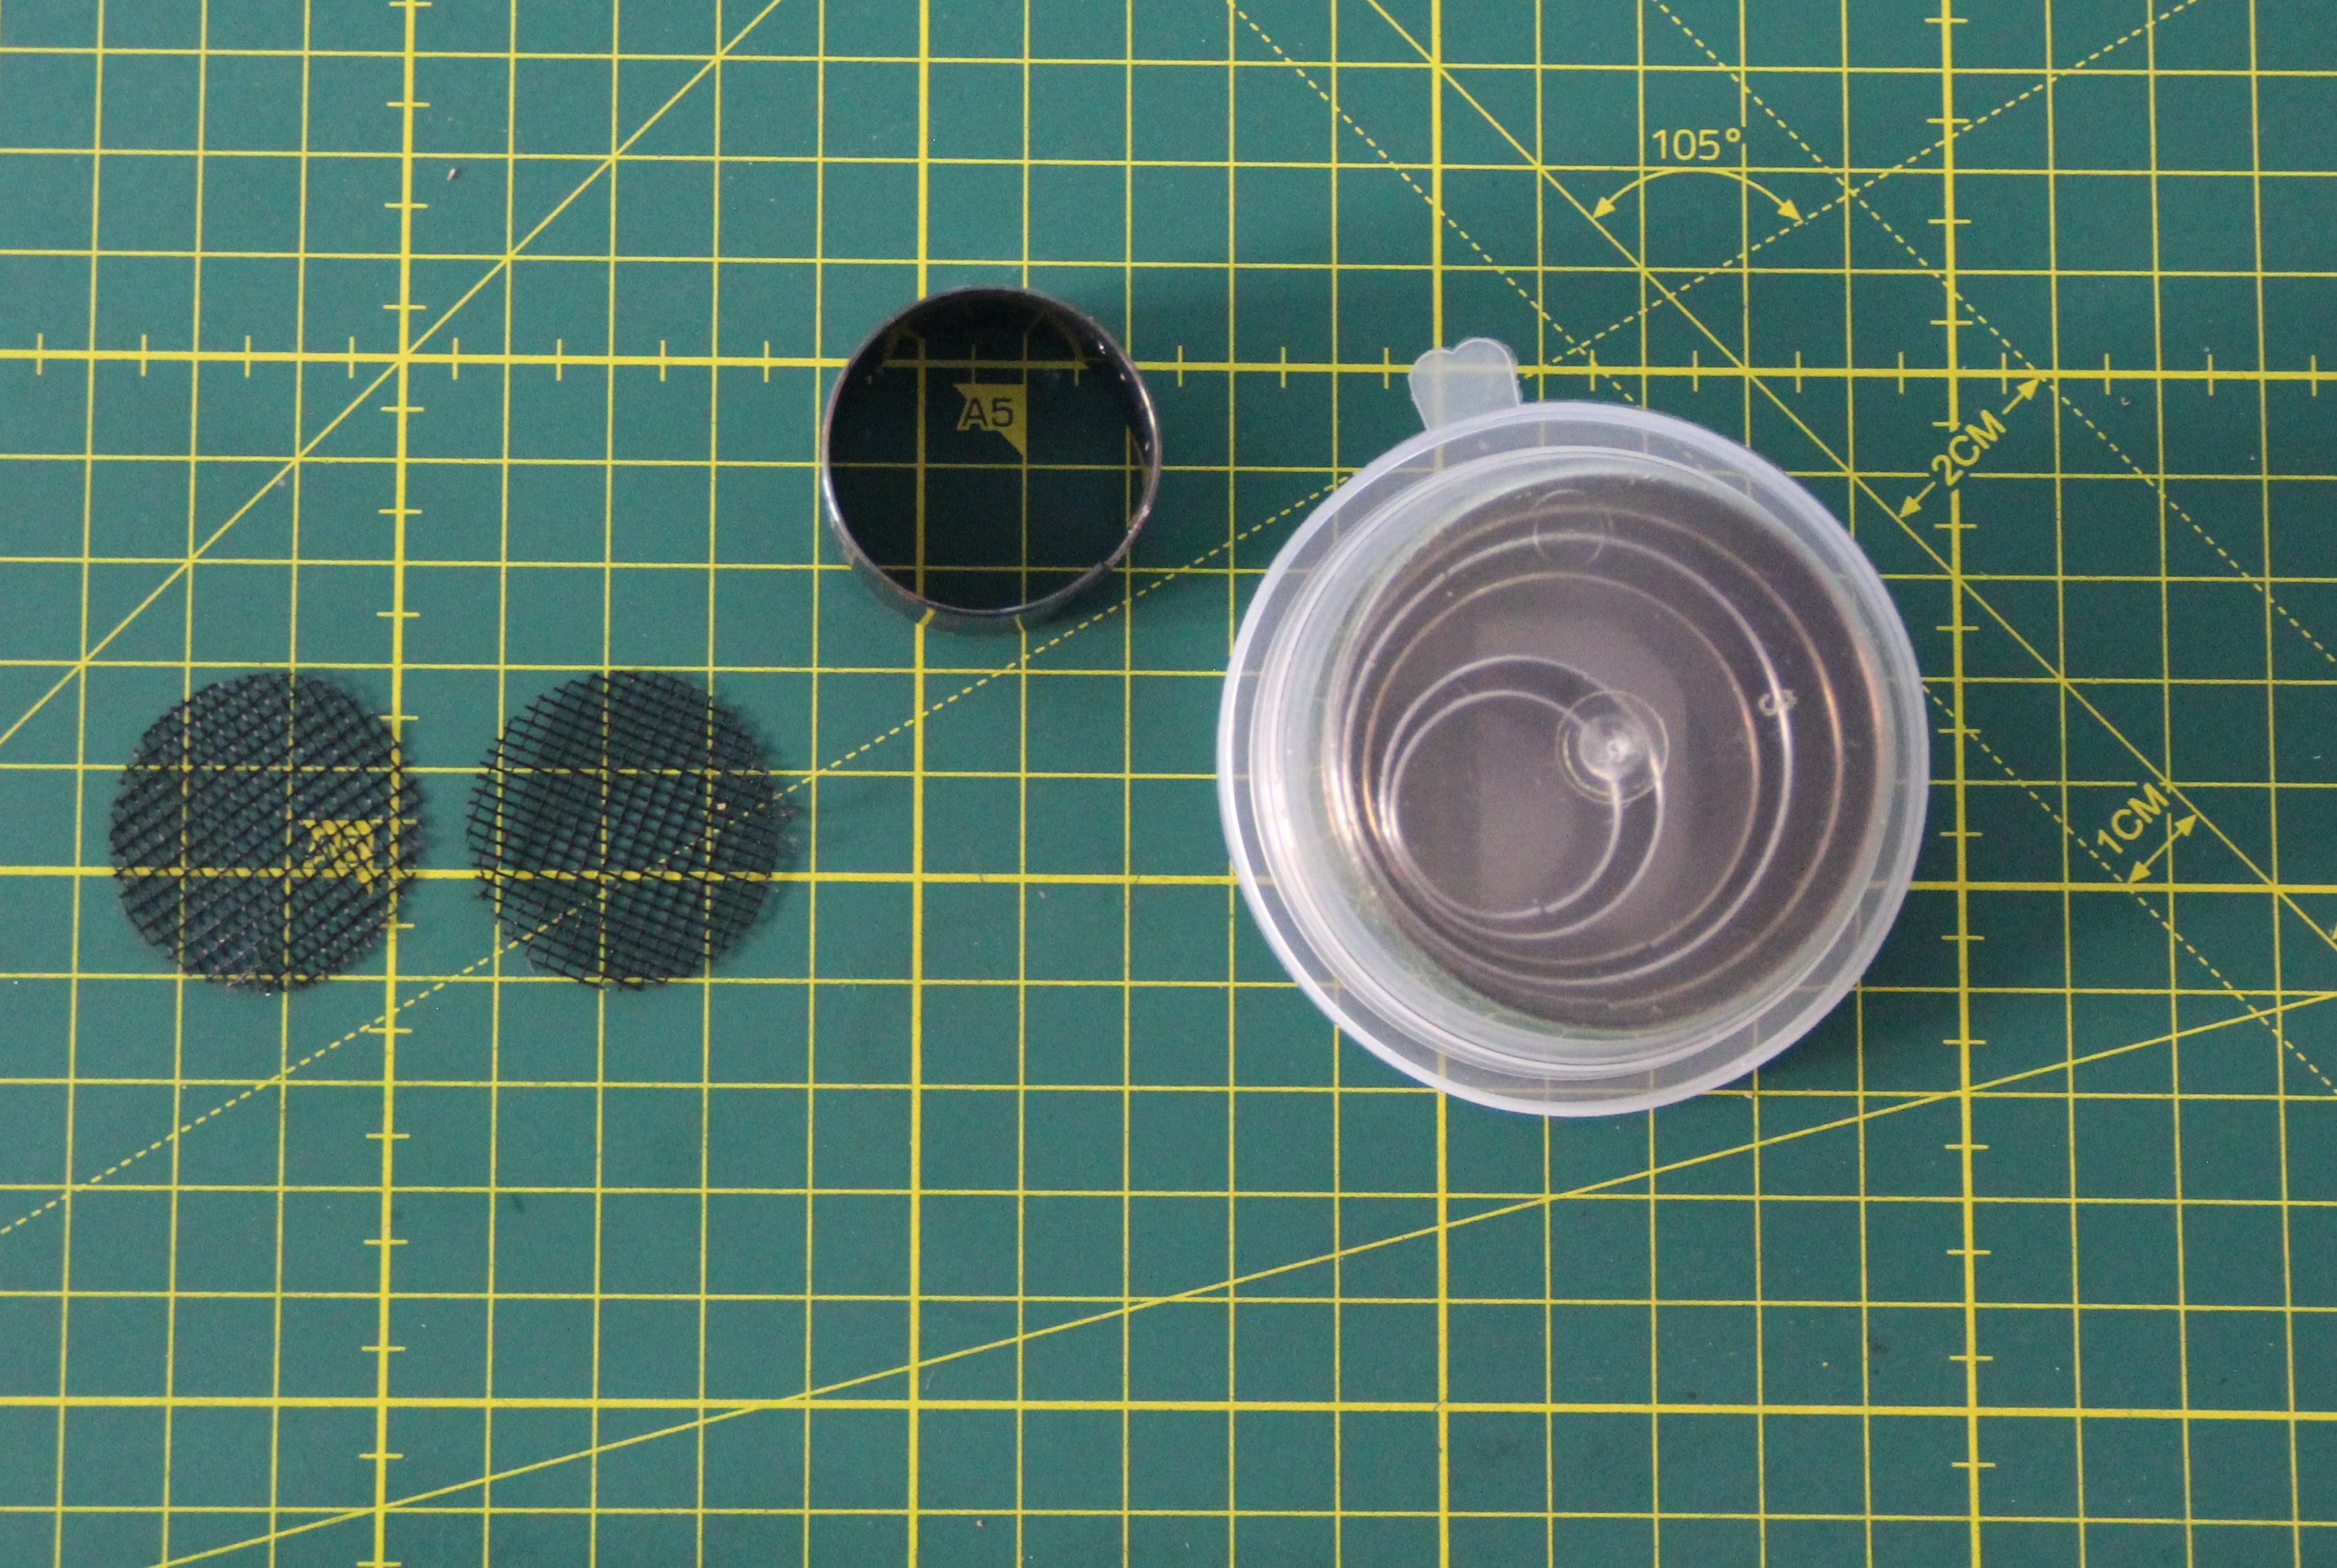
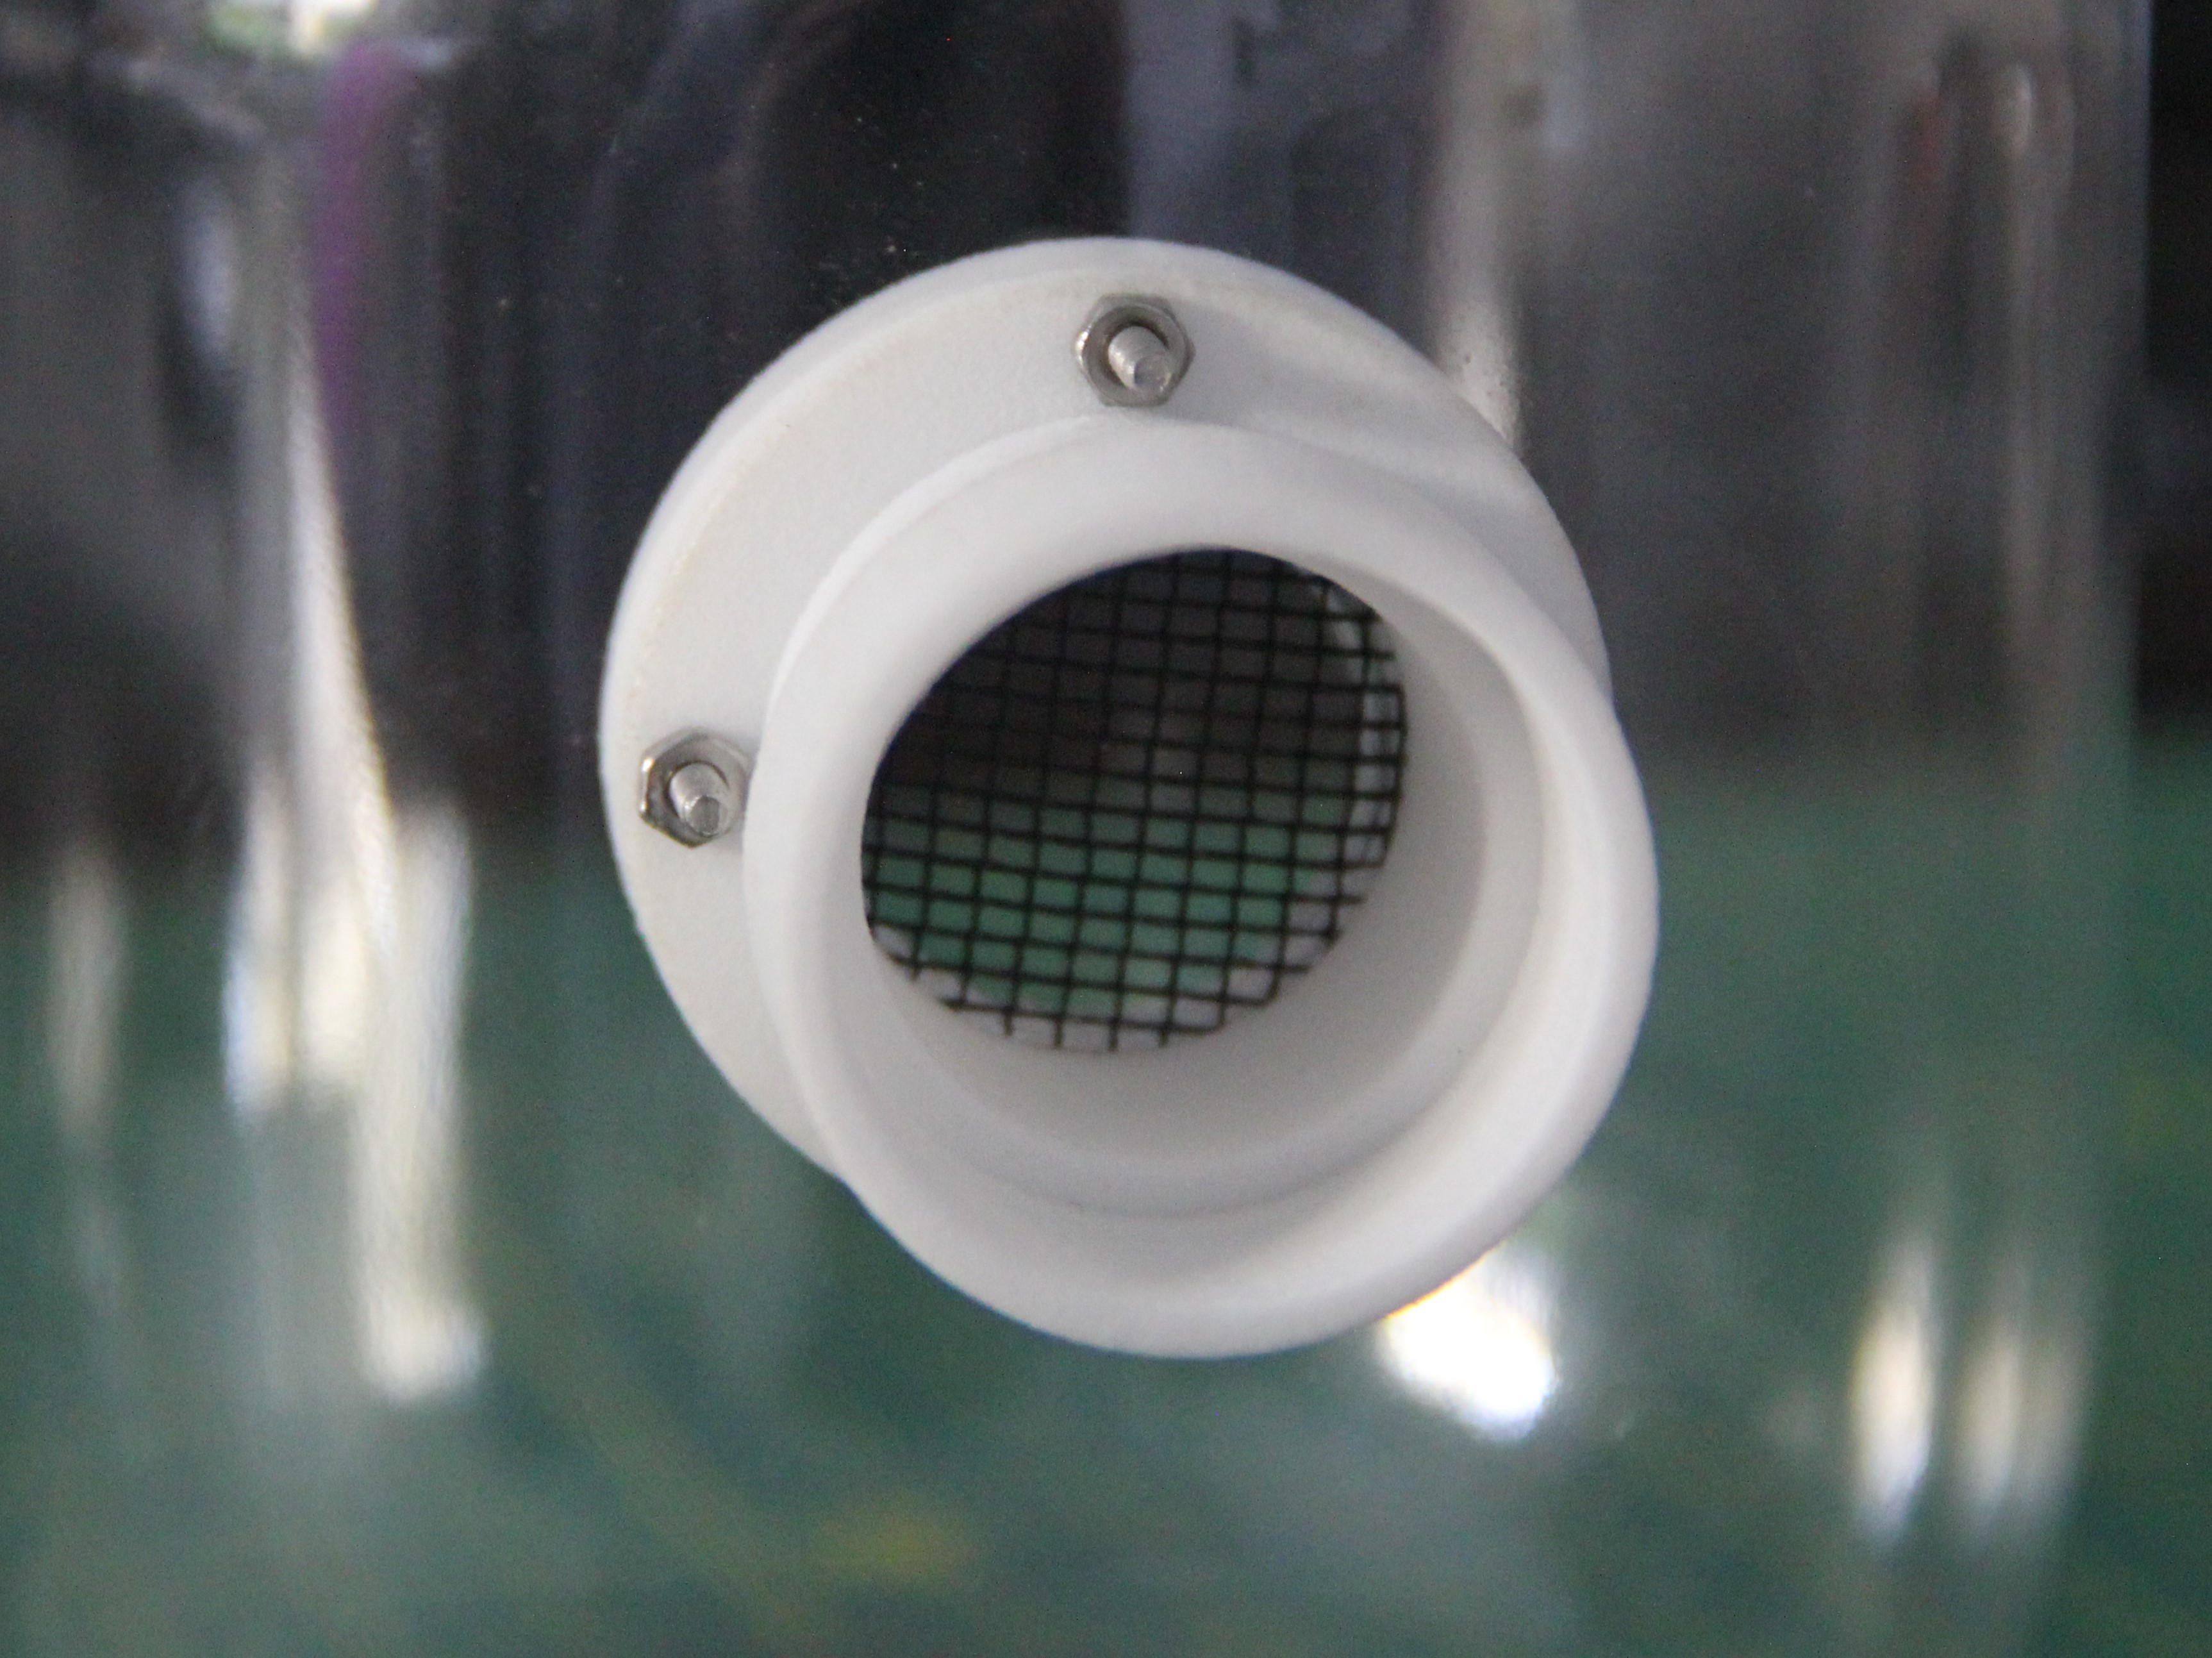
For safety reasons, I decided to install a fly screen between the inner and outer flanges. This way, nothing can accidentally get into the respiratory tract. You can also experiment with other filter materials. I punched discs out of the fly screen with a 30 mm diameter hole punch.
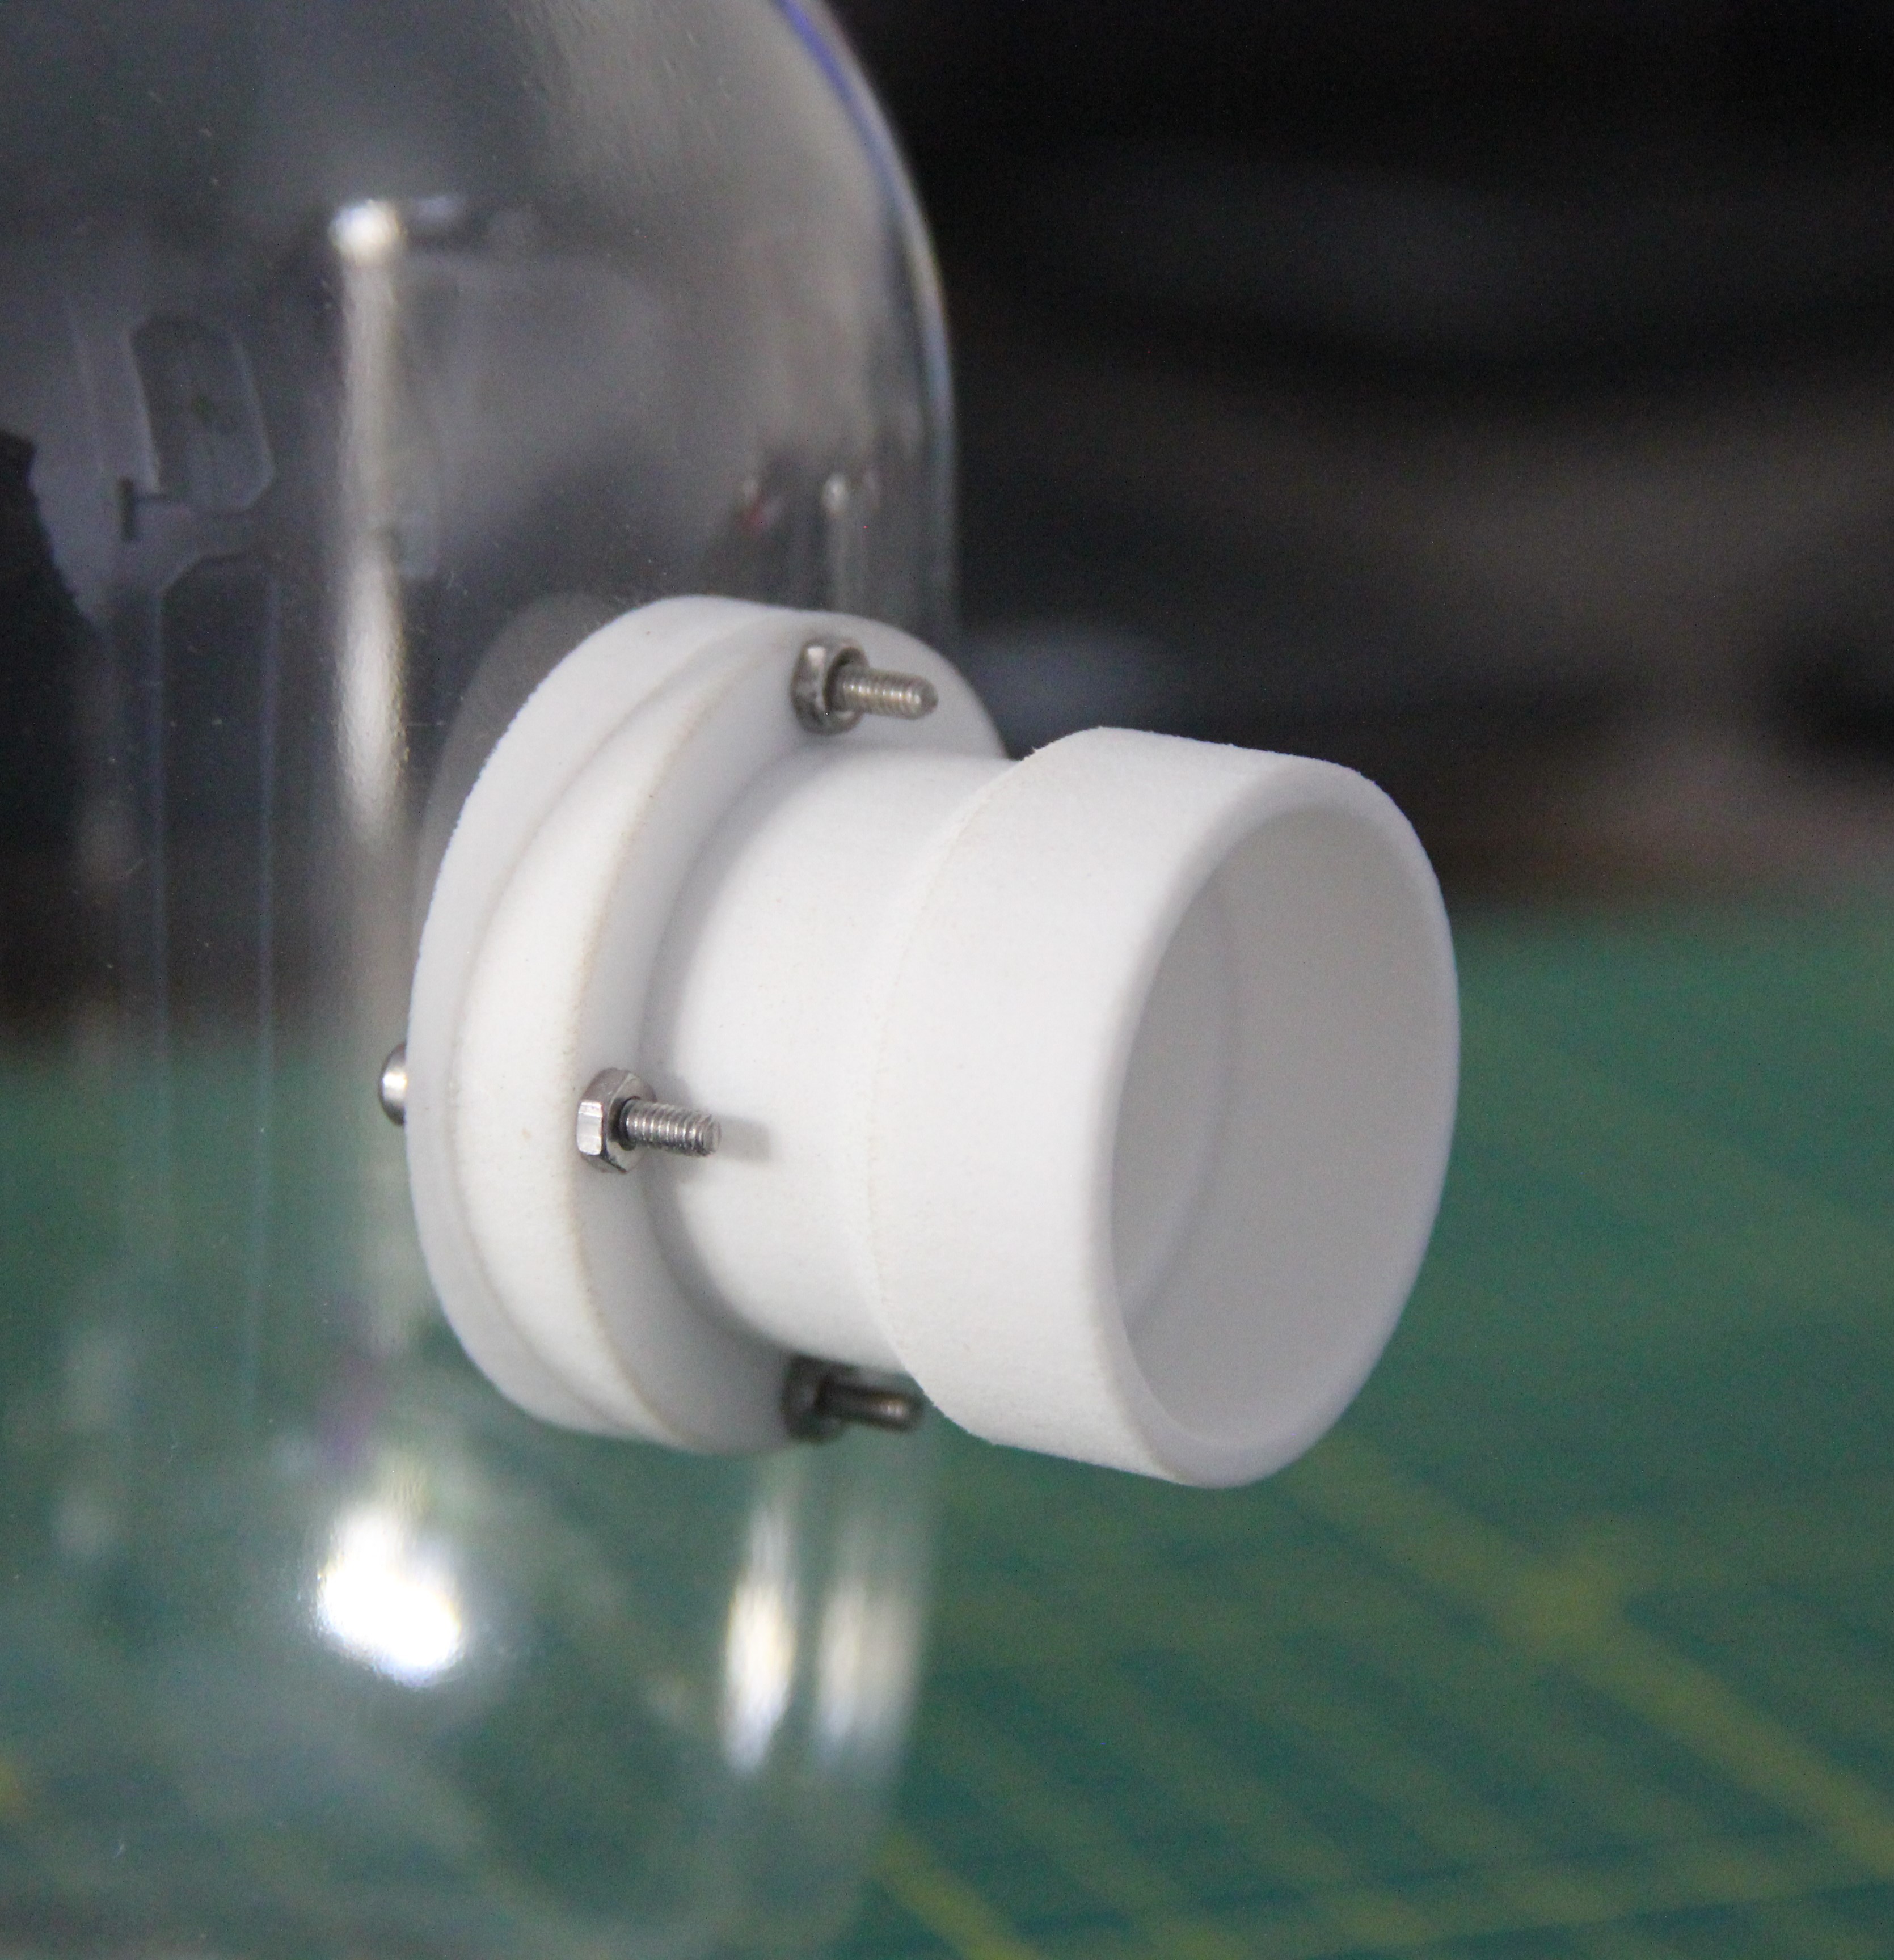
The two flanges were then bolted to the container using four M2 x 14mm stainless steel bolts and nuts each. If your hand does not fit in the opening, you can help yourself out with needle-nose pliers.
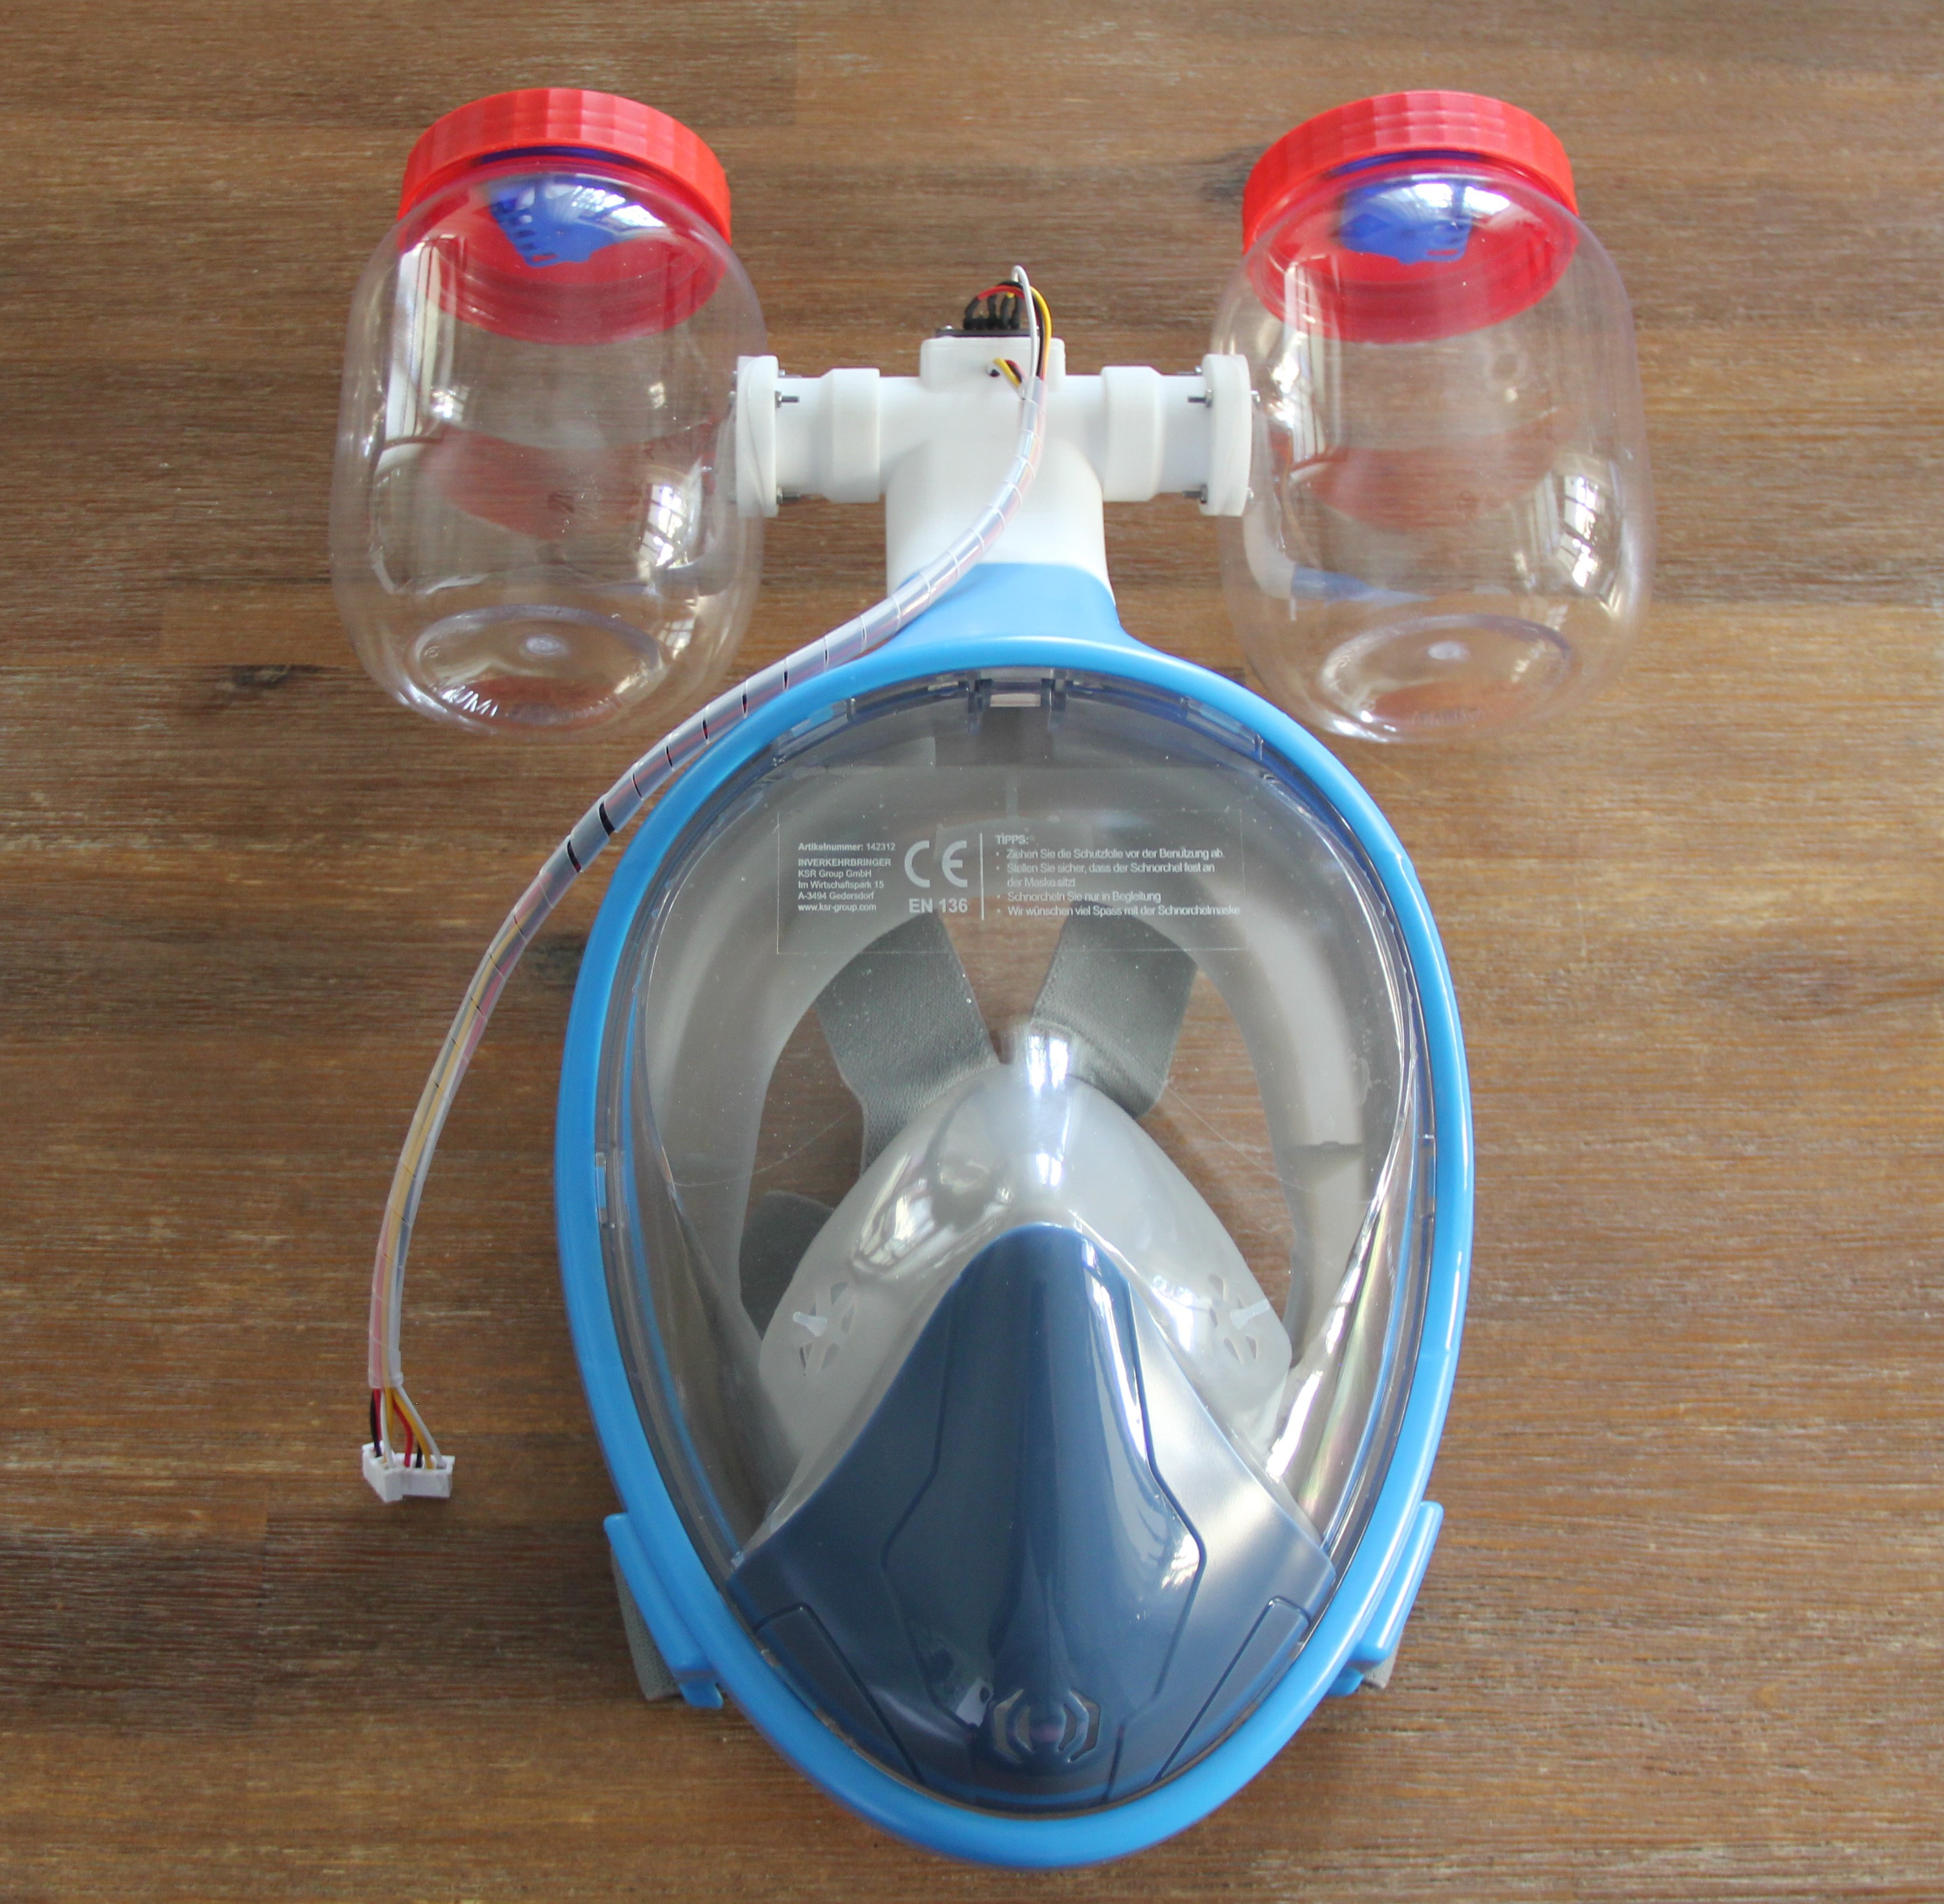
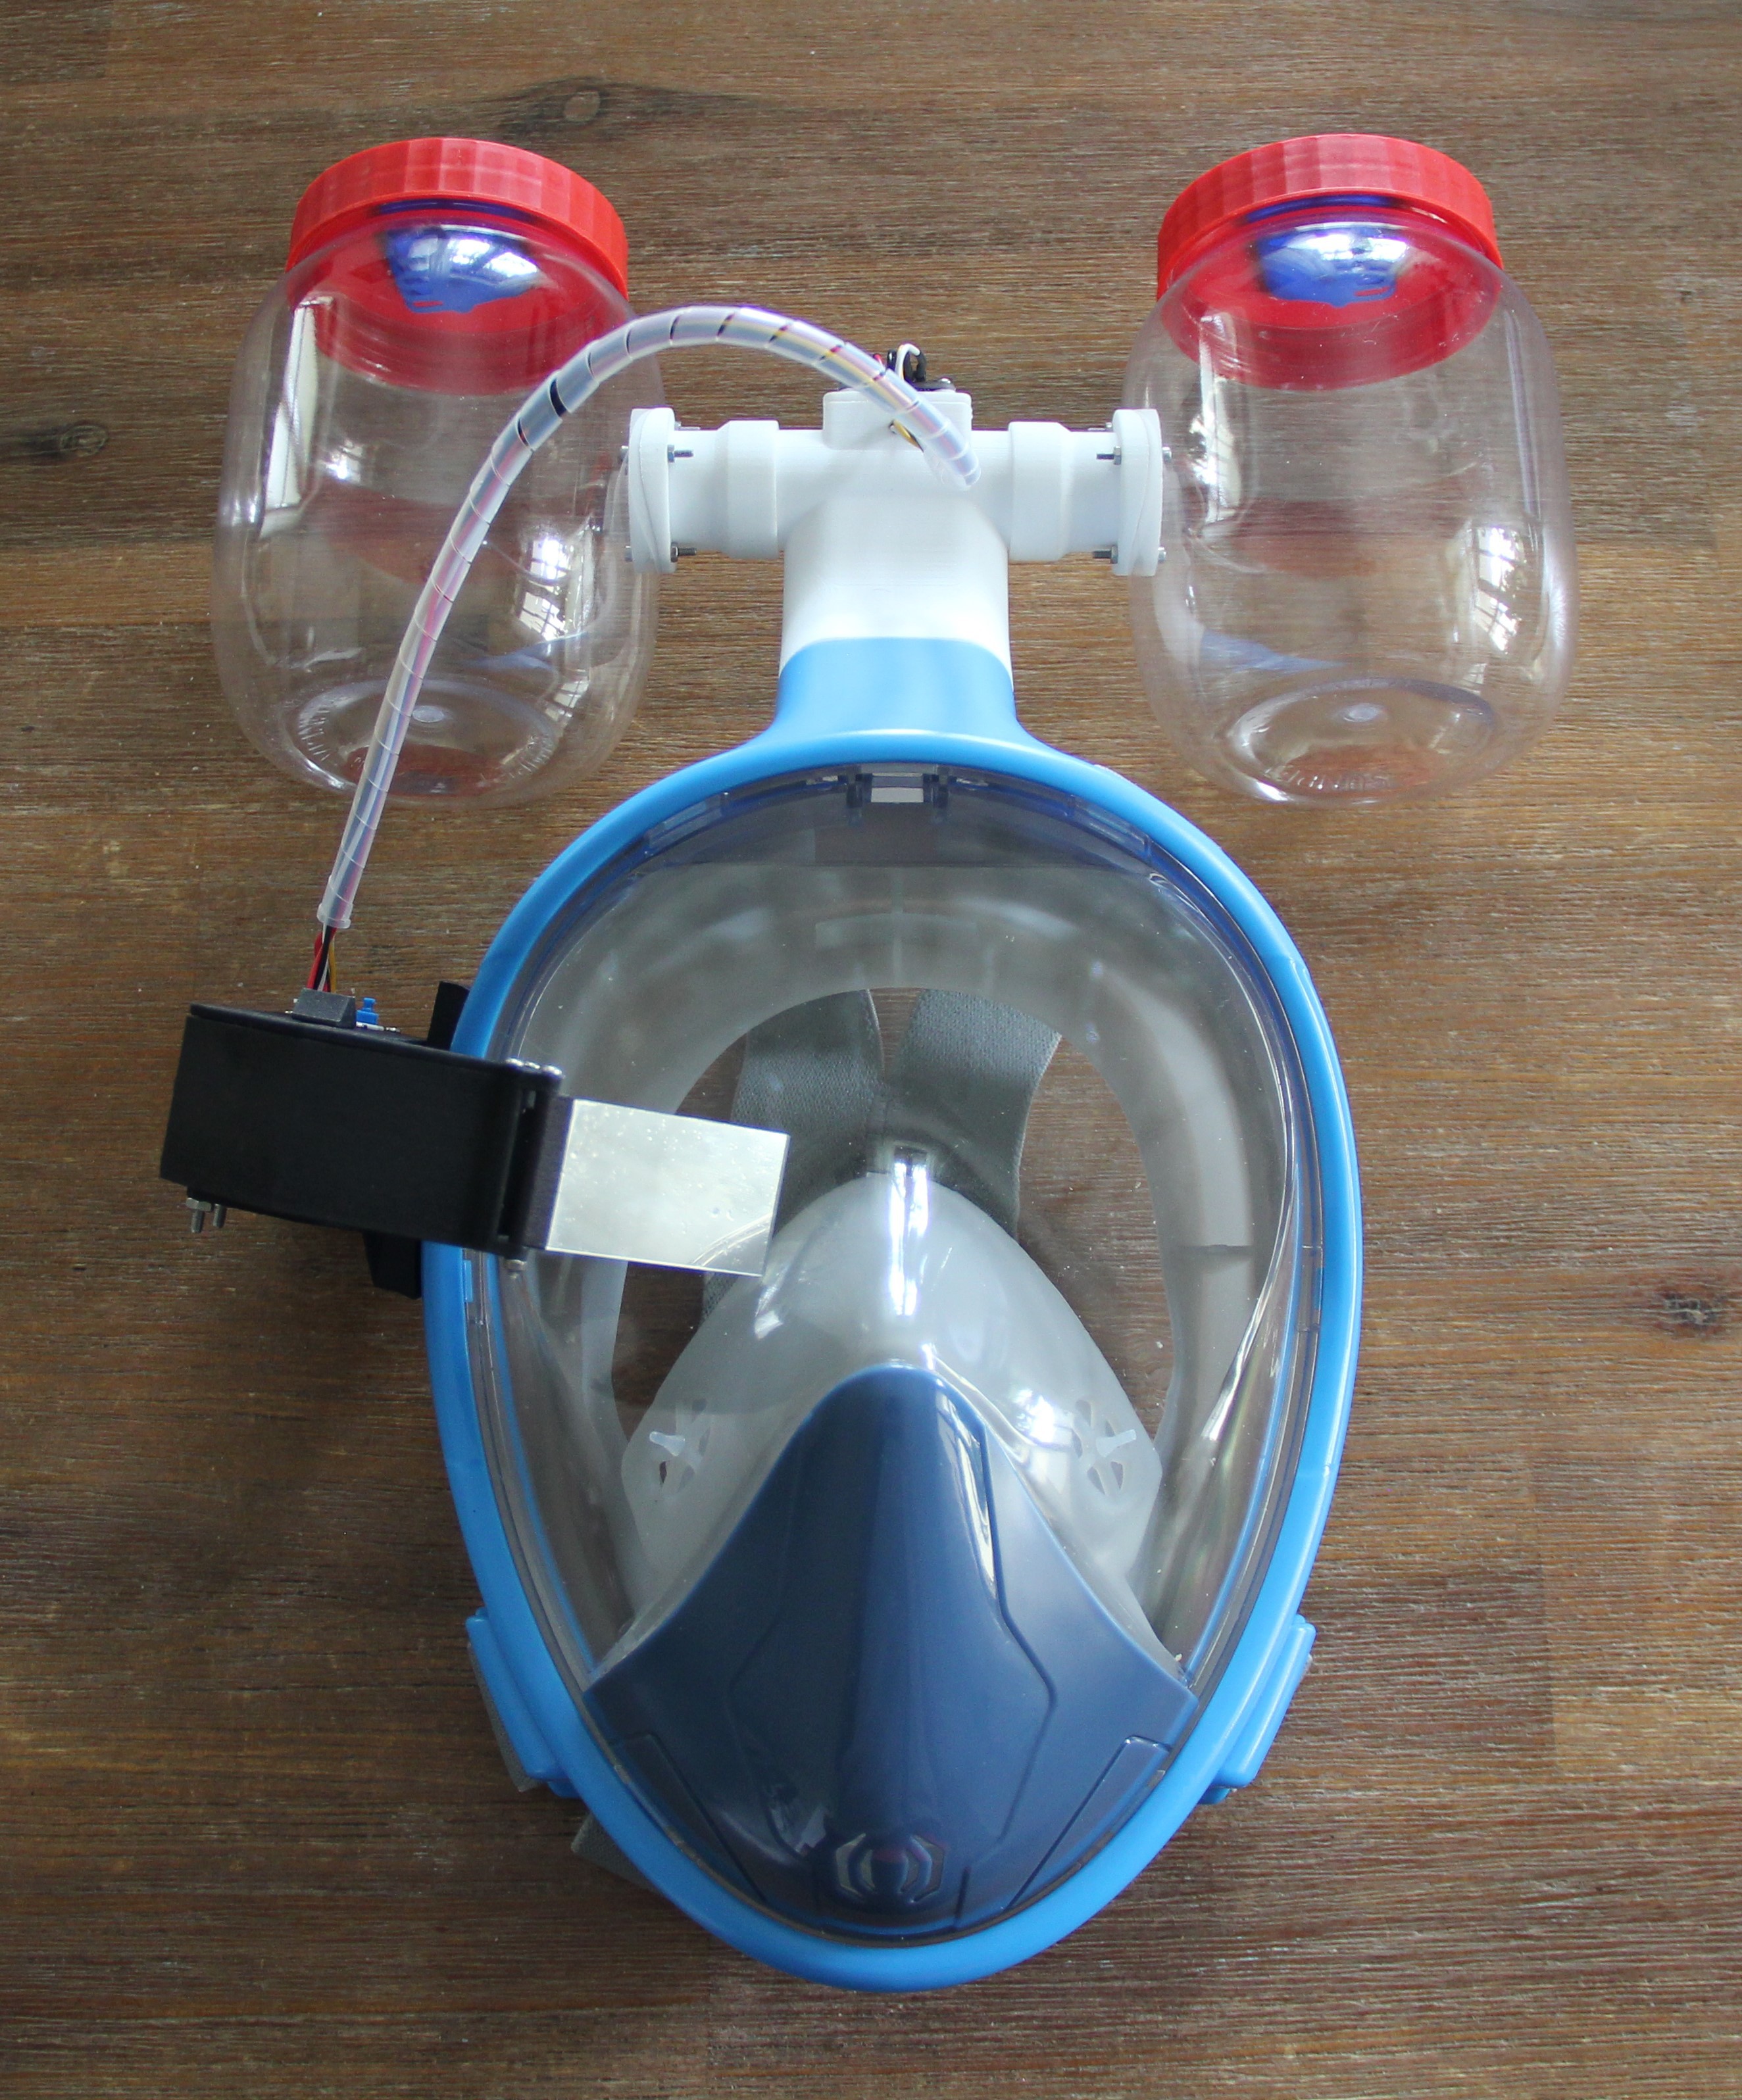
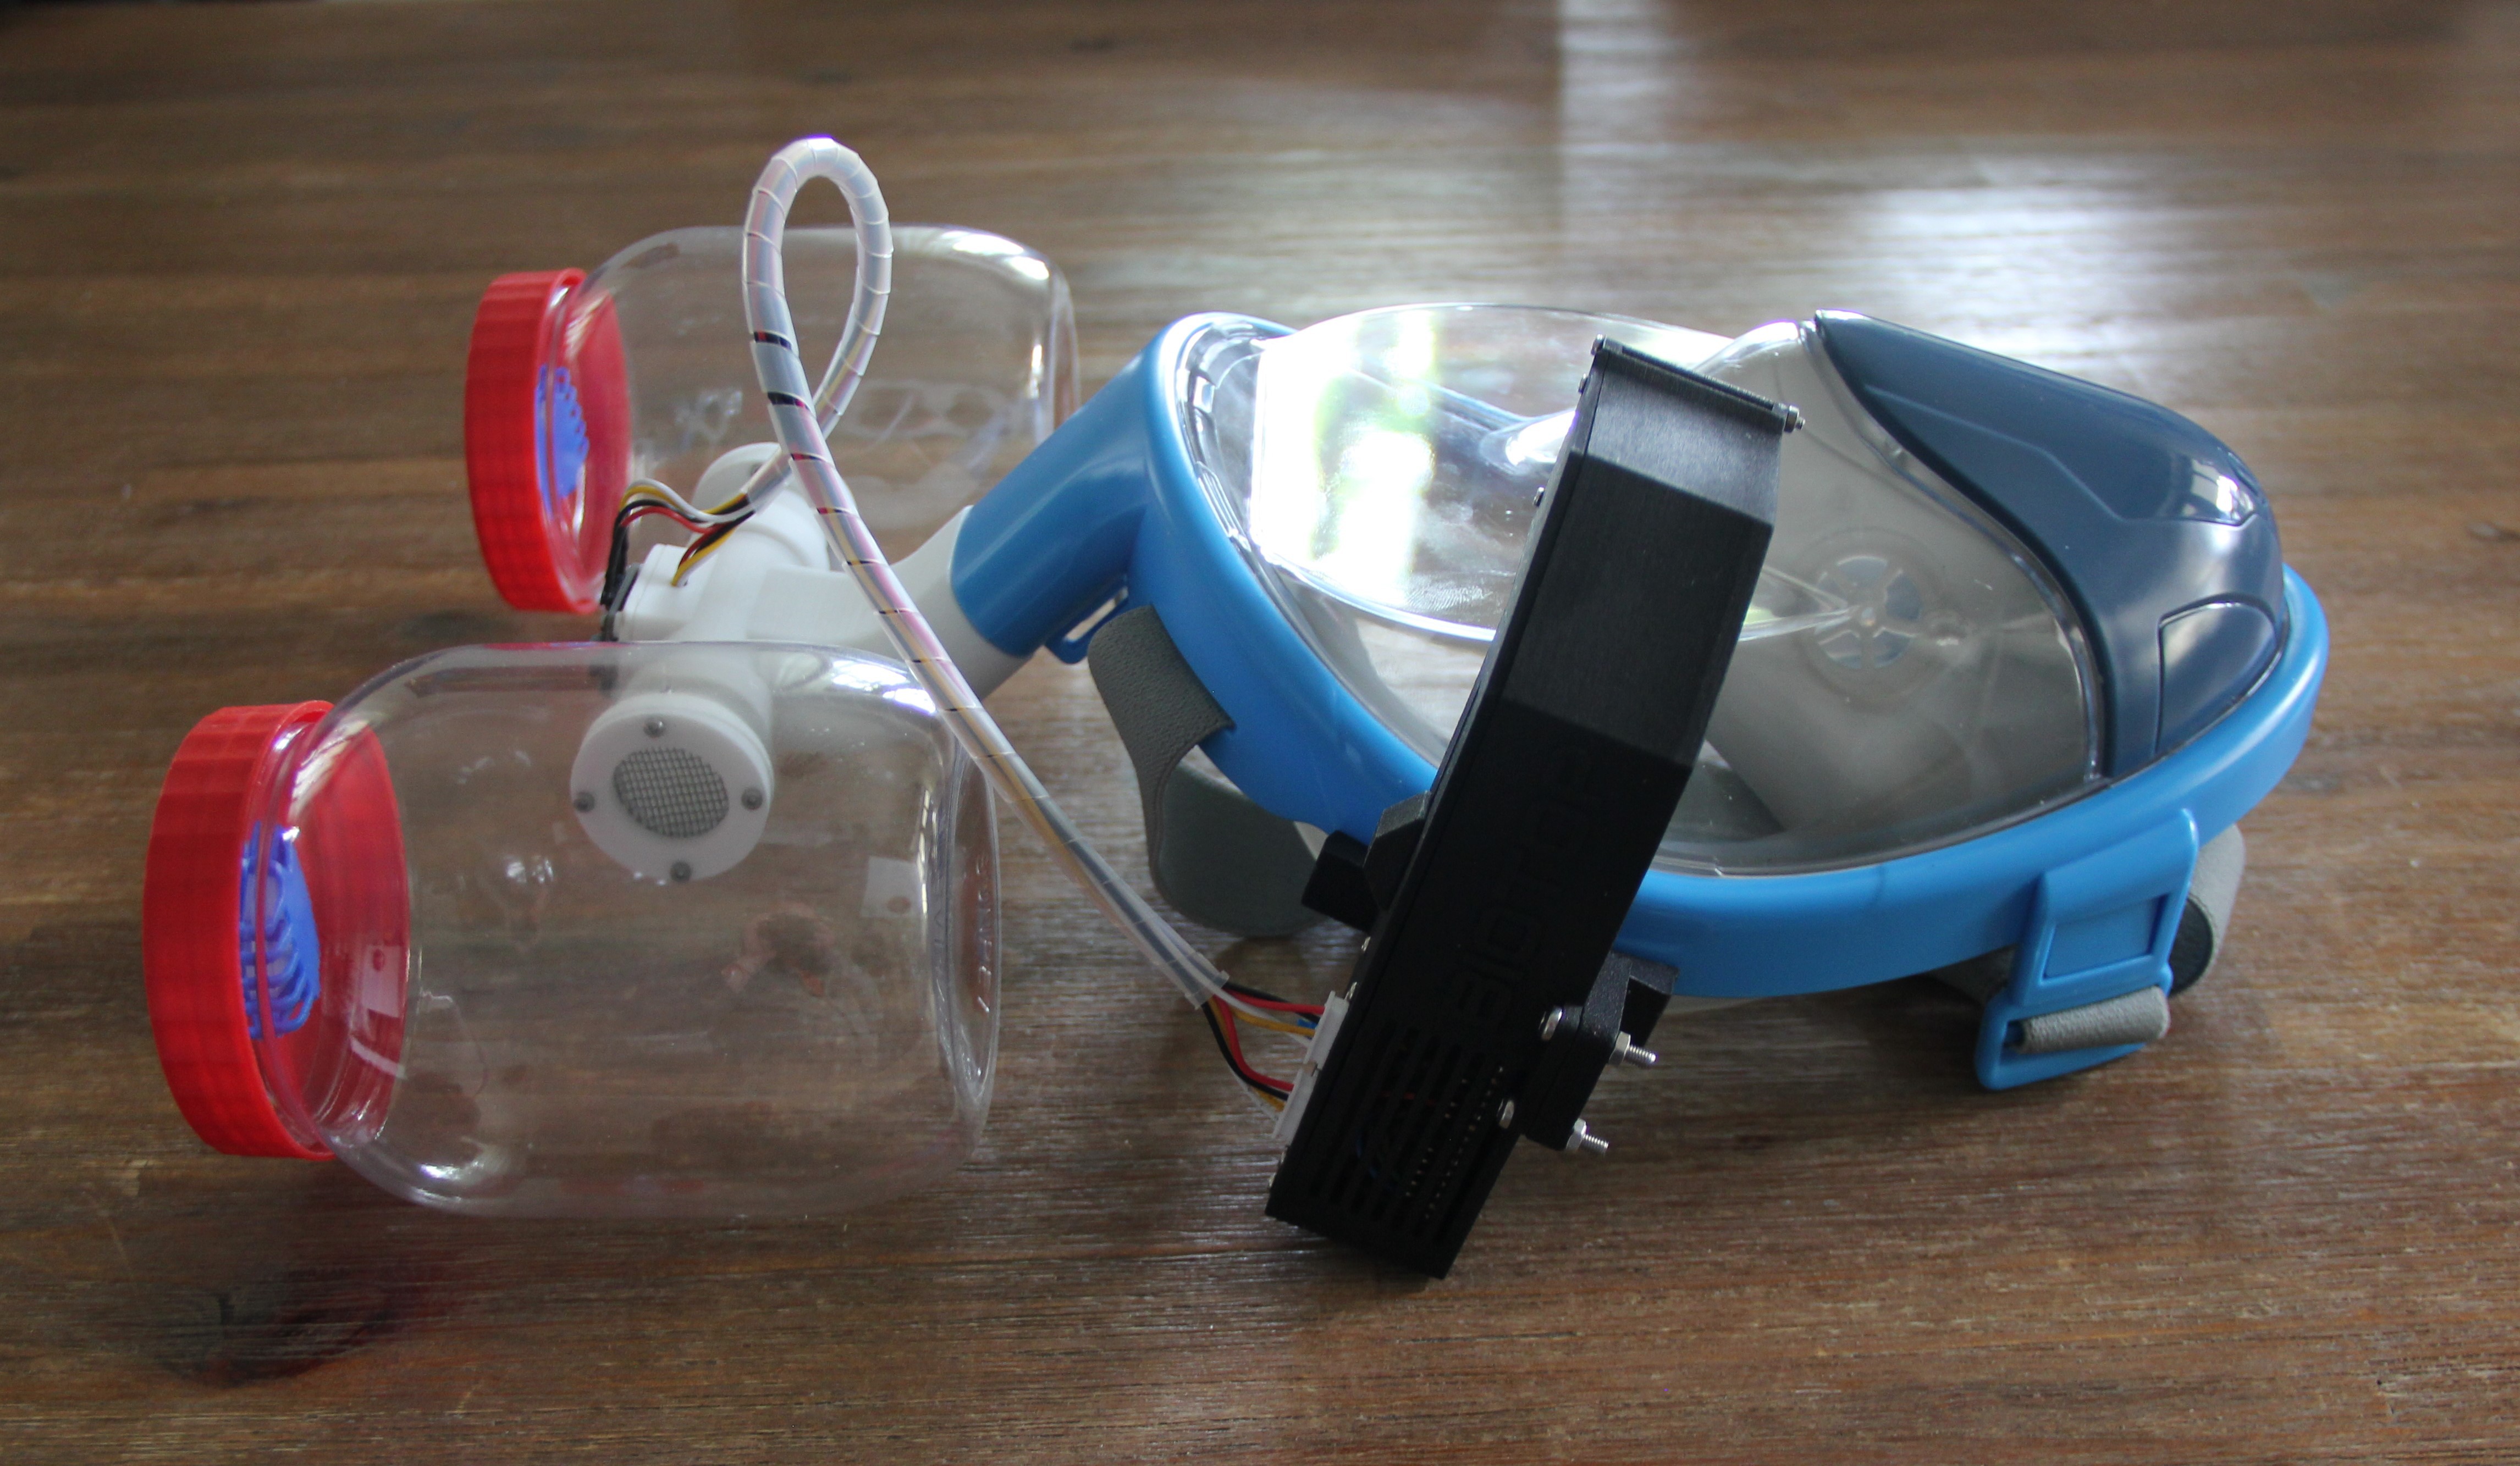
Next, I inserted the tee into the snorkel opening of the mask and then the two containers with the prepared flanges.
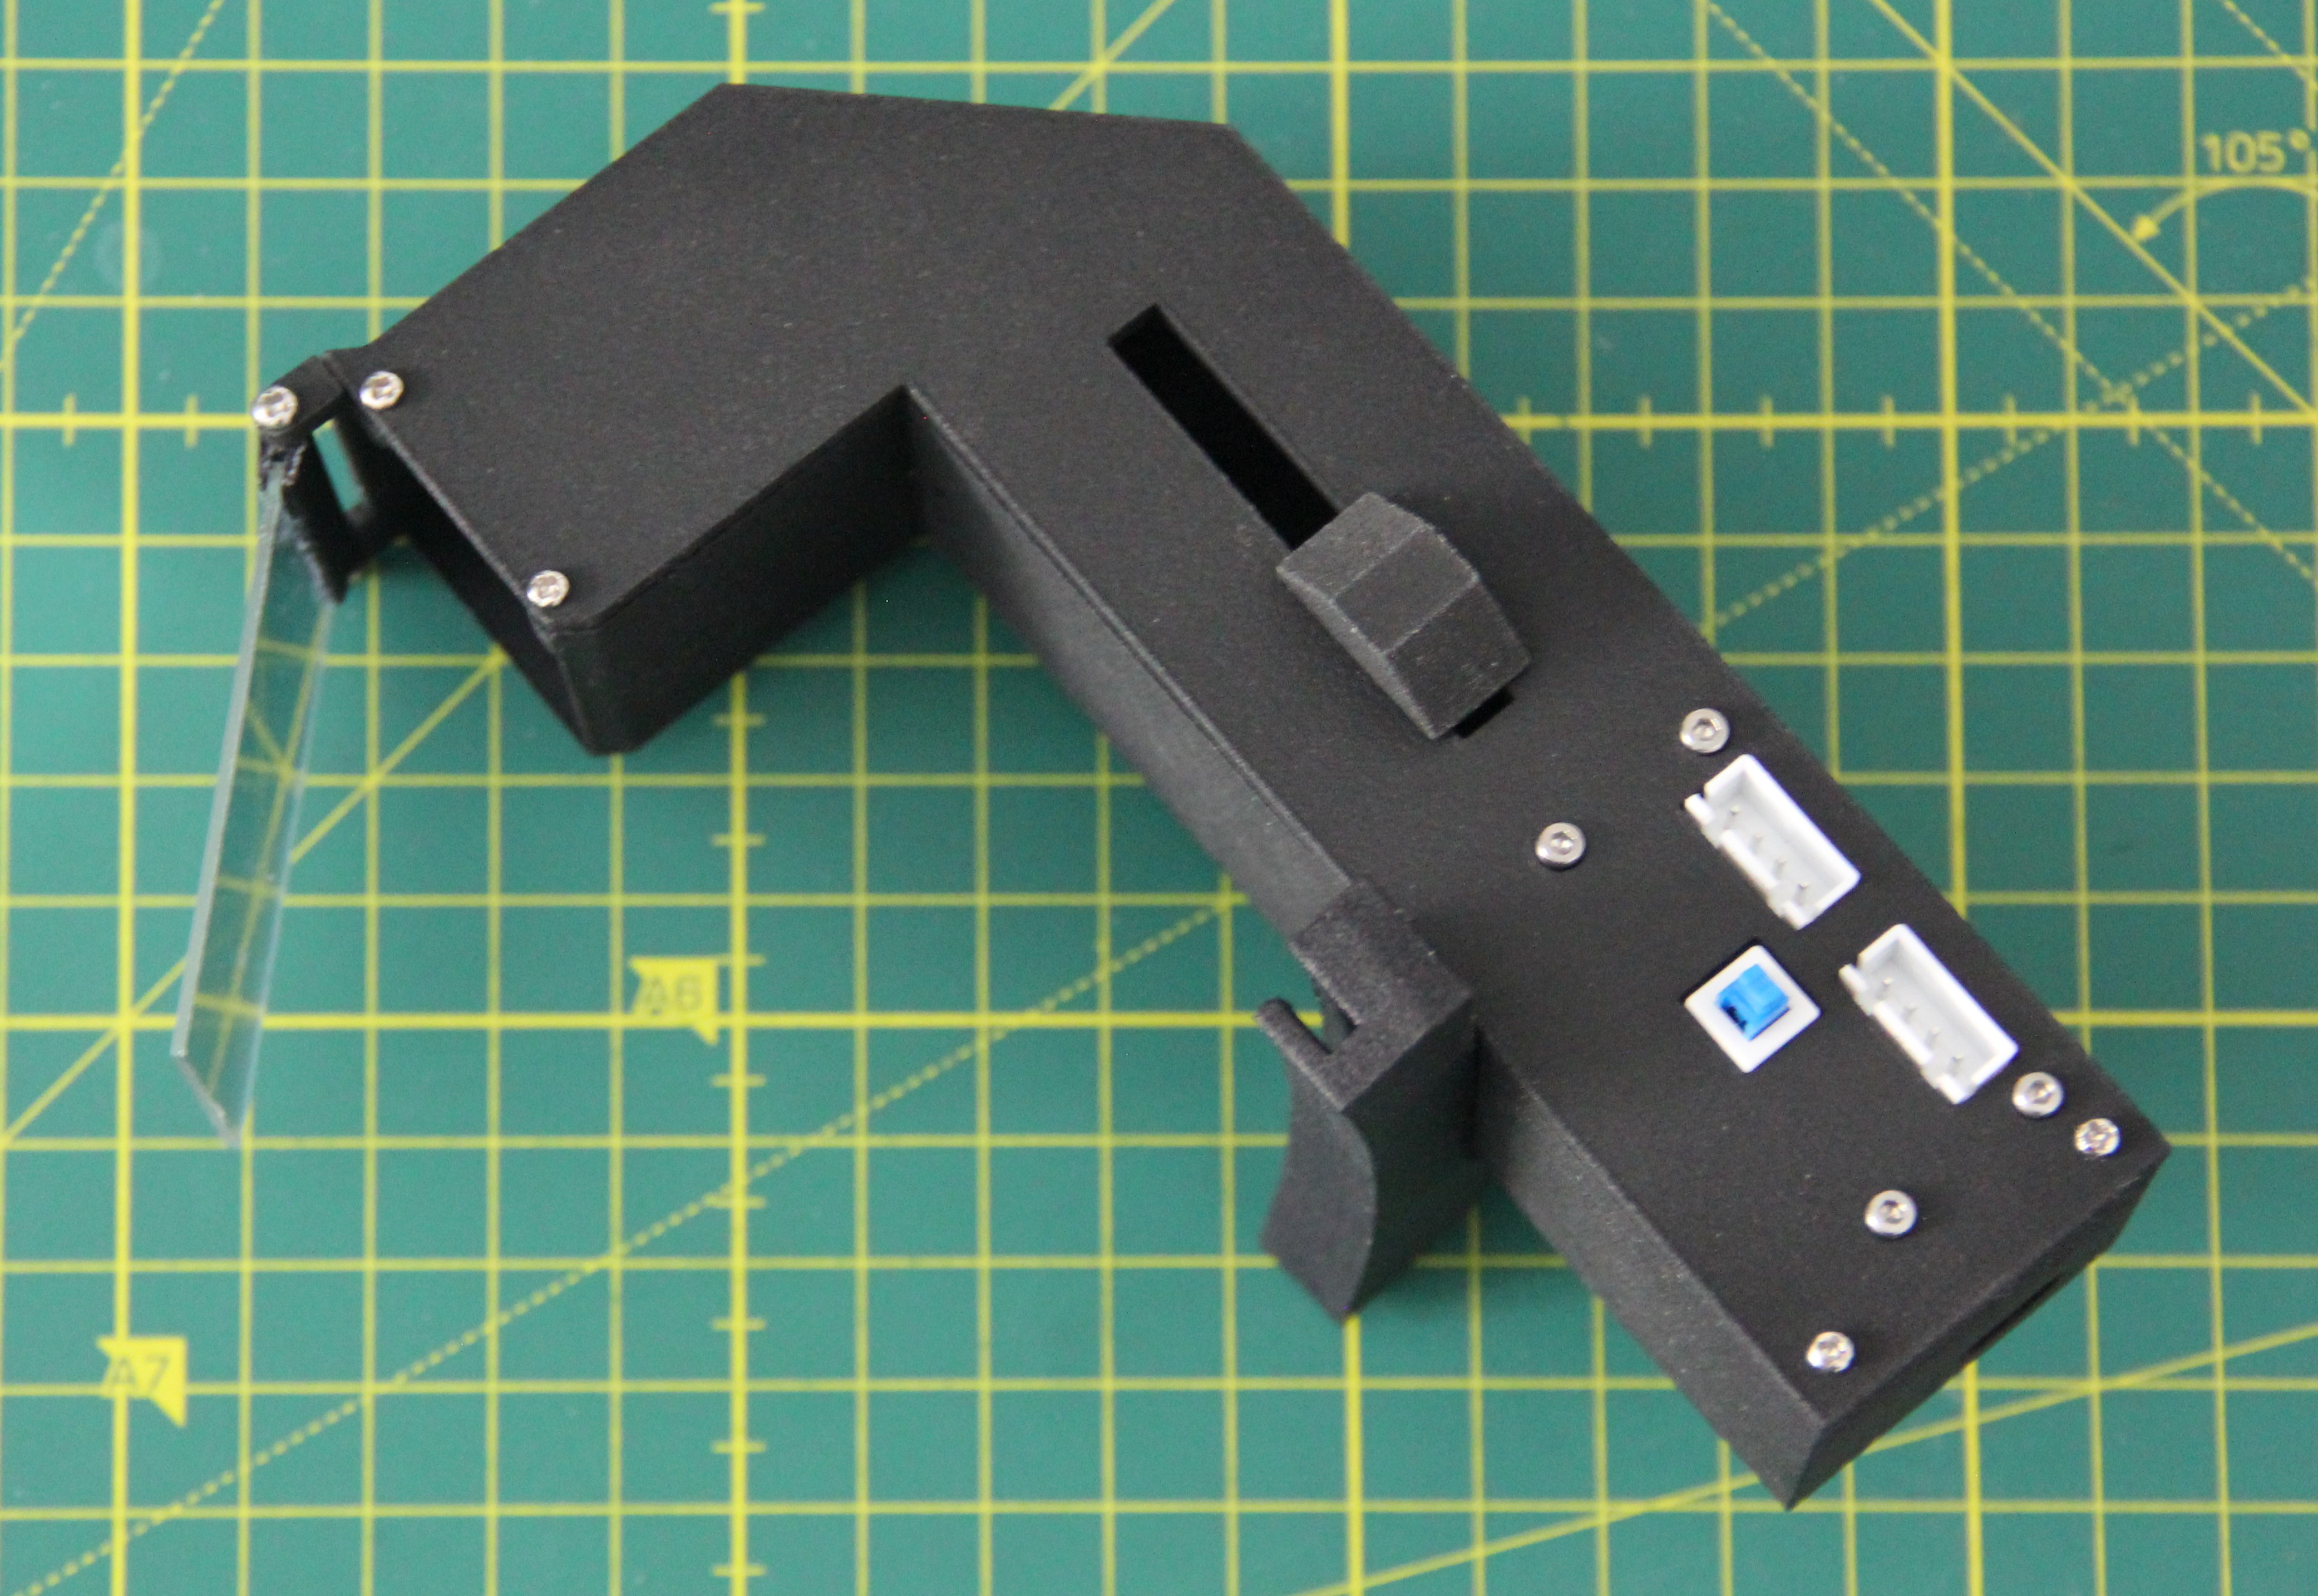
The last part that is needed is the AR glasses bracket. This part was also laser-sintered from PA 12 powder and then dyed black.
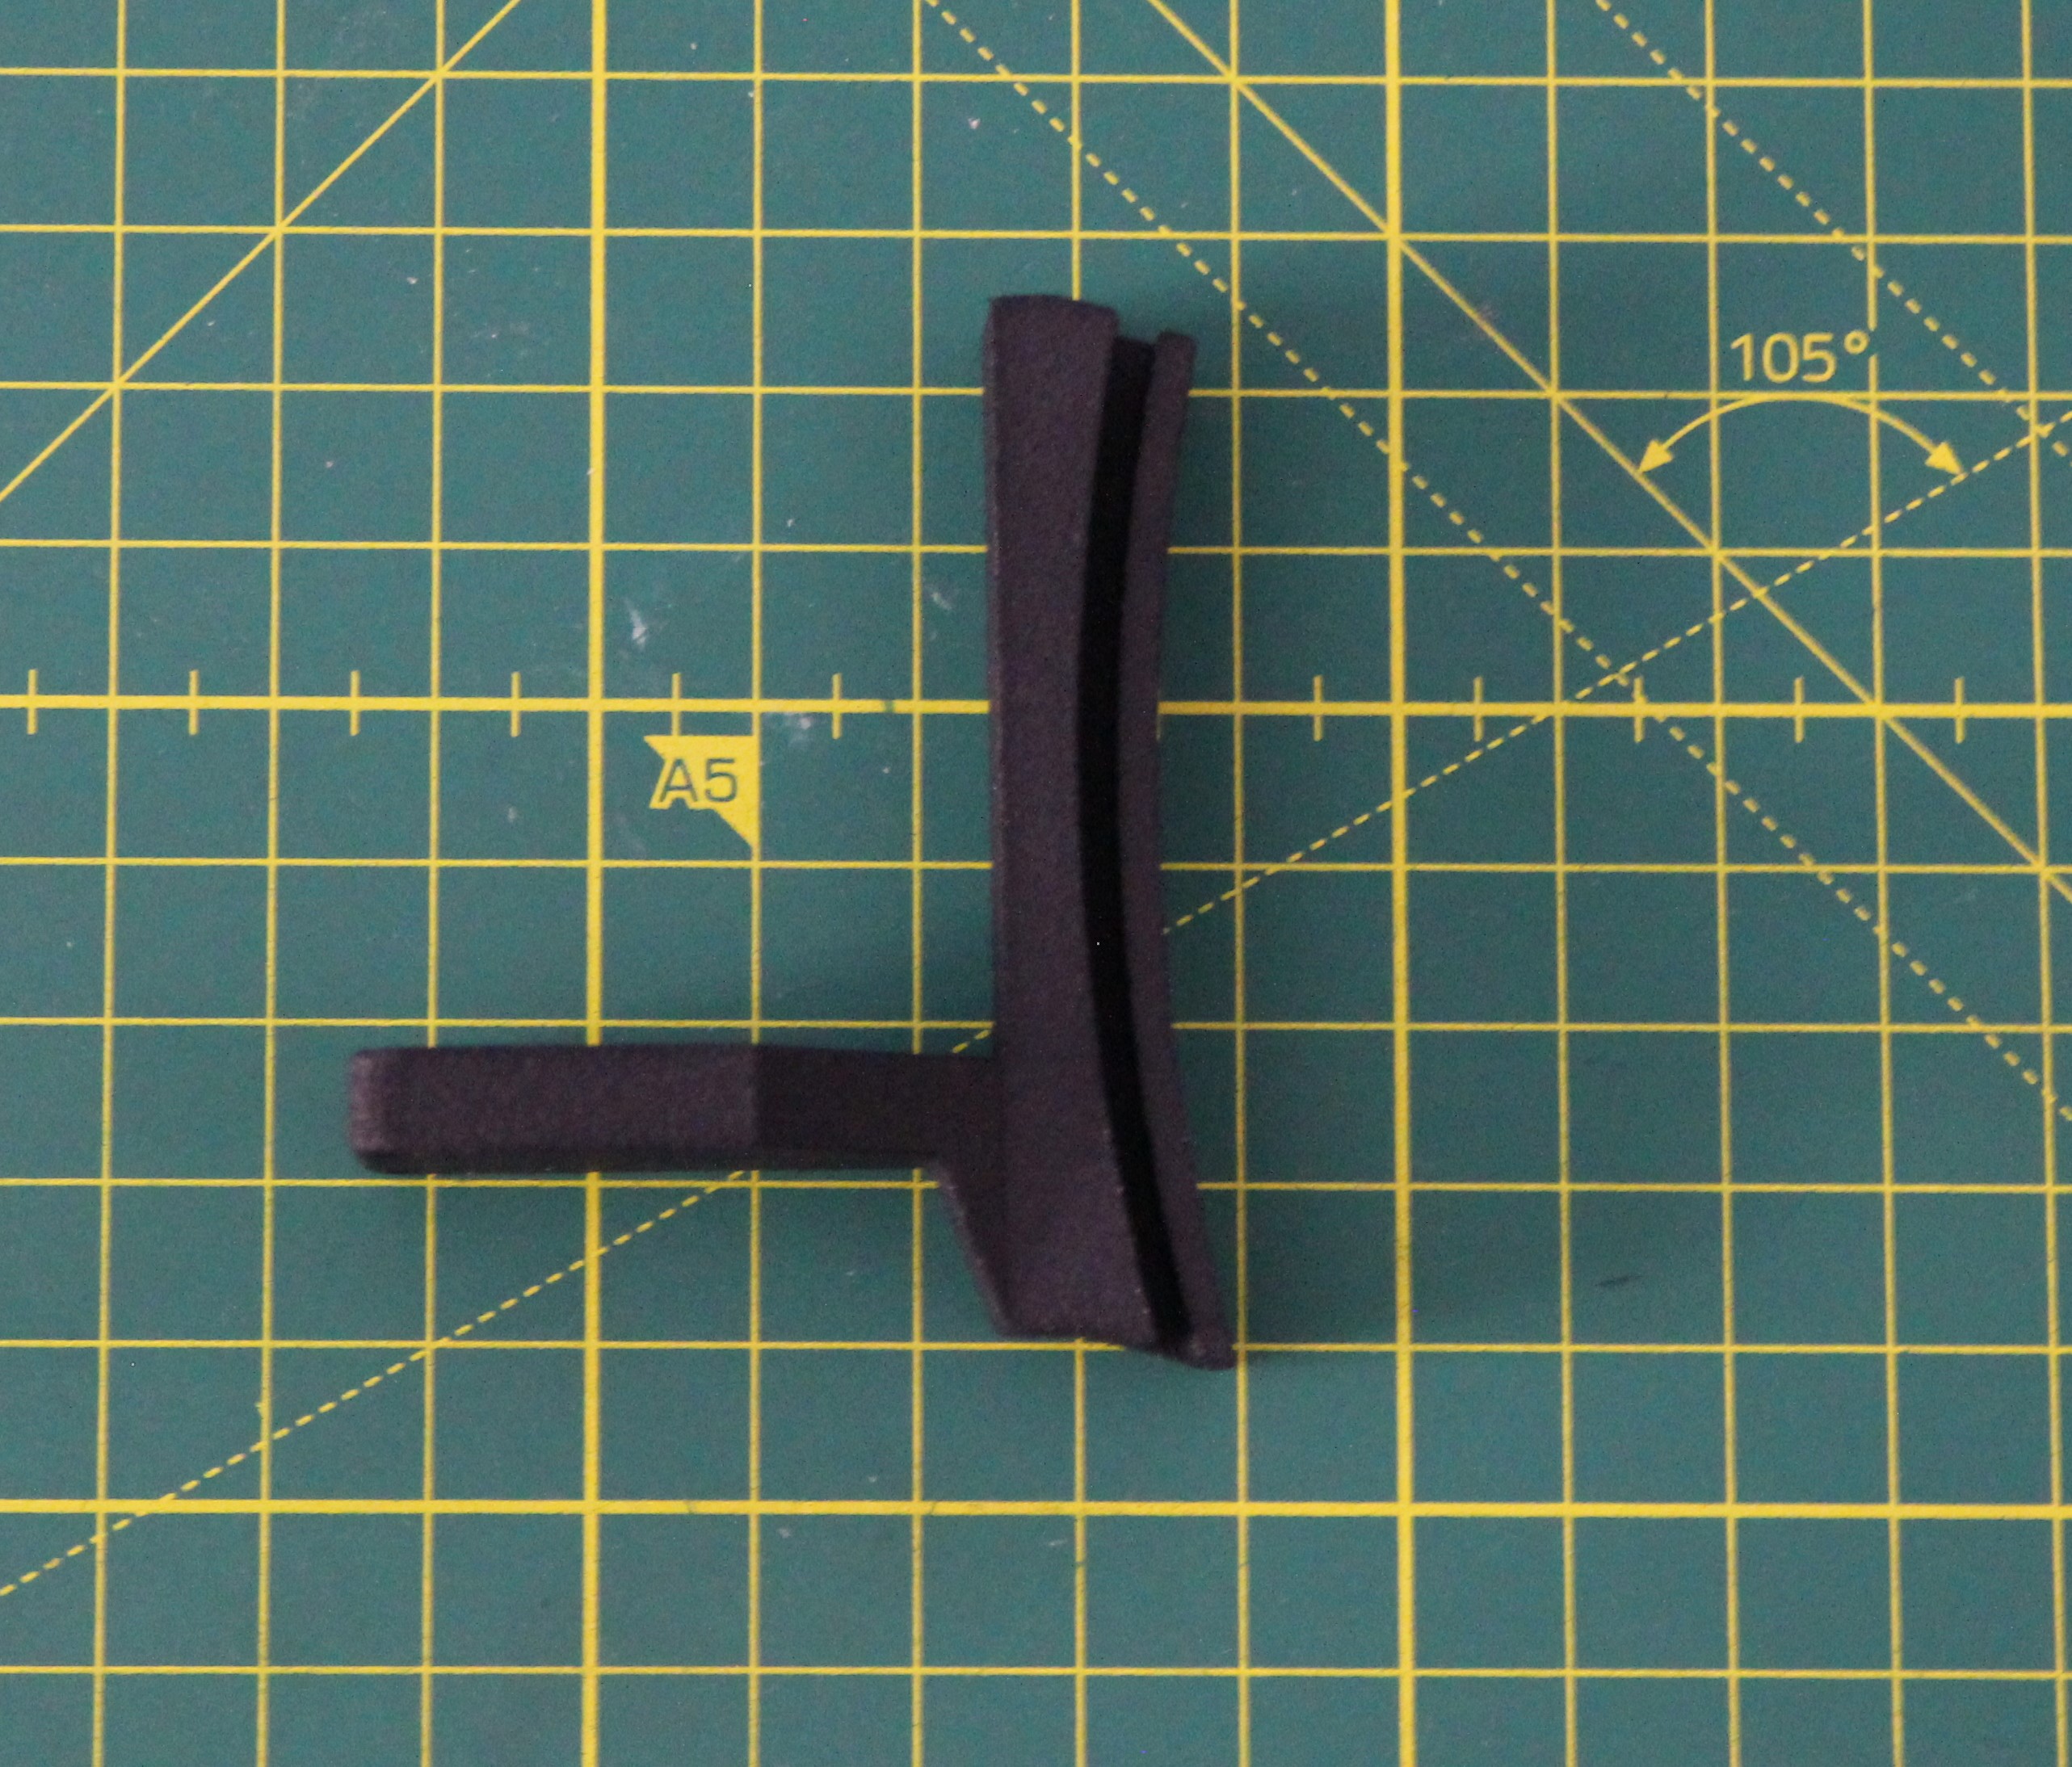
The holder is designed to be snap-fit inserted into the mask without using screws or glue, so the mask gets not damaged.
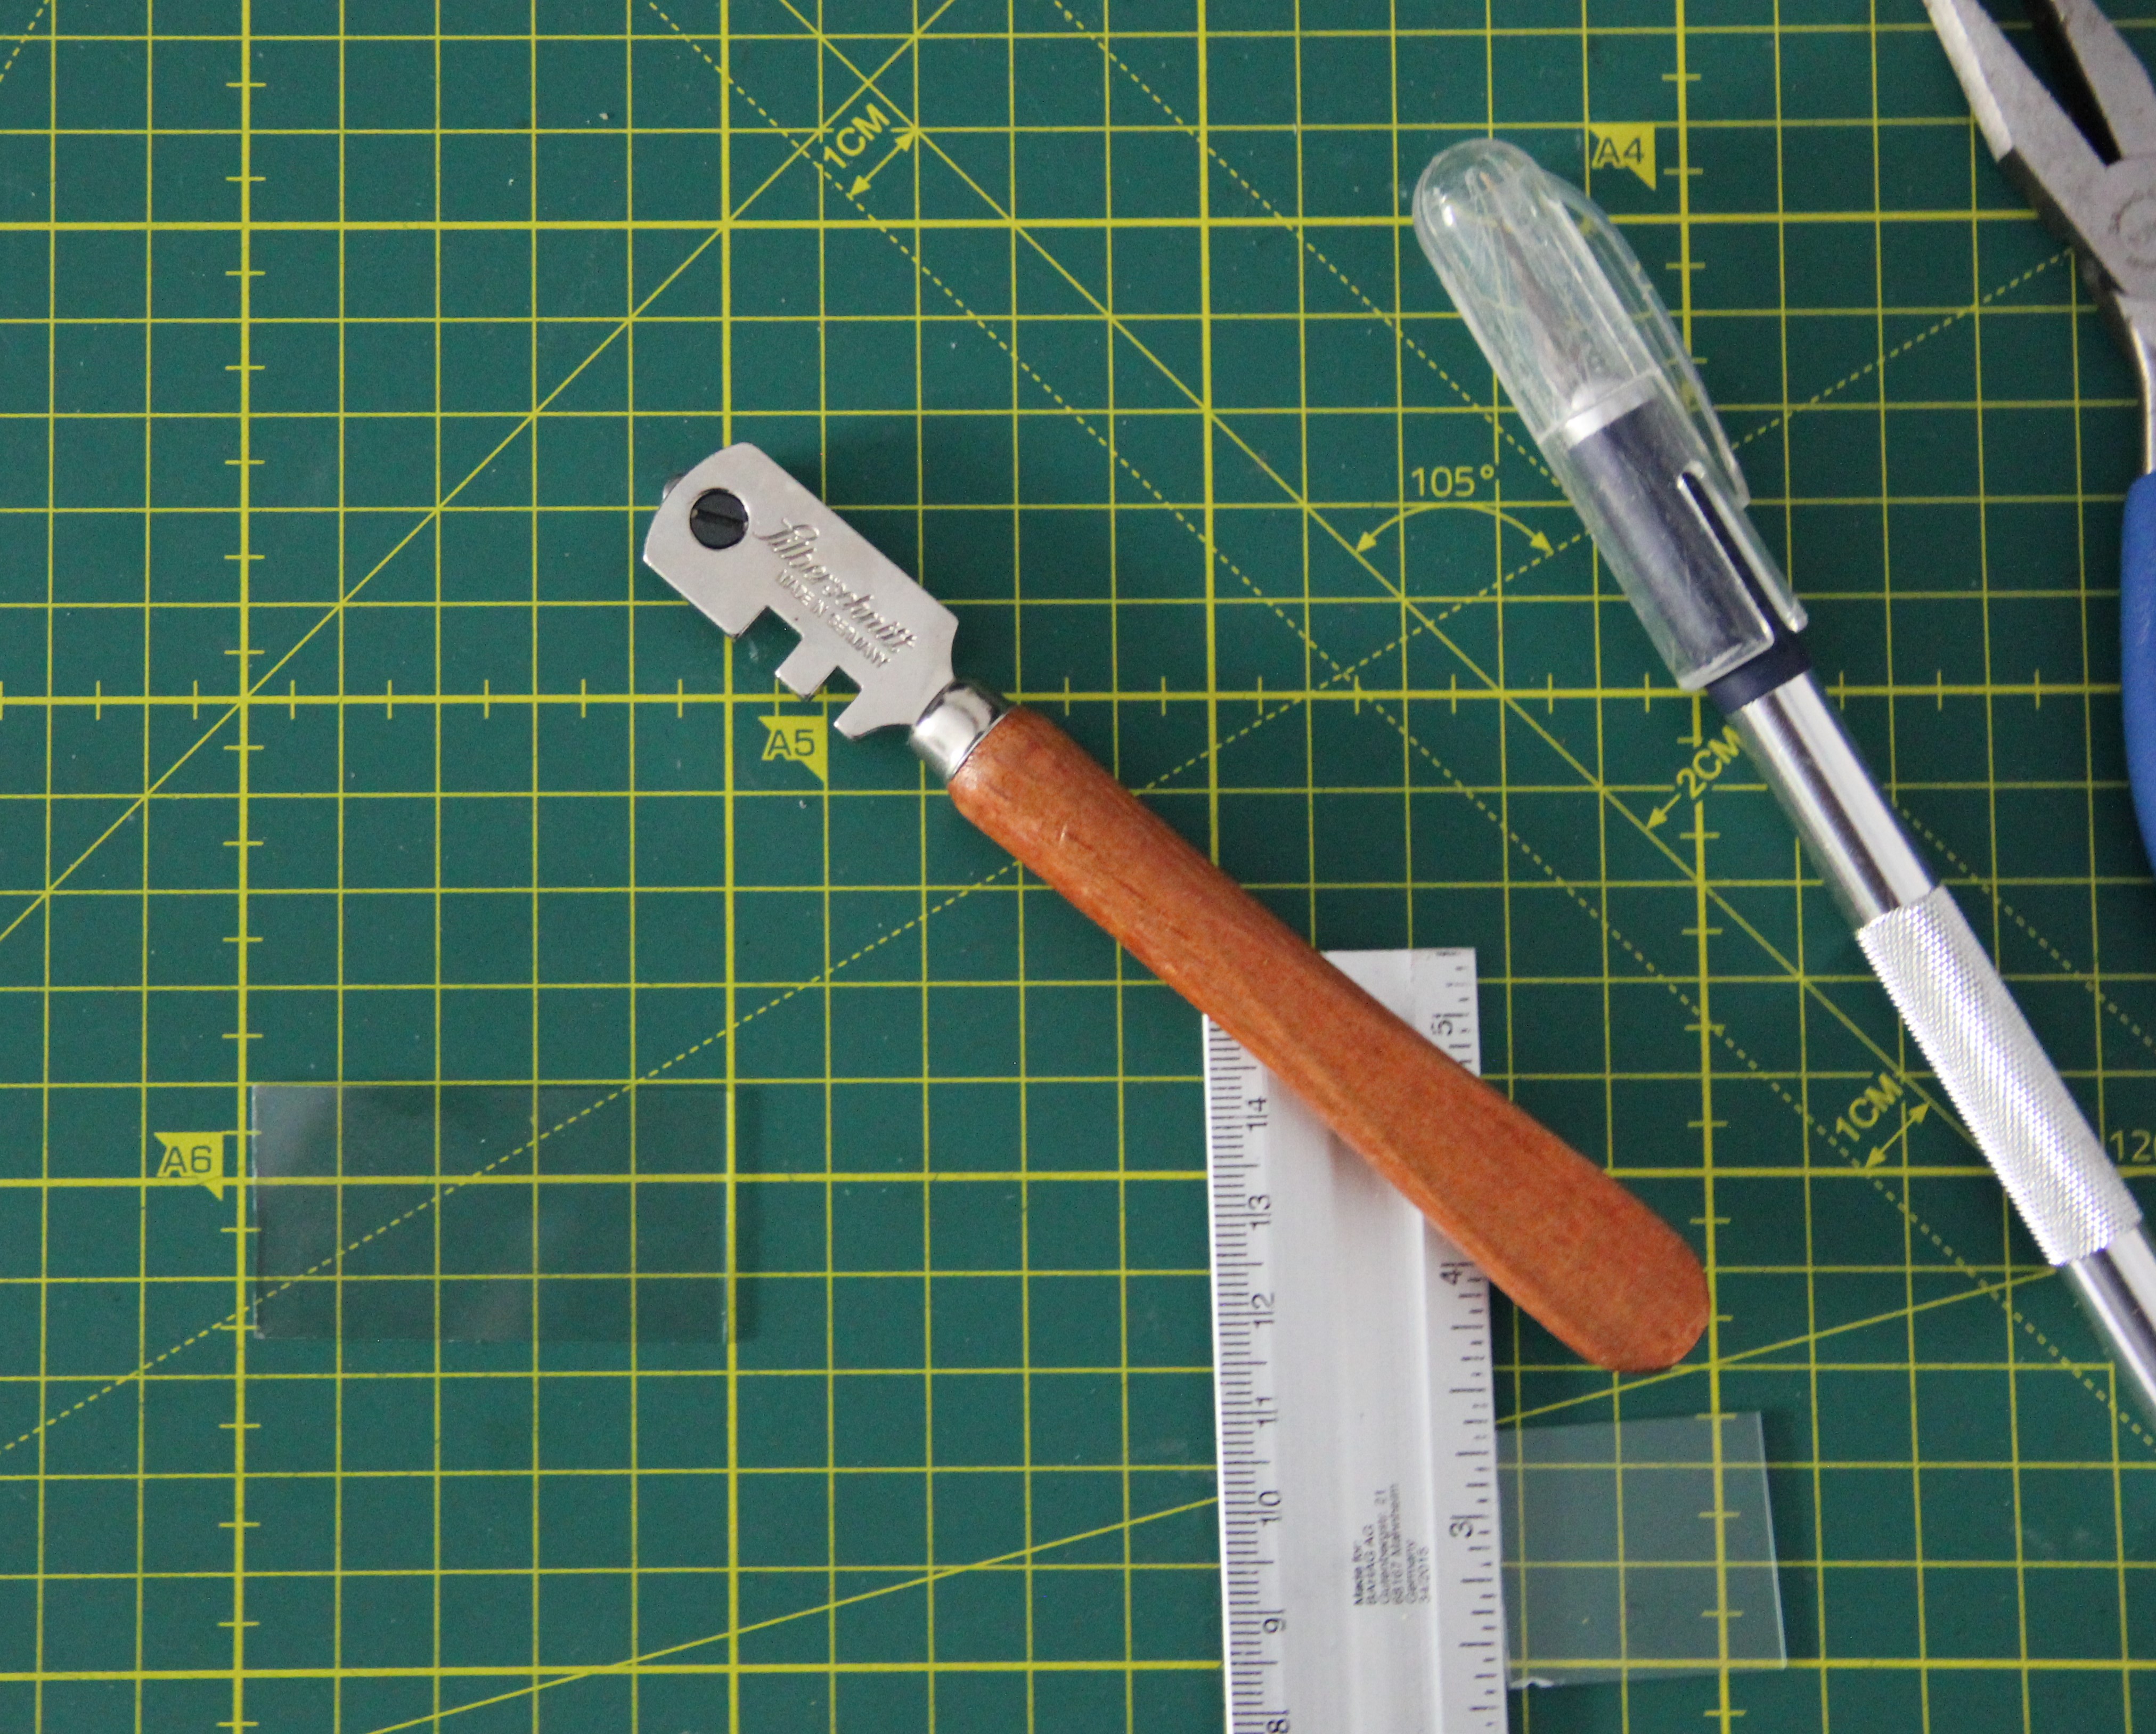
Since the microscope slide interfered with the nose section of the mask, I shortened it. This can easily be done with a glass cutter.
The bracket was then bolted to the AR glasses using 2 stainless steel screws 3 x 12 mm and nuts.
Front and side view of the finished mask:
Discussions
Become a Hackaday.io Member
Create an account to leave a comment. Already have an account? Log In.