 JP Gleyzes
Rezodo: Educational goals
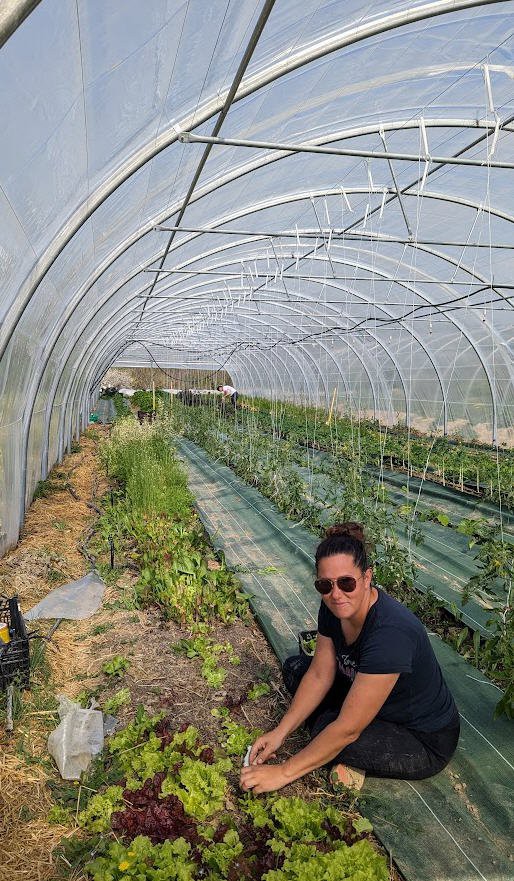
Le "100e Singe" is a Third Place, in vicinity of Toulouse, half-farm half-office, combined with an agricultural incubator that welcomes and experiments with new forms of work: cooperatives, collaborative, with meaning and impact on major societal issues.

They welcomed Natacha a young trainee from Toulouse ENSAT Engineering Faculty of Life Sciences. She had a thesis topic to define « methodologies » to help local farmers to better understand how to manage water resources in a context of climate change. This involves, for example, a better understanding of the irrigation system, but also of the soils and their capacity to retain water and the water needs of each crop.
I am acting at 100singes on a volunteer basis in my spare time. I simply make the bridge between users/students/farmers and technical solutions to cover their needs.
Summarizing EnergyPedia we can read : While 2 litres of water are often sufficient for daily drinking, it takes about 3,000 litres to produce the daily food needs of one person.[1] Around 70 percent of freshwater withdrawals go into agriculture.
Appropriate water resource management strategies allow for the conservation of water and energy while increasing production. These include for example irrigation scheduling or crop specific irrigation management.
The wise use and conservation of irrigation water is essential, as it is not only a limited and energy consuming resource, but also competes with surrounding ecosystem water requirements.
2021 study explains that, in France, only 50% of farmers are concerned by local weather monitoring
- rainfall measurement is the most important parameter to monitor
- then comes local temperature
- less important are humidity, wind direction and strenght, pressure
After several workshops held with Natacha and 100singes' farmers Romain and Sarah, the concept of Rezodo was born.
- a distributed irrigation system
- a complementary weather Station
- a fully working modular home automation system
In a few sentences
- Rezodo will be as cheap as possible to offer open source tools to farmers to "educate" them to monitor their cultures.
- Rezodo will help to make them aware of the environmental challenges of water management at a local scale.
- Rezodo will also be a tool for students like Natacha to "see" sensors, to calibrate them and to play with IoT solutions applied in real world conditions.
- Rezodo is the fundation of a fully modular wireless and long range home automation system
Rezodo: functional description
Rezodo is not an intellectual concept, it is a working project that can be reused and built by any hacker interested in :
- home automation
- low power devices
- long distance networking
- gardening
- weather monitoring
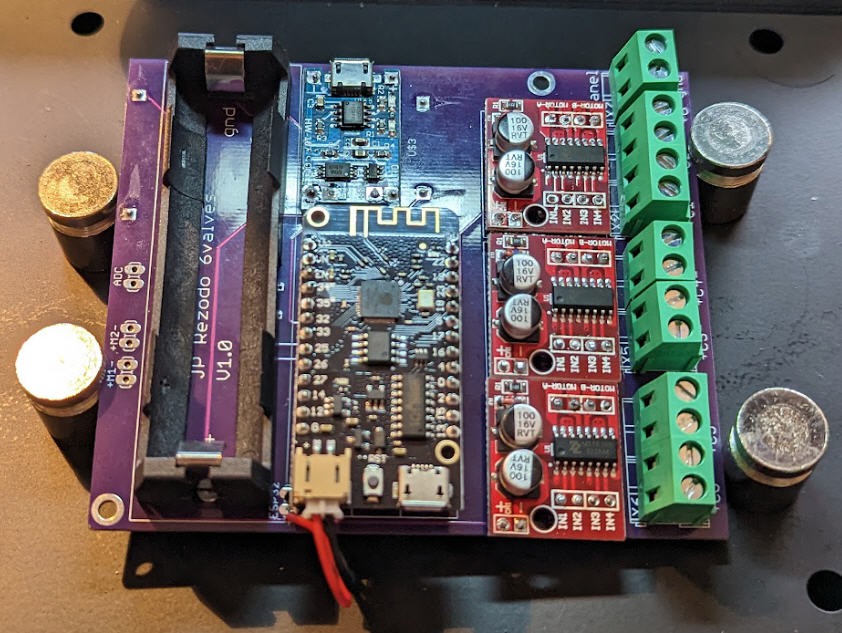
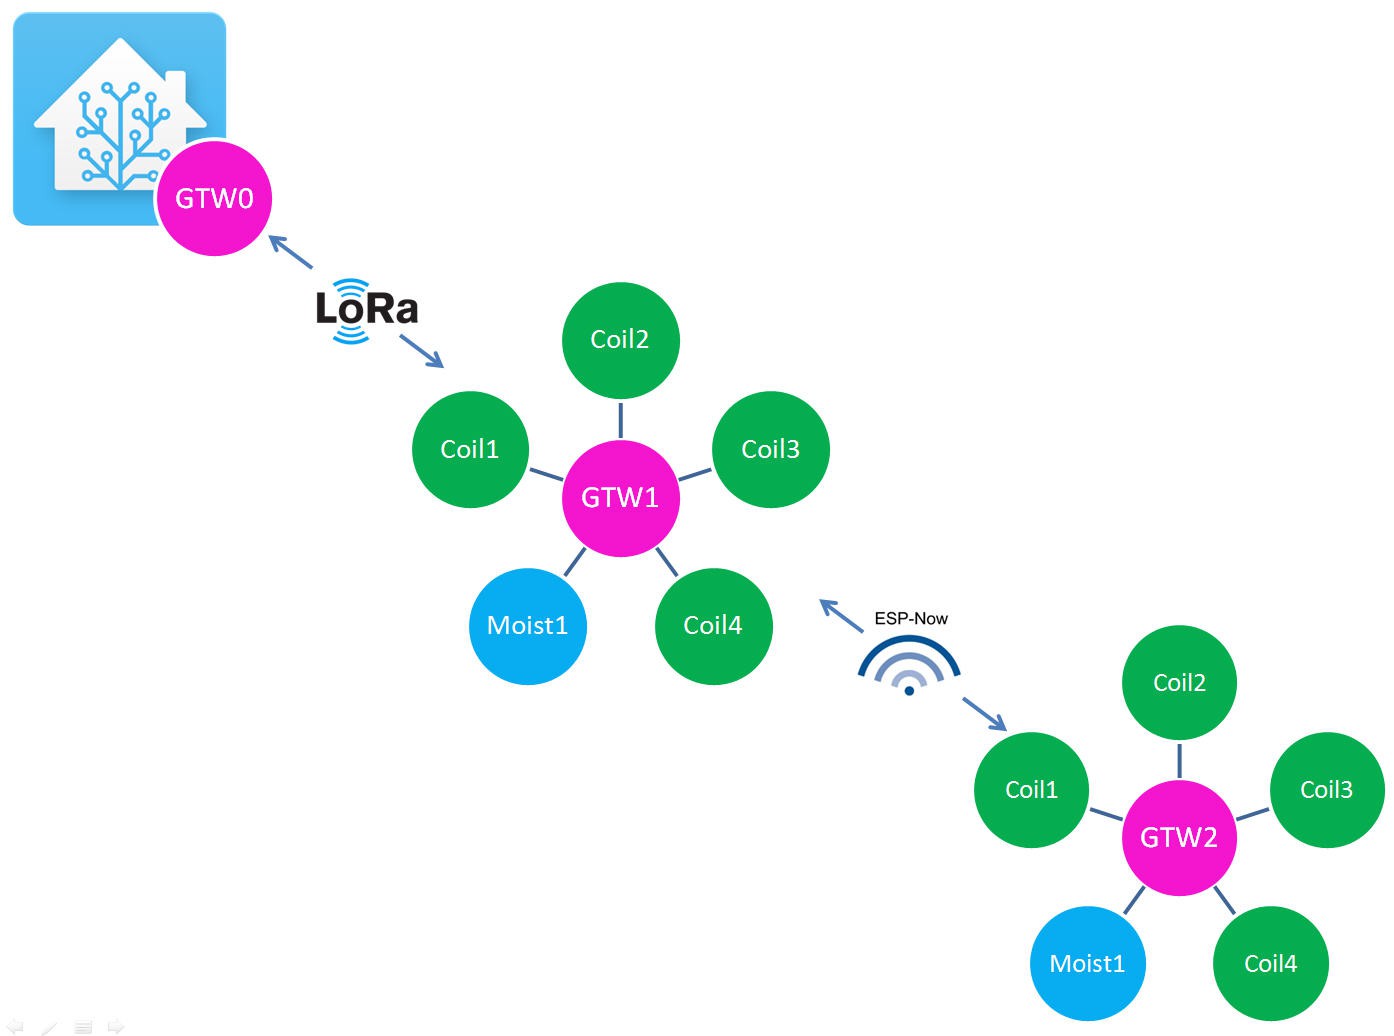
Rezodo will be a set of devices connected into a tree network. Each device (pink circle) will be able to speak to the others and to control automations (green circles) and/or monitor sensors (green circles).
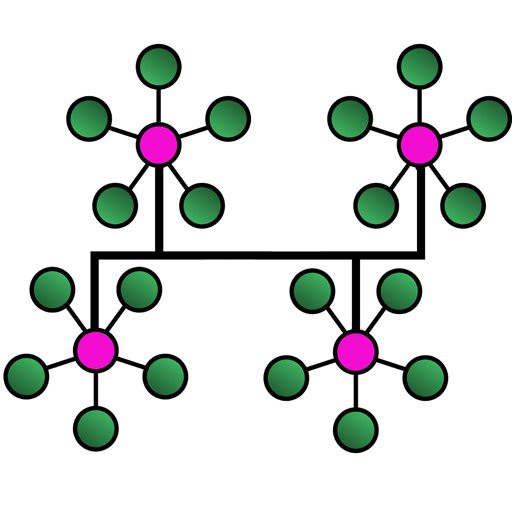
In the first prototype of Rezodo
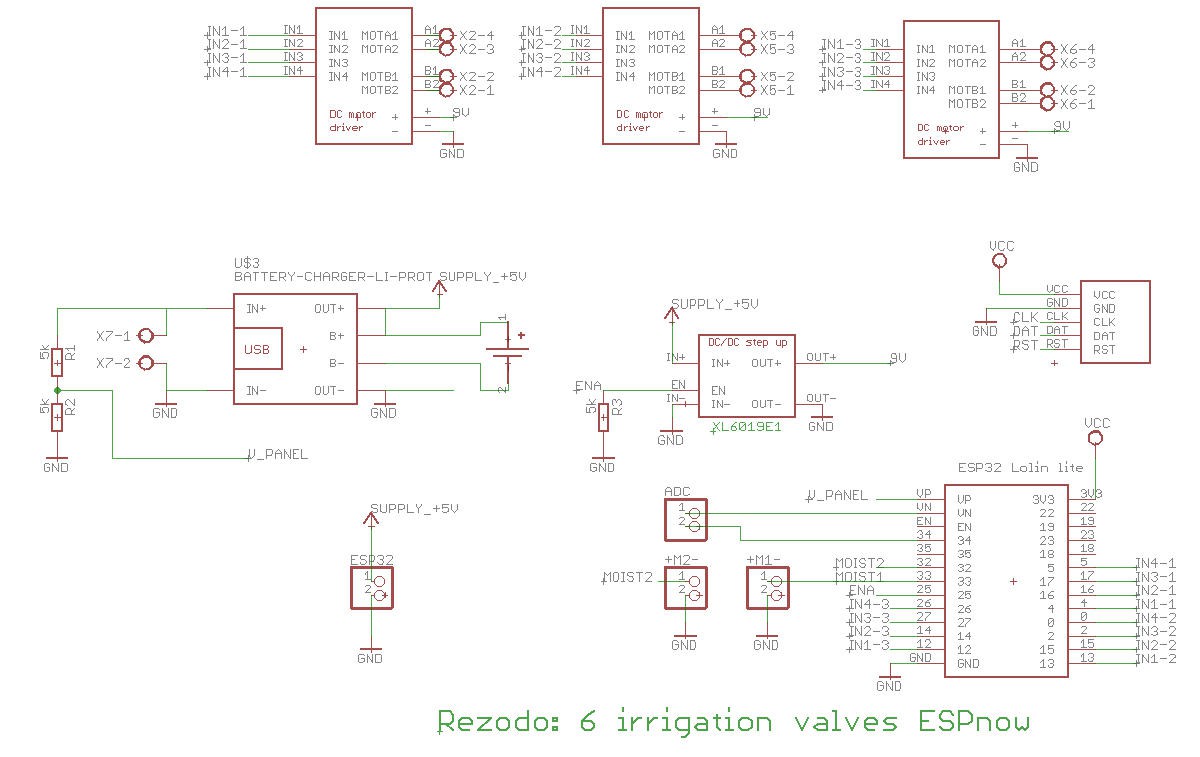
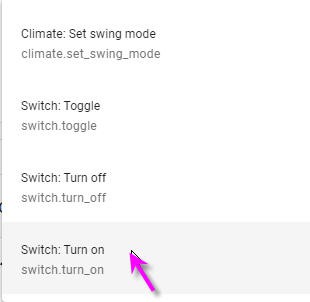
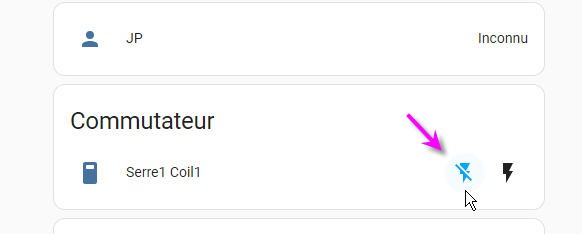
- controls will be irrigations valves (but could be anything else)
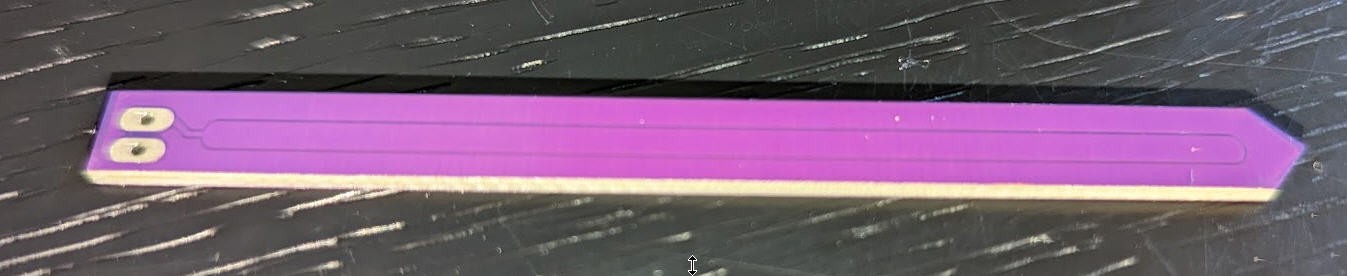
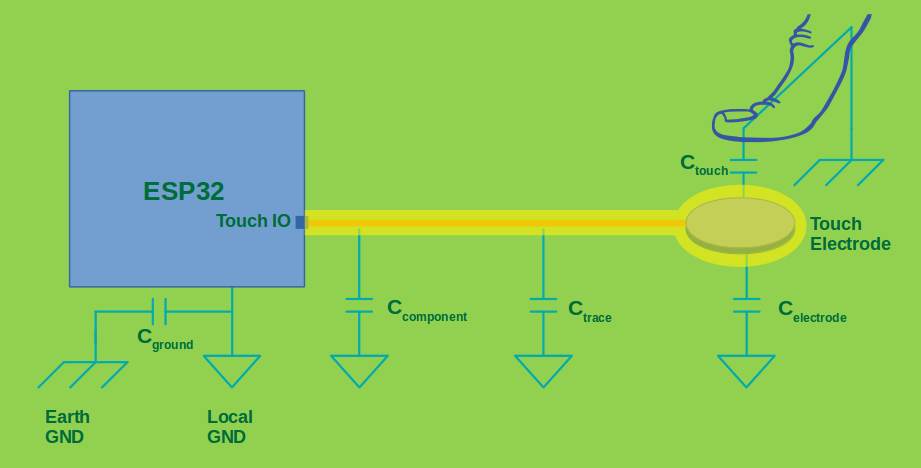
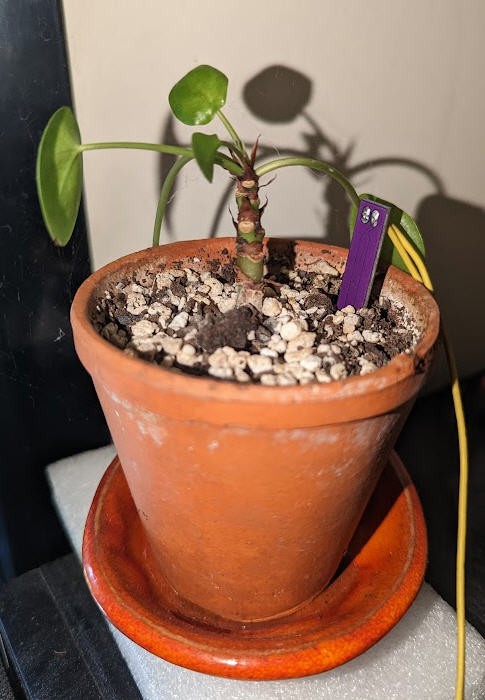
- sensors will monitor: soil moisture, temperature, pressure, humidity, wind direction and strength as well as rain fall,
- number of devices should be unlimited and they will be interconnected with Timm Bogner's excellent FDRS (Farm Data Relay System) - with slight modifications-.
- distance between devices could be in the range
- 100m - 200m using ESPnow Long Range wifi
- 200m - 5000m using lora network.
- network of devices will be time synchronized
- devices will be solar powered
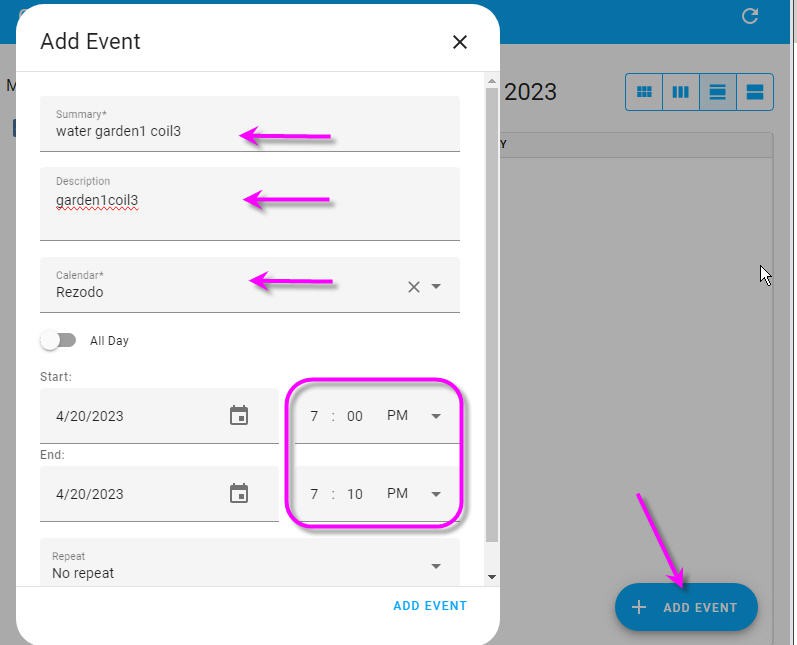
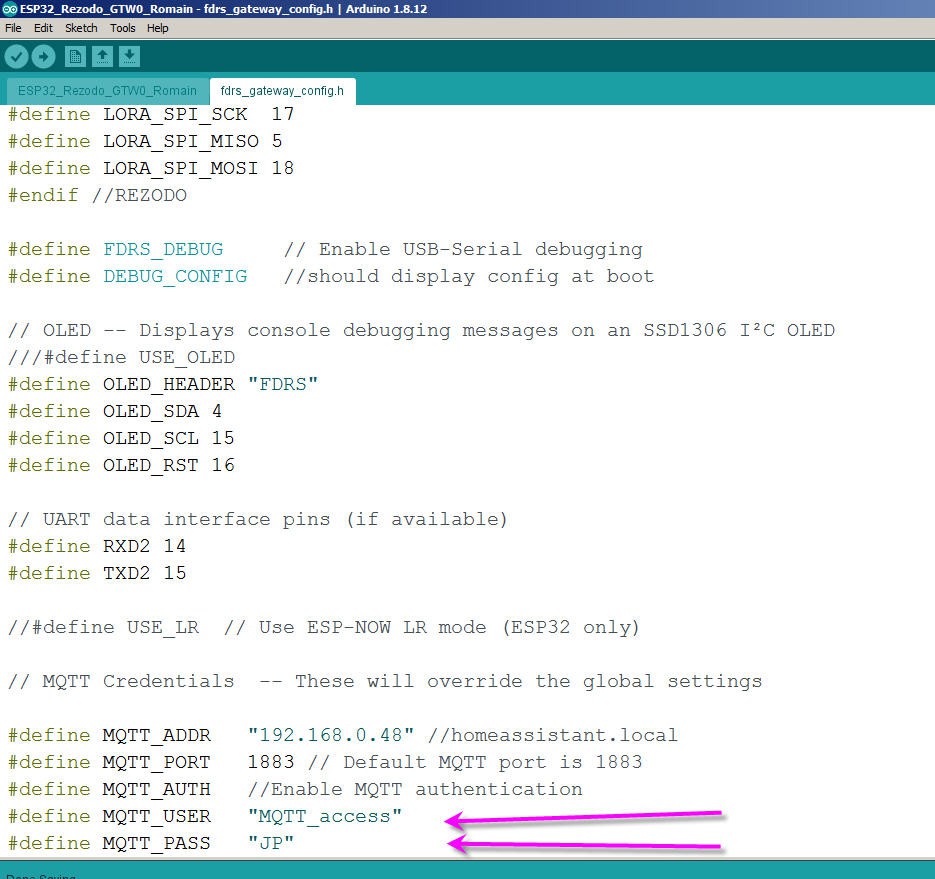
- a "master device" will interface with home automation system
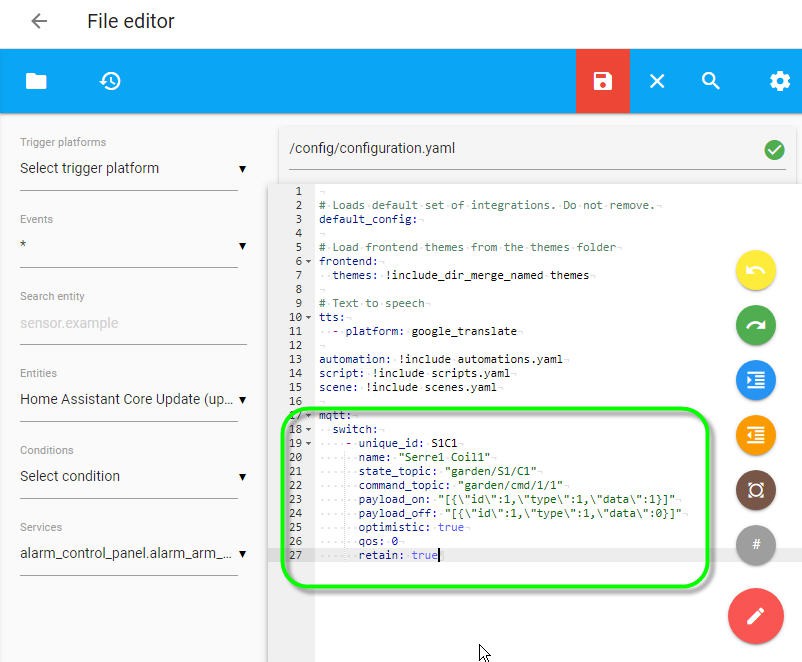
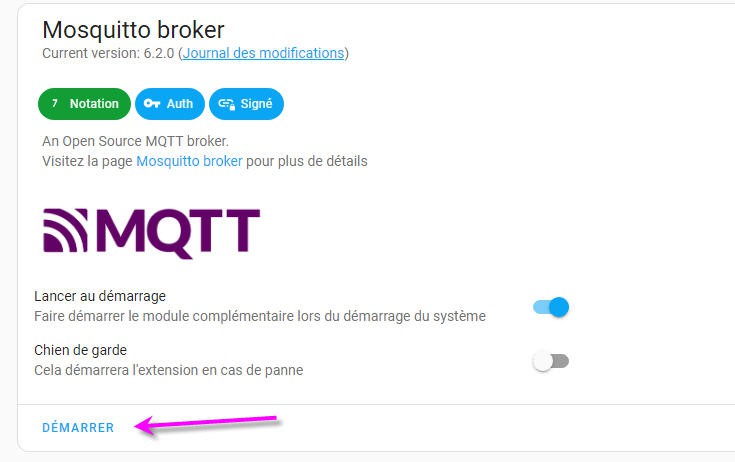
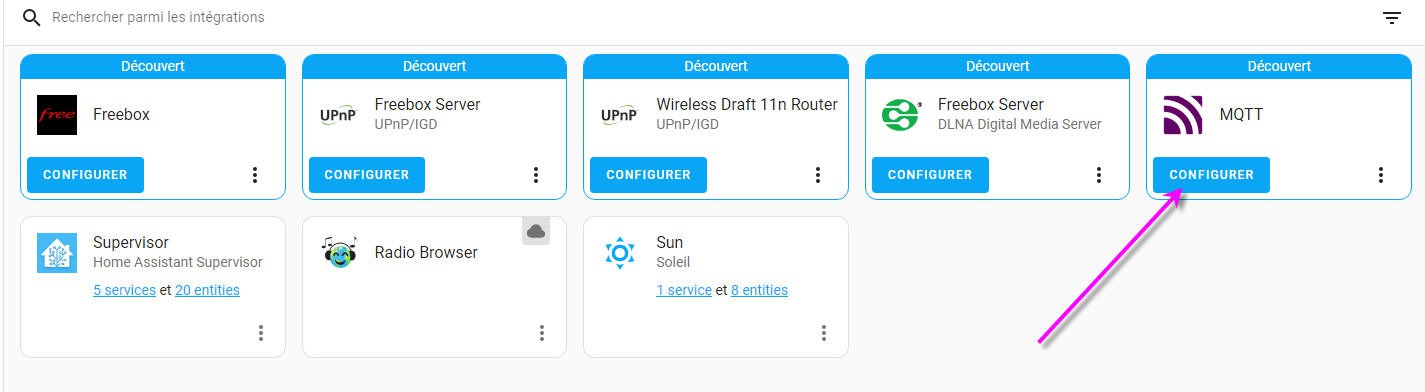
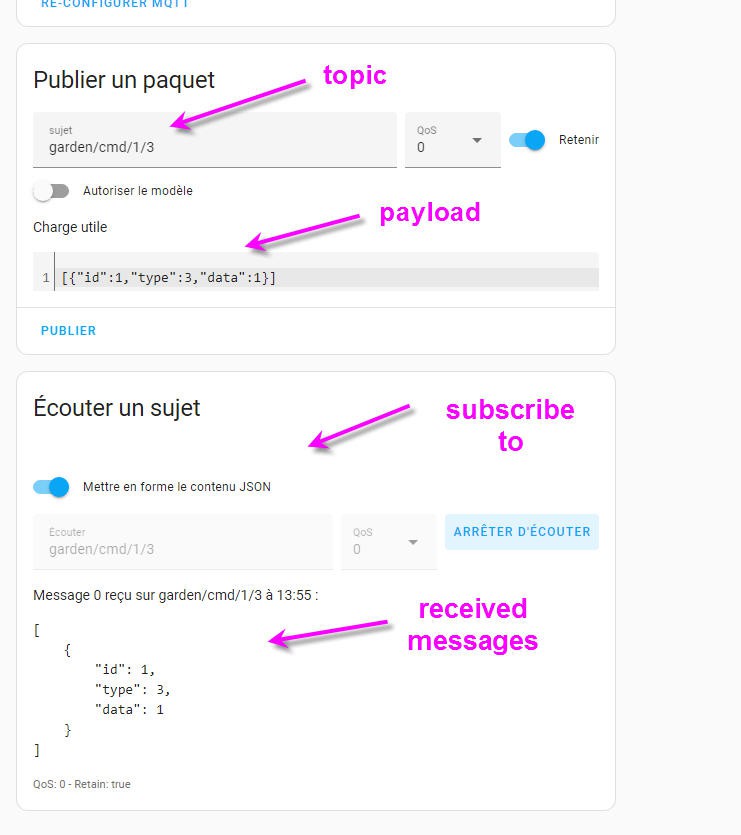
- interface will use MQTT protocol for command/control
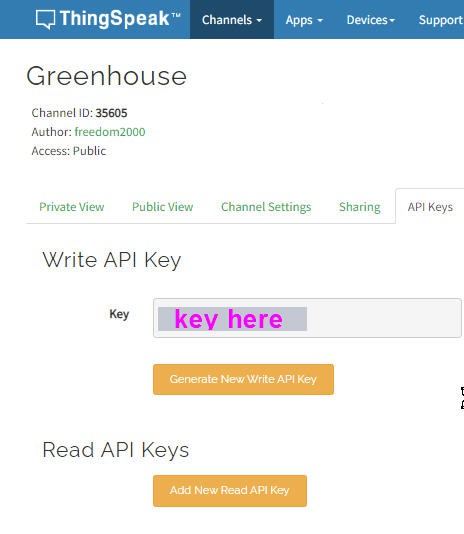
- interface could be done with ThingSpeak platform
- interface may be upgraded to any other IoT platform if needed (code is open and free)
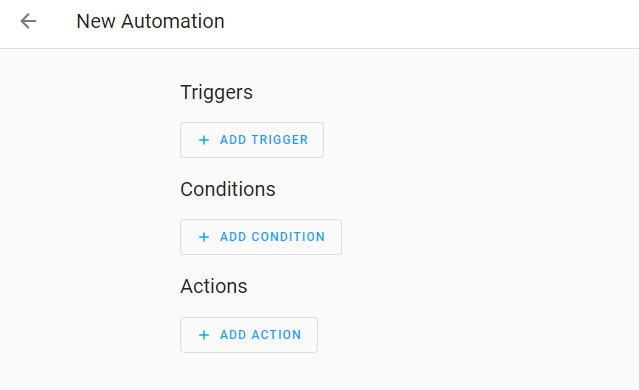
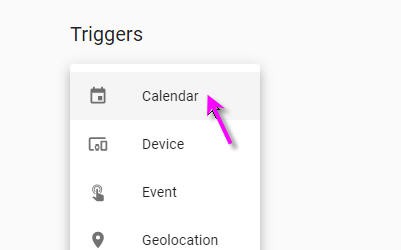
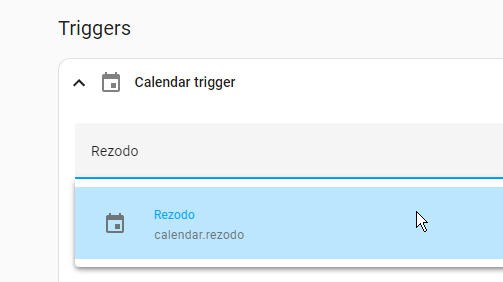
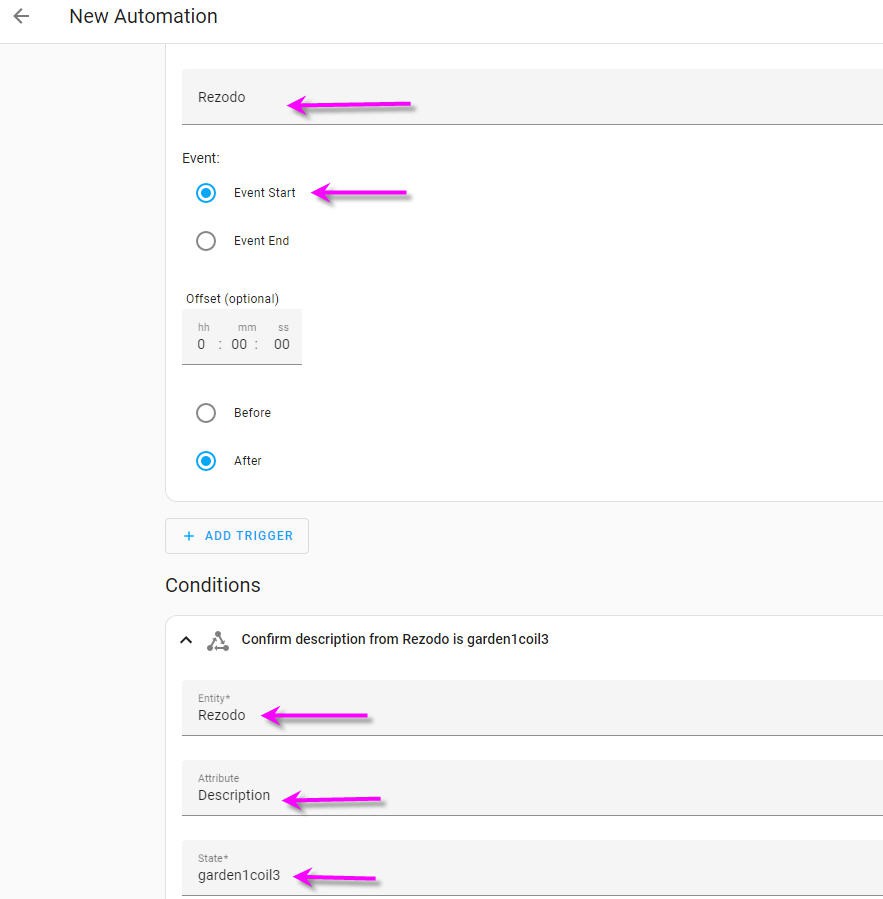
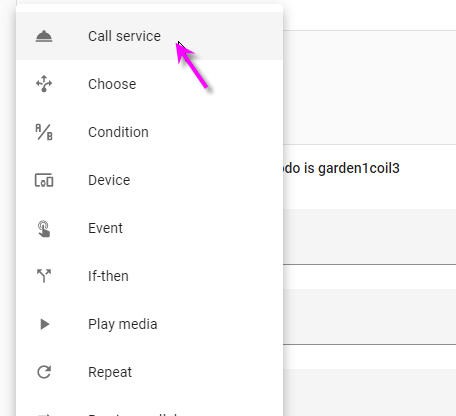
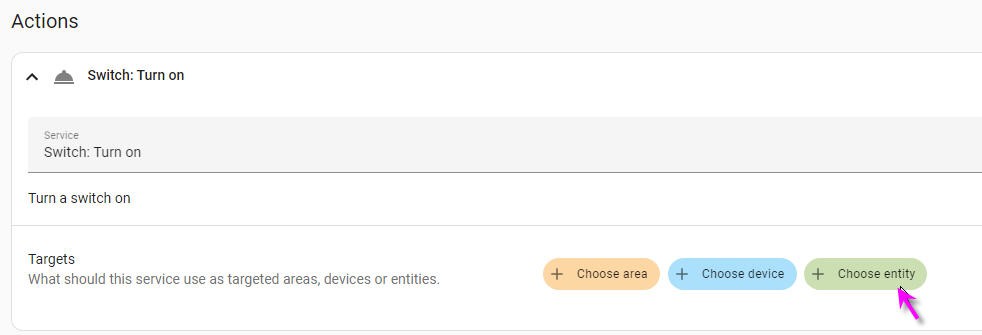
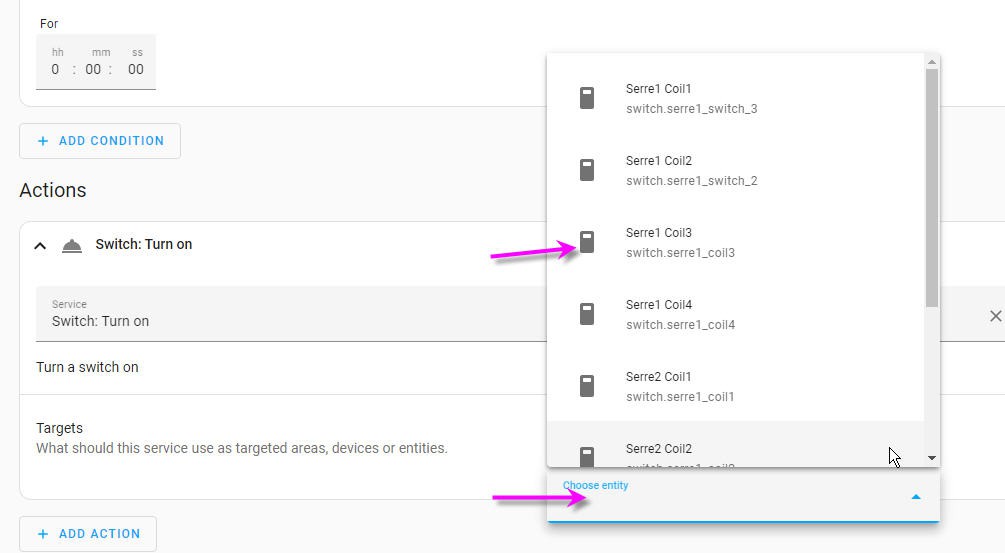
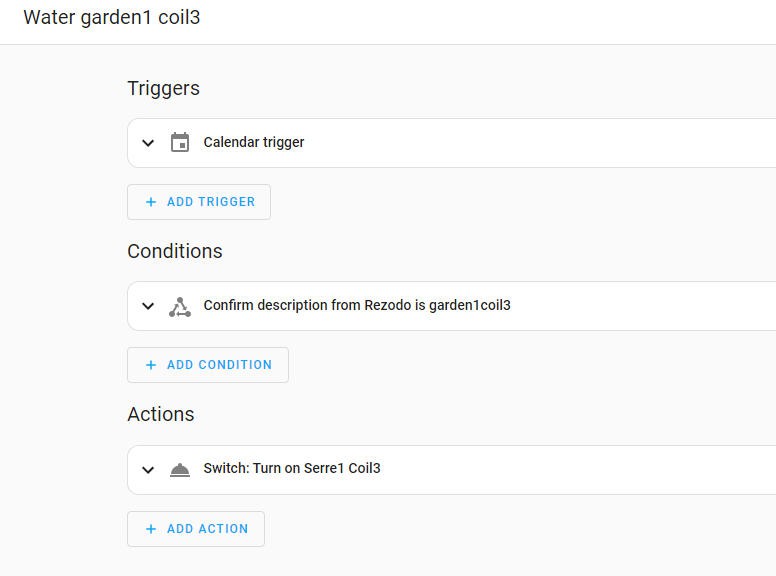
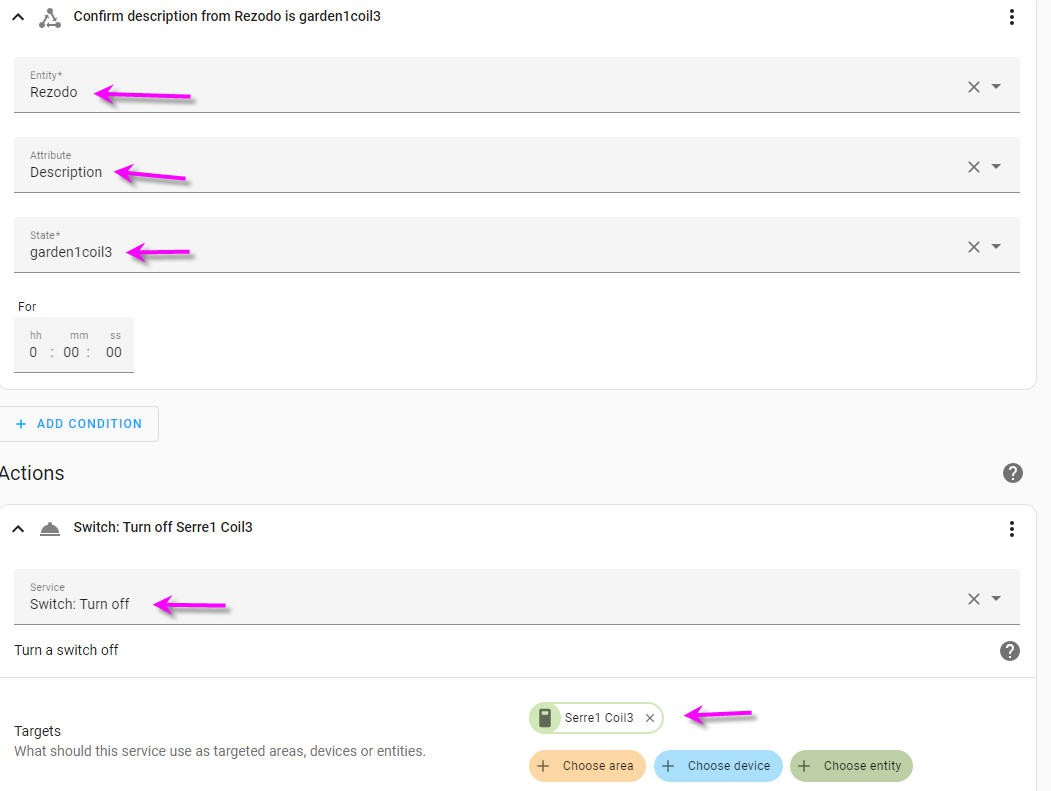
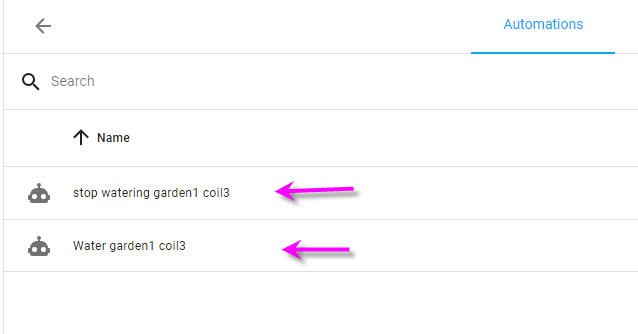
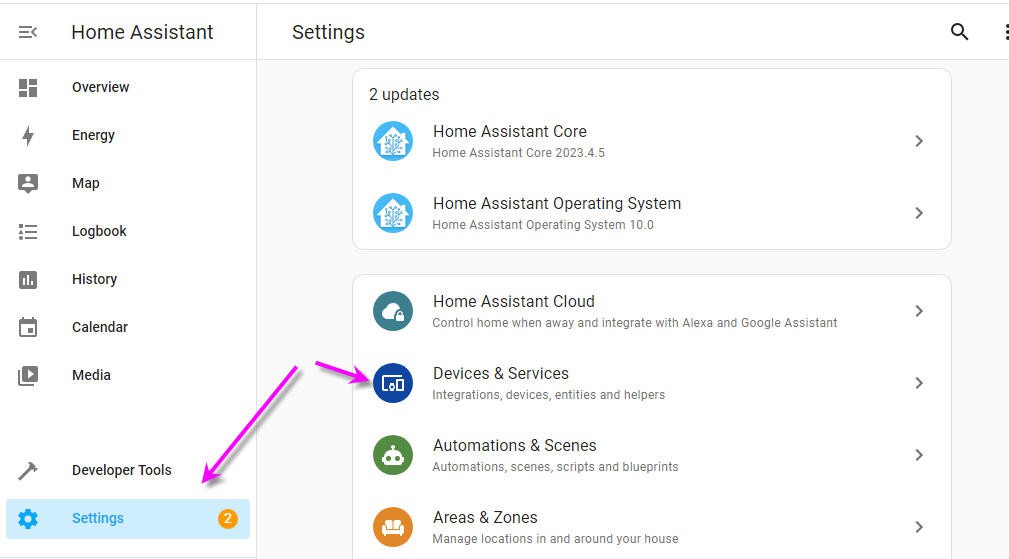
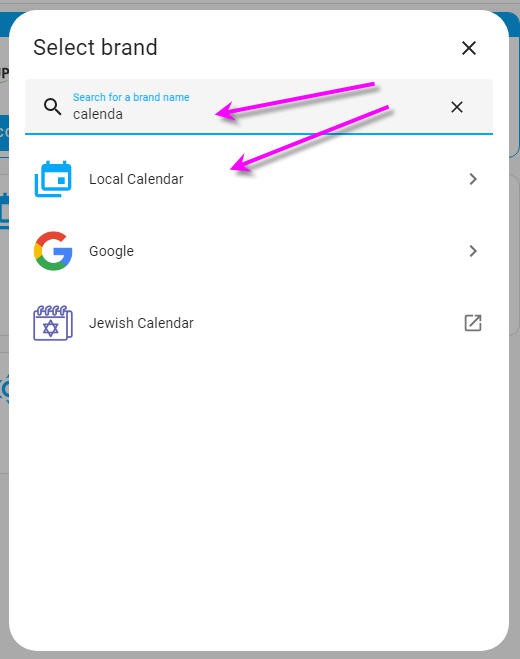
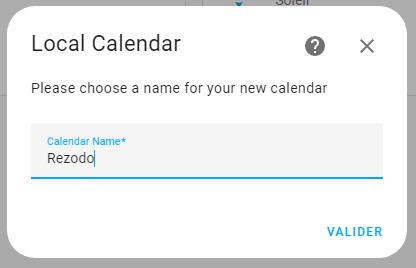
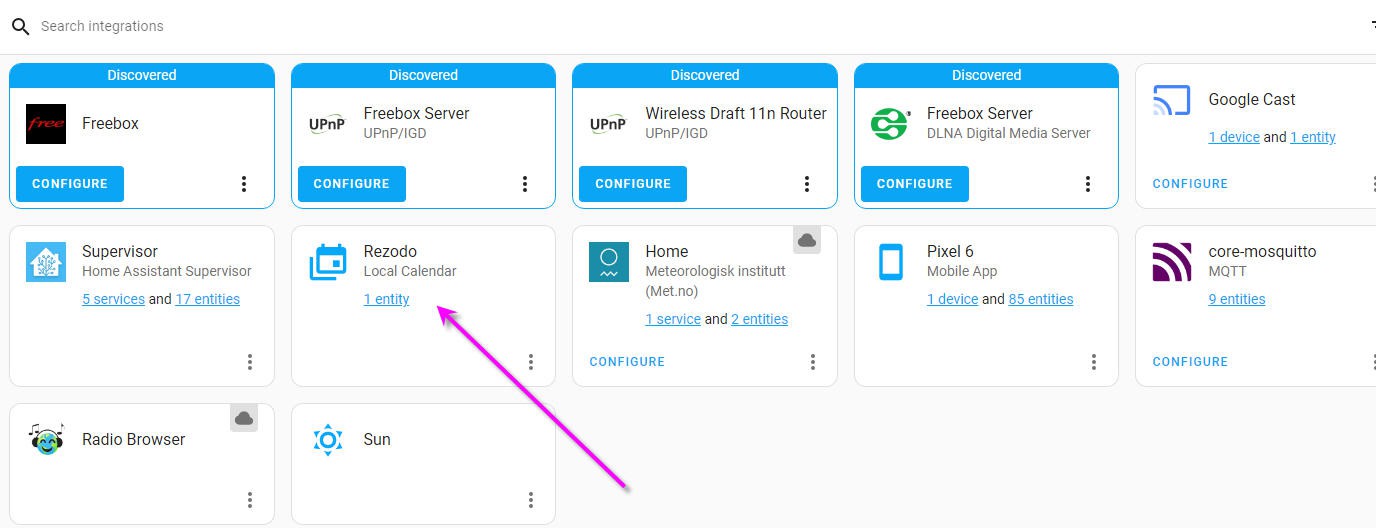
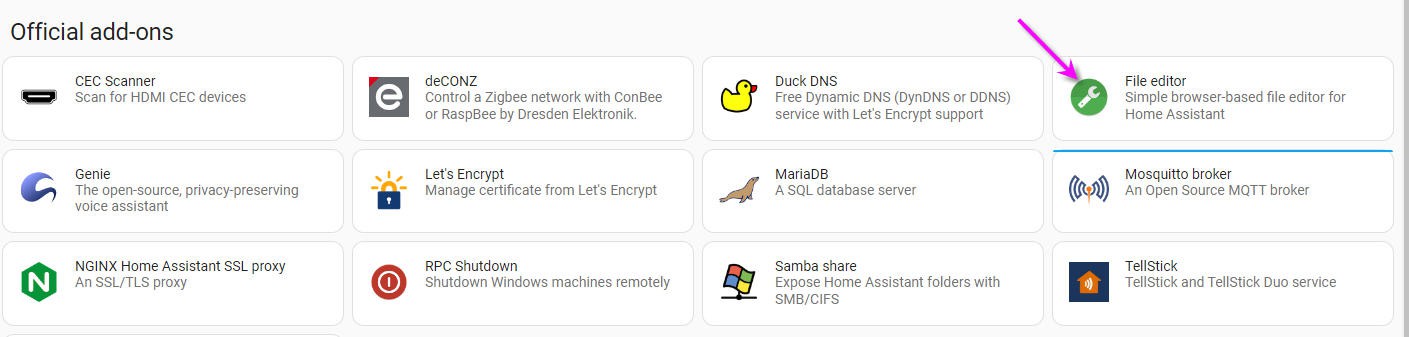
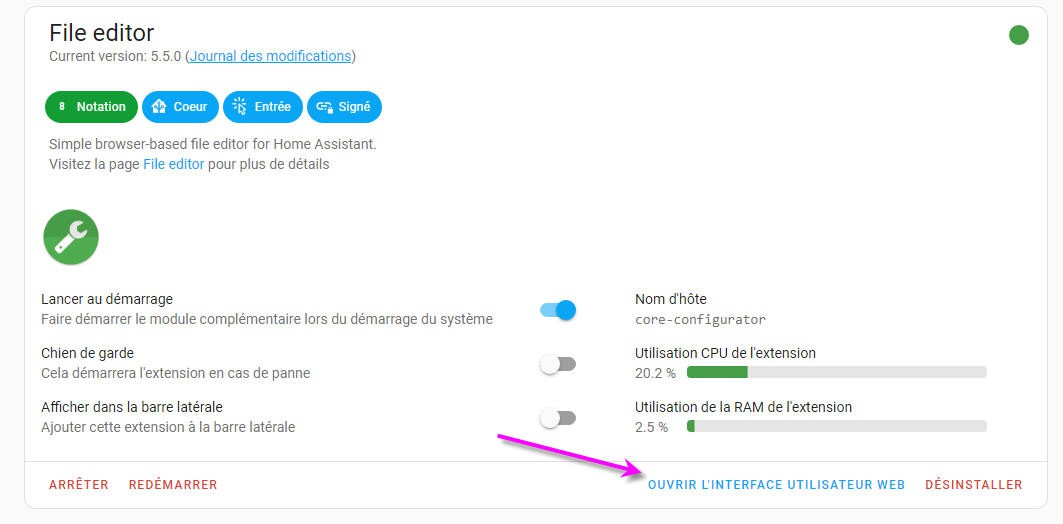
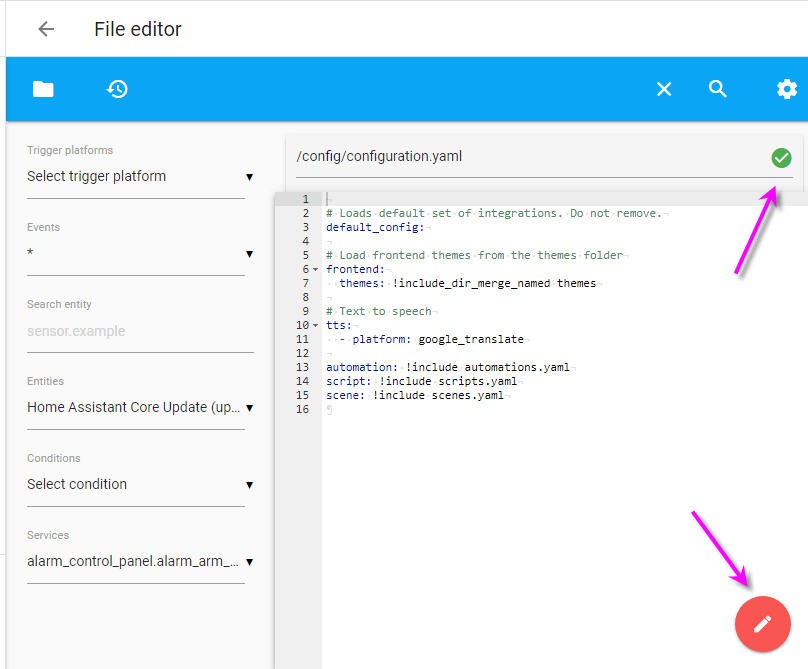
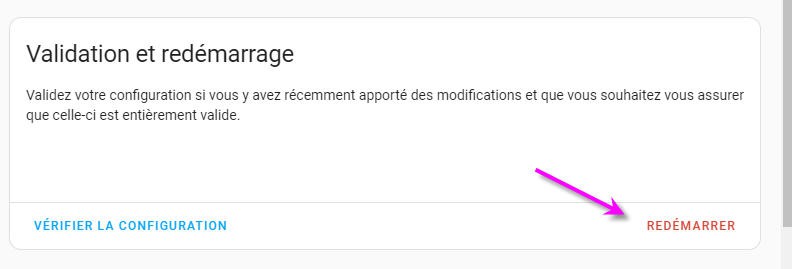
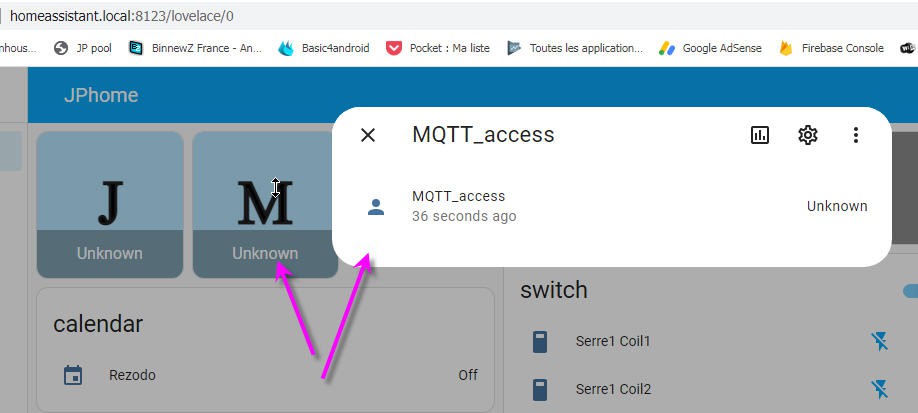
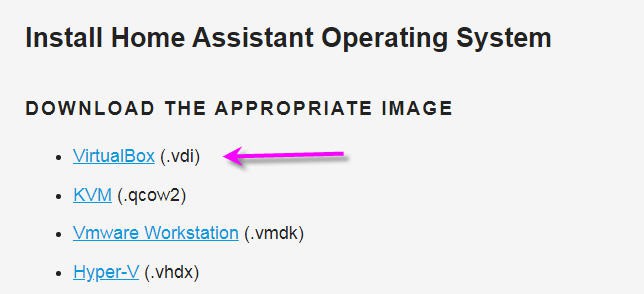
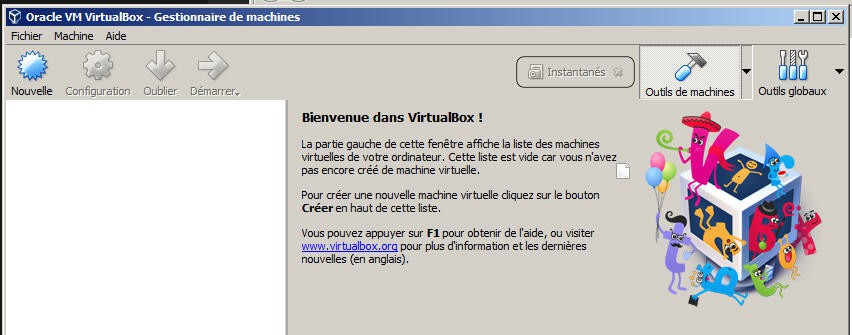
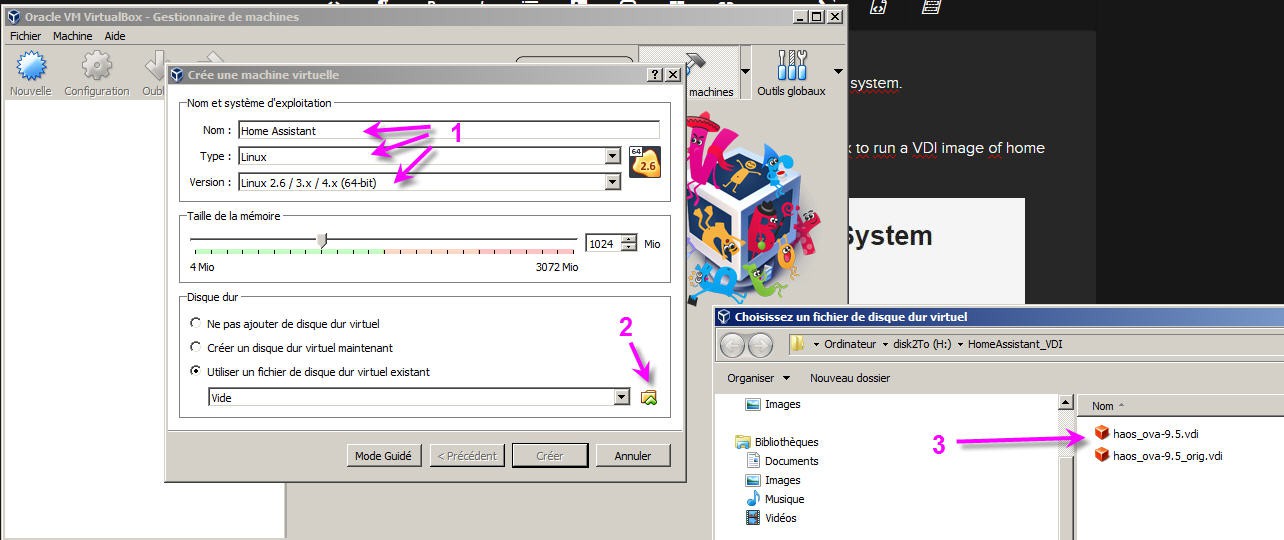
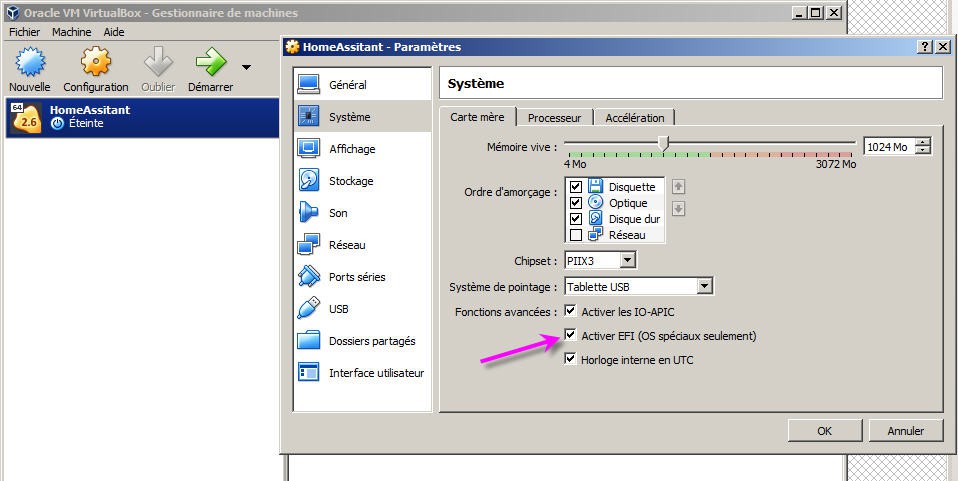
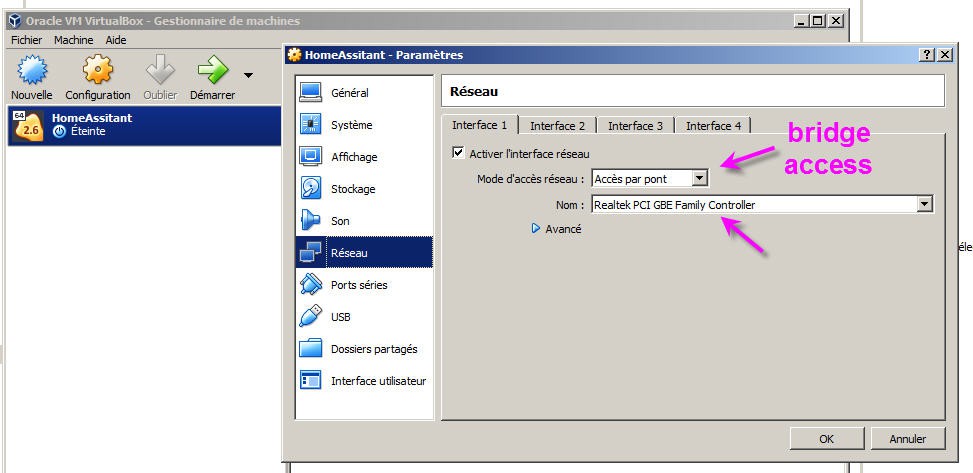
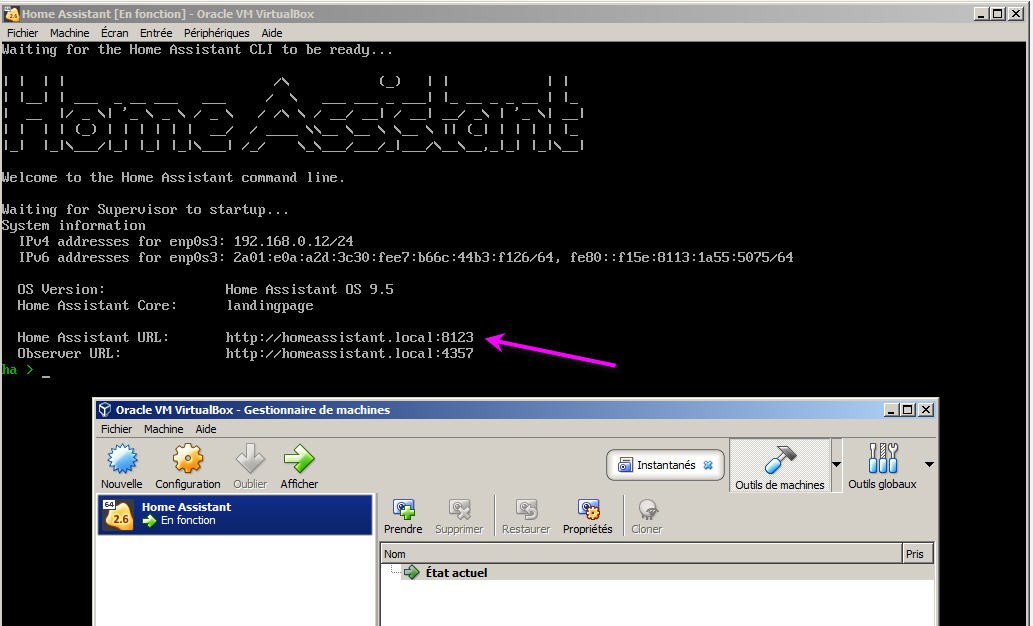
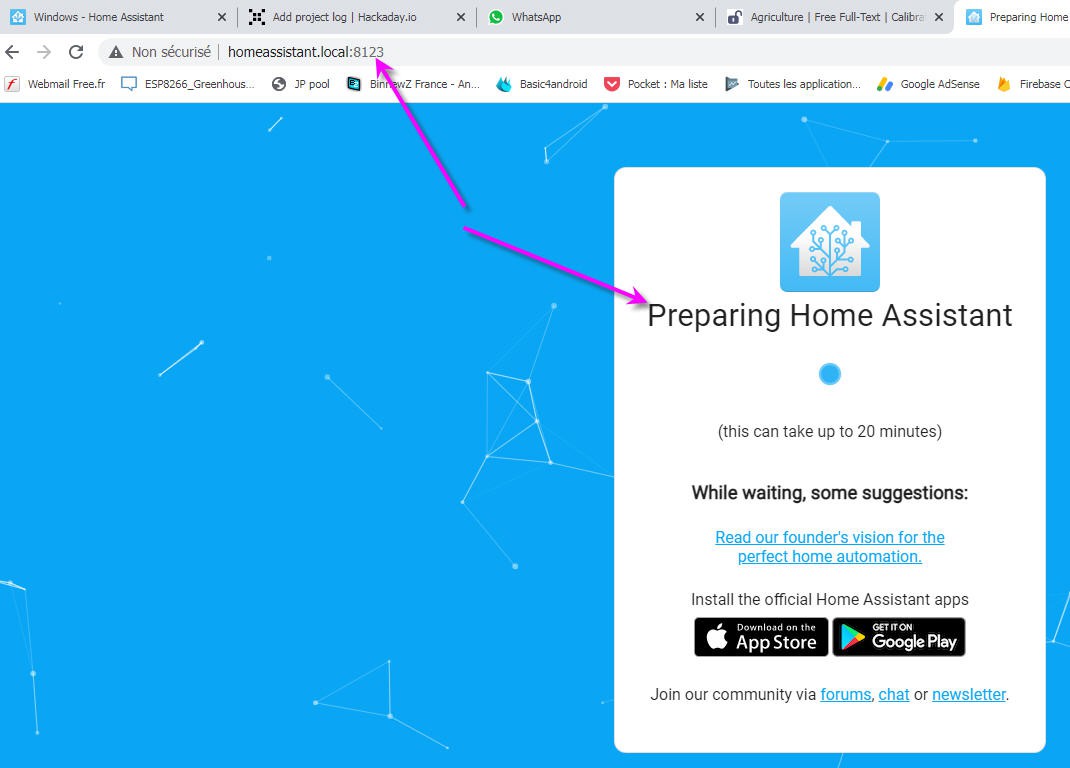
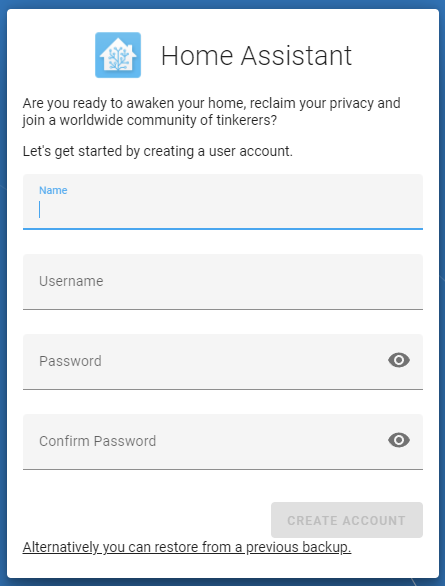
- Home Automation will be supported by home Assistant platform (free and open source)
Don't be afraid by this...
Read more »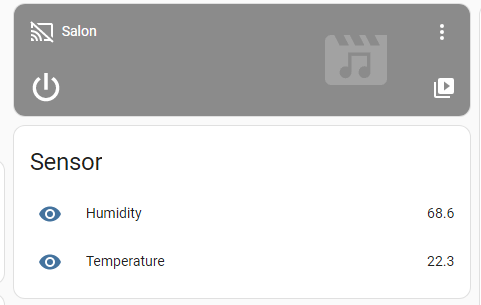


 Roni Bandini
 Nuri Erginer
 Rodmg
Rodmg
 Amine Mehdi Mansouri