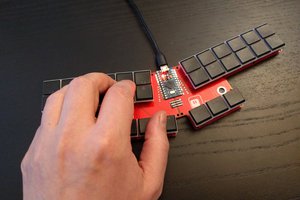
April 2023
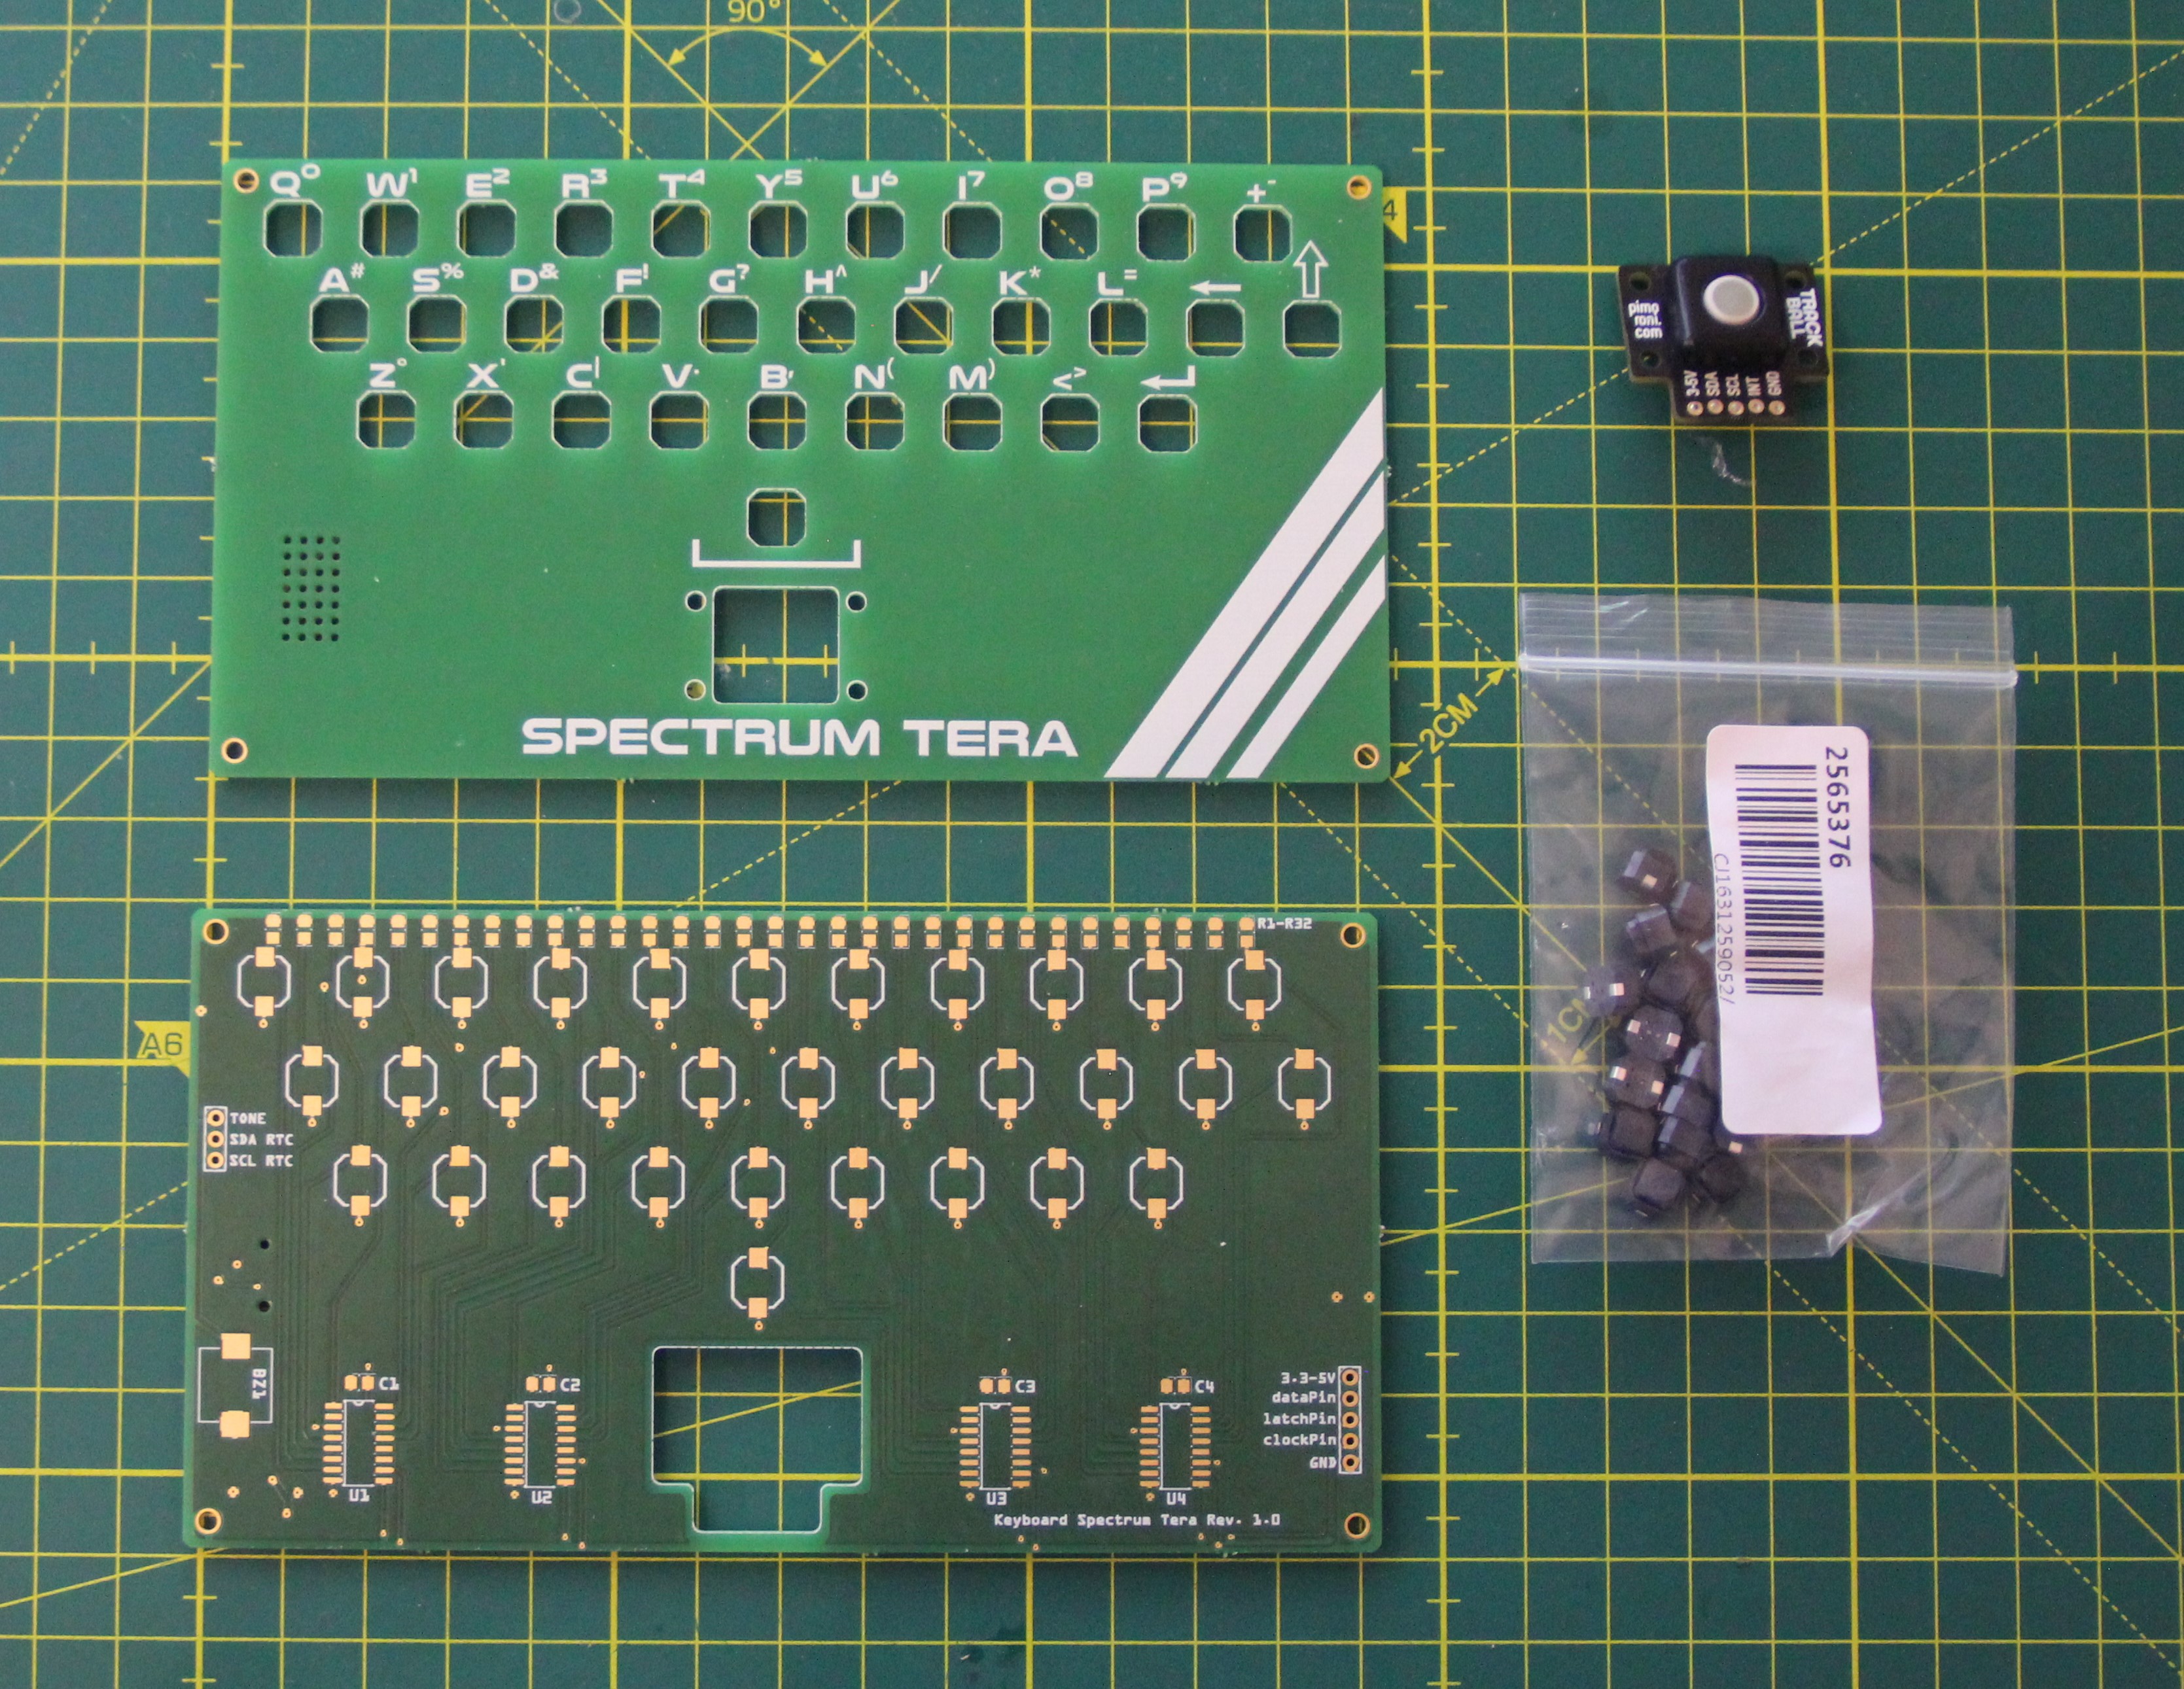
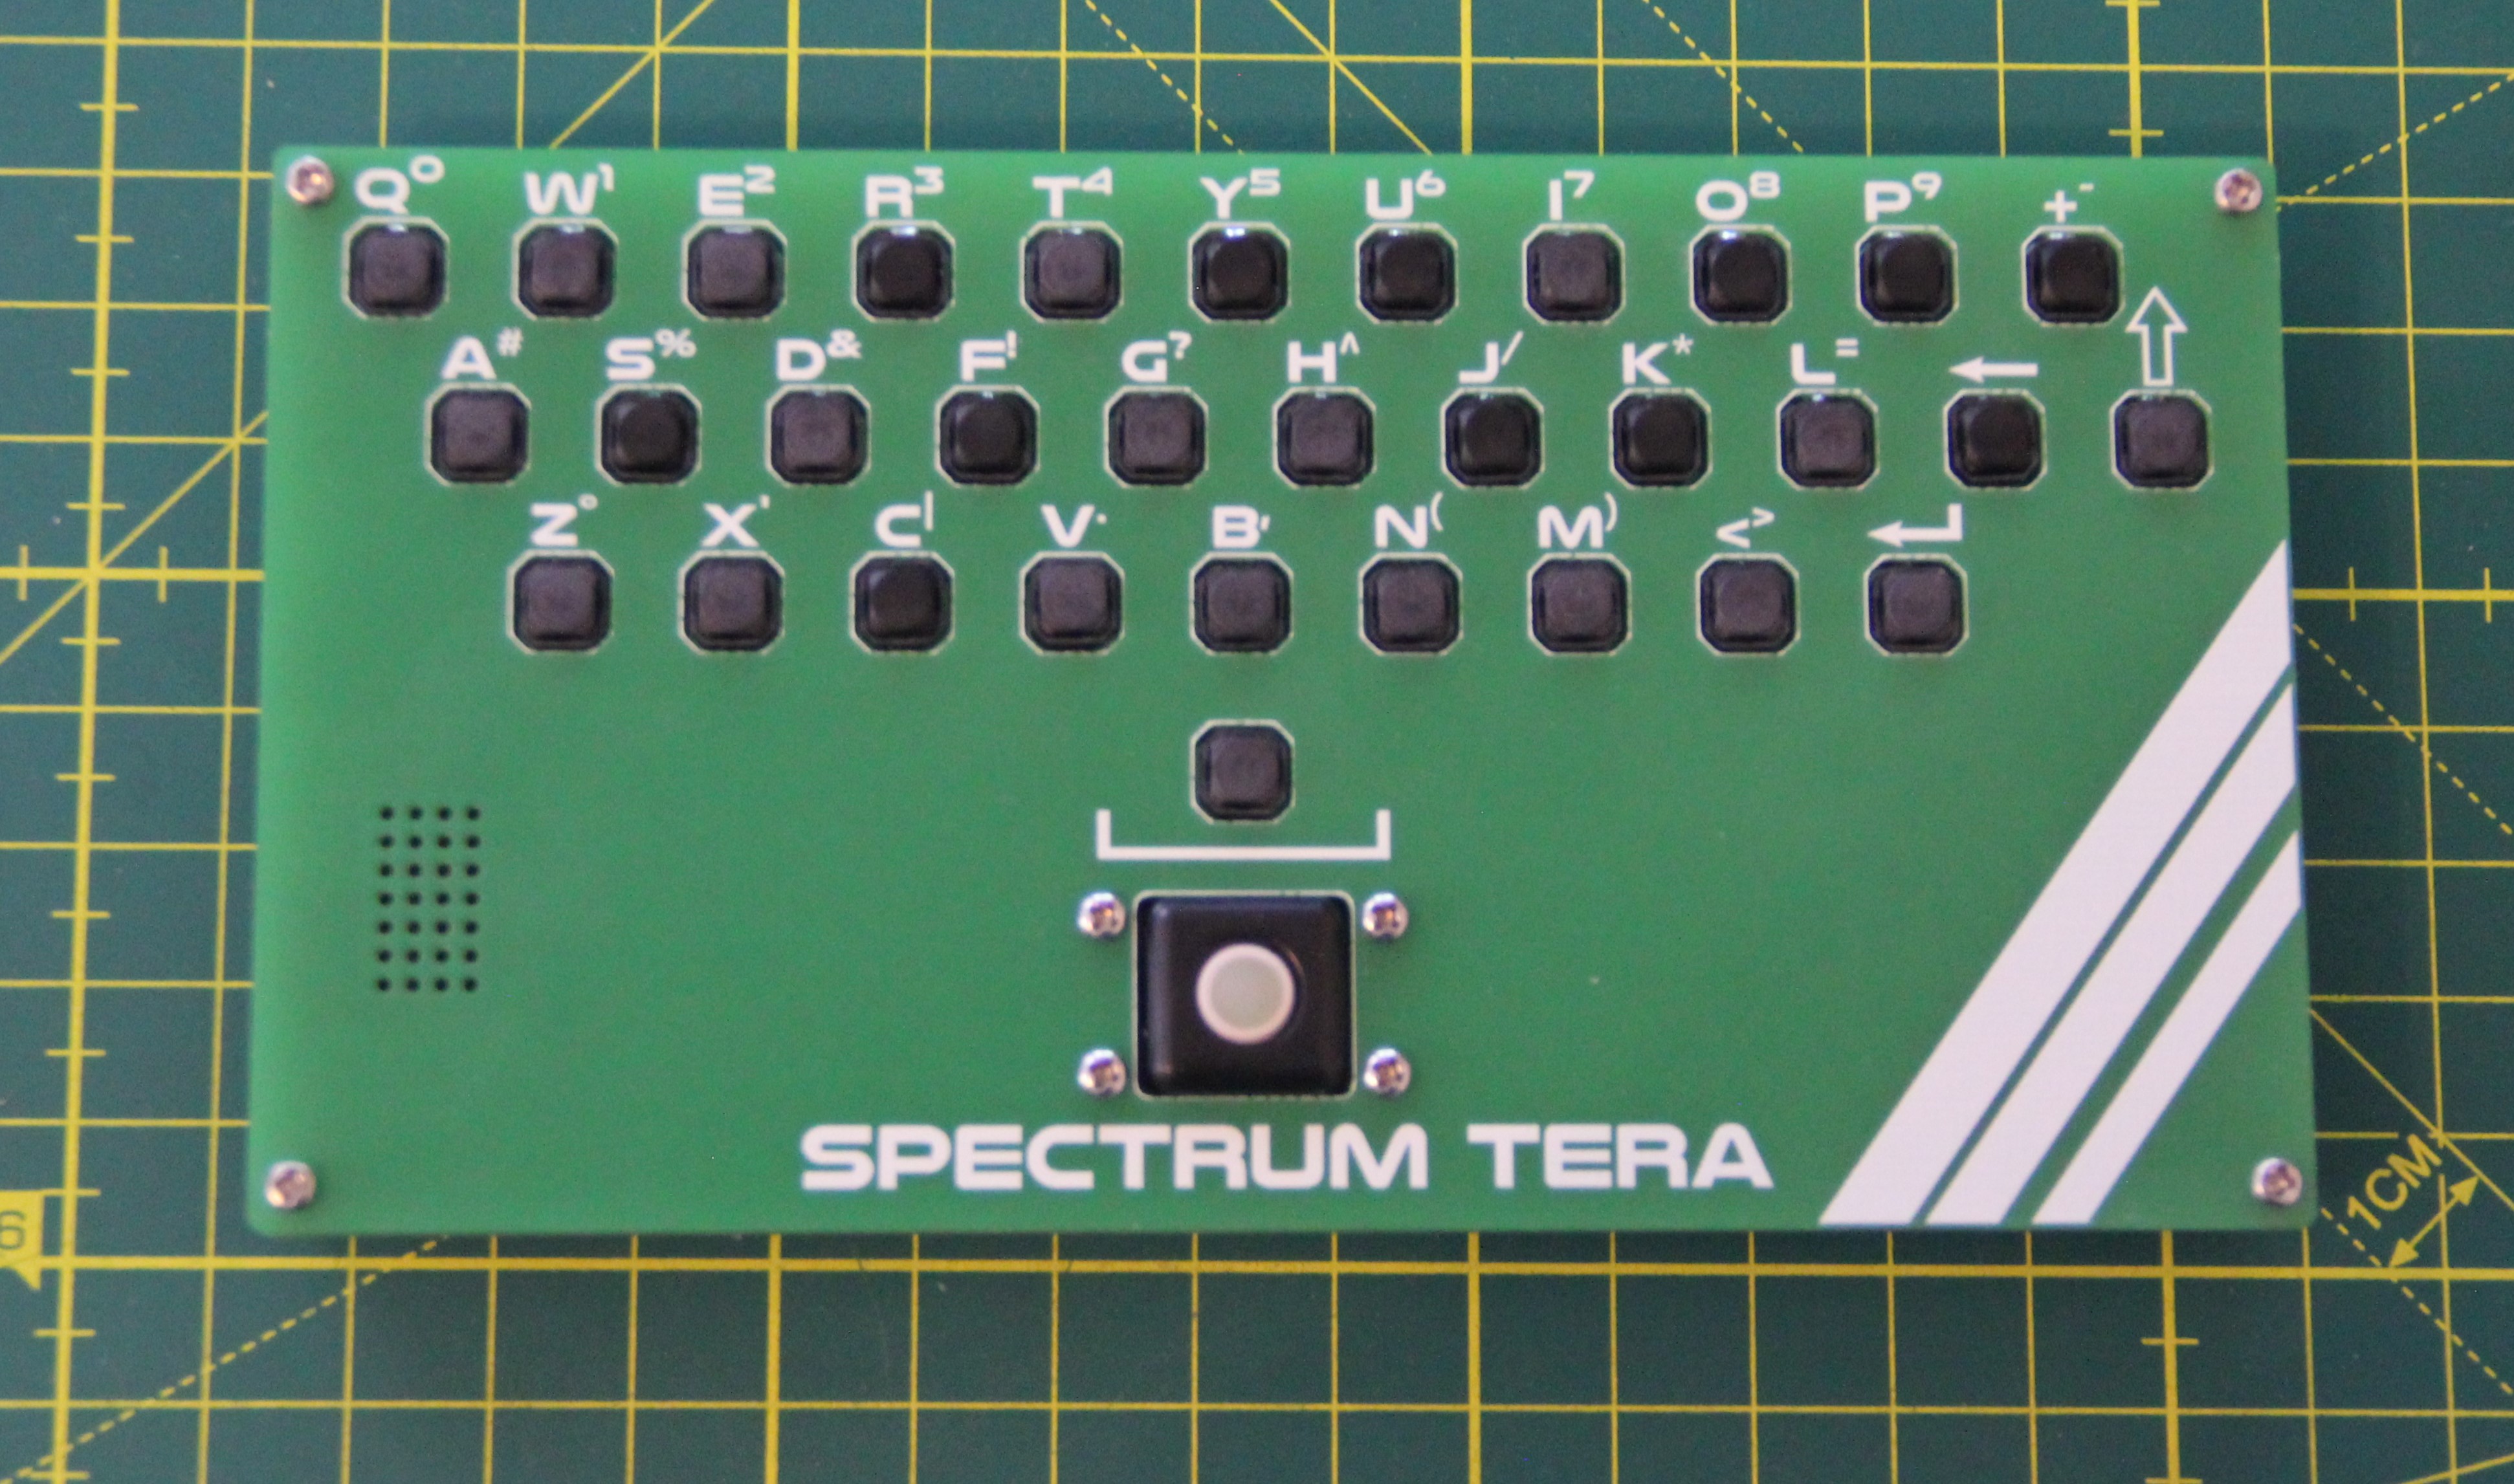
In the first step, I designed a 32-key keyboard in the classic QWERTY format, based on shift registers. For this, I found SMD tactile switches that have a nice feel, are rubberized, and don't wobble like these ordinary push buttons. Besides that, the keyboard features a mini trackball, a piezo buzzer, and a DS3231 Precision RTC plus a coin cell holder. The keyboard is a sandwich construction. The upper PCB actually only has the cut-outs for the buttons and the trackball and silkscreen with the key labeling. All electronic components are on the lower PCB. The supply voltage is 3.3-5V, so the keyboard can be used universally.
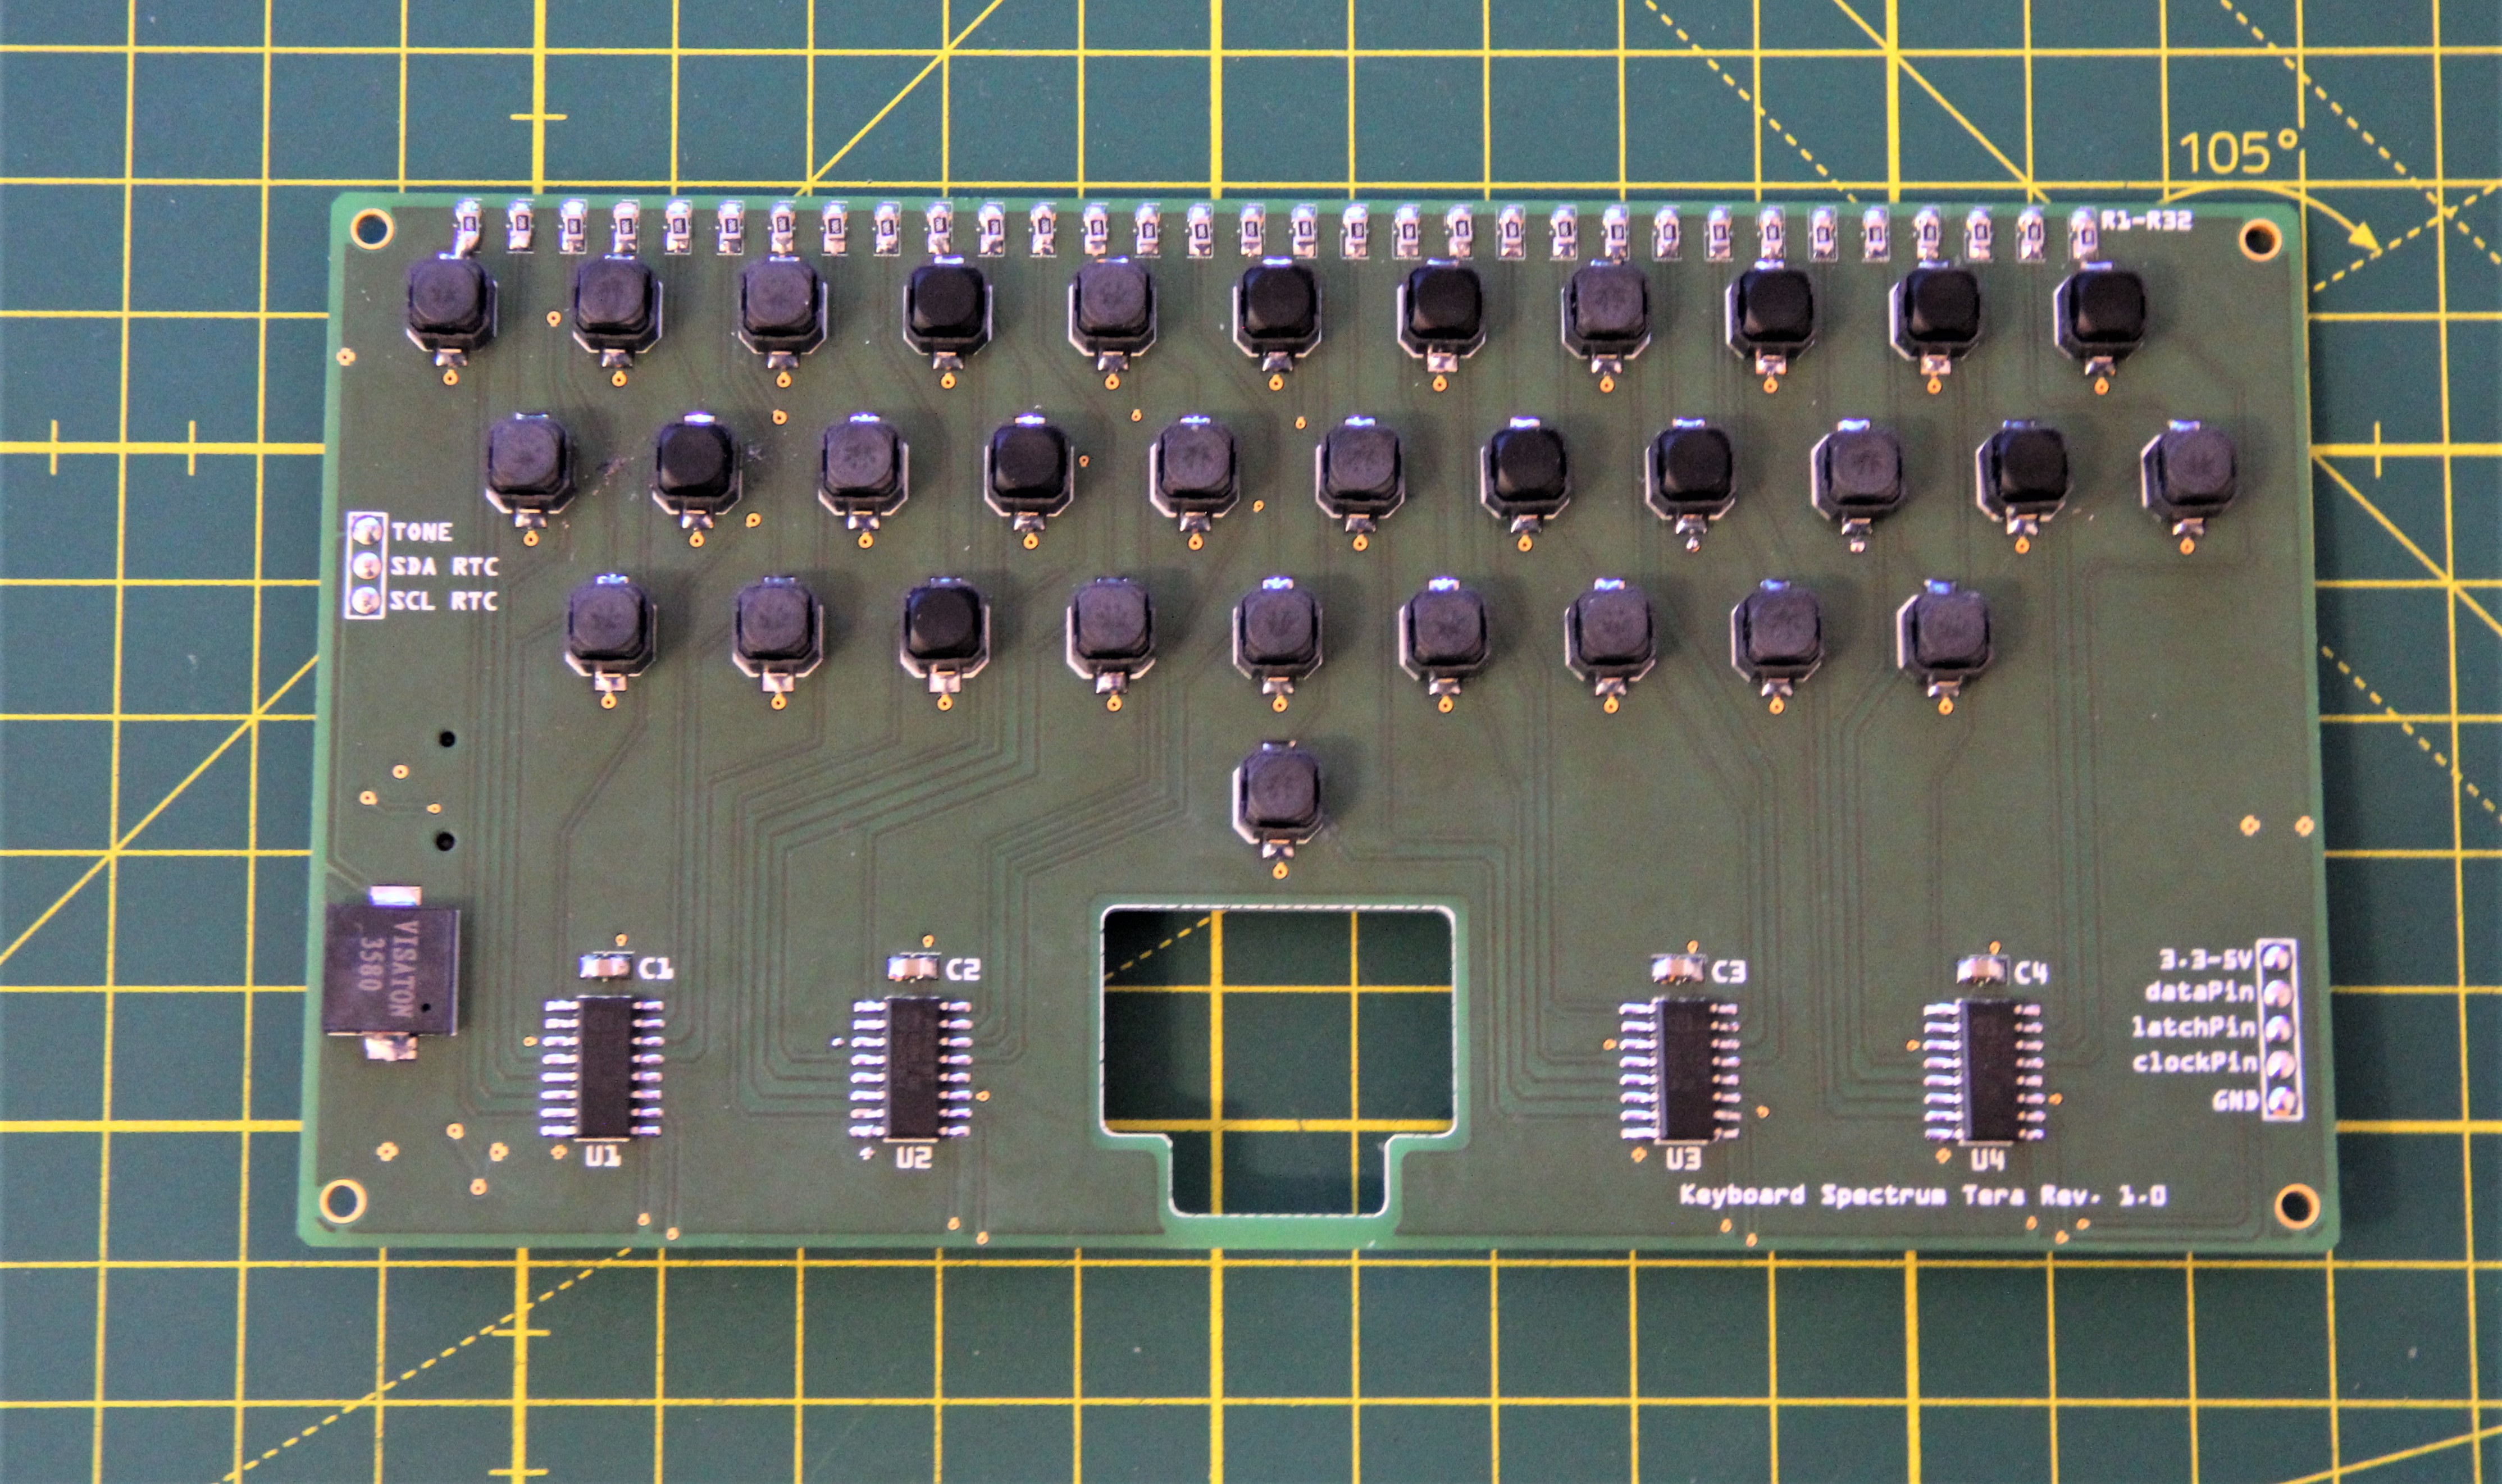
Let's take a look at the top of the populated board. There are the 4 CD4021 8-stage static shift registers located, of course, the 32 tactile switches, the 32 pull-down resistors, and the SMD piezo buzzer.
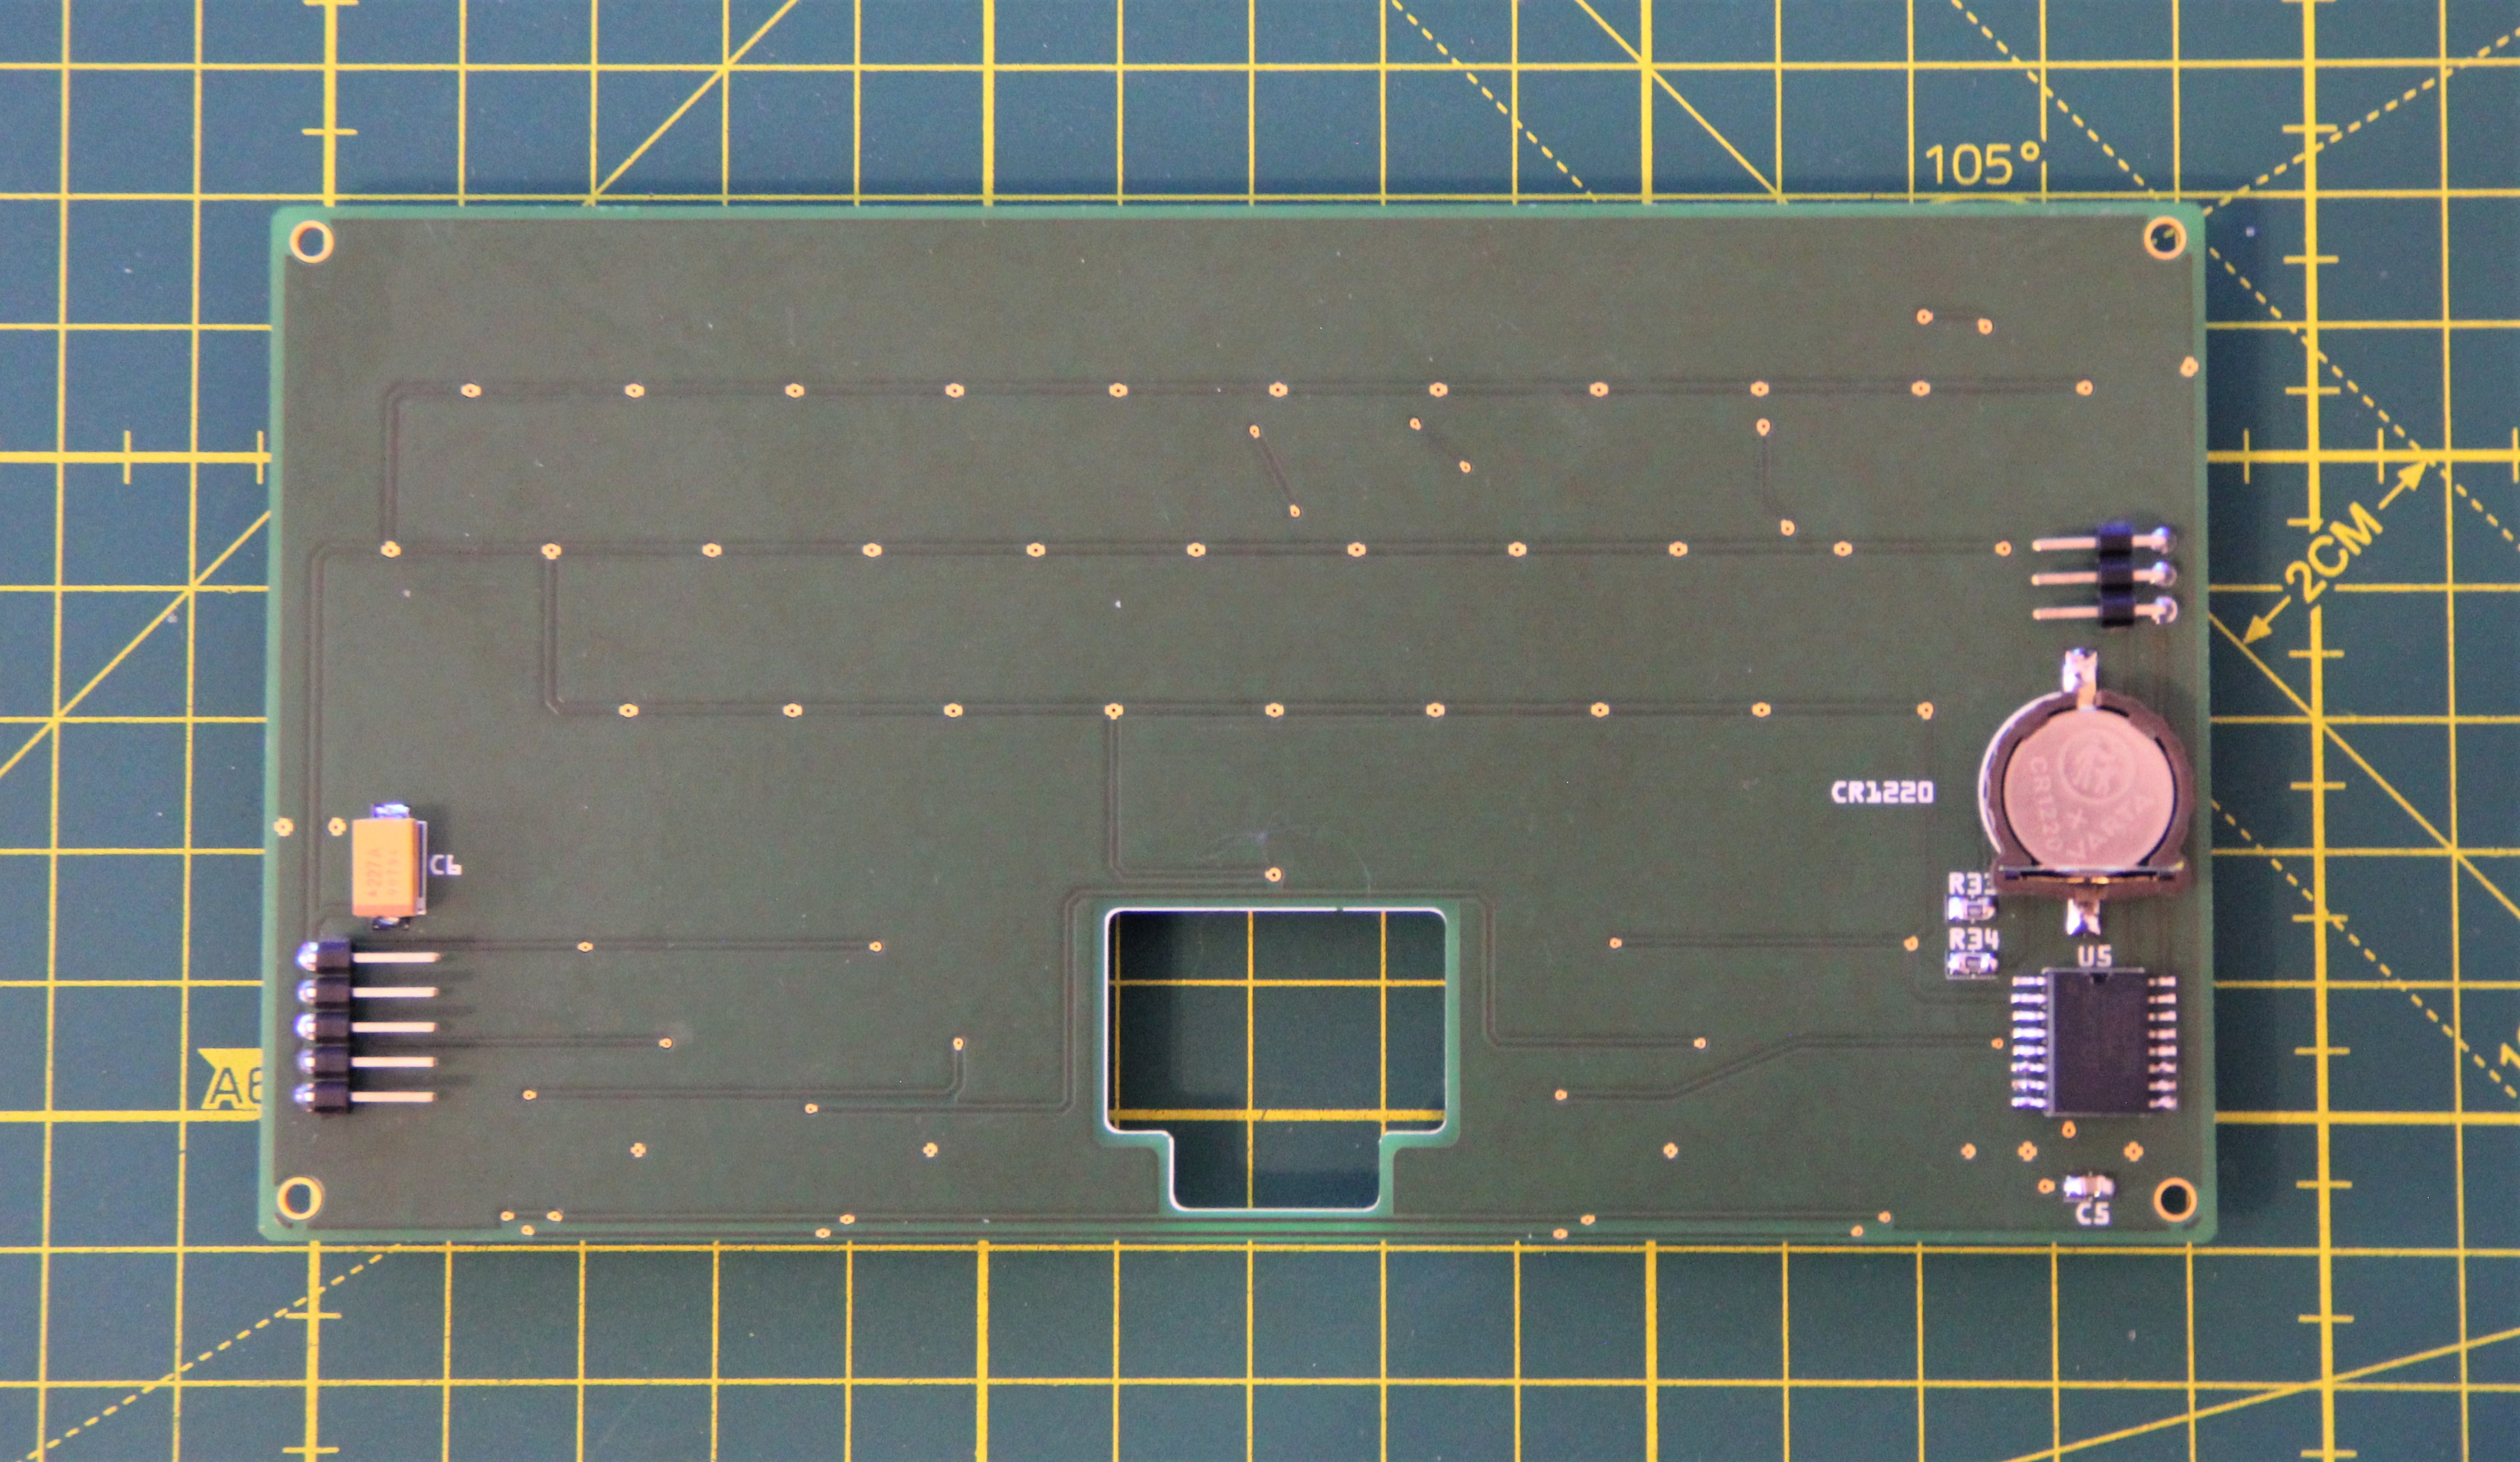
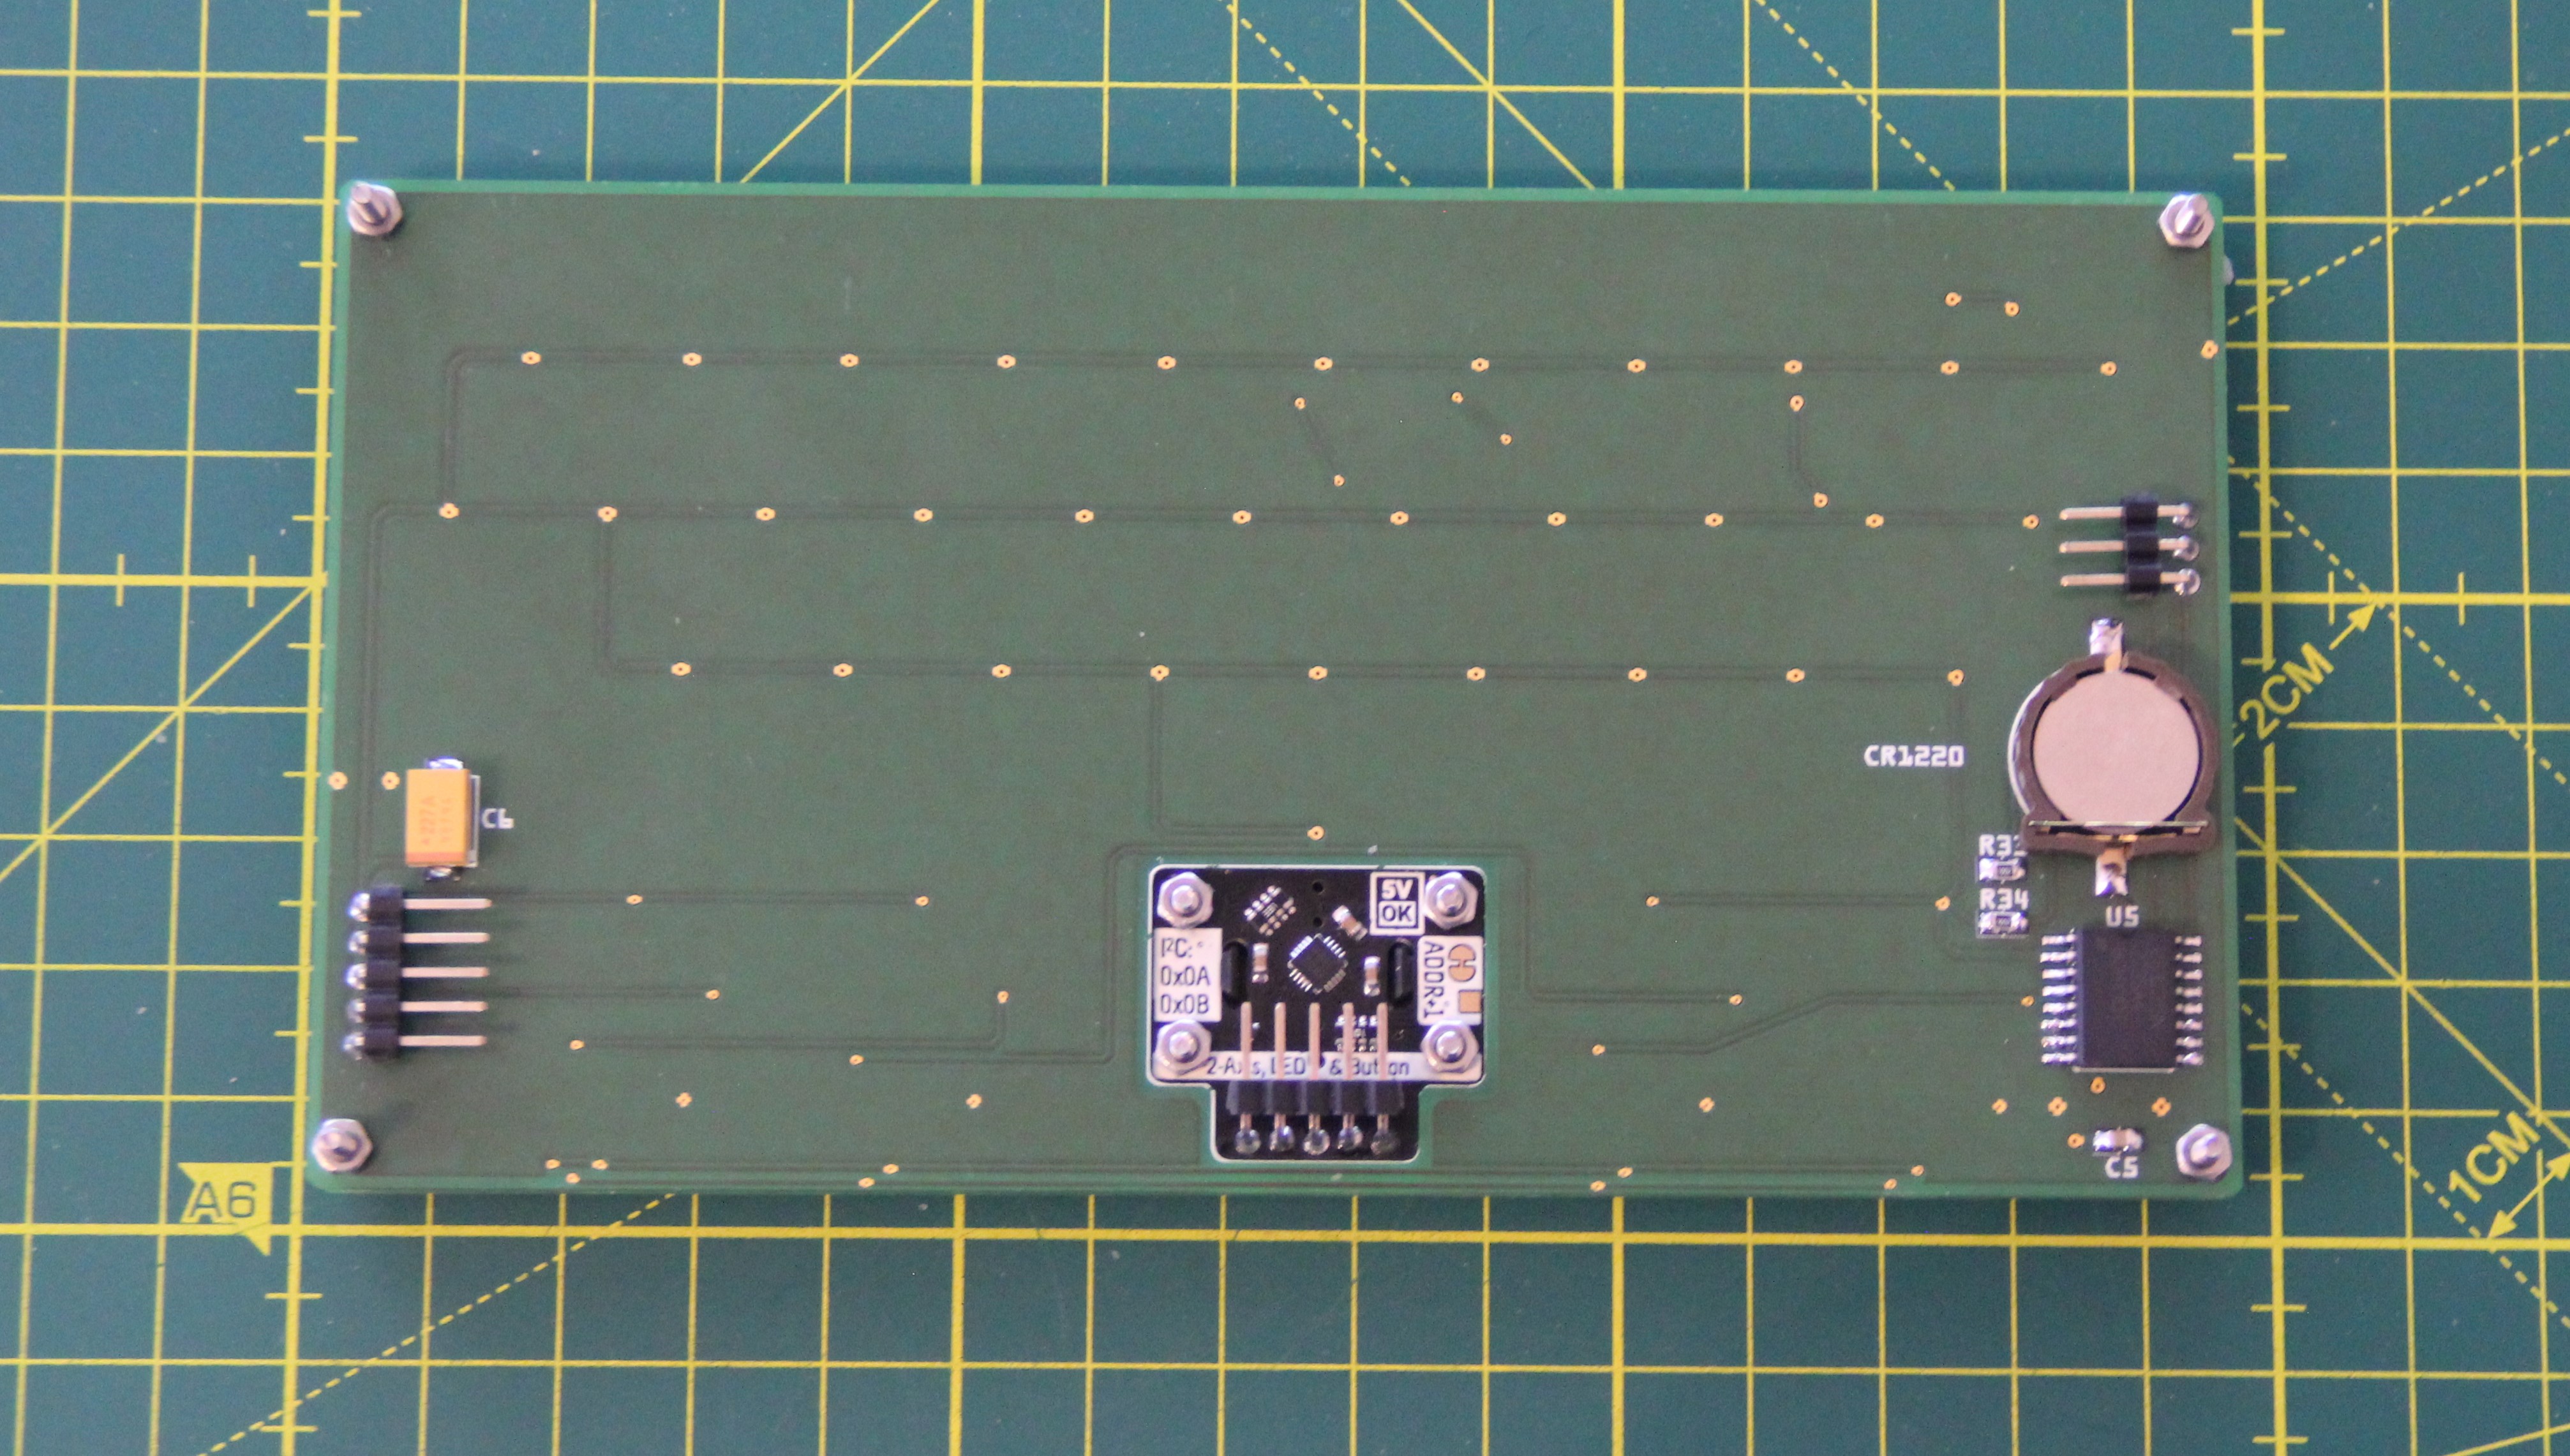
On the bottom side of the board the RTC, the coin cell holder, and the connectors are located.
I will not go into detail here about how shift registers work. There is a good Arduino CD4021B shift registers tutorial for this. For completeness here is the schematic for the keyboard:
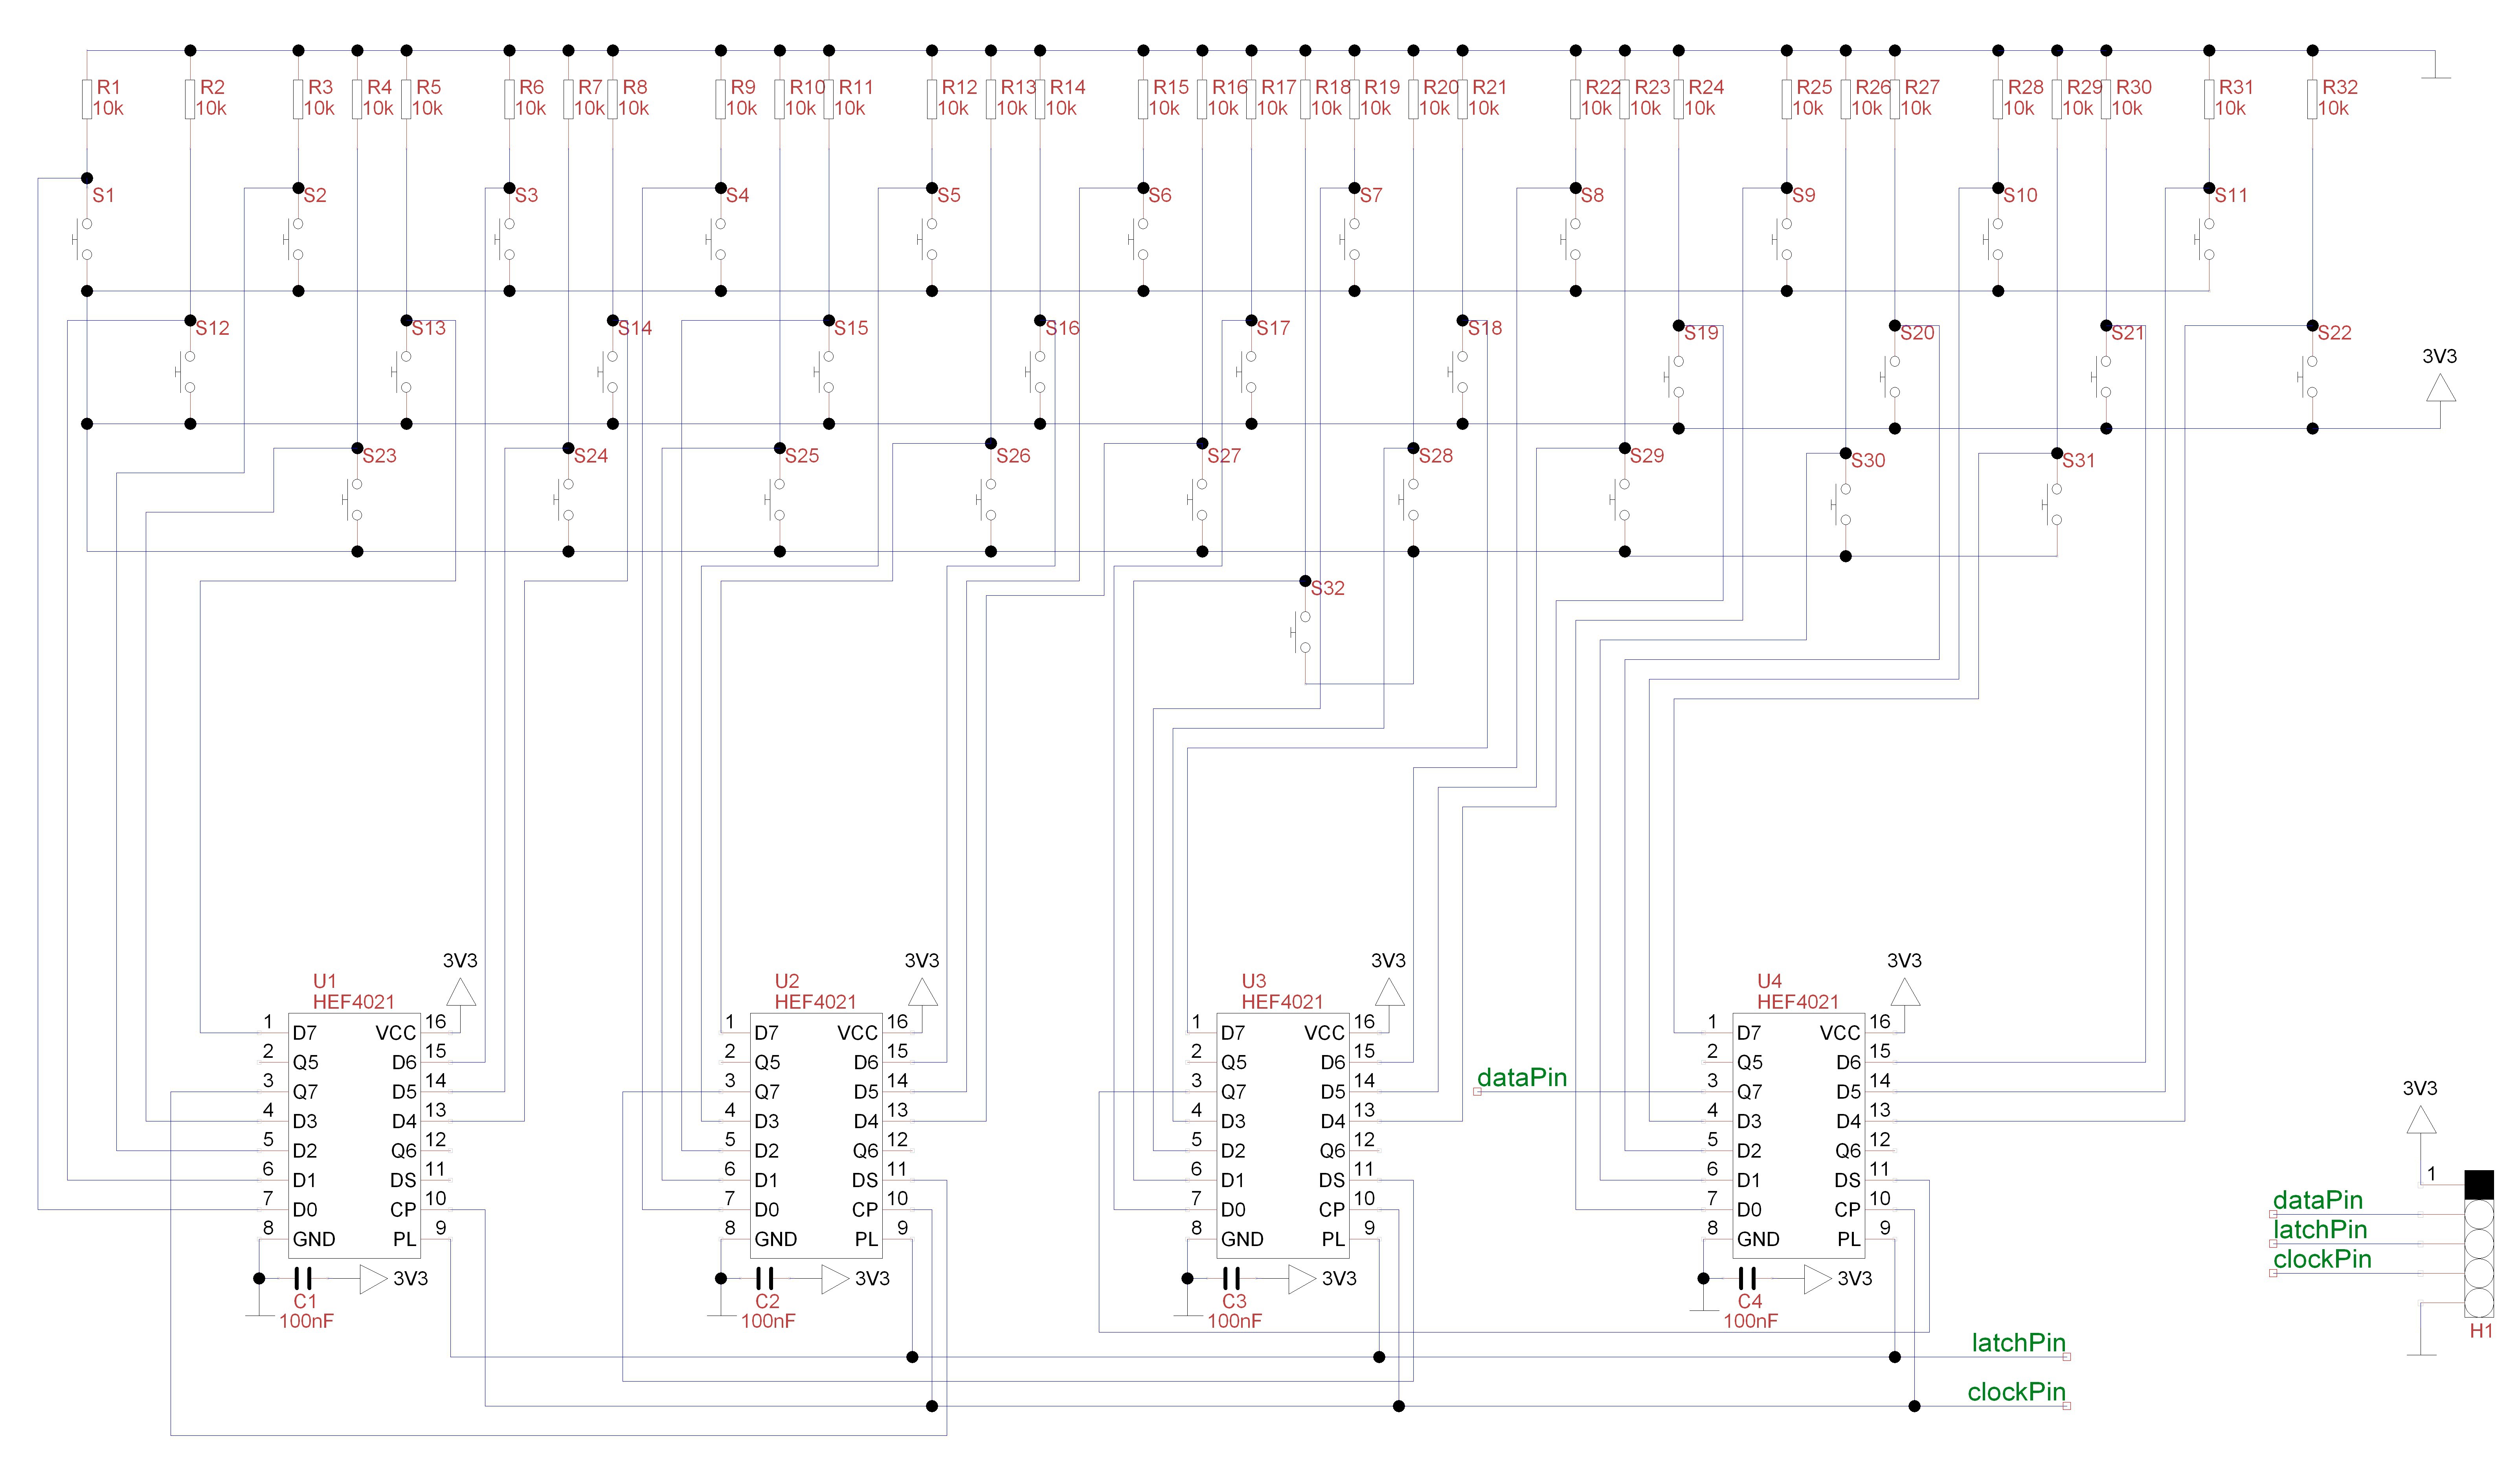
The keyboard is assembled with eight M2 x 10mm screws. The trackball includes an RGB LED. I can use this for example when the SHIFT key is activated.
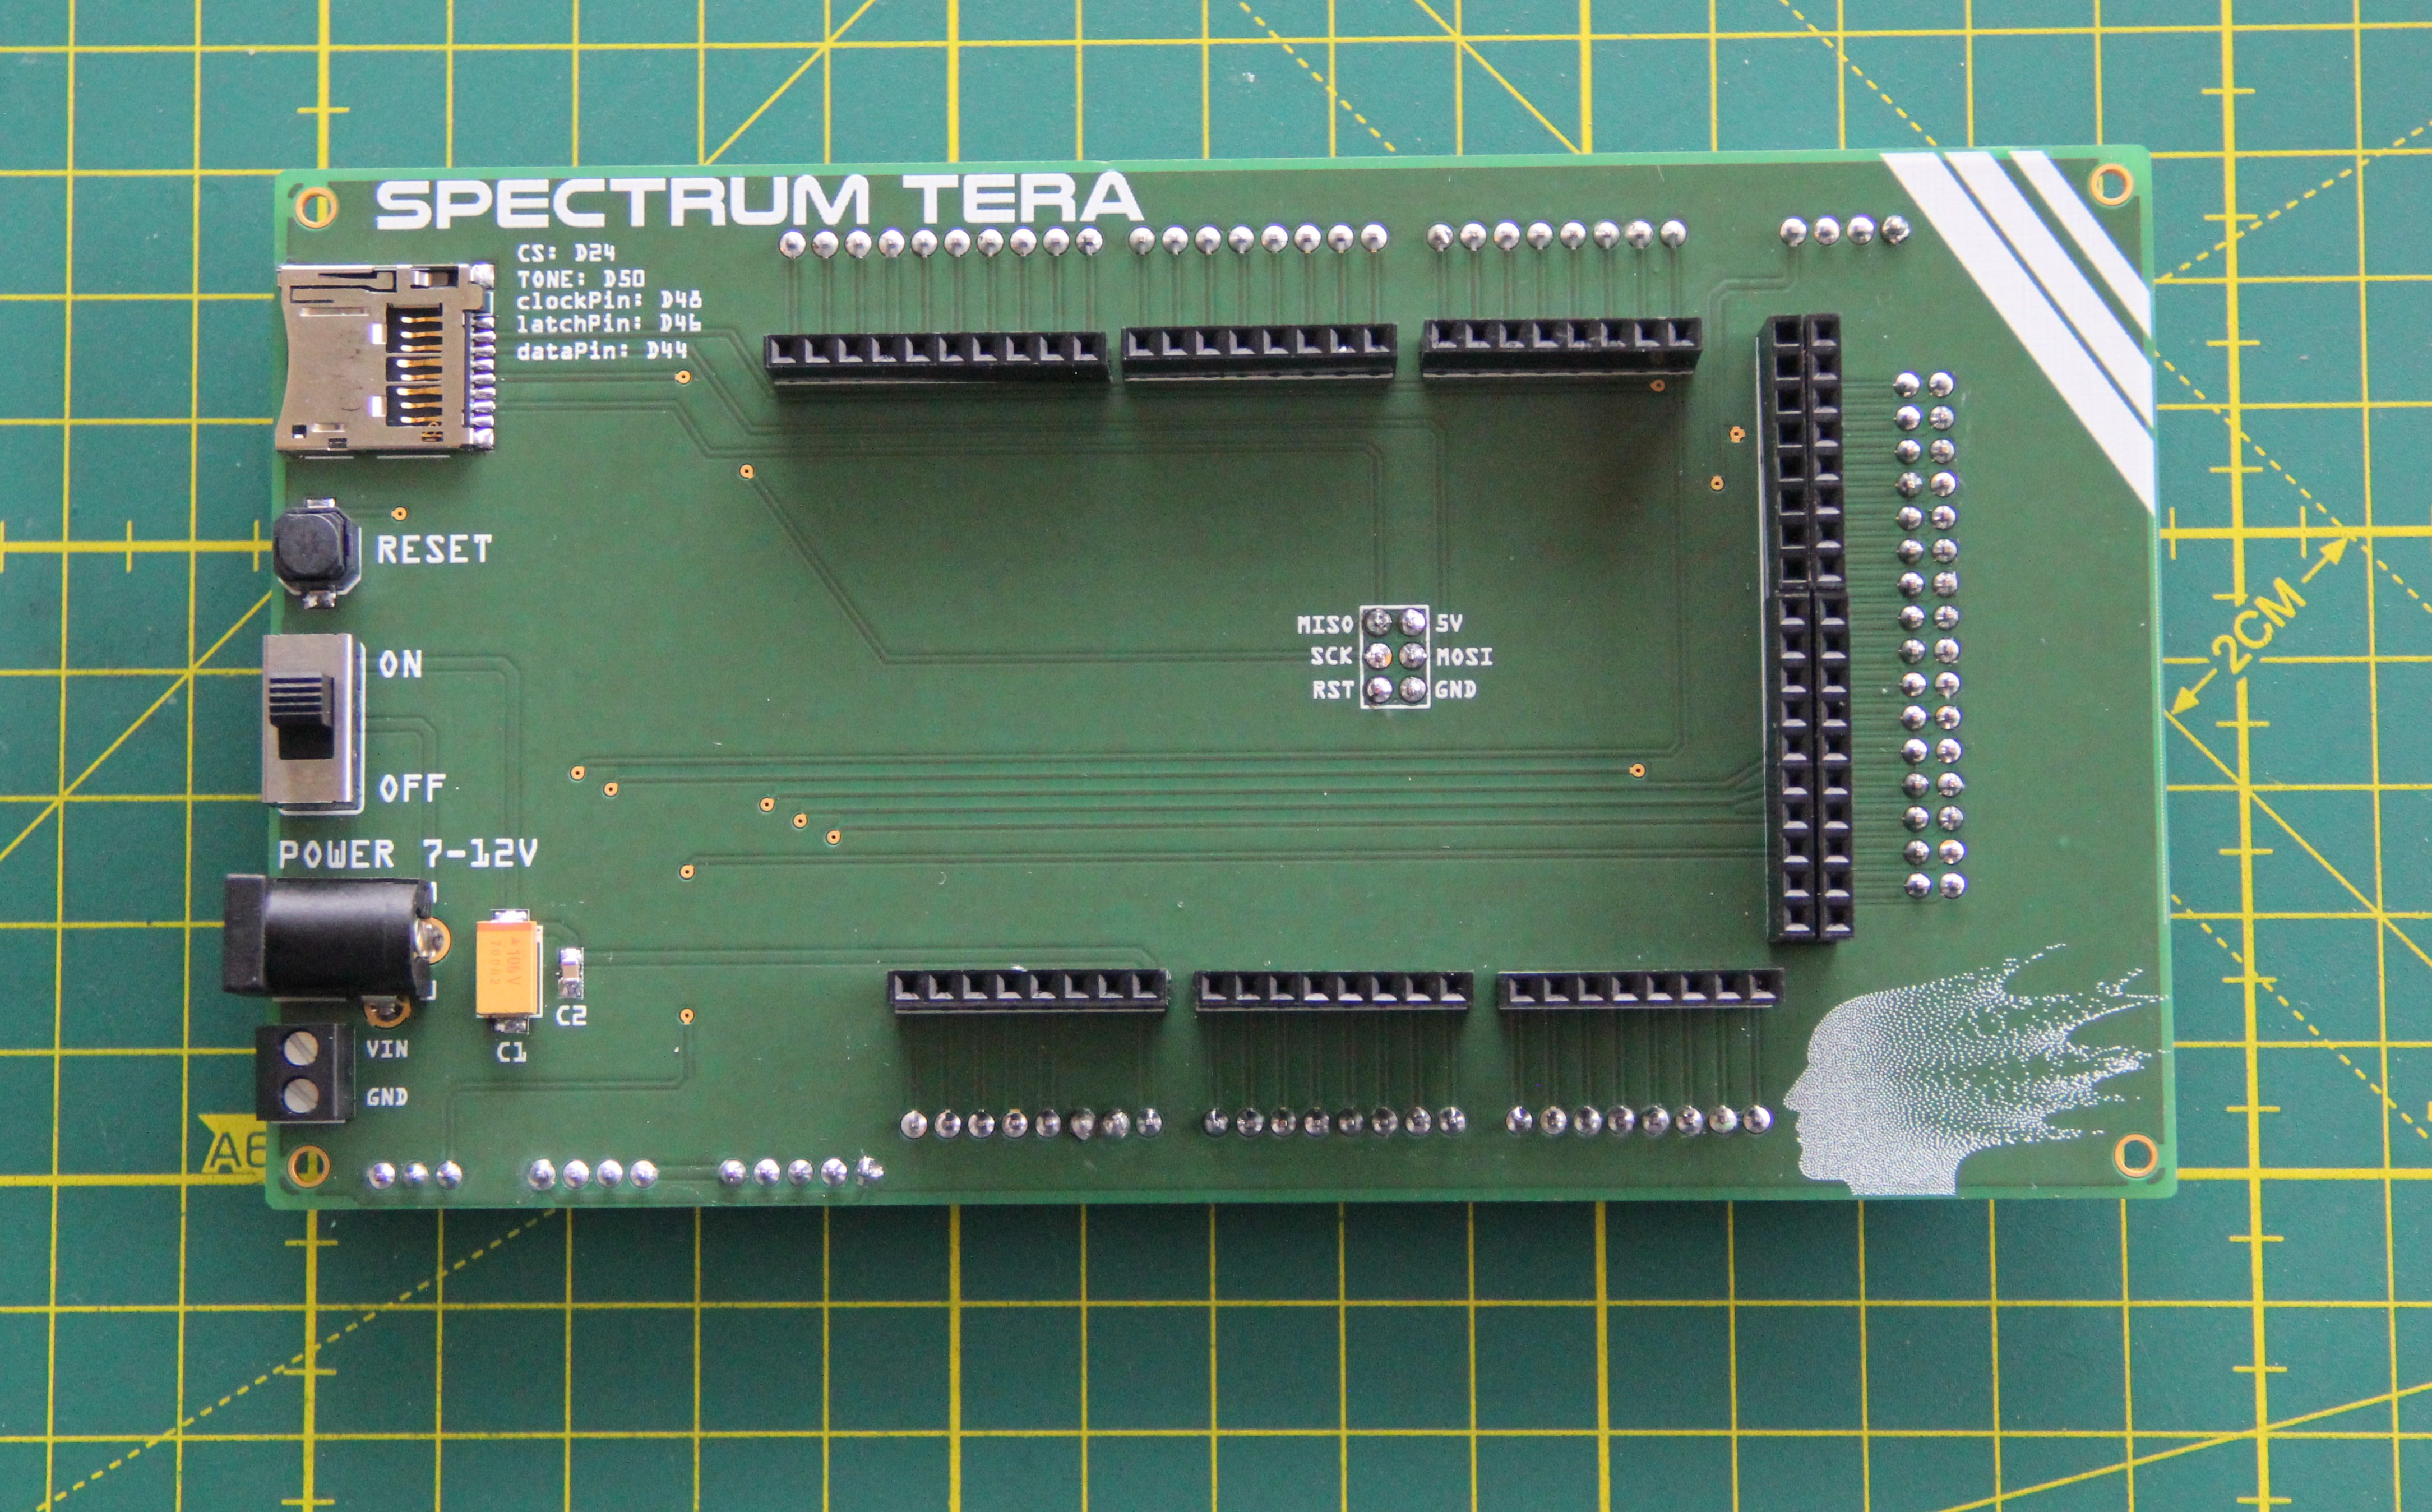
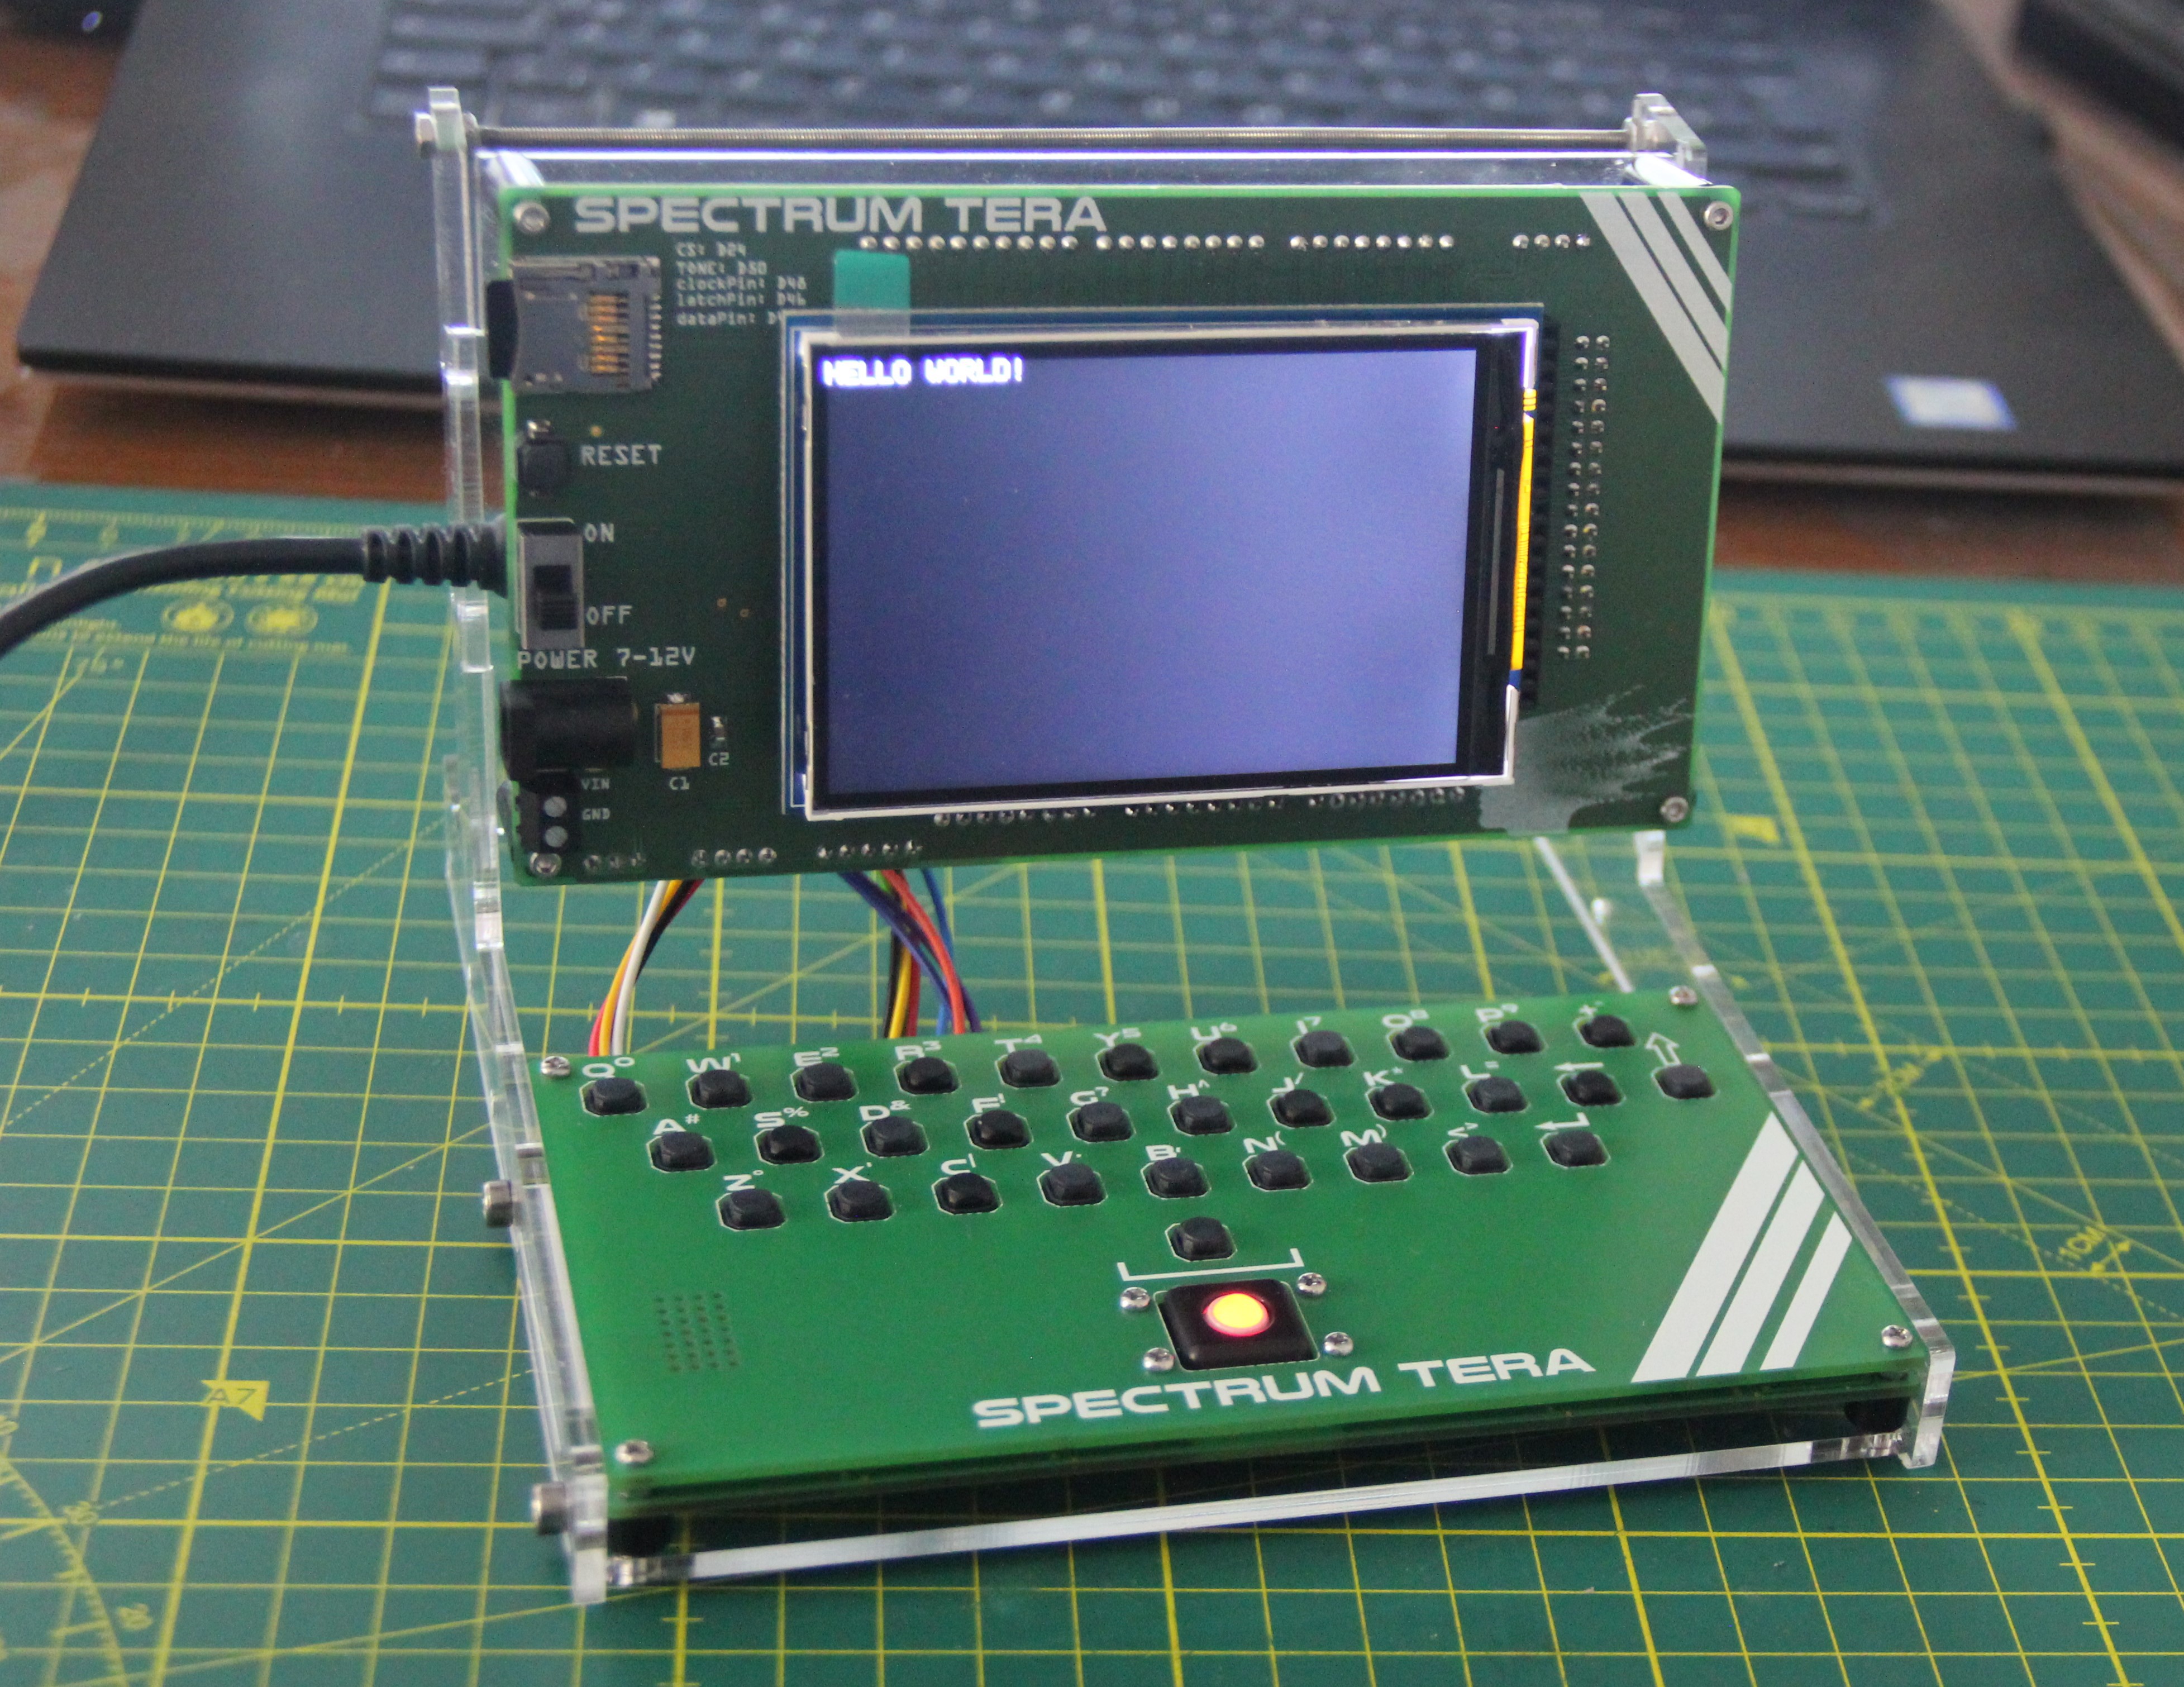
Since I still have an Arduino Due and a 320 x 480 TFT shield lying around, I decided to build a small computer, a kind of console, through which you can communicate with the machine. The main brain of the robot will probably be an Arduino Portenta.
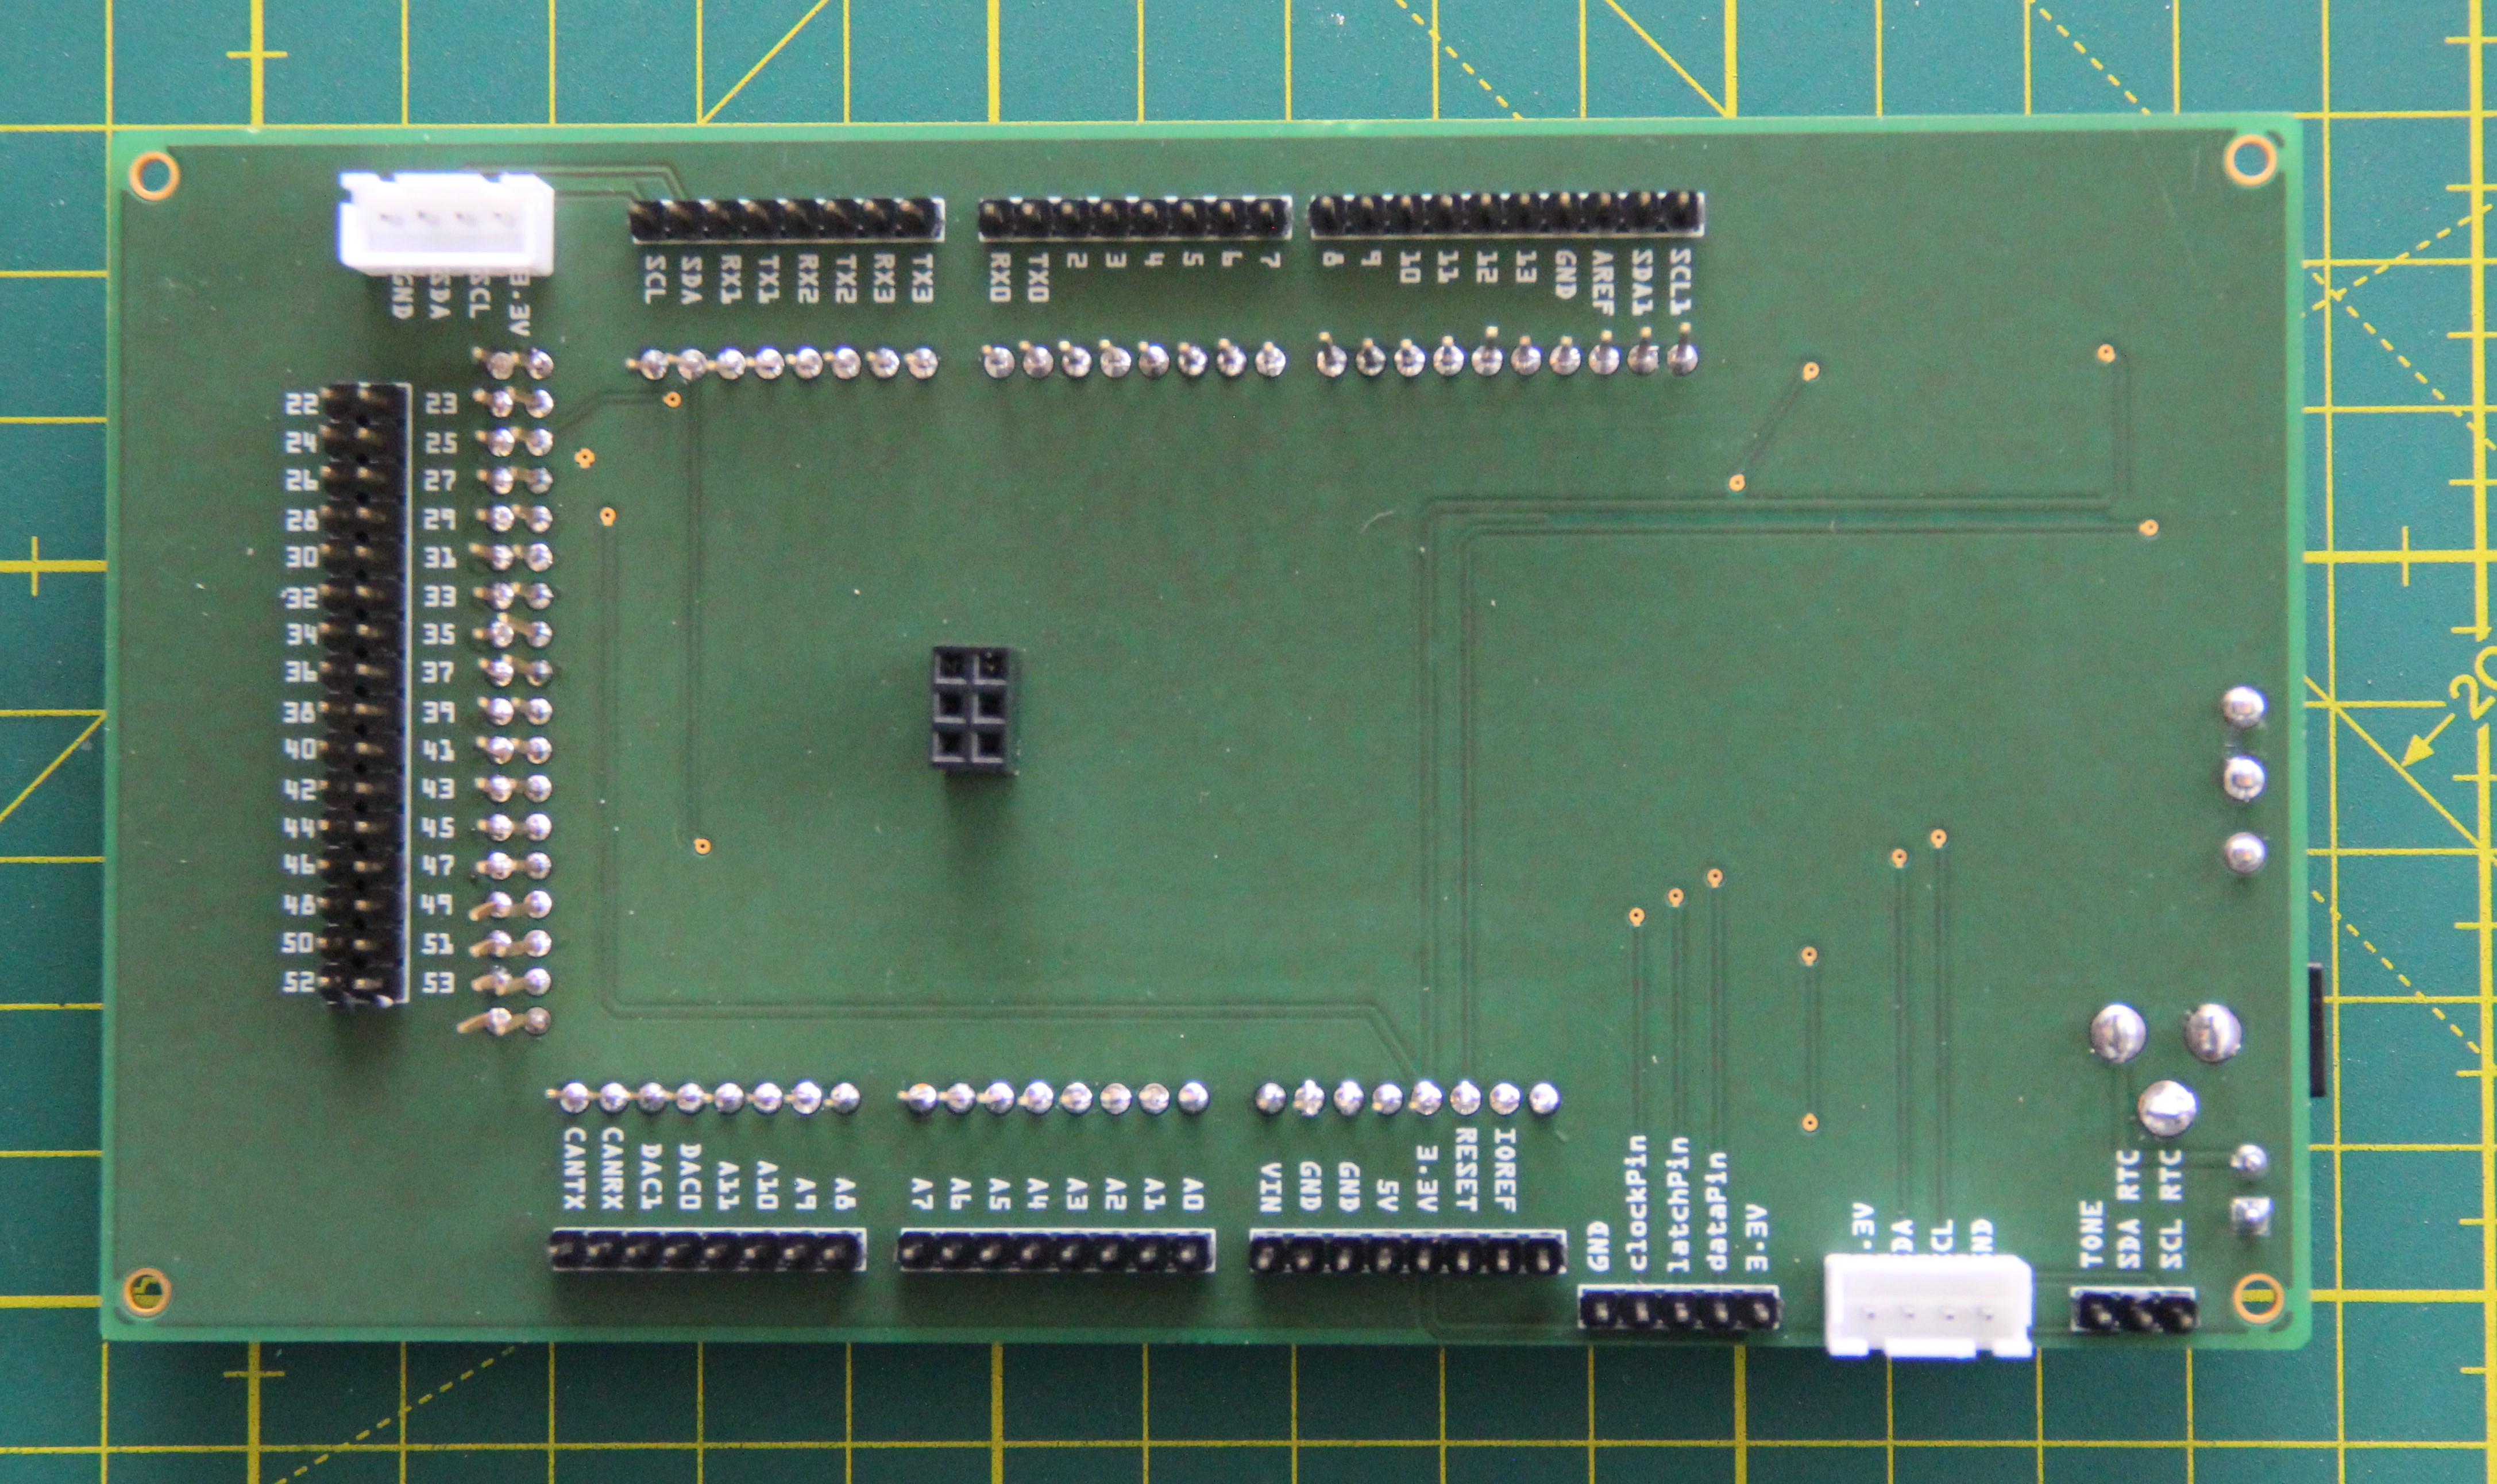
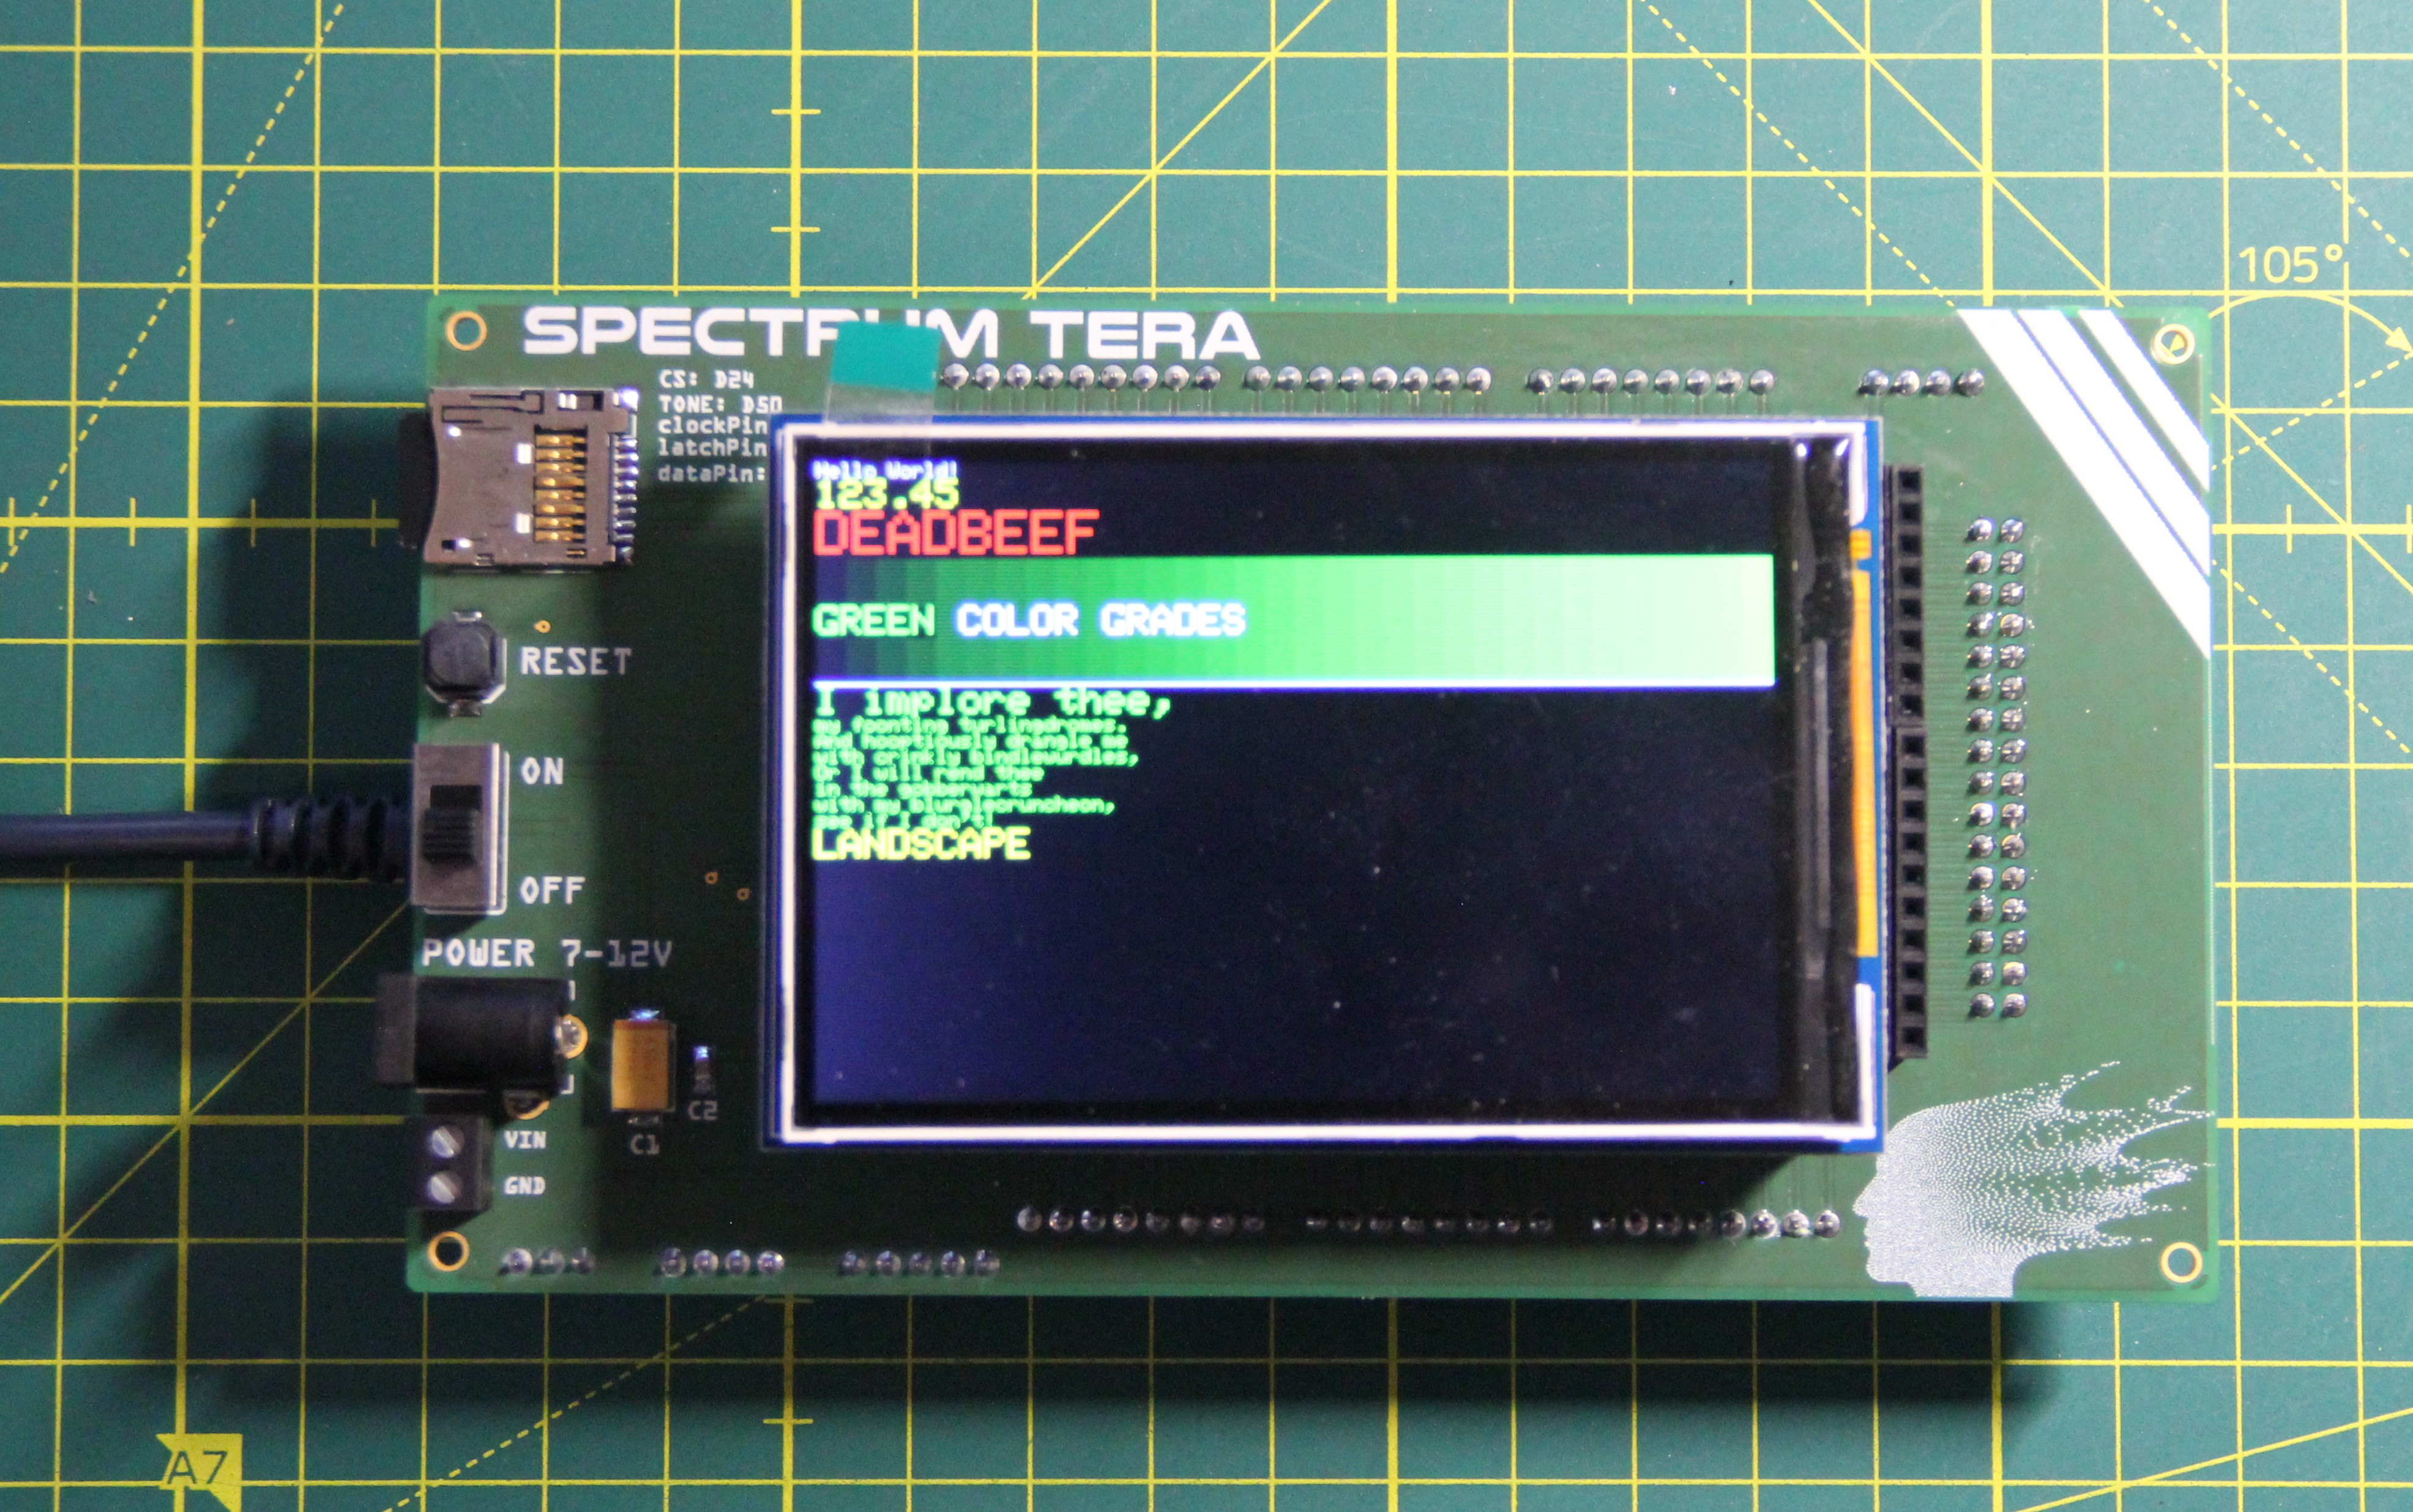
The corresponding PCB I designed, therefore, is a shield for the Arduino Due and the TFT display, with all broken-out pins and additional connectors, an on/off switch, a reset button, and an SD card connector.
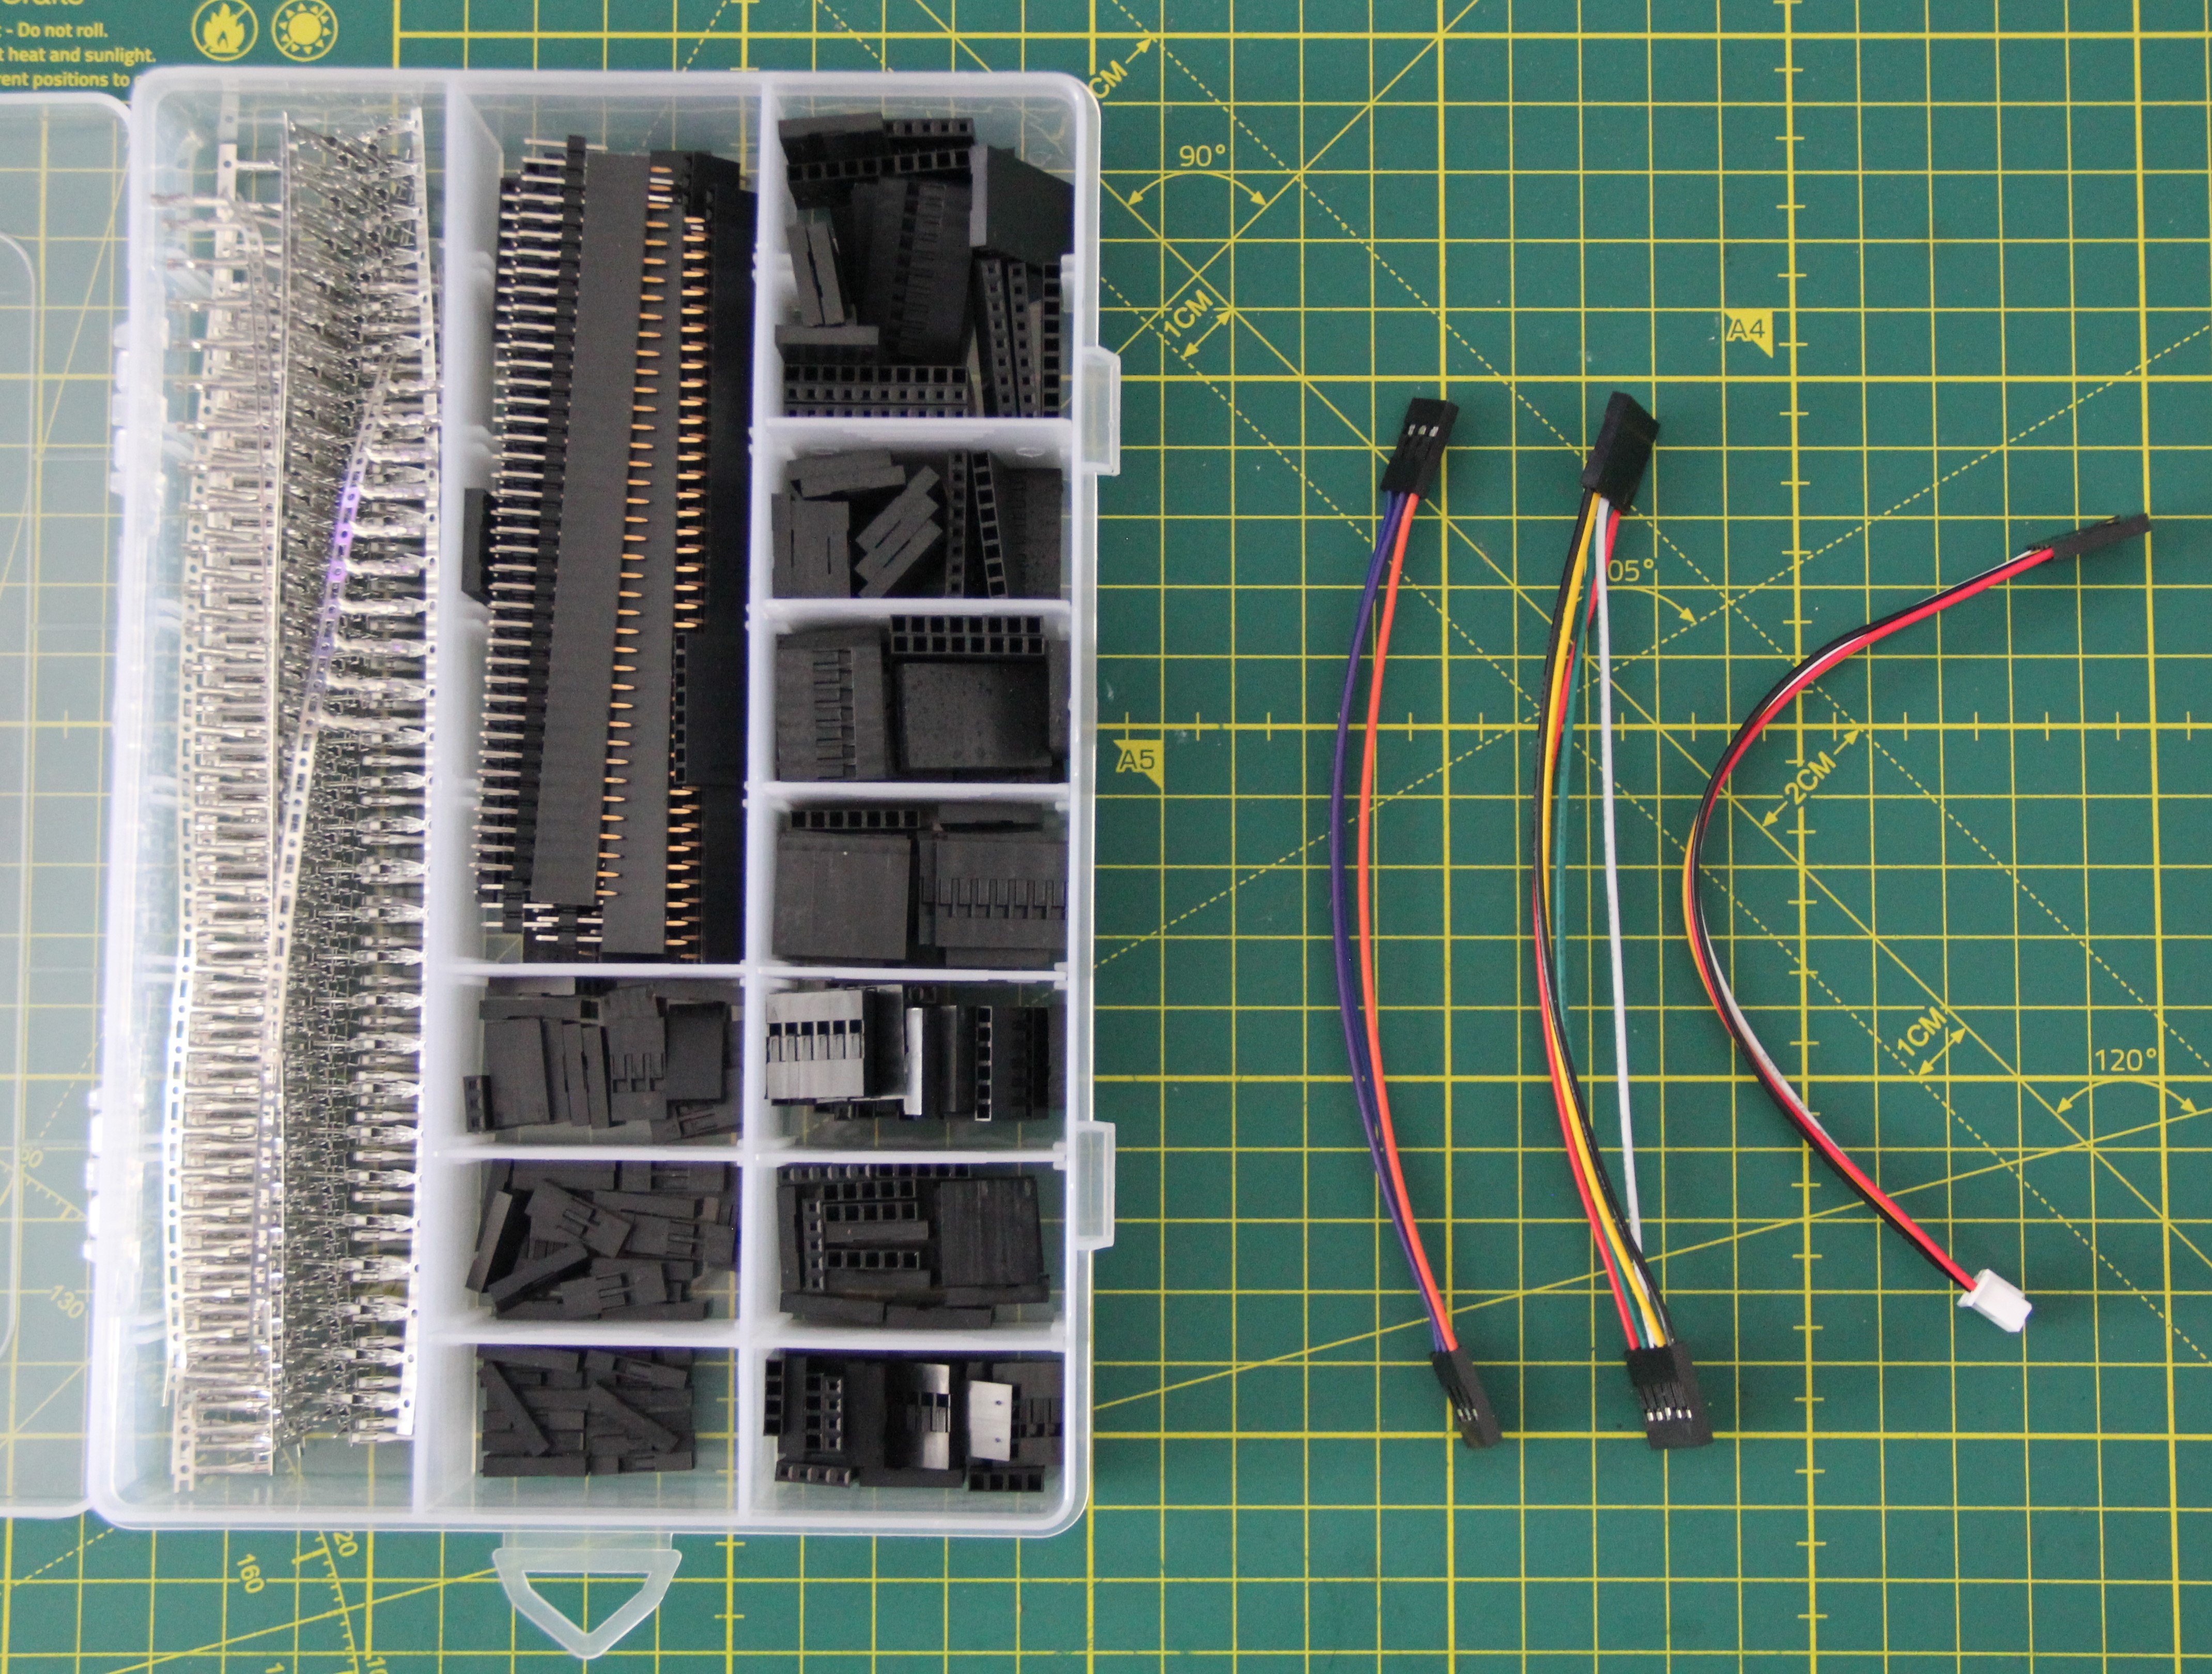
To connect the keyboard to the main board, I made custom cables with connectors.
May 2023
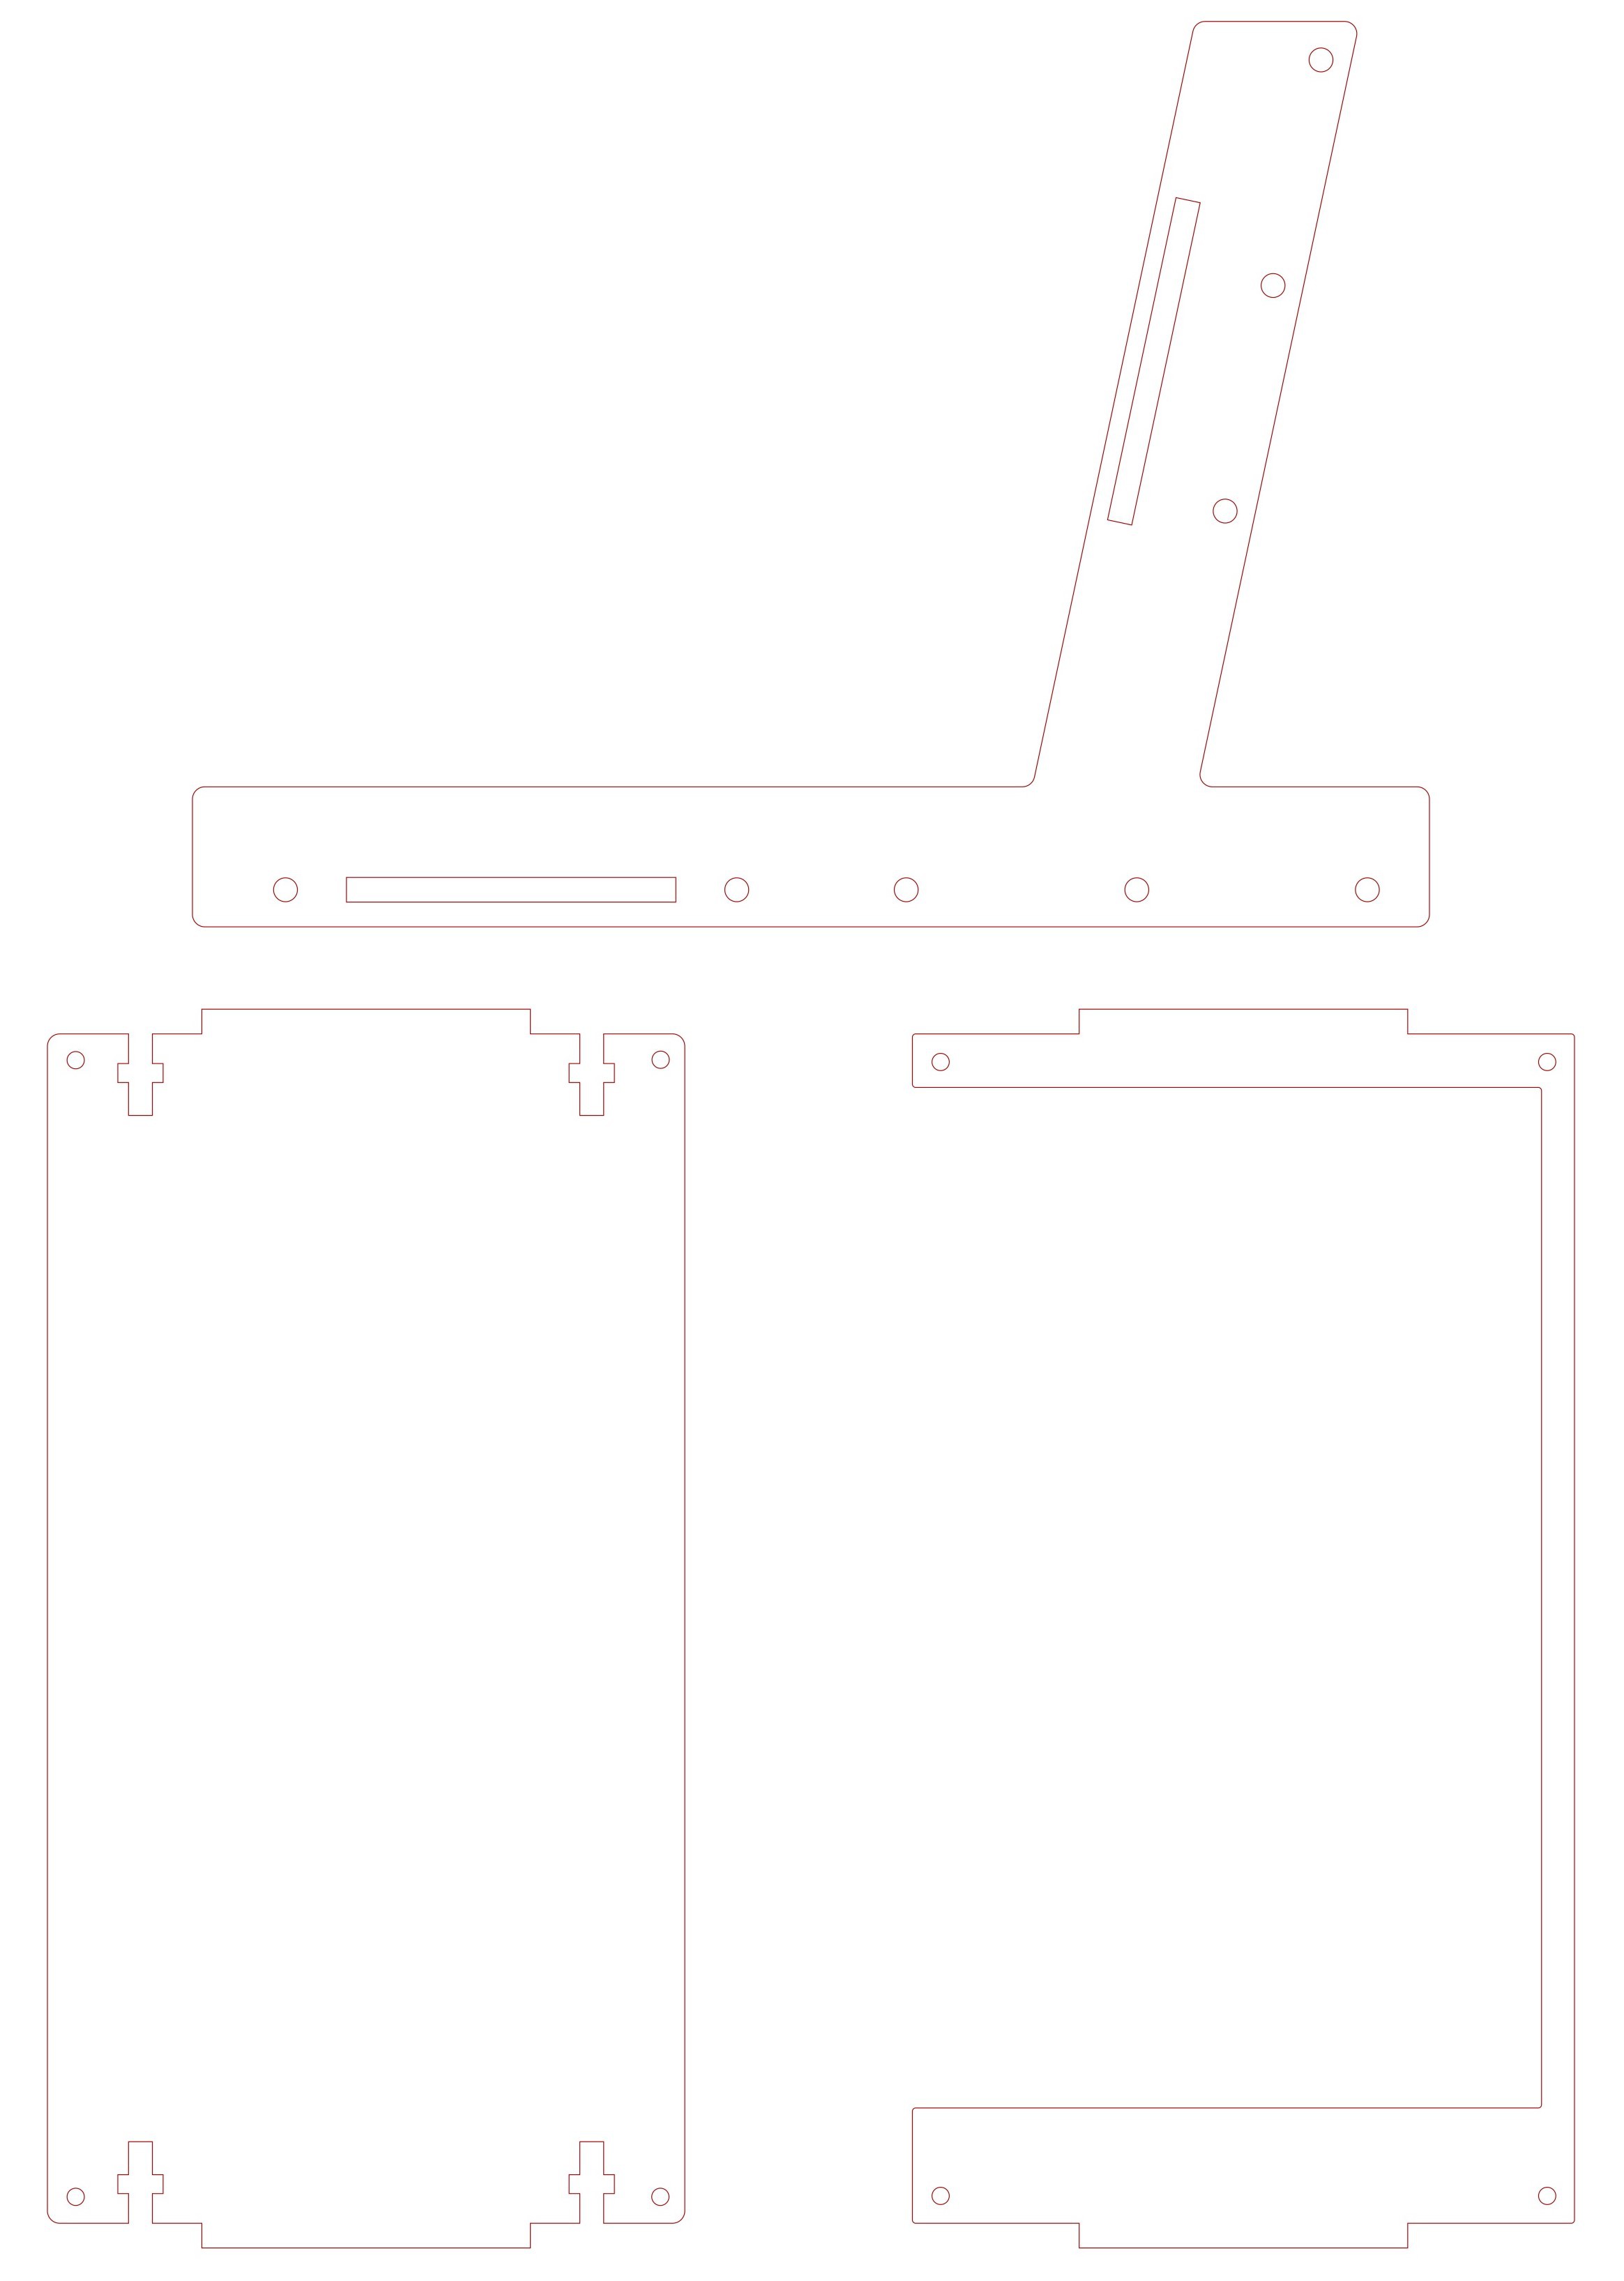
To hold the keyboard and the monitor in place I designed a laser cut case in Inkscape.
Completely assembled unit:
 M. Bindhammer
 thpoll
 deʃhipu
 Sagar 001