 Johan Cronje
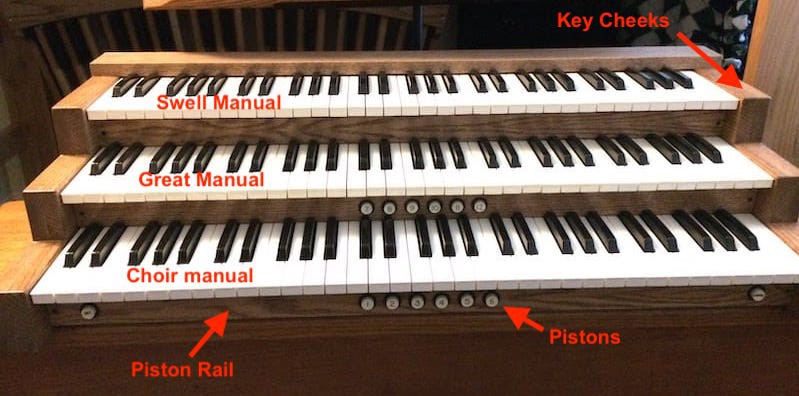
Building the manual console was a project on its own! The plan was to build a 3 manual console, so Choir, Great and Swell manuals, from lowest to highest. All dimensions for the console are based on the American Guild of Organists Standard Console Specifications. A PDF document describing these standards is available from the file list on the main project page.
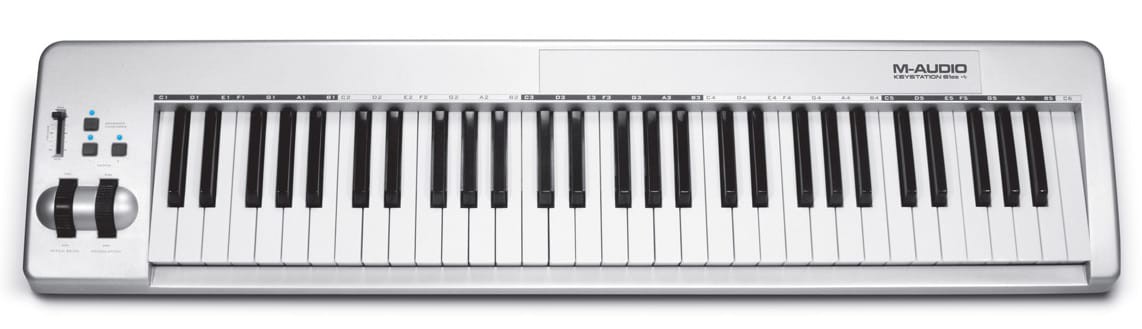
We scoured Craigslist for months to find three M-Audio KeyStation 61es (61-key MIDI) keyboards. These are pretty cost effective, but in hindsight noisy and not great quality. May be worth spending more to get quality keyboards.
Unfortunately, I lost all the pictures I took while adapting the keyboards to fit in the console. I removed the main key section and the PCB from the case. The case and controls on the left are not used. The keys were mounted directly to the top of shelves in the console (detailed below) and the PCBs mounted on the bottom of the shelves. 9V power is supplied directly to each keyboard from the main Power Supply module.
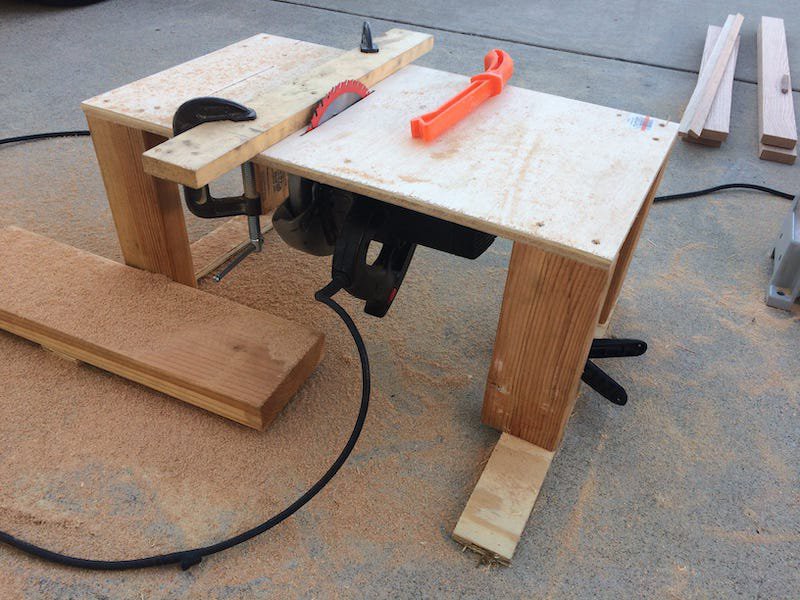
For the console sides (or key cheeks) I used 3/4" white oak planks that I got from Home Depot. Armed with rusty high school woodshop skills and a hacked together table saw using an old Skil saw, construction commenced. I cut and laminated the oak planks together to get a more substantial key cheeks. I used 3/8" plywood for the shelves the keyboards rest on. I also cut and glued some more oak strips for the piston rails between the keyboards. All limbs remained intact, I'm happy to report!
The CAD file for the key cheeks are available in my GitHub repo at https://github.com/Nkawu/Virtual_Pipe_Organ/tree/master/cad. The DXF file is a pretty common format and the F3D file is for Fusion 360.
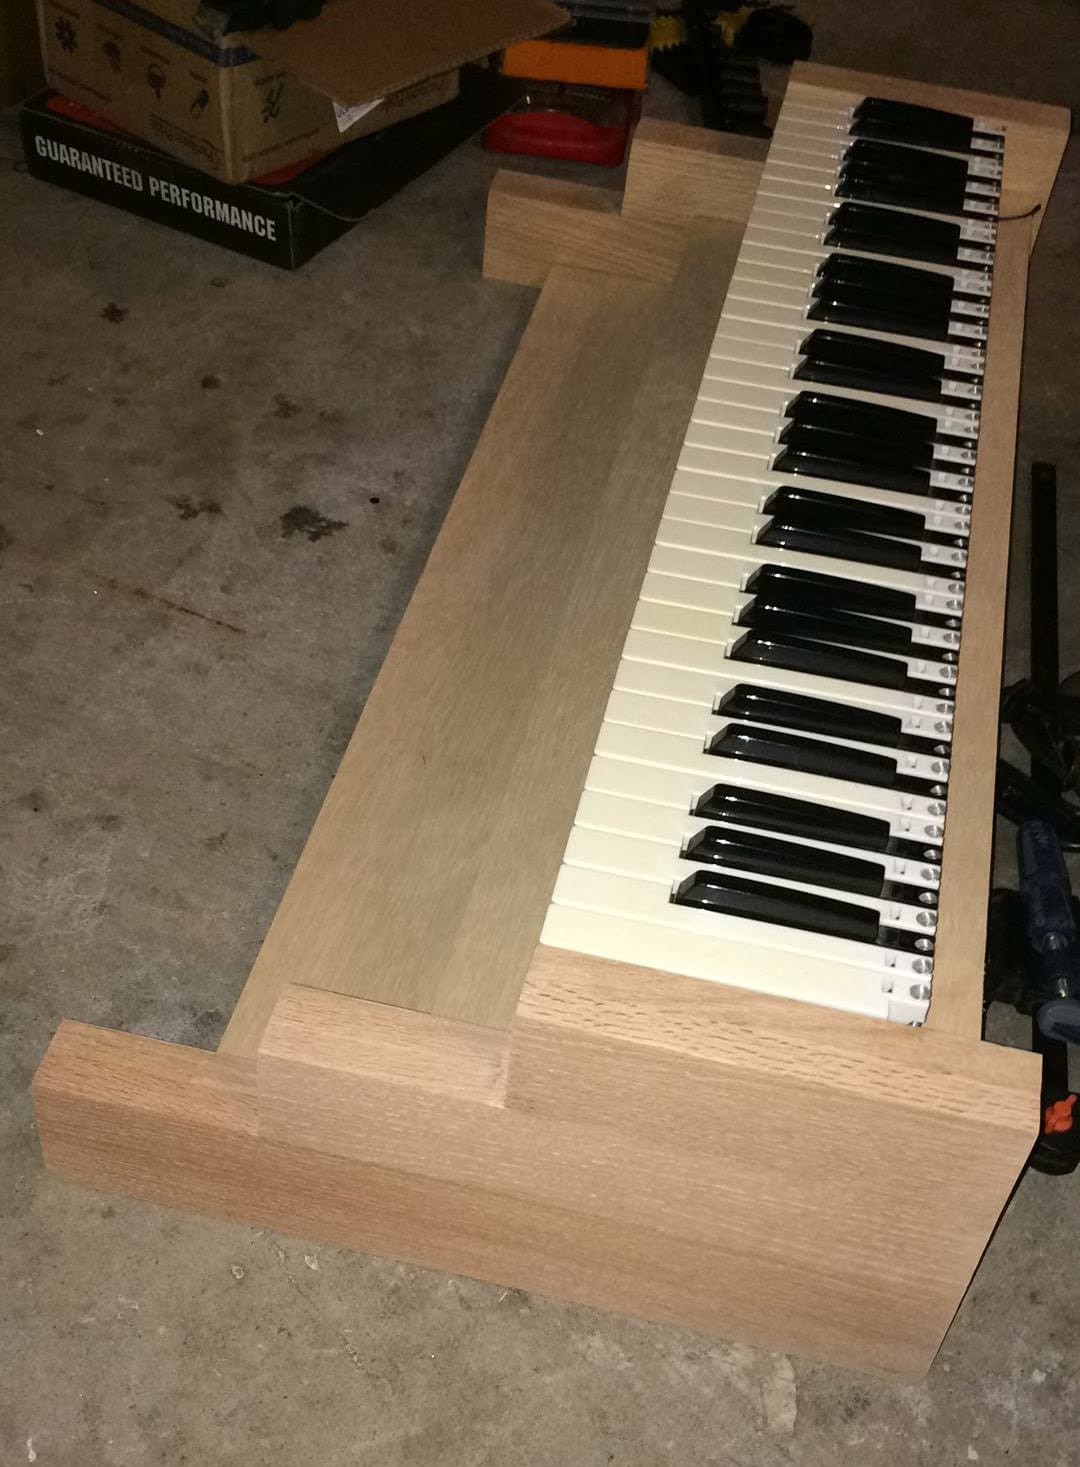
About halfway through, testing the keyboard fit.
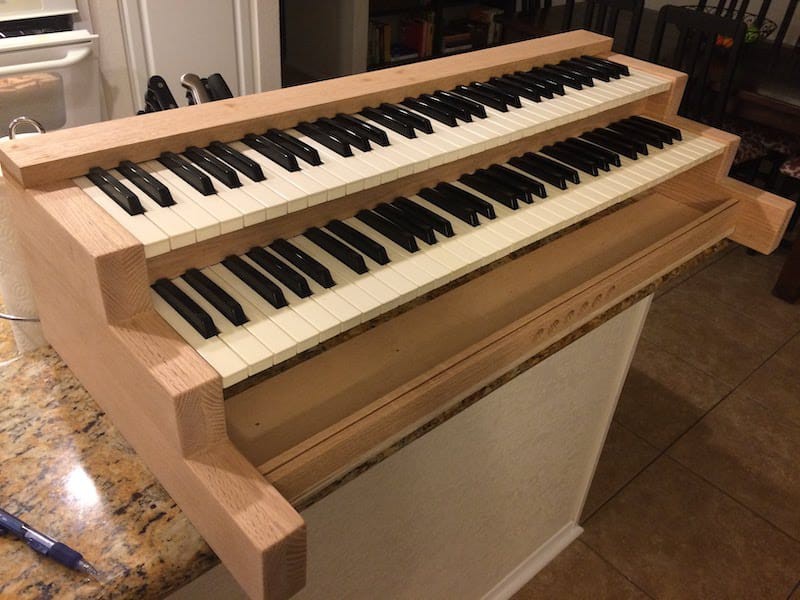
A little further along the holes for the thumb pistons can be seen on the lowest piston rail.
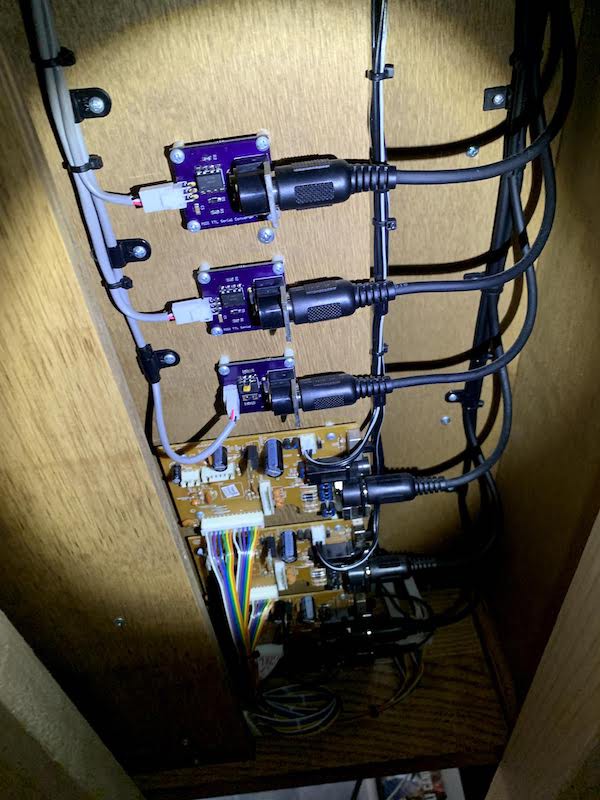
The original keyboard PCBs, MIDI Converters, Main Control Power Supply and one Shift Register module were mounted below the top shelf. I had to extend the cable between the keyboard and PCB. Just made new ones using ribbon cable. The black DIN cables go from the keyboard PCB to the MIDI Converter modules for each keyboard.
and completed! The thumb piston buttons were appropriated from a salvaged piston rail
As a note, these specific keyboards have a long extension on the front edge of the keys that block the thumb pistons and contact the keyboard below. I used a mini saw blade on a Dremel to cut along a taped on straight edge to trim all the keys as can be seen above.
Discussions
Become a Hackaday.io Member
Create an account to leave a comment. Already have an account? Log In.