 mrpendent
This project is a spin-off of this one. I took the idea, but just did it on my own (because I was working on the Grimoire anyway). The Porta-CAT will be updated slowly, but it will not be forgotten.
0%
0%
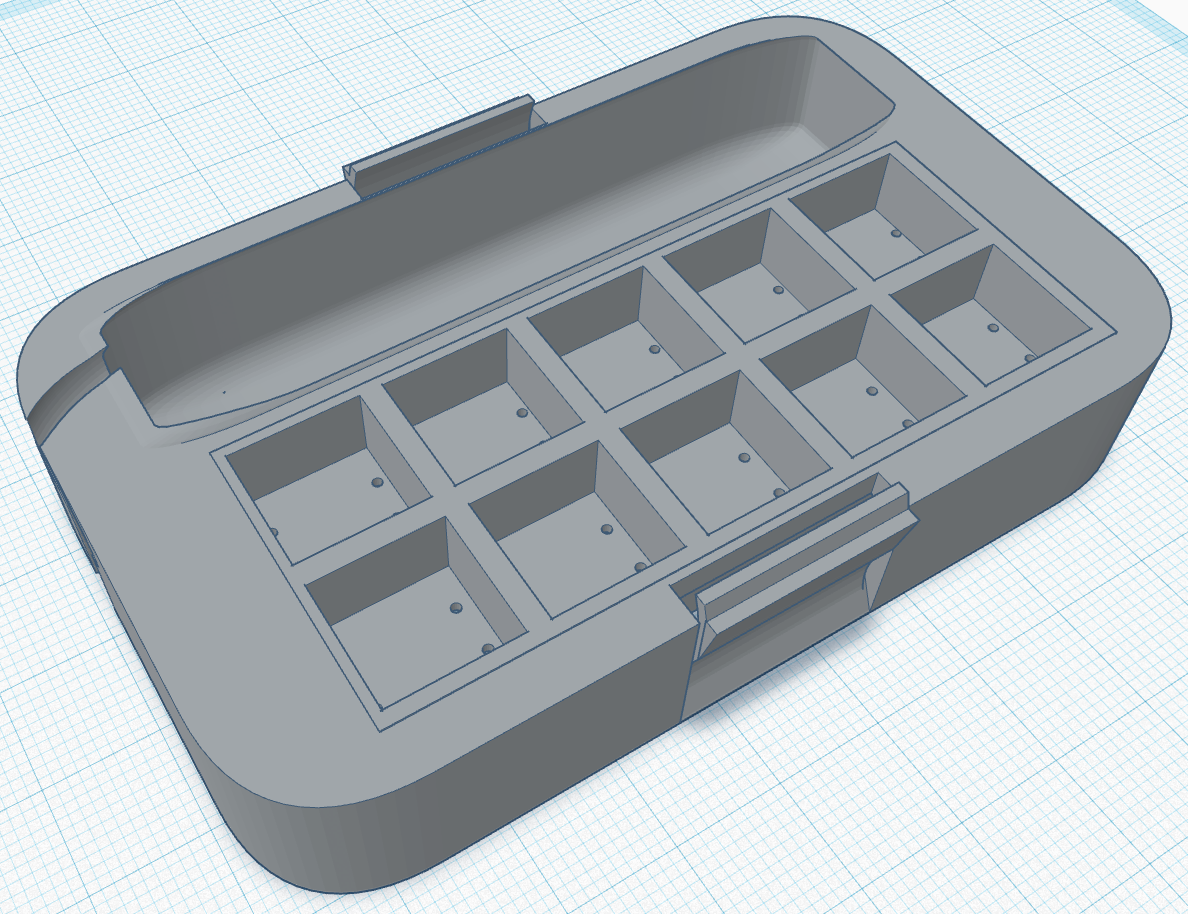
the Porta-C.A.T.
The Portable Computer Assist Tool
Become a Hackaday.io member
Already have an account? Log in.
Just one more thing
To make the experience fit your profile, pick a username and tell us what interests you.
Pick an awesome username
hackaday.io/
Your profile's URL: hackaday.io/username. Max 25 alphanumeric characters.
Pick a few interests
Projects that share your interests
People that share your interests


 Daren Schwenke
 Timo Birnschein
 Benchoff
 Retroplayer