 Peter Walsh
Summary:
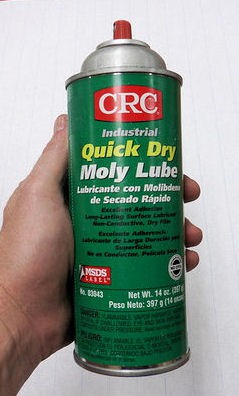
Dry Moly lubricant can be used with a laser cutter to mark metal. This is widely available at auto parts stores, and much cheaper than Cermark.
You can use this process to, for example, put your logo or printed text on metal enclosures or milled pieces. The markings are permanent, and won't come off short of scratching the metal.
Overview
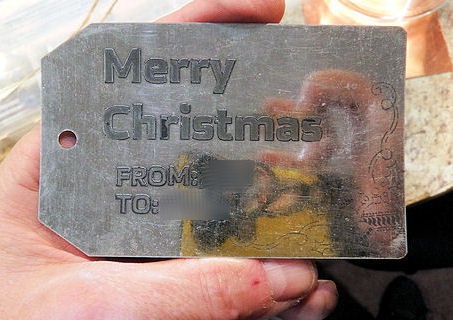
I wanted a metal Christmas gift tag, and decided to mark it using the laser cutter at the local makerspace.
(The metal tag is an in-joke, having to do with preventing woodpeckers from damaging my house. No, really: woodpeckers. The recipient will get the joke.)
It's well known that Cermark can be used with a laser cutter to mark metal.
What's less well-known is that dry moly lubricant can be used for the same purpose. When marked by a laser cutter, the laser sinters the molybdenum into the metal (so I'm told), making a permanent mark on the metal.
The mark is fairly robust, and won't come off short of scratching the metal.
Dry moly lubricant is available at most auto parts stores, and is much cheaper than Cermark.
Step 1: Clean the metal
Clean the metal piece using alcohol and let dry.

Step 2: Spray coat the piece with Dry Moly
Moly sprays on like paint, but it's not liquid or sticky so it doesn't get everywhere.
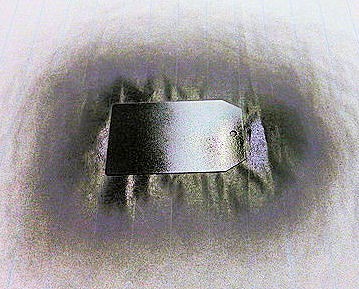
Step 3: Allow the lubricant to dry
Despite appearances, it takes some 20 minutes for the lubricant to dry. It's ready when the coating doesn't smear (like paint) when handled.

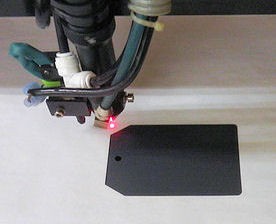
Step 4: Etch the pattern, using a laser
You want the metal to heat up at the focus point of the laser, so use high power and slow speeds.
For our 80 watt laser, I used 100% power and 10 mm/s for the bitmap (etch), and 100% power and 1 mm/s for the line etching. The lines probably came out too heavy for this application, next time I'll back off on the power or increase the speed.
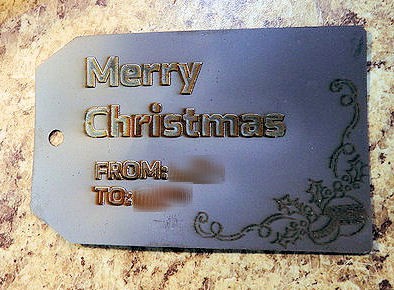
The border decoration (ornaments and curly lines in the corner) looks really nice on the final tag, but doesn't photograph too well due to the tag's mirror finish.
Step 5: Clean off the unsintered moly
The dry moly comes off easily with alcohol and a paper towel.
The shiny tag doesn't photograph well, but the intricate ornament work in the corner looks really nice.
Notes for future jobs:
The excess heat from the laser caused 2 bits of the anodized surface to come off, notably in the "r" character of "Christmas" below.
I don't care about that for this project, and it's only a problem with anodized surfaces anyway... but if I had to do it over, I'd reduce the line power and maybe split the job into segments to give the metal a chance to cool down in between.
Discussions
Become a Hackaday.io Member
Create an account to leave a comment. Already have an account? Log In.