xpDIY
xpDIYLast summer when I visited my relatives, I noticed that my uncle started having hearing loss, and to communicate with him seemed like a difficult task. He is a wise, practical man, but with the hearing loss, it gave the impression that his reaction has become slow and wisdom has faded. So I bought him a pair of hearing aids, and it wasn’t good enough, squealing comes quite often, and he also doesn’t like the look of wearing hearing aids. Since I was working on an audio processing project, I thought why not make an earphone but with amplification functionality (at the time of starting project, there was no such product in the market yet), with dynamic range compression, feedback suppression and noise reduction, so I can also warm up my skill and get some fun.
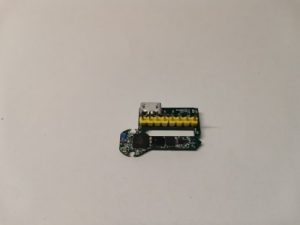
I started to look into the solution, main processor should be small, yet powerful enough to process audio signal in real time. After a lot of research, I ended up using nrf52 series chip. It supports BLE protocol, so it has no classic connection to cell phone, but to process audio, it is good enough. So in short, I made this:
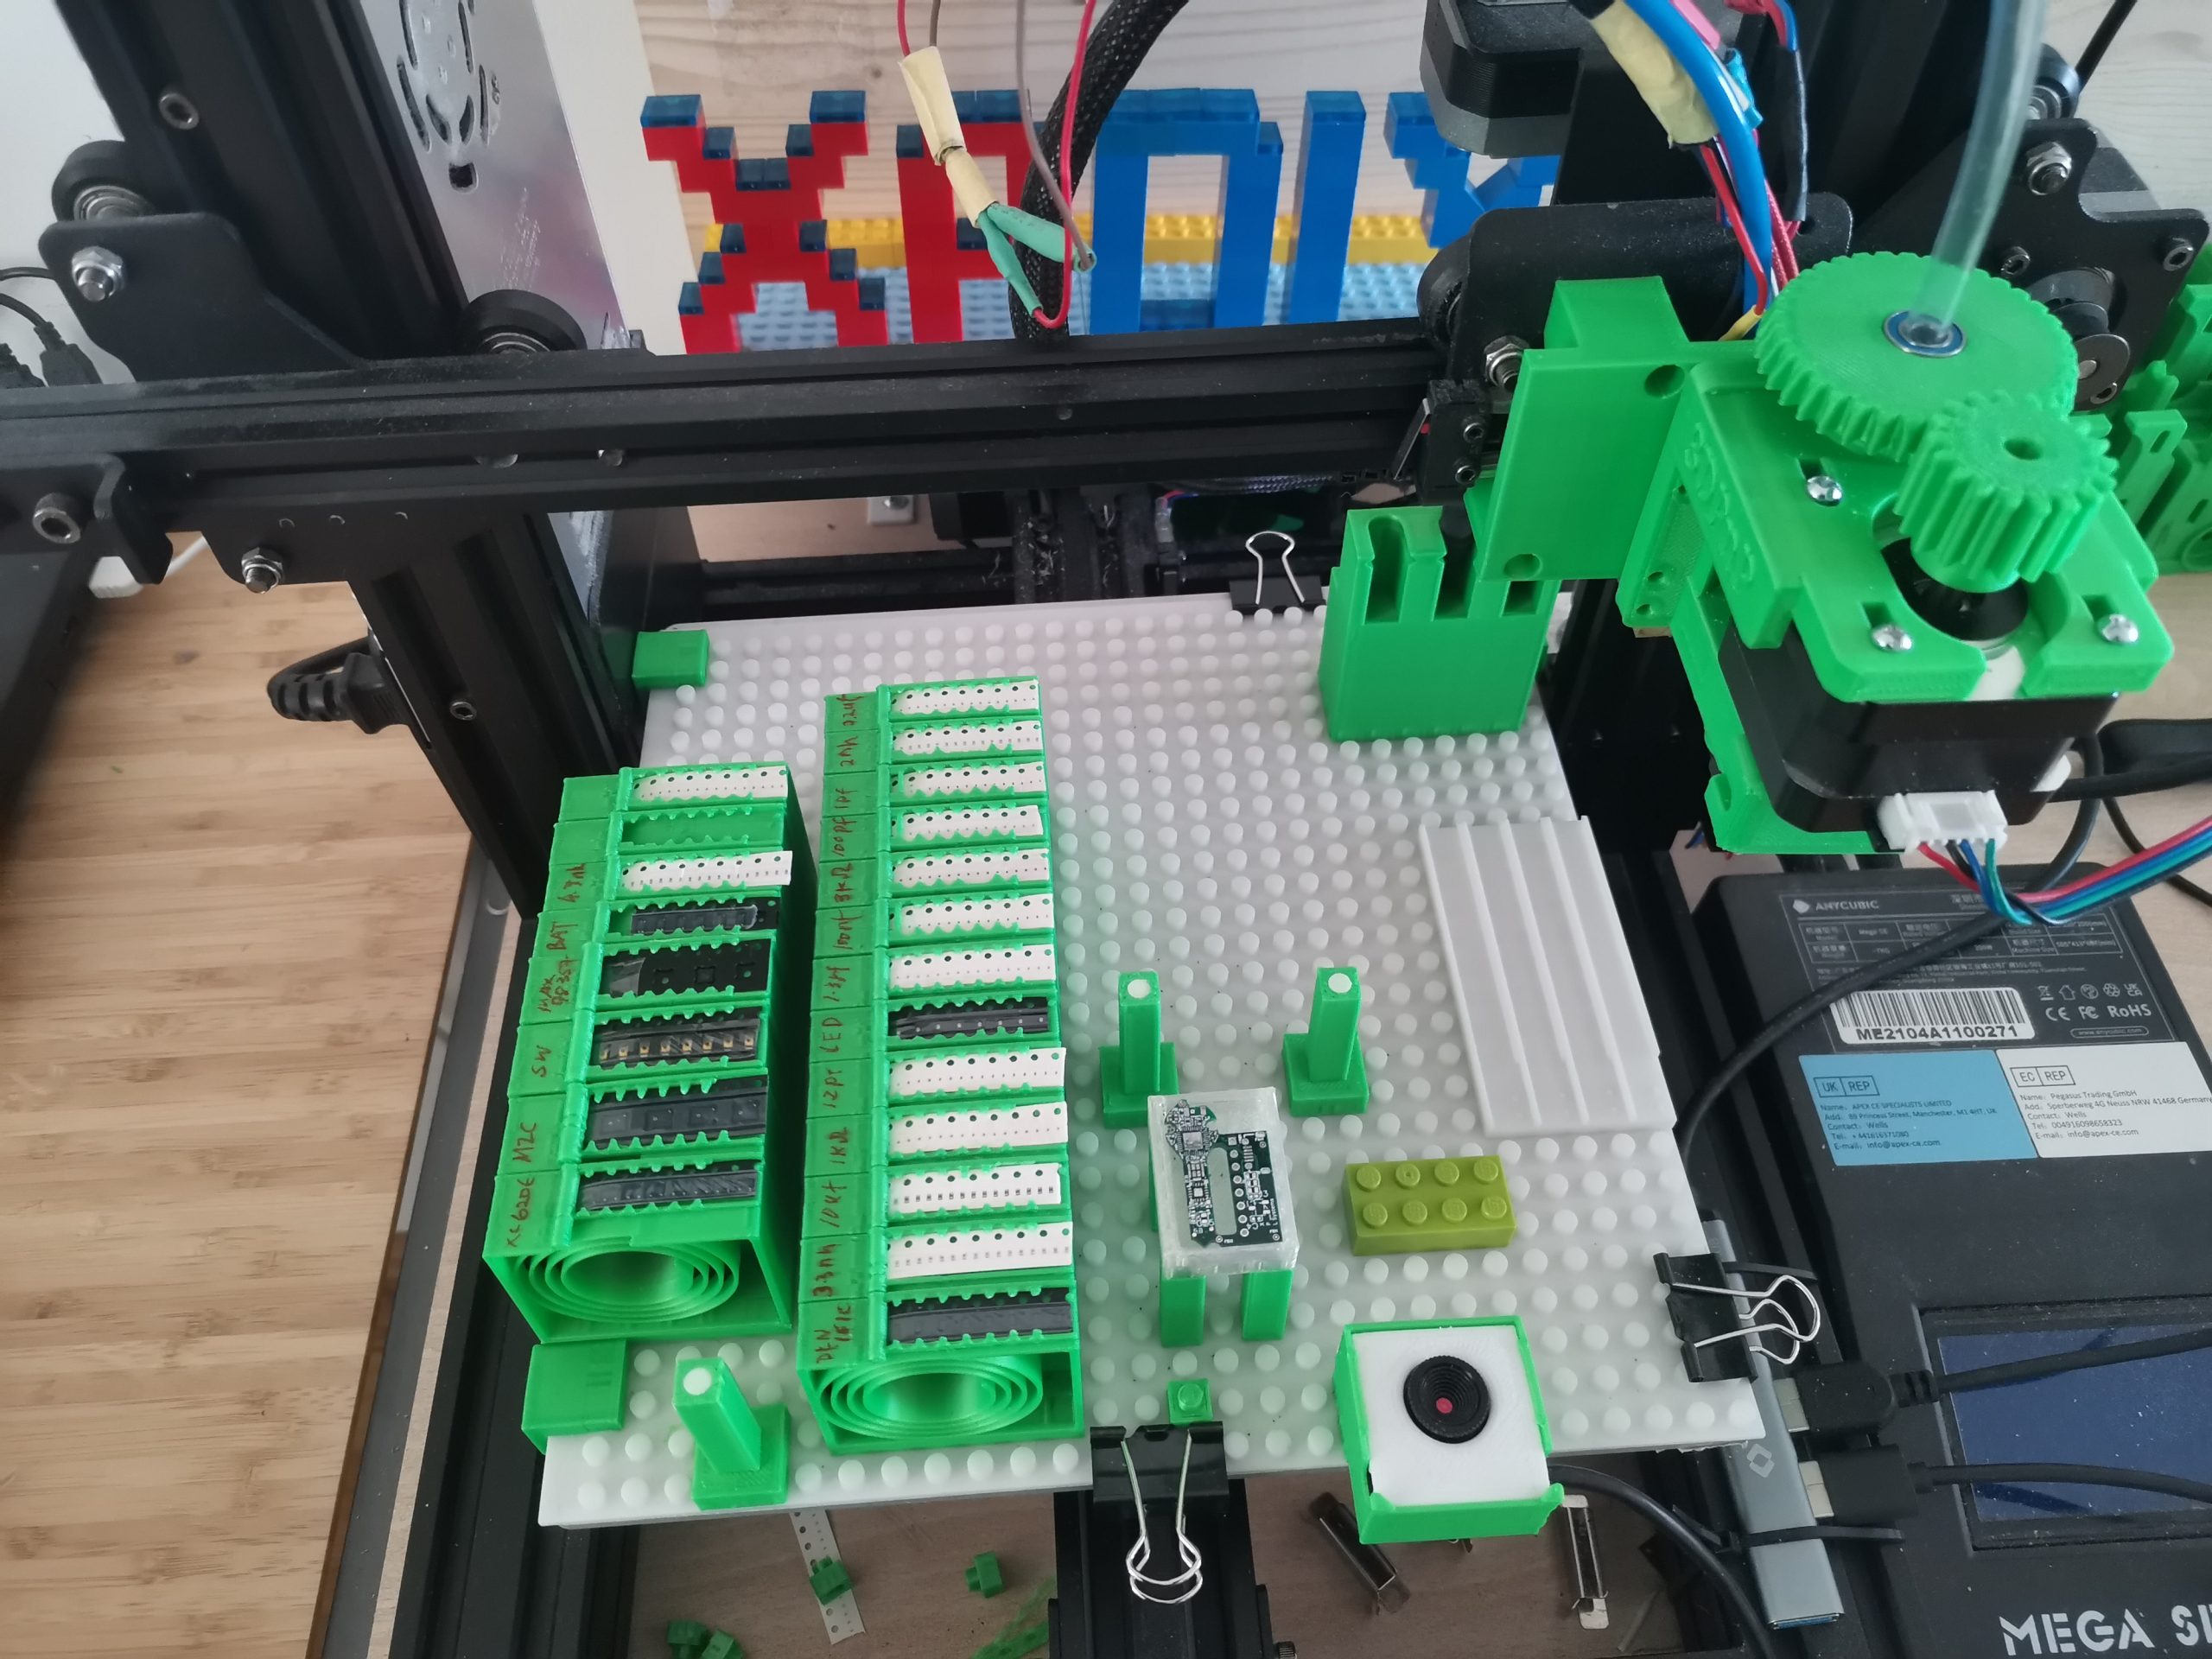
Then the challenge comes, to make it small, I have to use tiny components, e. g. 0201, and every 0402 component I used took up a lot of space. To mount those tiny components, it felt like my eye will explode even with the microscope. I started to look for a way that can help me place the parts. PNP machine is a natural direction, but the ones on the market are very expensive. I happened to have an 3D printer at my hand, so I started to make modification and hack around my 3D printer.
There are multiple aspects for converting 3D printer to PNP machine,
- Accuracy – when looking at the specification from a 3D printer, position accuracy is 0.0125mm, in reality, I found it not really able to achieve such accuracy, for me it can move to specified location consistently within 0.1mm, and that is good enough for me.
- Connectivity – With a PNP machine one usually needs to connect to a PC and run G-Code commands. Most of 3D printers have USB interface. Then it also needs to connect an air pump, which means G-Code controllable interface is needed. The same applies for the lighting of the camera. So the more control interface it provides, the better.
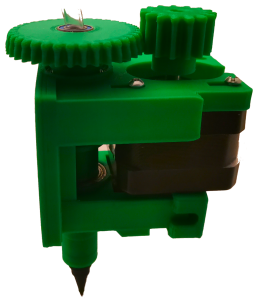
Nozzle head
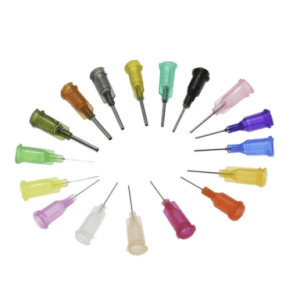
So as the first step, I need to find out what can be used as the nozzle tip and how to hold it. By searching in the internet, it came out that fluid dispensers can be a good fit, it has multiple sizes, from as low as 0.06mm to greater than 1.0mm inner diameter. It is strong and durable enough to support repeat pickup and place operation.
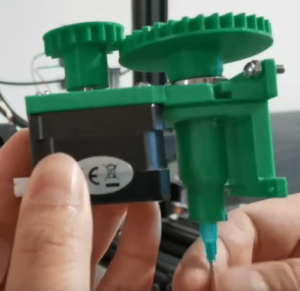
To use the fluid dispenser head, we also need something to hold it, so I designed the 3D printed nozzle head to hold the dispenser. After a bit of trying and error, the design came out as this.
It has a gear on top of the head, then a stepper motor (nema 17, 1.8 degree) can connect to it and drive the rotation. One bearing is used to make rotation easier. Then there is a screw thread inside the end of the nozzle head to make sure it can hold the dispenser needle. I was worried about the air leakage, but after printing couple of the heads and testing out, it can hold the air inside pretty well.
Then in order to mount the head onto the 3D printer, I need to find some place that is strong enough and easy to mount. Luckily there is a fan case, the idea is to make it switchable as easy as possible. So initially I decided to reuse the fan case for hot end, as it is a metal piece, it should be strong enough to hold the nozzle head.
But after couple of jobs, I found that the mounting to the fan case is not strong enough, as the fan case is supported by a piece of metal, and it could change position when some force is applied. So later I switched to mounting directly to the hot end support, but still leave the hot end, as I still want the switch between 3D printer and PNP function to be simple and fast.
After mounting the head, I ran a few tests, it can rotate the head smoothly (but later it turned out only 1 bearing is not enough to hold the position of nozzle tip and provide enough accuracy, so I made some improvements. For detail: https://www.youtube.com/@xpdiy).
Air pump
For the nozzle tip to attach the component and release, an air pump is needed. To attach the component, the air pump should create enough vacuum, so I looked into different types of air pumps, after testing, I decided to use the one that can be found easily on the market. Then to control the air pump, there should be an actuator that can be controlled with G-Code. Luckily, most printer come with fan control lines, which is perfect for the air pump. One thing to be noted is that most of the fan control lines can support from 500mA to 1A, when picking components. The load of the air pump is increased, so the current will also increase. If it is under this load for a longer period of time, it could potentially burn the MOSFET on the mainboard, so be sure to connect protection resistor to avoid this risk.
Base plate
It is also quite important to have a good base plate to support the pick and place task. The plate should support good positioning for the nozzle head, for e. g. calibration of the board position, positioning for feeder, etc. It should also support different functional requirement, e. g. support different types of feeders, nozzle switches, dropping locations, etc. Because I am converting my 3D printer to a PNP machine, the base plate is under size limitation. So I designed the base plate with 24x8mm and 9x12mm strip feeder. Also on the side of the base plate I designed a nozzle tip change socket and a bottom camera holder. All these functional positions should be arranged so that they don’t cause the nozzle head to collide when picking and inspecting the components, or when changing nozzle tips. I finally came with the design which satisfied my needs. (Later I made some improvements to make a base plate more flexible, more information can be found on my YouTube channel.)
Software
In order to control the add-on, I use OpenPnP. It is an open source software that provides rich feature for pick and place tasks. After assembling the component parts together, I used the issue and resolve feature of OpenPnP to calibrate the system. The feature is very convenient, it guides you through the process and assigns the axis, calibrates the machine and so on. One thing to be noted is – for the rotation of the nozzle head, I am using extruder (axis E), luckily OpenPnp has the capability to specify that it is the rotation channel, so it can work smoothly with the nozzle head.
The result
With the add-on and OpenPnp software, I am able to mount several boards, even with 0201 components. During the mounting job, I also experienced that sometimes the components are not attaching in flat position, they are tilted for some angle, which makes the placement out of position. So I adjusted the design to use a printed nozzle tip, which makes sure it is not tilted easily. After the adjustment, I am able to place the component more consistently. I have done quite some improvement to increase accuracy and consistency, so far I am quite happy with the machine that helps me with the task, and for a small board it is good enough for me, I have added also the support for Ender CR-10, which has bigger build plate (30x30cm)
Coming features
Currently I am working on the usability, to make it easier to use, ex. better feeder, easier setup, etc, I will release improvement from time to time, either on github or my website. Stay tuned.