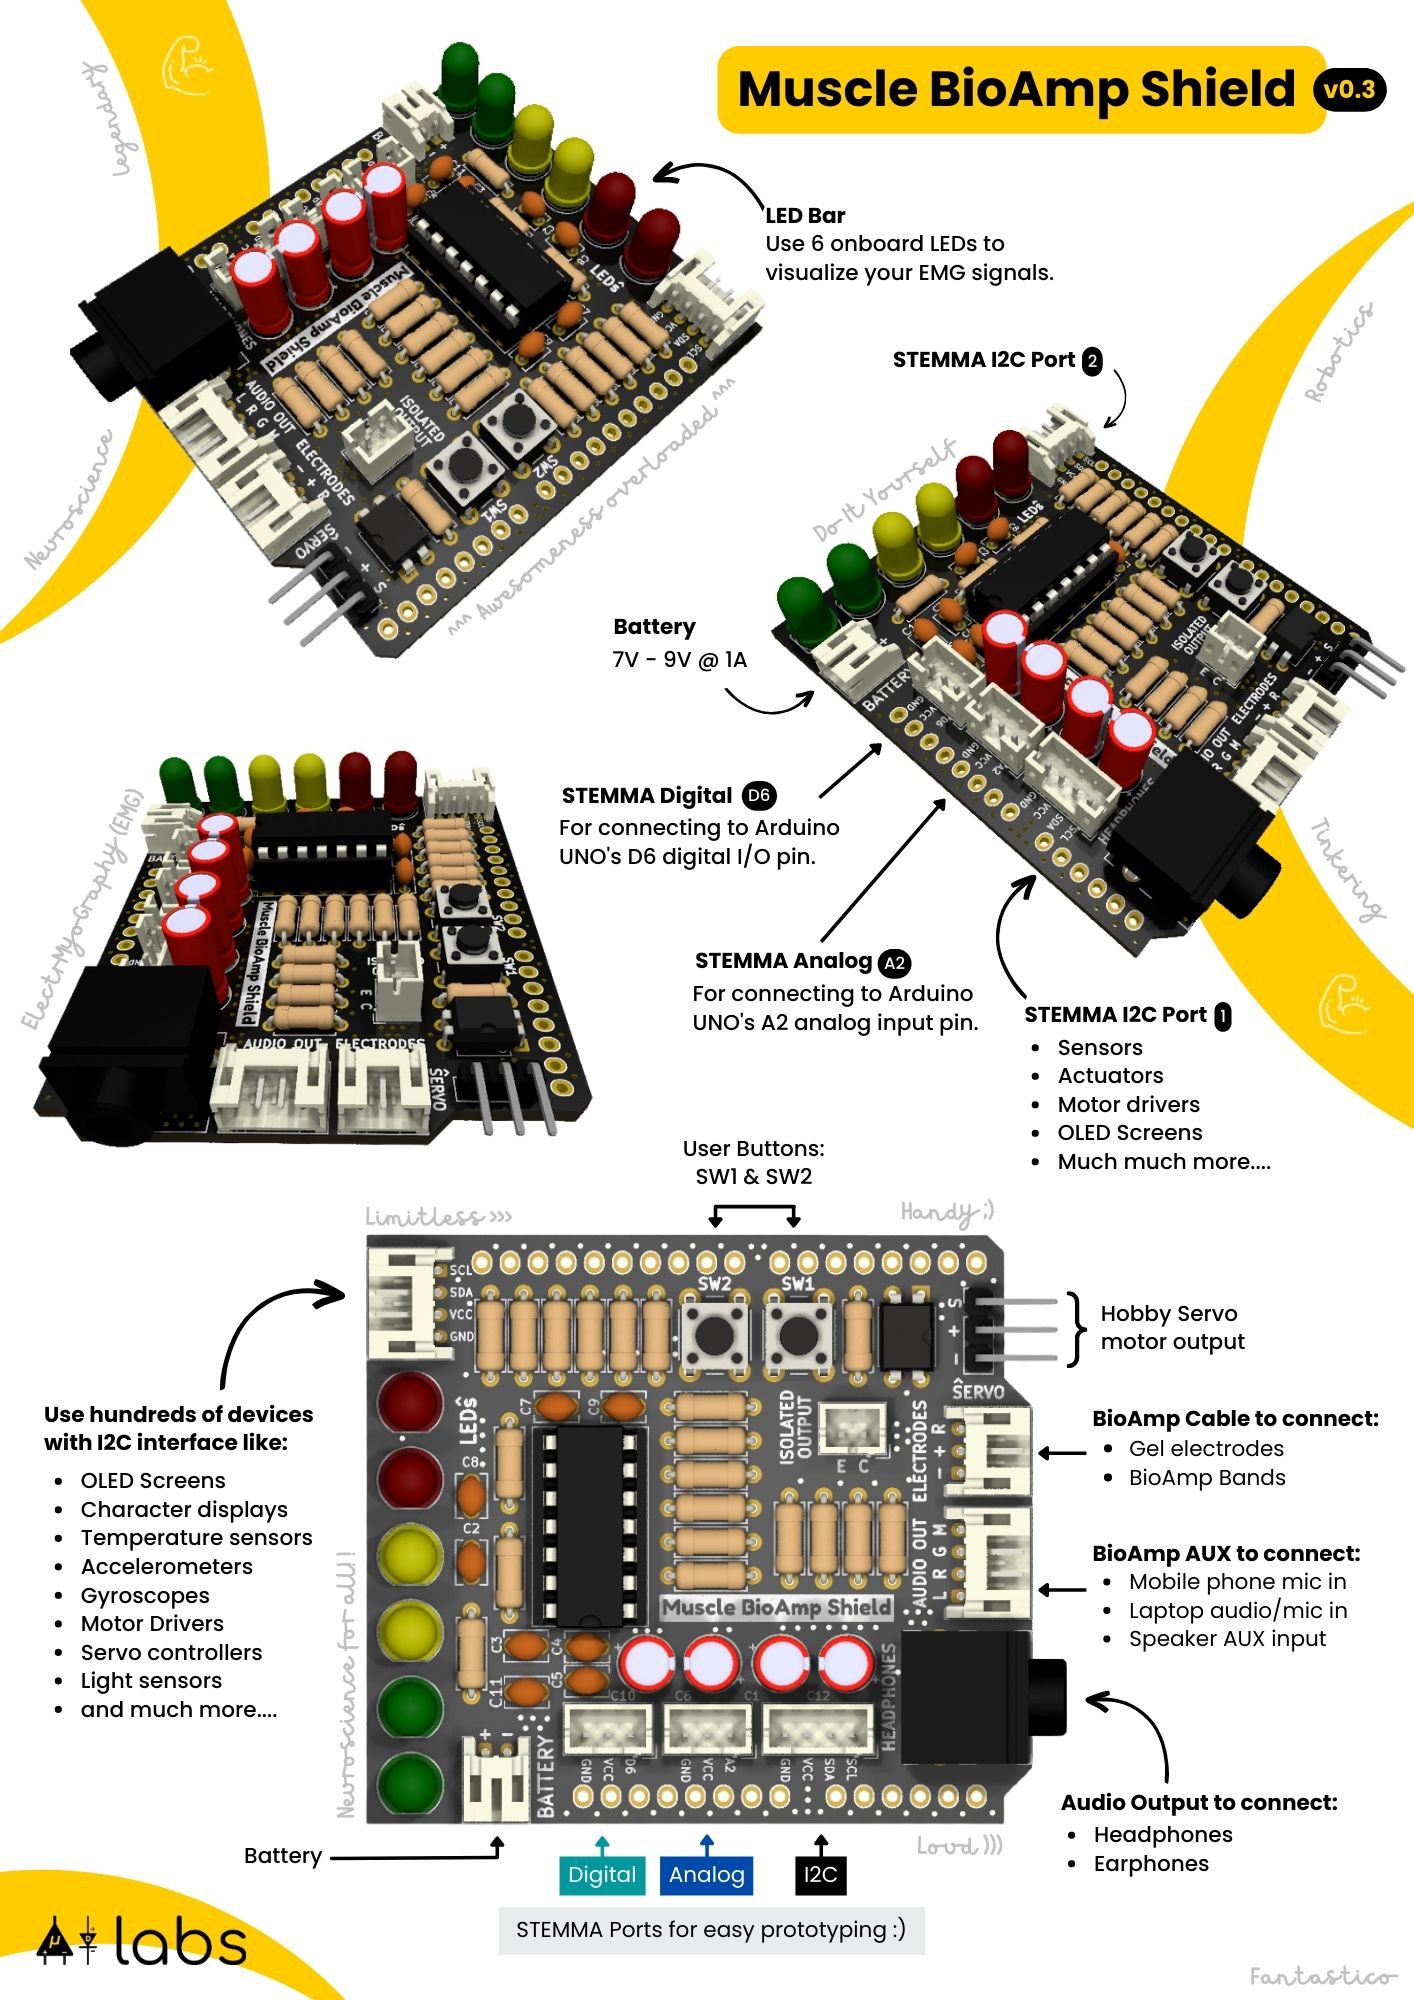
Muscle BioAmp Shield v0.3 is an all-in-one Arduino Uno Shield for EMG (Electromyography). It is perfect for beginners as they can easily stack it on top of Arduino Uno to record, visualize and listen to the muscle signals to make amazing Human-Computer Interface (HCI) projects. It comes with various plug-and-play options, so you can connect hundreds of devices like OLED screens, character displays, accelerometers, and servo controllers to name just a few using the I2C interface.
The possibilities are endless as you can:
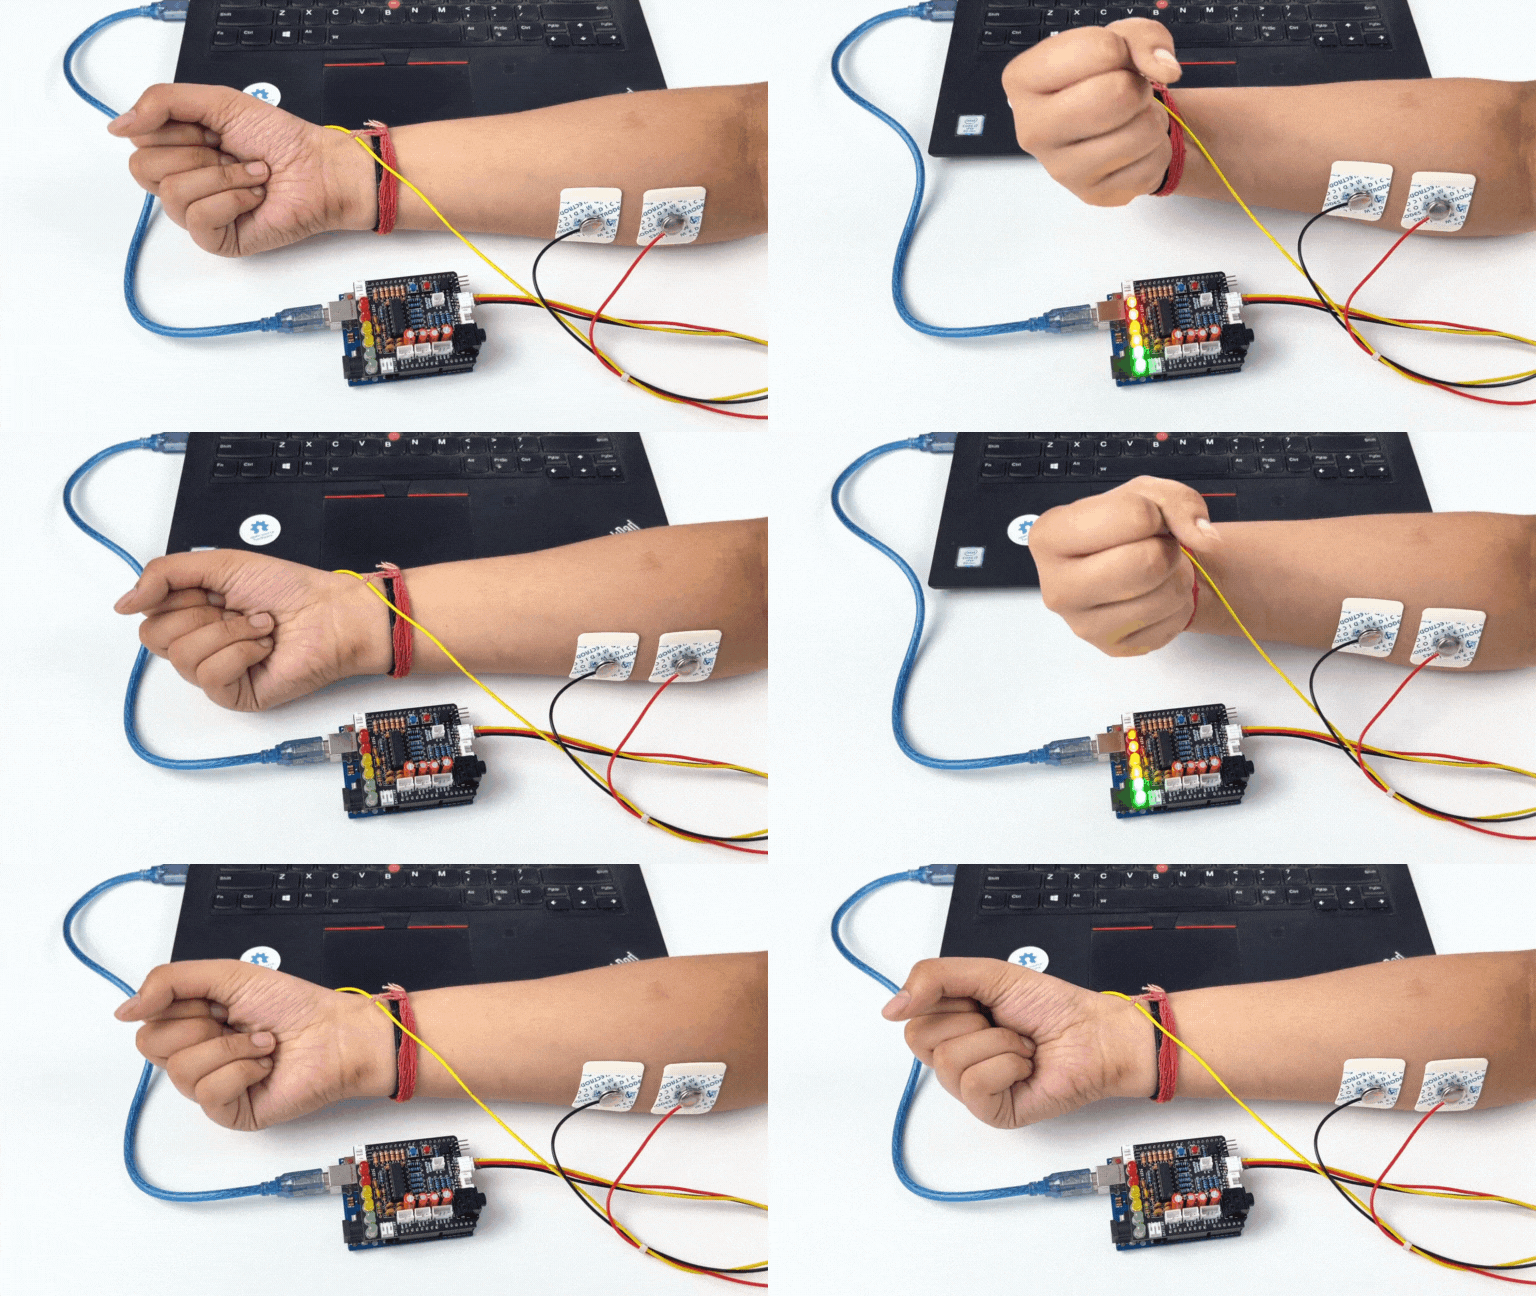
- Visualize the EMG signals using the 6-onboard LEDs. The more you flex, the more LEDs will glow up.
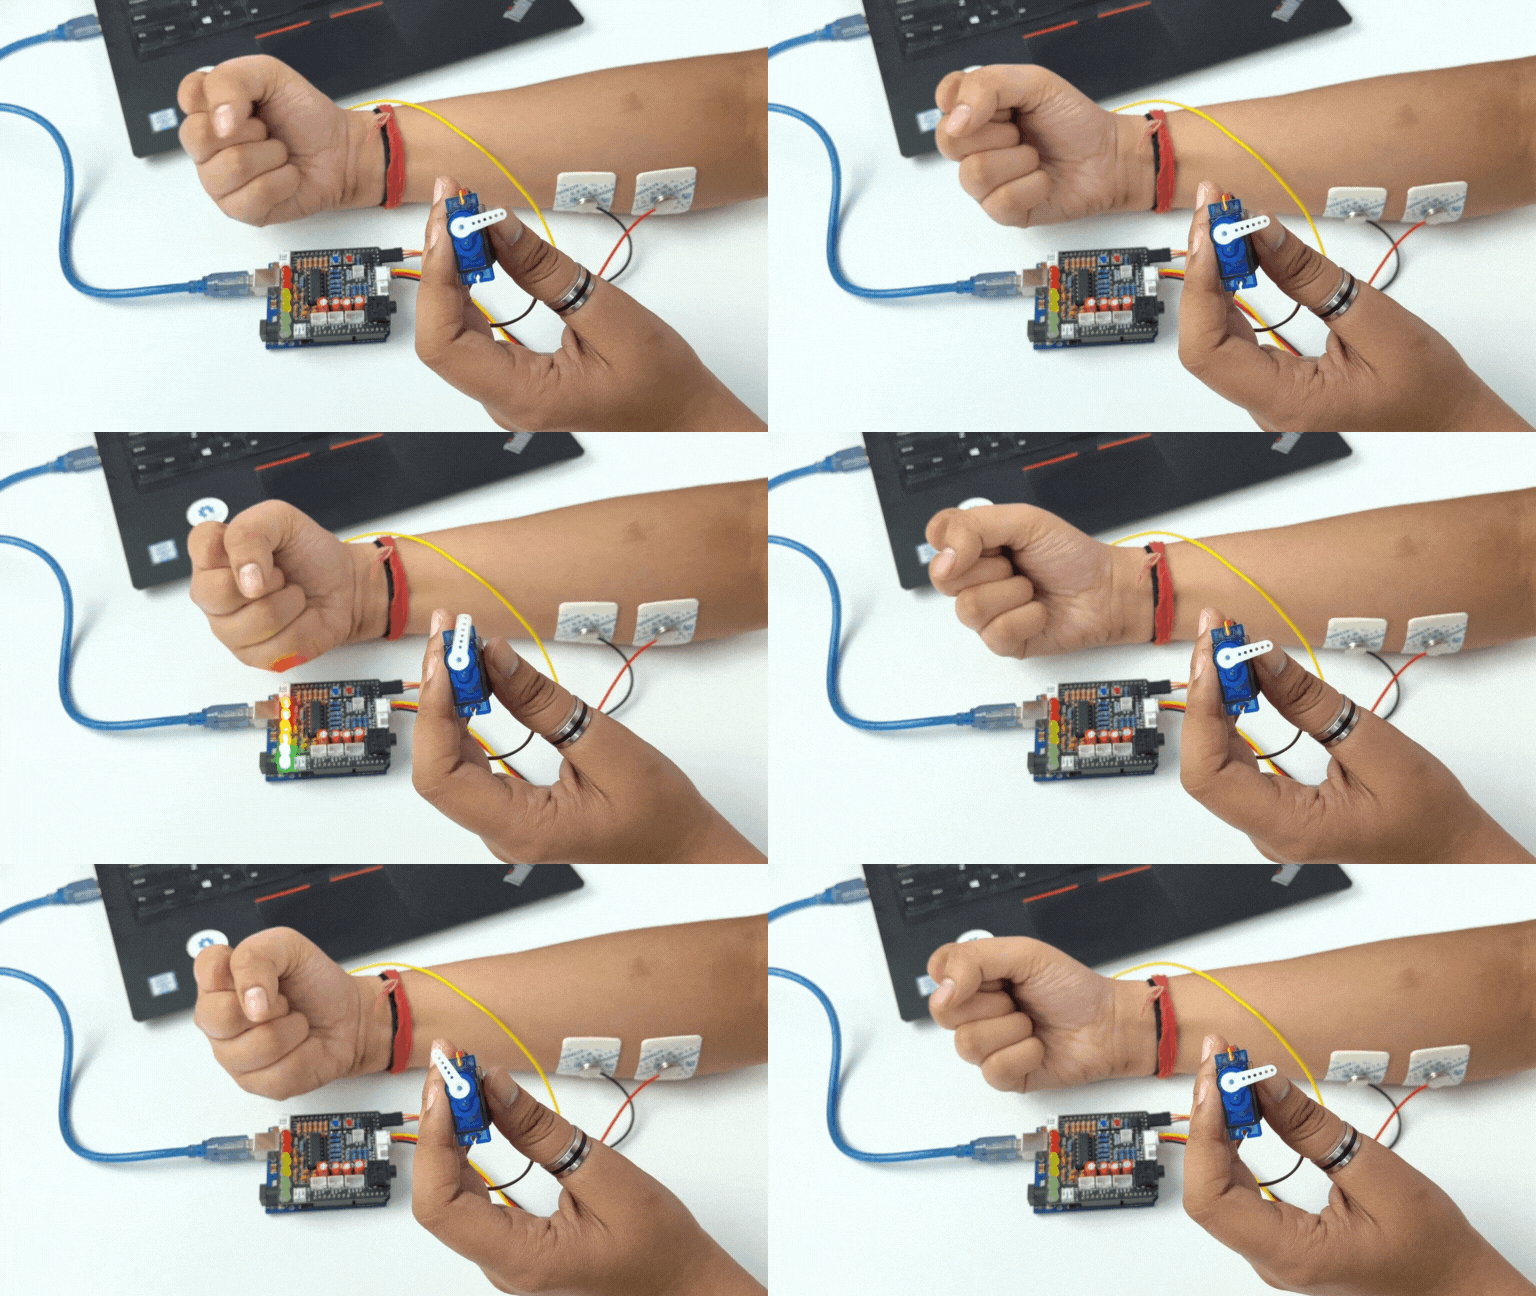
- Directly connect the servo motor via 3-pin angled header pins and control it using muscle signals (EMG).
- Record the muscle signals (EMG) either using Gel Electrodes or BioAmp Bands (dry electrode based) via BioAmp Cable connected to a 3-pin JST PH 2mm connector.
- Give audio/mic input signals from your mobile phone, laptop, or speakers via BioAmp AUX Cable connected to a 4-pin JST PH 2mm connector.
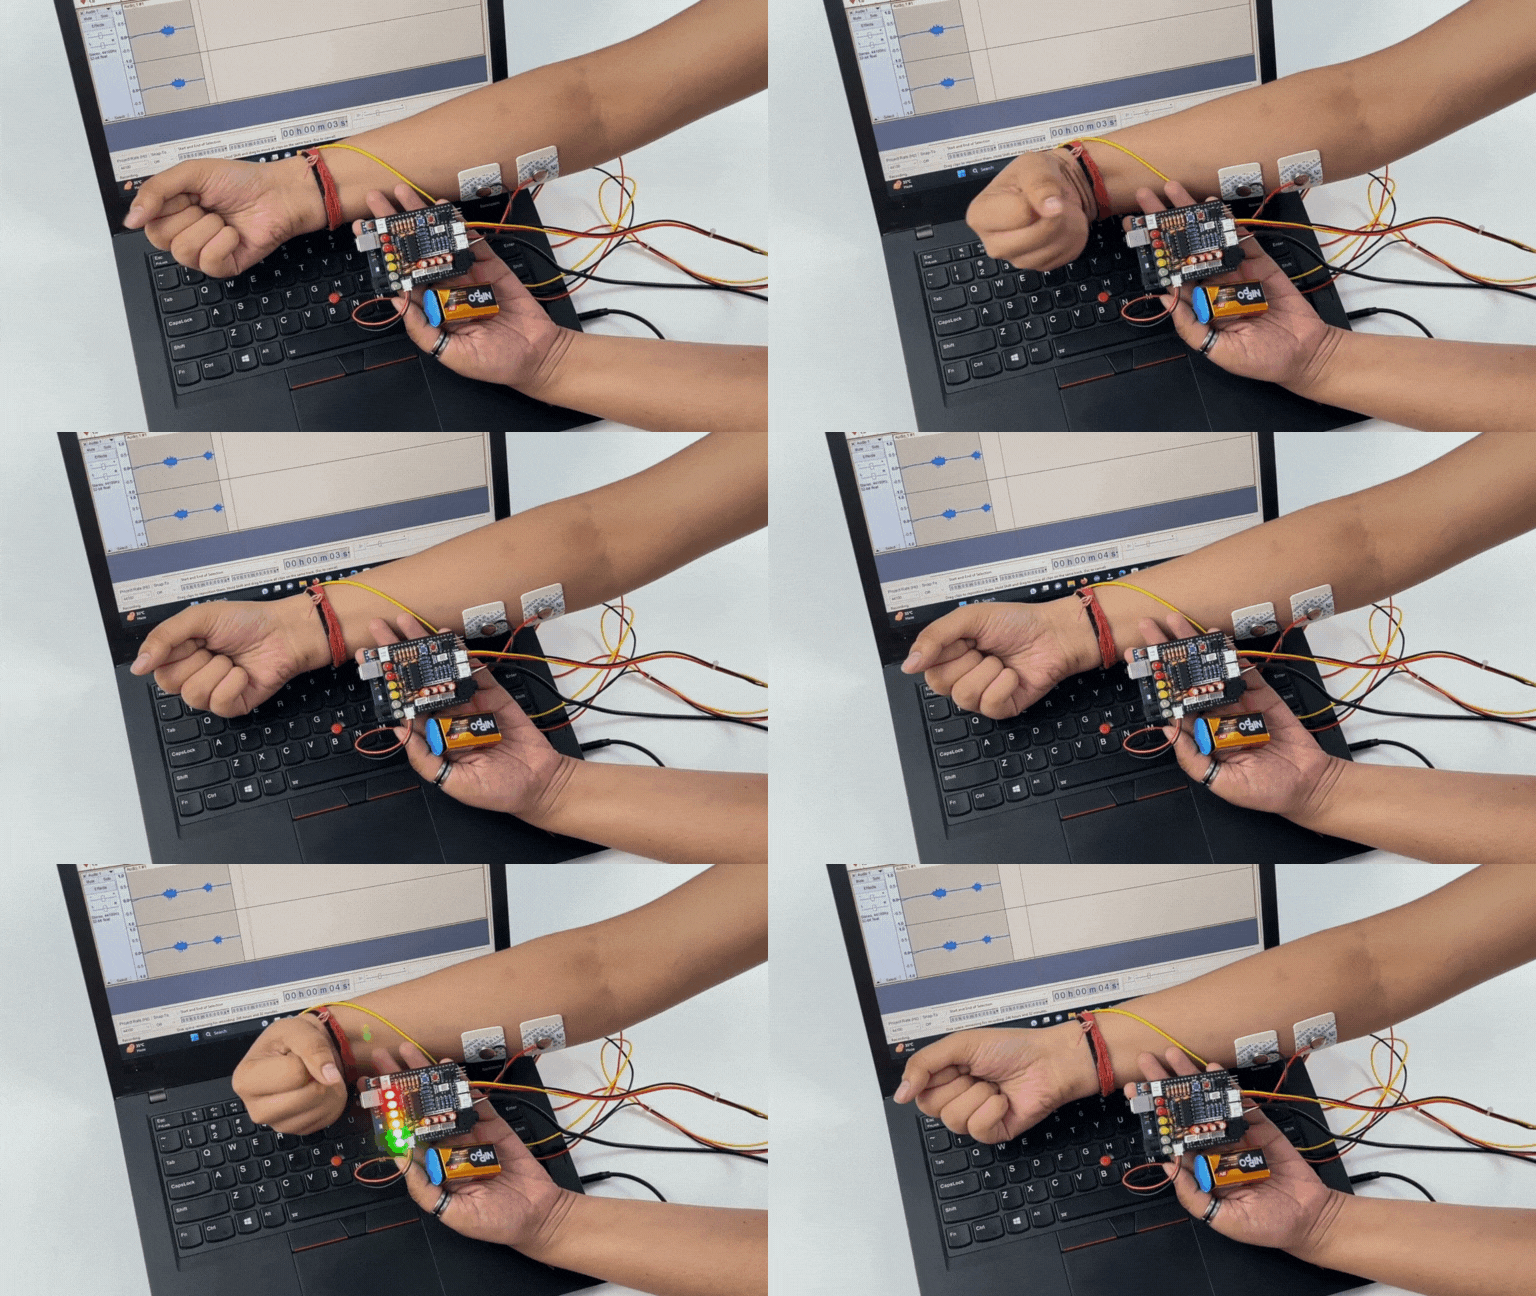
- Listen to your muscle signals using wired headphones/earphones connected to a 3.5mm headphone jack.
- Connect hundreds of devices like OLED screens, character displays, temperature sensors, accelerometers, BioAmp Hardware, and much more using the two I2C interfaces.
- Connect Arduino Uno's D6 digital I/O pins and A2 analog input pins using STEMMA digital and STEMMA analog connectors respectively.
- Connect a 7V to 9V battery via snap cable.
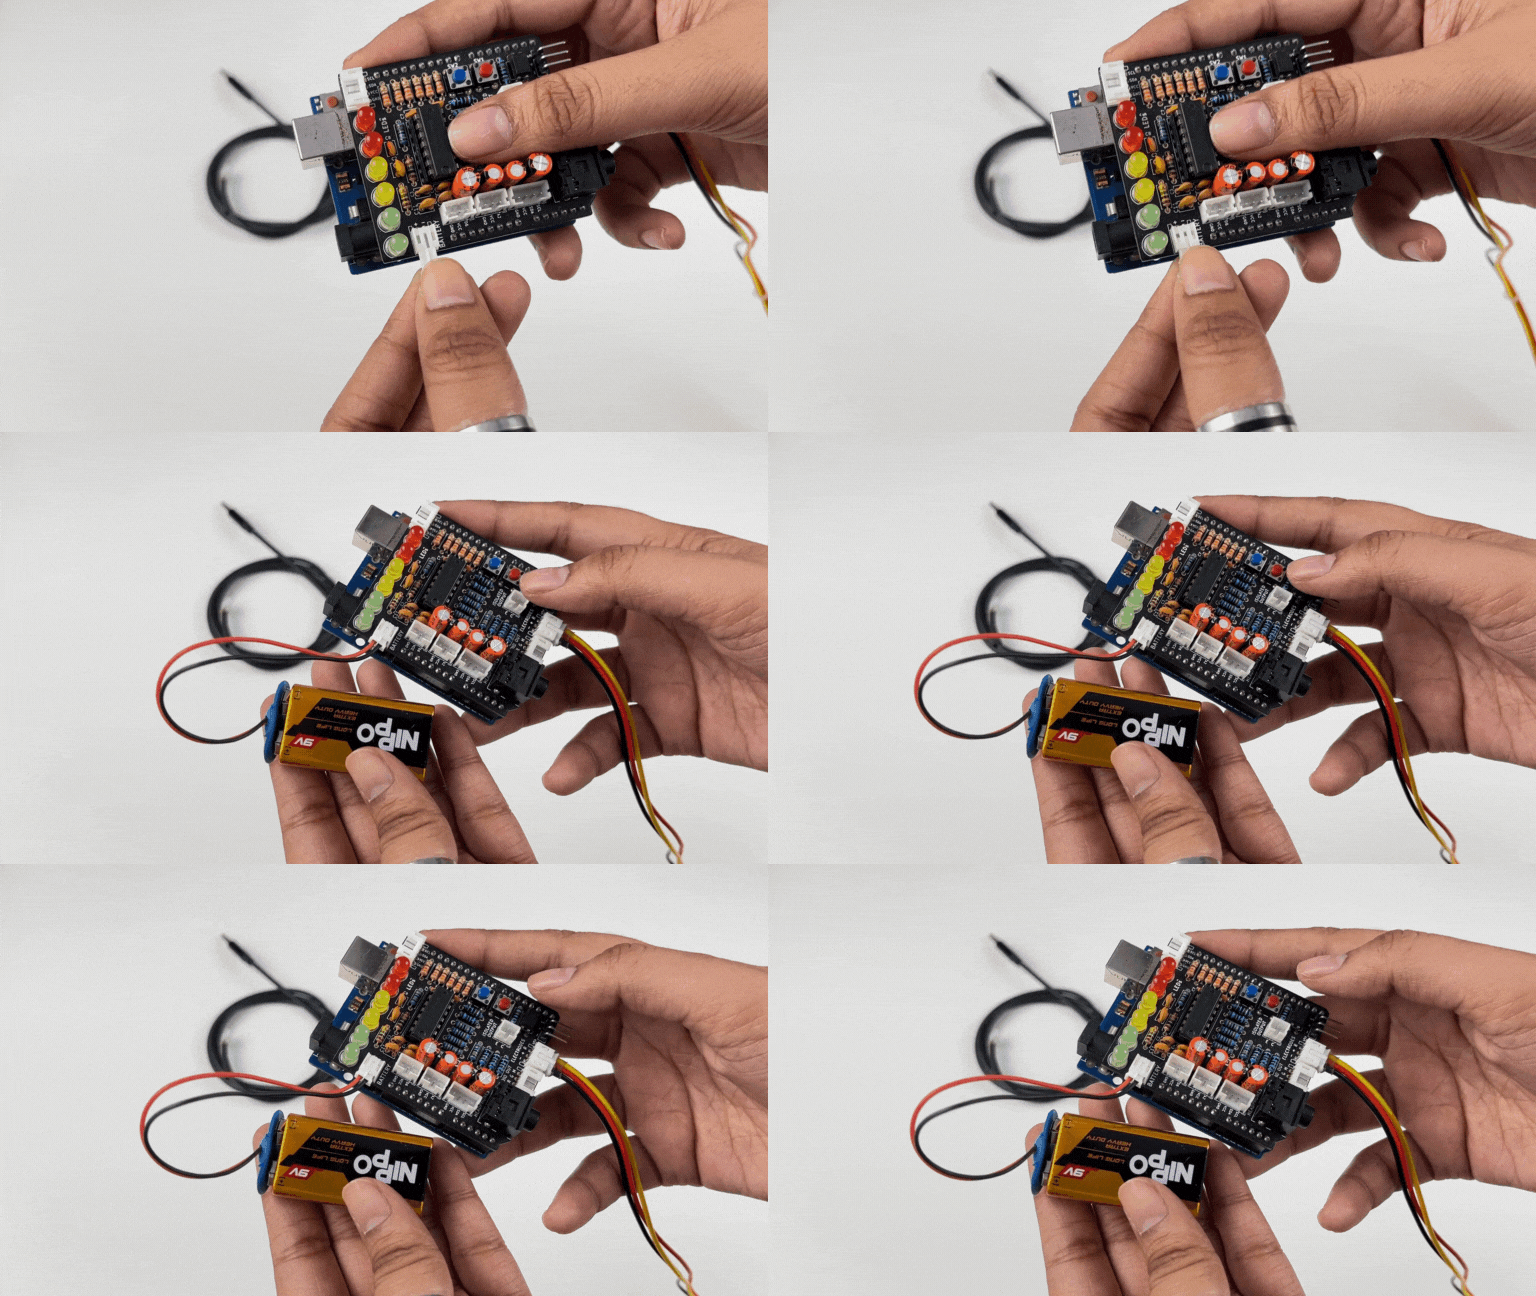
- Program the 2 user buttons according to your project requirements.
This makes it the ultimate plug-and-play kit for students, researchers, and hobbyists alike who want to use muscle signals (EMG) to make amazing human-computer interface (HCI) projects like:
1. Controlling a Dino Game using your muscle signals (EMG)
2. Scrolling Instagram Reels/YouTube Shorts by using your muscle signals (EMG)
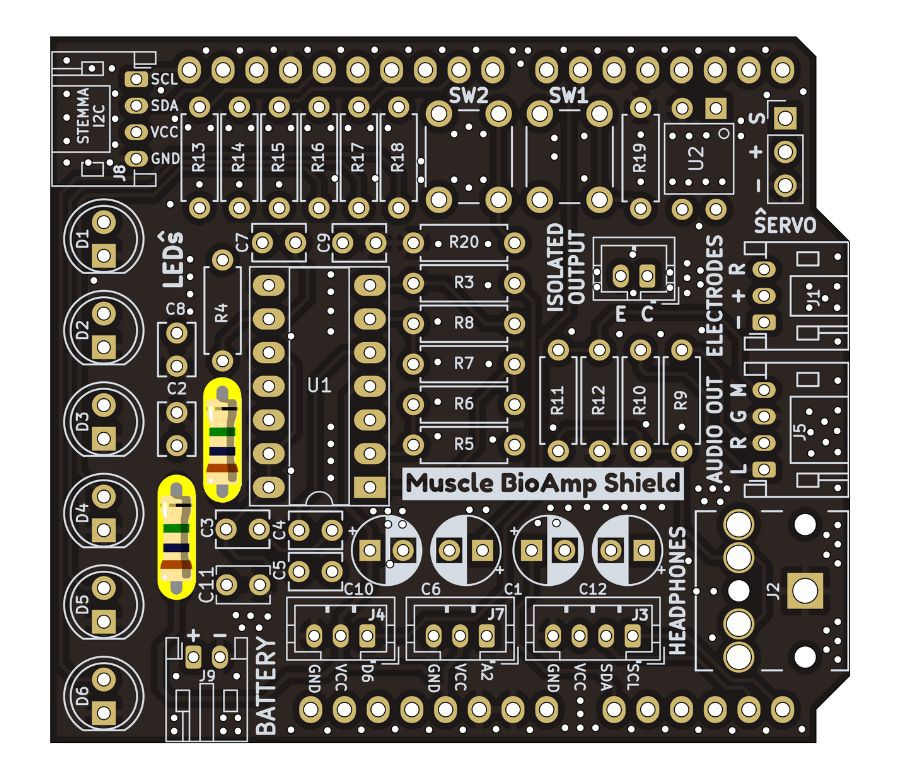
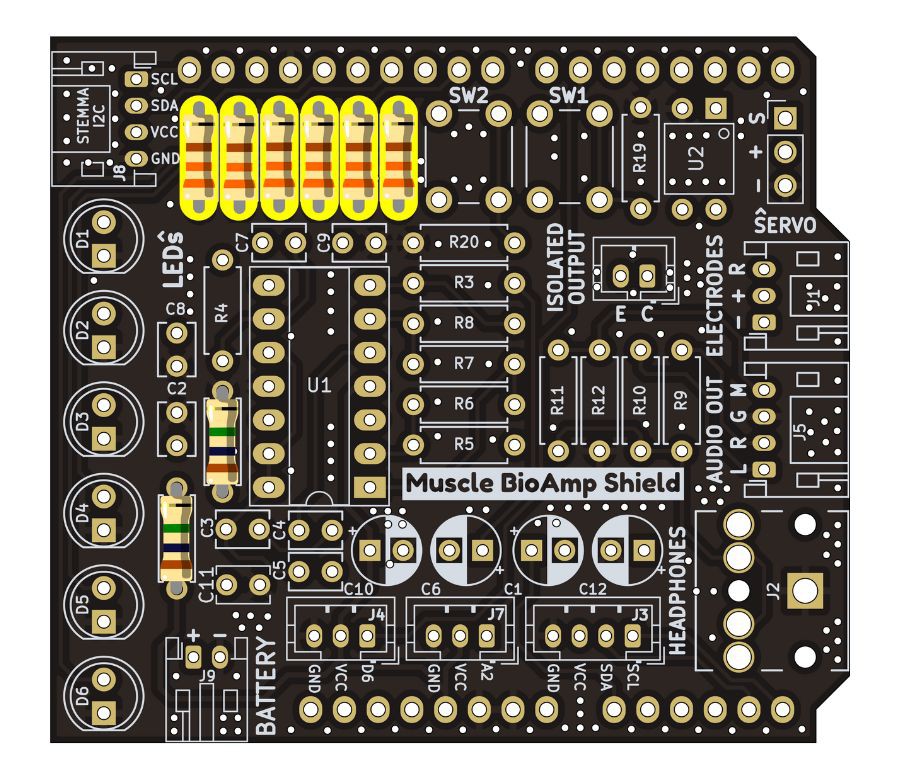
Below is the layout with dimensions and the schematic diagram of the Muscle BioAmp Shield v0.3 created using KiCad.
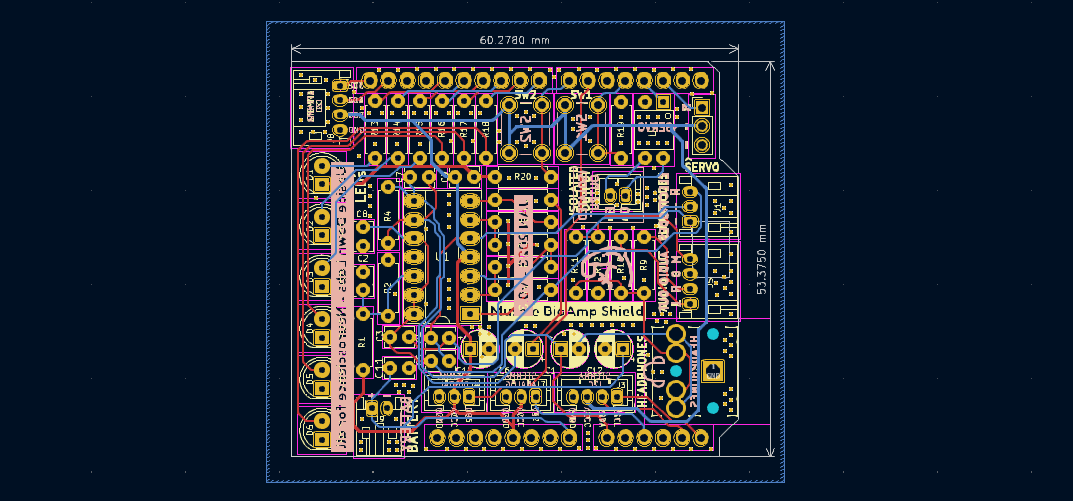
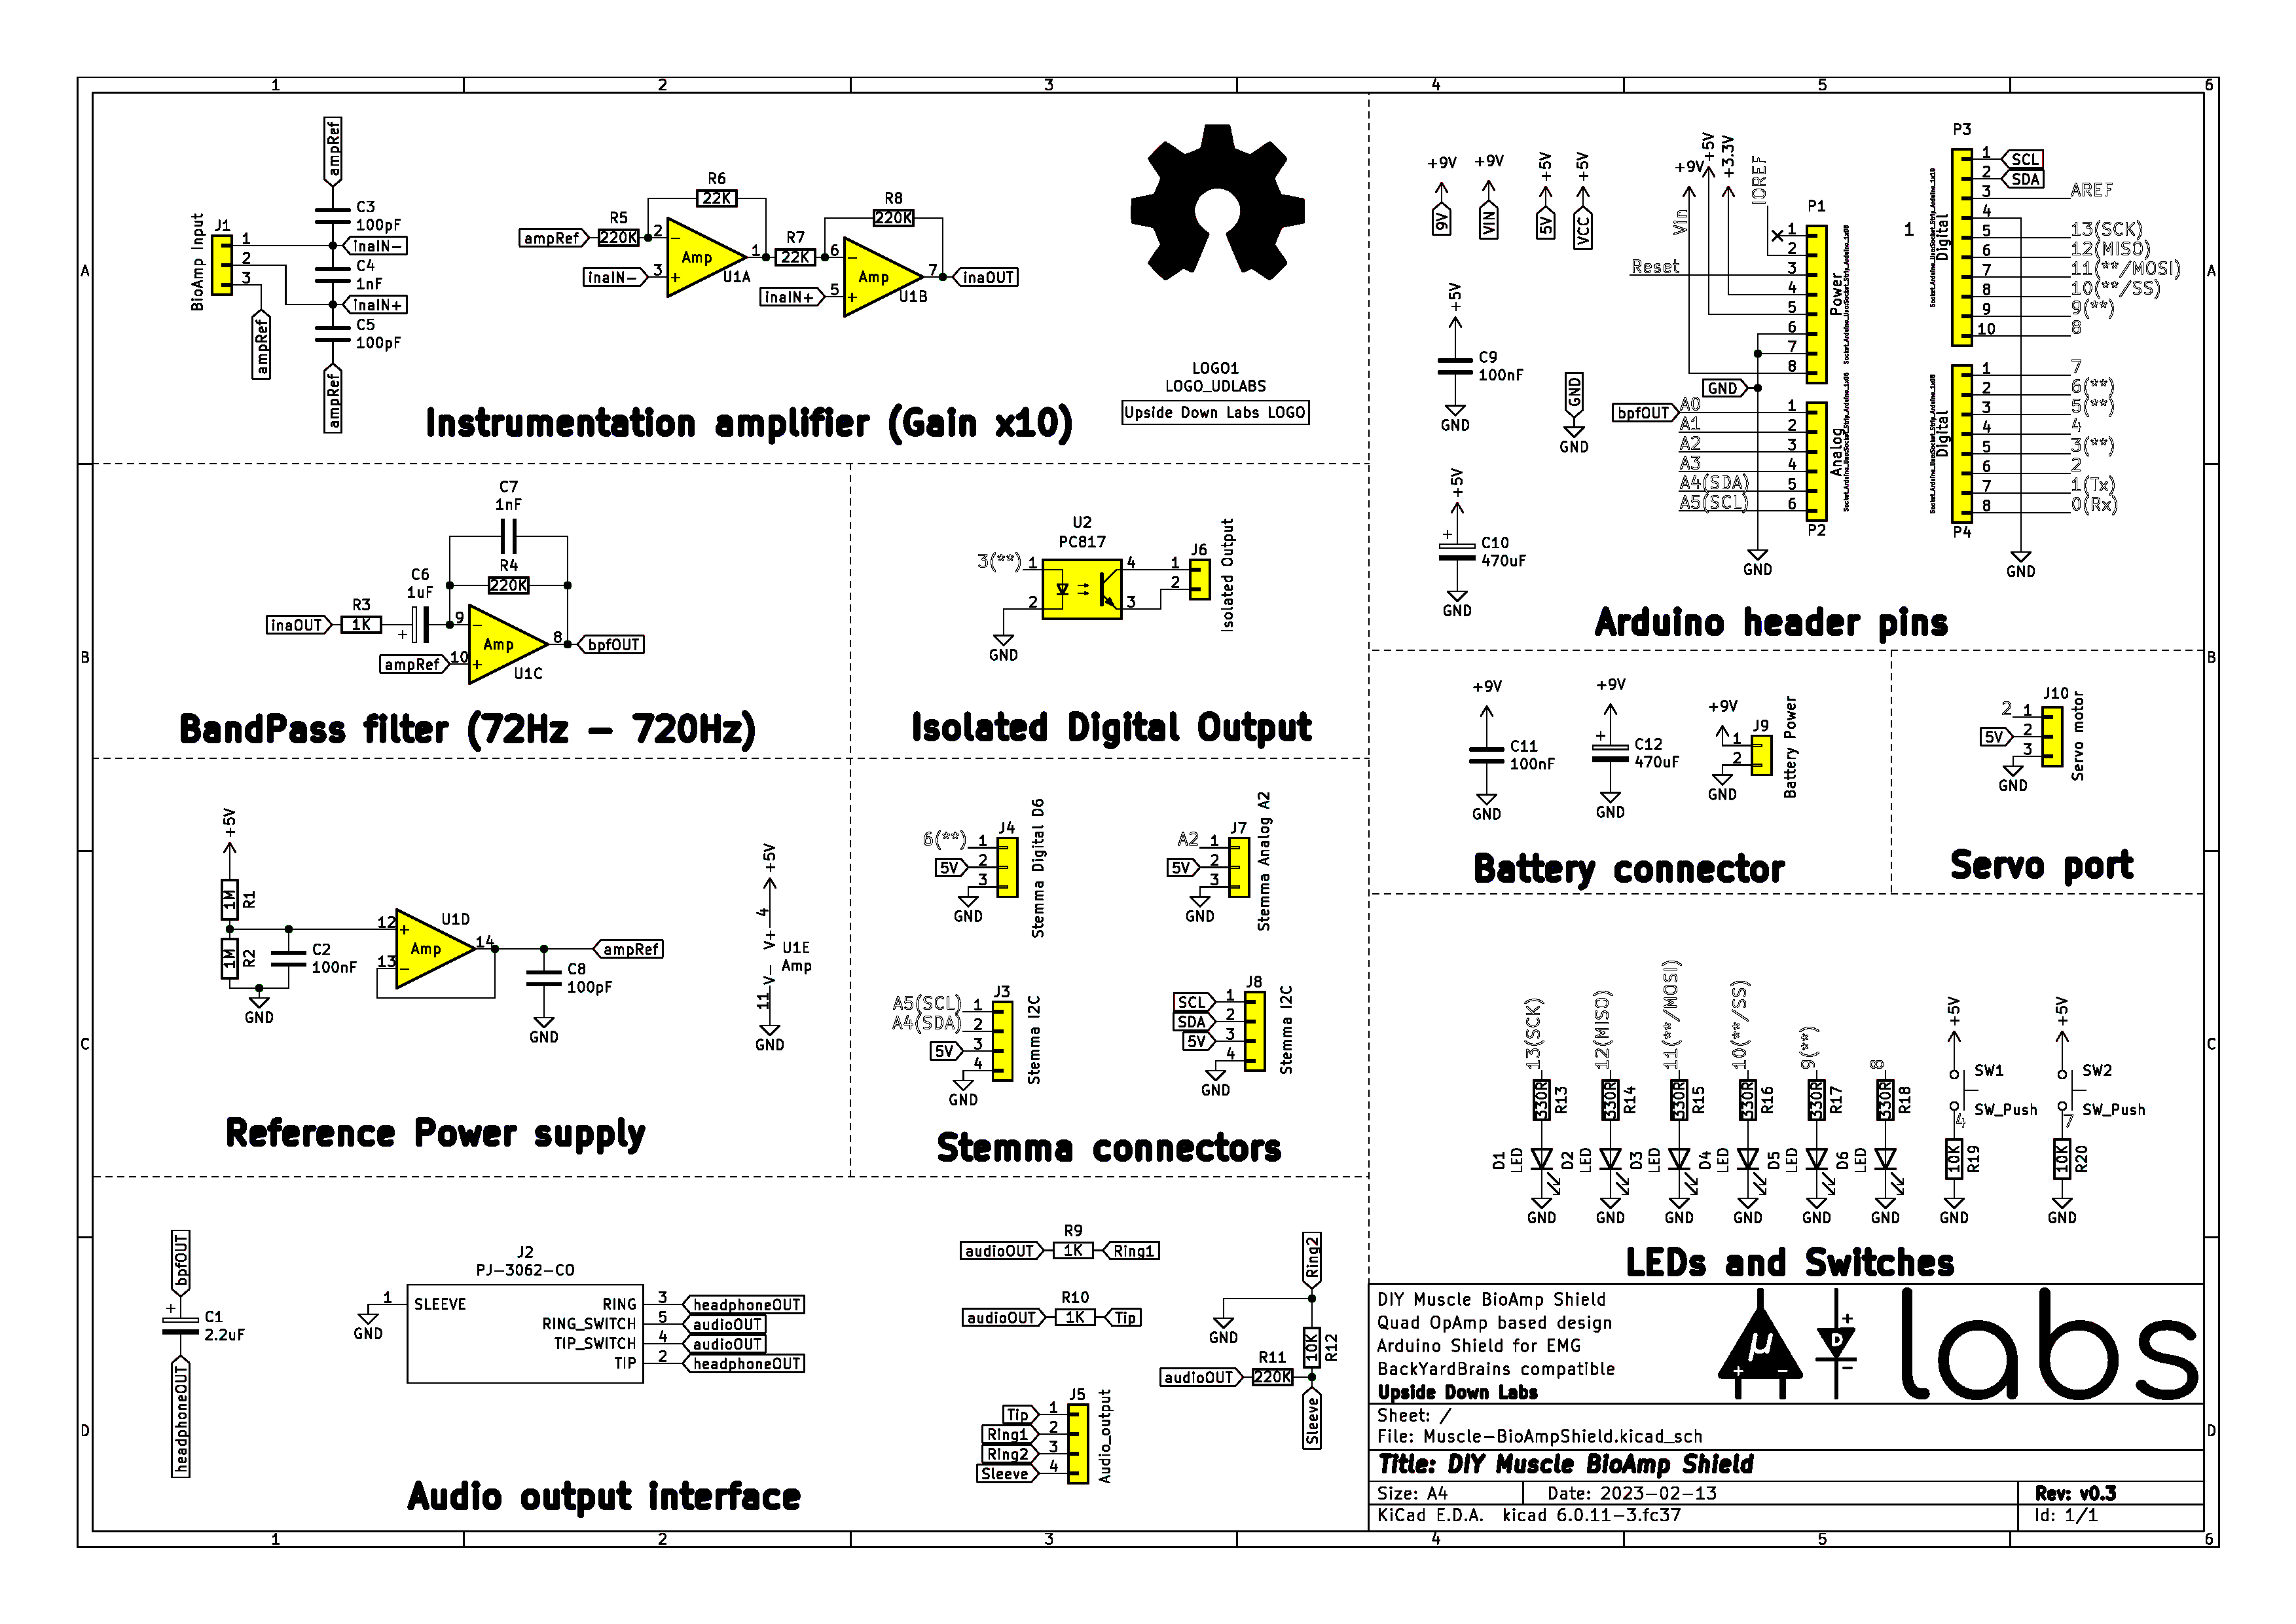
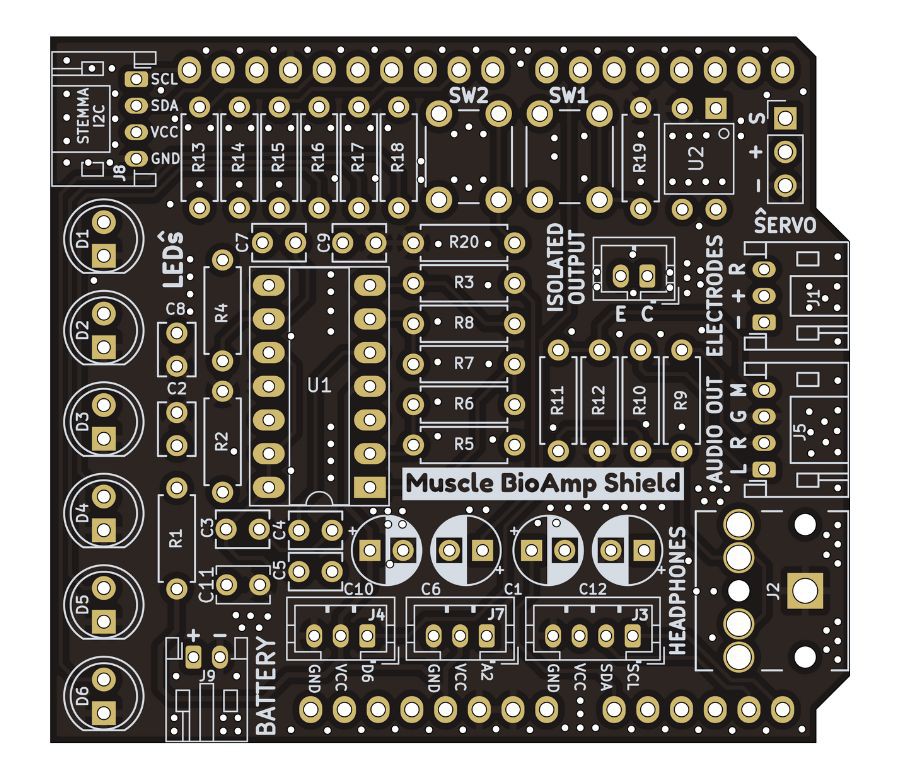
For more details on how to make your own Muscle Bioamp Shield v0.3, you can see the assembly steps below.
 Deepak Khatri
 Thiago Ribeiro de Azeredo
 Hulk
Hulk
 biemster