0%
0%
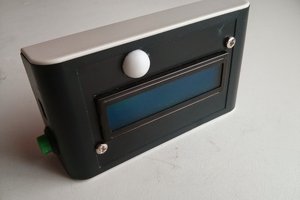
BattMan Pi
A project to update BattMan II with a Raspberry Pi.
Become a Hackaday.io member
Already have an account? Log in.
Just one more thing
To make the experience fit your profile, pick a username and tell us what interests you.
Pick an awesome username
hackaday.io/
Your profile's URL: hackaday.io/username. Max 25 alphanumeric characters.
Pick a few interests
Projects that share your interests
People that share your interests
 facelessloser
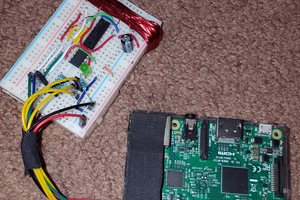
 Salvador Mendoza
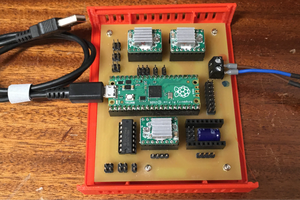
 DD-Y41613
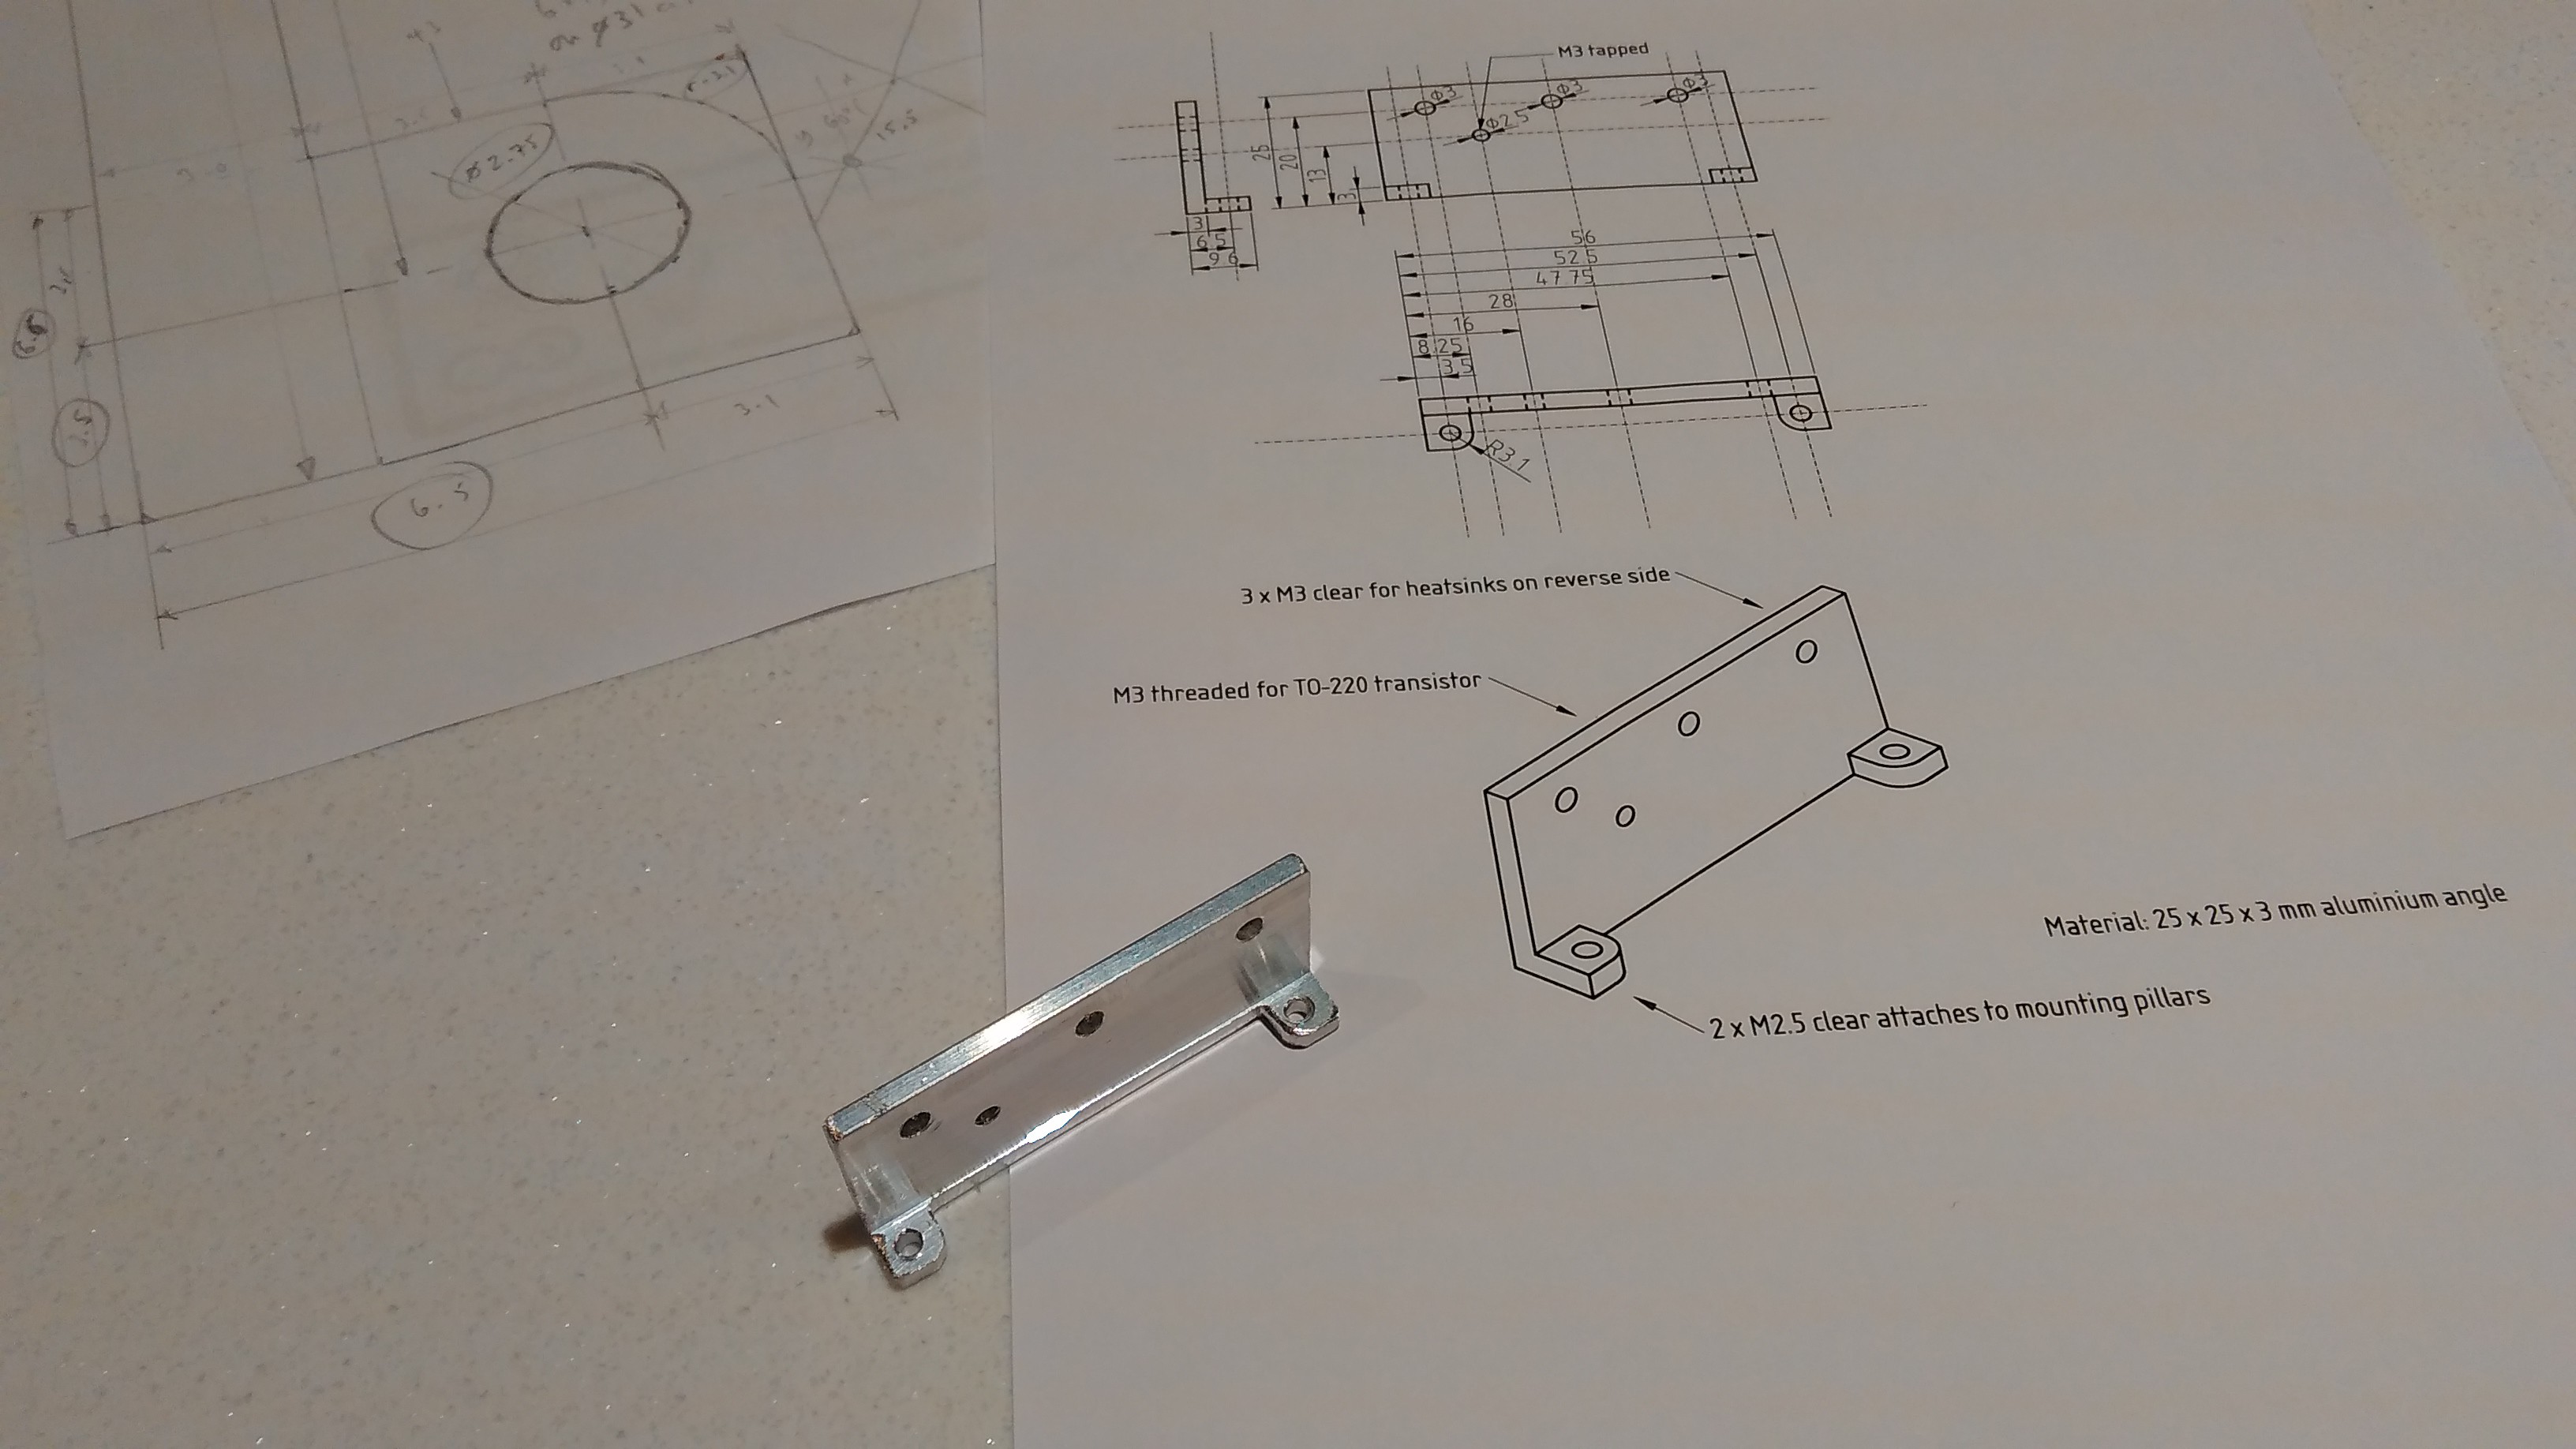
Thank you for your comments. The circuit design is not mine, it is the original BattMan II circuit. I could have changed the circuit significantly, however several of them have been built, and I believe they work well. I wanted to build a BattMan II for myself, but of course LPT ports are in short supply, hence this rework.
I suggest you read the original BattMan II project page to see why certain design choices were made. I didn't want to change anything as I wanted it to work as the original did.
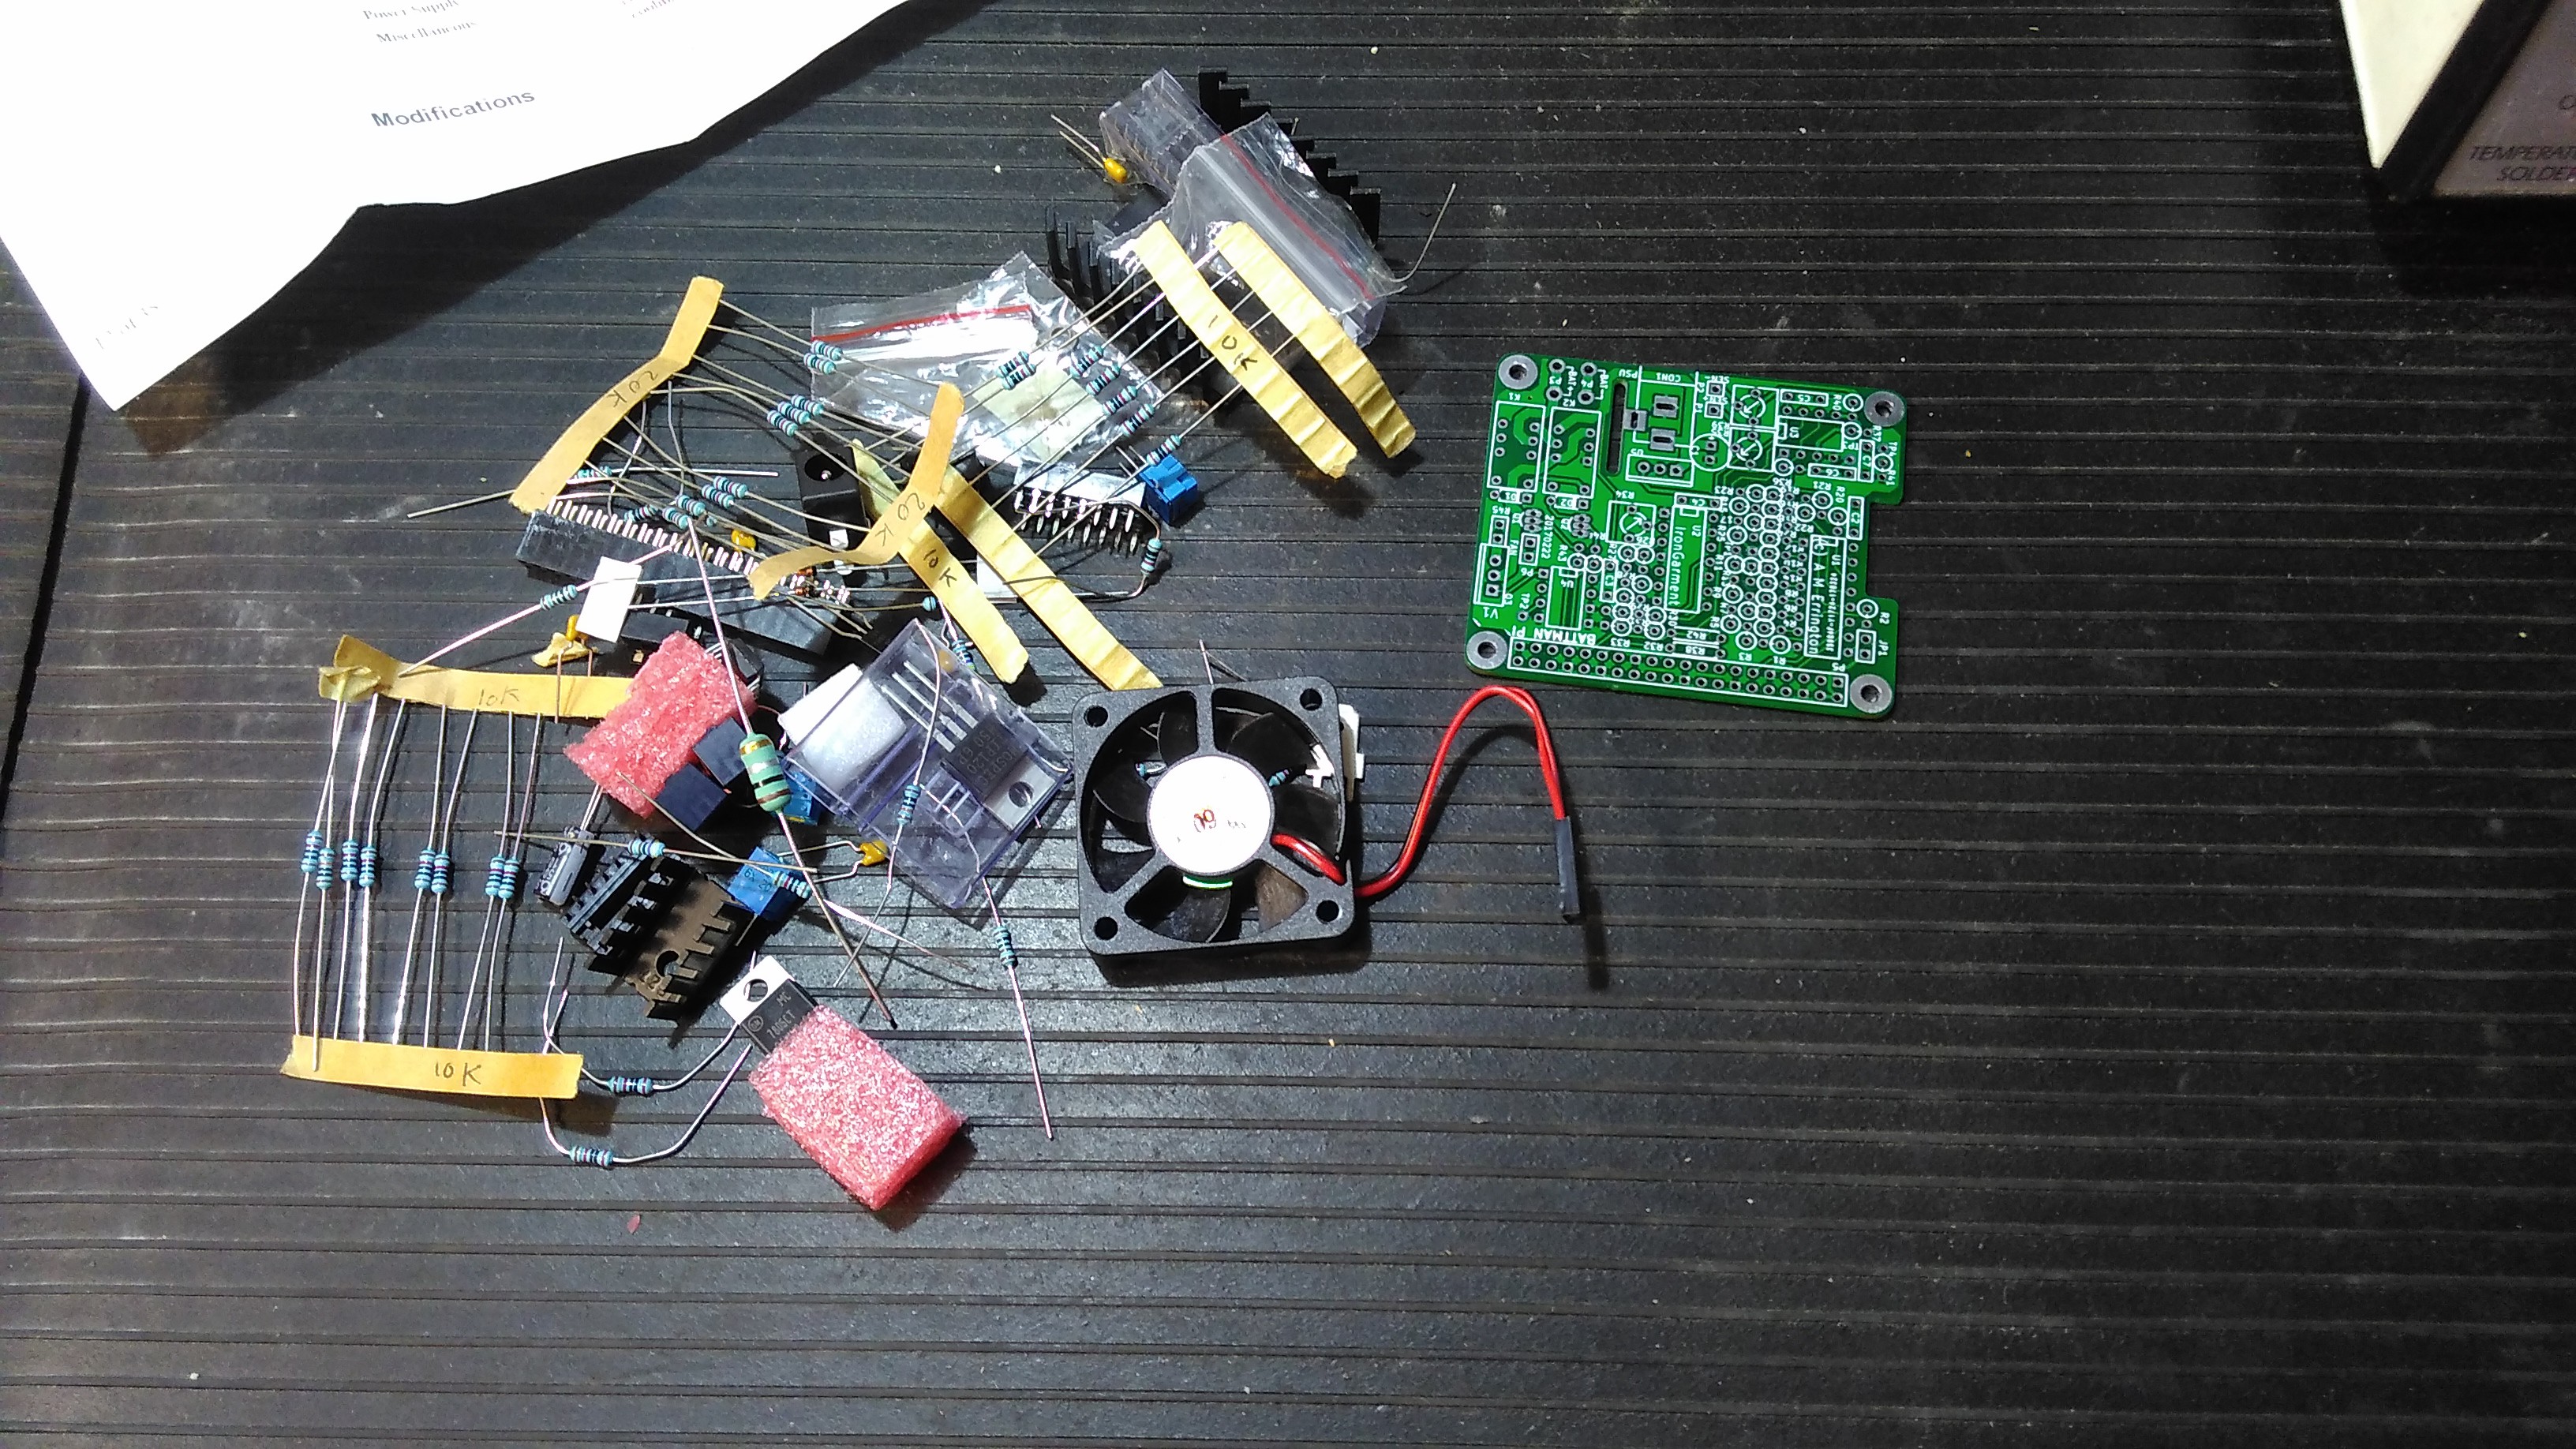
The 5V regulator is indeed wasteful. I have included an option to power the logic from the Pi 5V output.
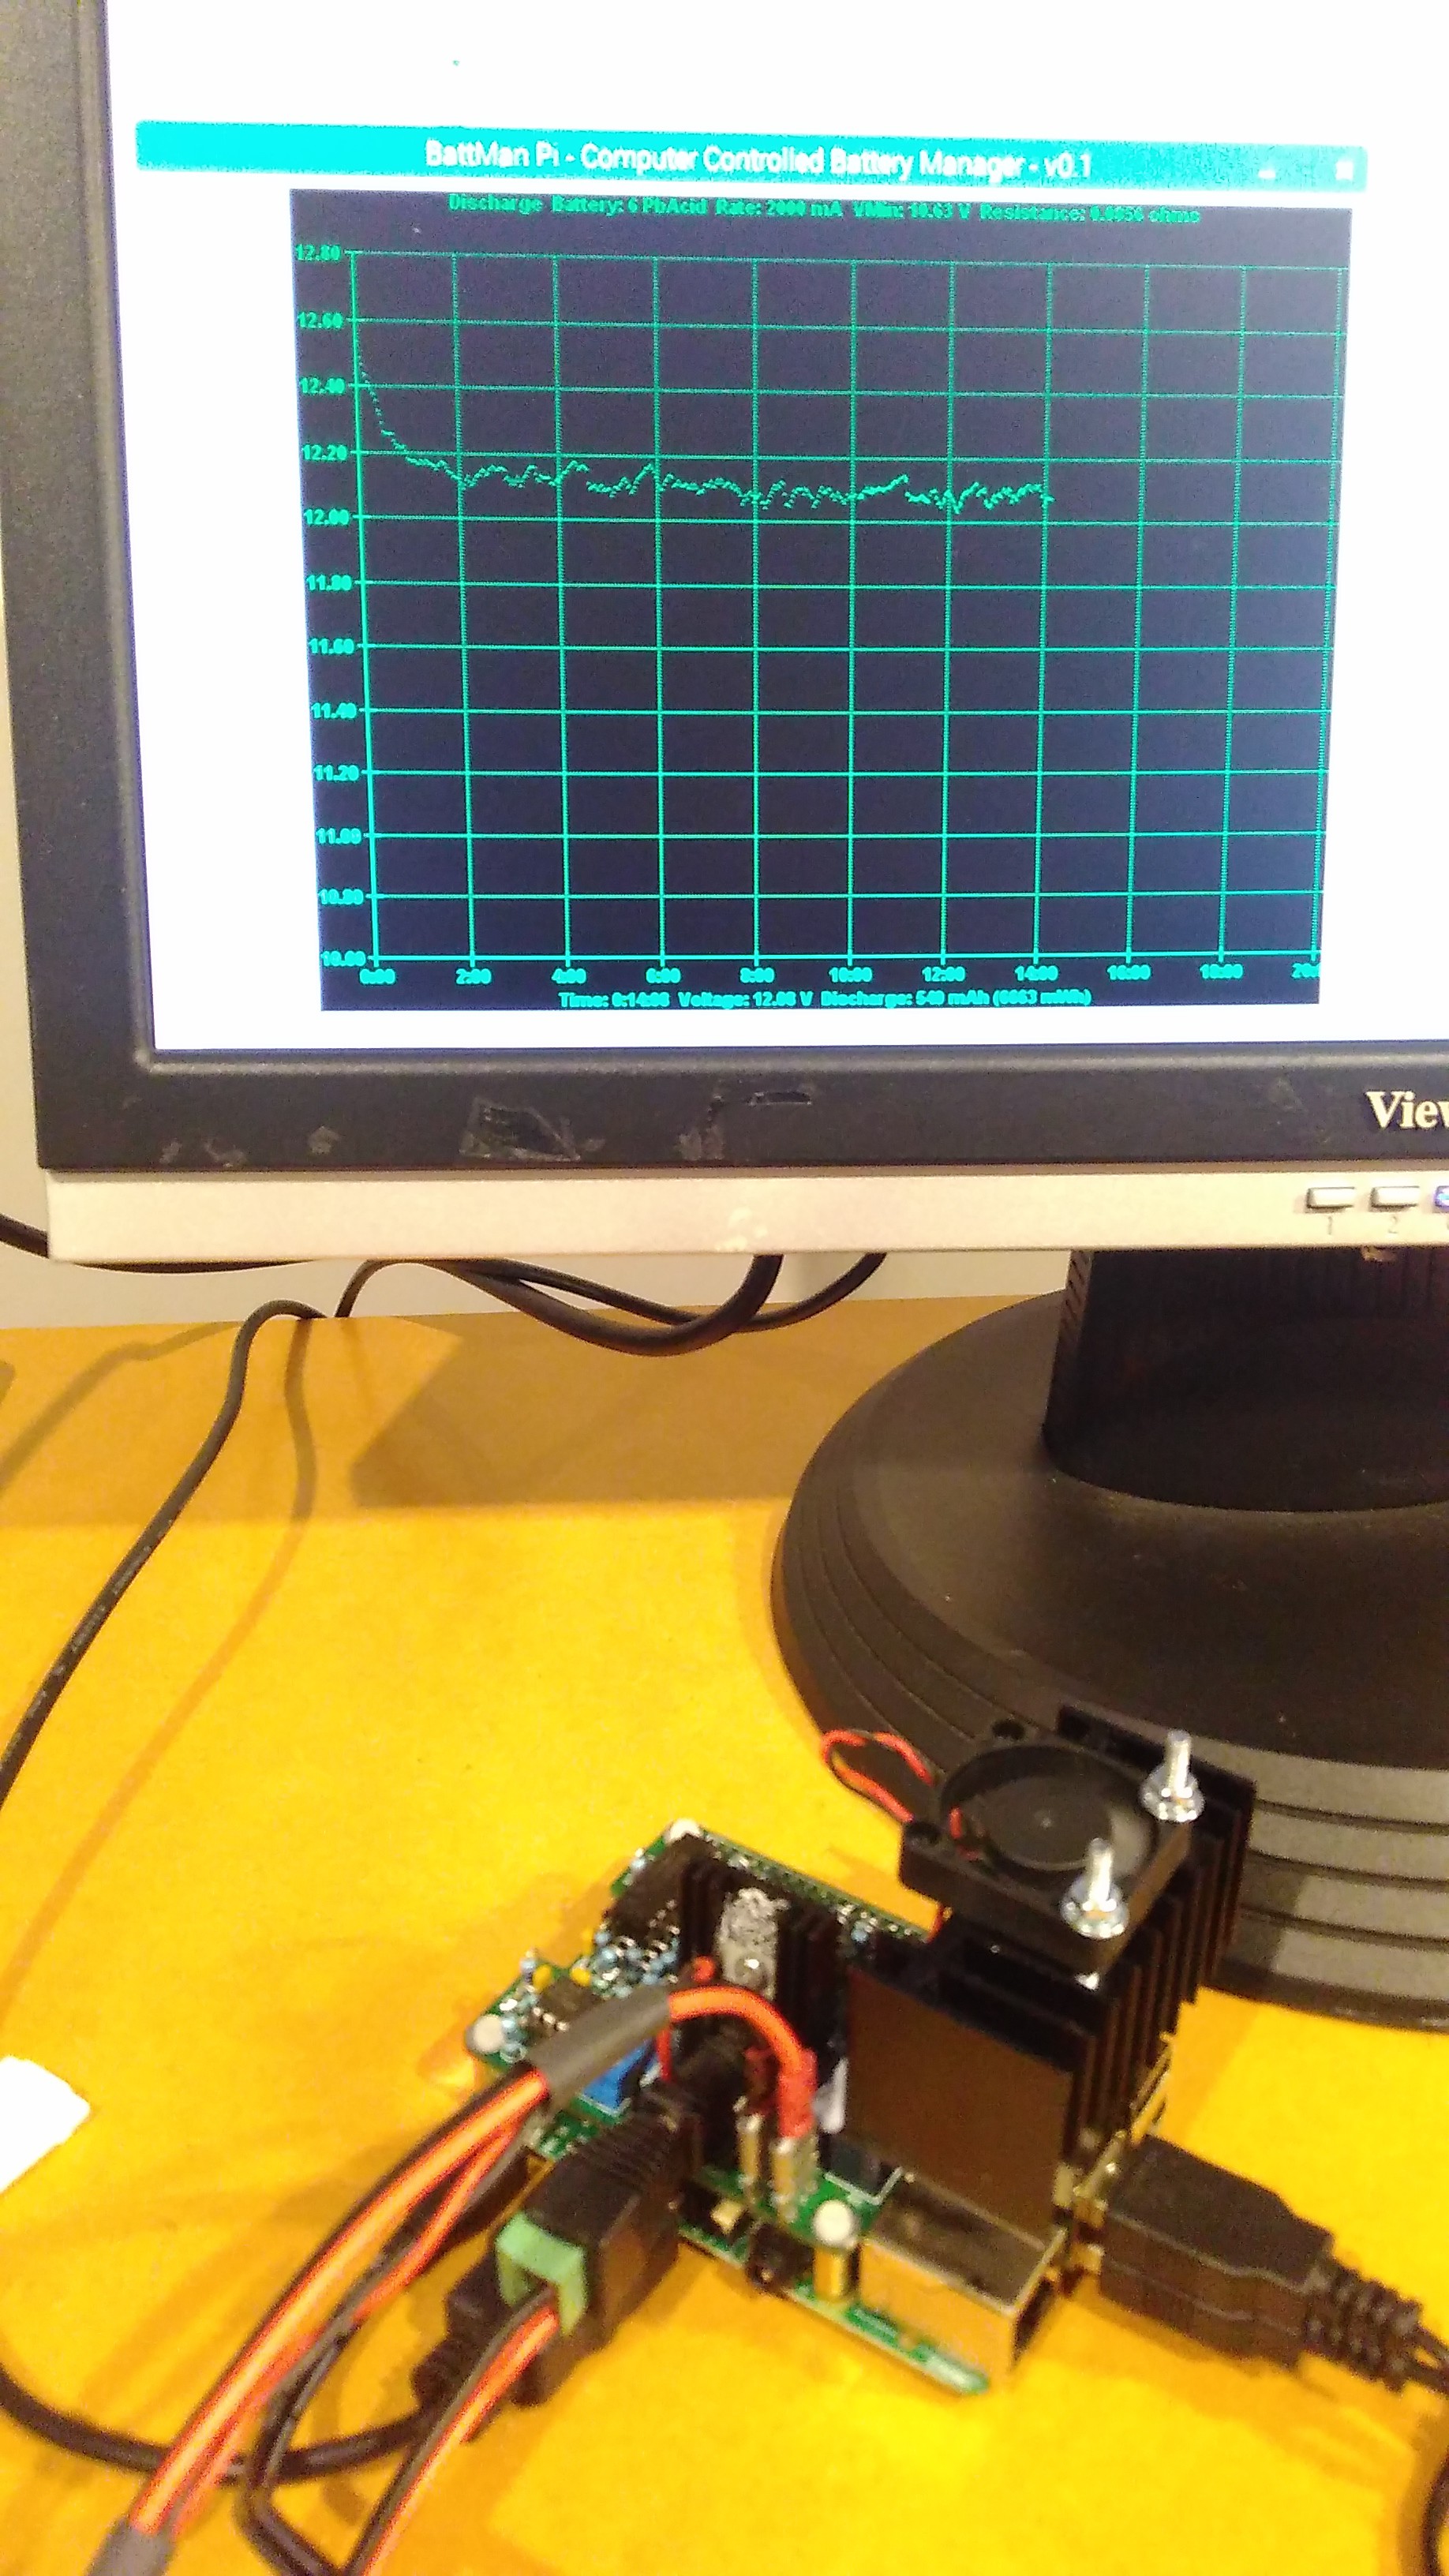
The 24V supply voltage is nominal, and will depend on what PSU is available, and what cells are intended to be charged. Since the PSU voltage will differ for different builders the relays can't be driven directly from it (although in practice there is a lot of headroom).
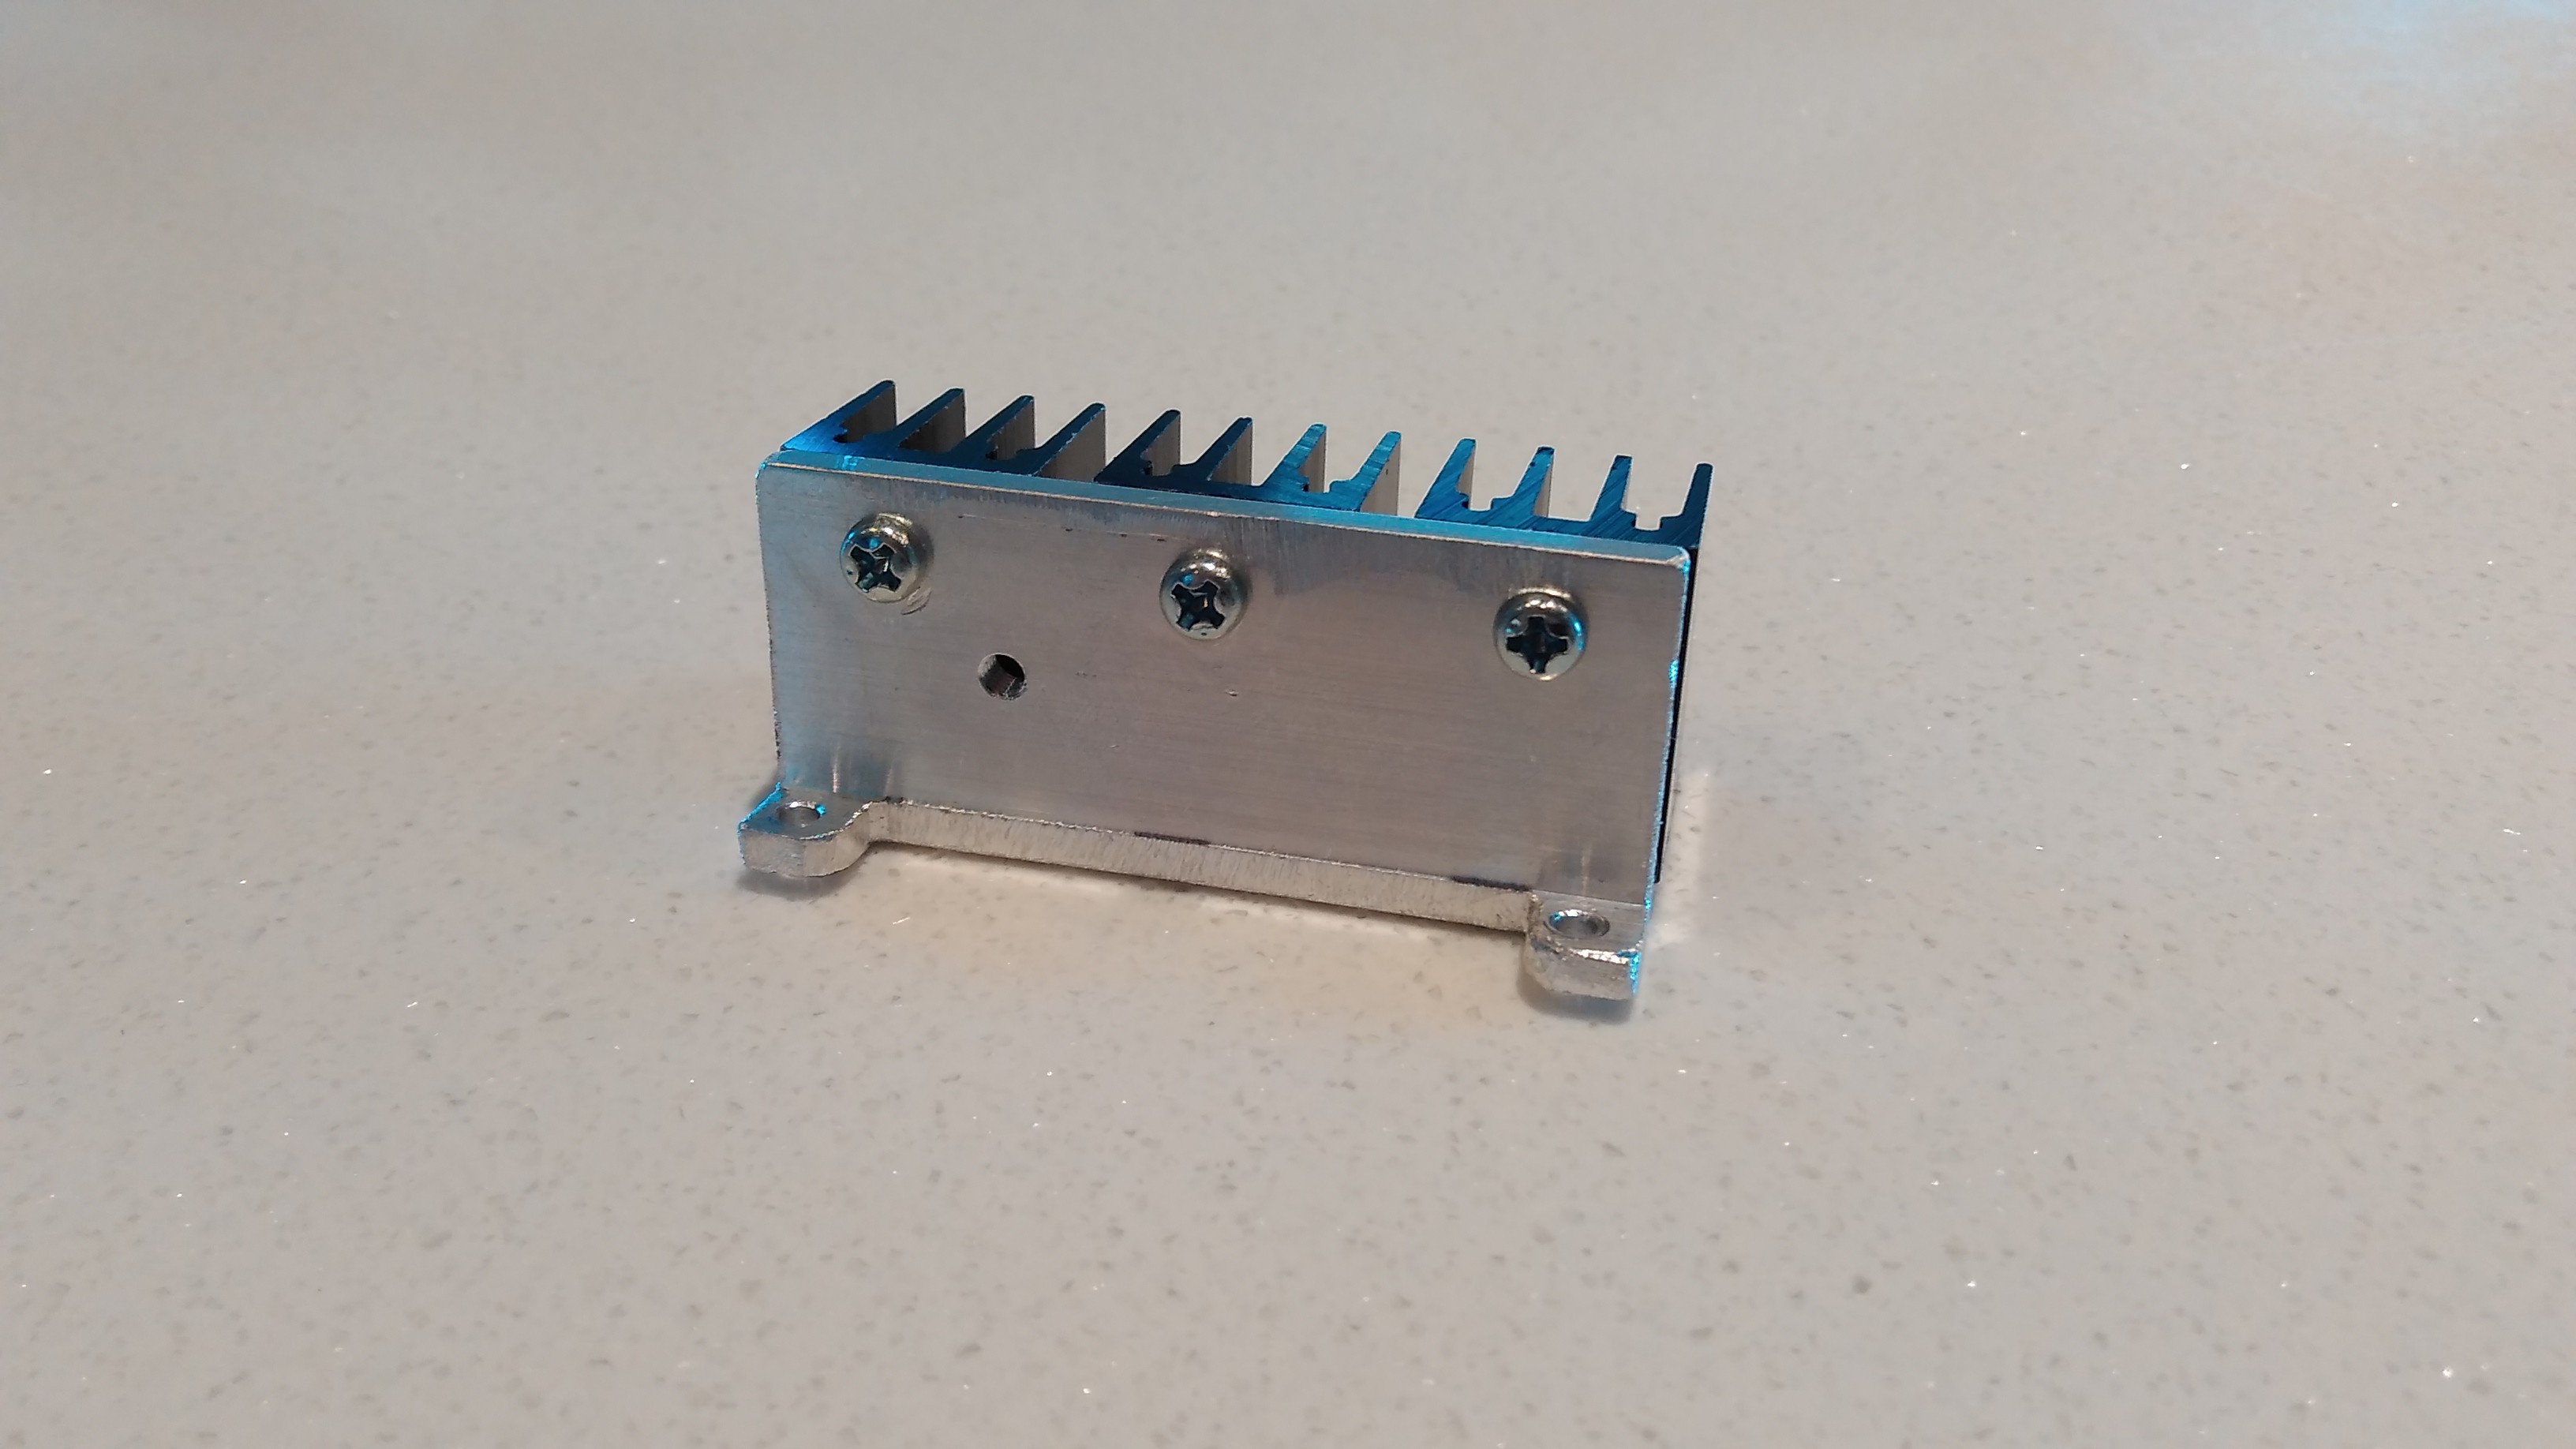
Finally, I agree that turning off the load transistor could remove the need for the second relay, but it's safer and more practical to include it. I'll look at the software and check that it turns off the transistor before turning the relay on or off, to reduce arcing. If it doesn't I'll add it.
Thank you for taking the time to write, I really appreciate it.