 Crypto [Neo]
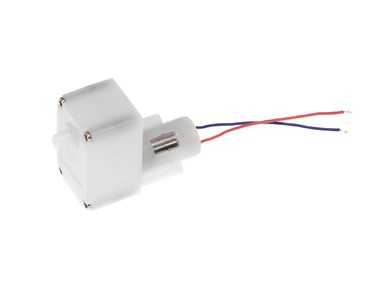
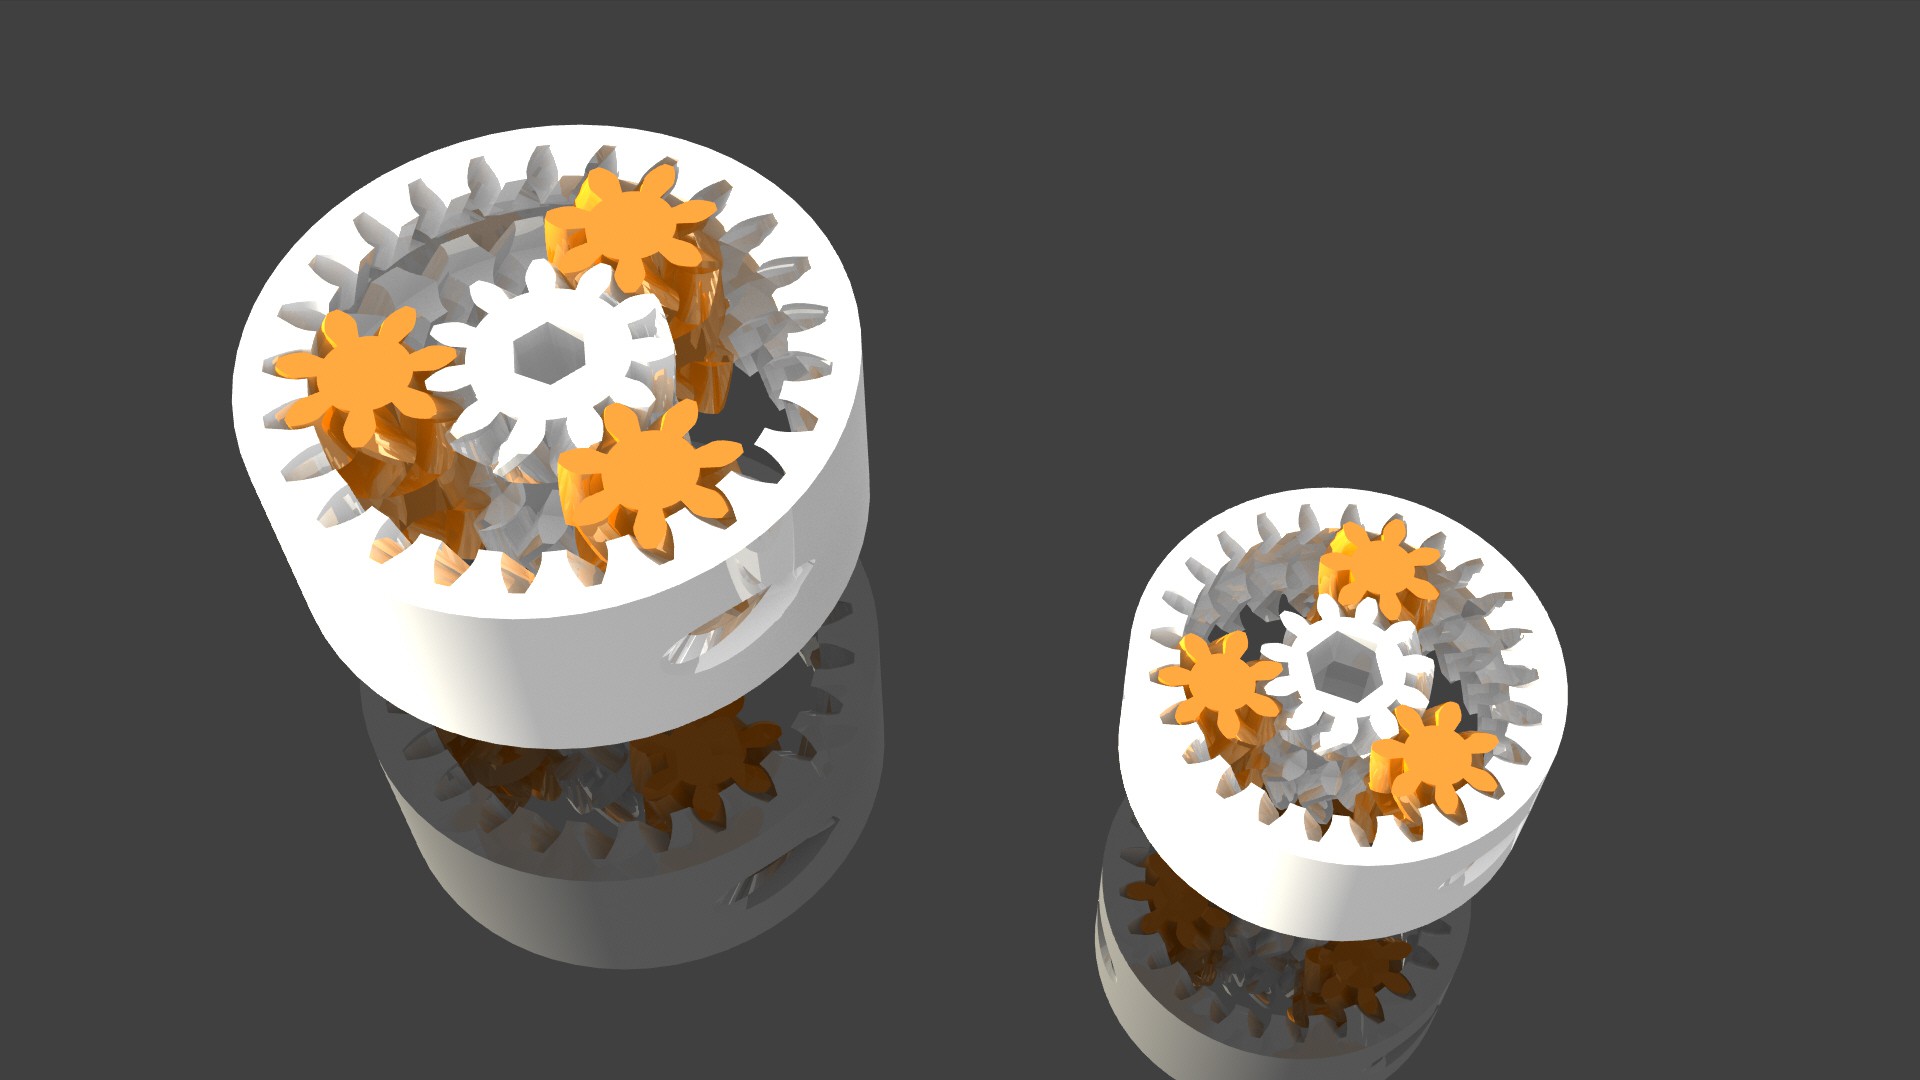
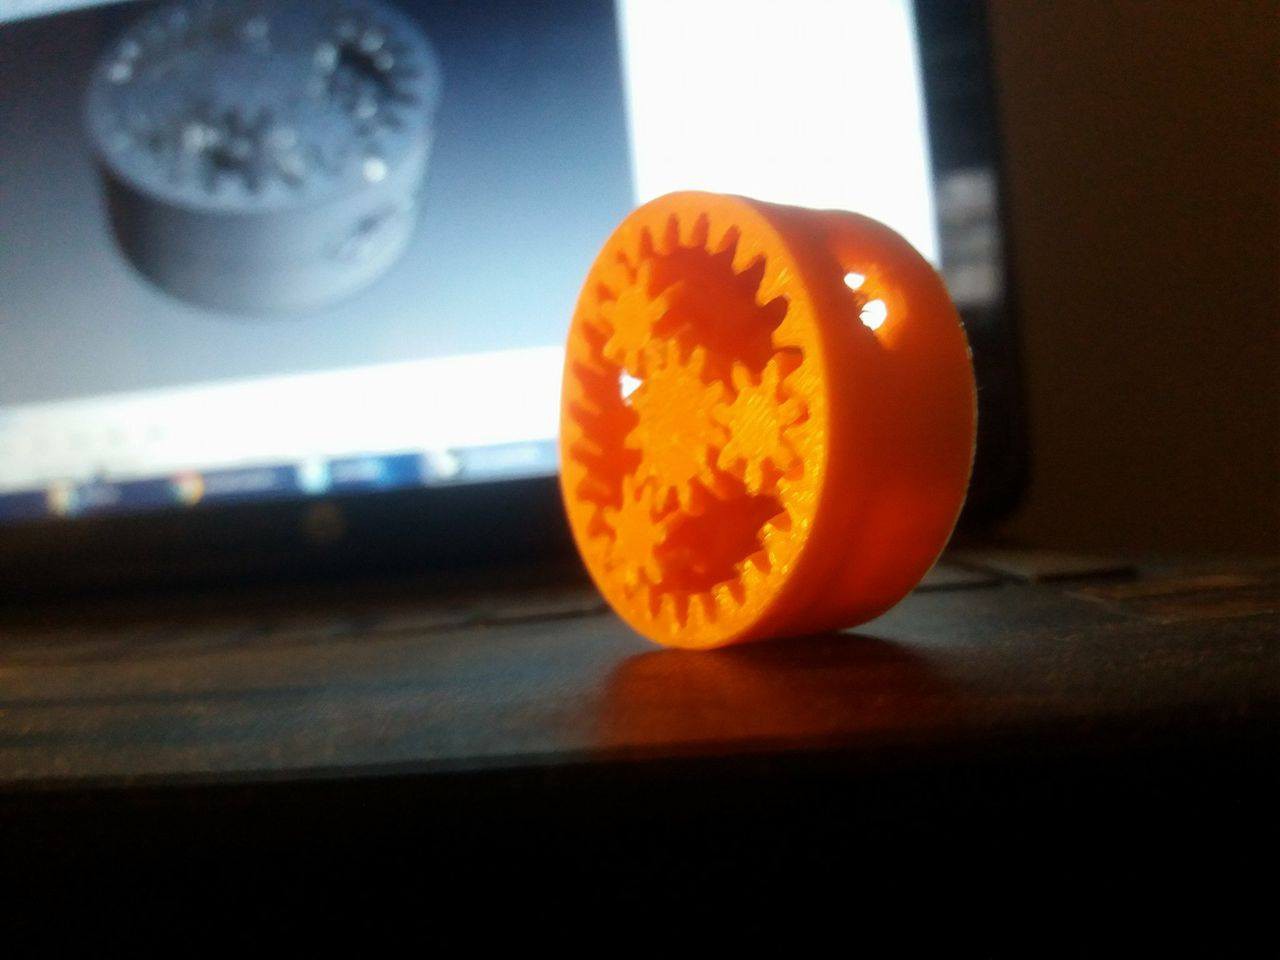
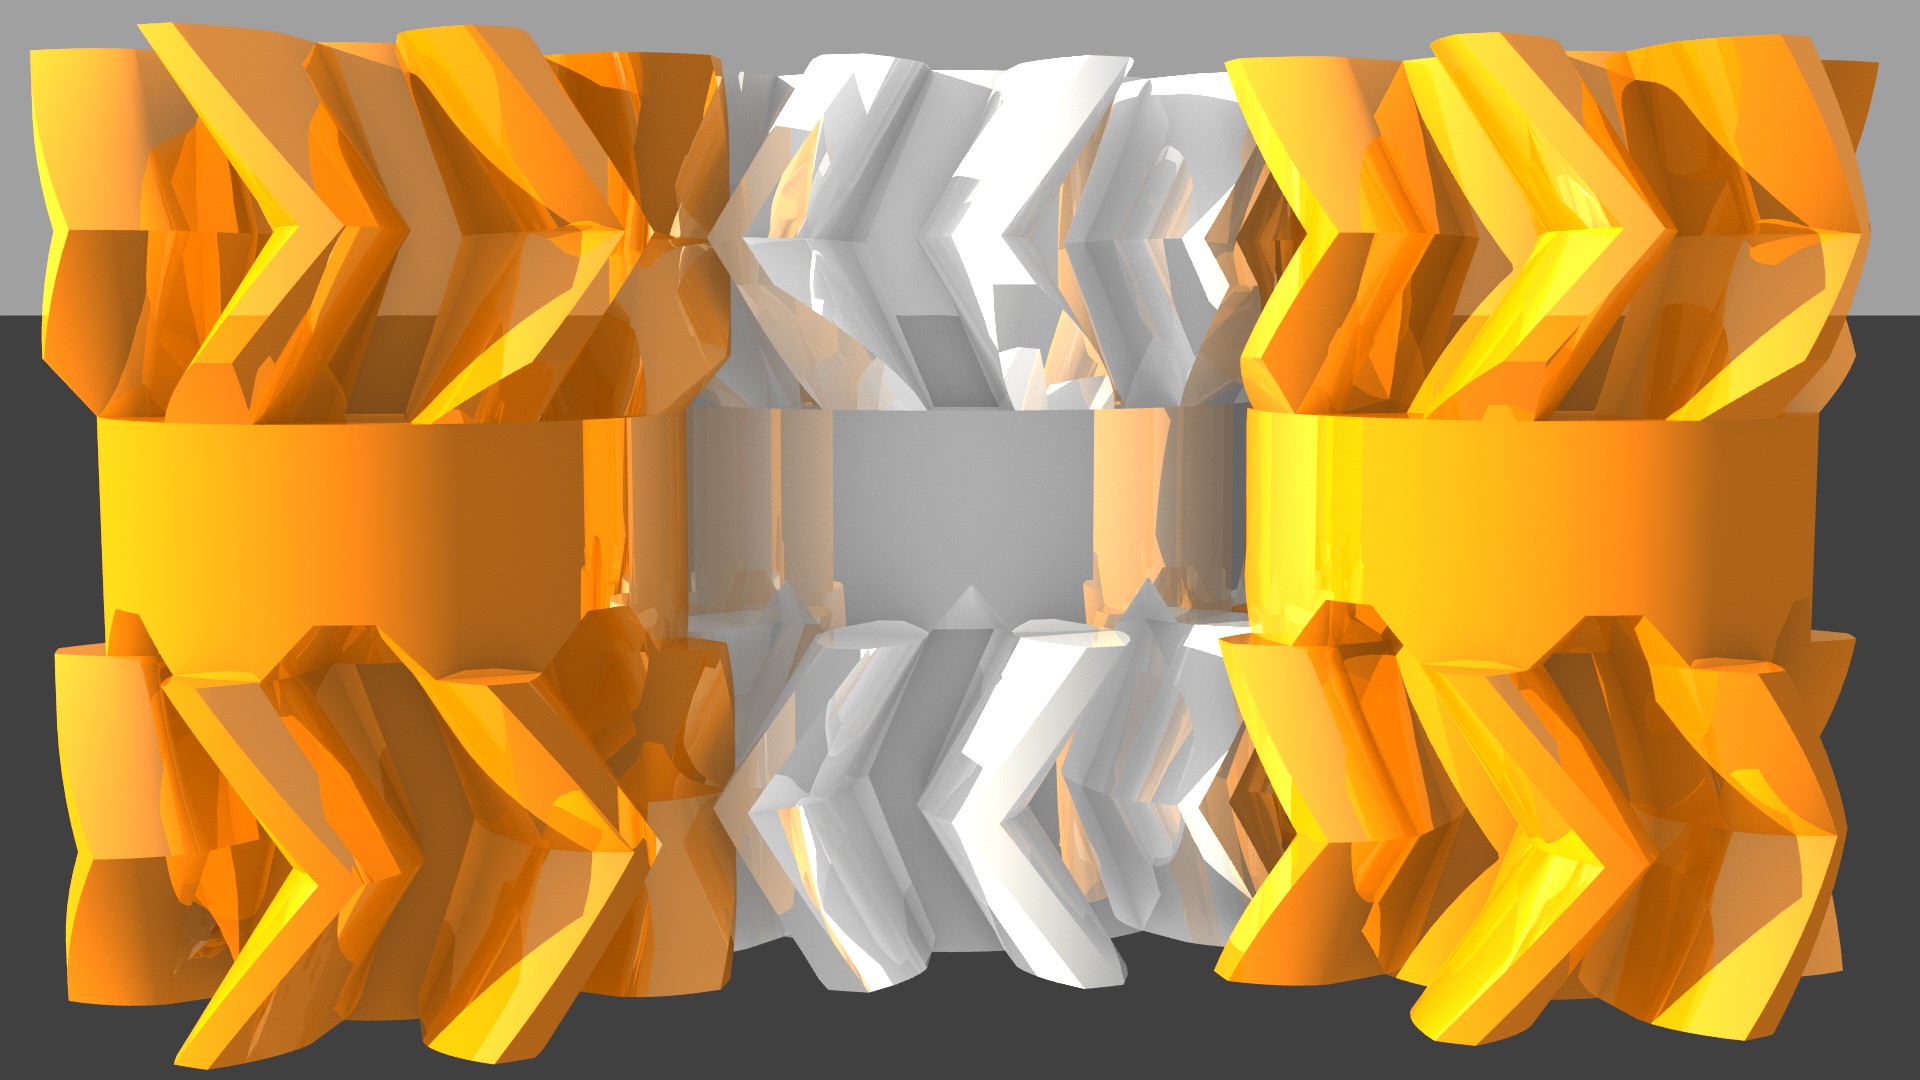
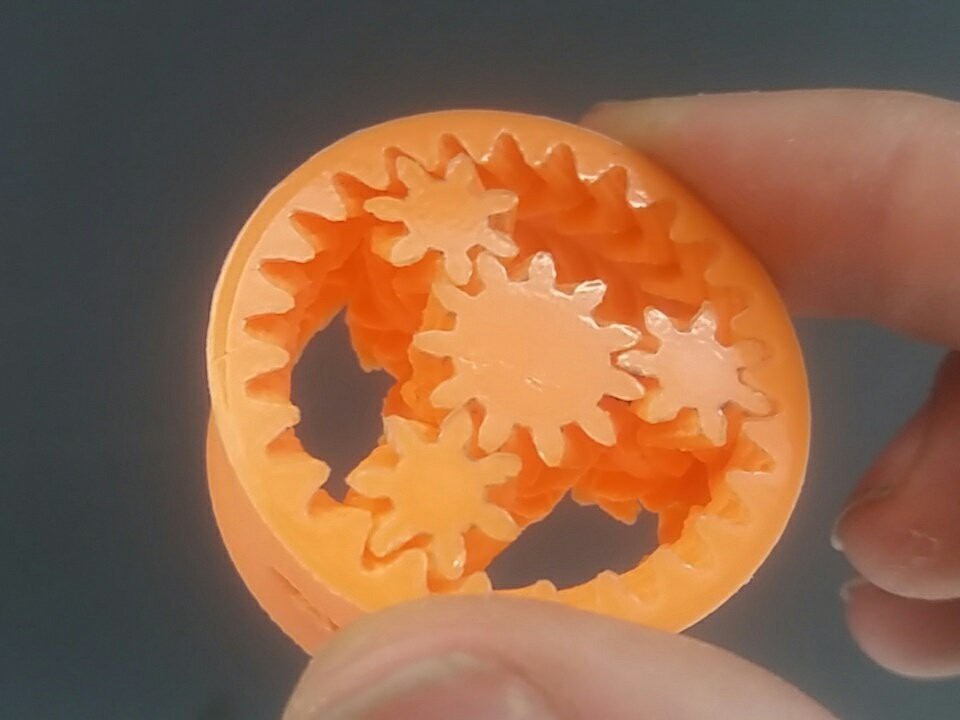
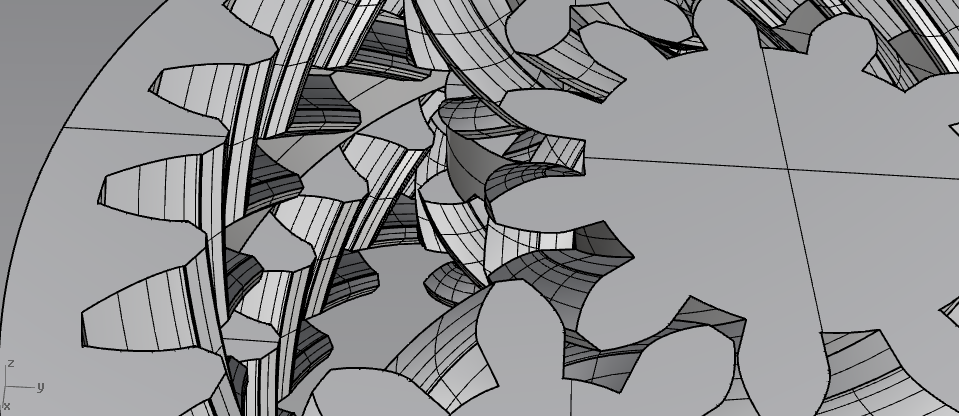
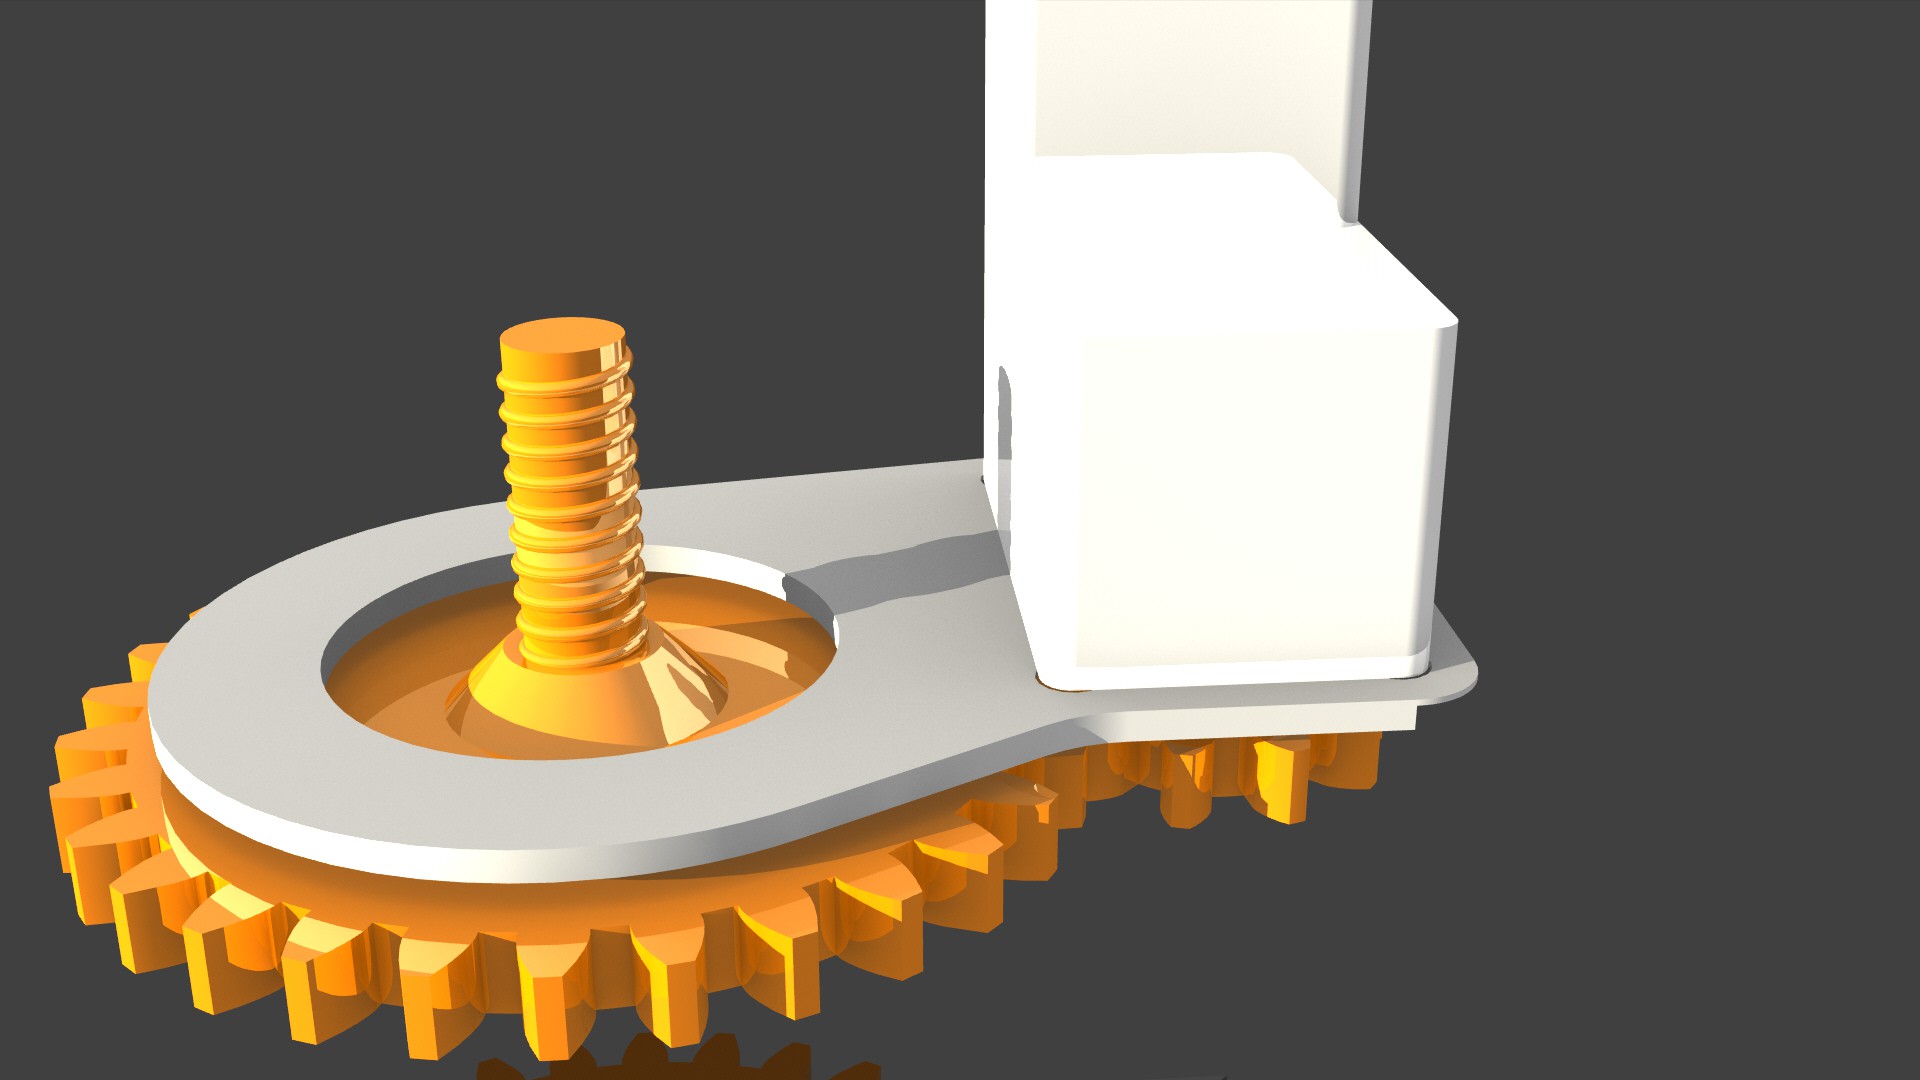
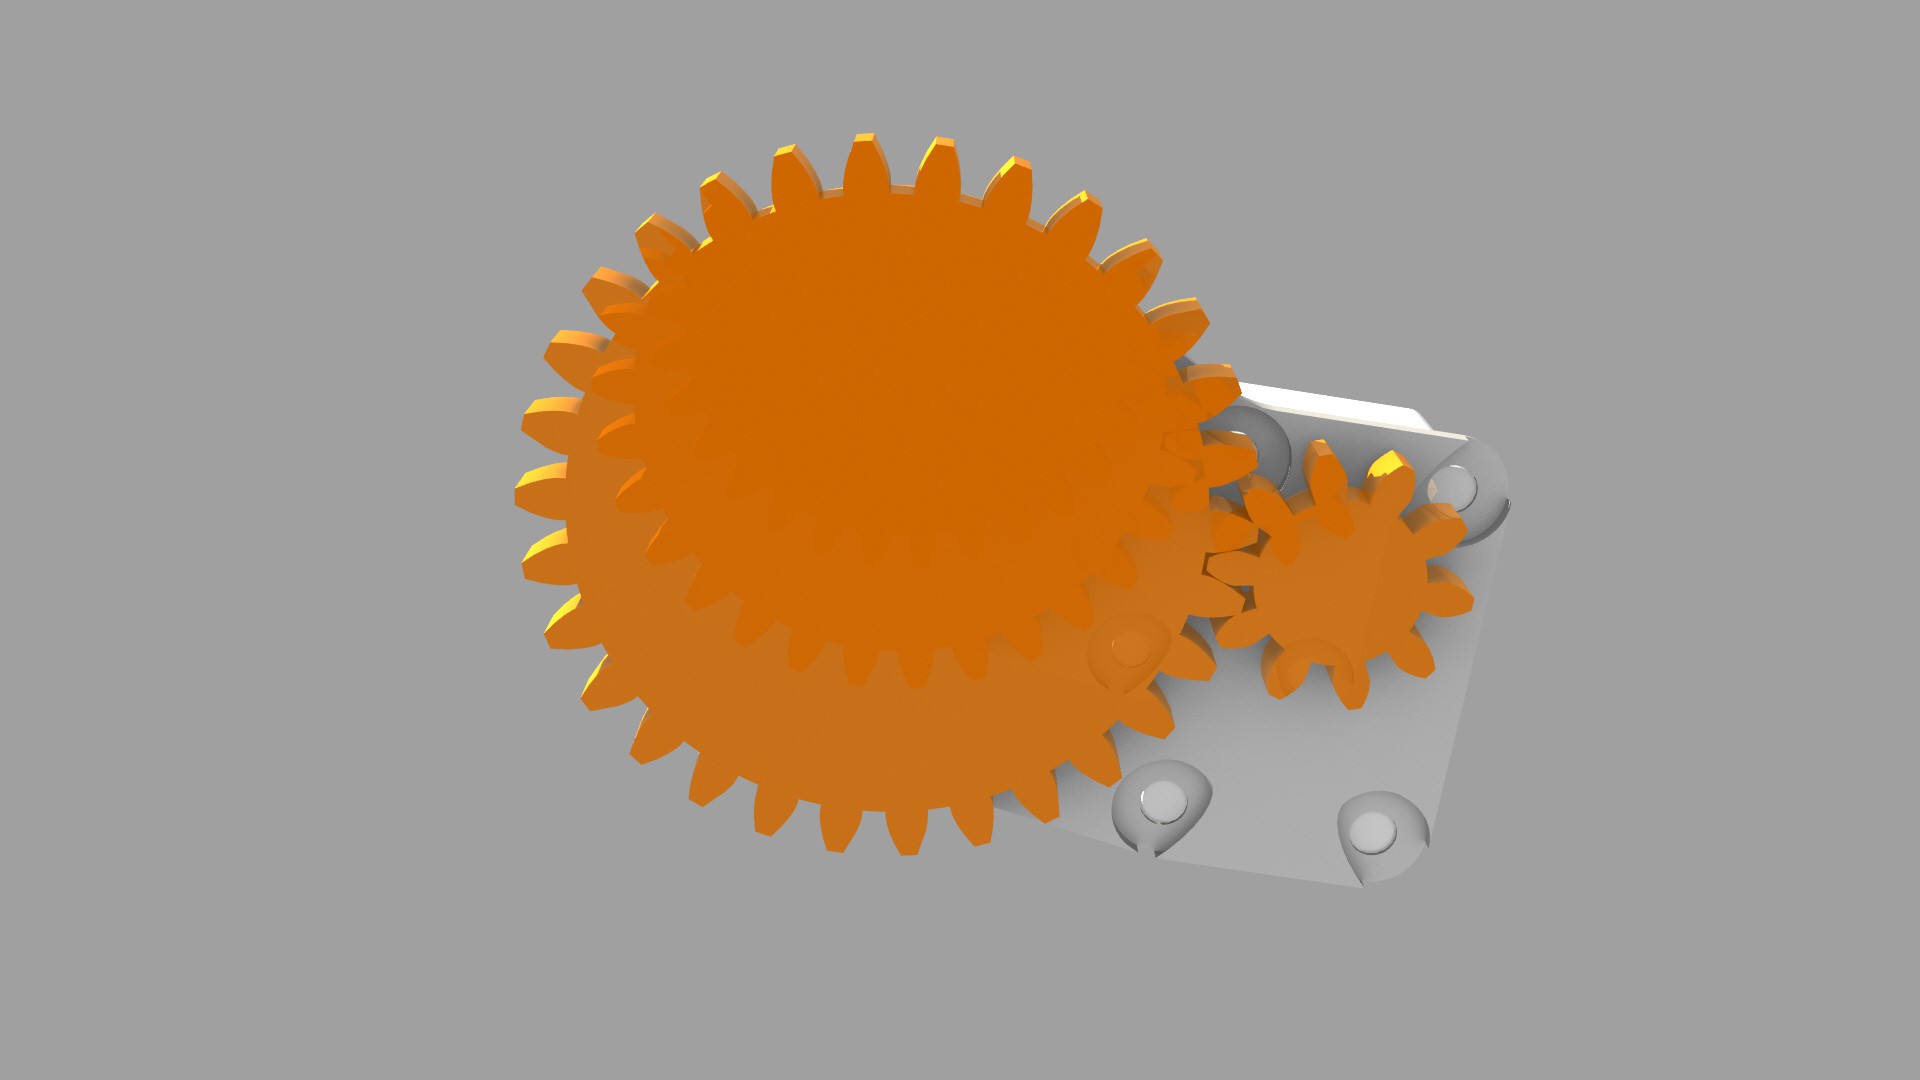
This is a tiny peristaltic pump designed to move small amounts of liquid at low flow rates. It's nothing special really, but is a good example of functional 3D printing. Currently I am tweaking the design to get the best fit possible. Once I have something good I'll upload the files, which should be in the next day or so.
0%
0%
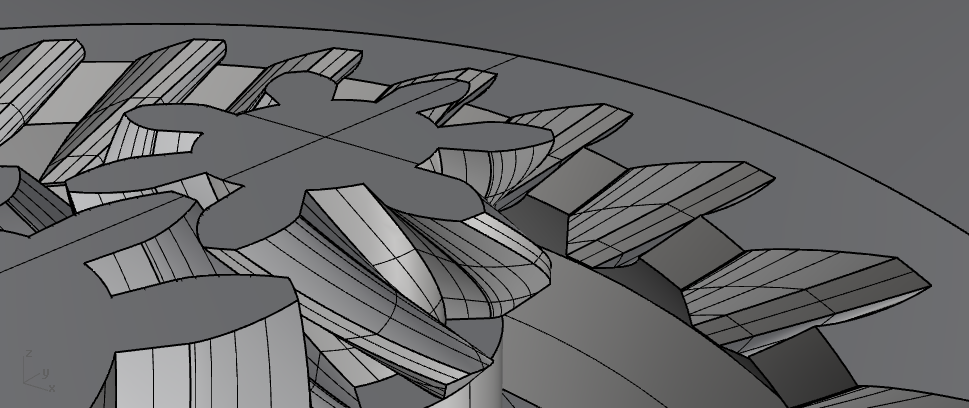
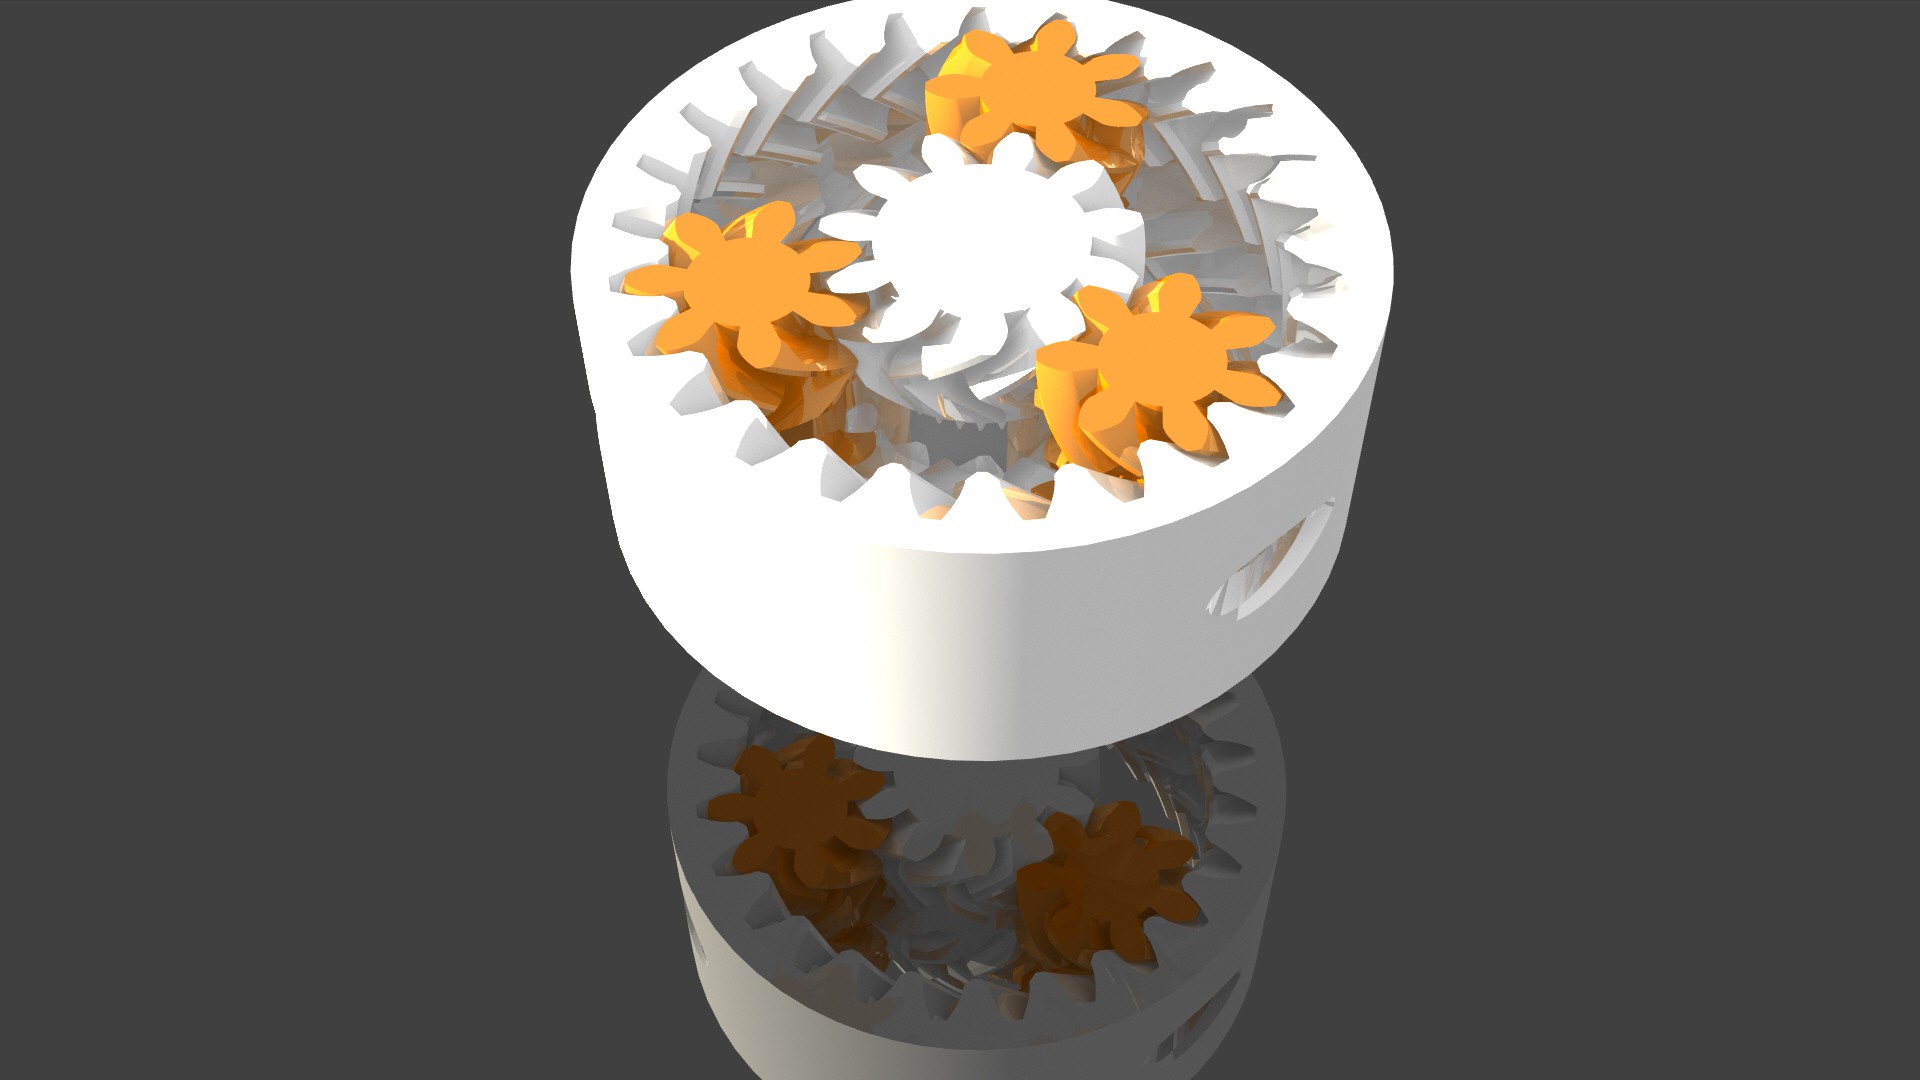
3D Printable Micro Peristaltic Pump
A peristaltic pump you can 3D print! In a tiny 1.5" Package!
Become a Hackaday.io member
Already have an account? Log in.
Just one more thing
To make the experience fit your profile, pick a username and tell us what interests you.
Pick an awesome username
hackaday.io/
Your profile's URL: hackaday.io/username. Max 25 alphanumeric characters.
Pick a few interests
Projects that share your interests
People that share your interests


 Mike Maluk
 Sam Baker
 Fabian
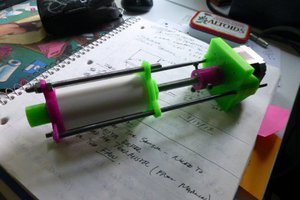
 doctek
Very nice. I'm thinking of using this design sometime in the near future, although likely with a steper motor. How precise and accurate is its flow rate with the GM23? In other words, does it vary a lot over time? Are flow rates very reproducible?