 piat.jonathan
The project uses a highly modified version of the existing pi camera ROS node. The node was modified to publish bot a RAW grayscale image and a JPEG encoded image. This allow to use the RAW image for local processing and to publish the JPEG image to a ROS node connected to the WIFI network of the raspberry-pi with very low cpu-usage (the JPEG encoding is managed by the PI3 image processing pipeline).
0%
0%
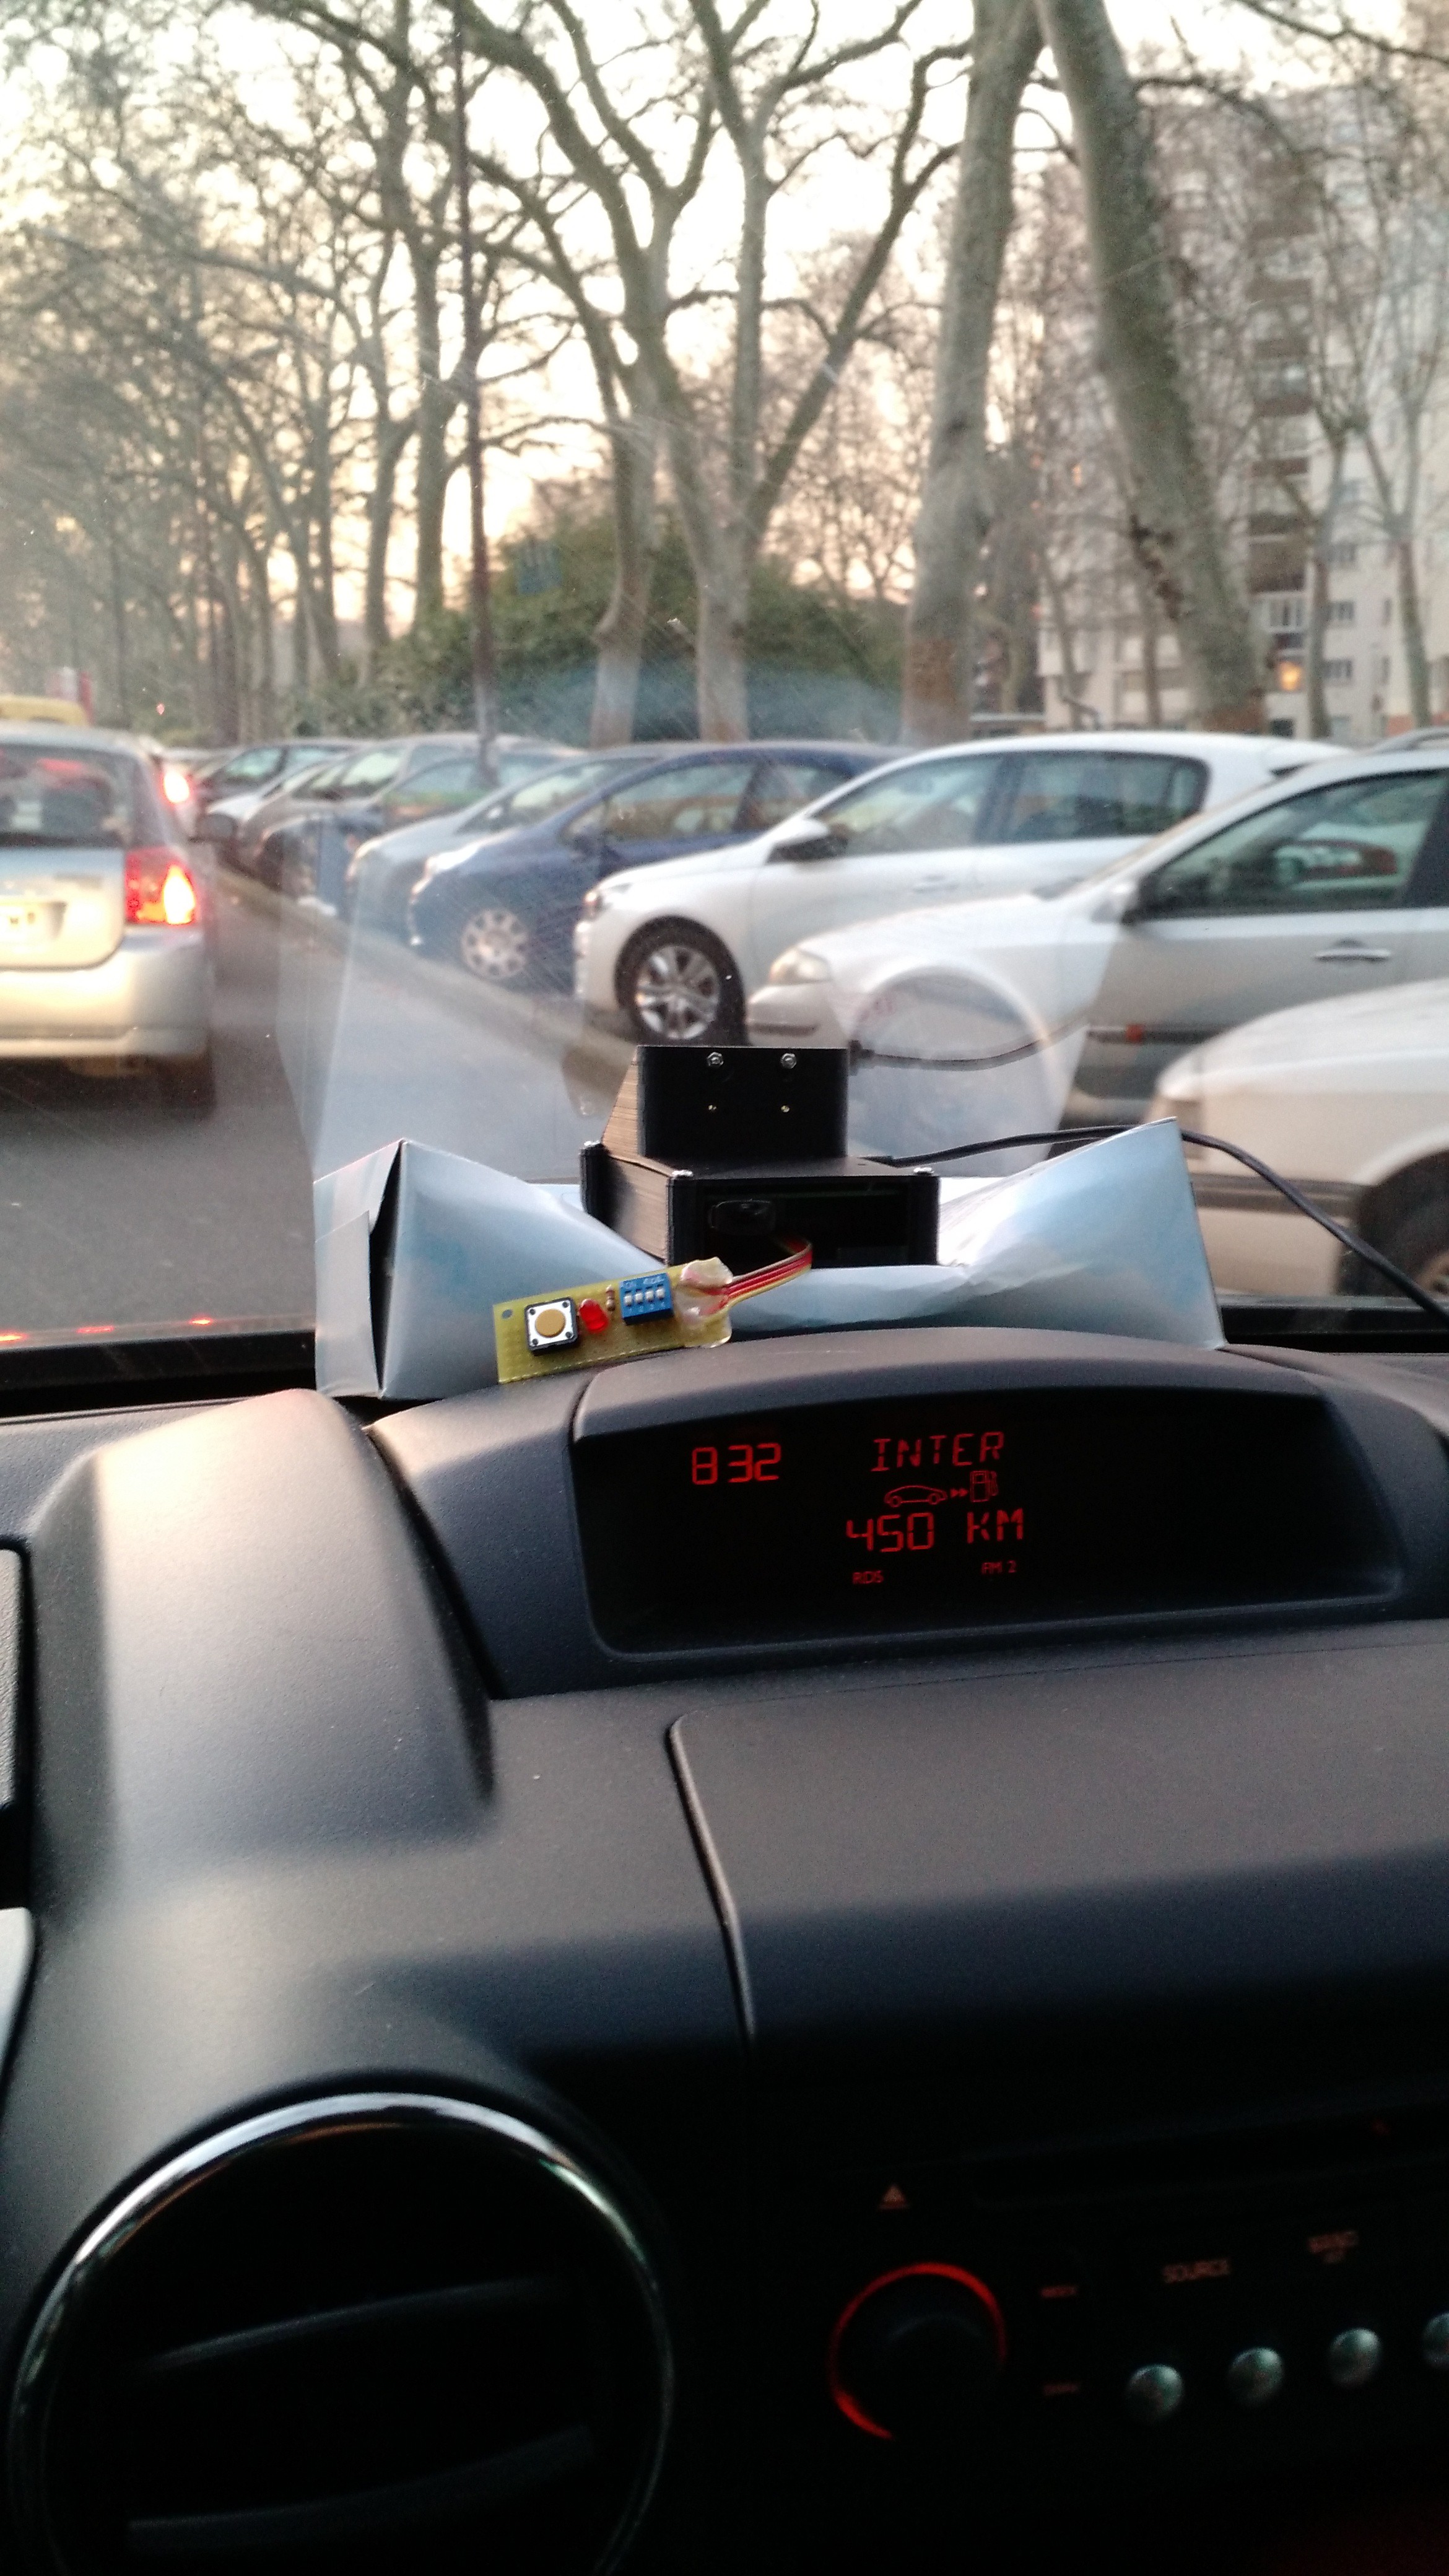
Pi-ADAS
A raspberry-pi based platform for the capture of road data-set and the development of vision-based ADAS functions
Become a Hackaday.io member
Already have an account? Log in.
Just one more thing
To make the experience fit your profile, pick a username and tell us what interests you.
Pick an awesome username
hackaday.io/
Your profile's URL: hackaday.io/username. Max 25 alphanumeric characters.
Pick a few interests
Projects that share your interests
People that share your interests

 nick.r.brewer
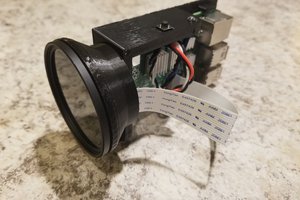

 facelessloser
 Smeef
Smeef