0%
0%
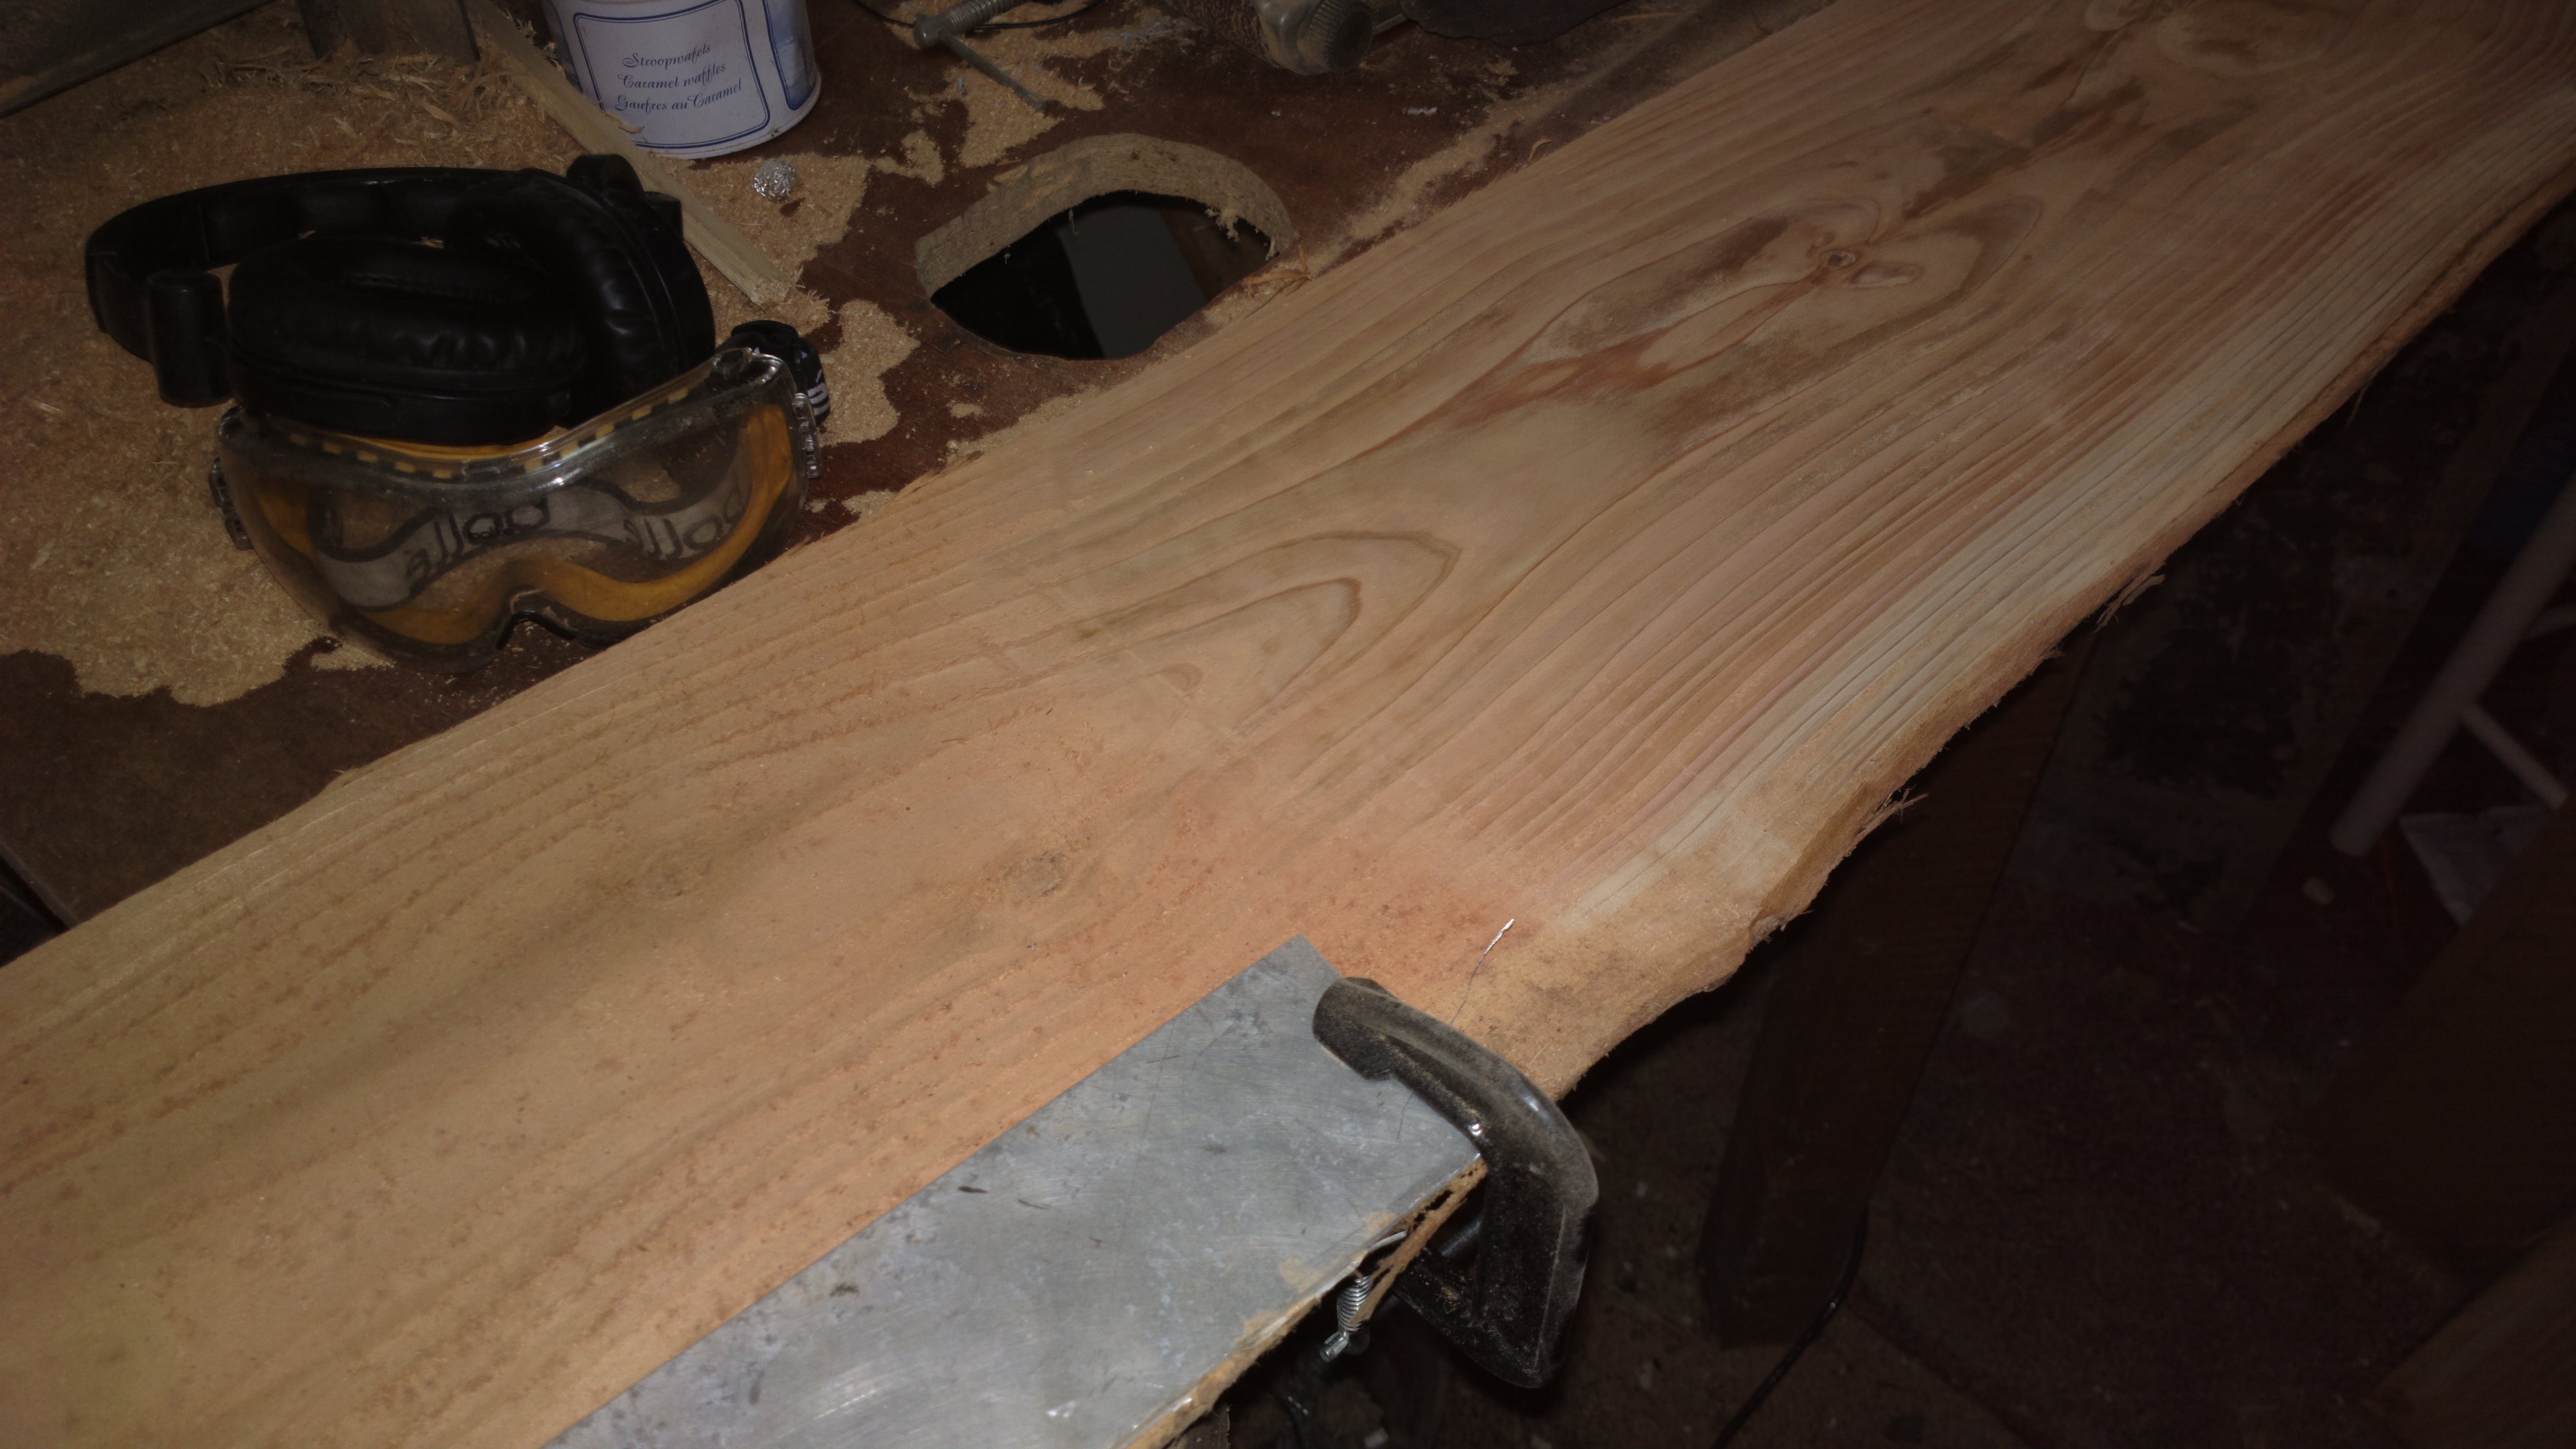
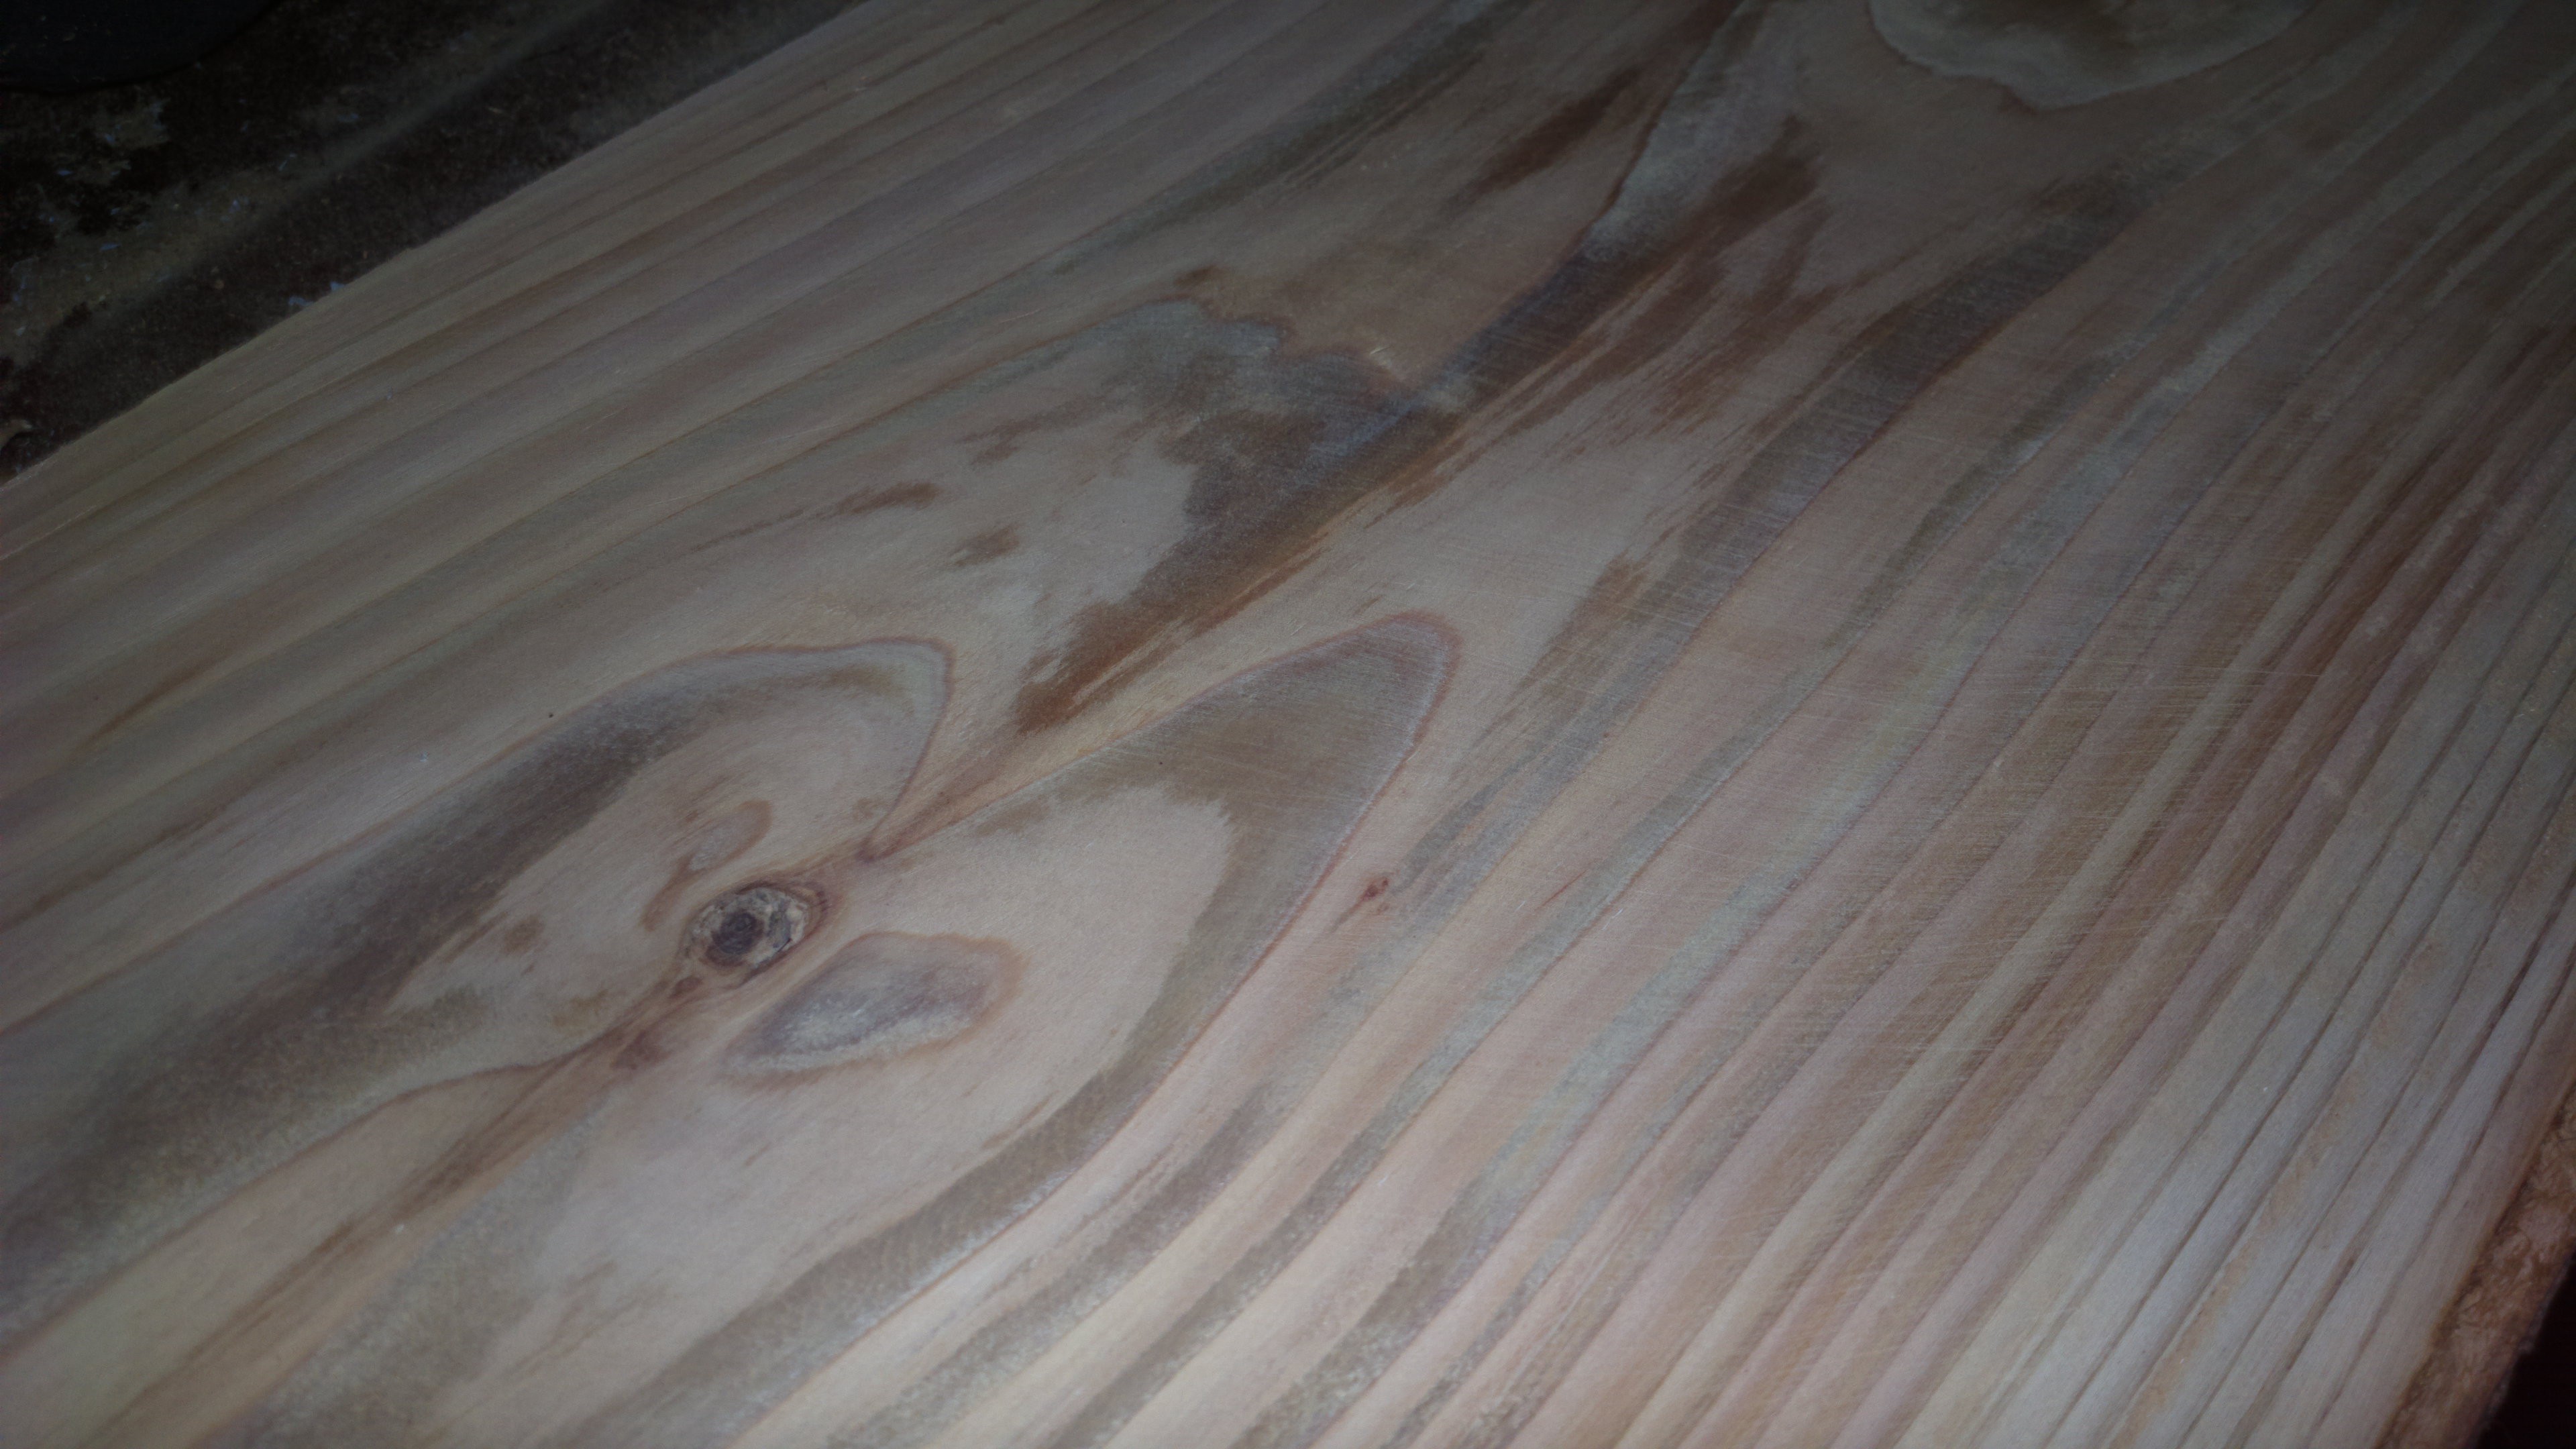
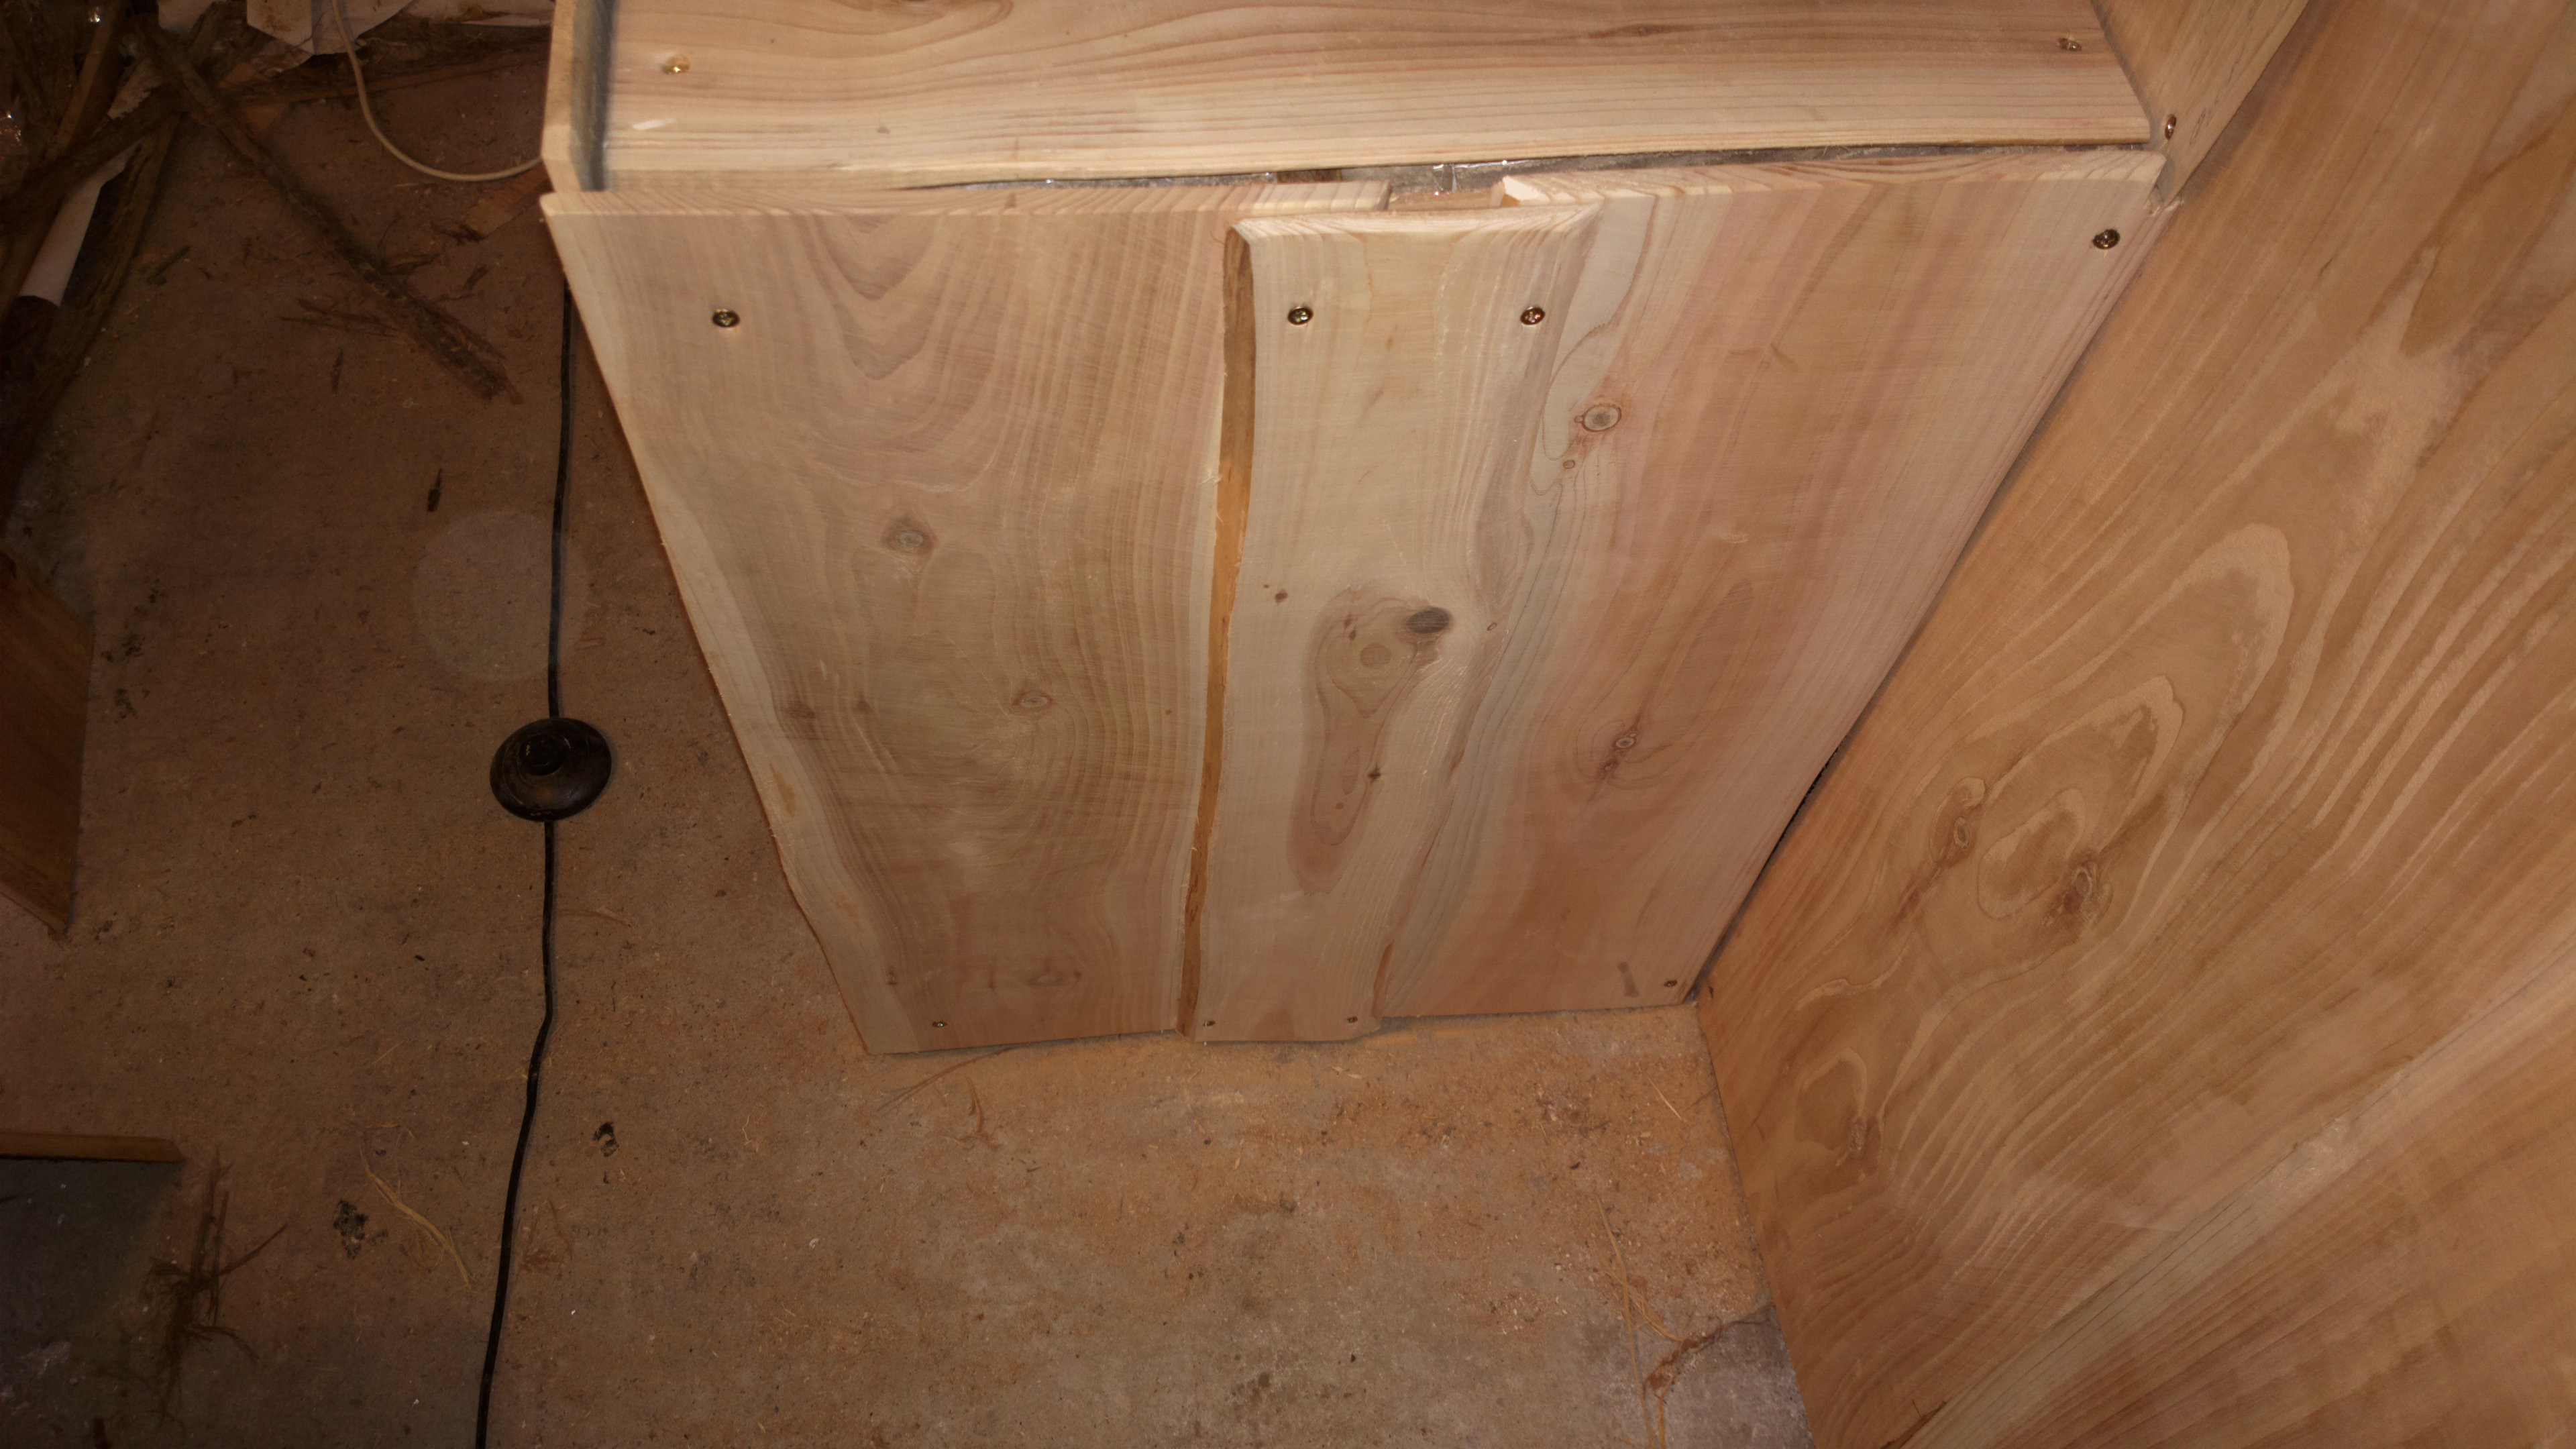
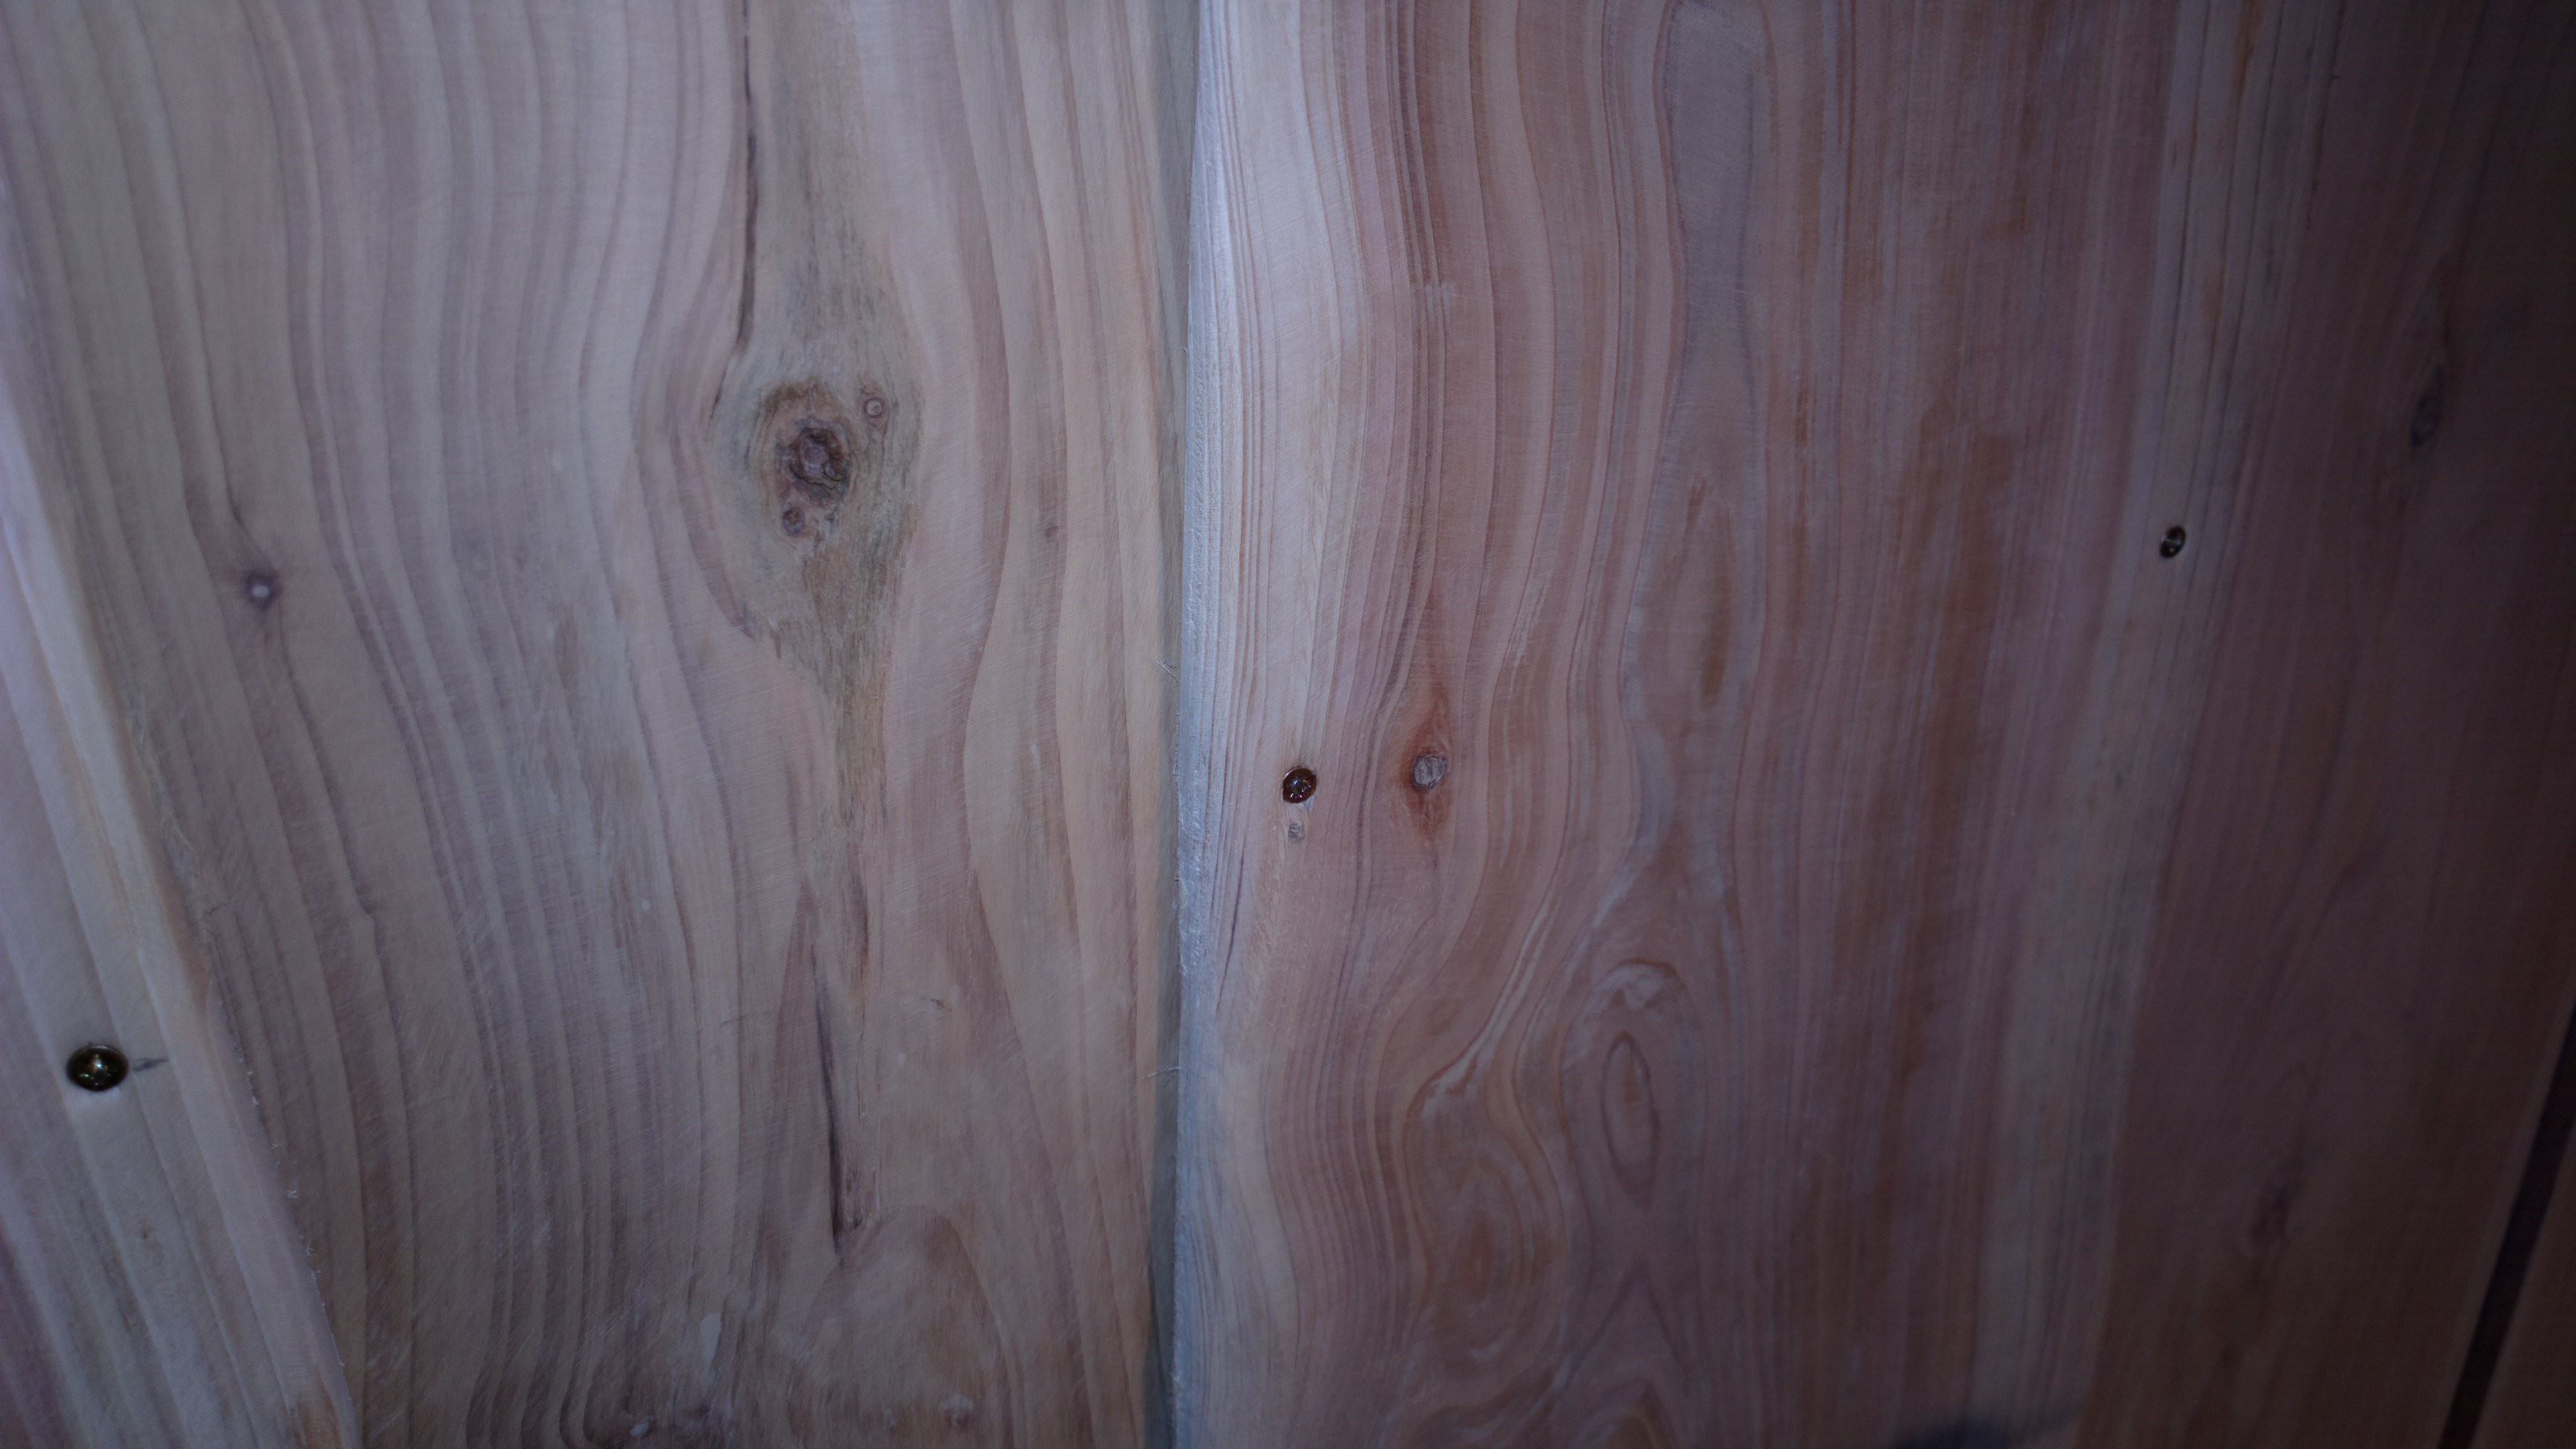
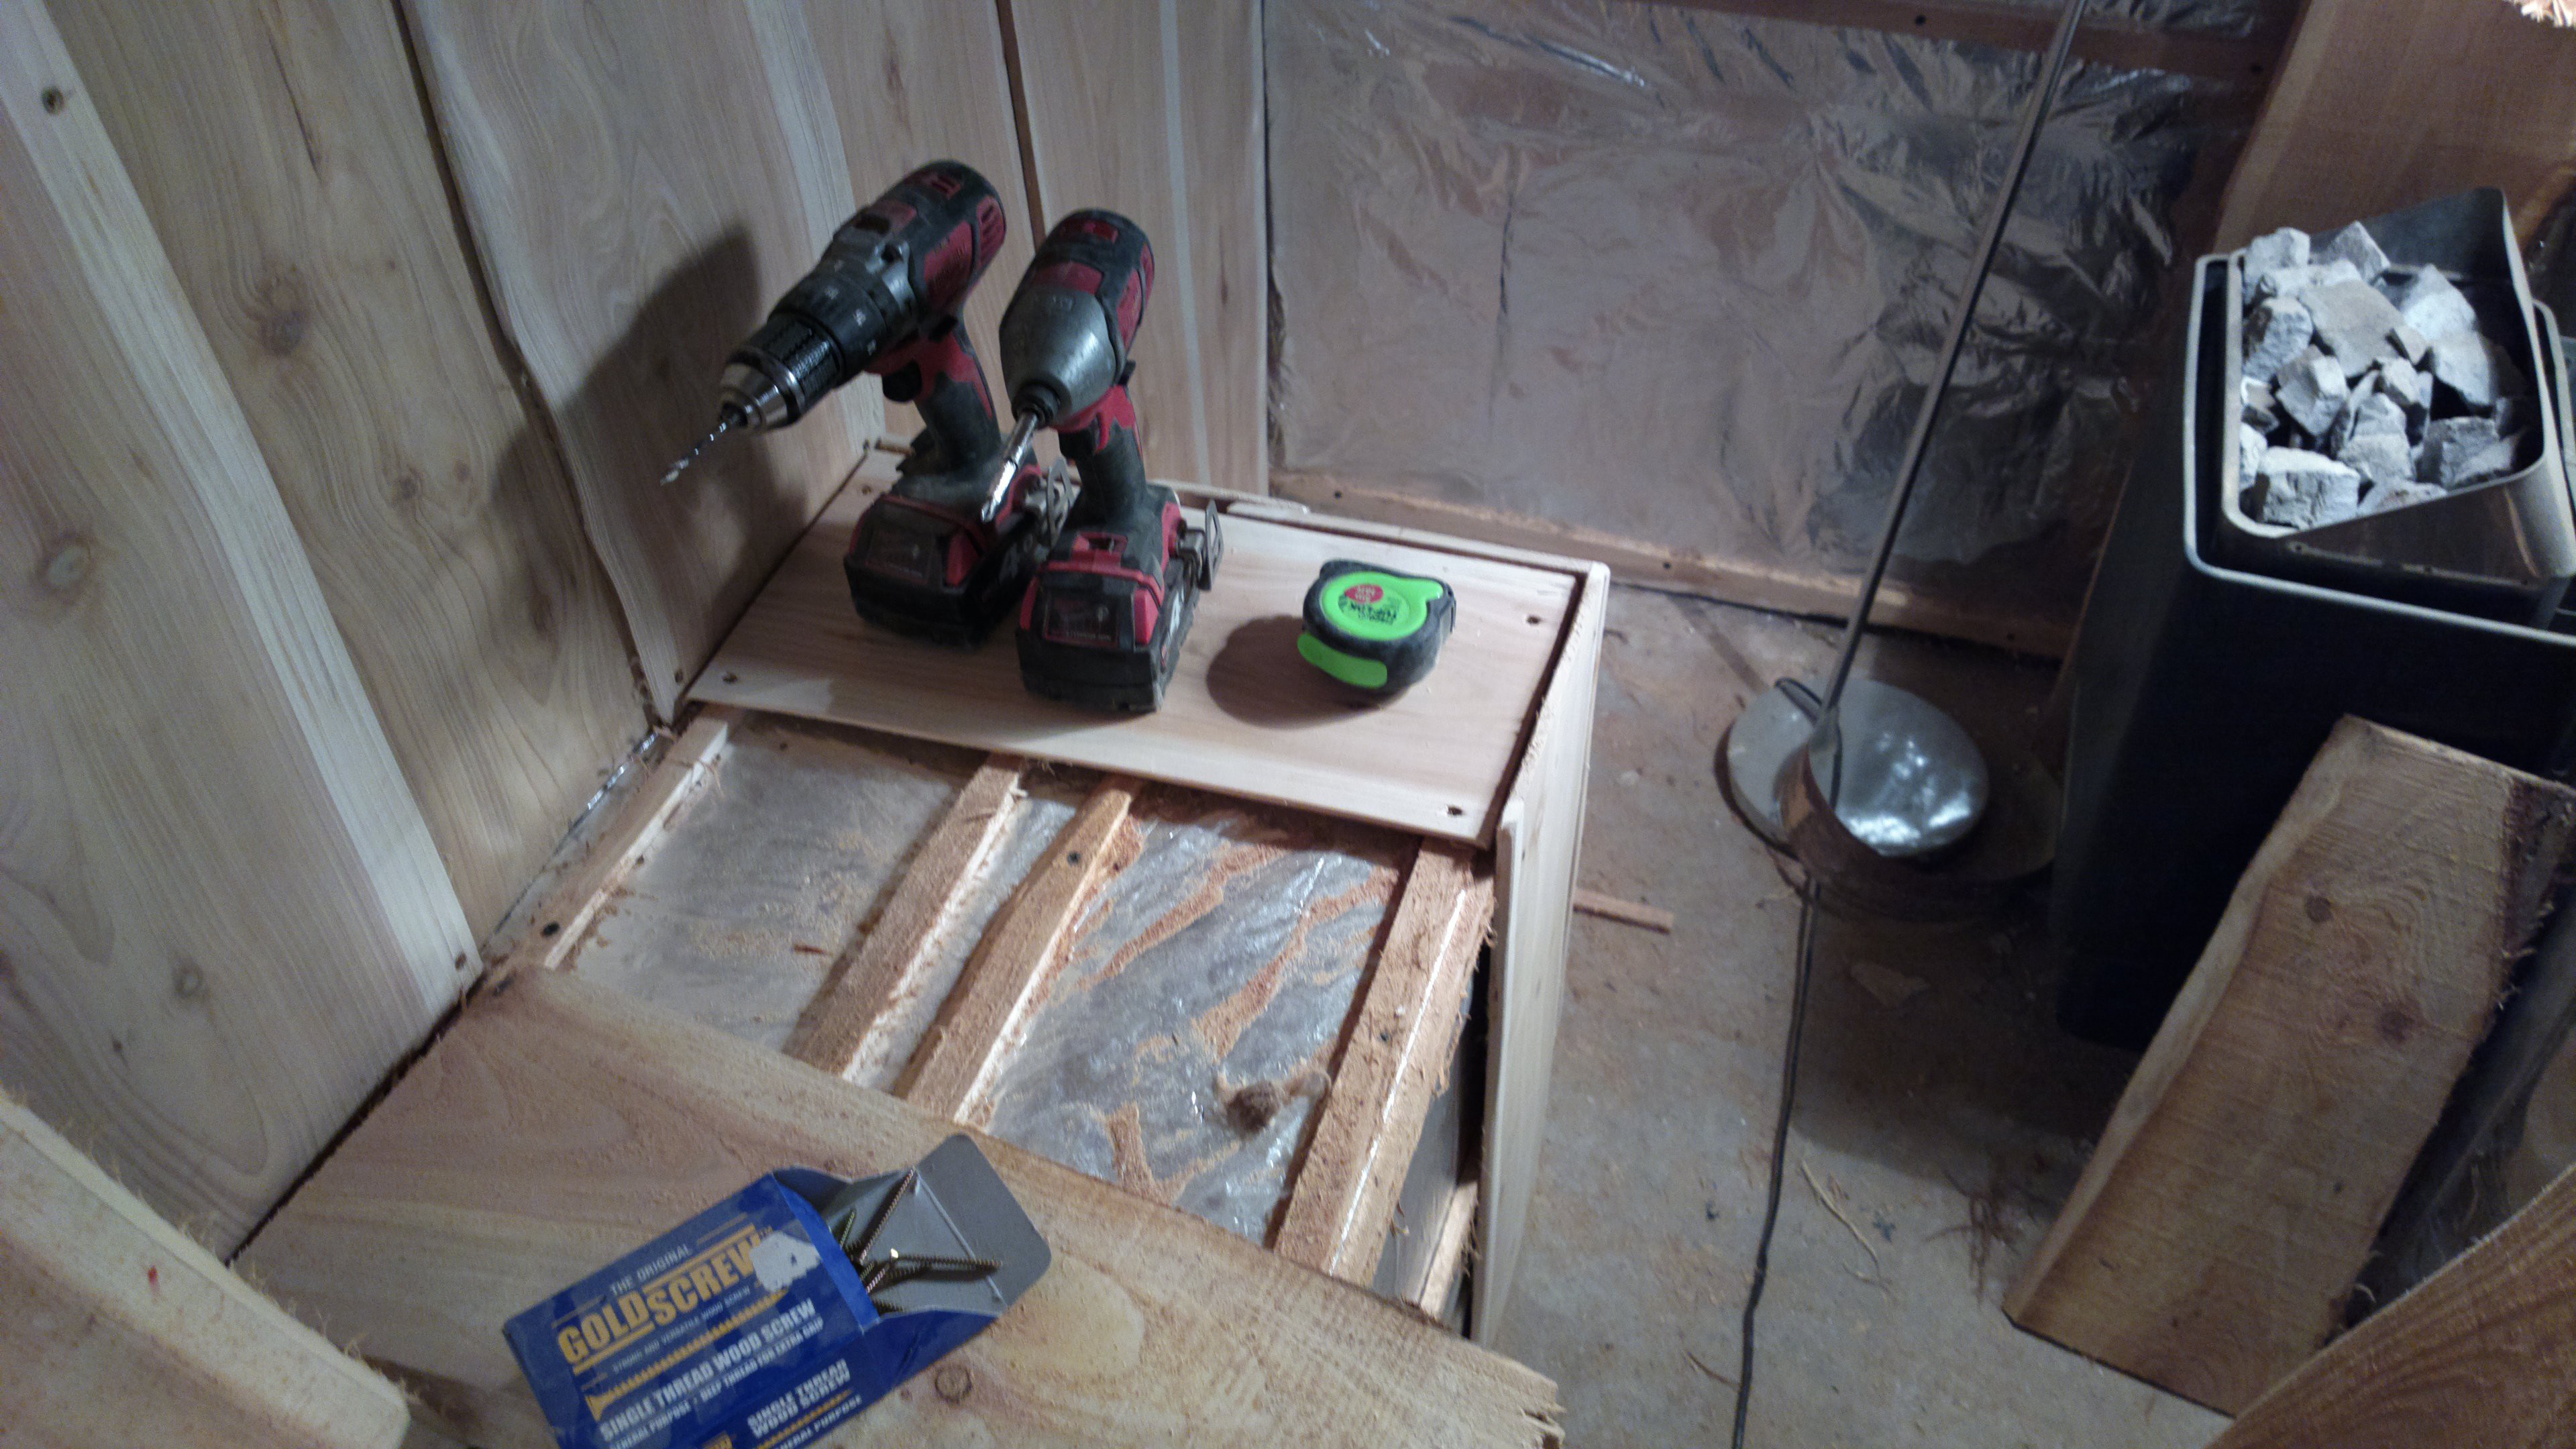
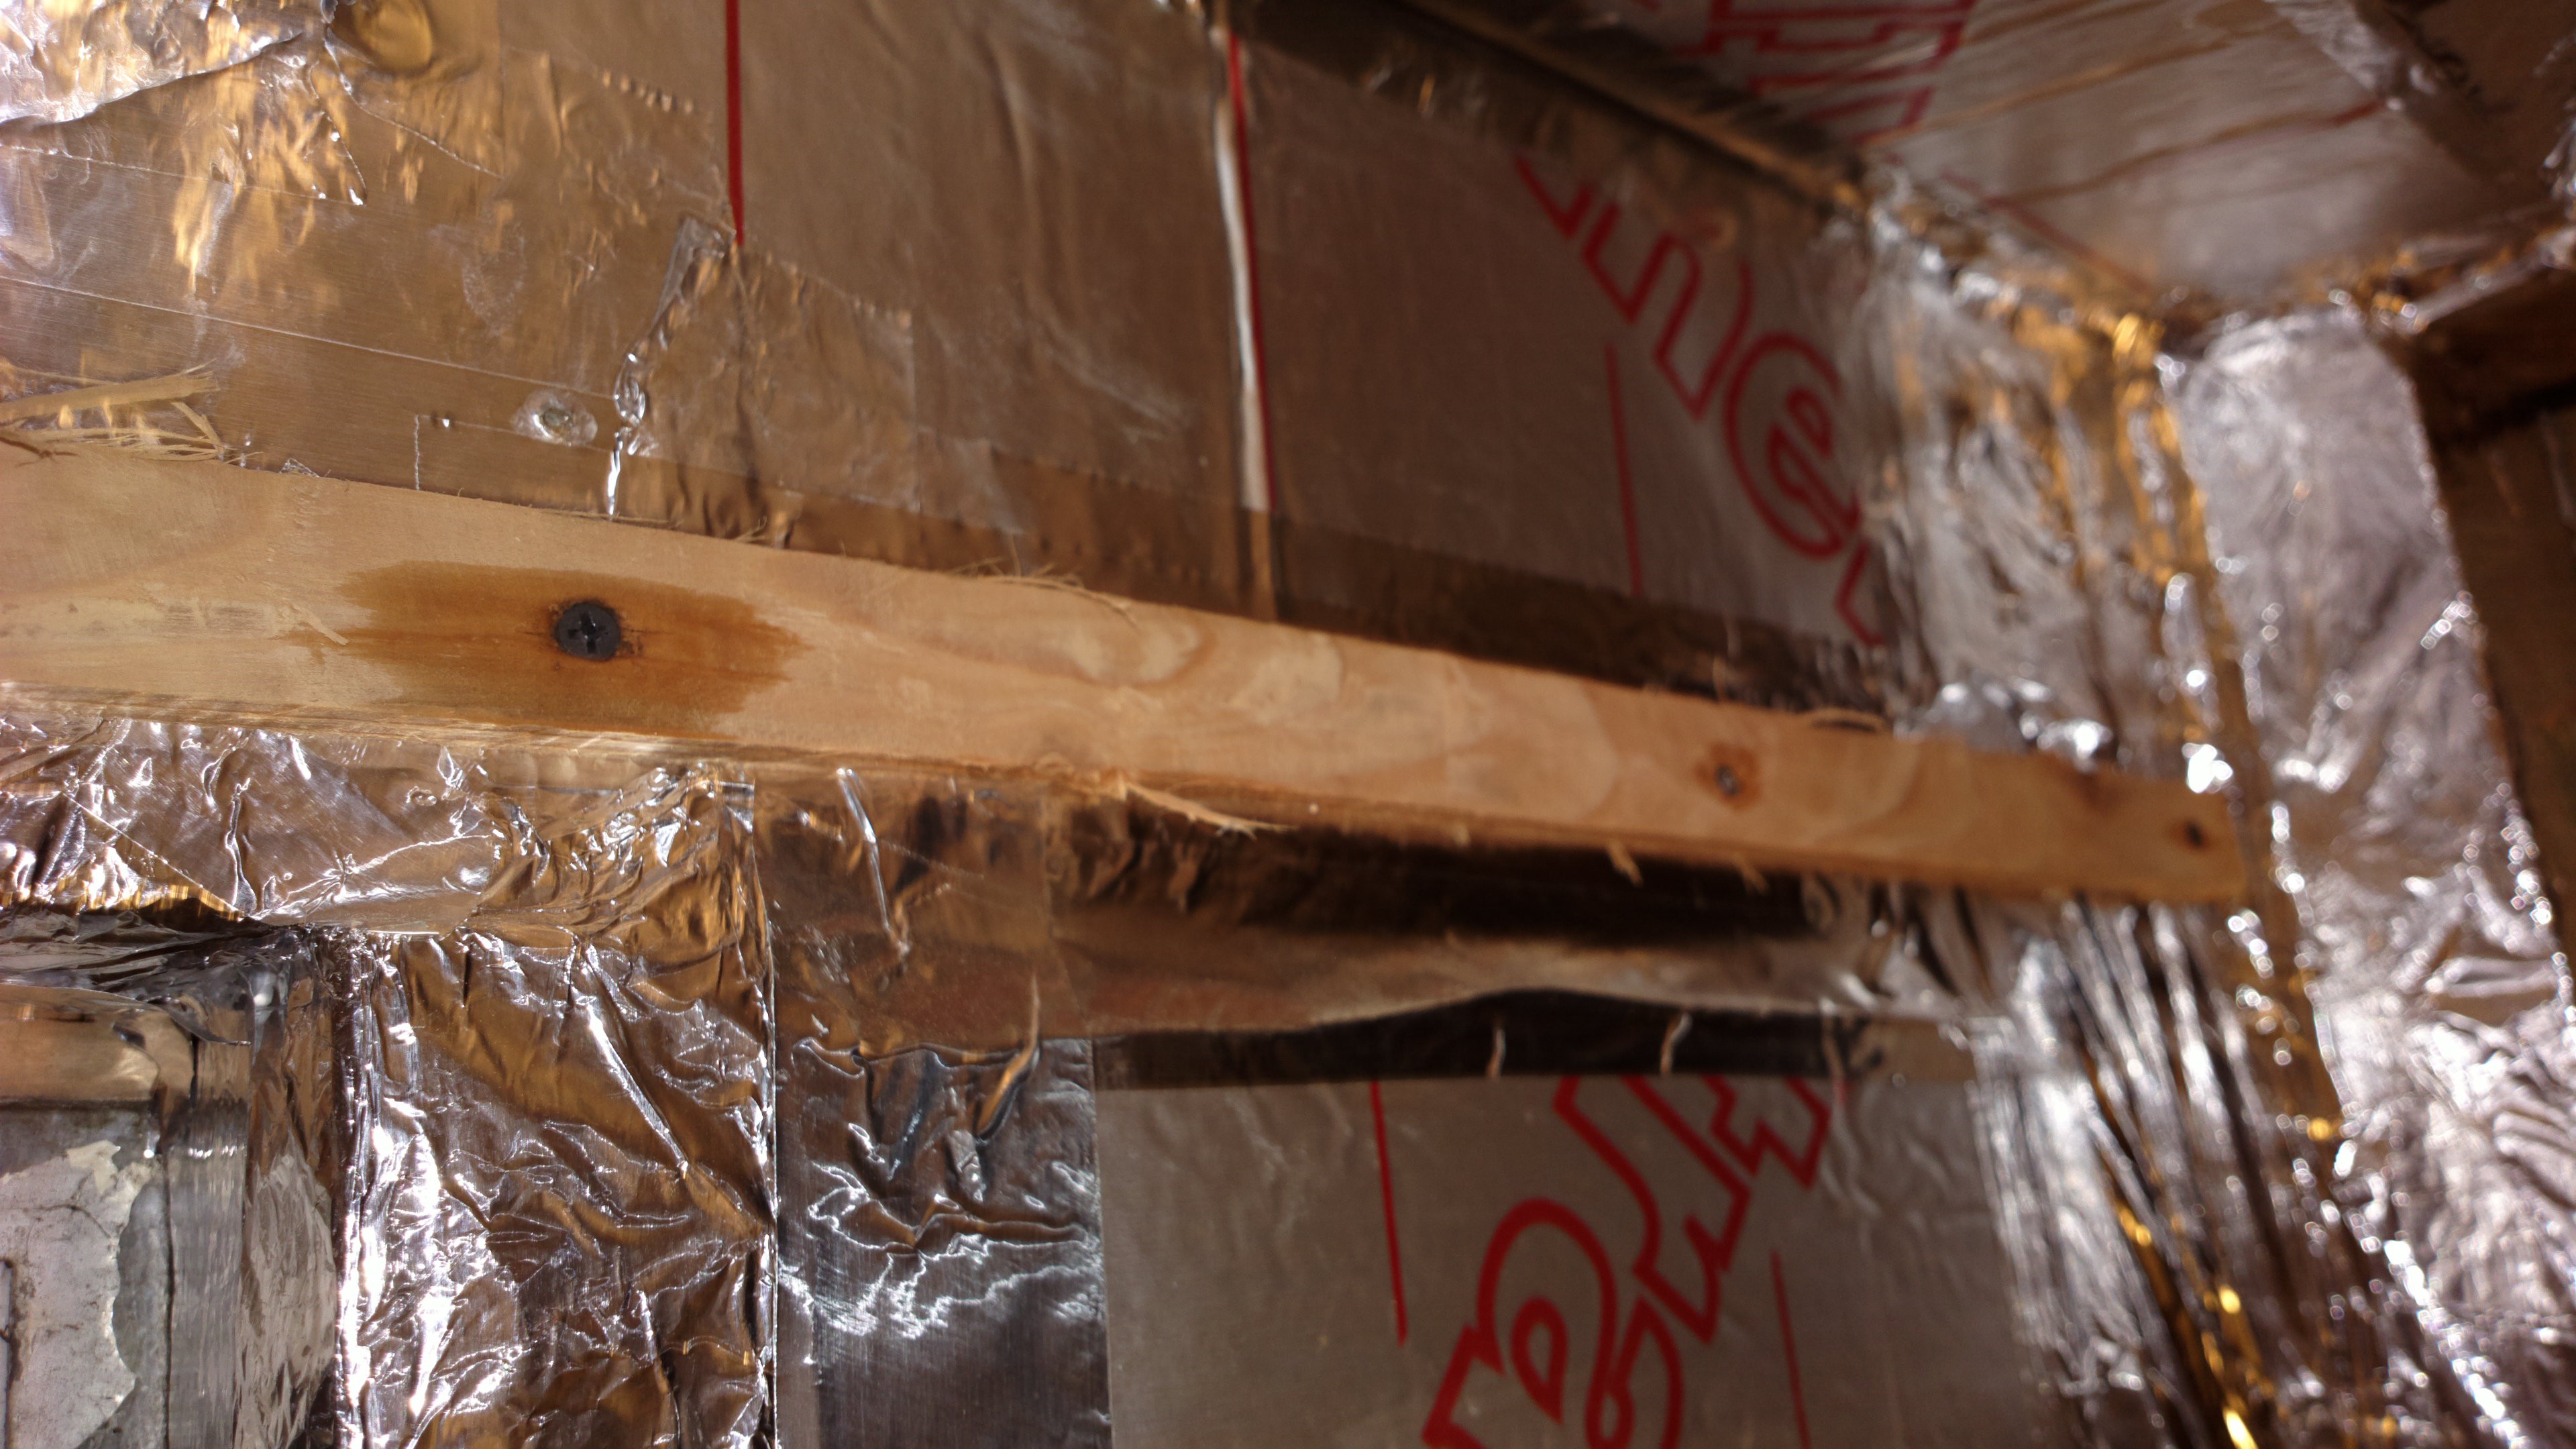
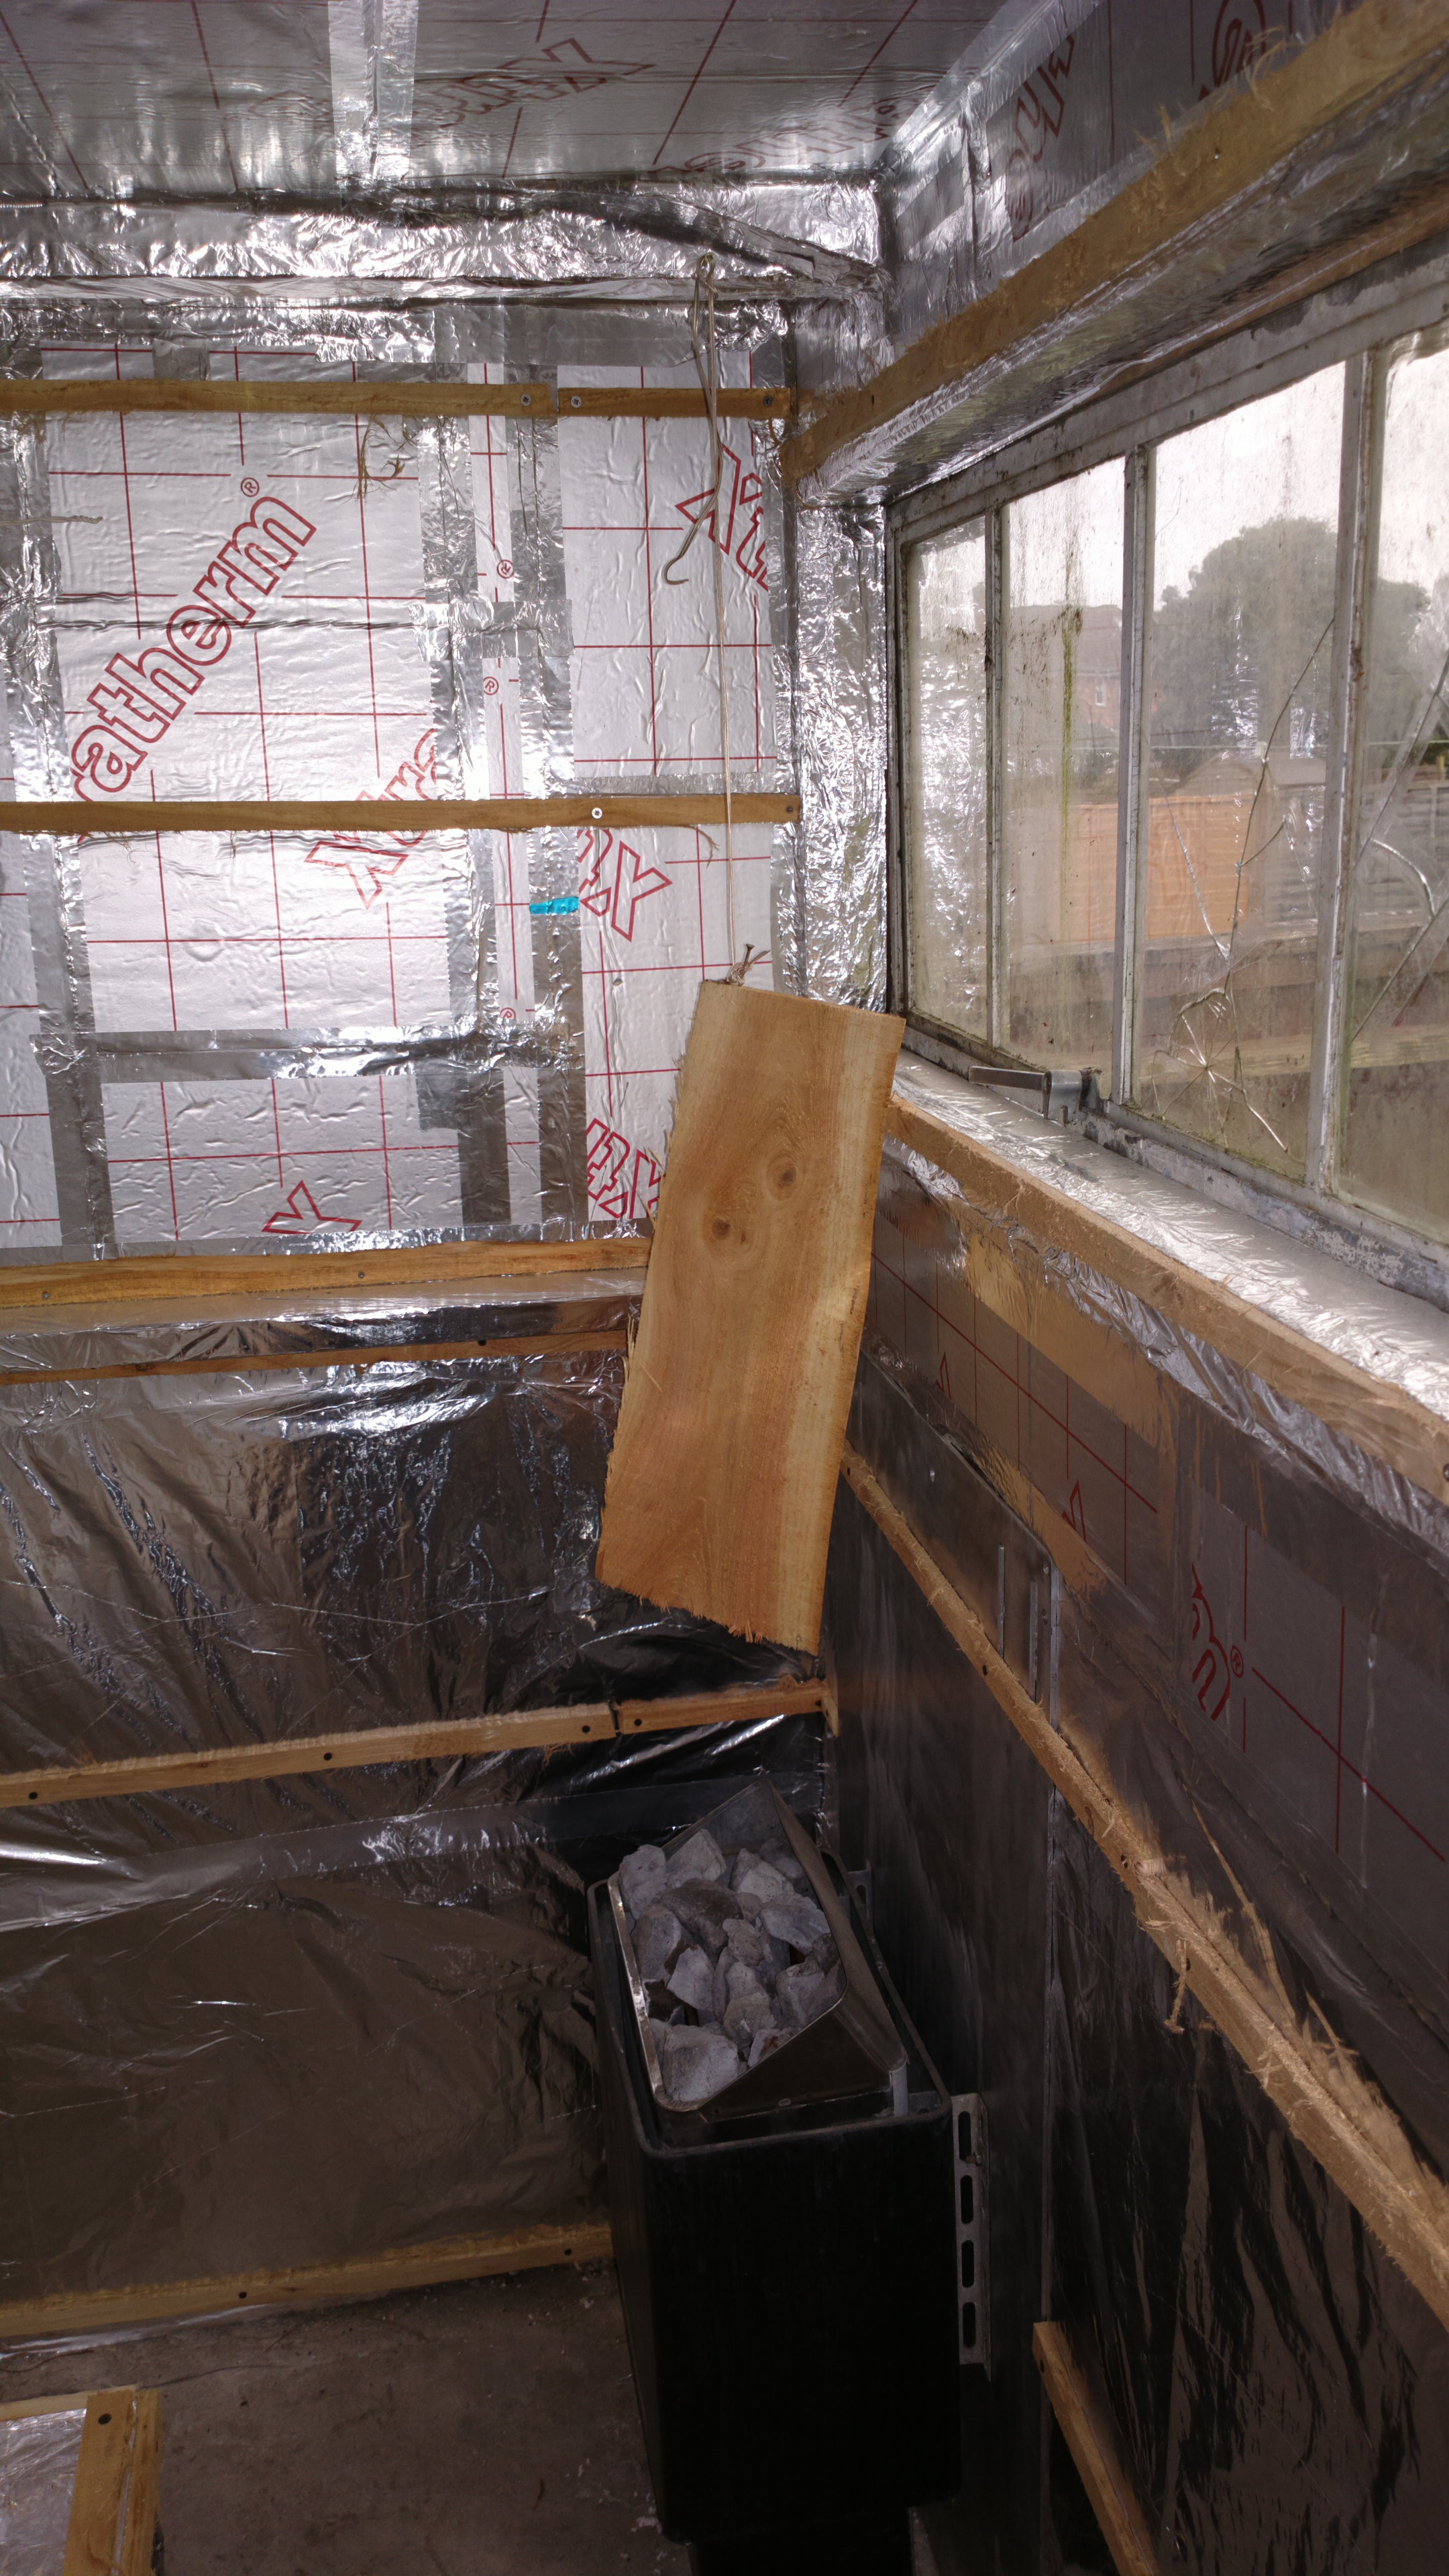
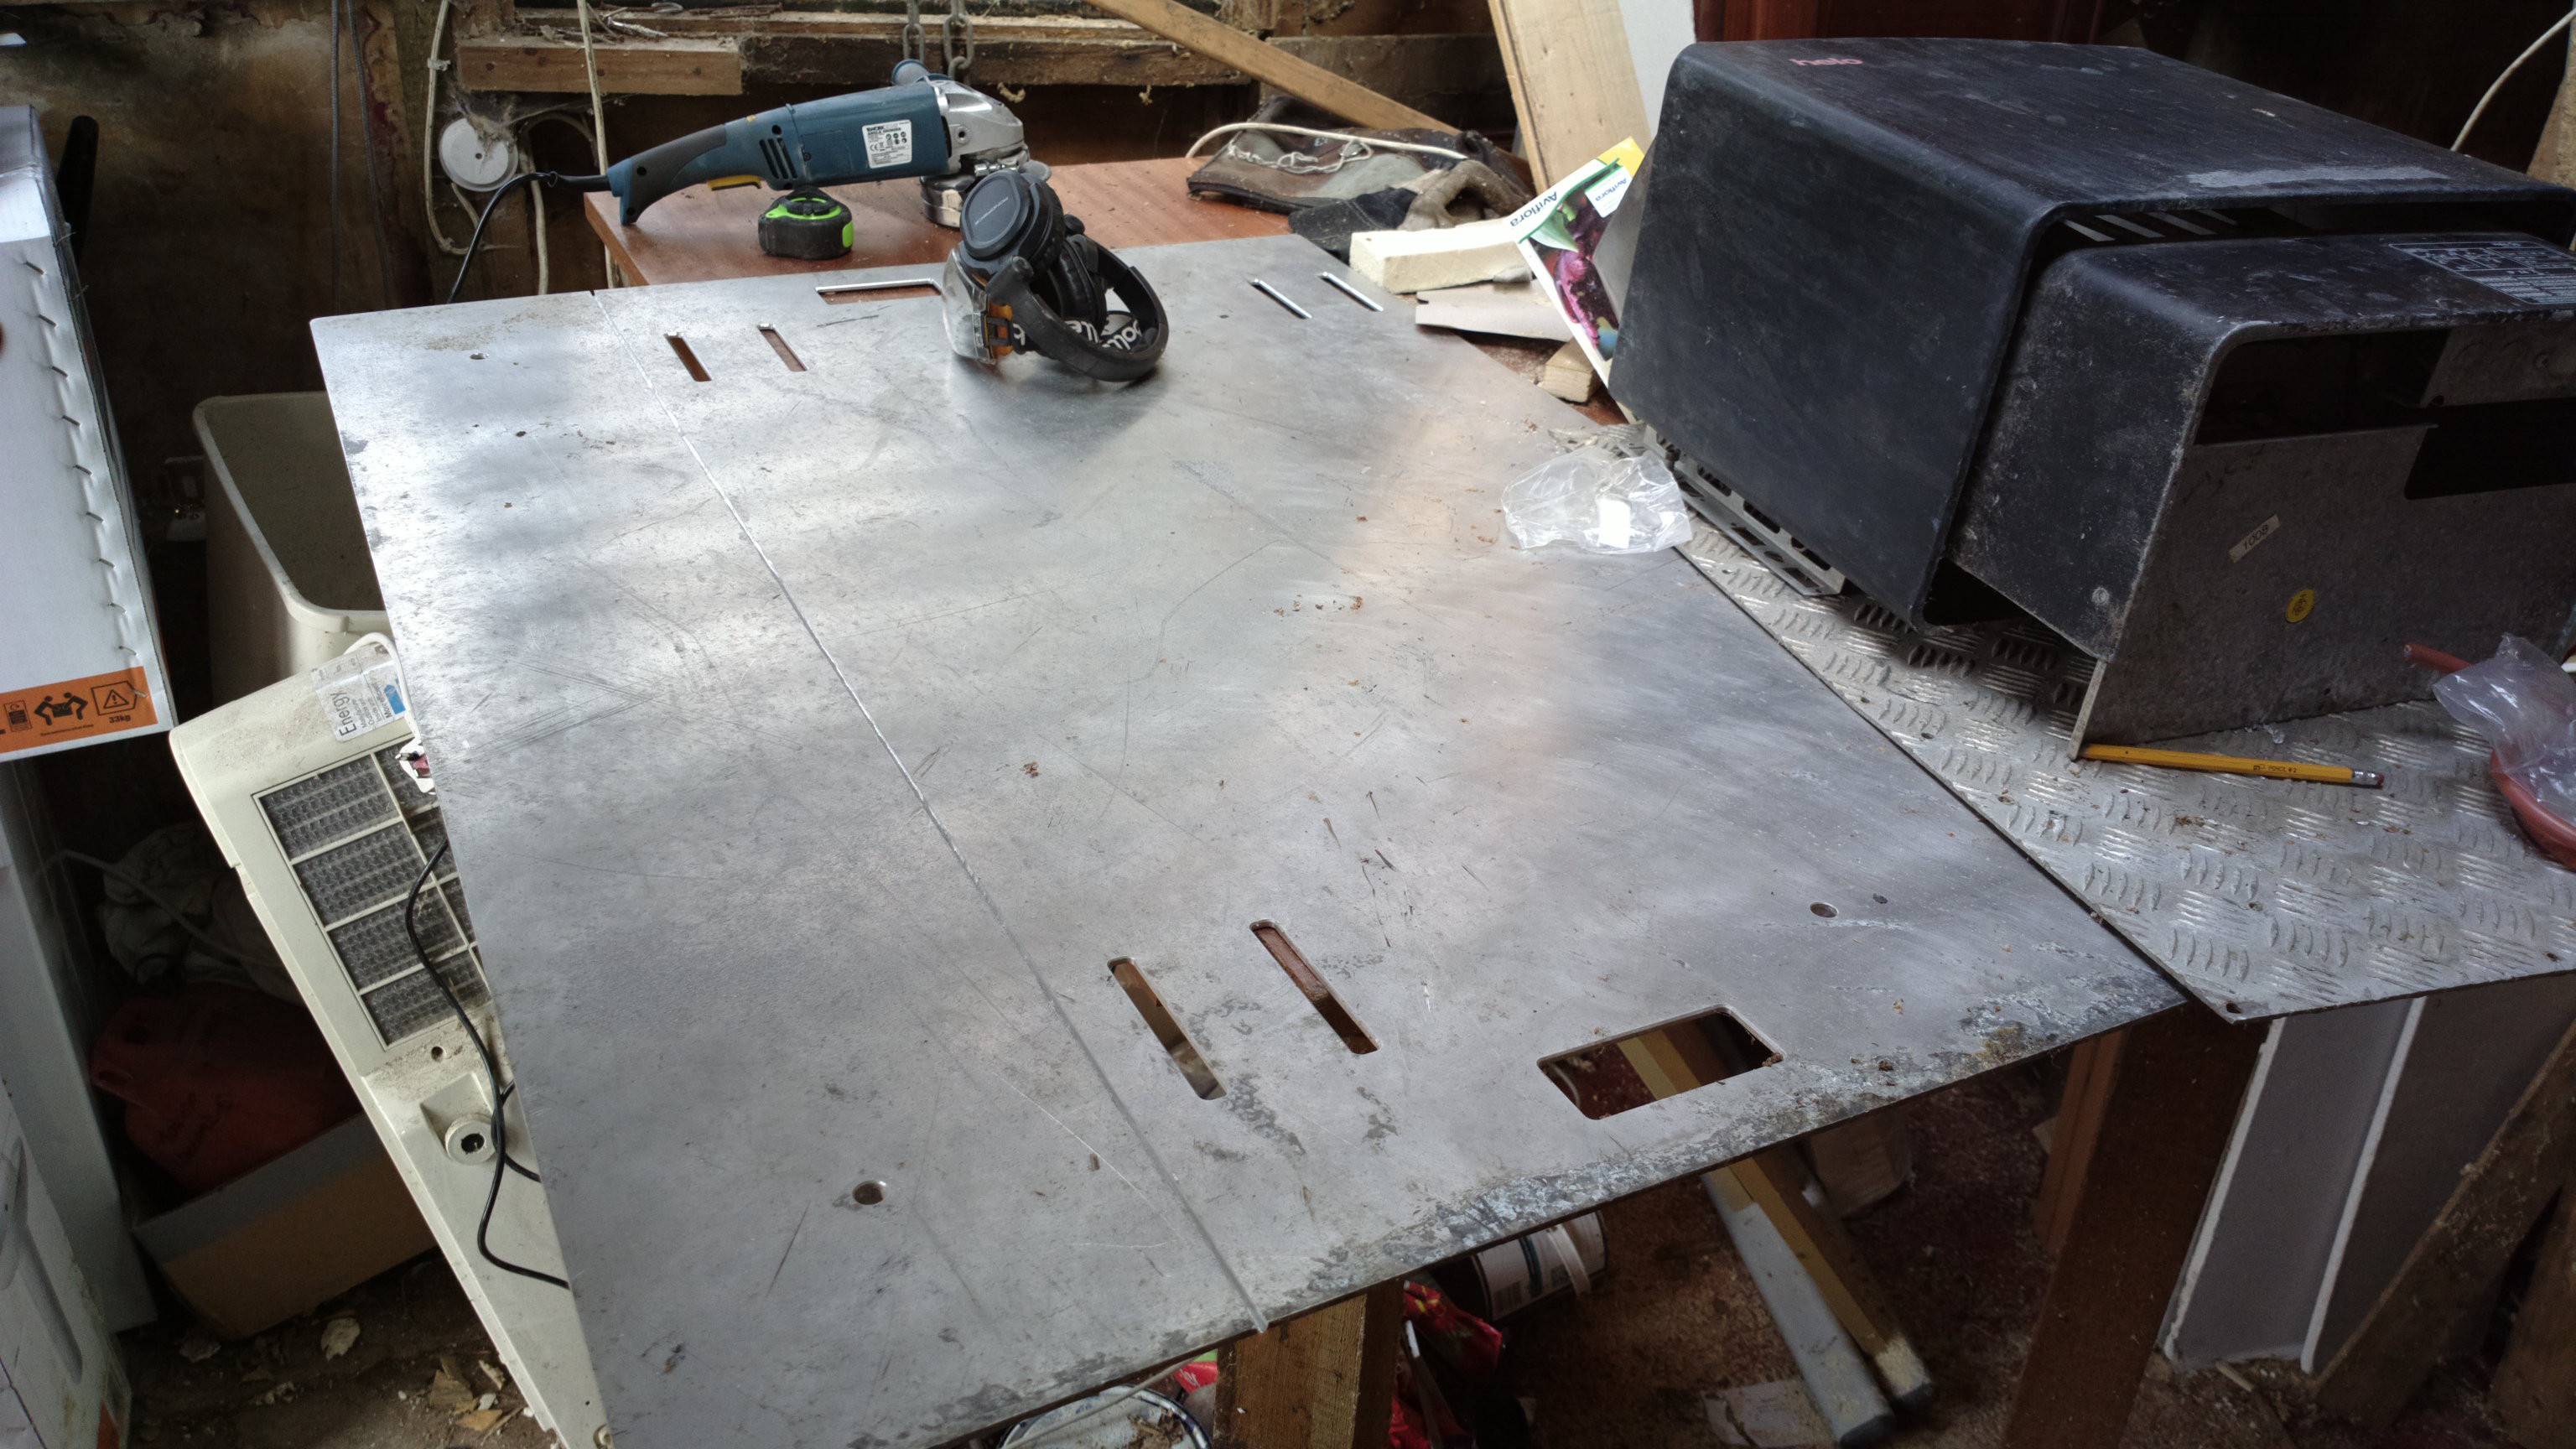
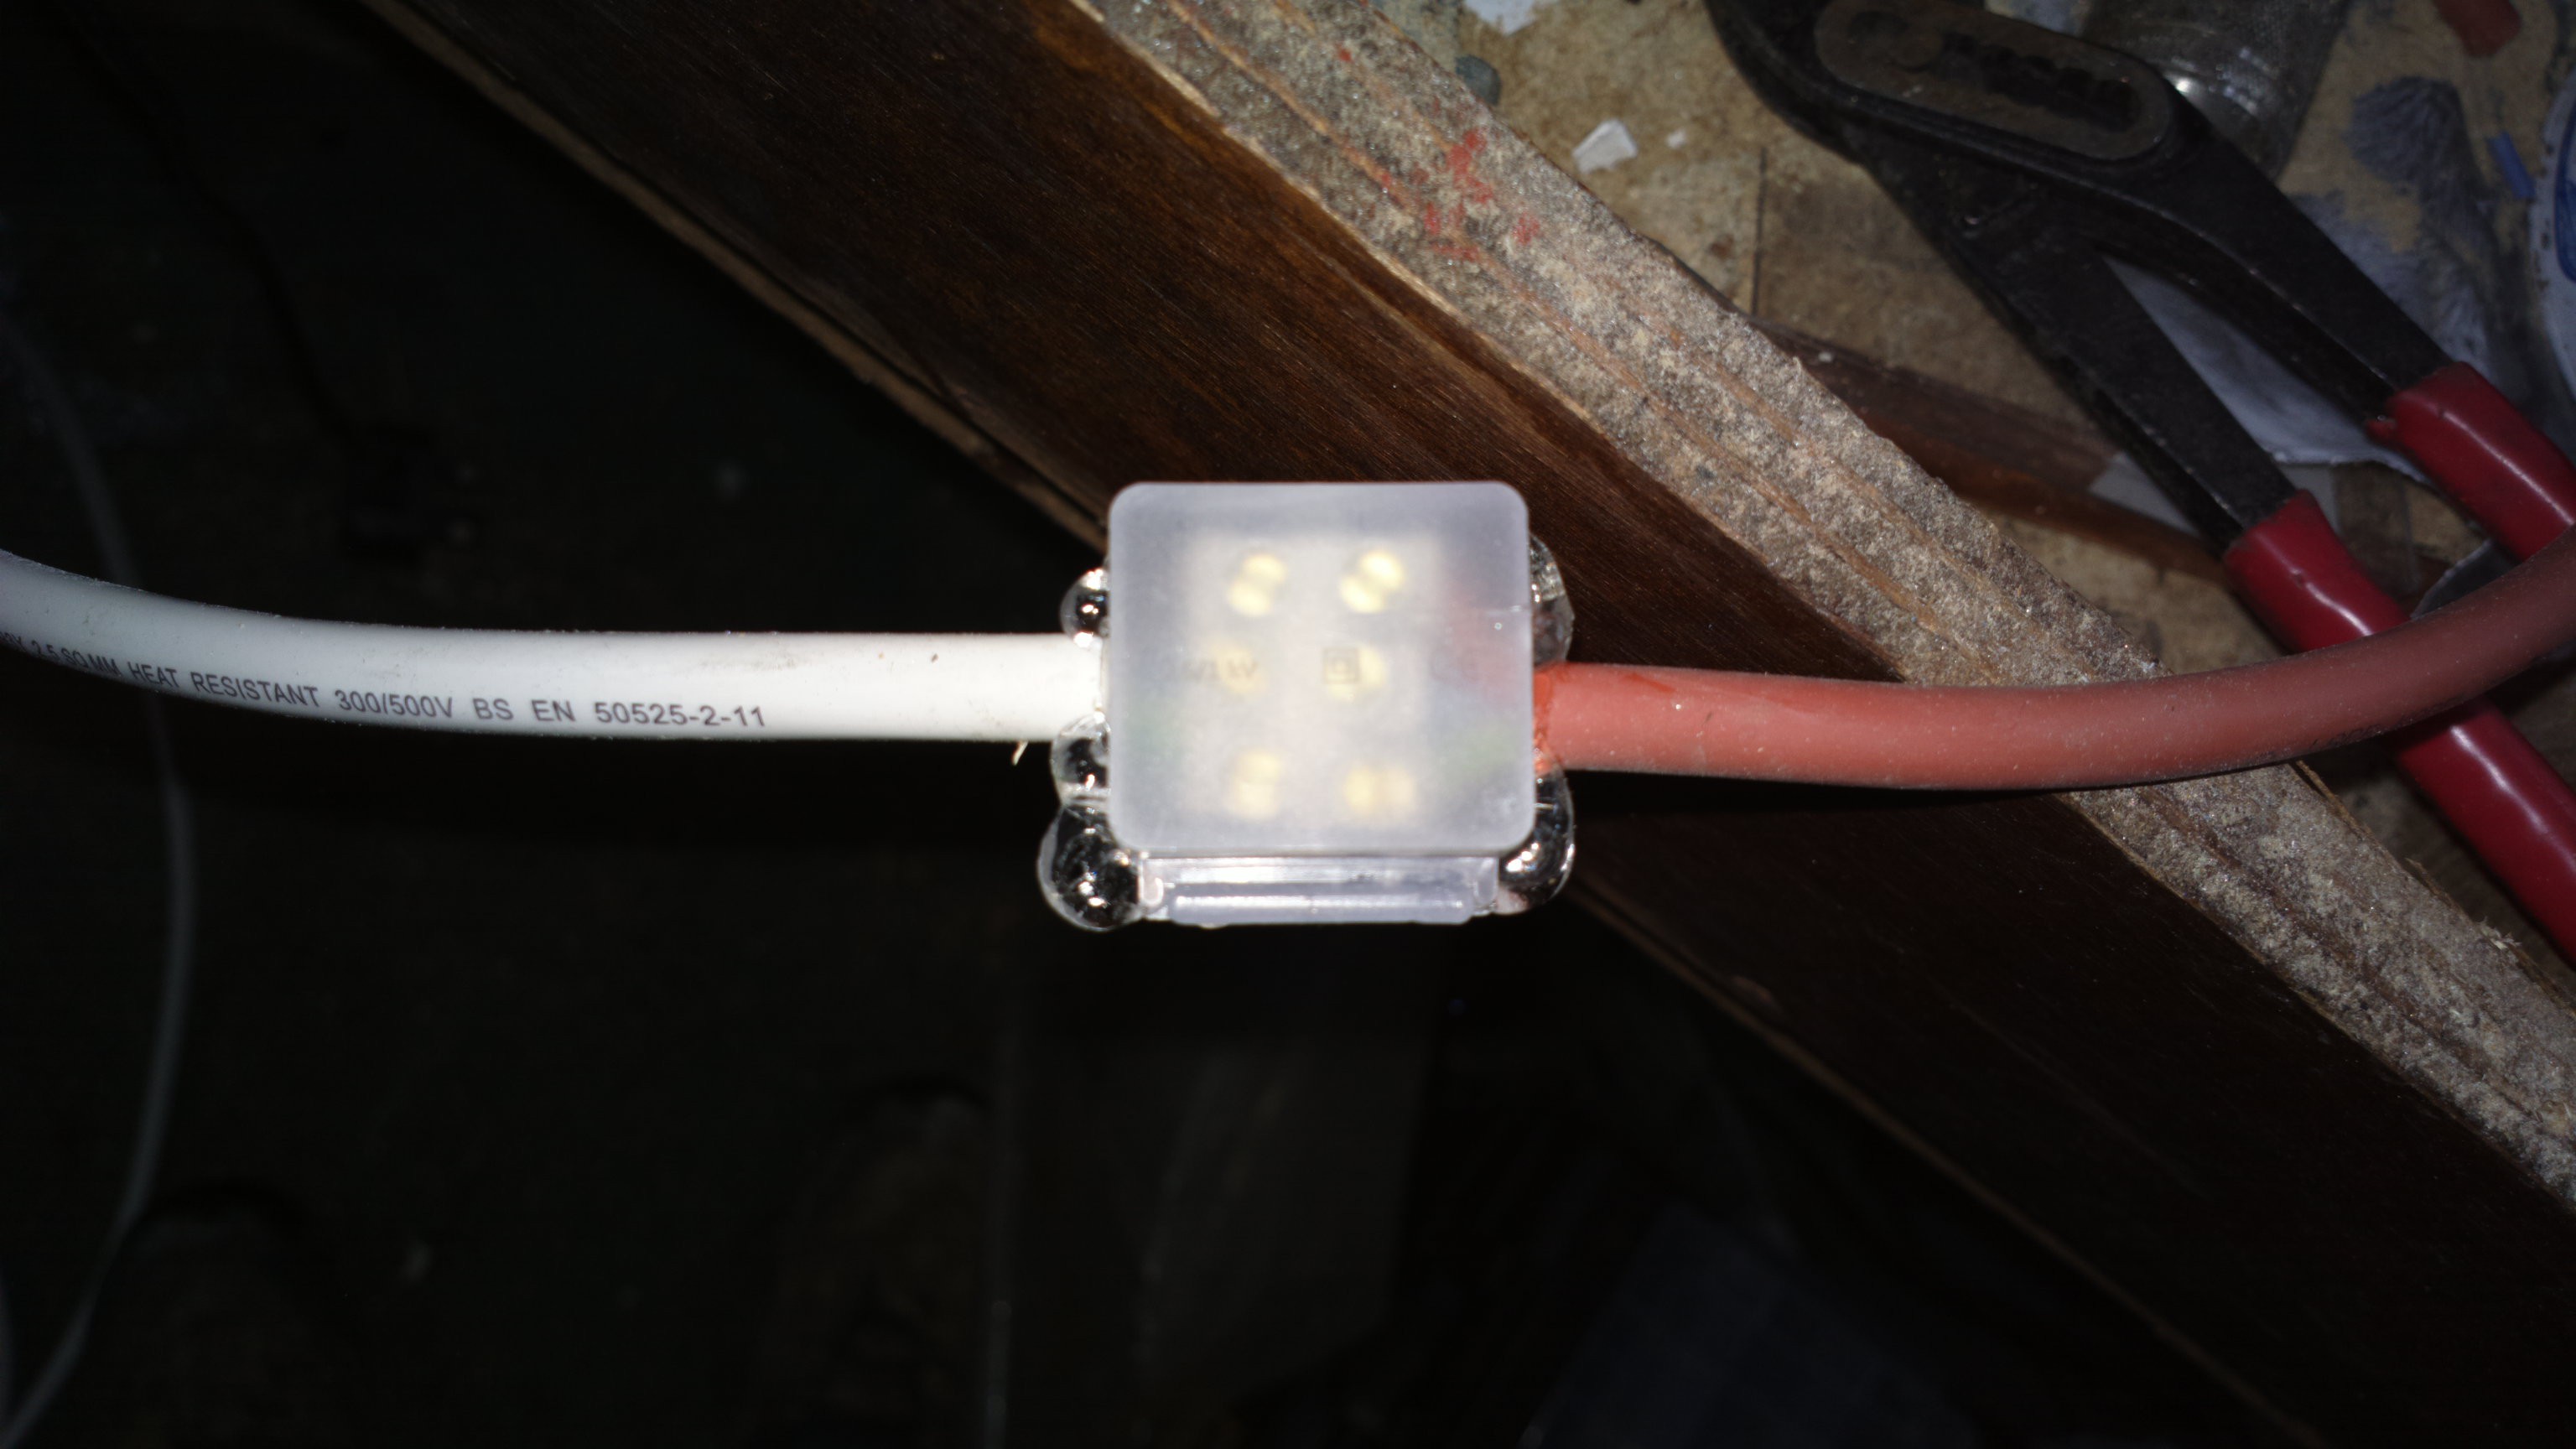
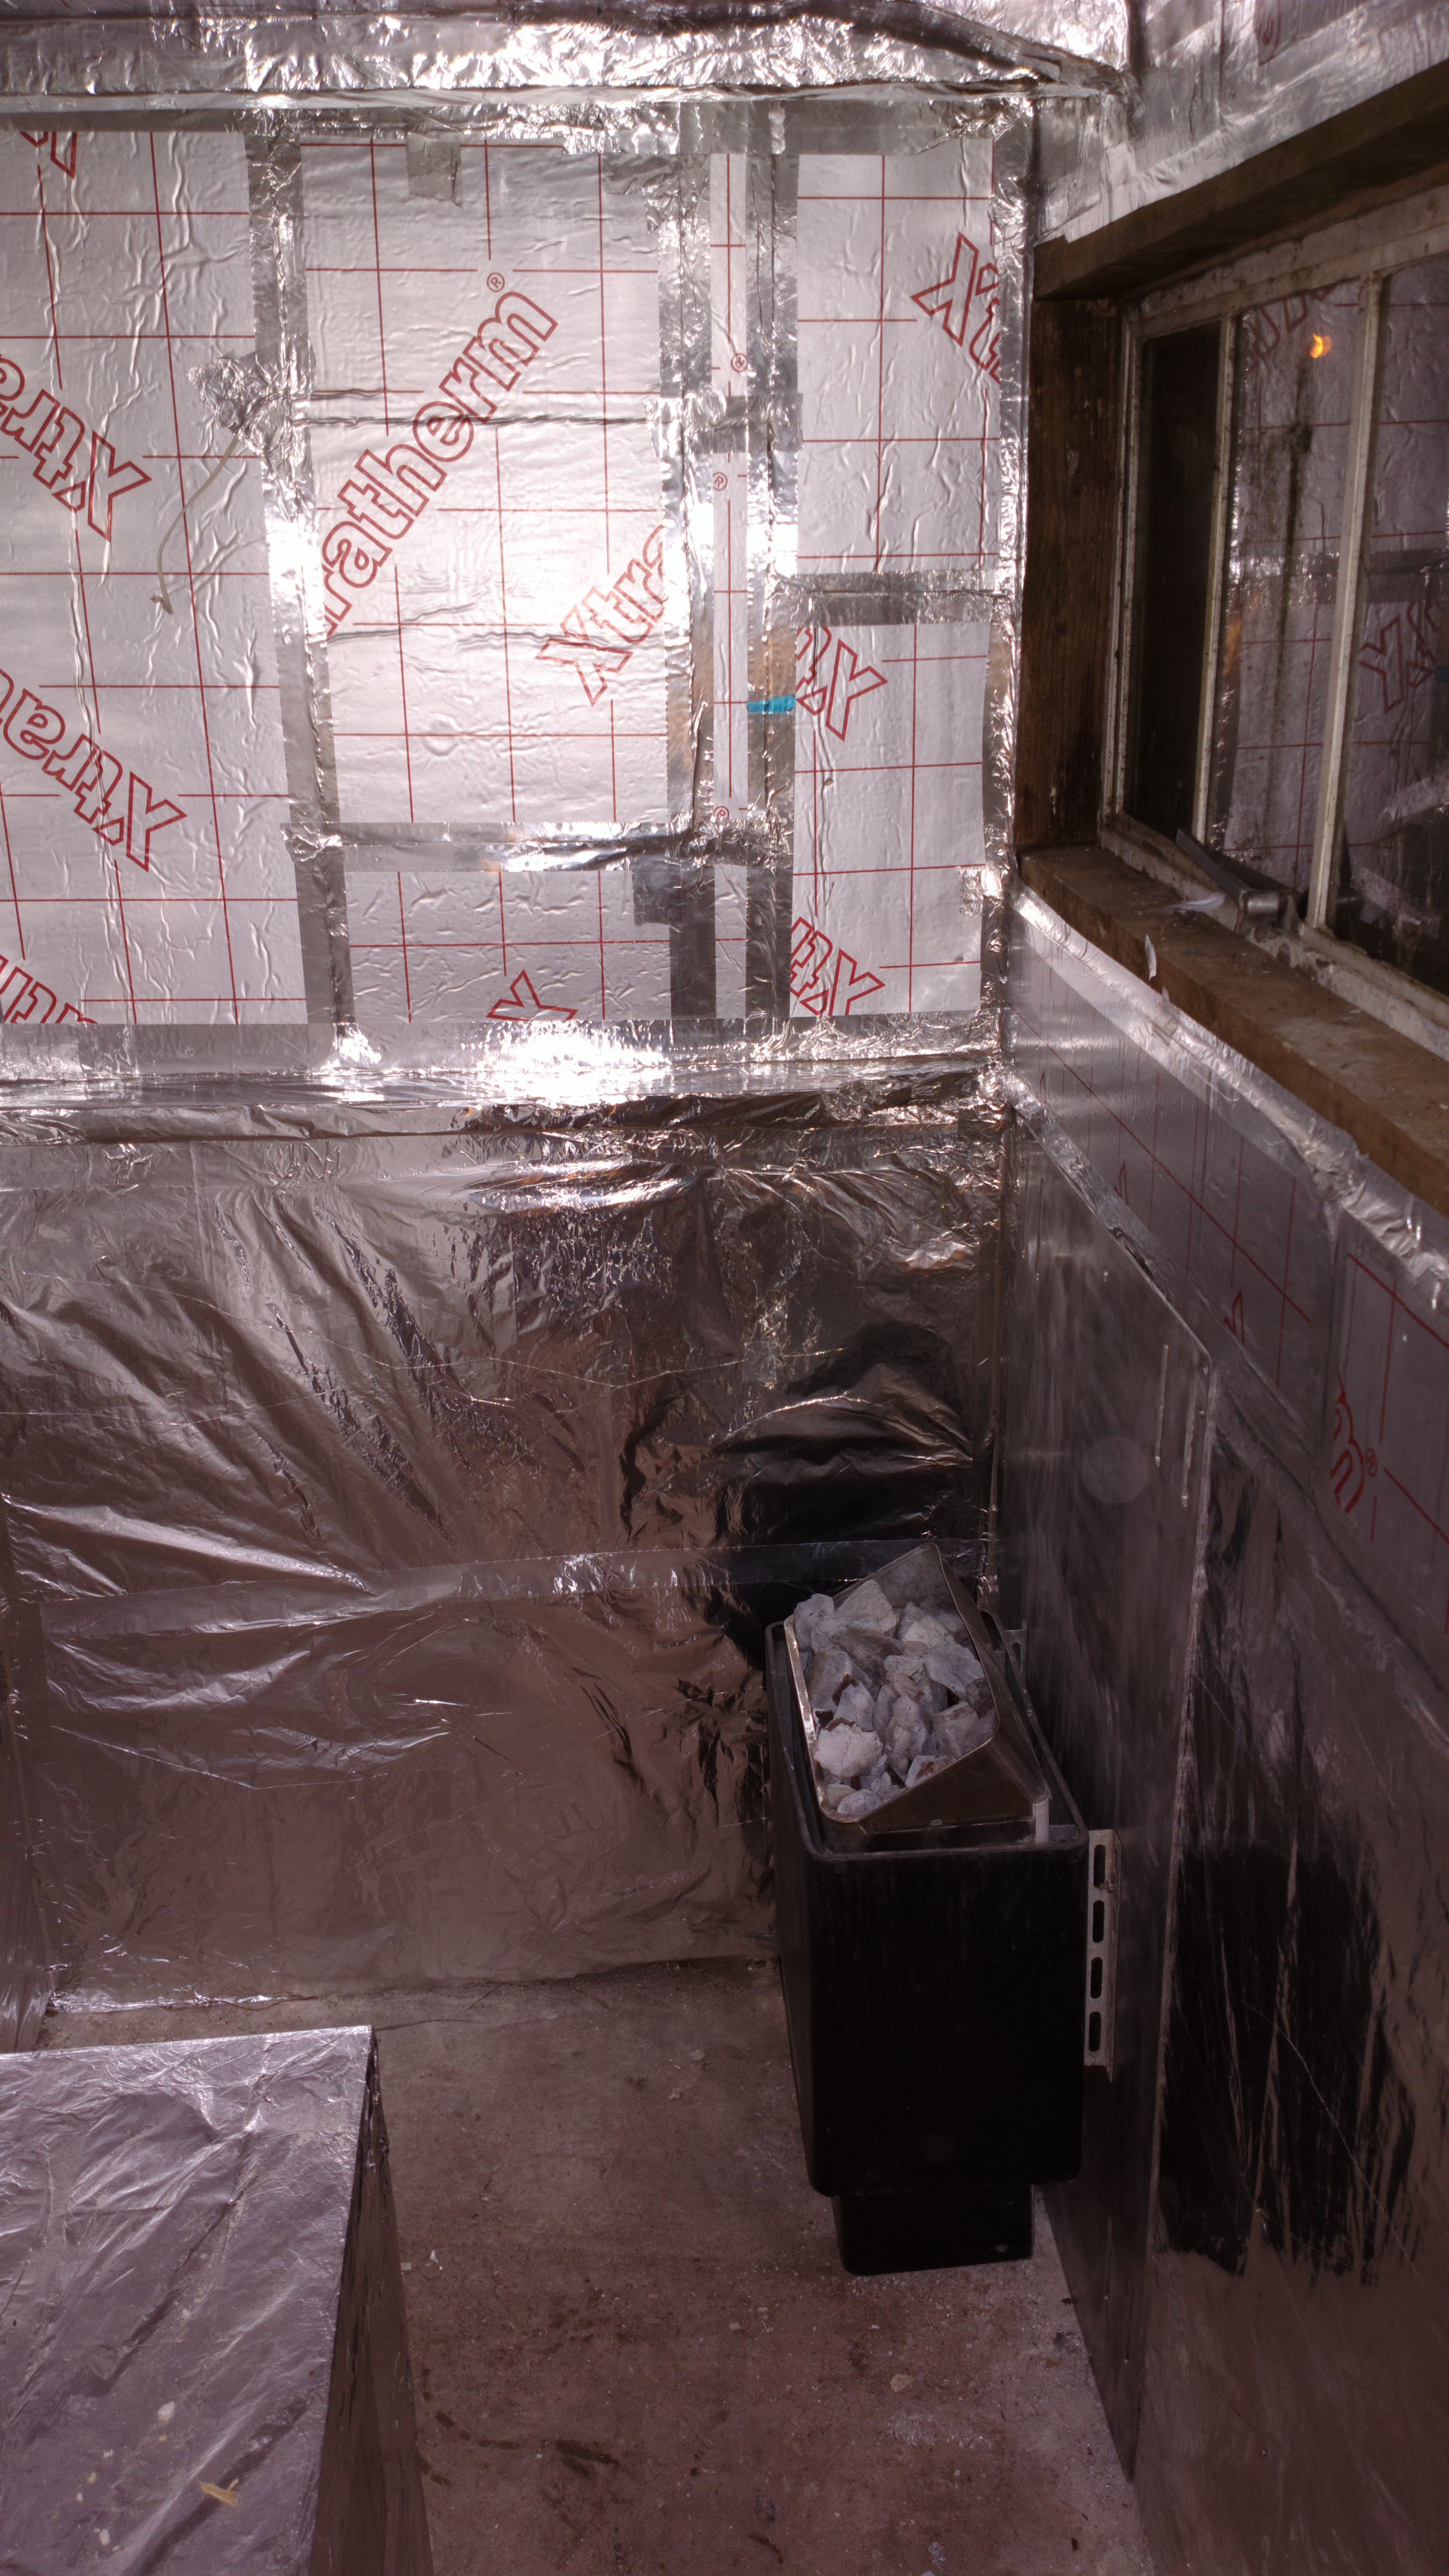
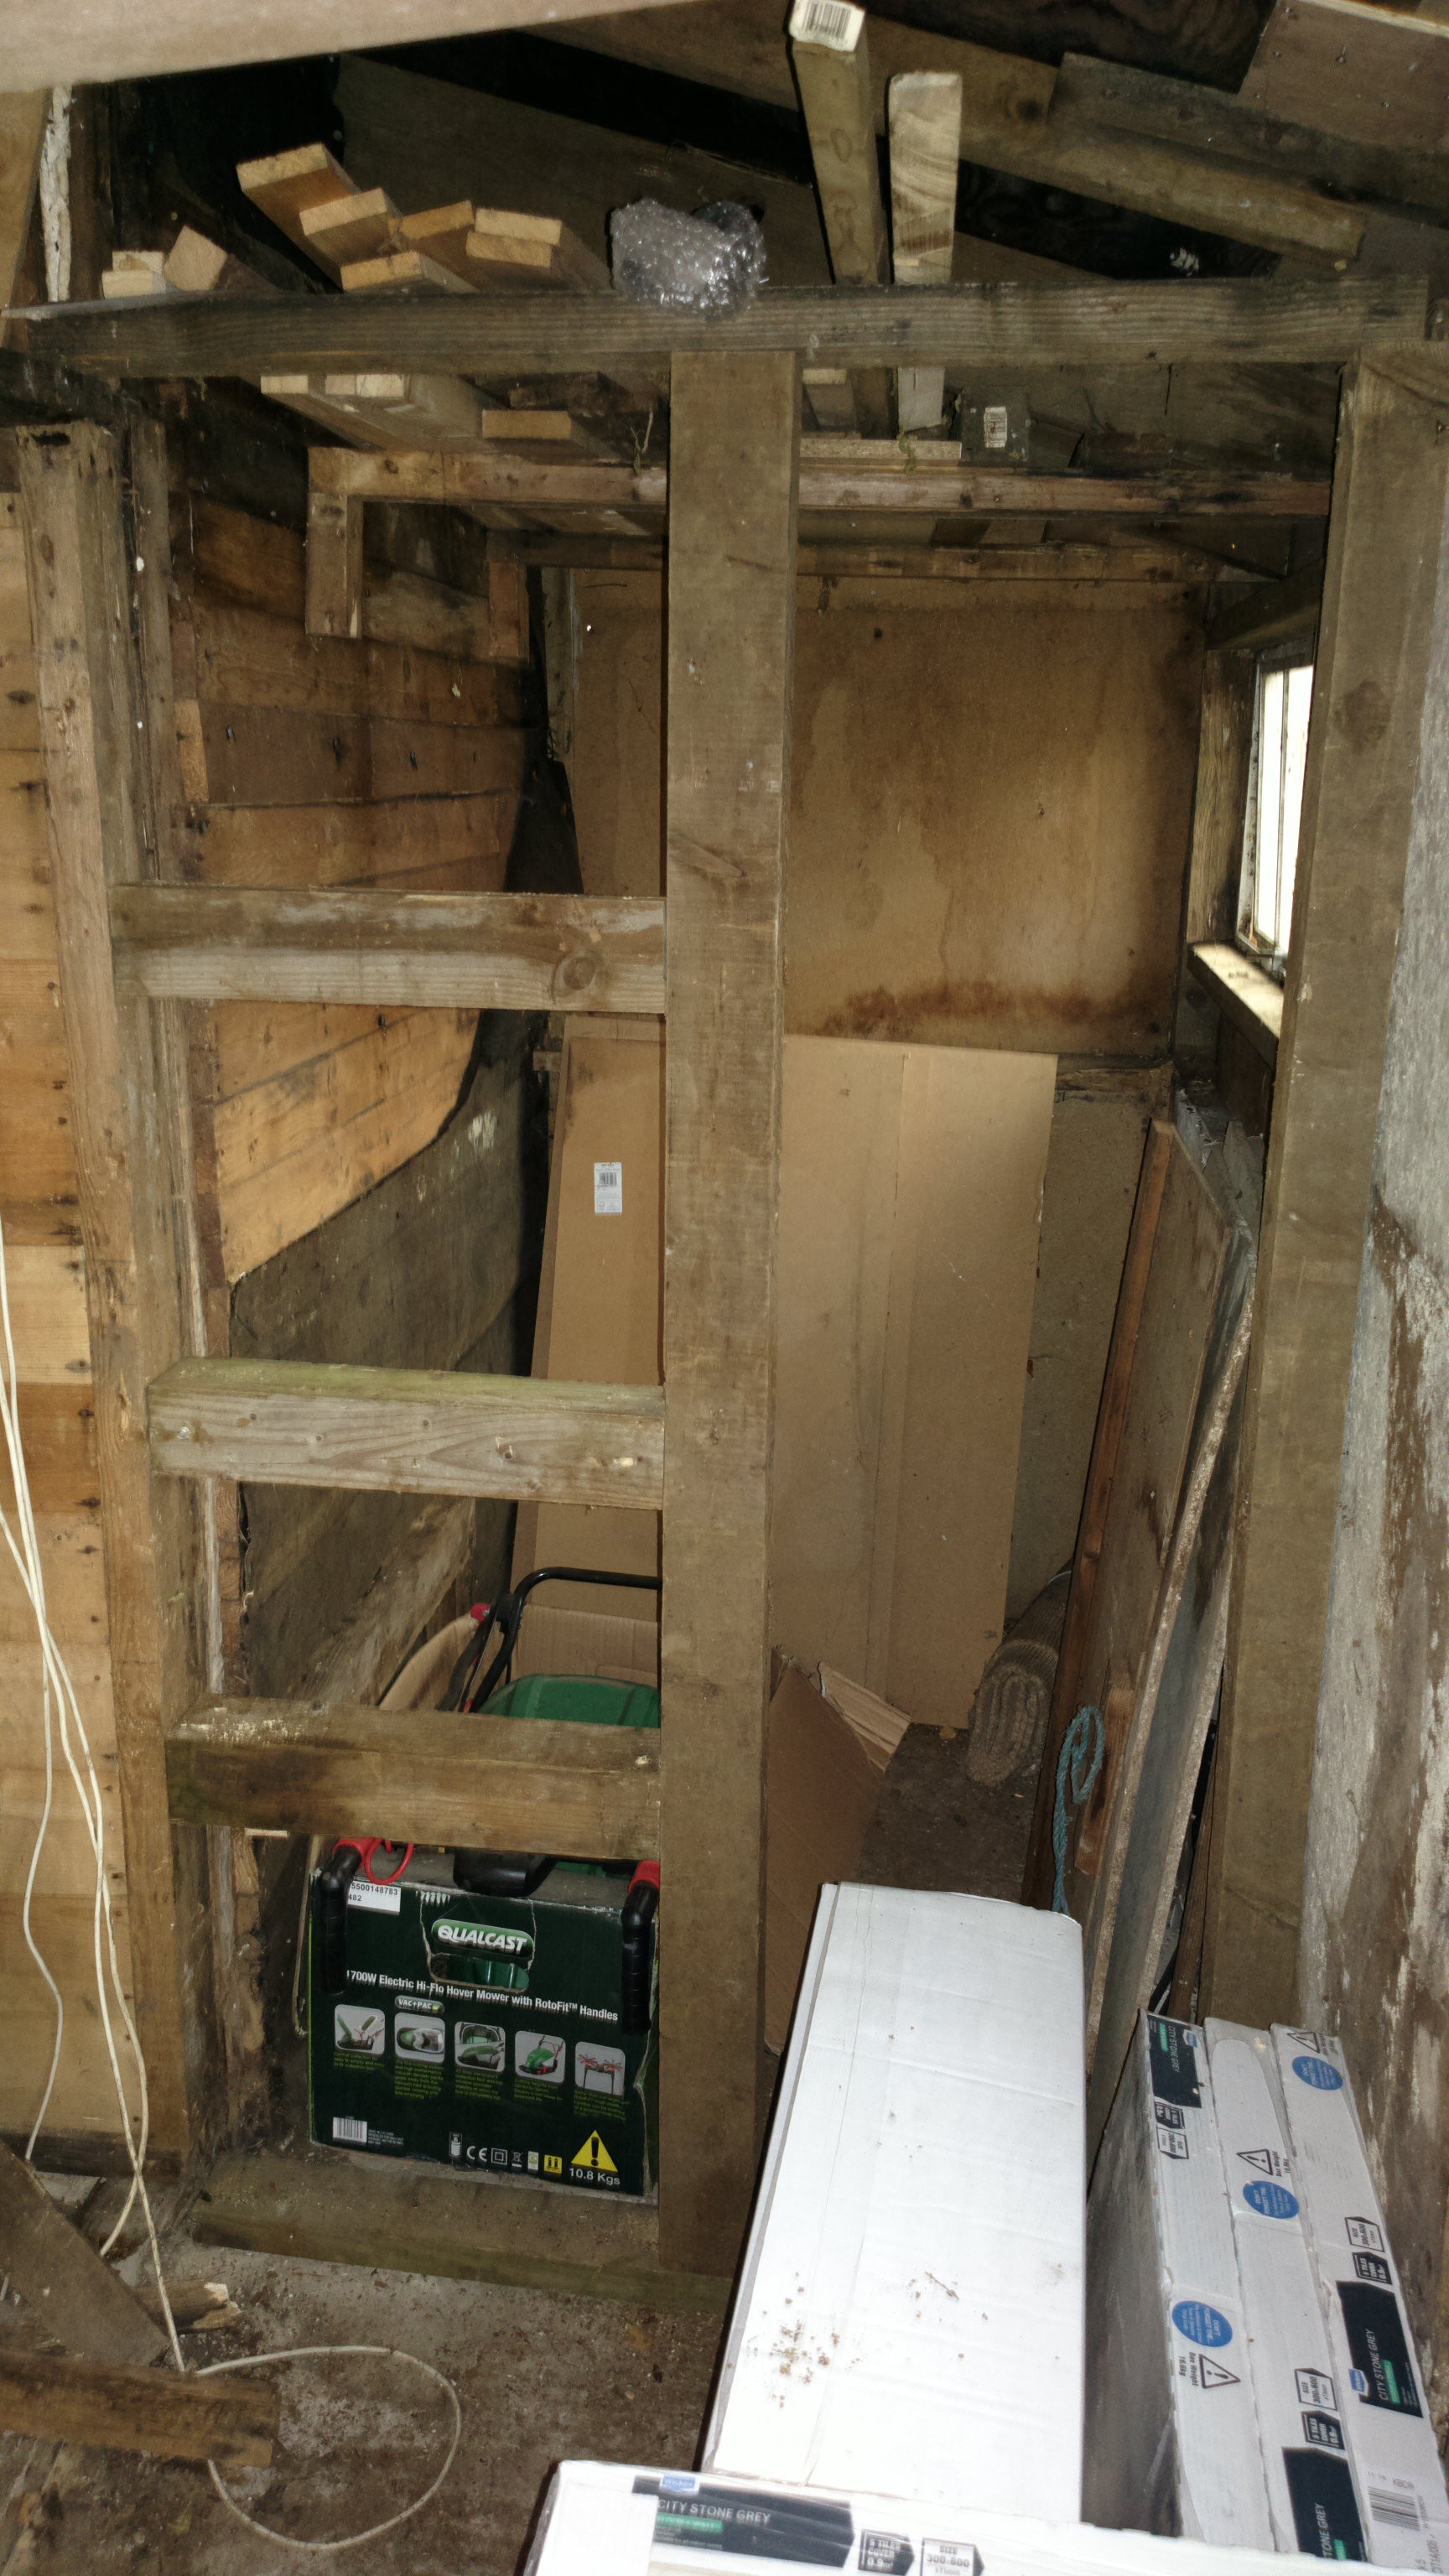
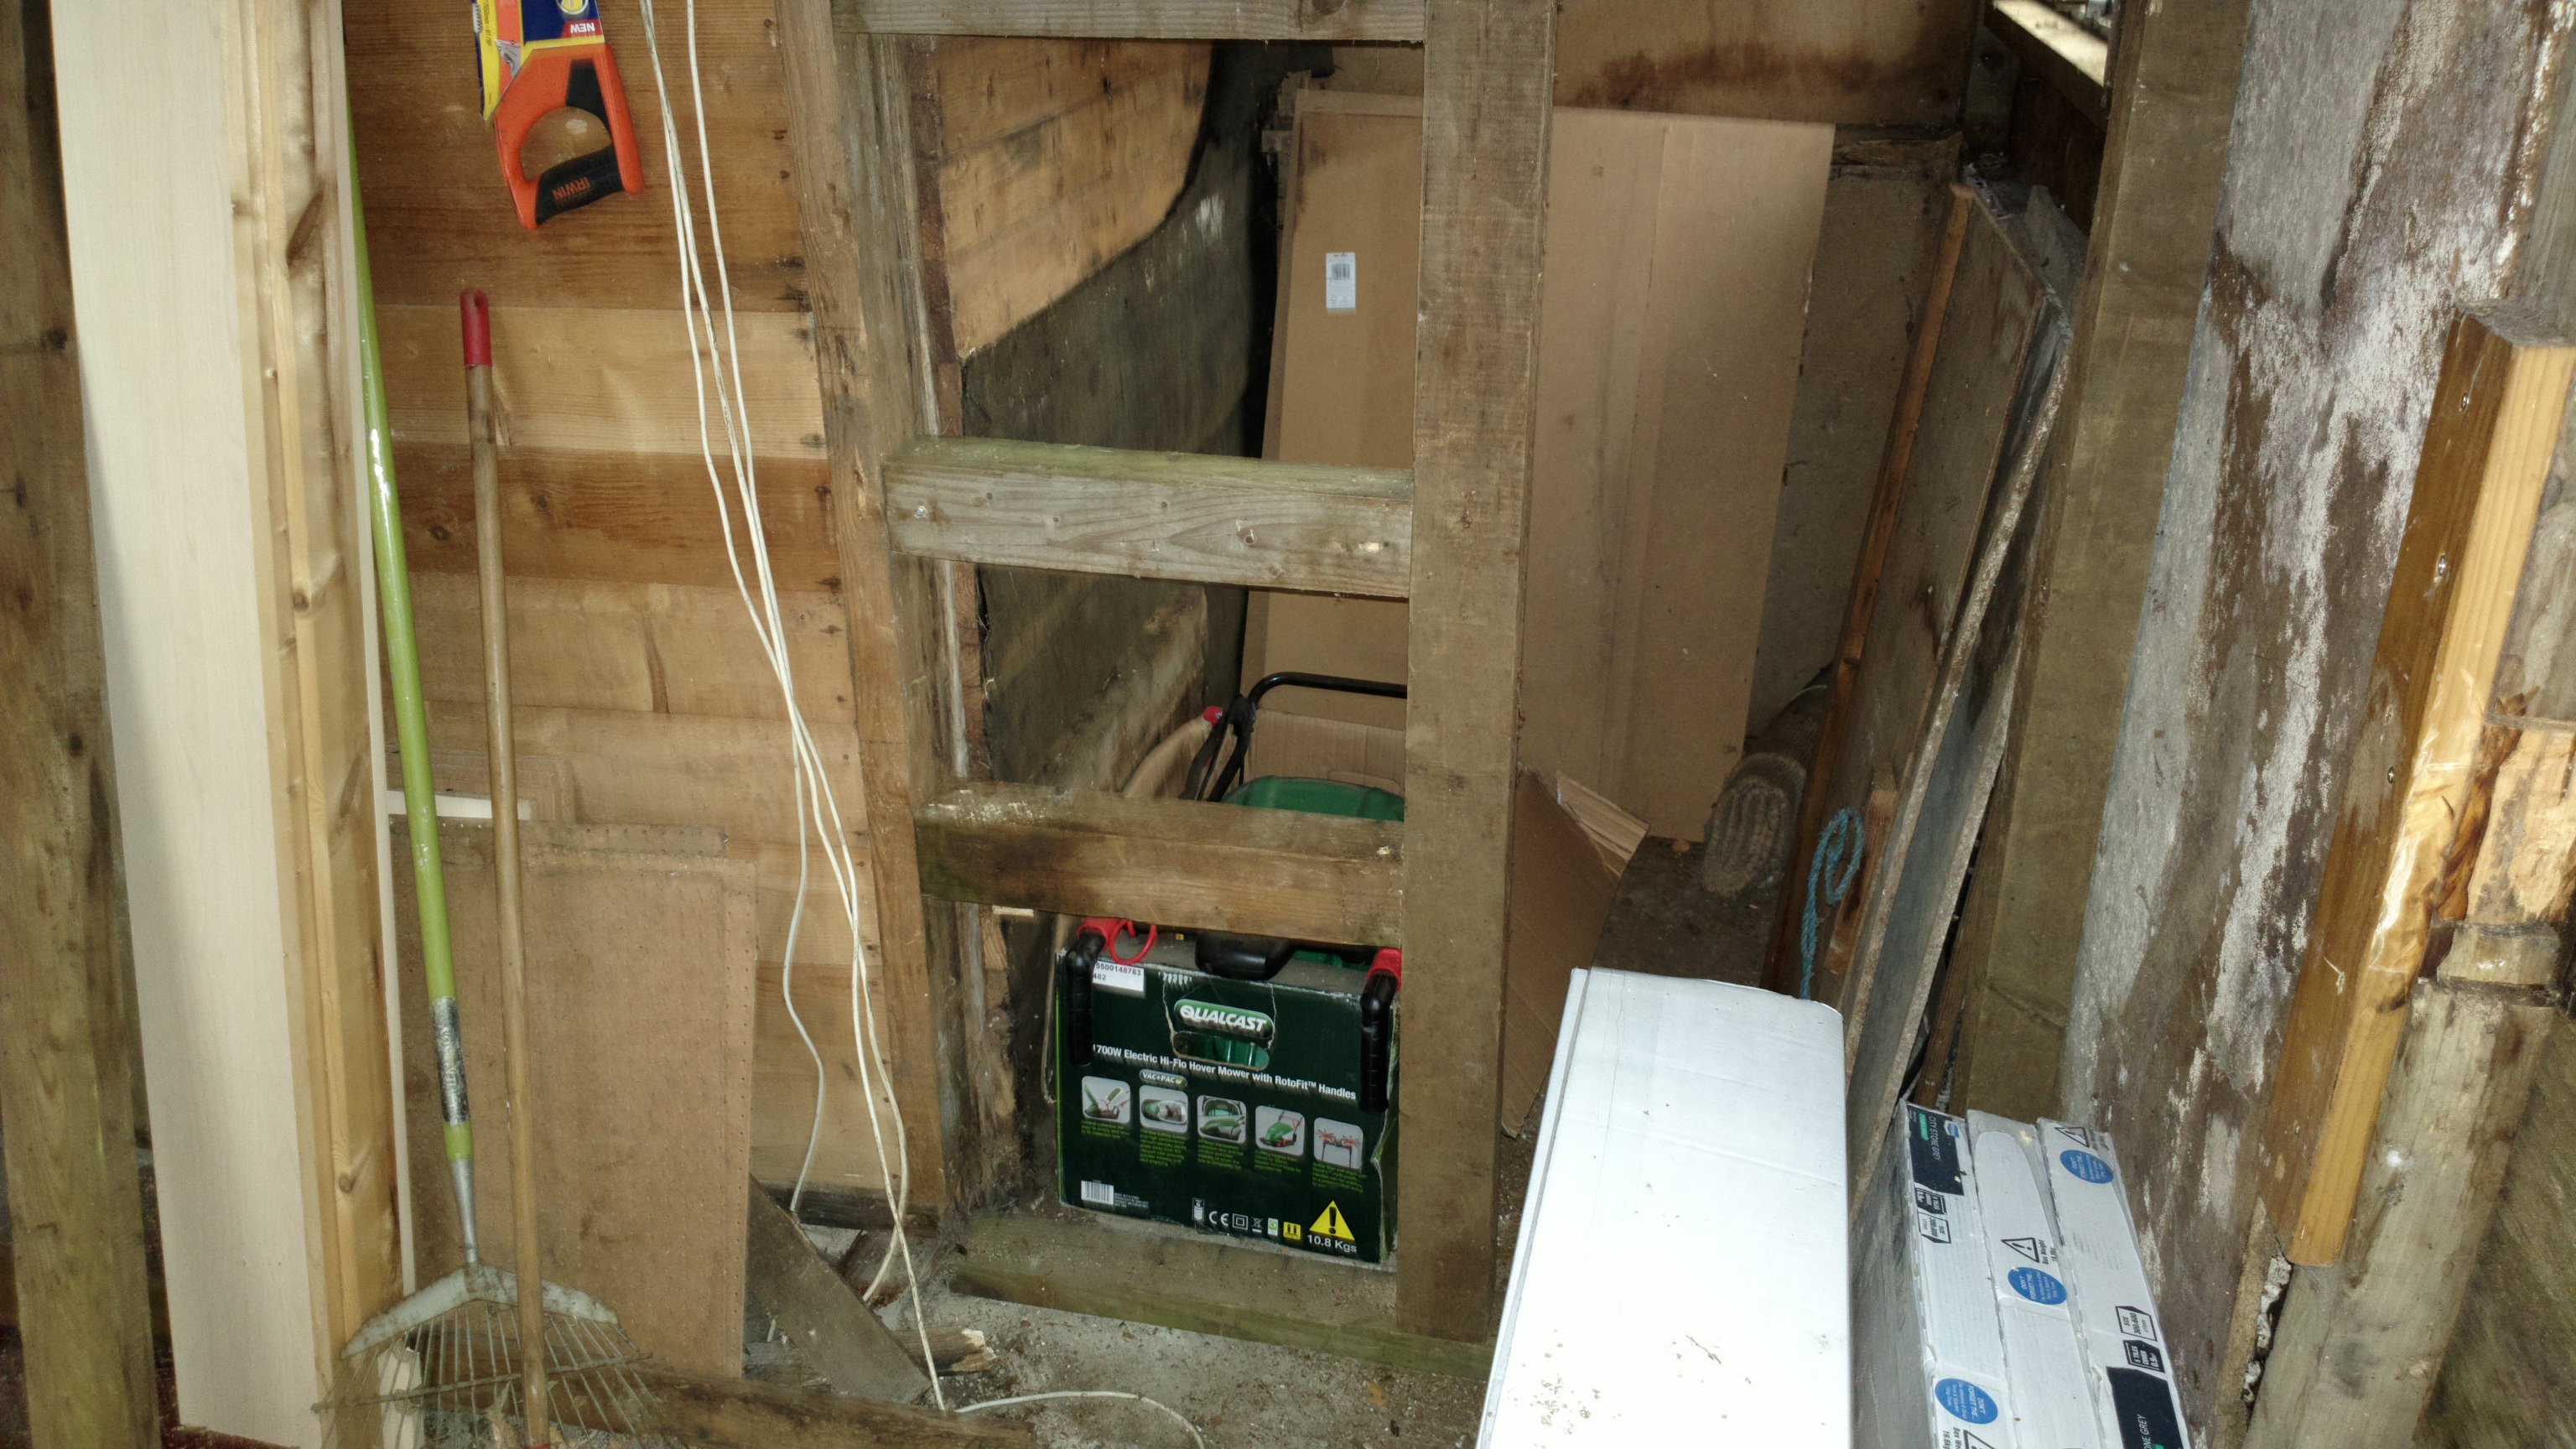
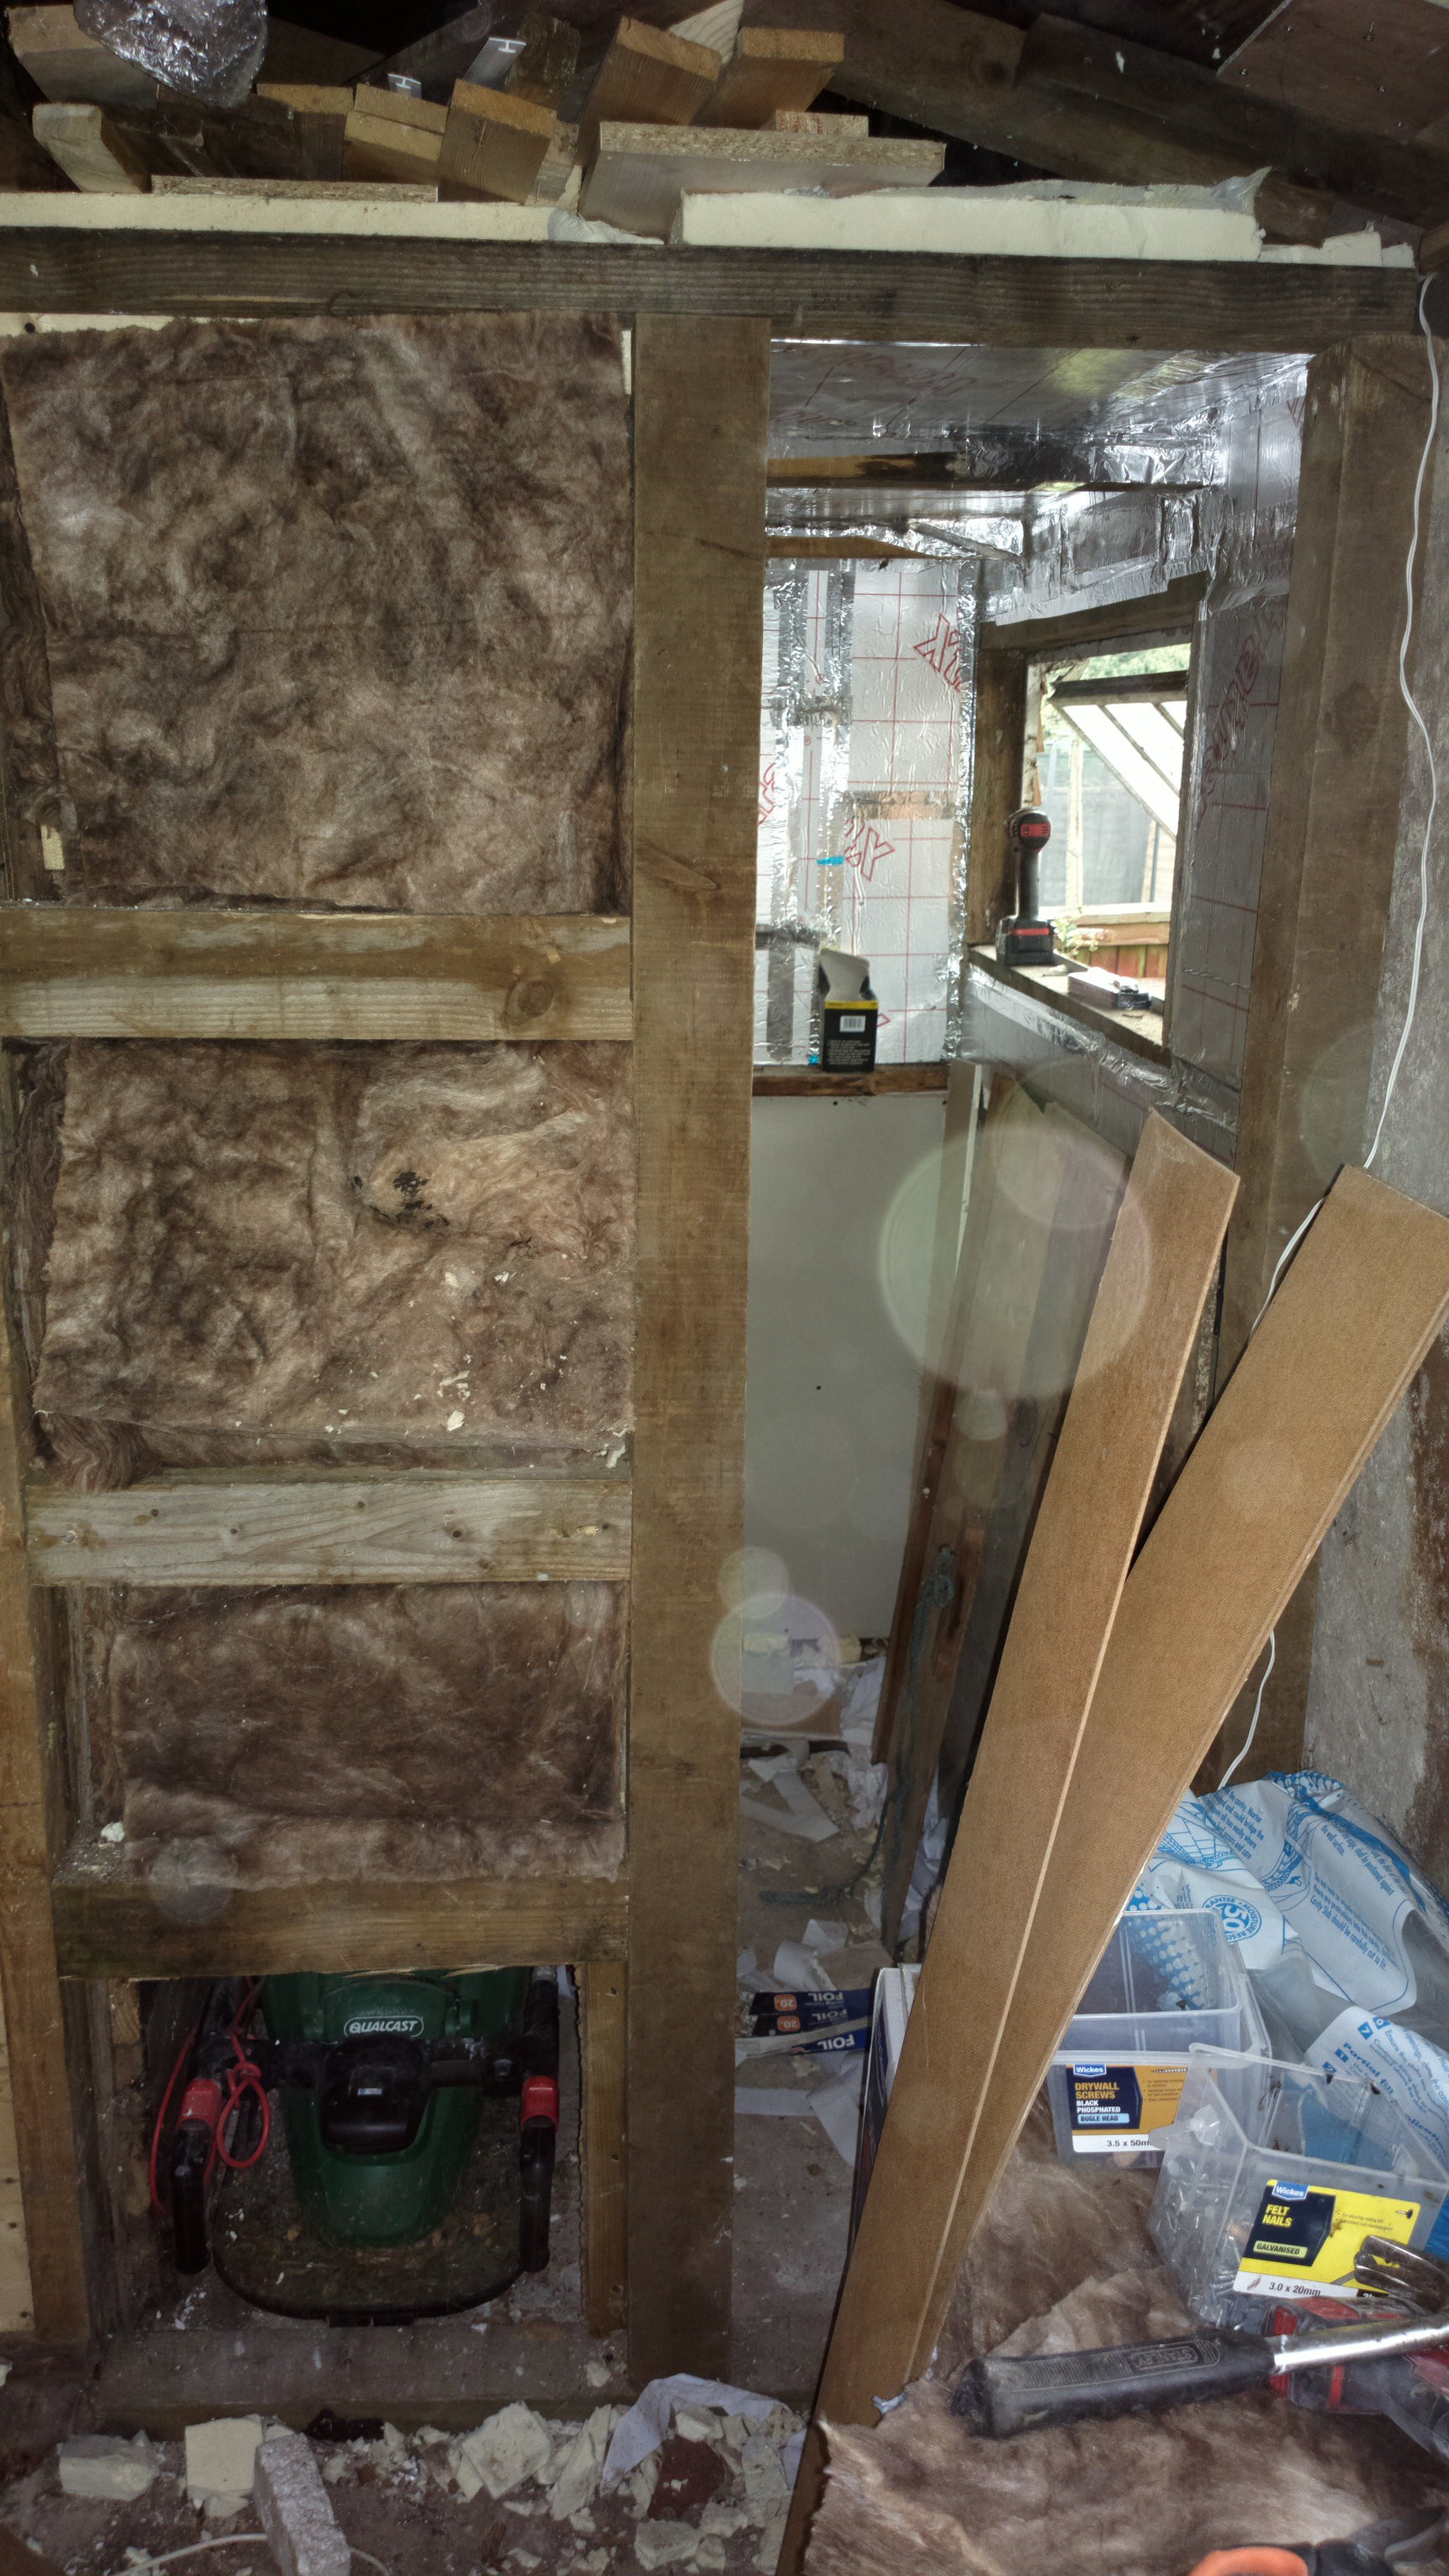
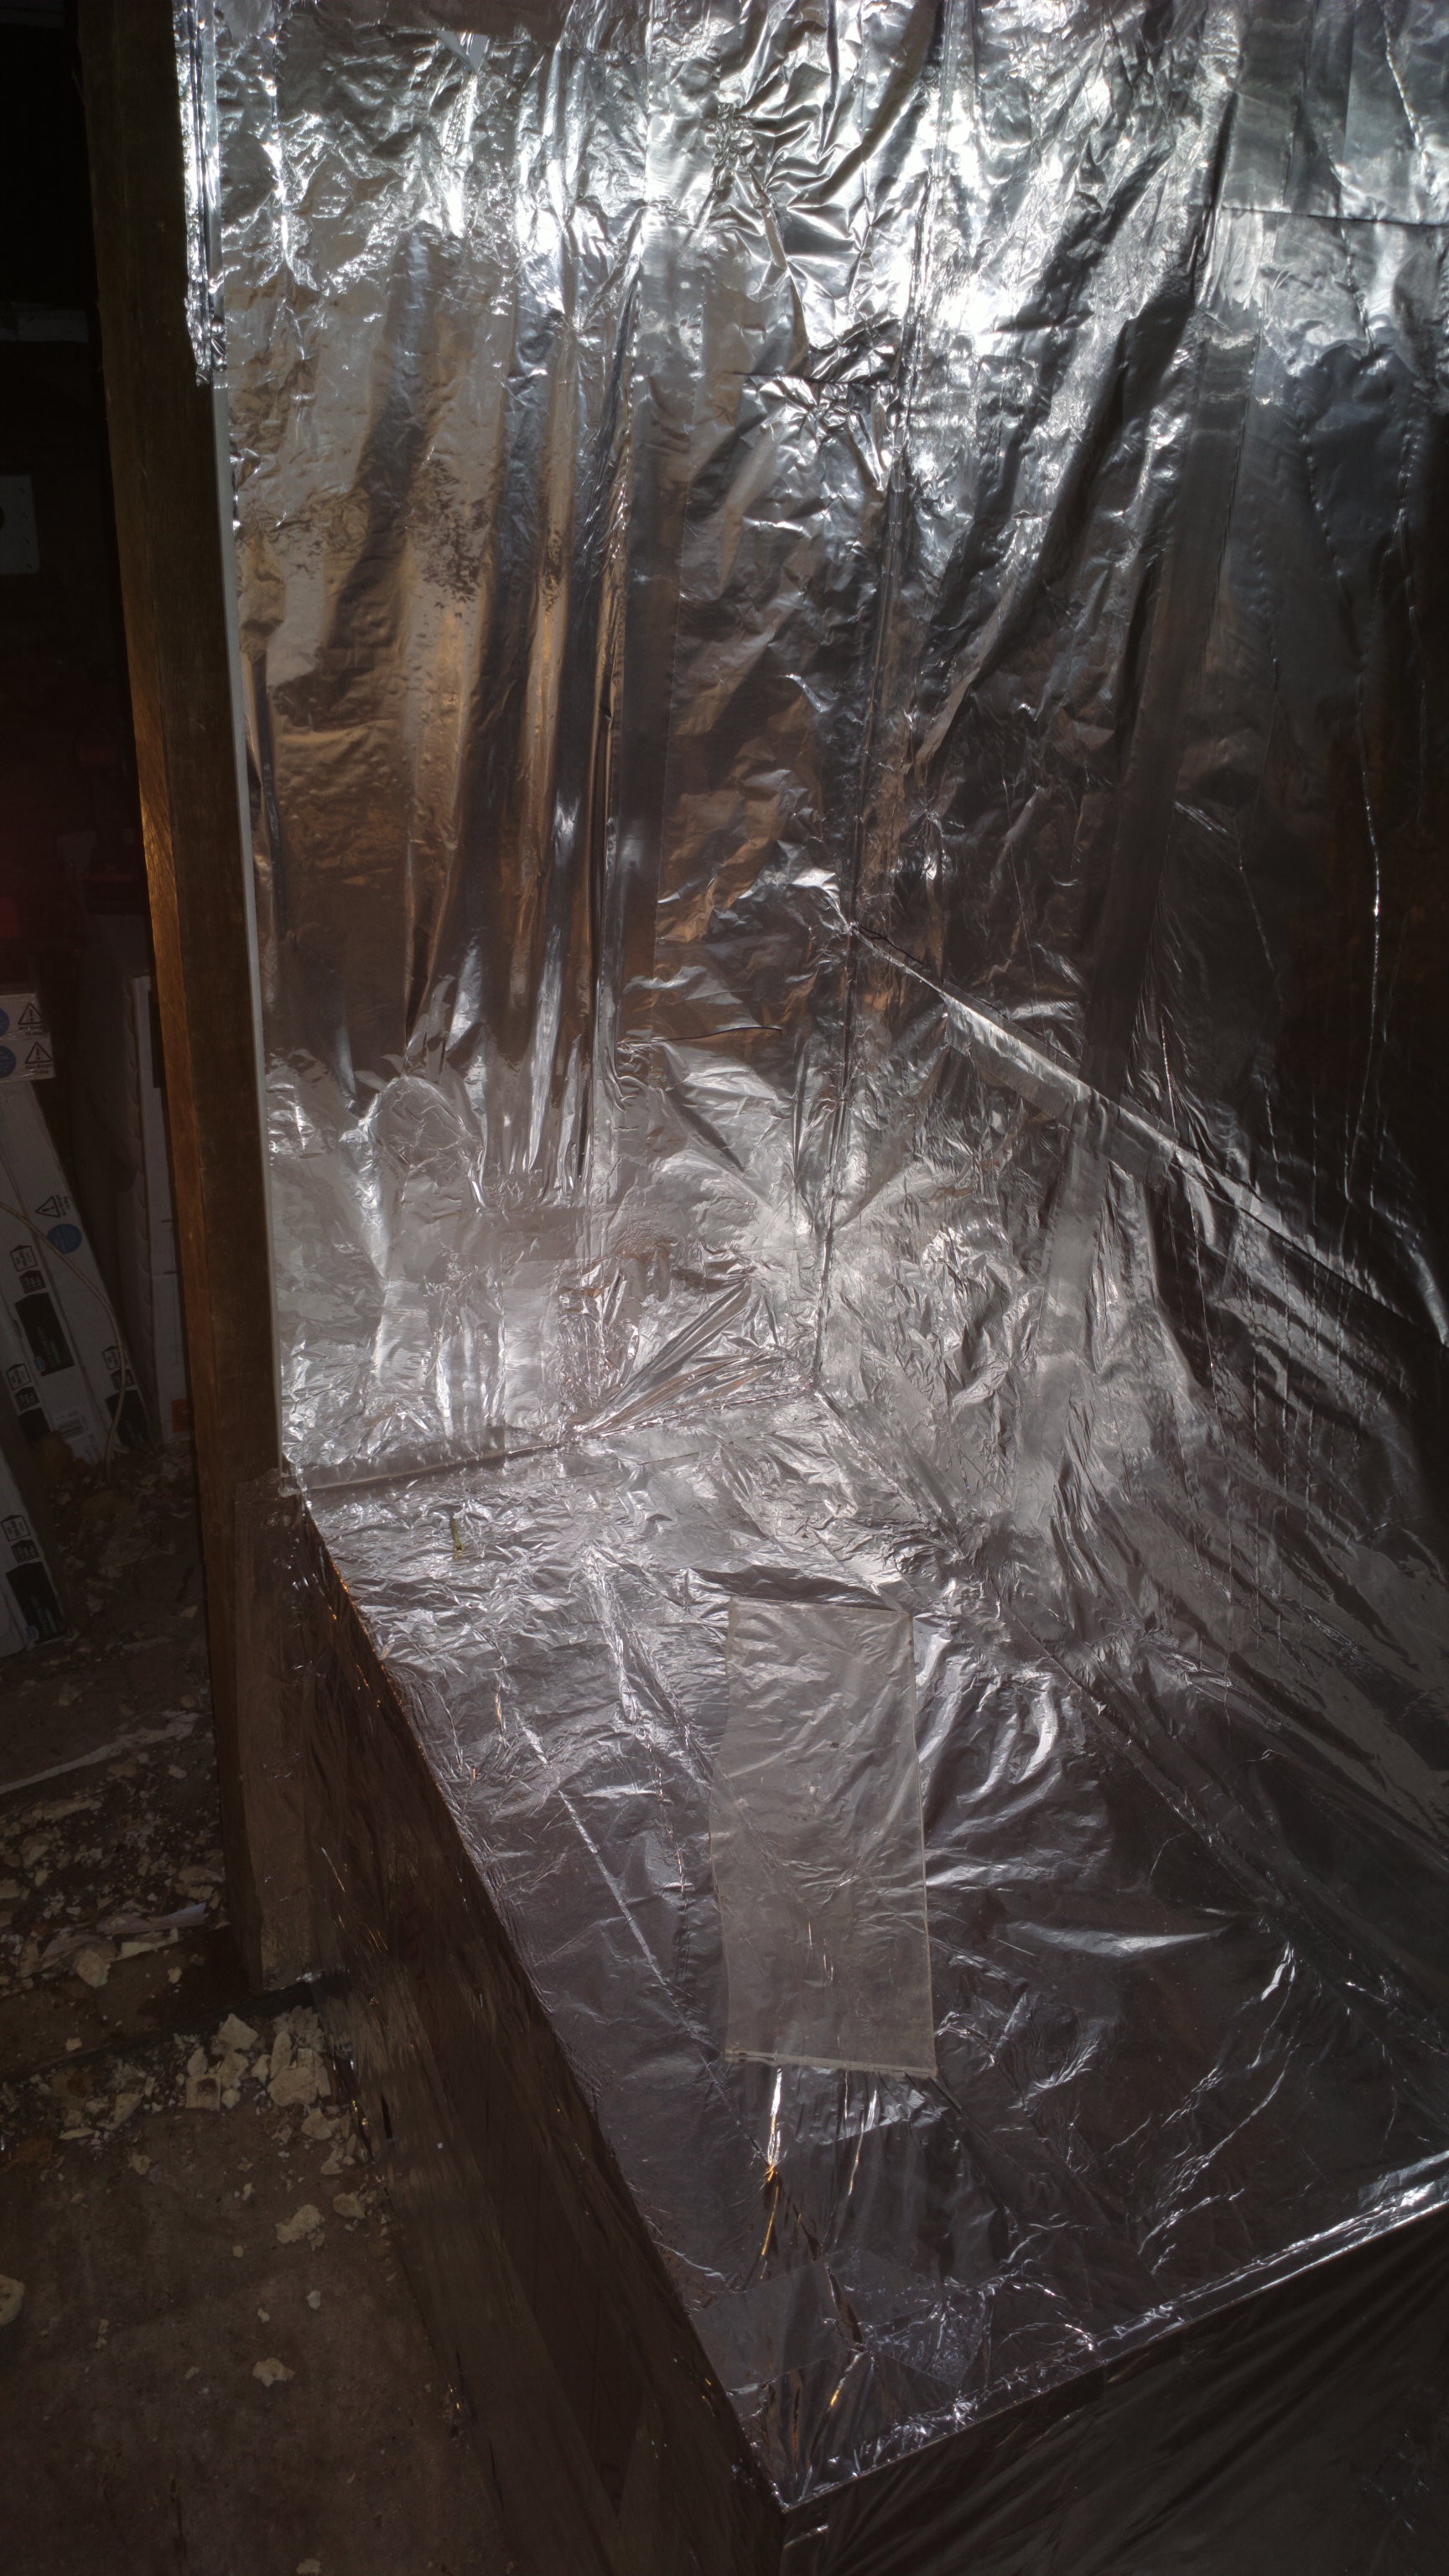
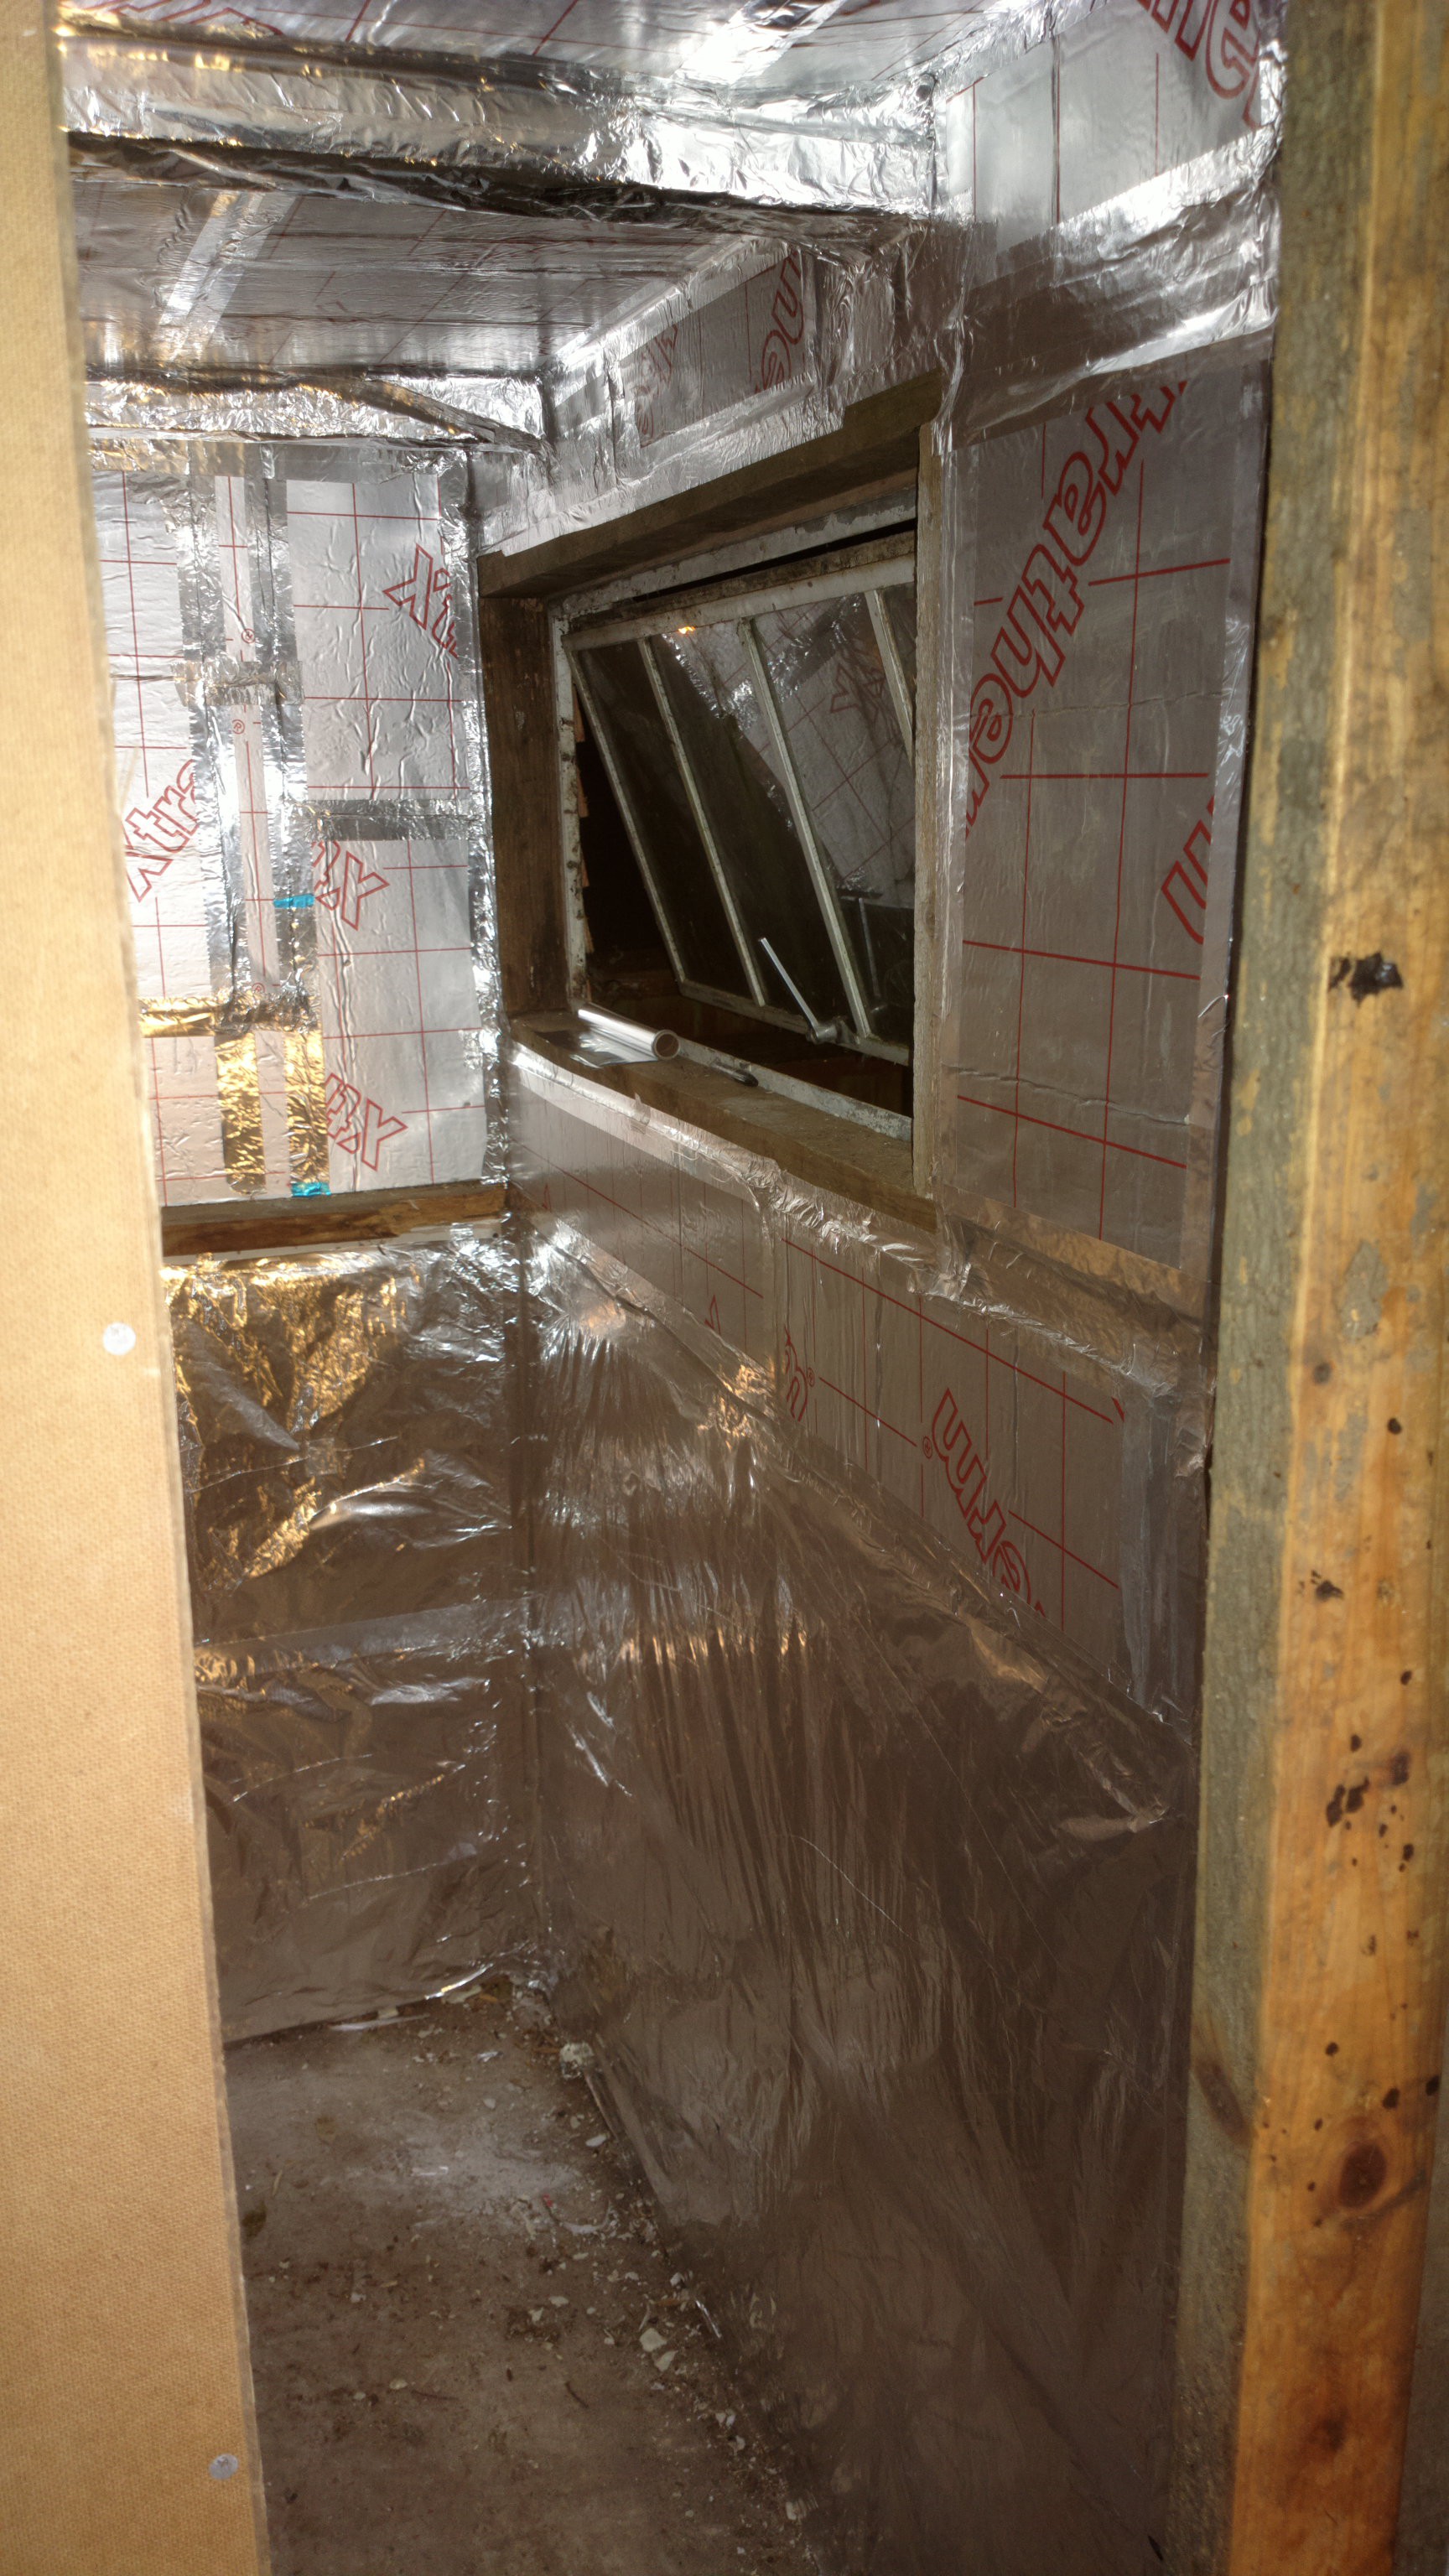
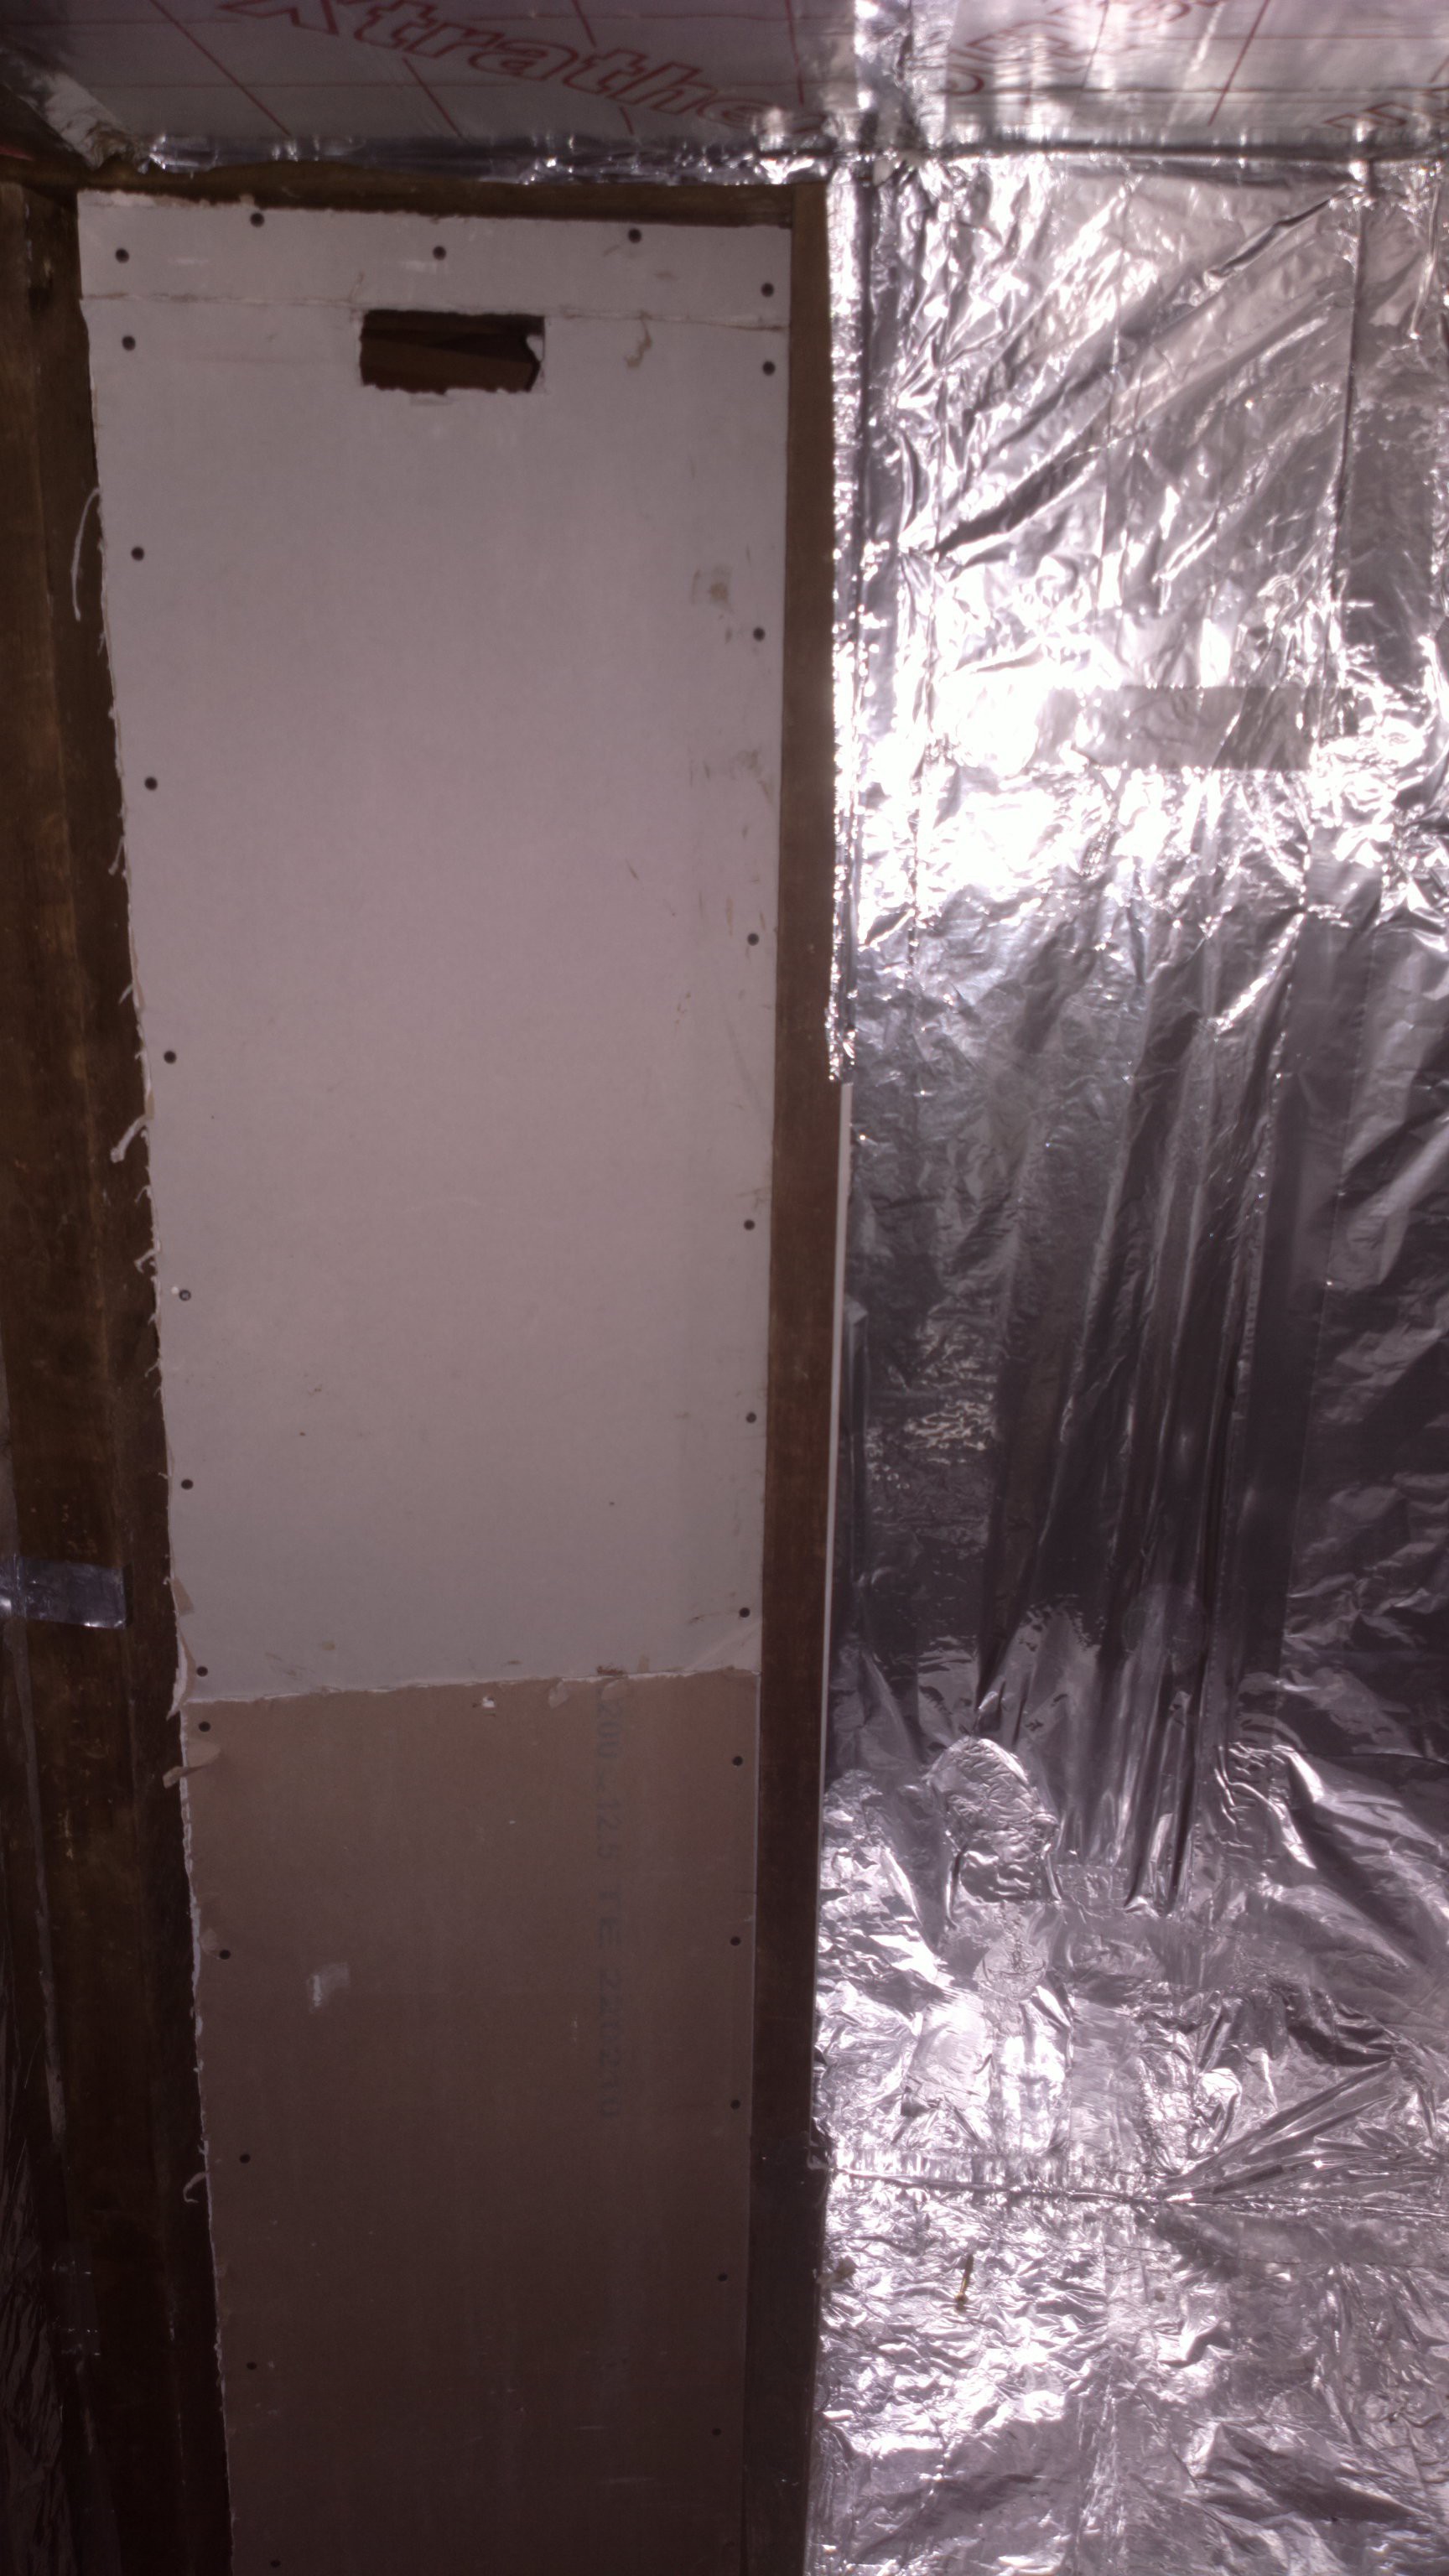
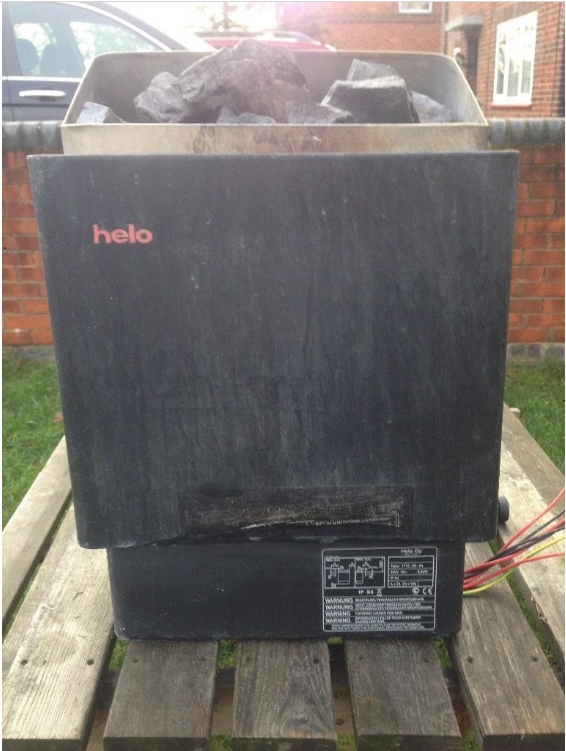
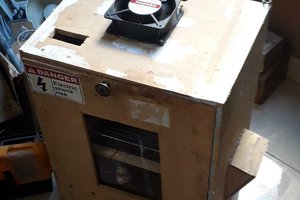
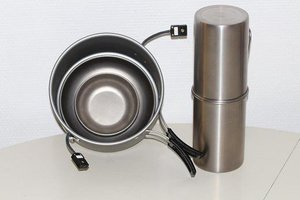
DIY electrically heated sauna
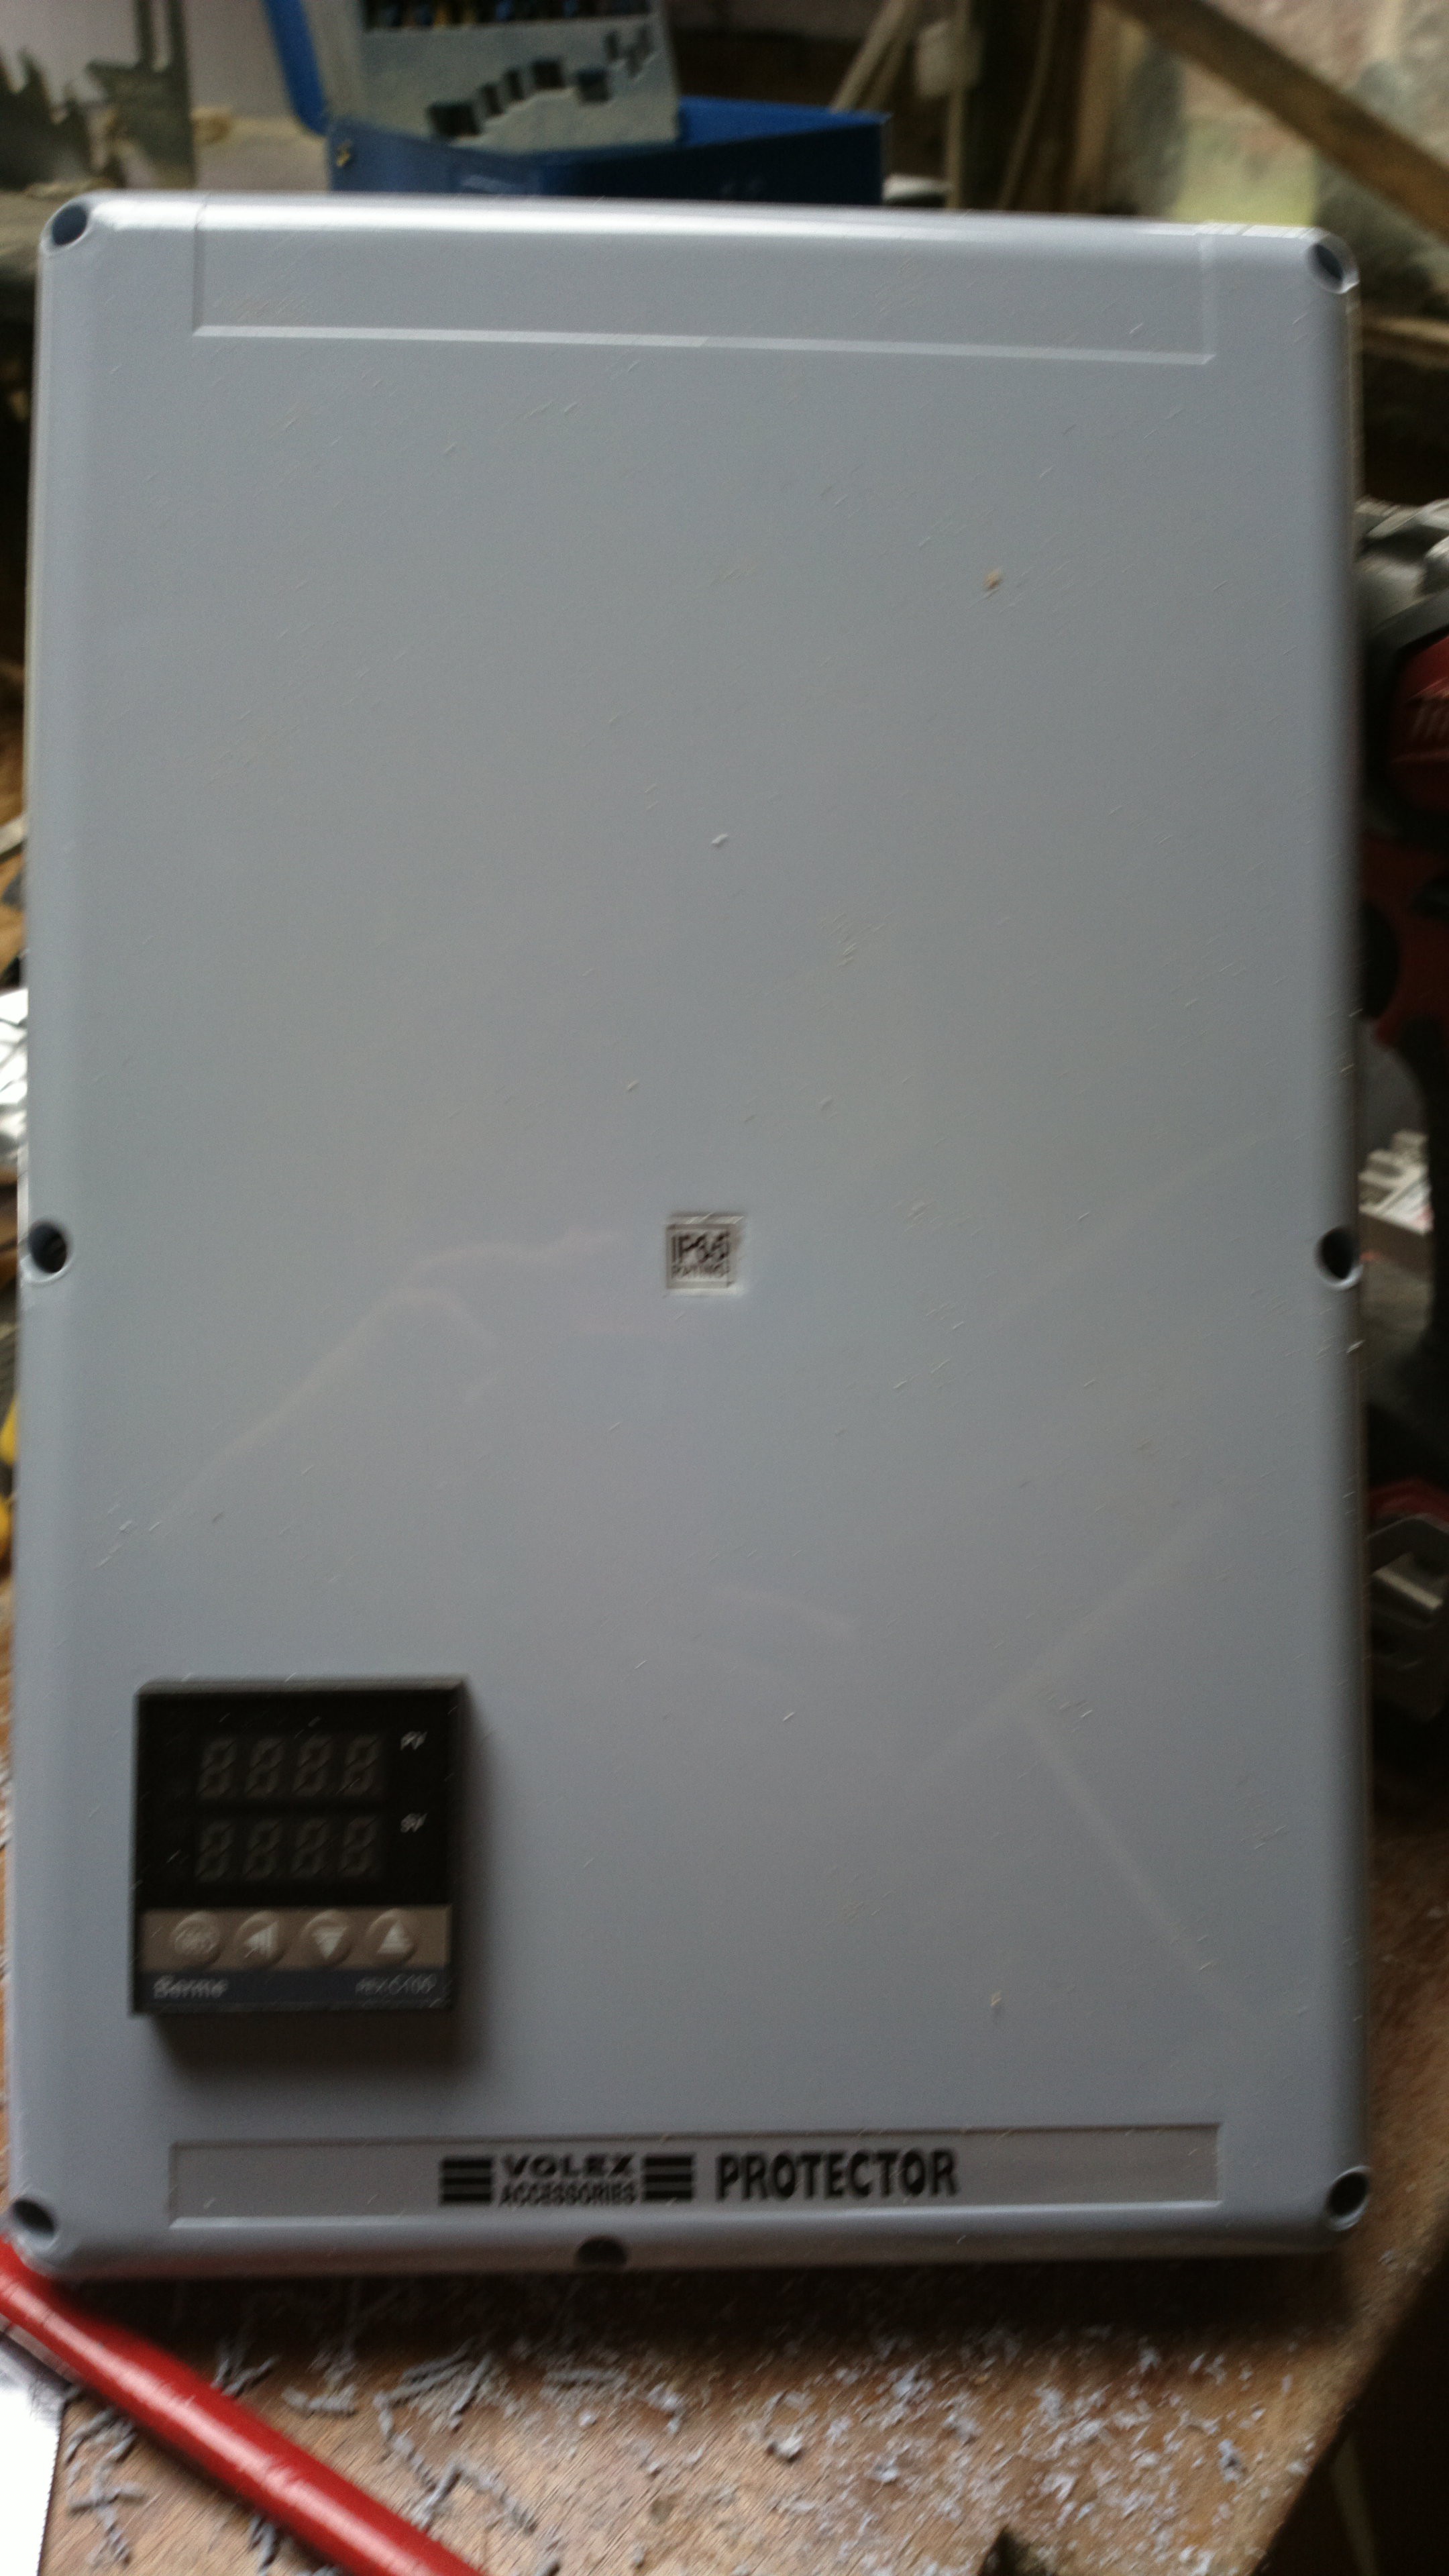
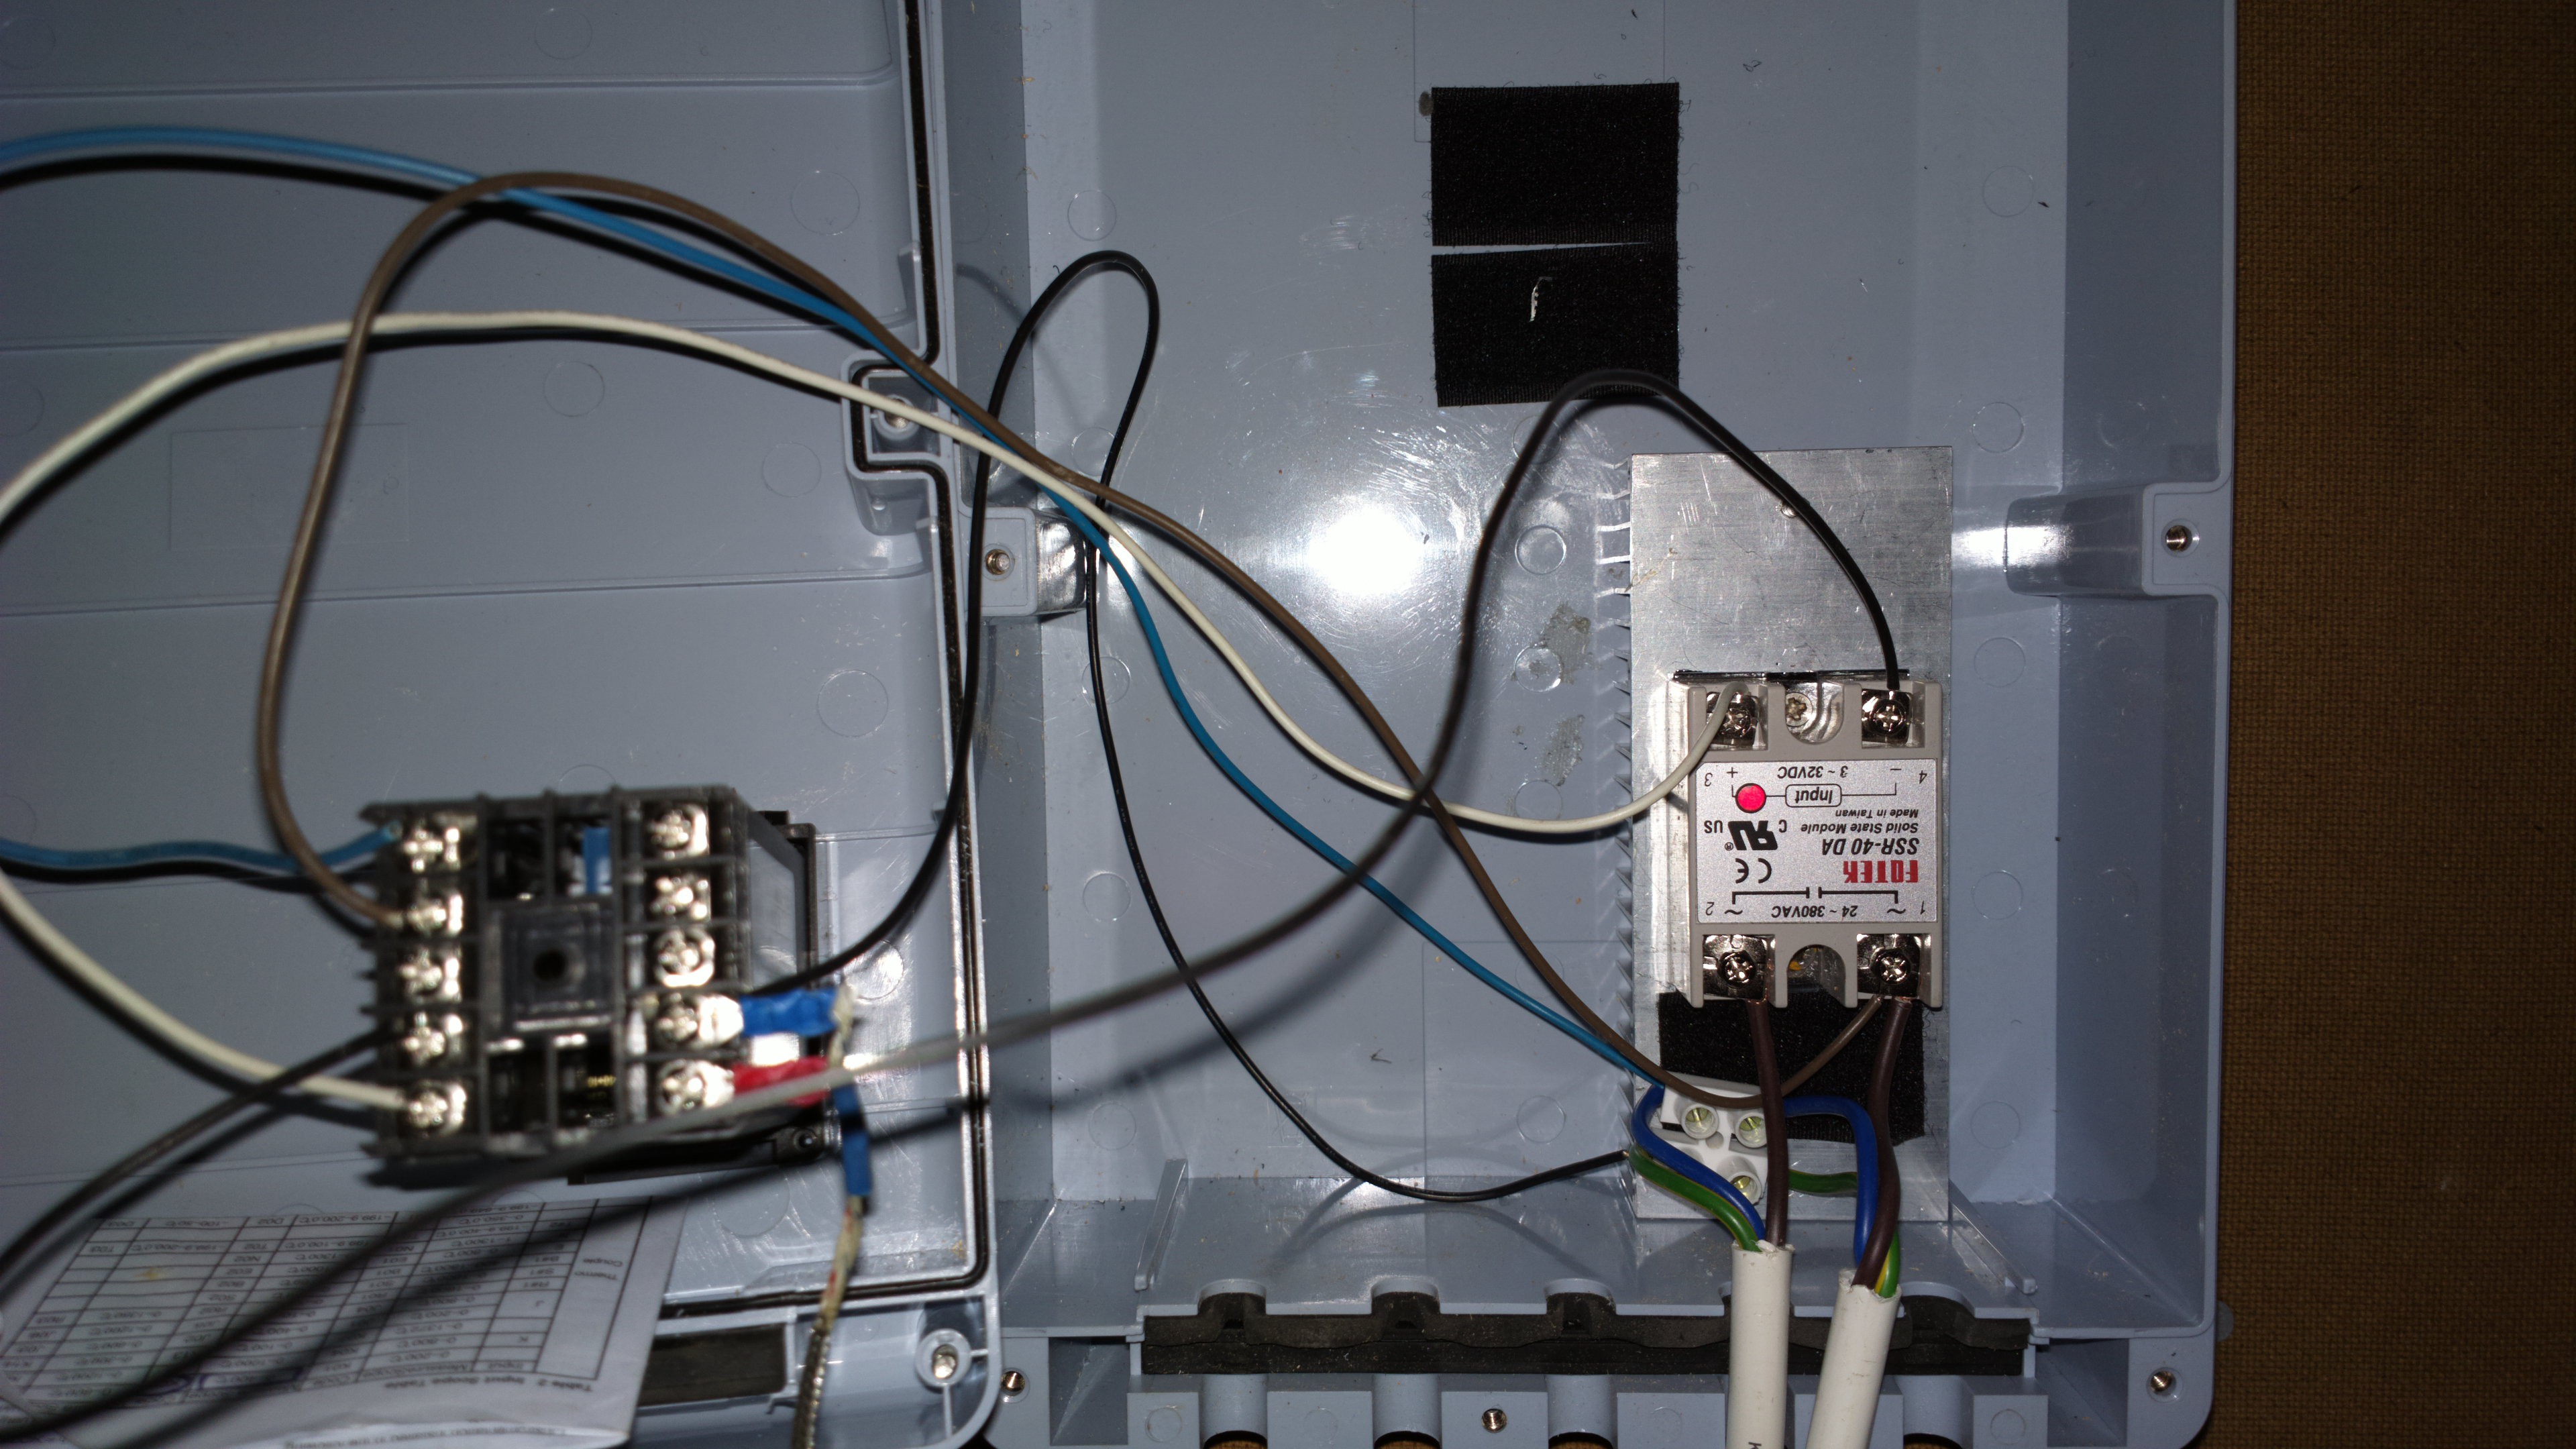
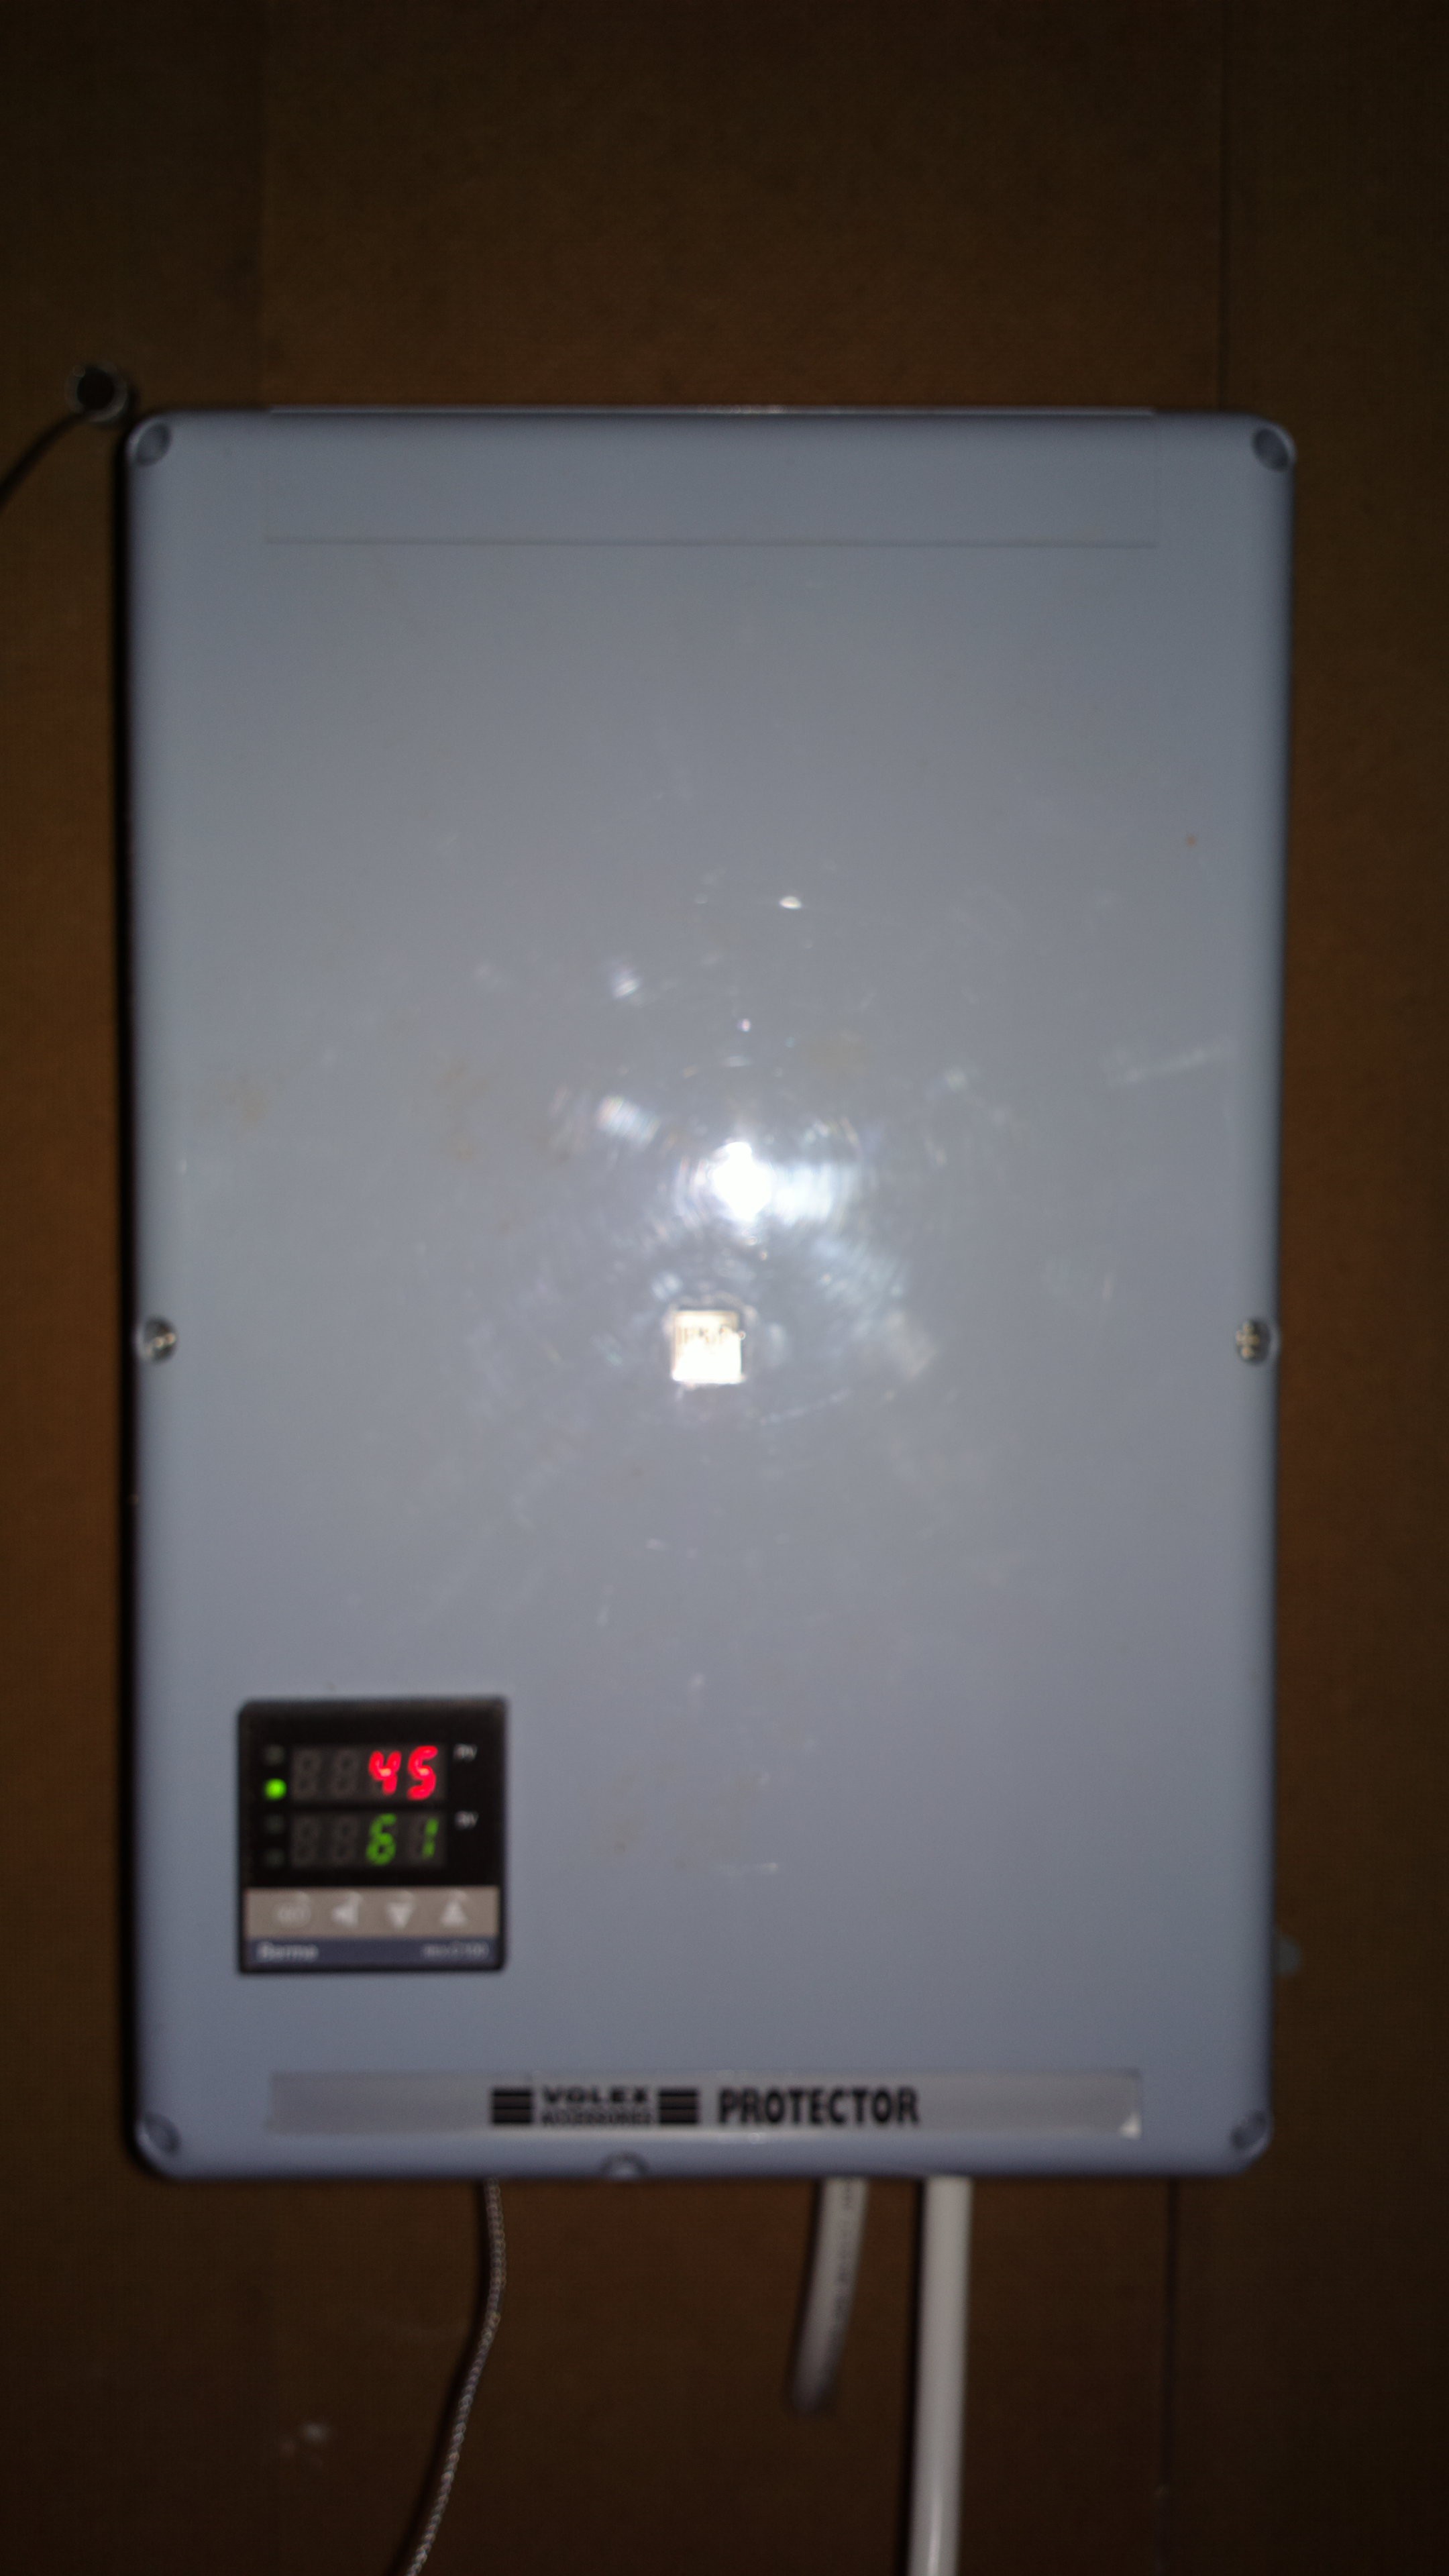
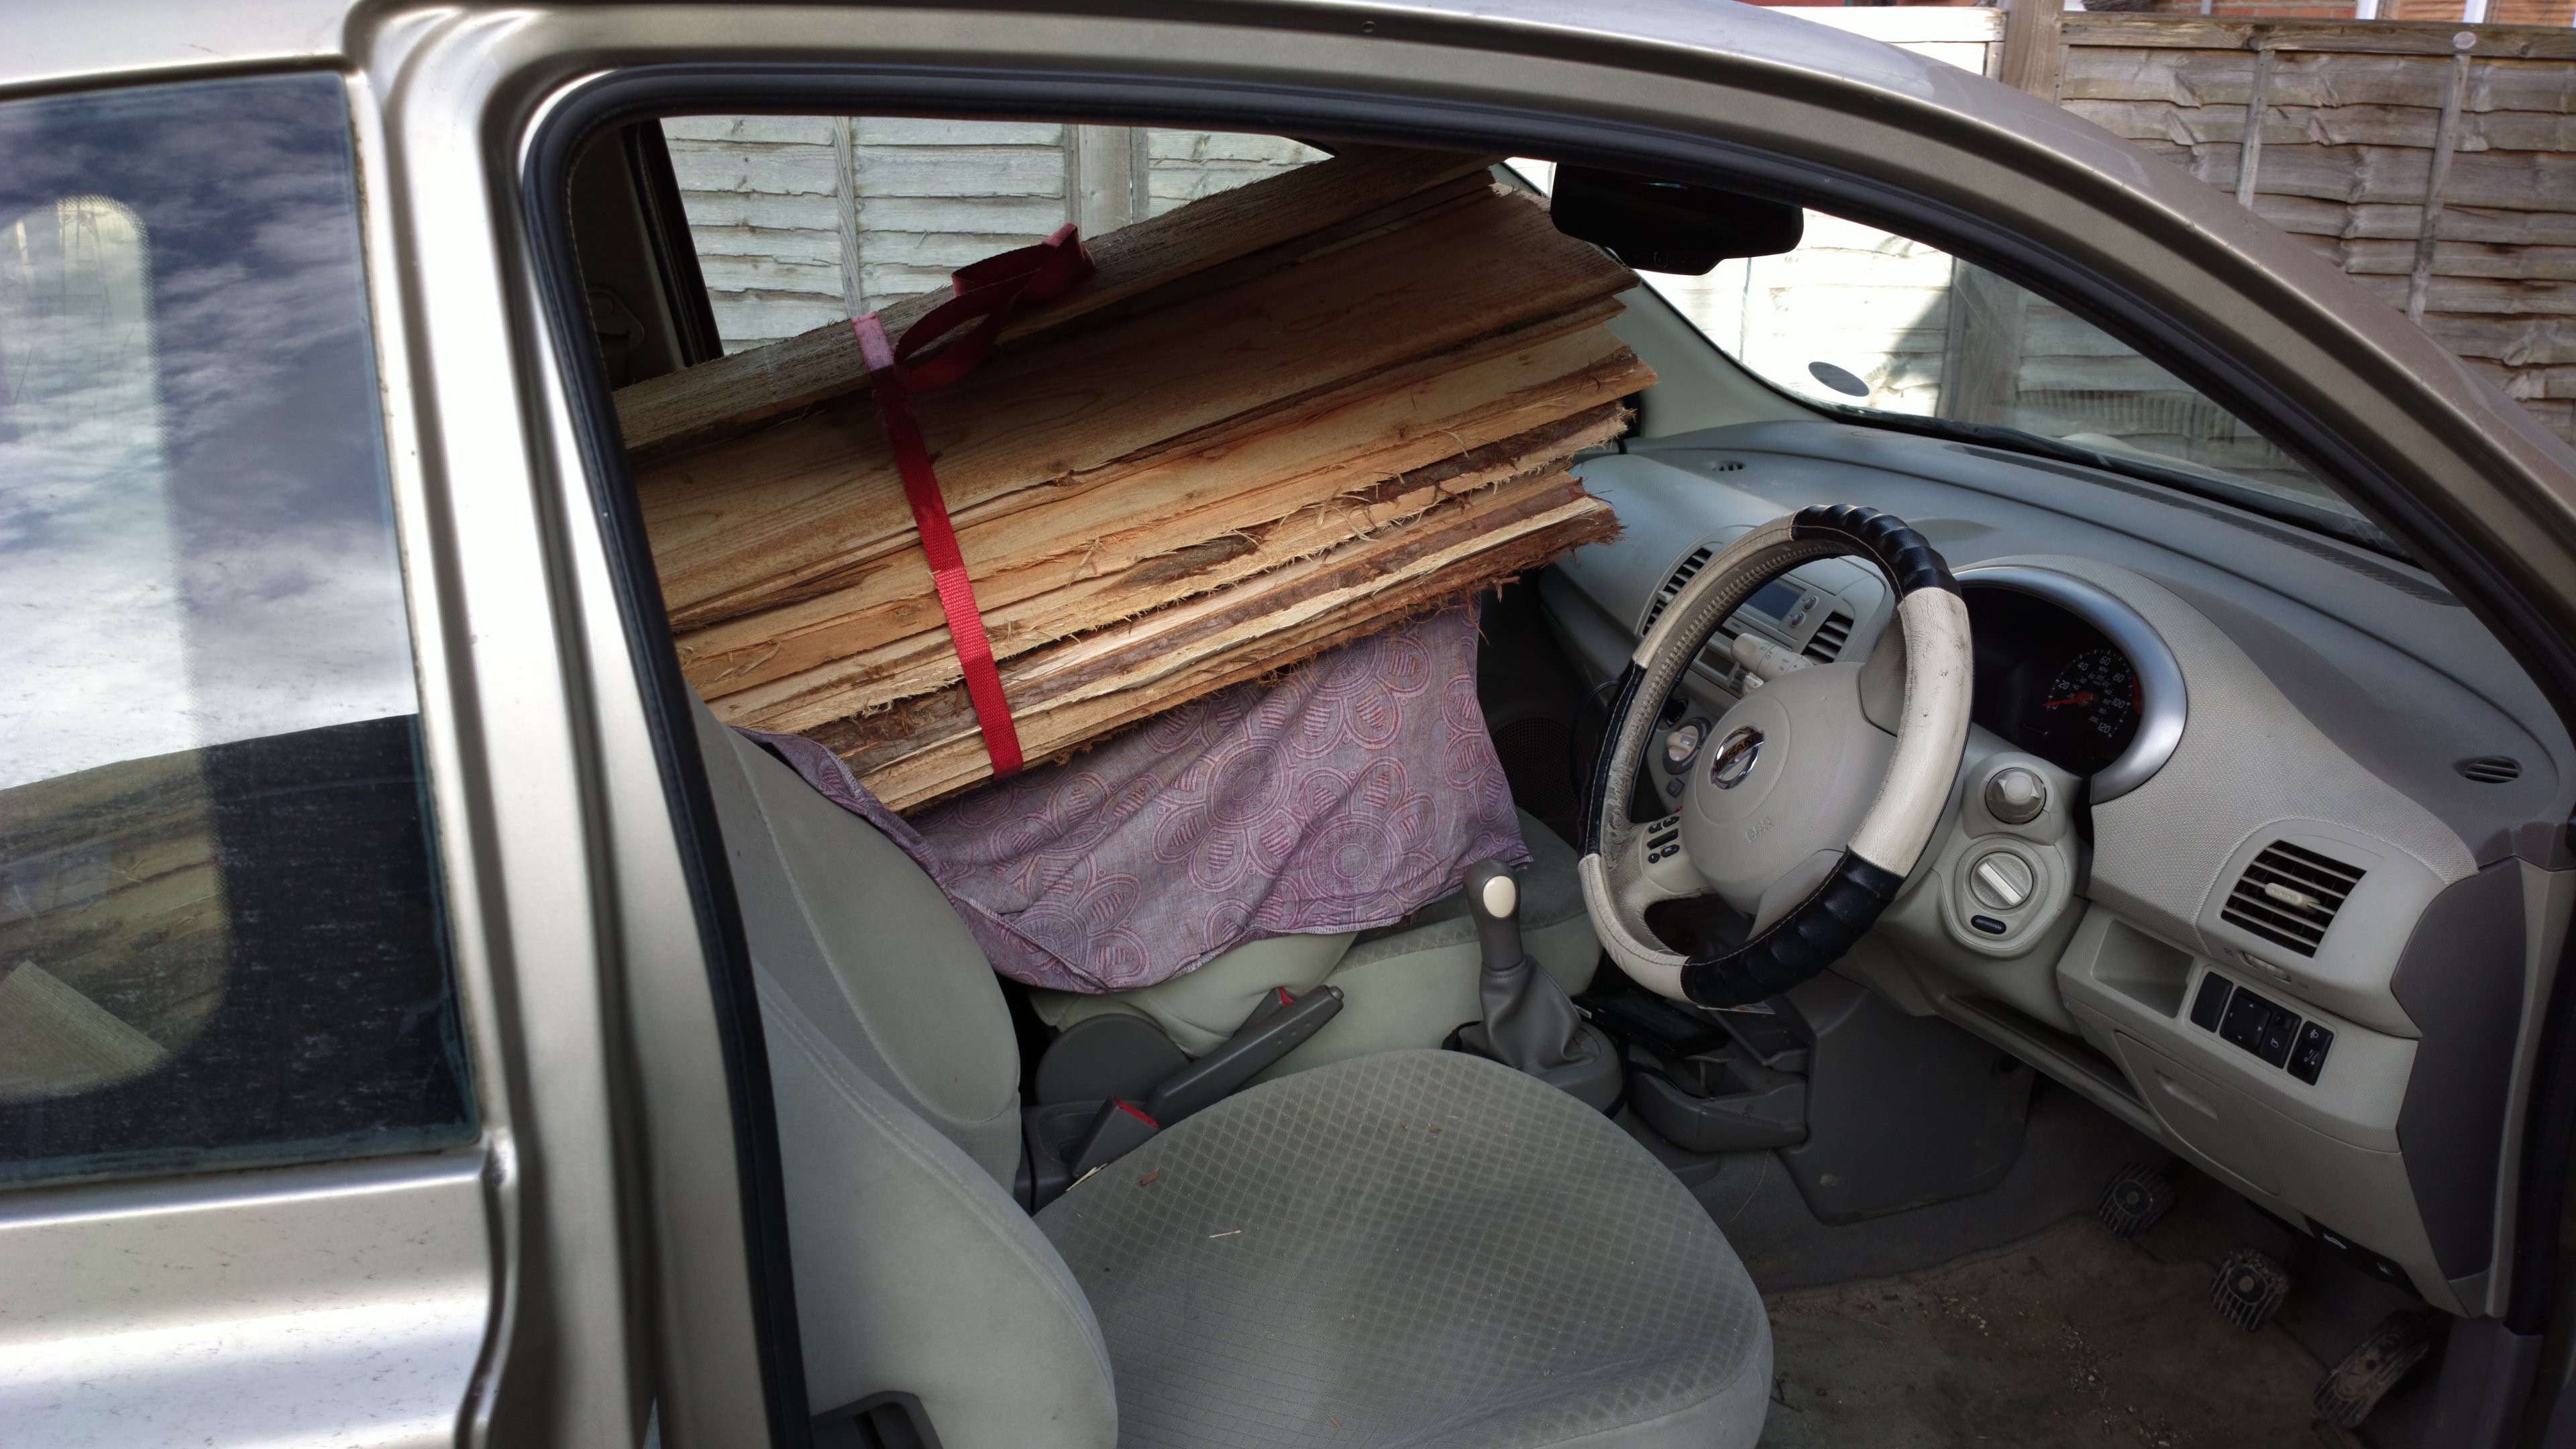
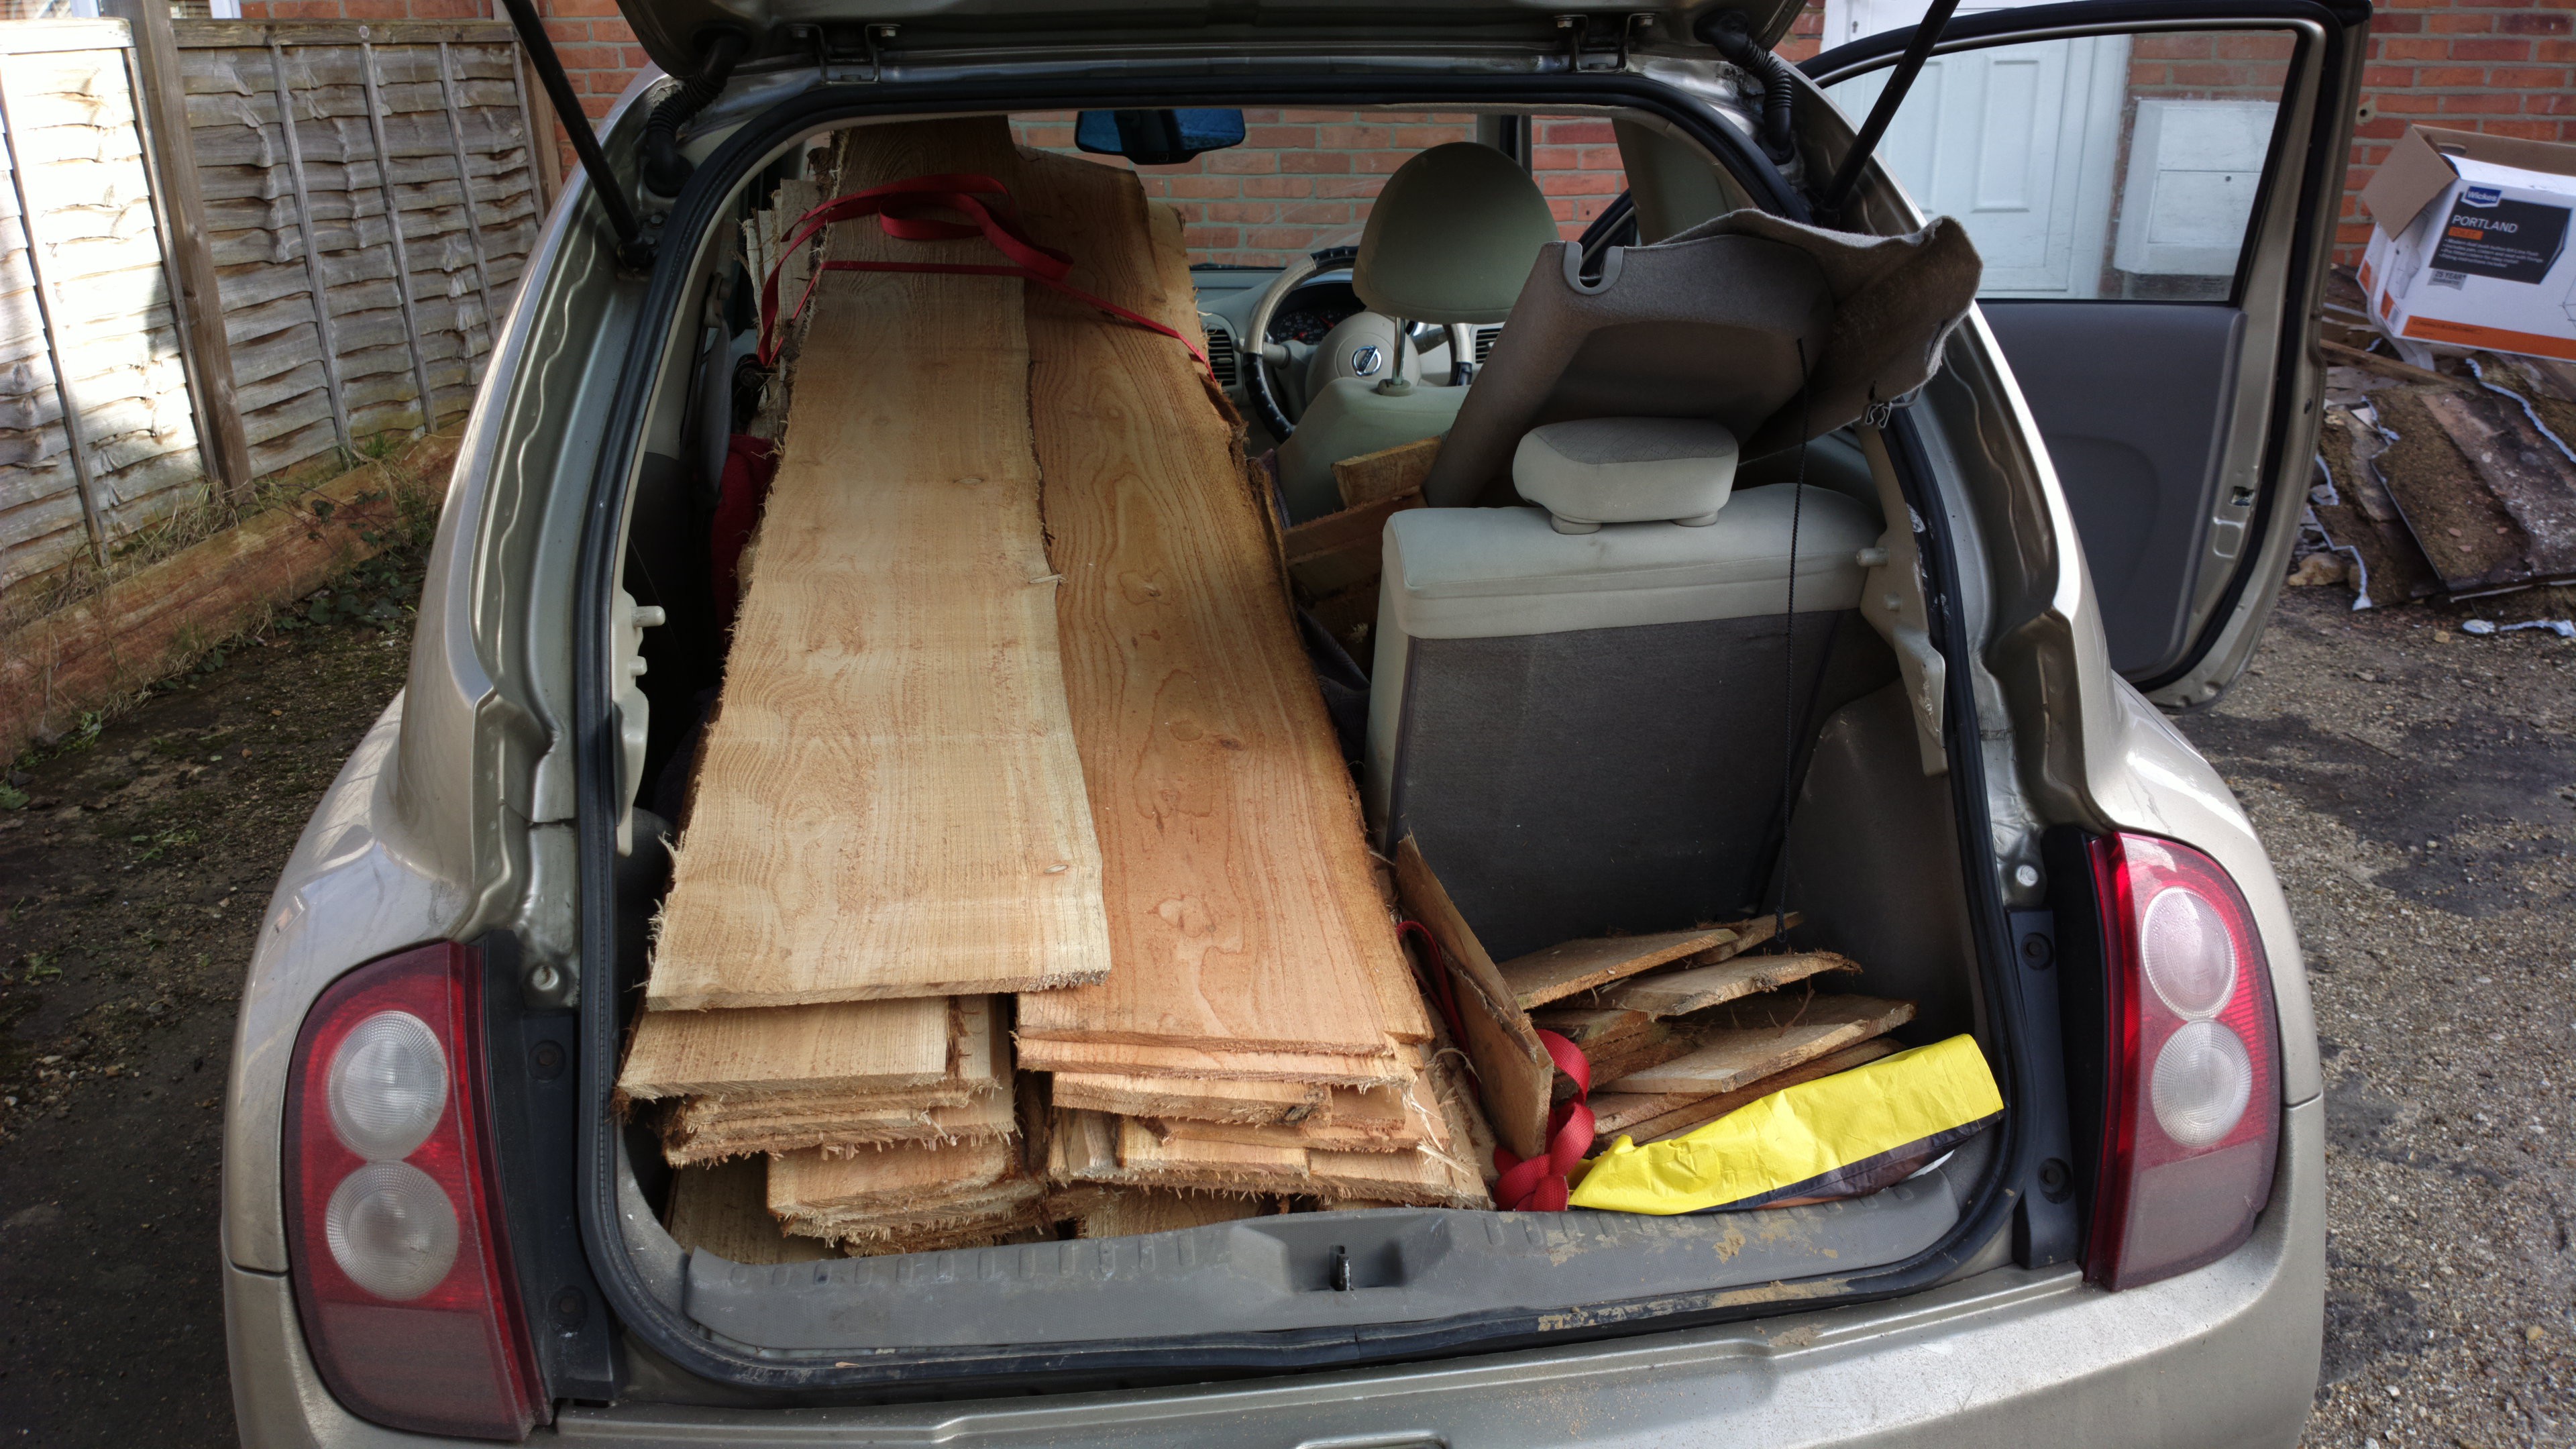
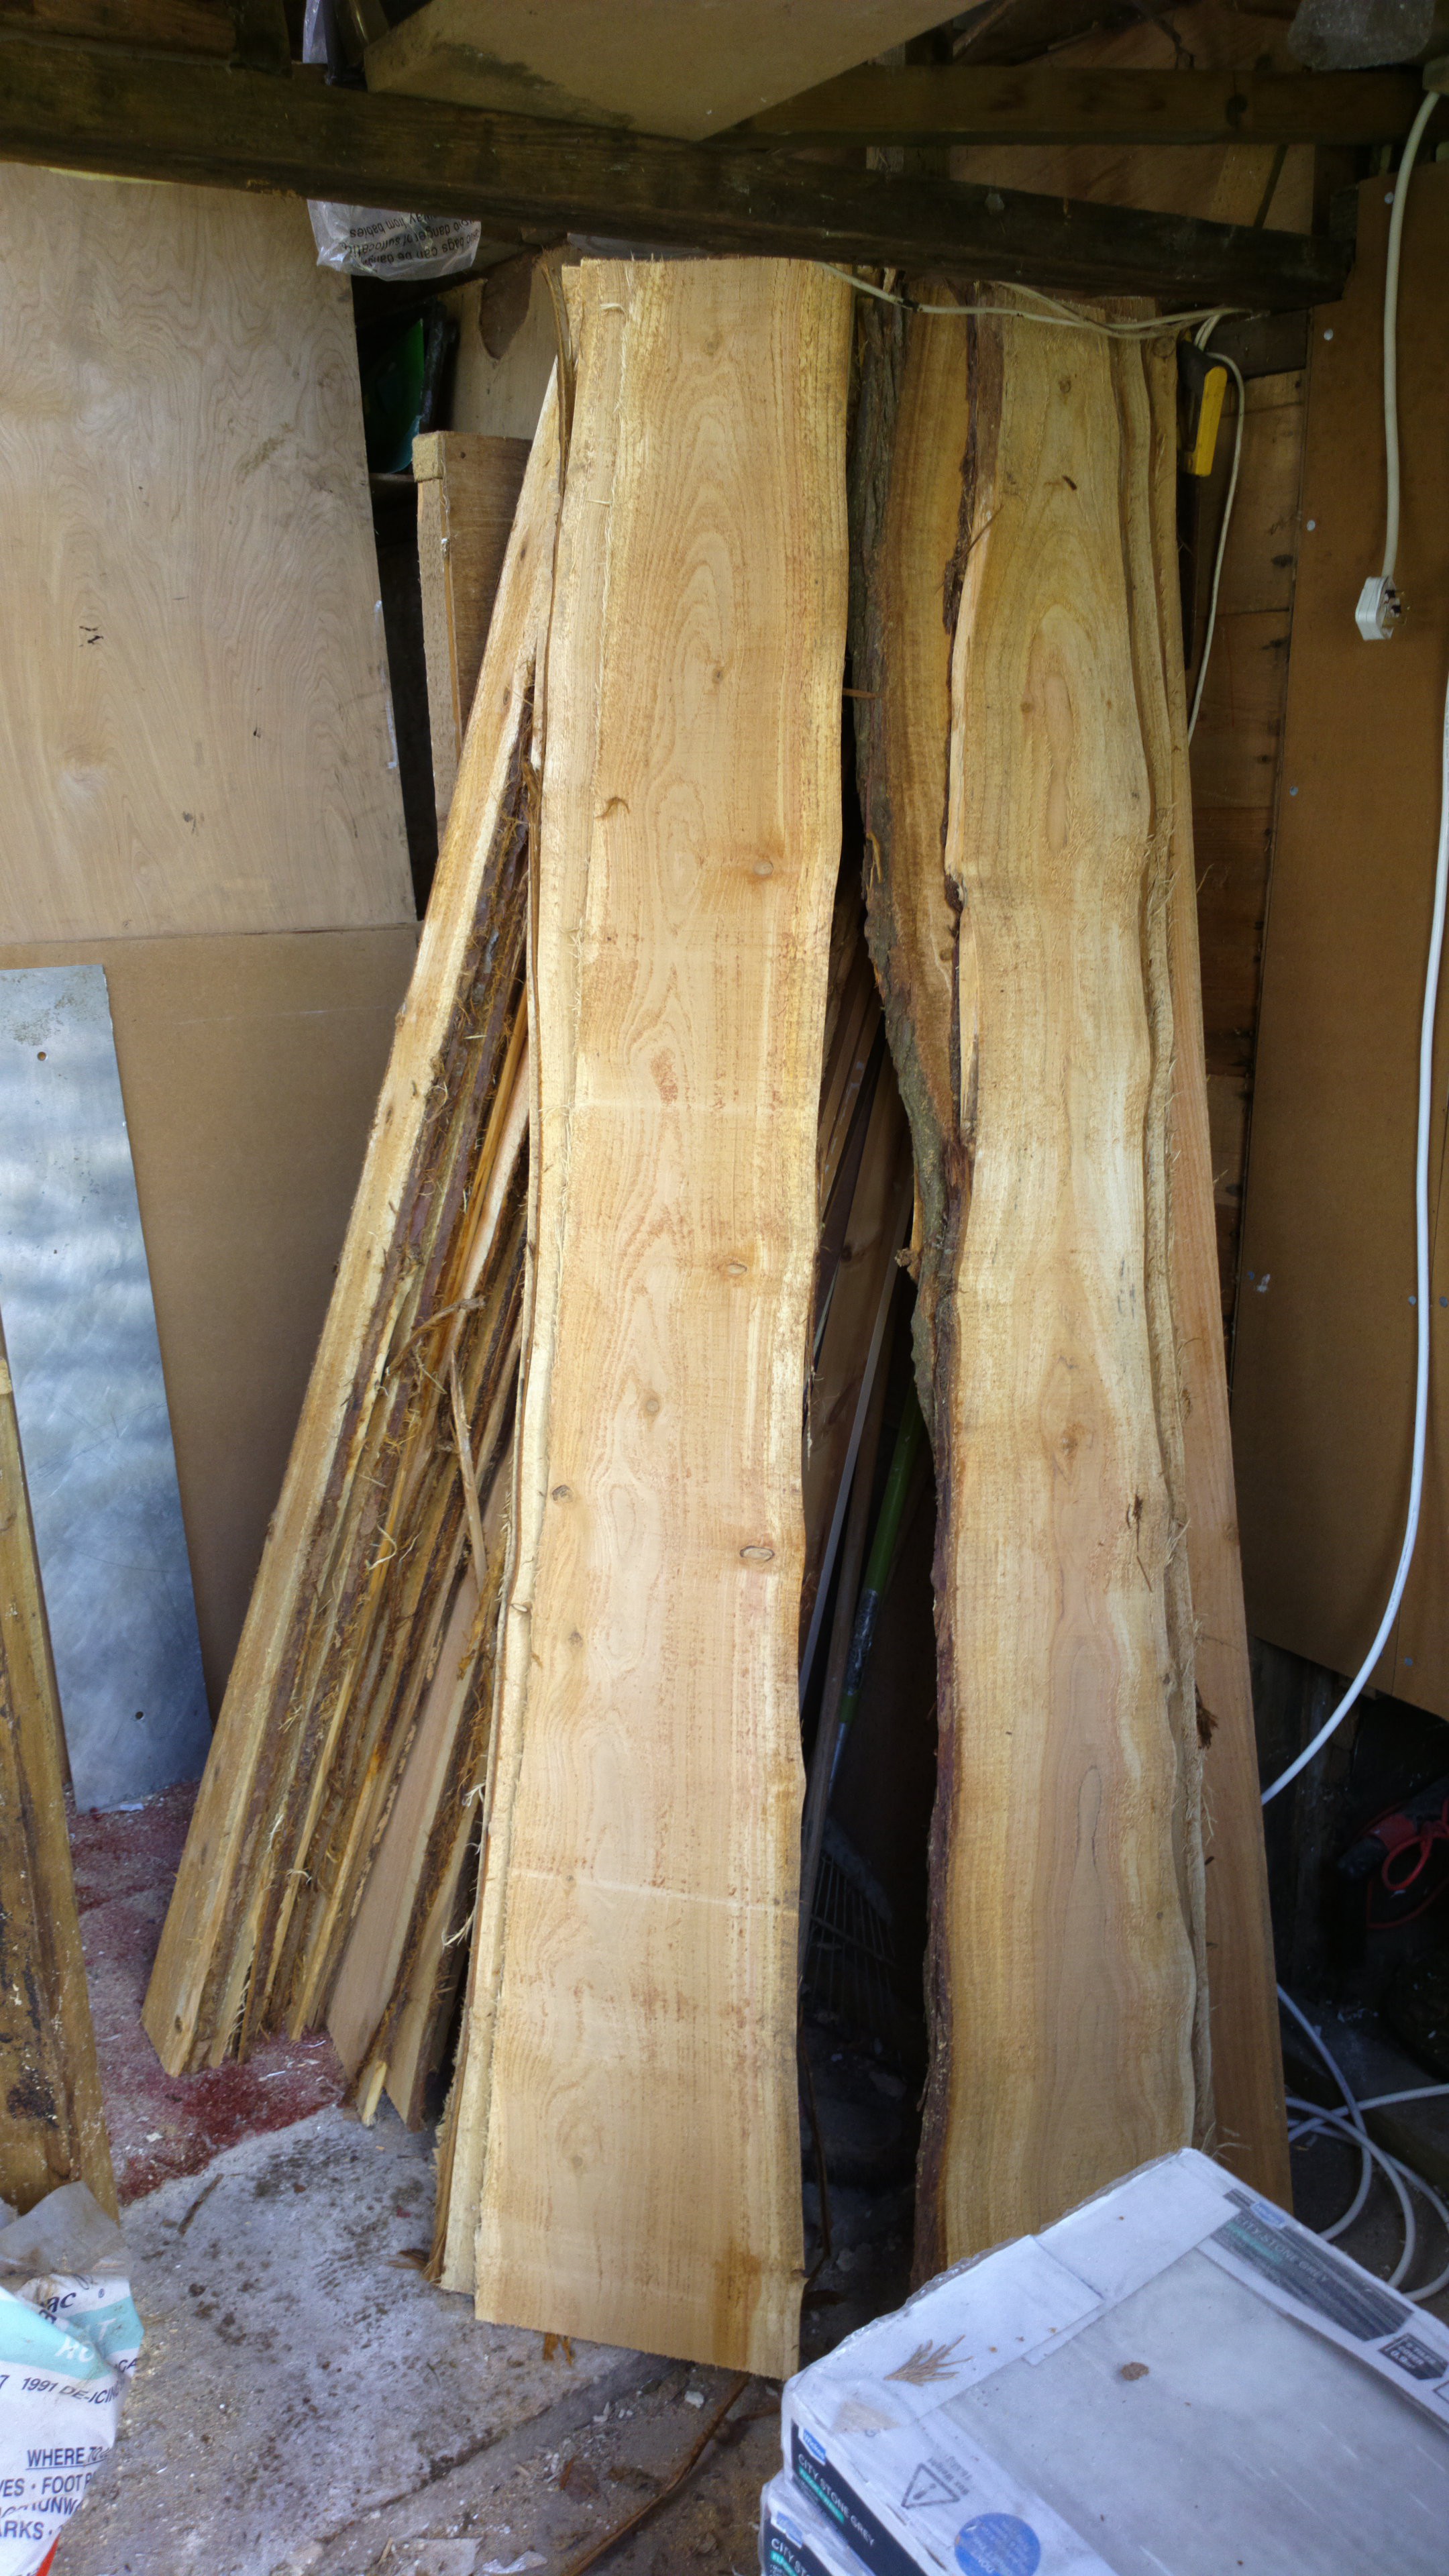
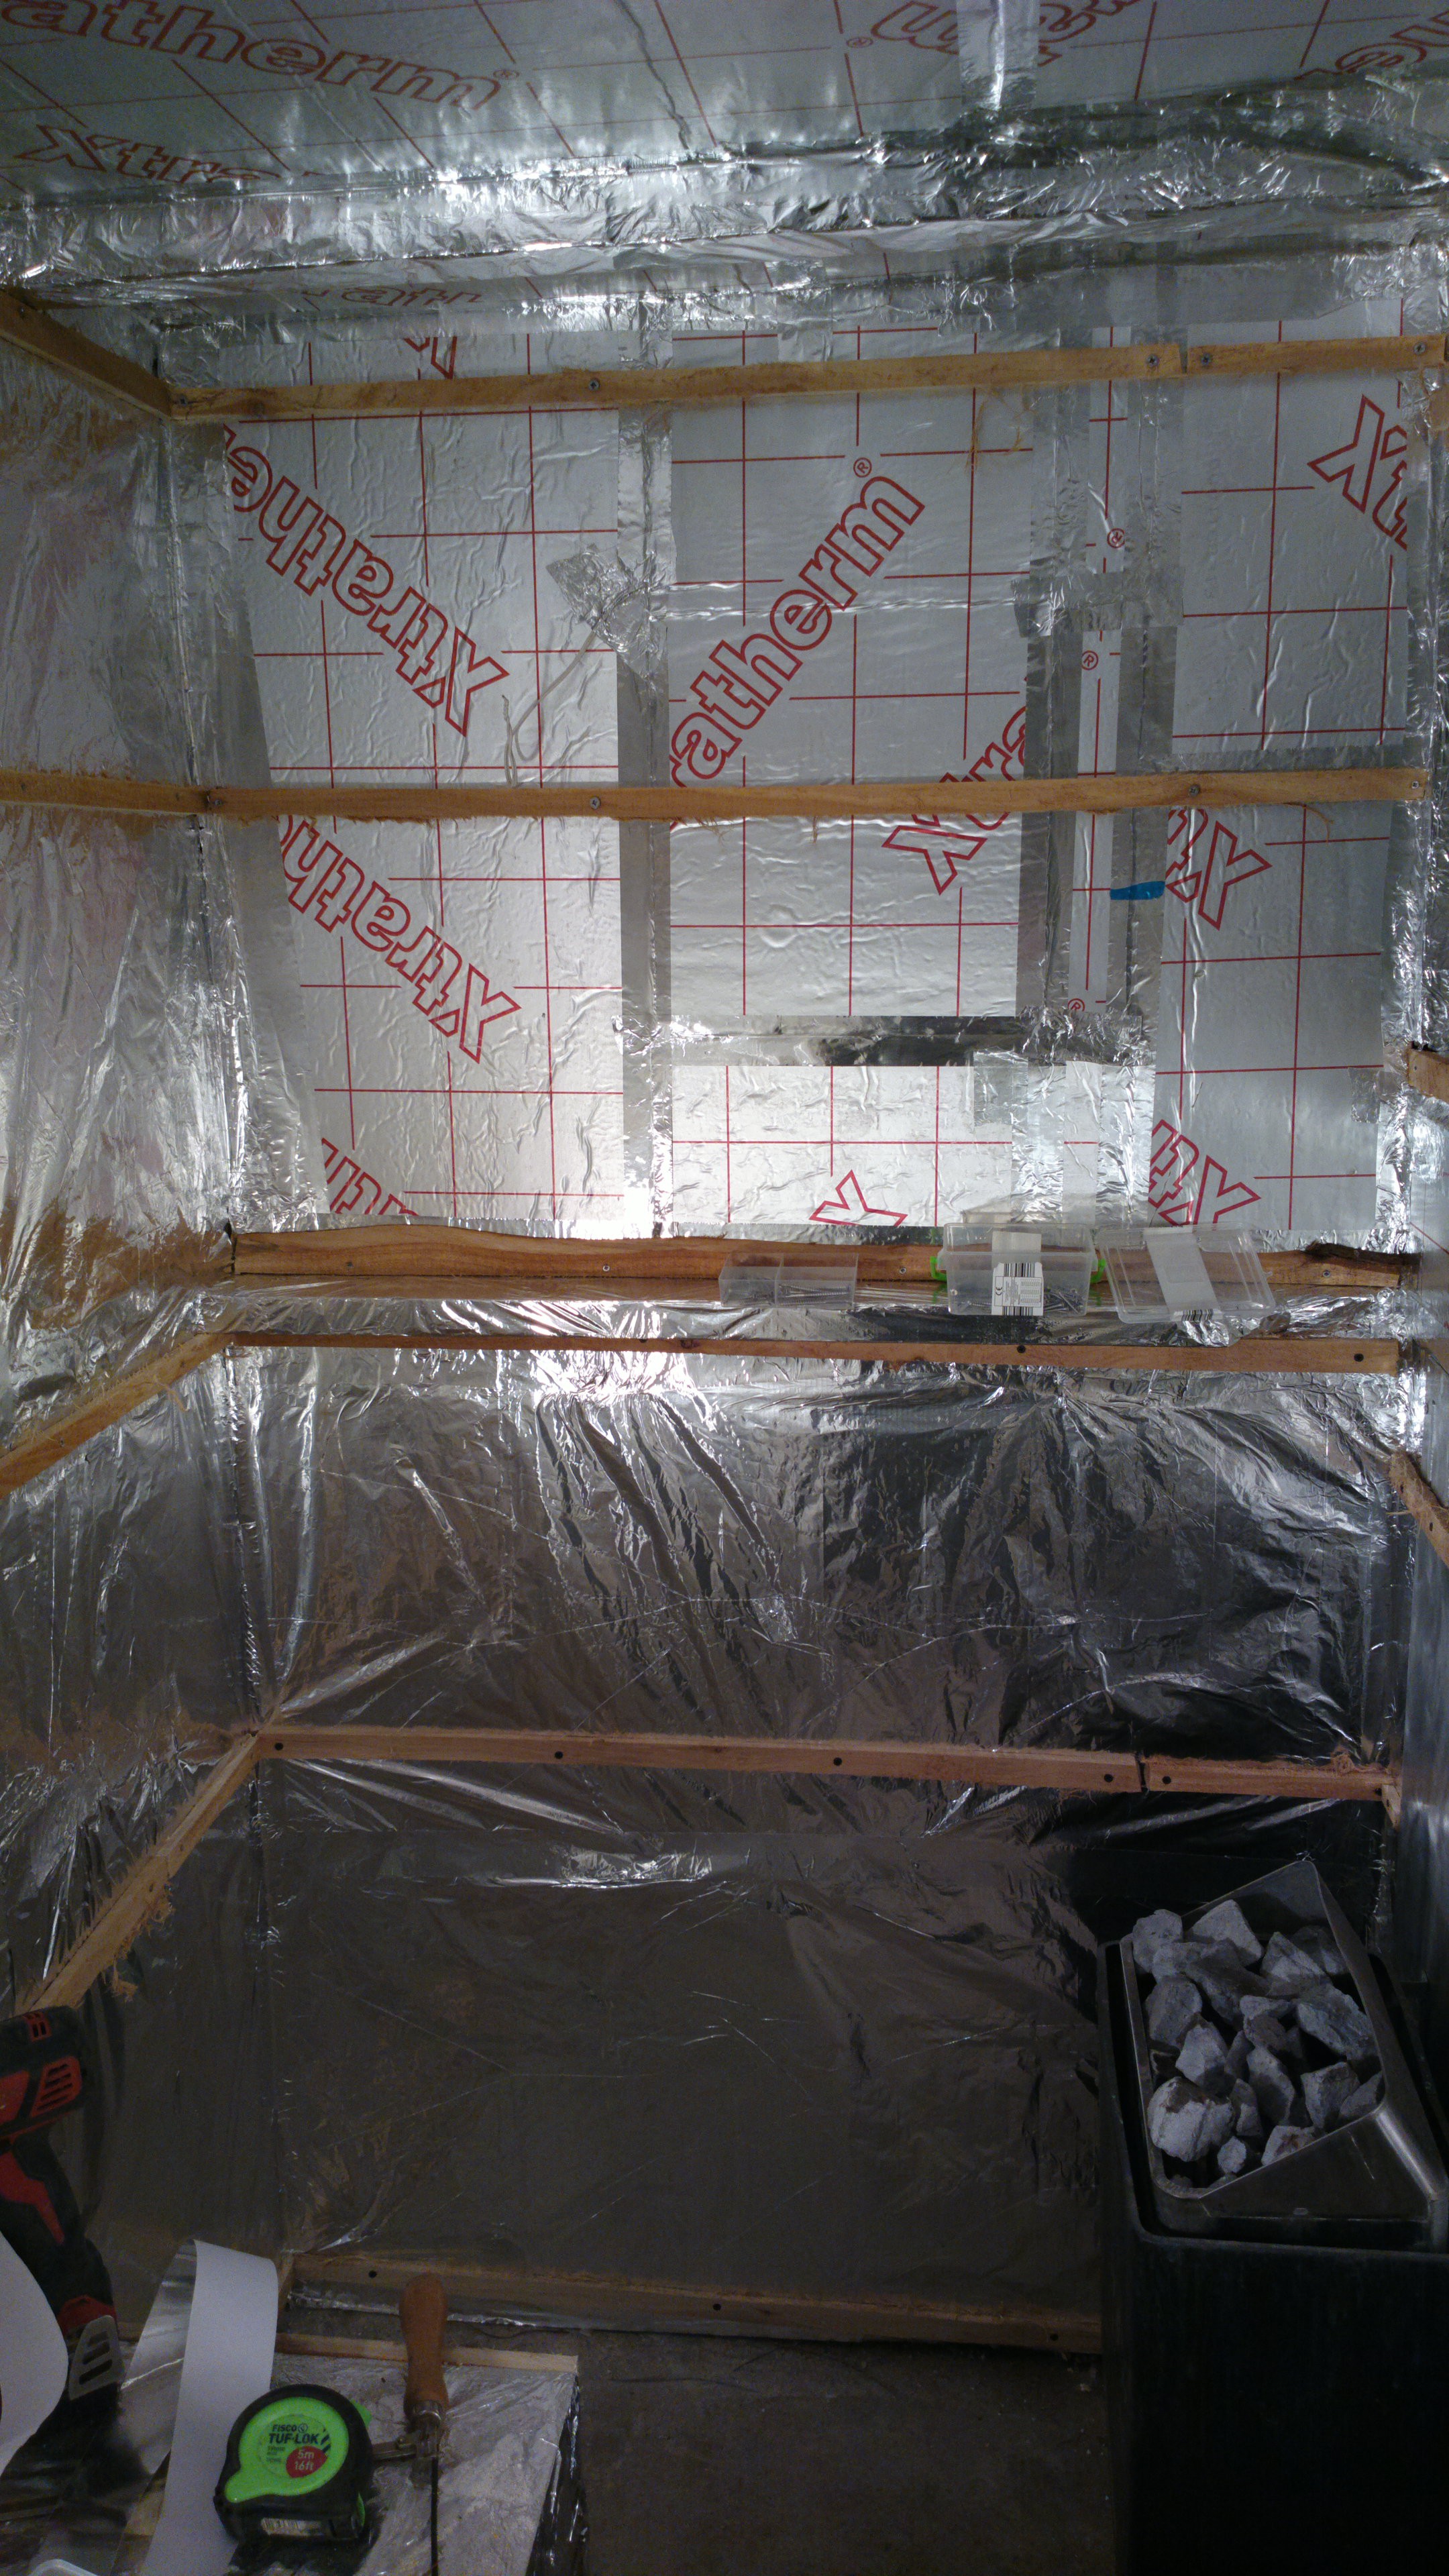
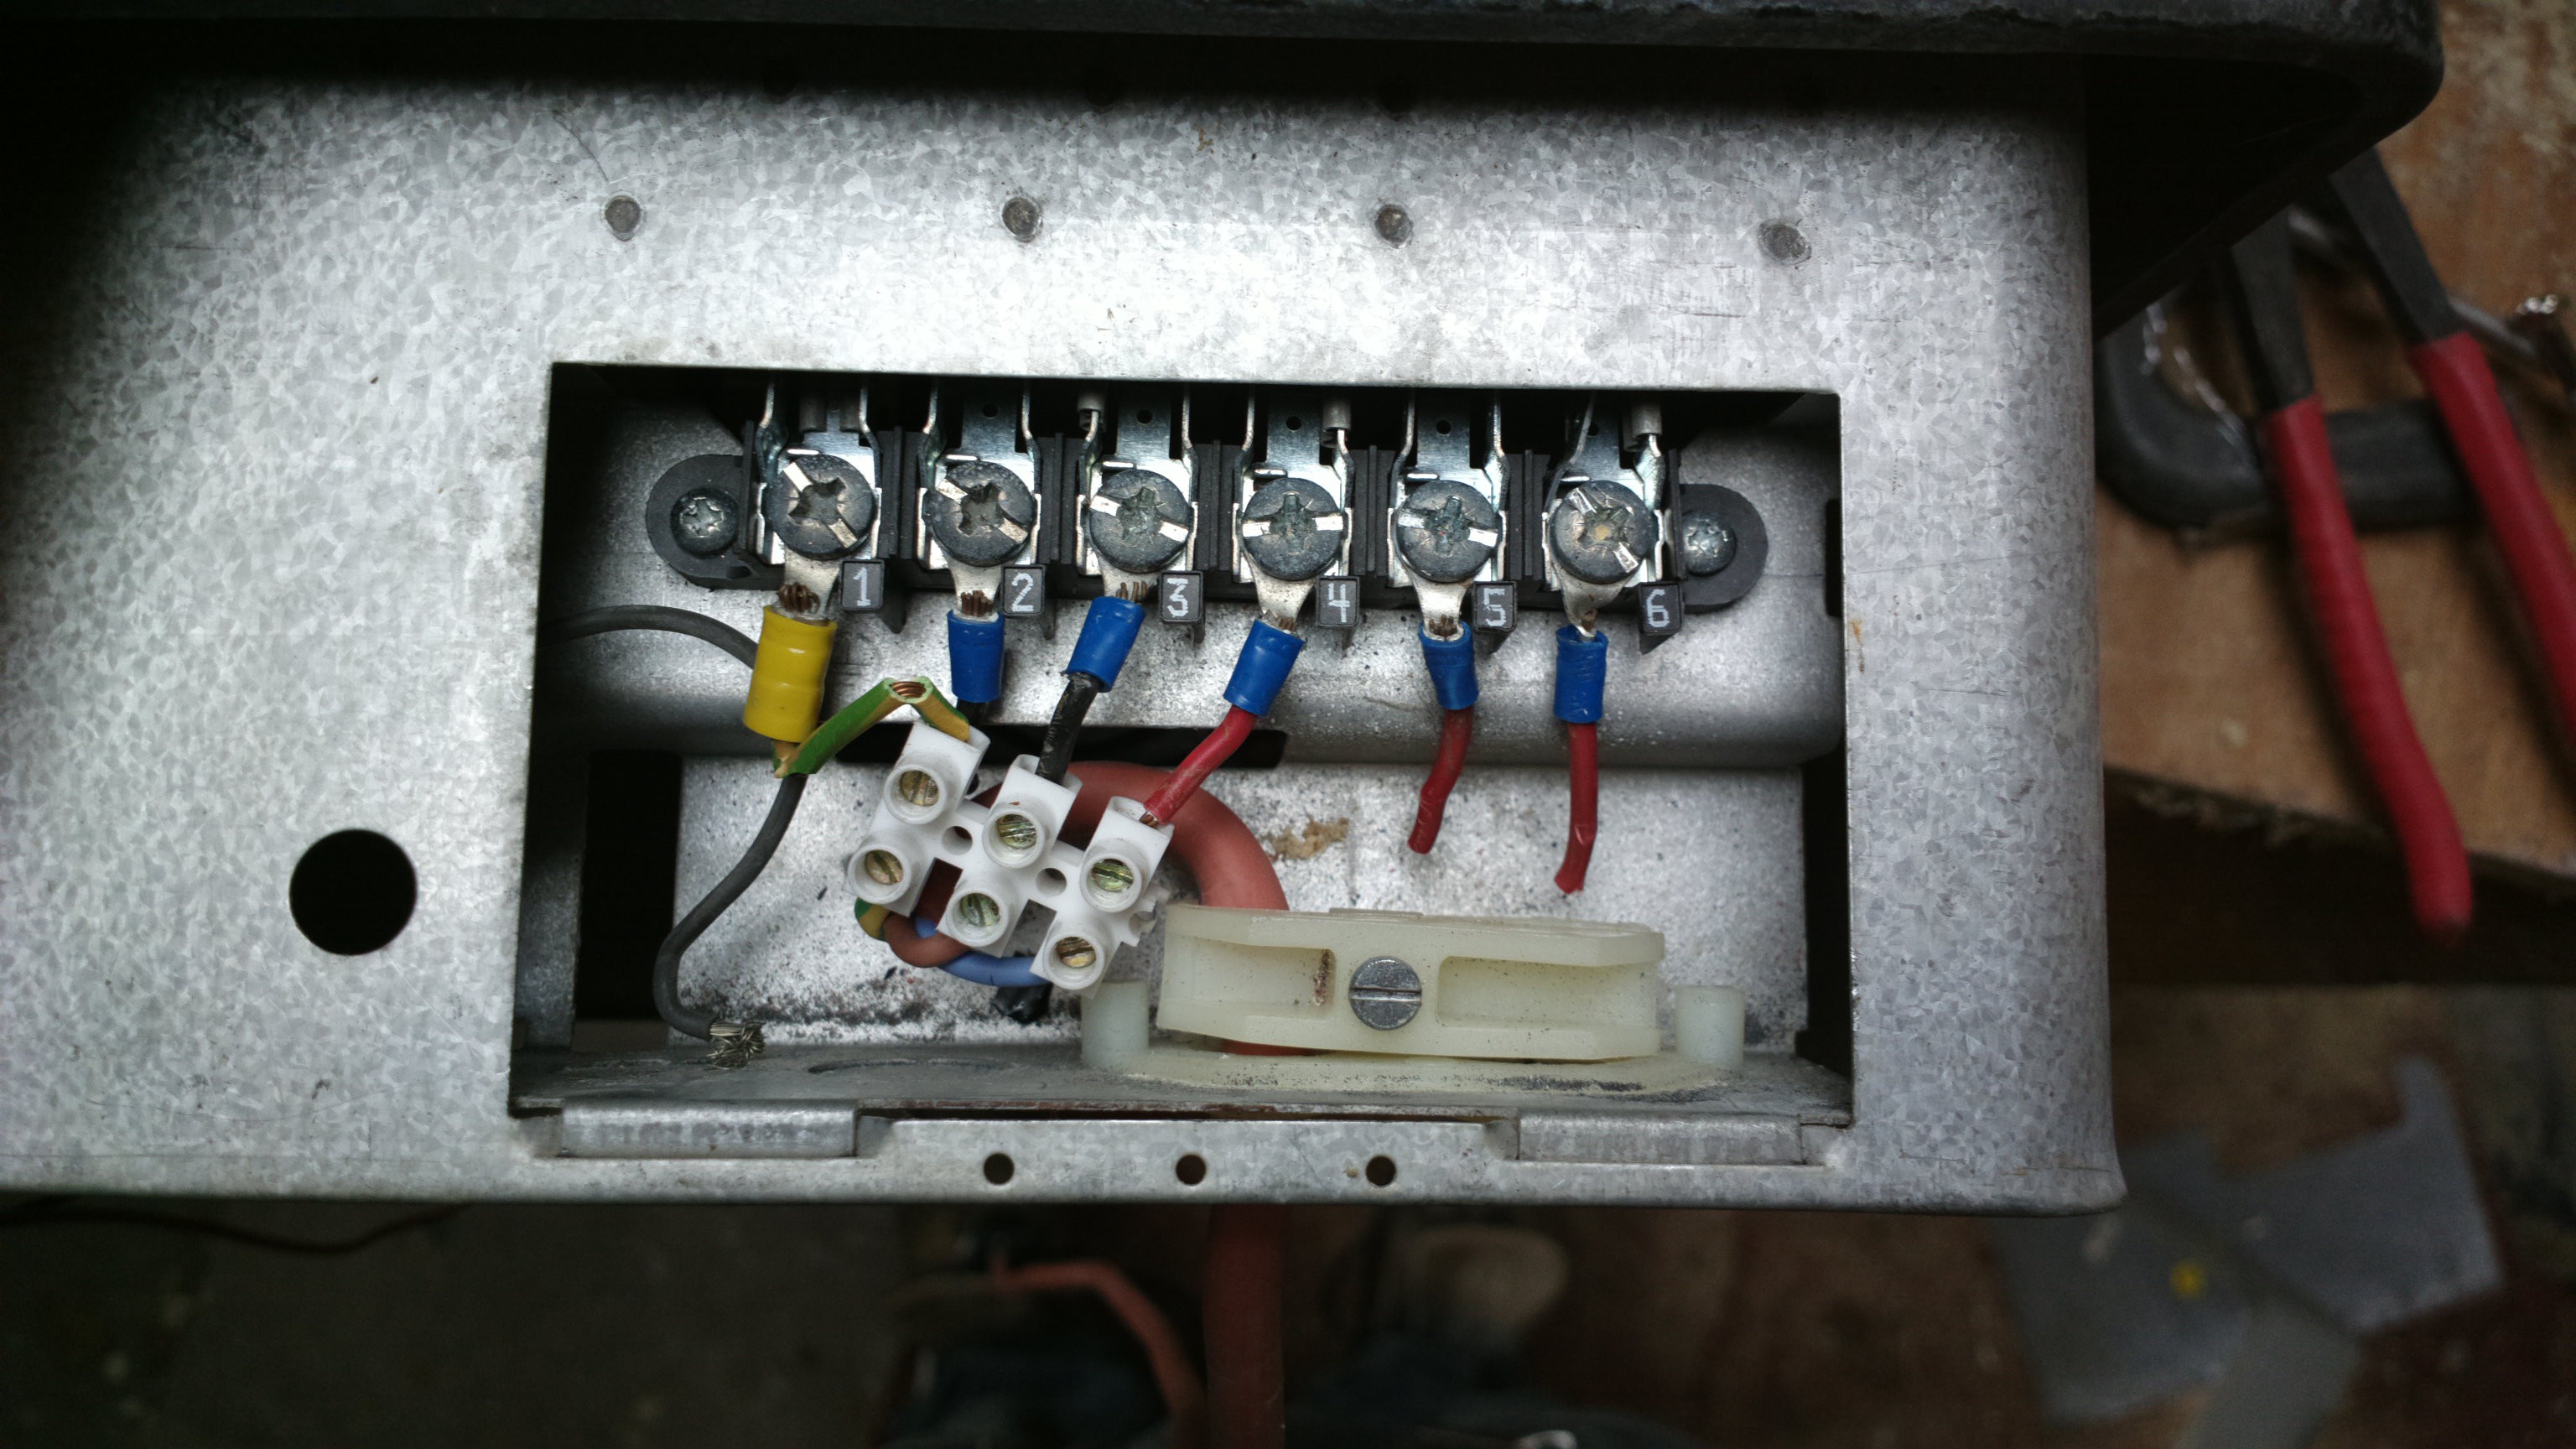
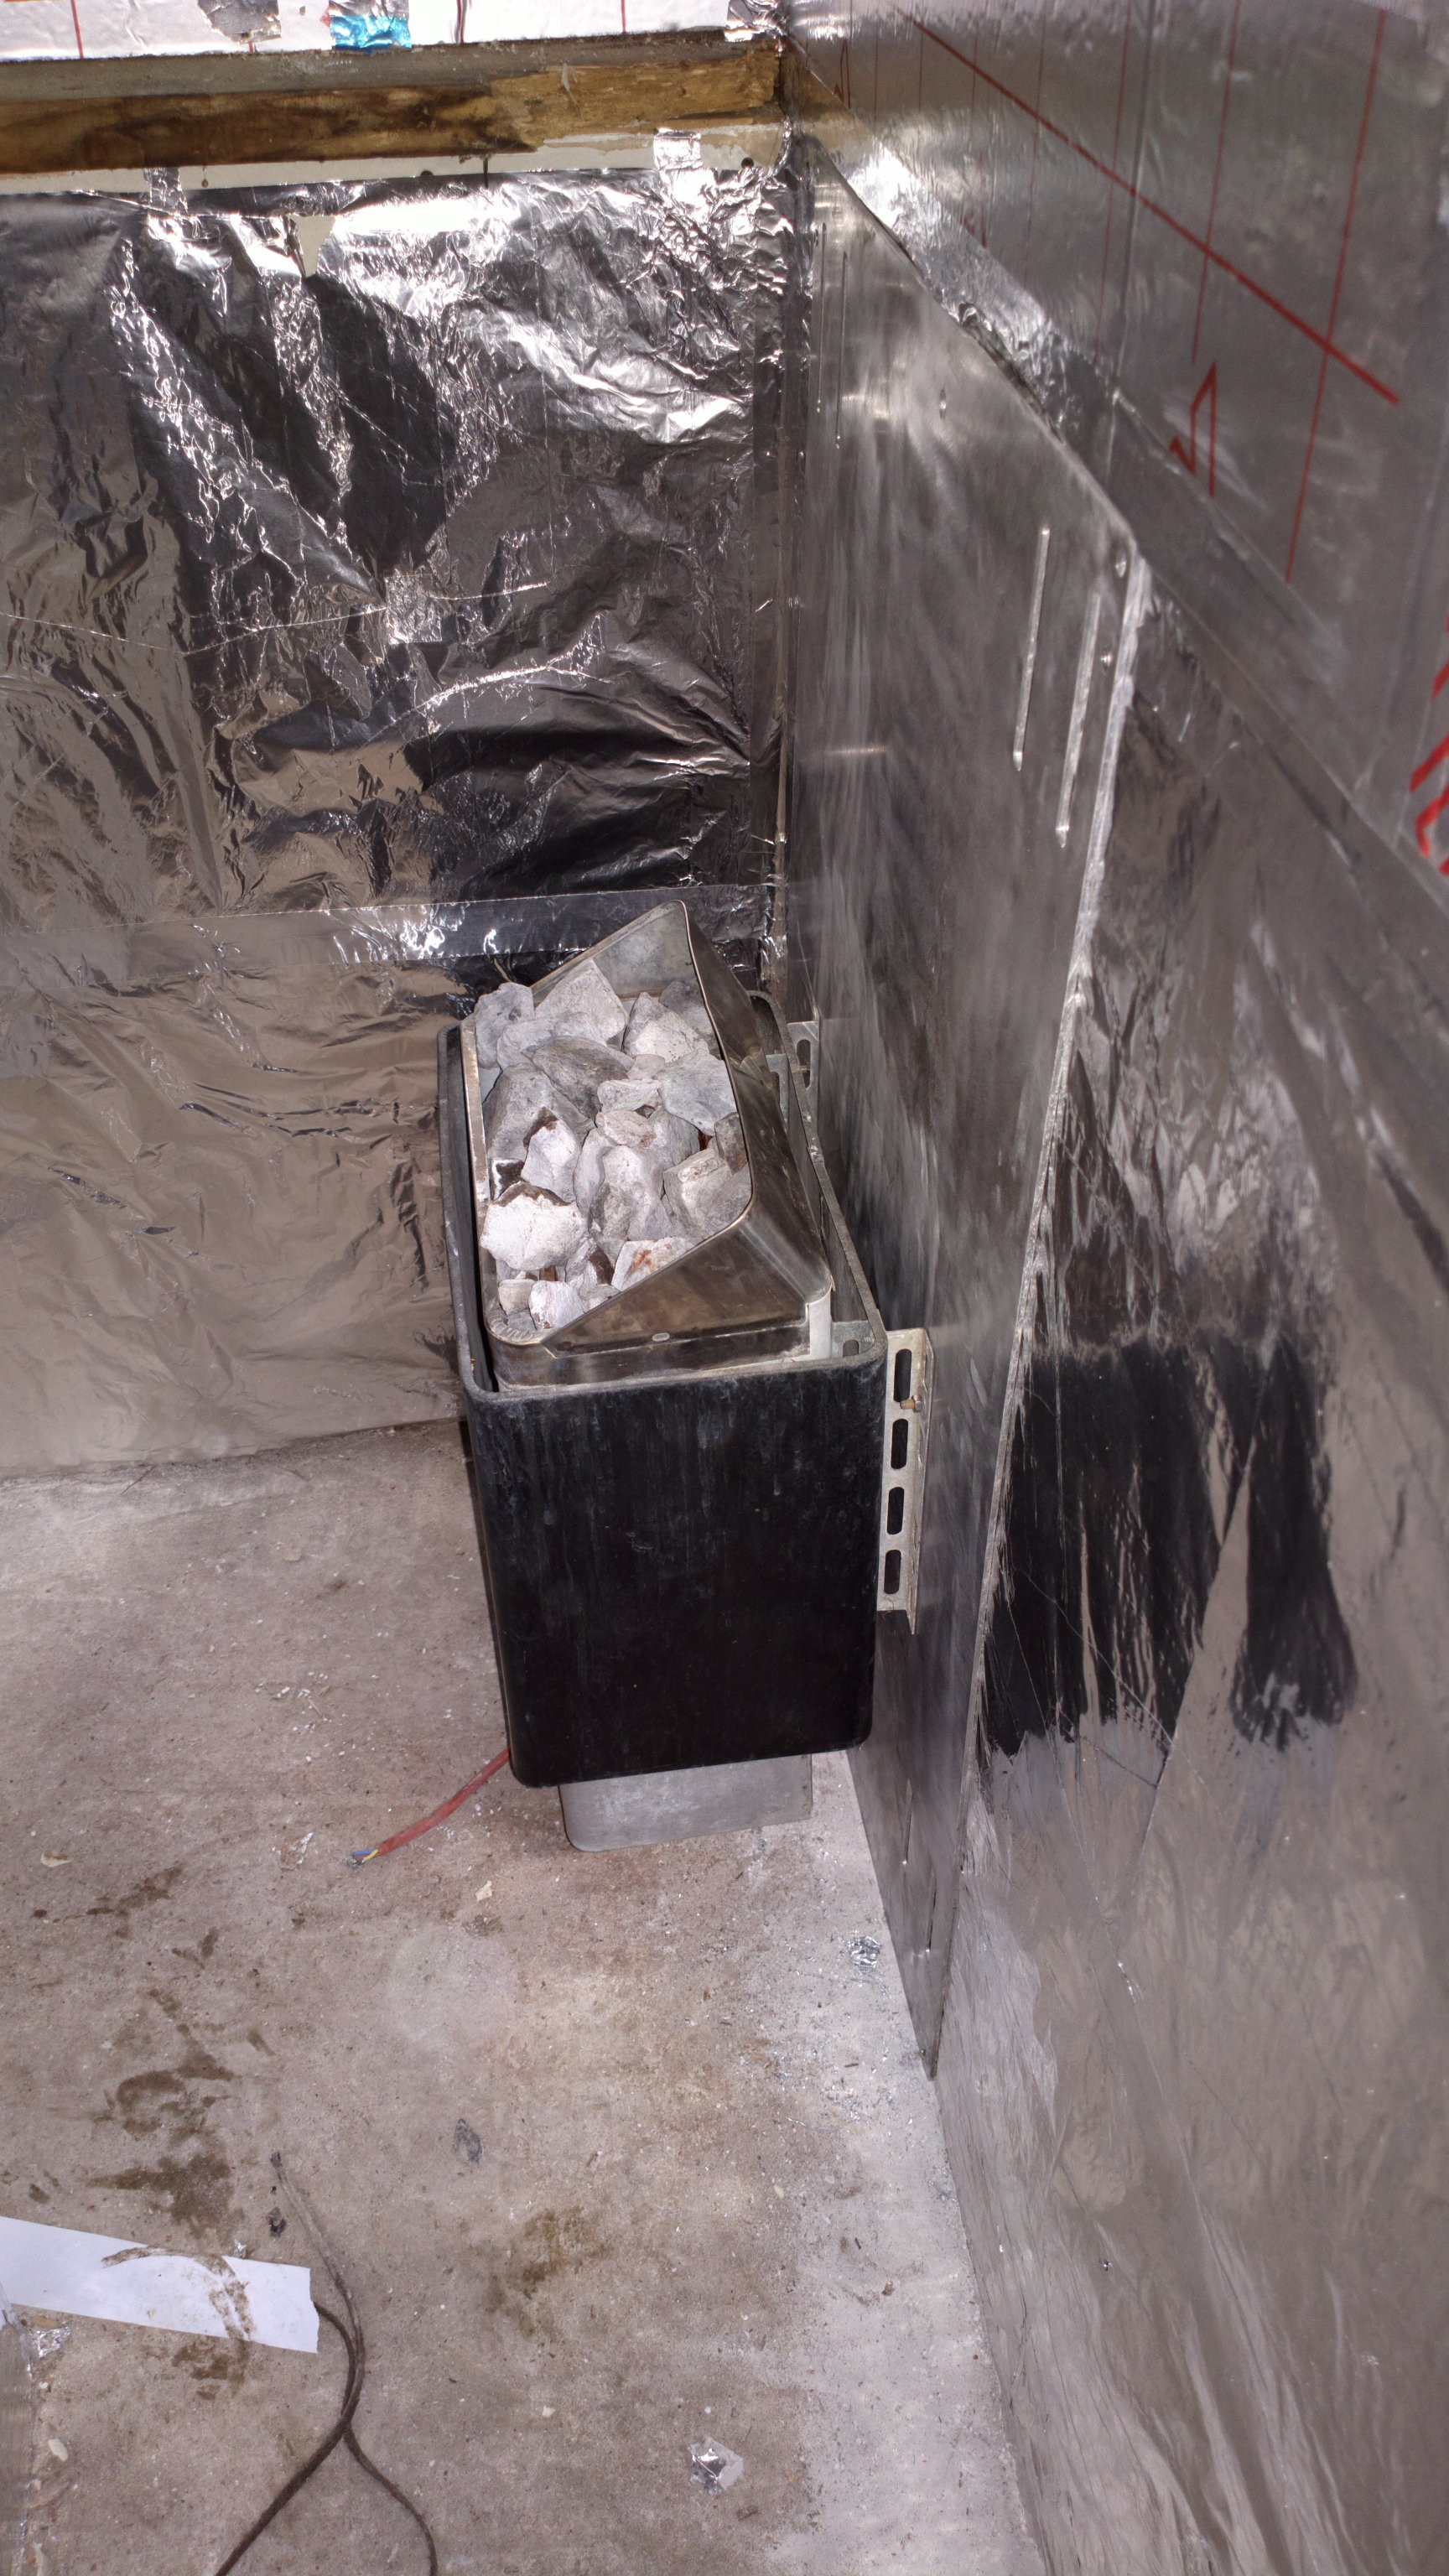
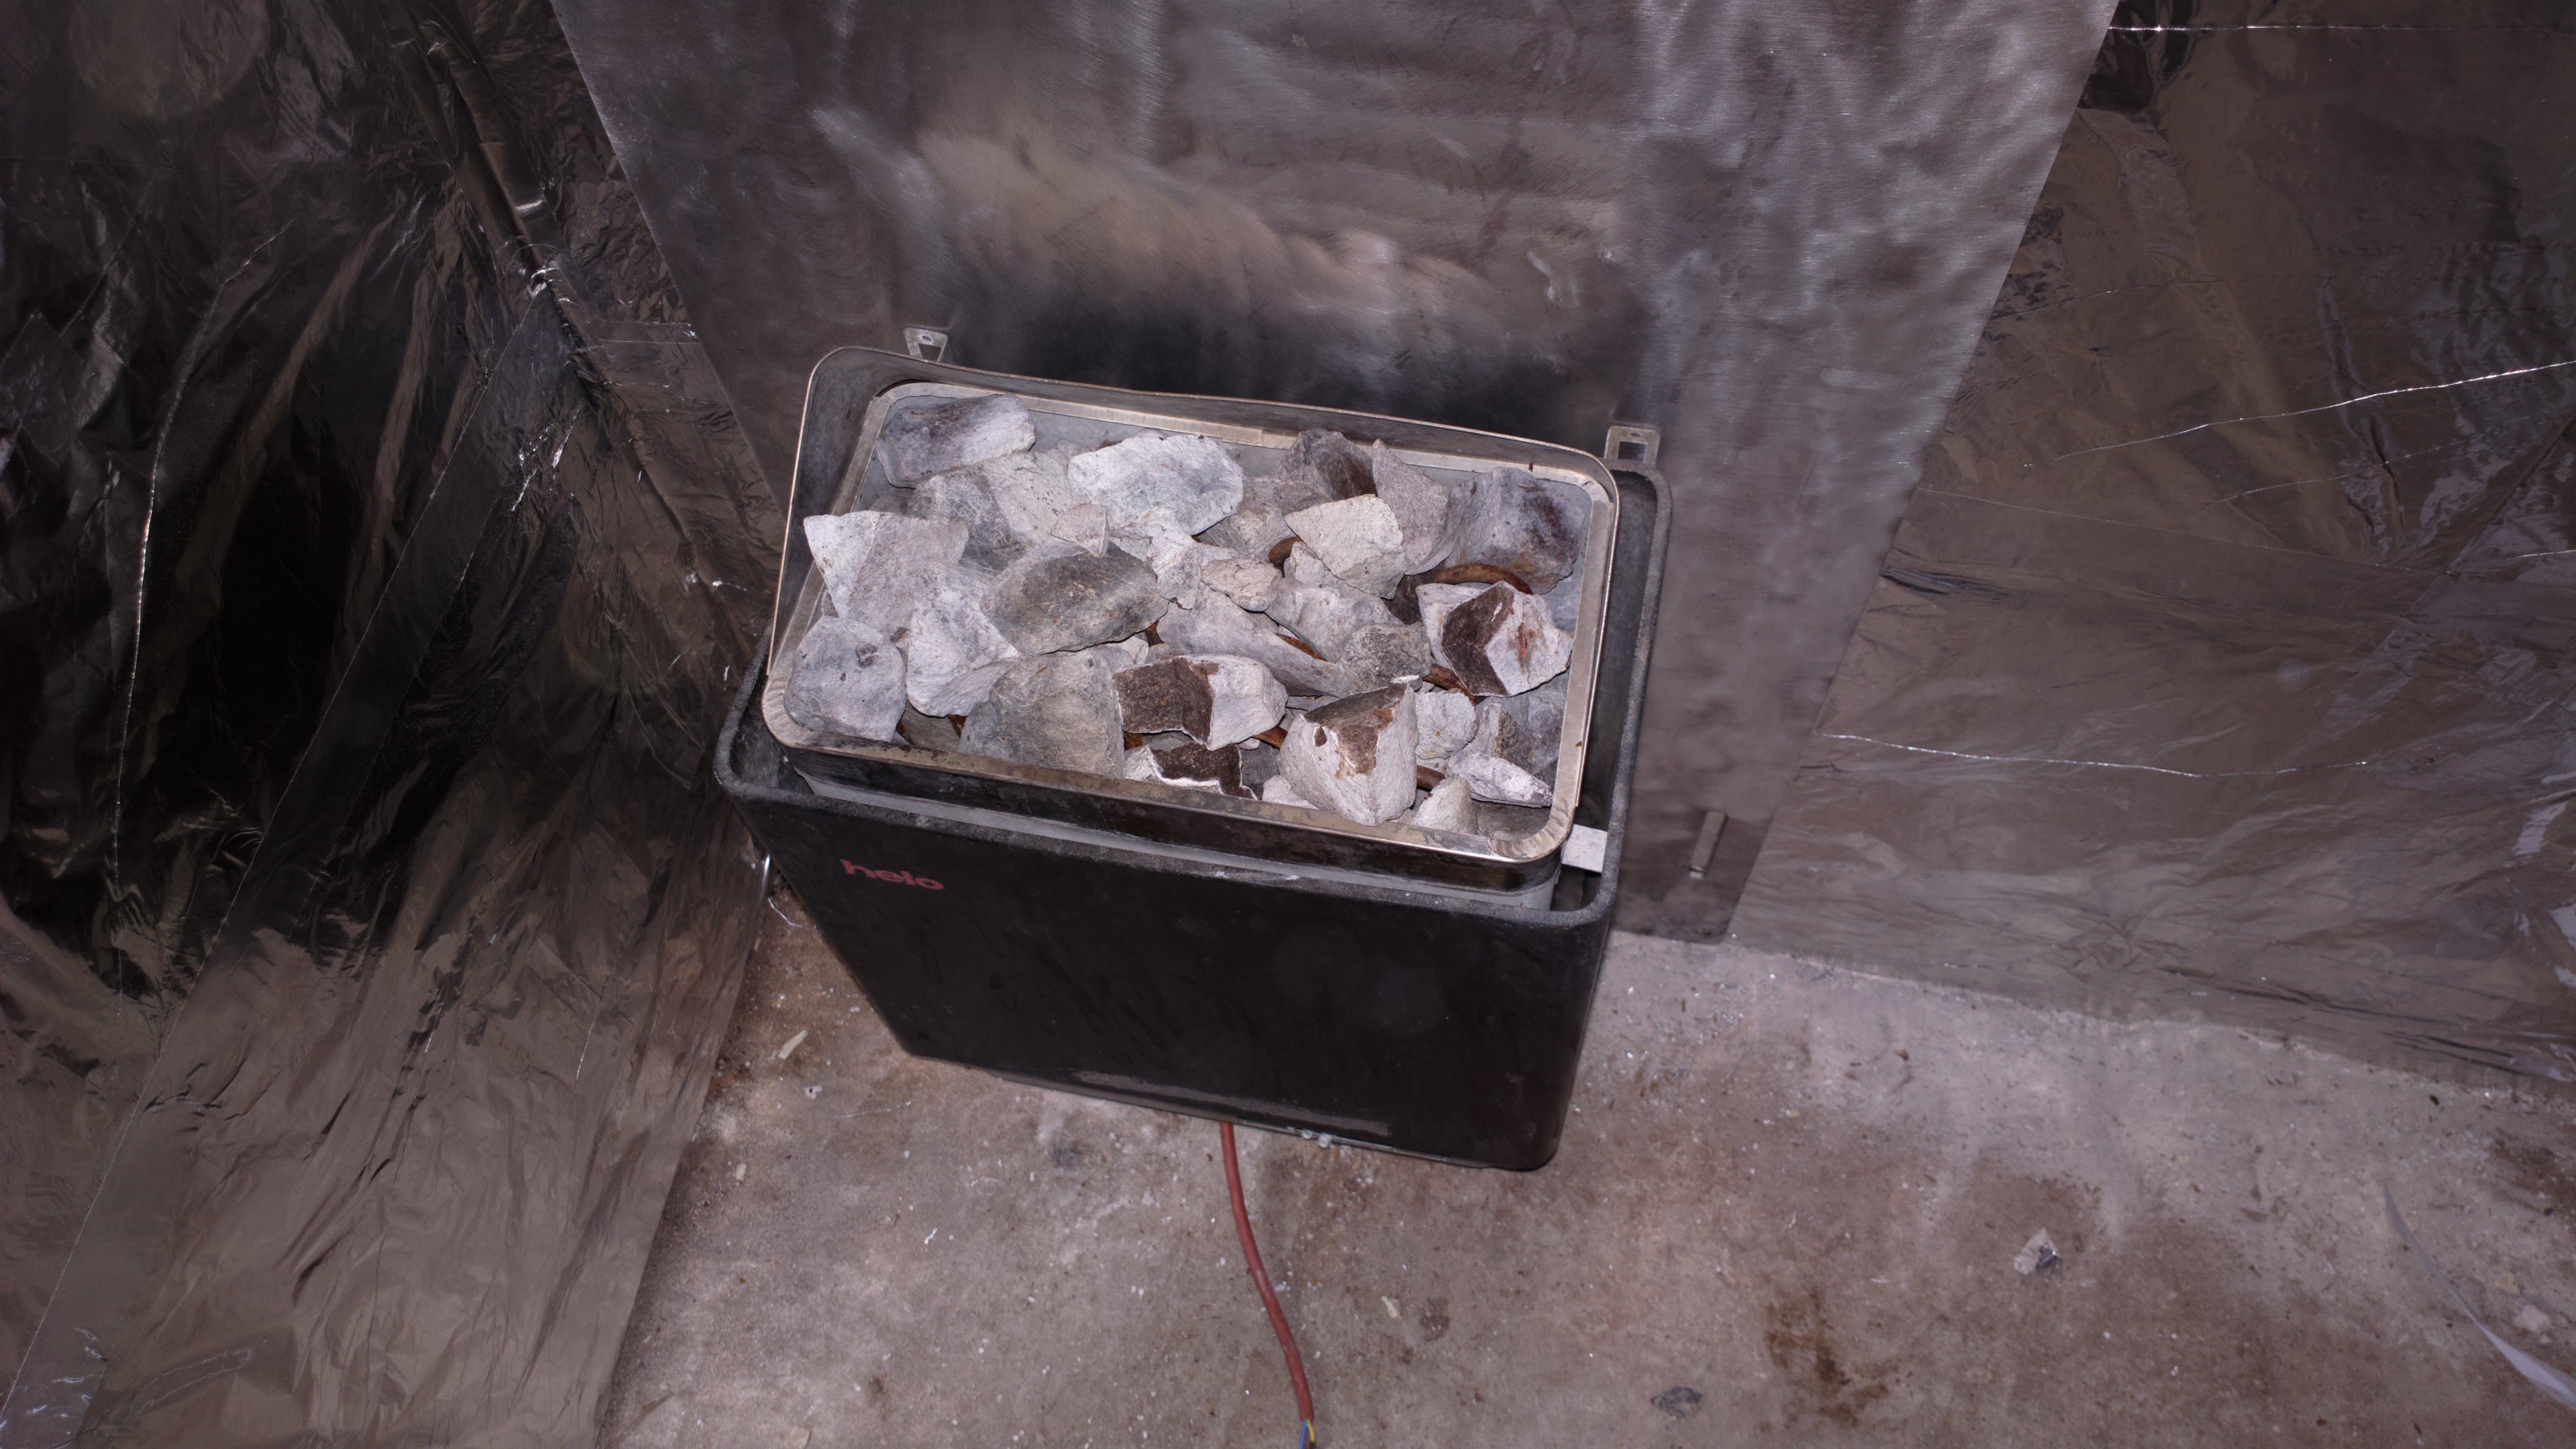
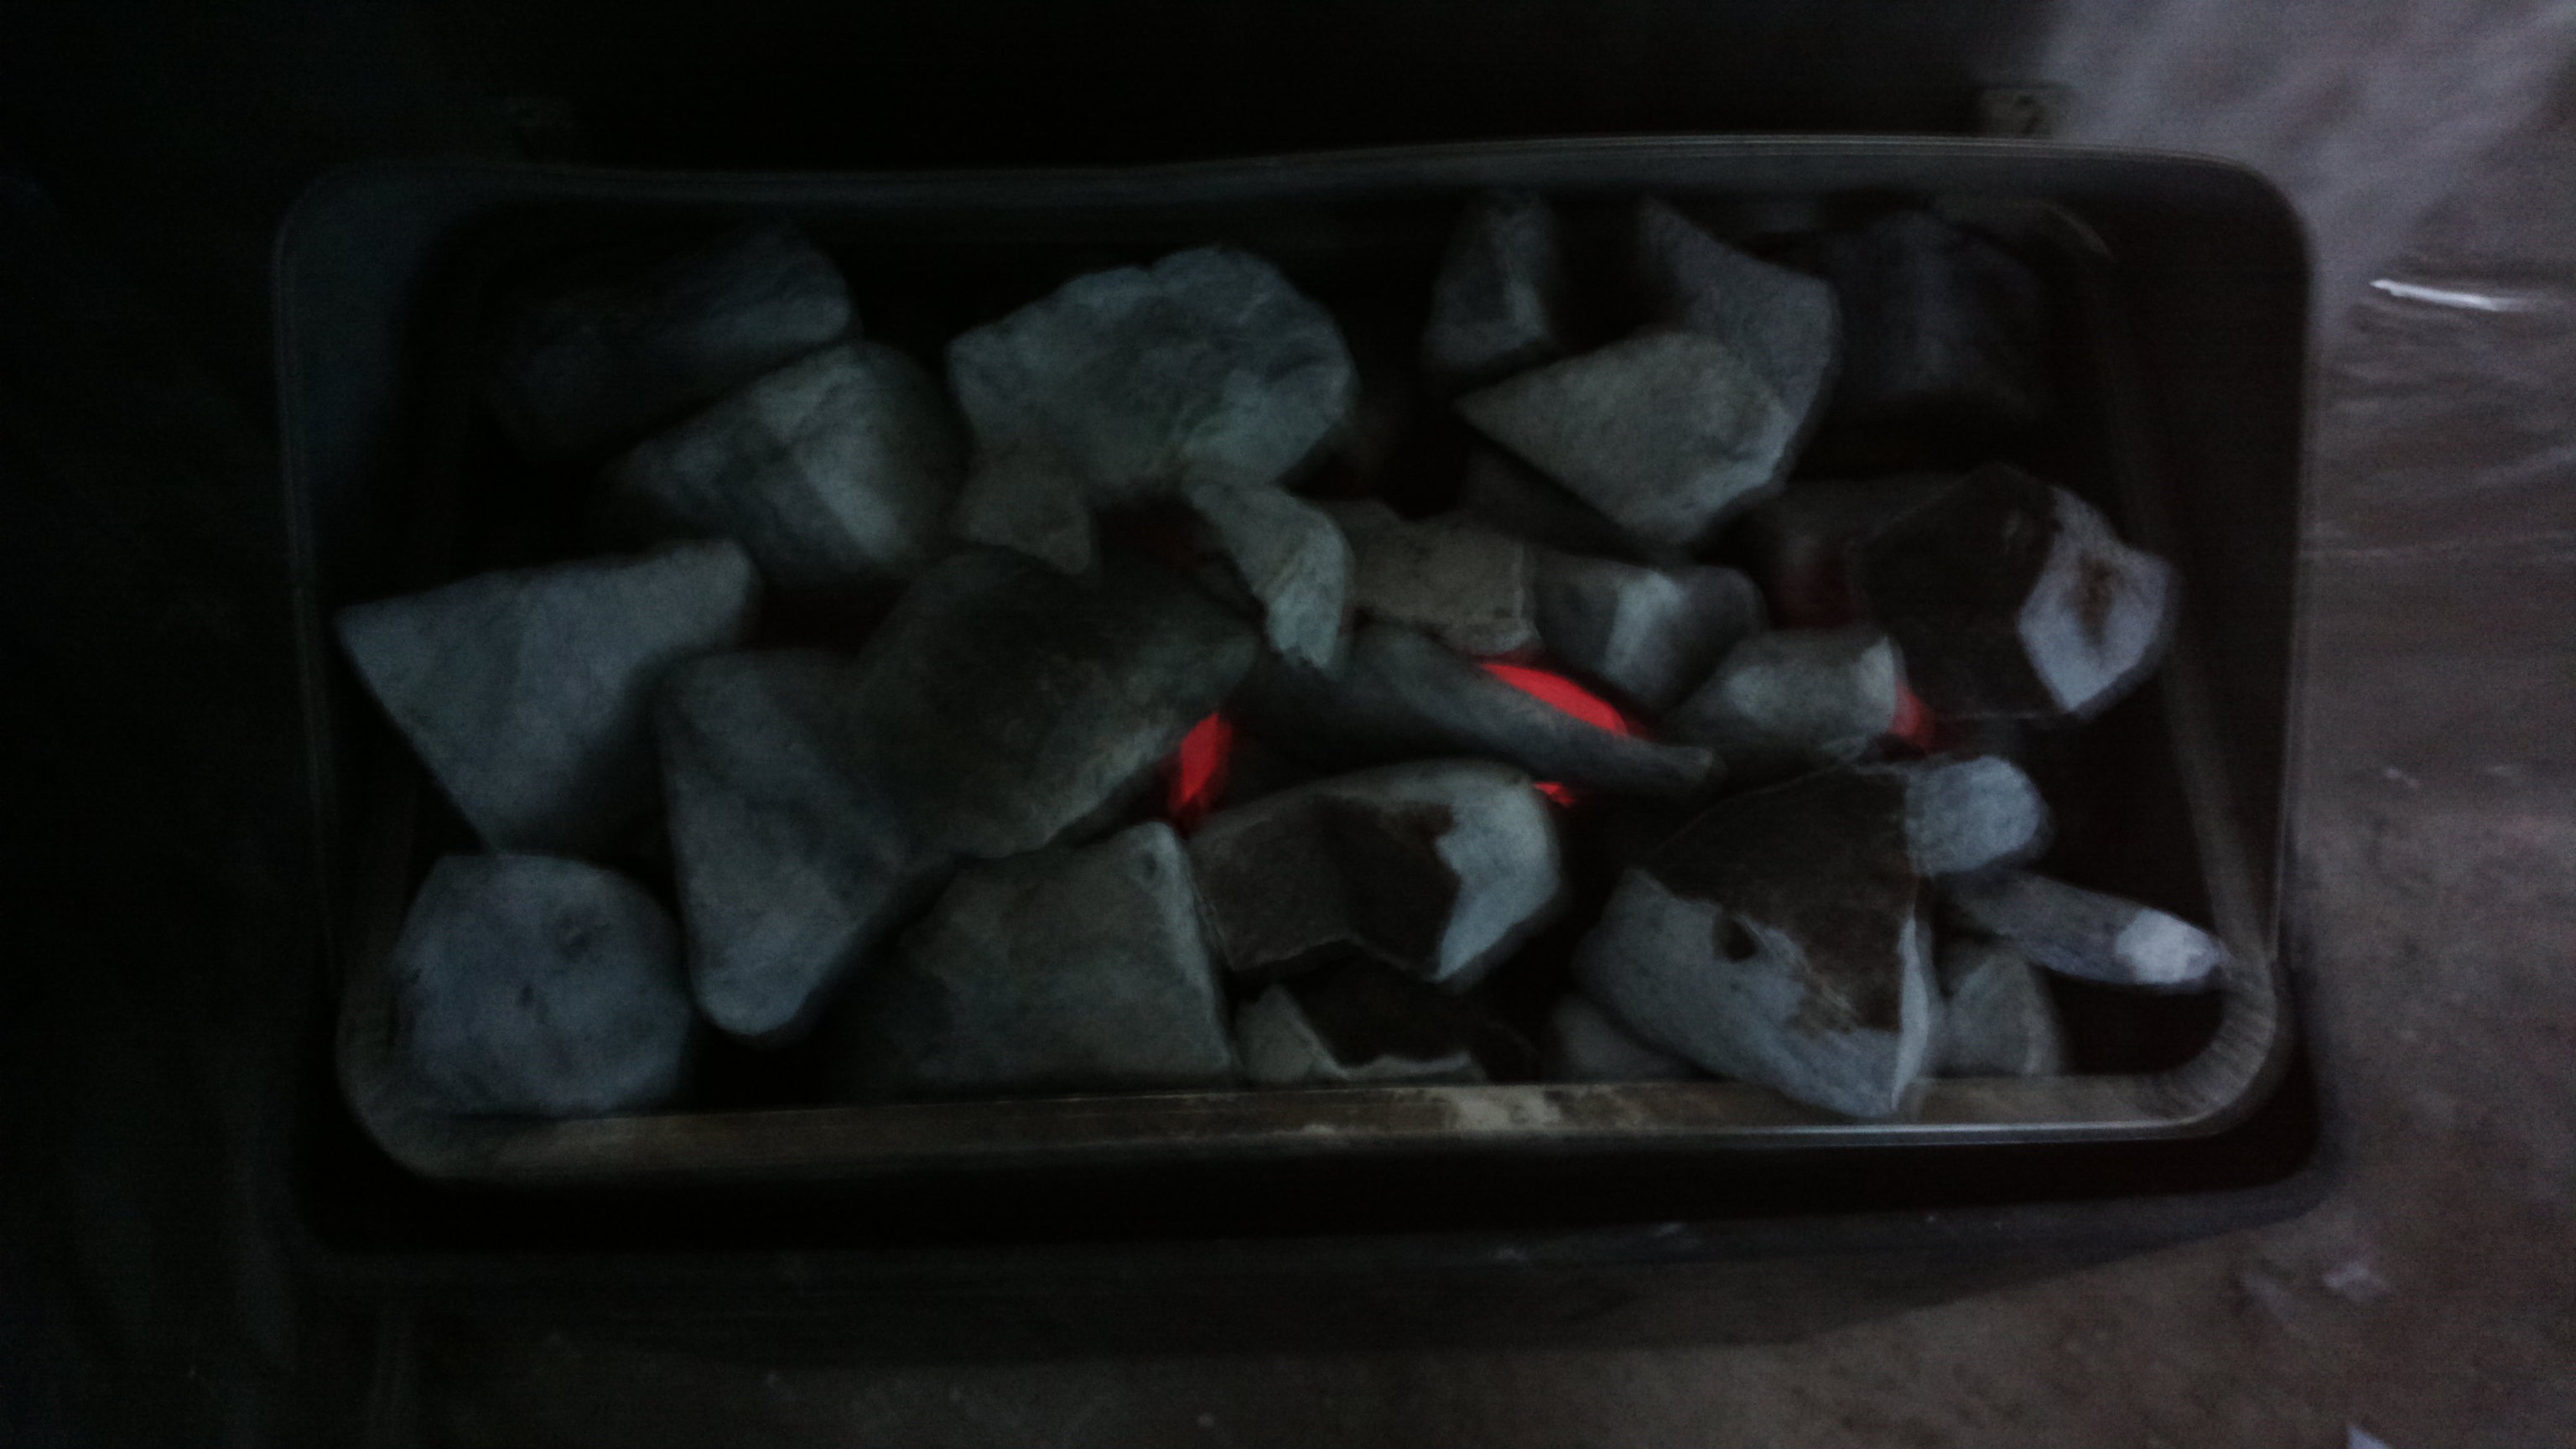
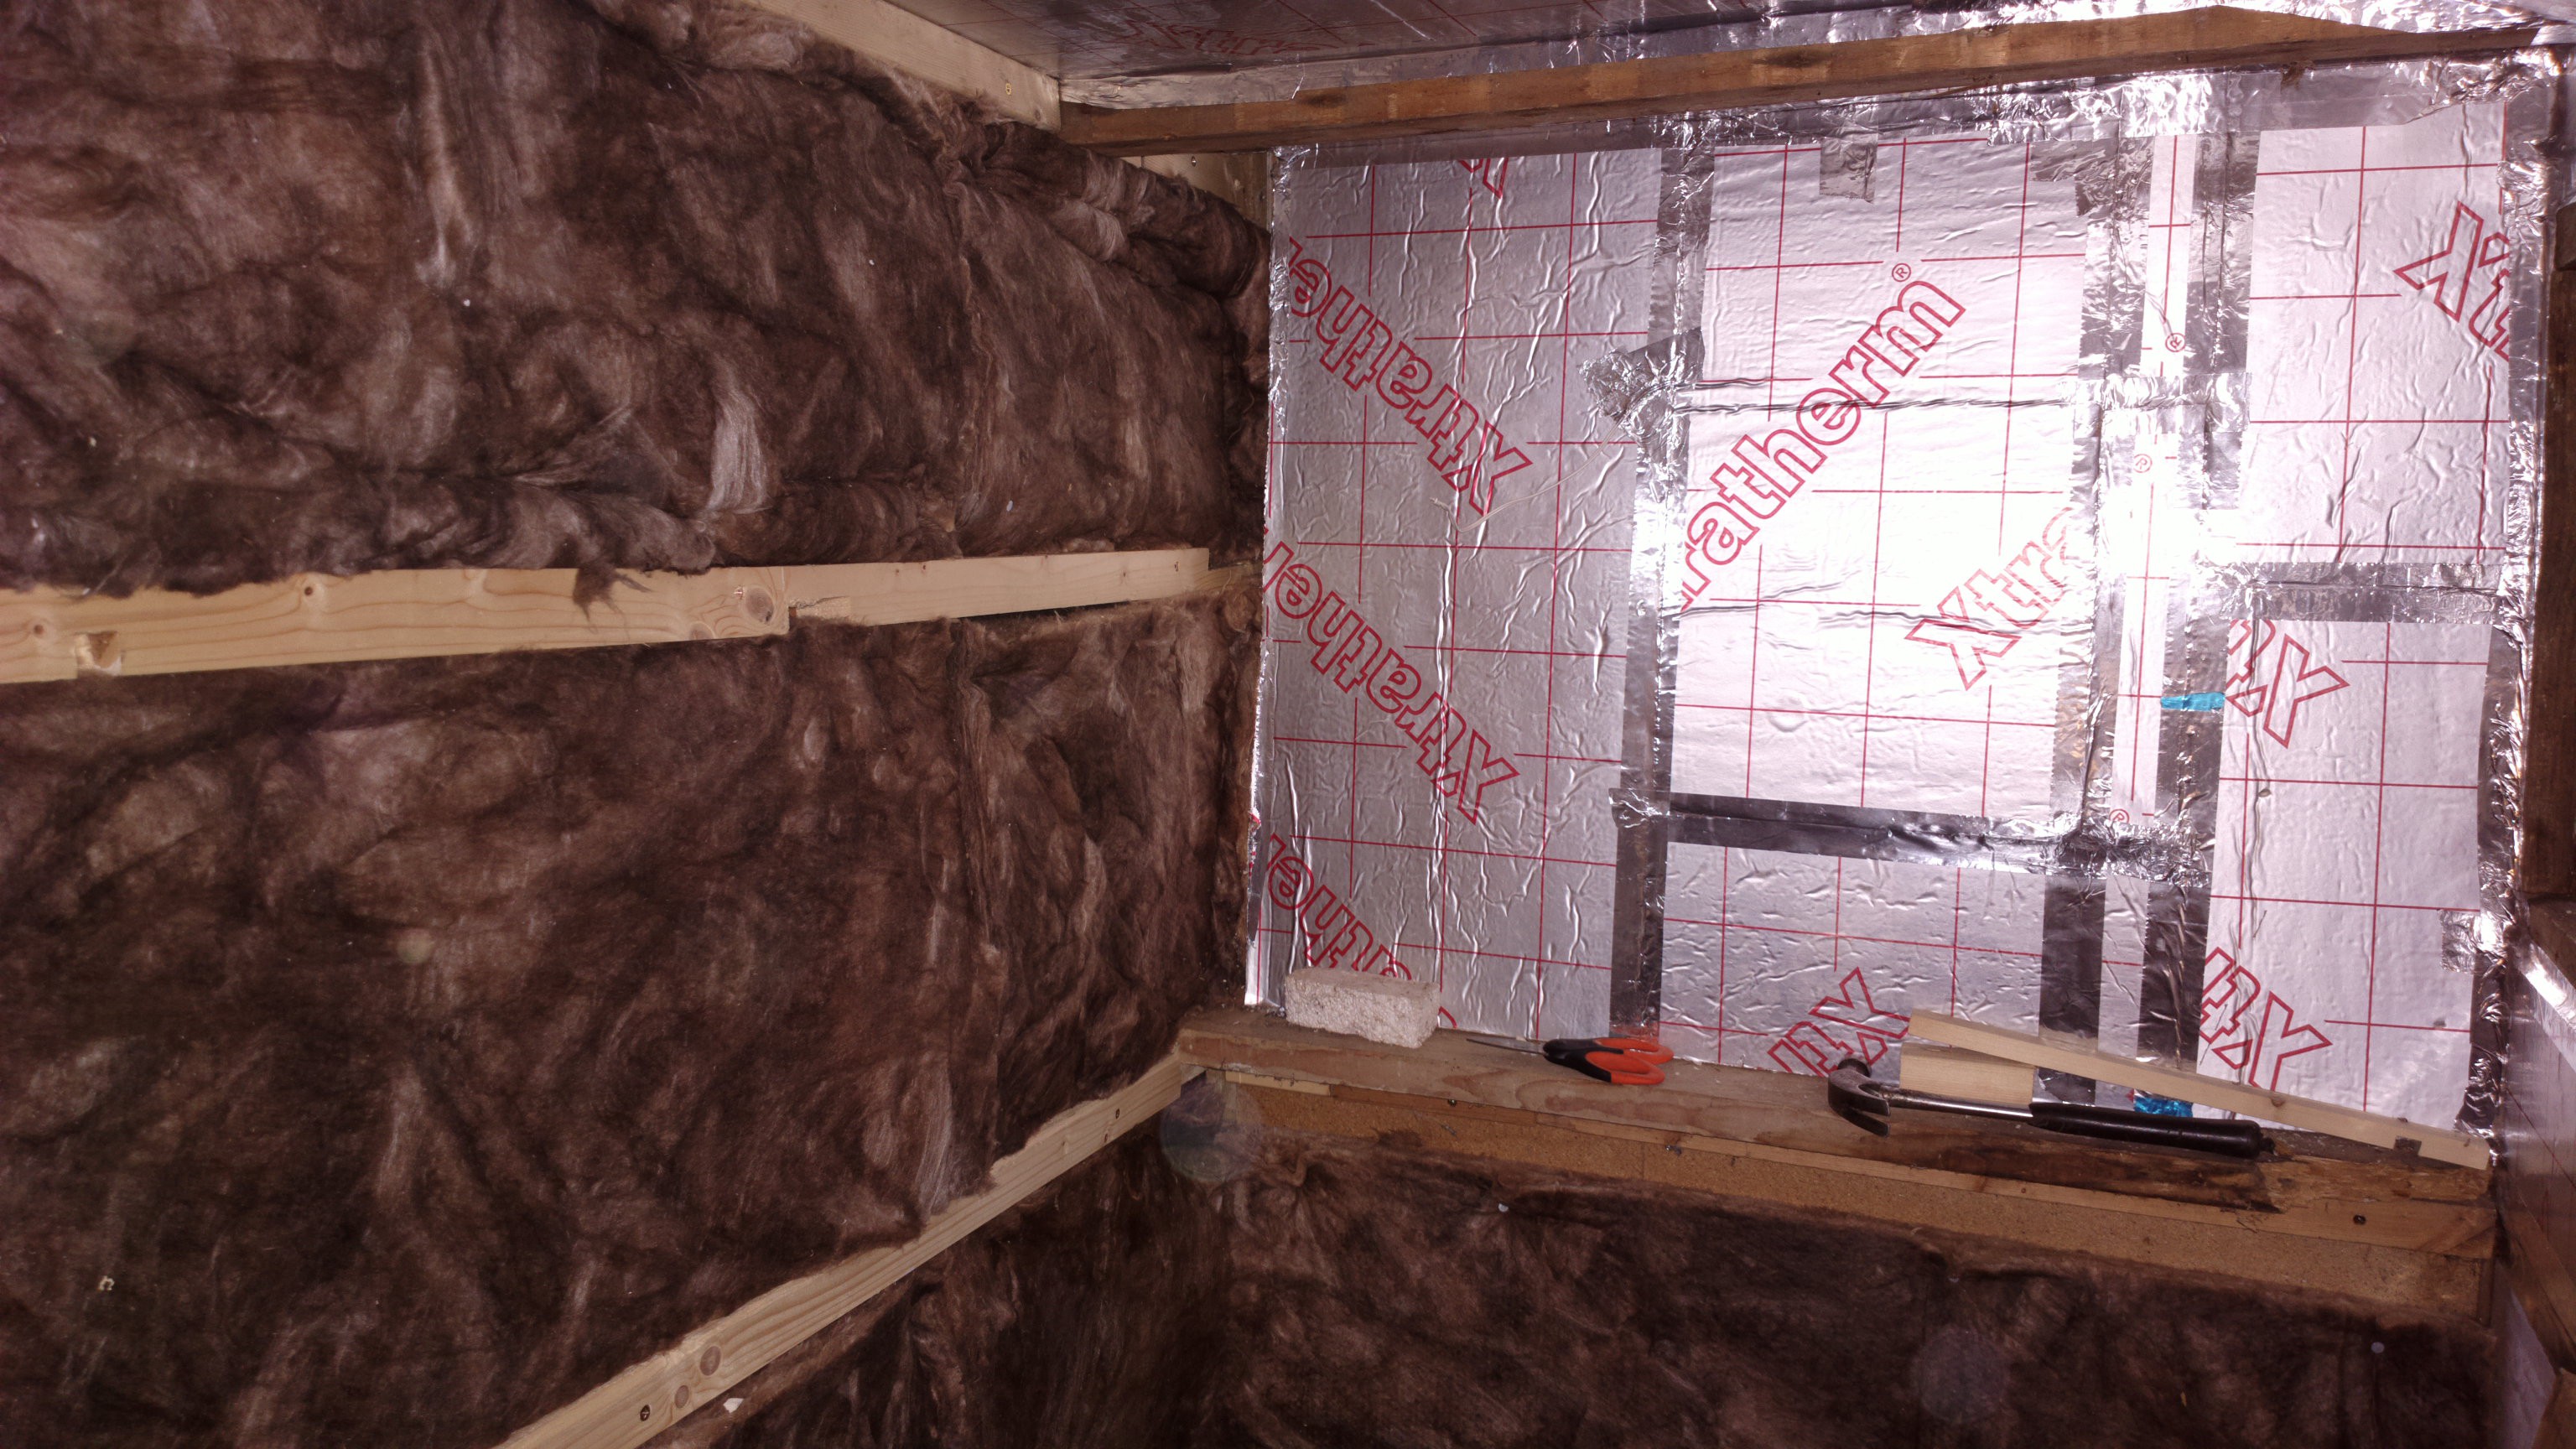
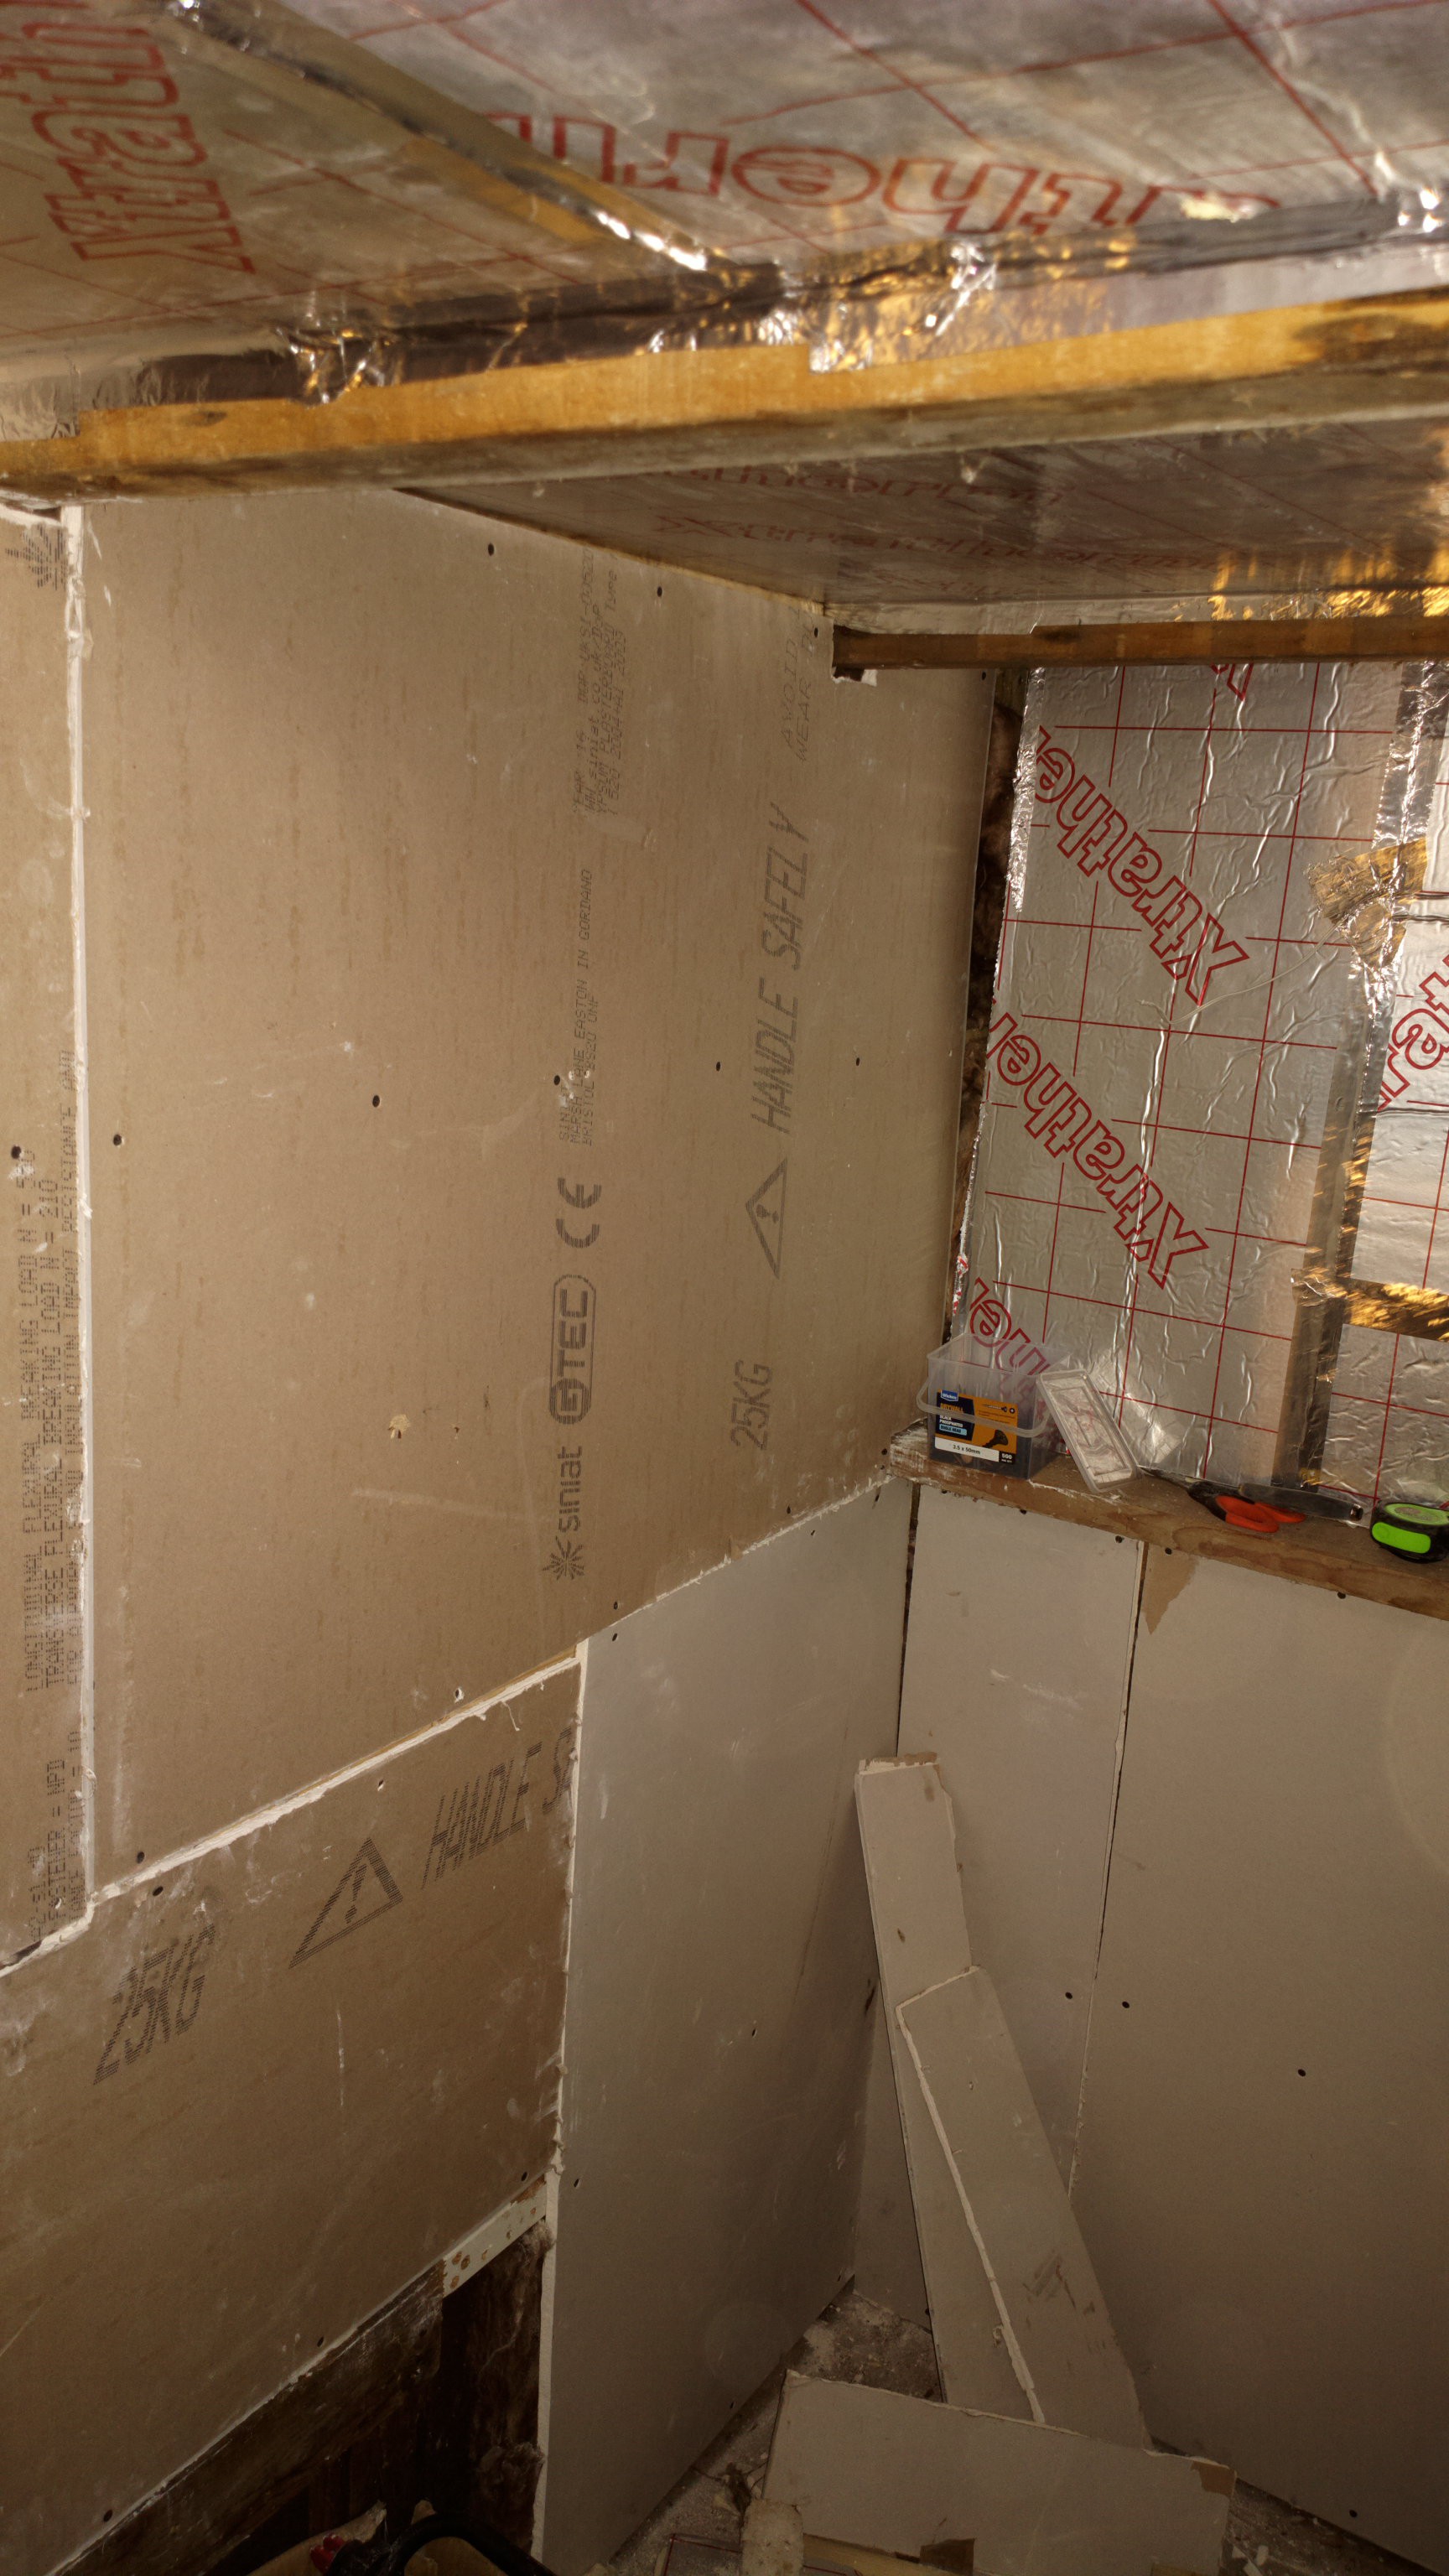
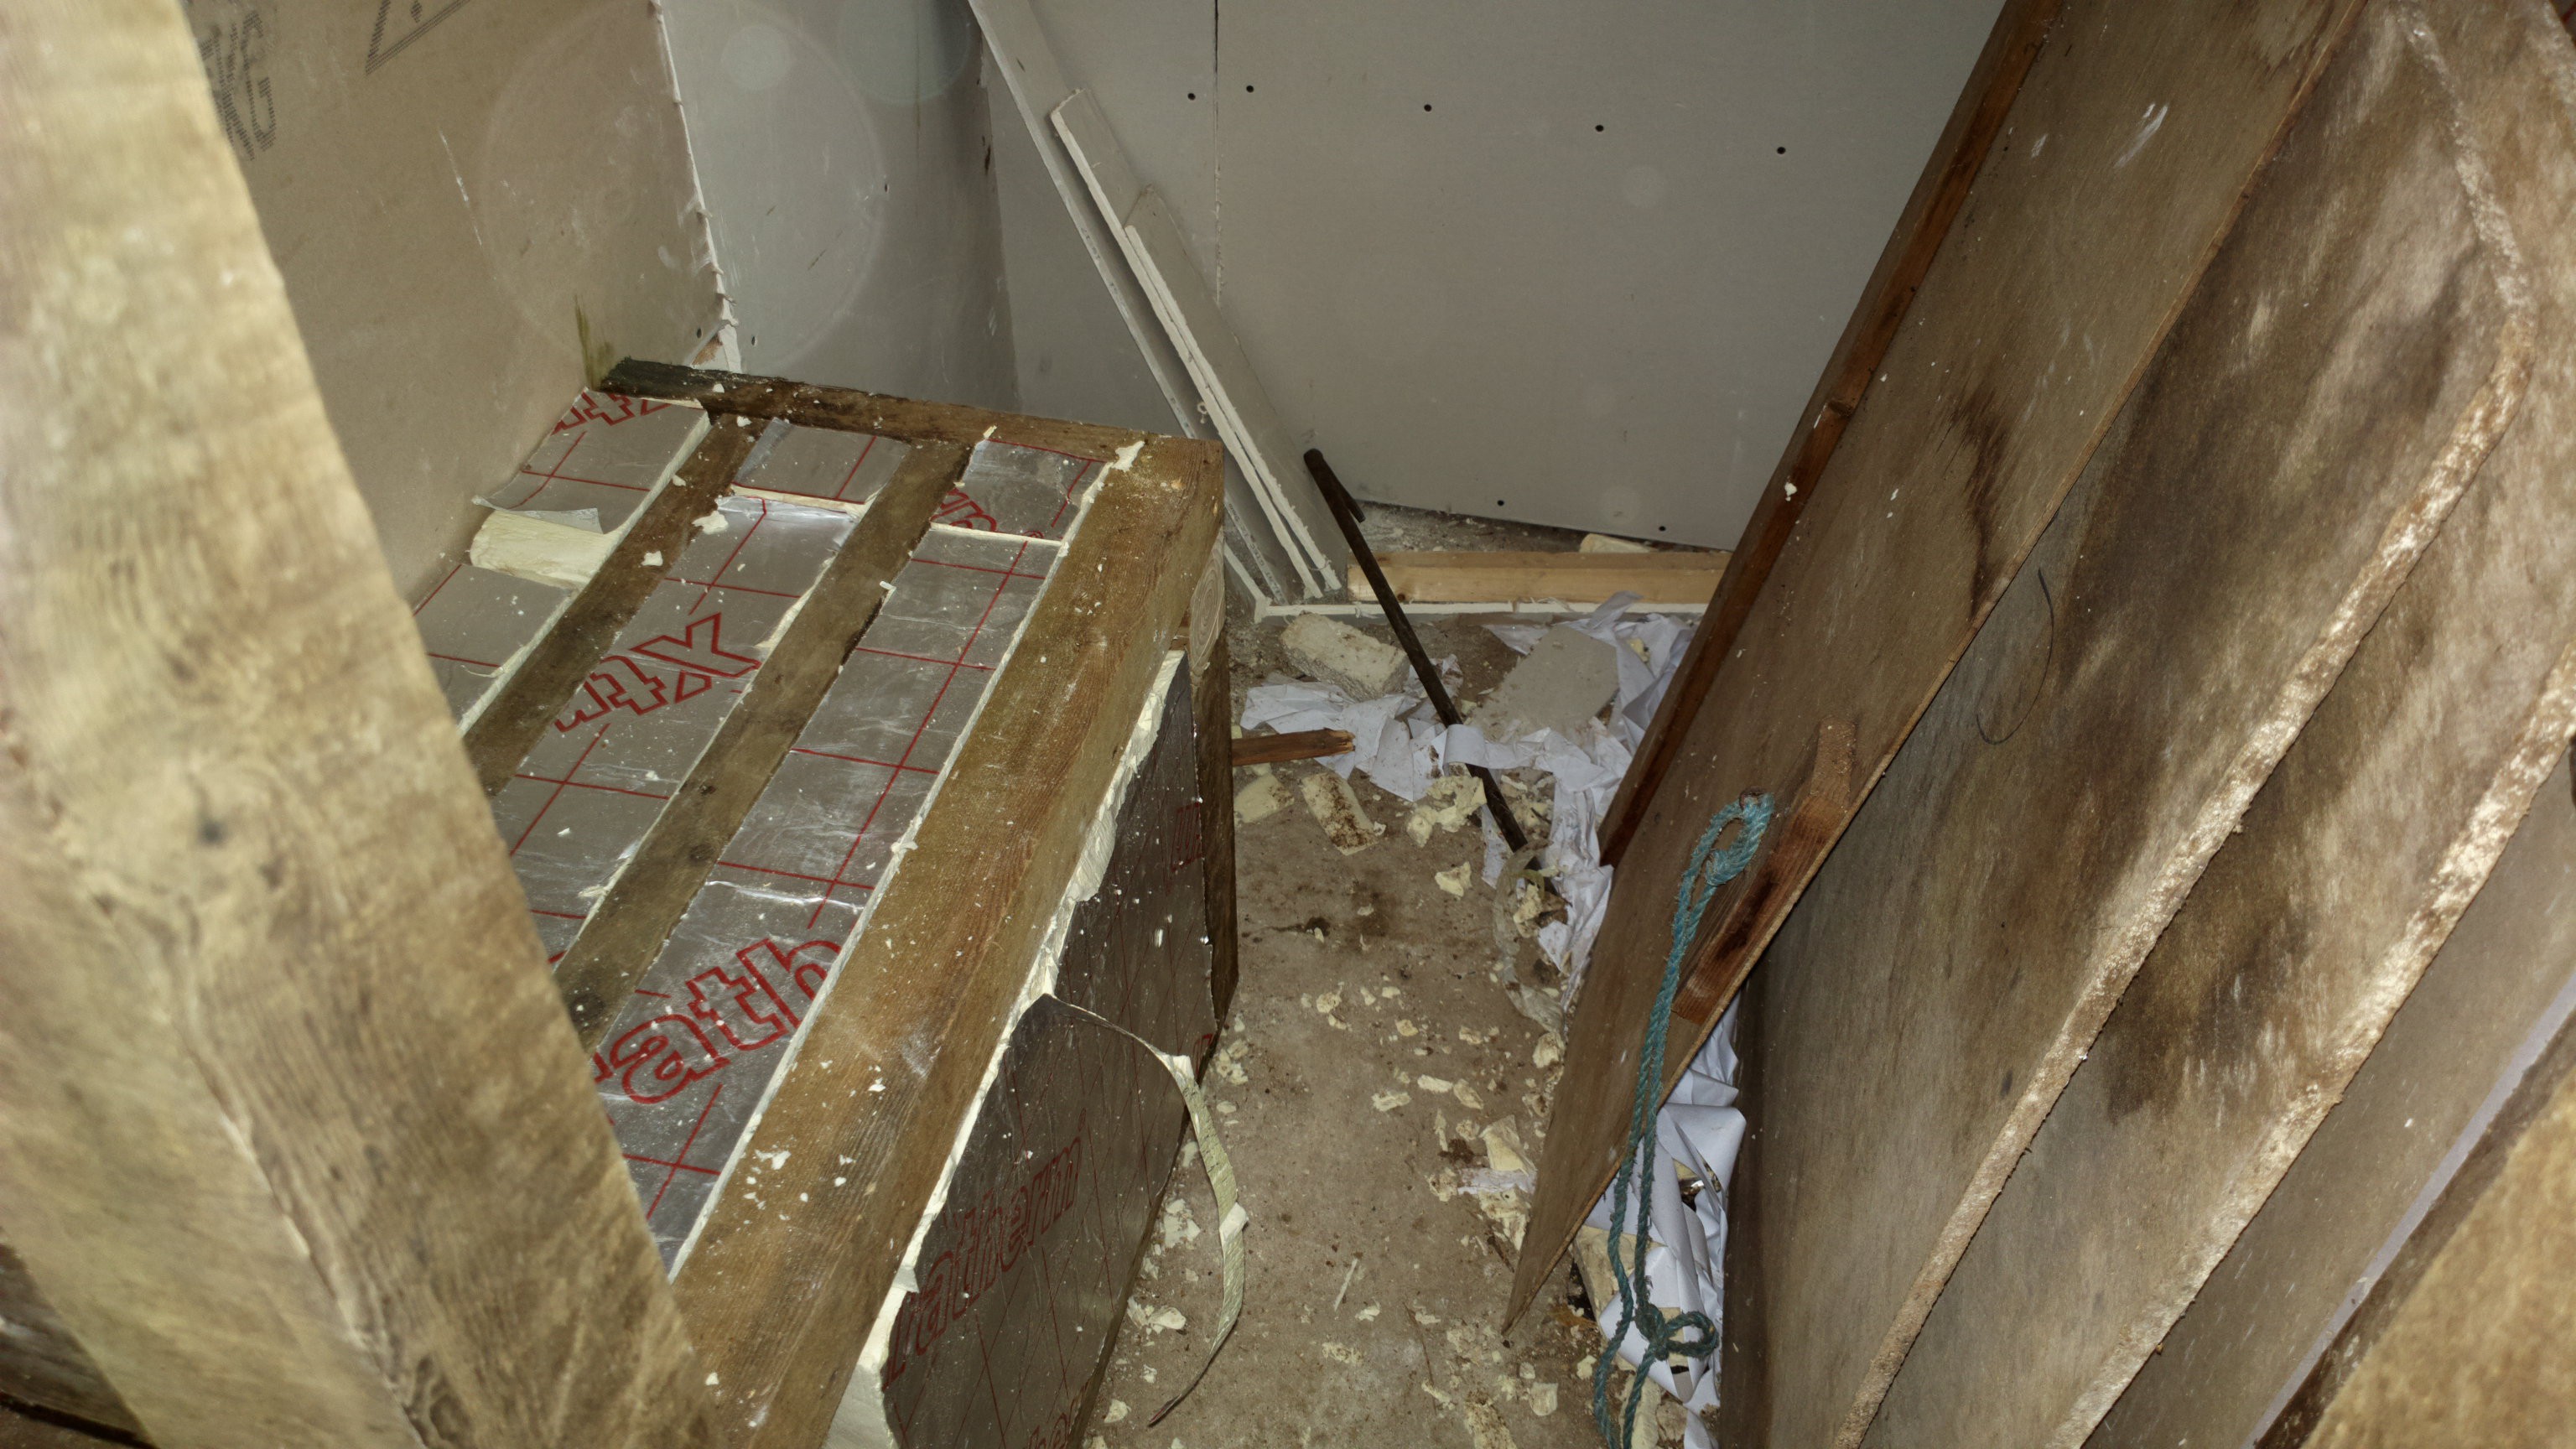
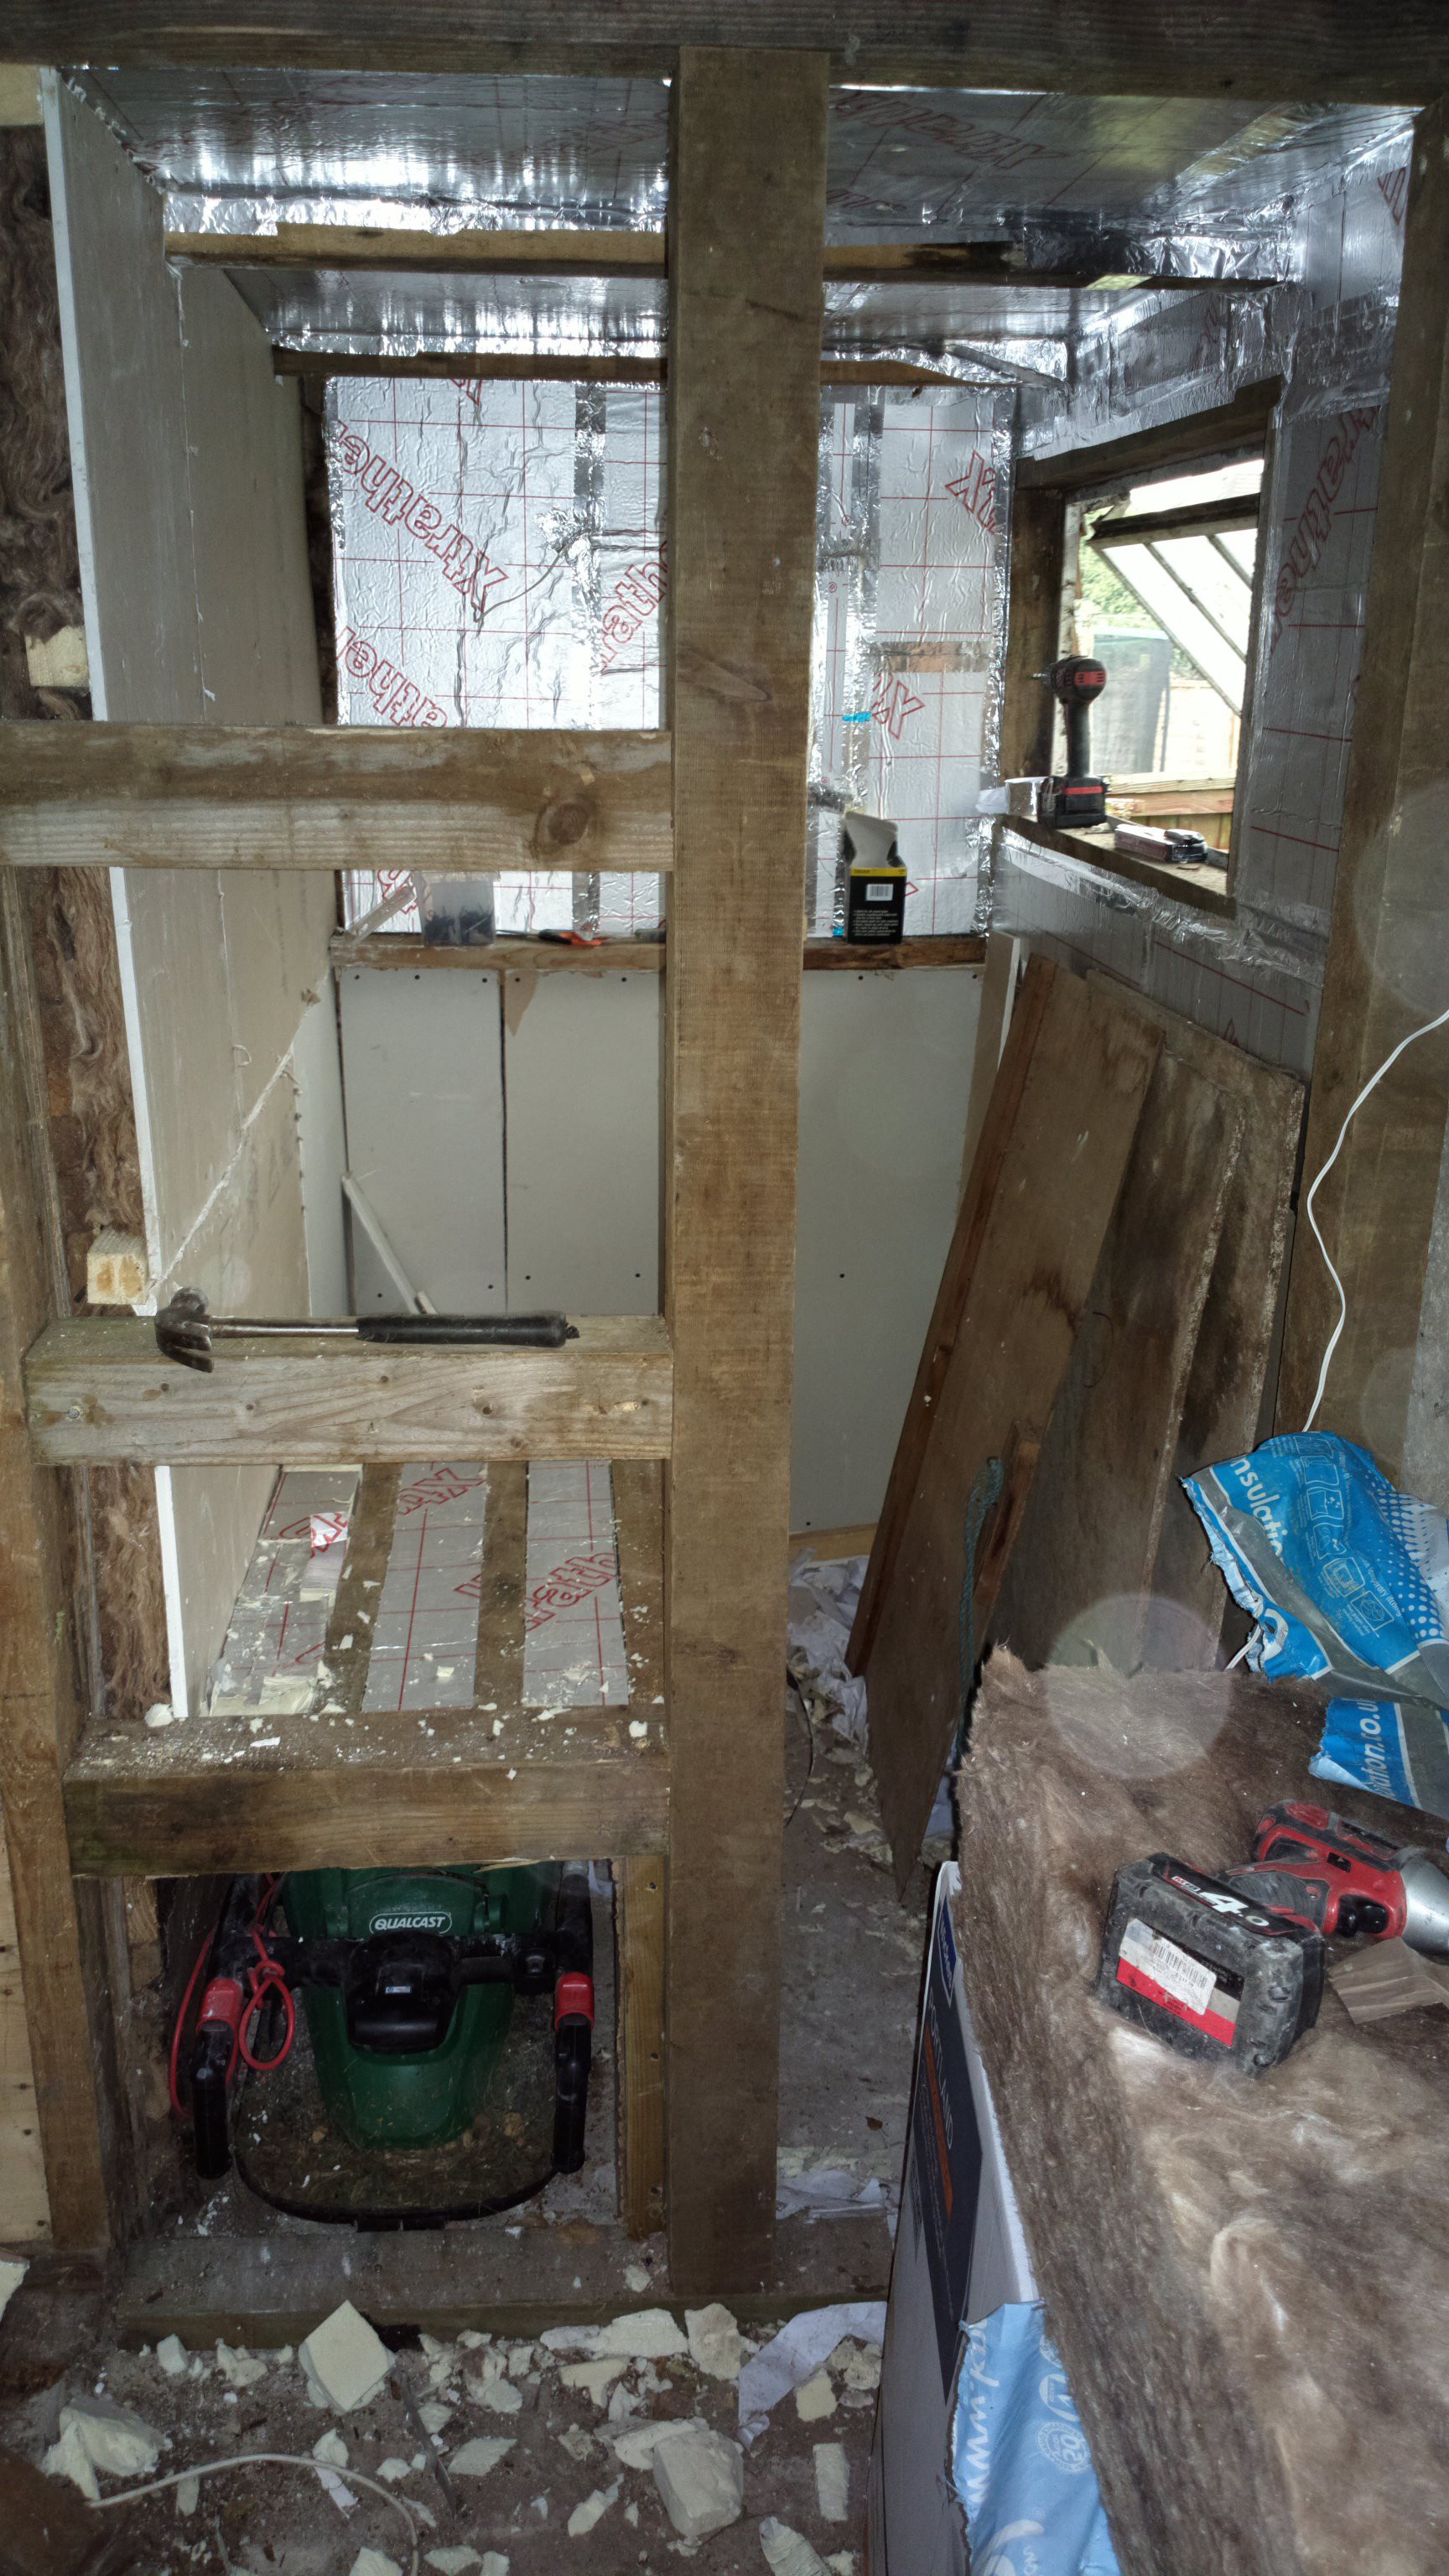
I'm building a sauna as cheaply as possible, and the only item I won't be building myself is the heater. It will have regulated temperature.
Become a Hackaday.io member
Already have an account? Log in.
Just one more thing
To make the experience fit your profile, pick a username and tell us what interests you.
Pick an awesome username
hackaday.io/
Your profile's URL: hackaday.io/username. Max 25 alphanumeric characters.
Pick a few interests
Projects that share your interests
People that share your interests


 mr.jb
mr.jb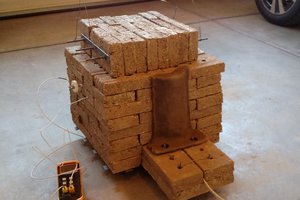
 Matt Moses
"Considering a DIY electrically heated sauna? Consult an Insulation Expert for guidance on insulation materials and installation techniques. Their expertise ensures energy efficiency and safety, creating a comfortable and enjoyable sauna experience at home."