Close
0%
0%

An Embedis IoT Keystore for MQTT

Use Embedis to store MQTT data items persistently in EEPROM or FLASH memory

Similar projects worth following
This Embedis example creates an MQTT Client device that can publish or subscribe to several MQTT data "feeds" that are displayed on a graphical dashboard at the Adafruit MQTT Server.

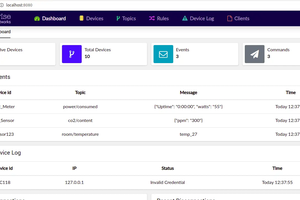
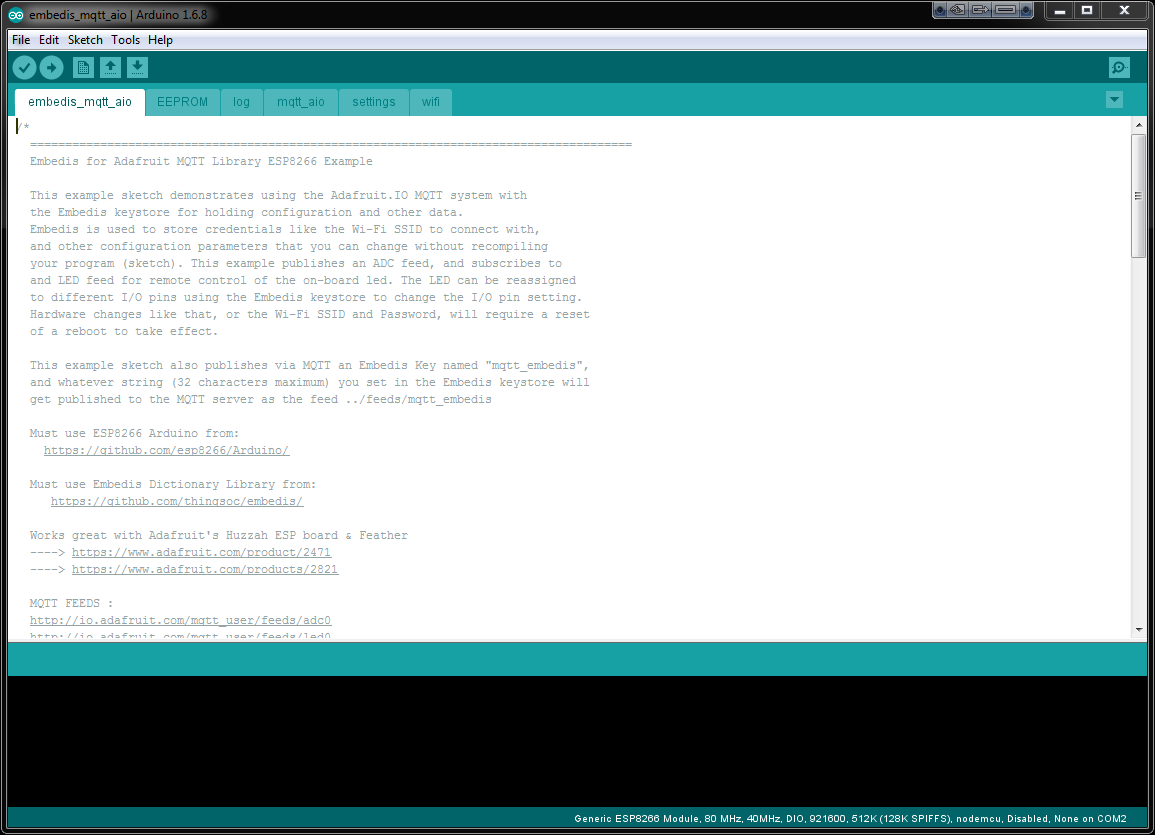
The example gives feeds for the ADC and the on board LED, as well as an arbitrary text feed called "../feeds/embedis". Whatever is written into the Embedis database for the key, "mqtt_embedis" will be displayed on the Adafruit Dashboard. You can use this arbitrary data MQTT feed for anything you like.

We needed a simple and efficient way to store configuration settings and values between projects, and an easy way to send and receive those values to an MQTT server, like the Adafruit MQTT Server at io.adafruit.com and that is what this project provides.

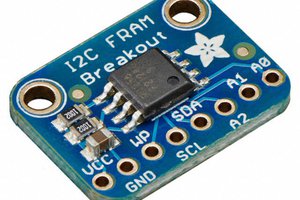
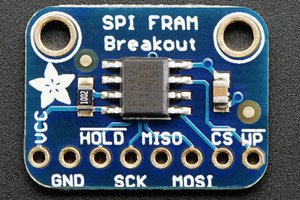
The Embedis database is persistent and can be used across multiple projects to configure your program settings for the specific hardware and network configuration that you are using. The Embedis database supports EEPROM storage by default, but you can also add other memory devices easily.

Now, you don't need to recompile your program and reflash your device in order to change your device and project settings anymore. Now settings can be changed "on-the-fly" with just a serial or MQTT interface! Some settings changes, however, will require a restart/reboot to take effect.

  • 1 × Arduino
  • 1 × Embedis
  • 1 × MQTT Frequency Control / Oscillators
  • 1 × Adafruit.Io

  • 1
    Step 1

    Installing Embedis

    To Install Embedis in the Arduino IDE, please see the Detailed Install Directions. Embedis is installed using the Arduino Library Manager from the top menu bar:

    <p>Sketch -> Include Library -> Manage Libraries -> Embedis</p>

    You will also need the ESP8266 tools and ESP8266 sketch data download utility installed with Arduino IDE 1.6.7 or later. For more information, please follow the board manager install directions at esp8266/Arduino.

  • 2
    Step 2

    Loading the Example Project

    After installing the Embedis library in the Arduino IDE, the Embedis examples will be available under the menu as:

    File -> Examples -> Embedis -> esp8266 -> embedis_mqtt_aio

    Make sure to select your specific ESP8266 board model under the Board Manager, and set the "port" to the correct COM: port for your board. Then just press the "Download" button to compile and download your project.

  • 3
    Step 3

    Change to your Adafruit Account and Key

    Make sure to change the following lines in the source code file, embedis_mqtt_aio.ino:

    #define AIO_USERNAME "...your AIO username..."

    #define AIO_KEY "...your AIO key..."

    These need to be changed to your AdaFruit Username and MQTT Key number.

View all 10 instructions

Enjoy this project?

Share

Discussions

Similar Projects

Does this project spark your interest?

Become a member to follow this project and never miss any updates