 Pattern Agents
Driving an array of WS2812 LEDs is not all that difficult, however, it can present problems for some Linux platforms, like the Raspberry PI, Beaglebone or the Edison. And it can also create timing problems in your projects. If, for example, you are doing several real-time tasks like audio or motion control in addition to controlling the LEDs.
We decided to make it very simple (and inexpensive) for people to drive arrays of WS2812 LEDs using the Cypress PSoC4, configured as an I2C (or SPI) memory device. That way, all the specific real-time timing problems of driving WS2812 LEDs are eliminated, and you simply access the LEDs as you would a standard memory device.
TSOC_NEOLED Driver Board
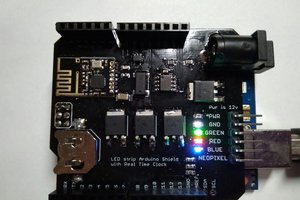
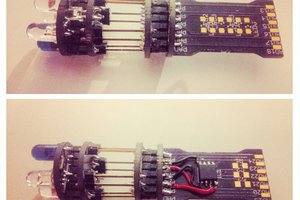
The TSOC_NEOLED driver board incorporates a Cypress PSoC4 device with a 74HCT245 driver chip to support longer wires for your LED arrays. The same firmware project can be loaded in any Cypress CY8CKIT-049 prototyping board as well.

The TSOC_NEOLED driver board can either be used as standalone LED driver, in conjunction with other thingSoC, or Mikrobus boards. It can also be used with Arduino, Raspberry Pi, Beaglebone, and other platforms as an I2C peripheral.
The TSOC_NEOLED looks to the Arduino like an I2C SRAM (memory) of 2048 bytes in size. Simply writing to the TSOC_NEOLED like an I2C memory causes the corresponding LED to light up on the display.


 Ben Lim
 tomtibbetts
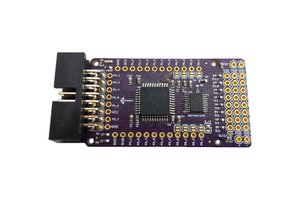
 davedarko