 Martian
-
1Prepare to connect the MicroSD card adaptor to the Arduino
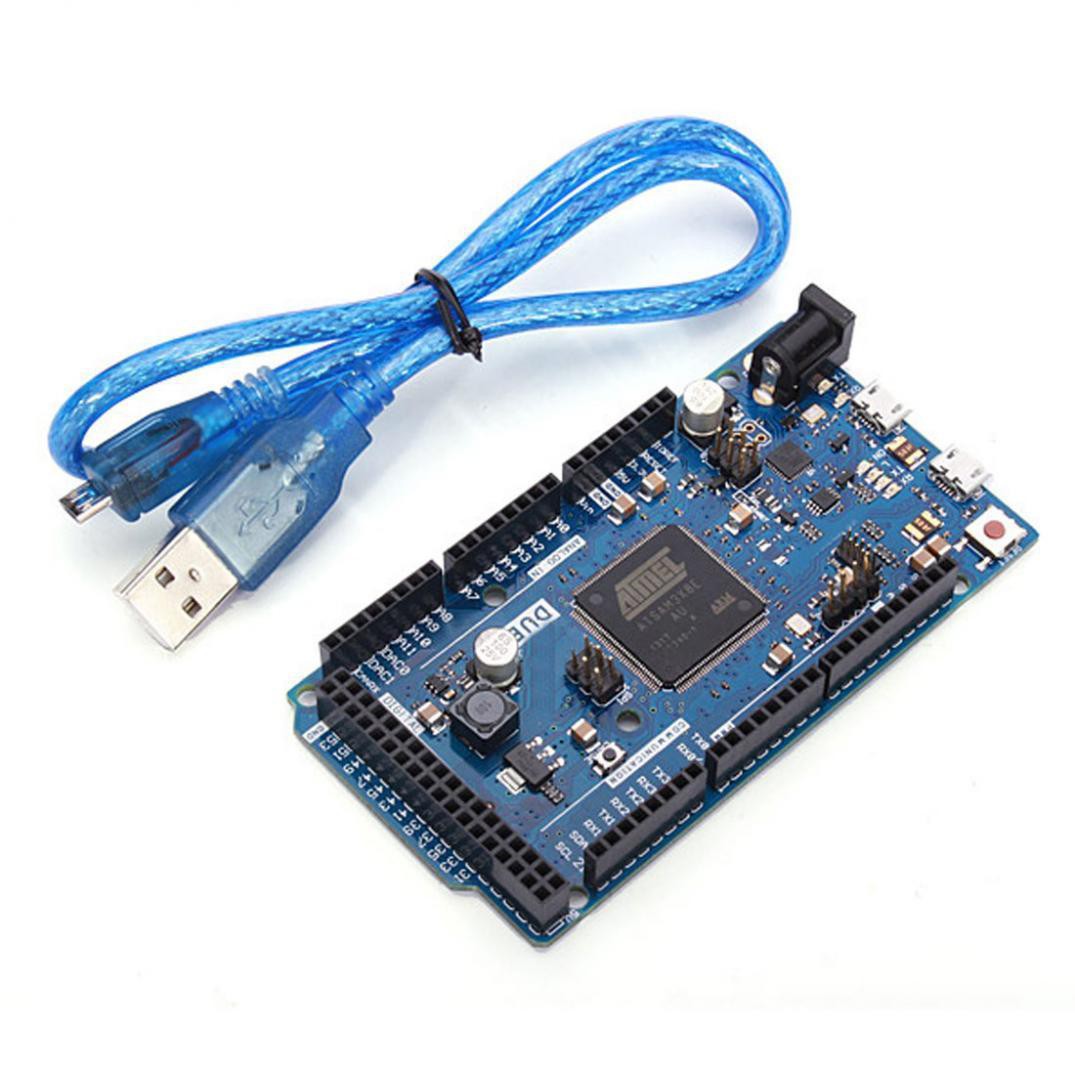
Arduino Due:
![]()
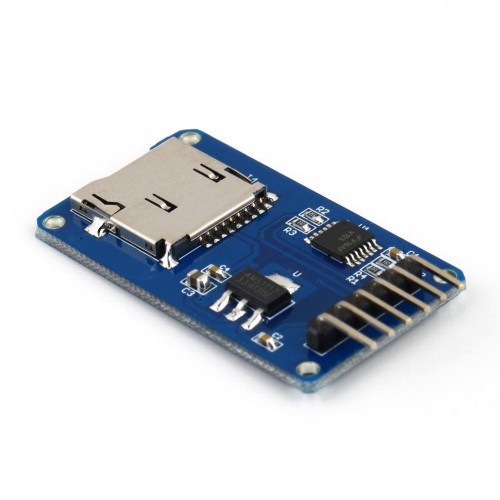
SPI MicroSD Adaptor:![]()
Wiring Diagram:
![]()
-
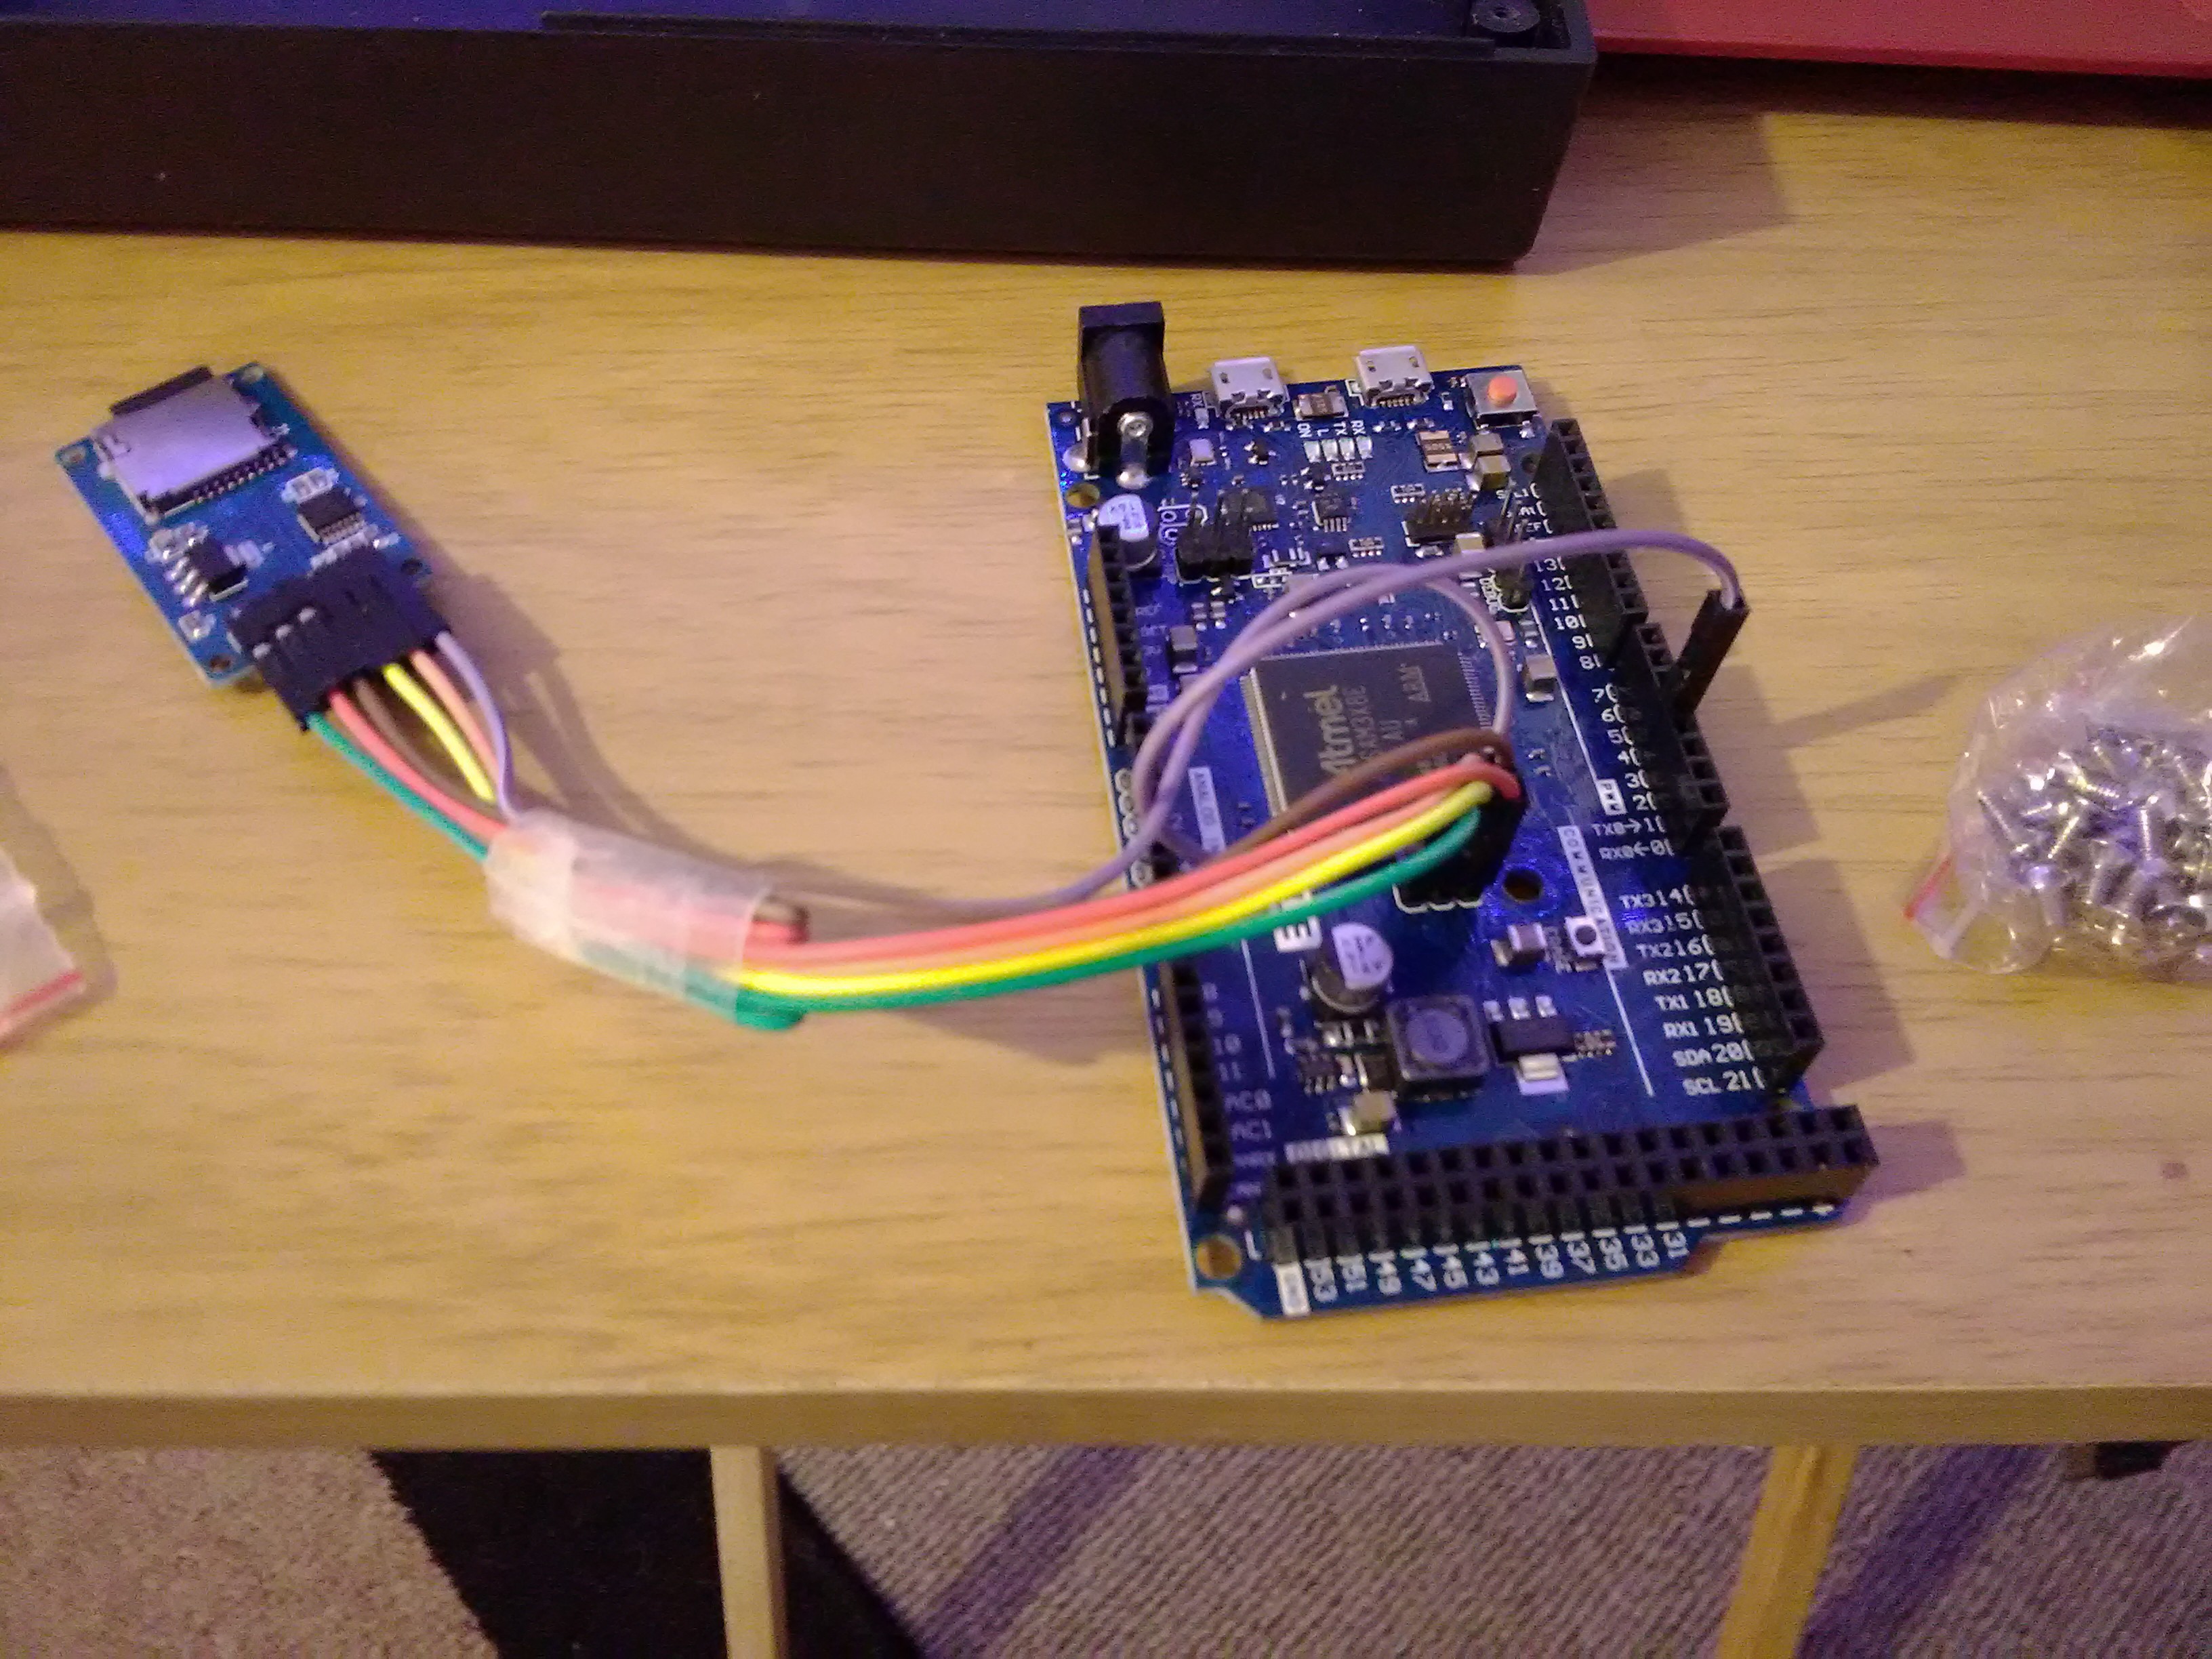
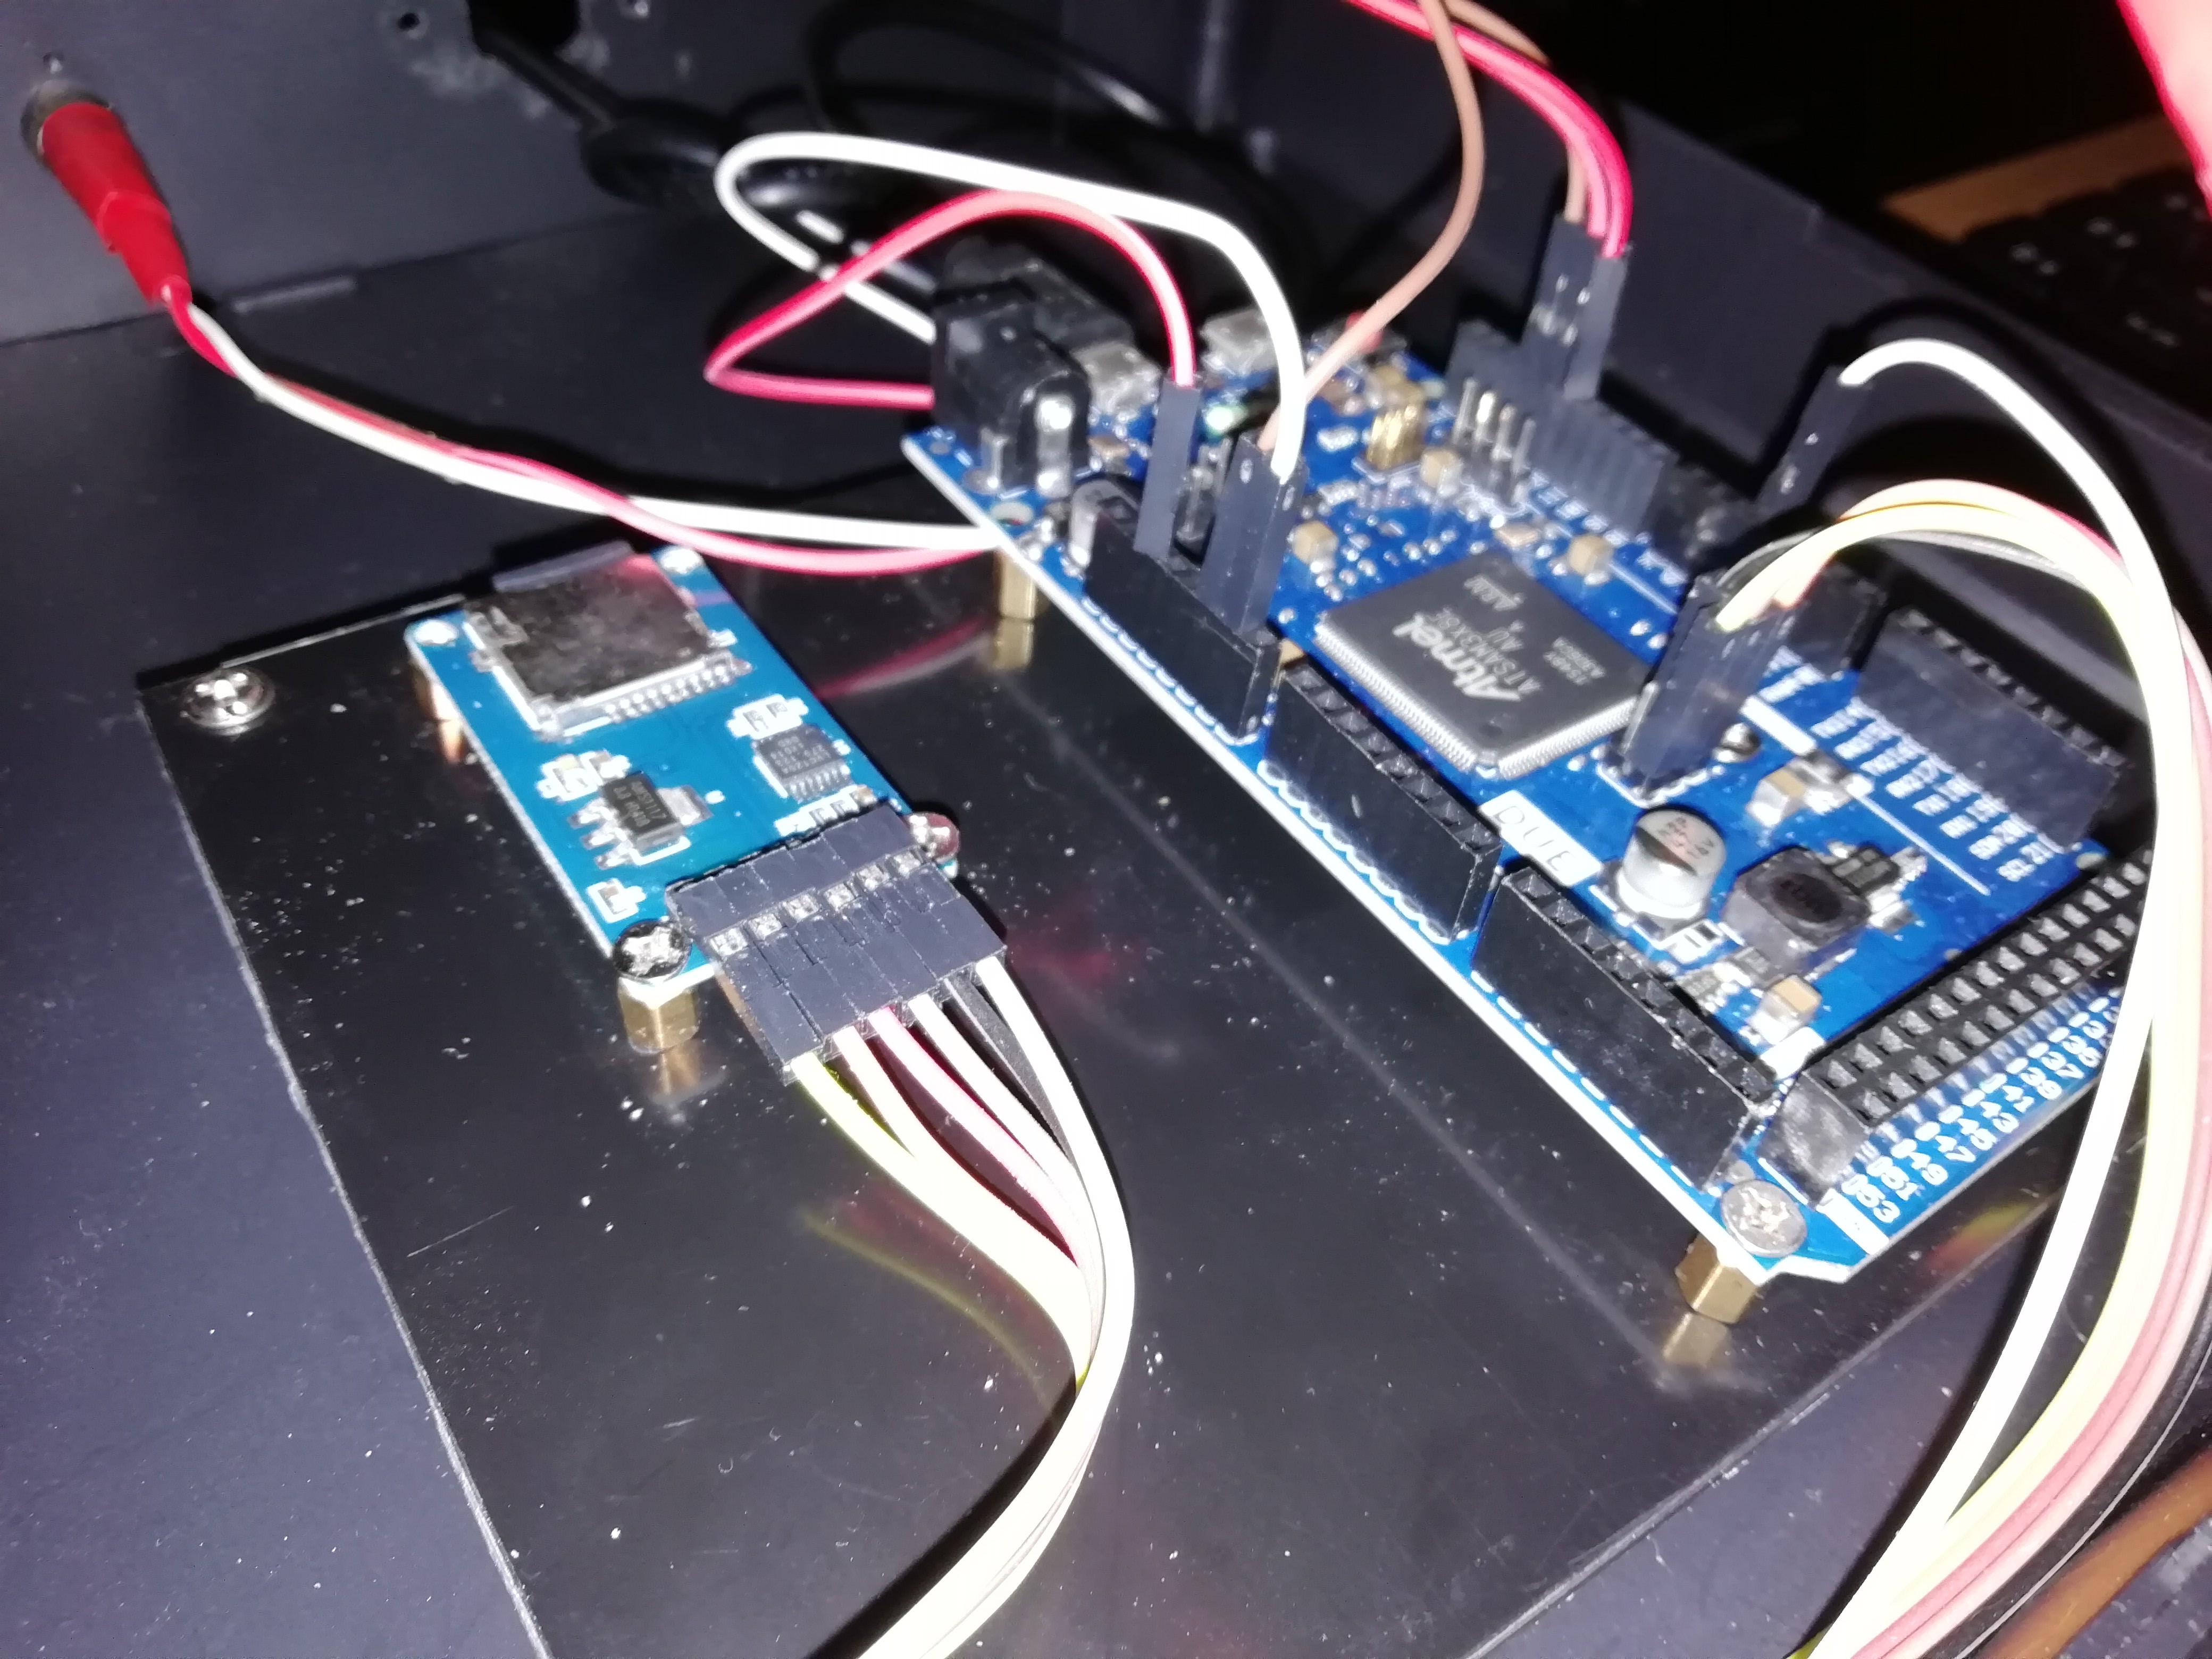
2Connect the Arduino and MicroSD adaptor
Wired up:
![]()
-
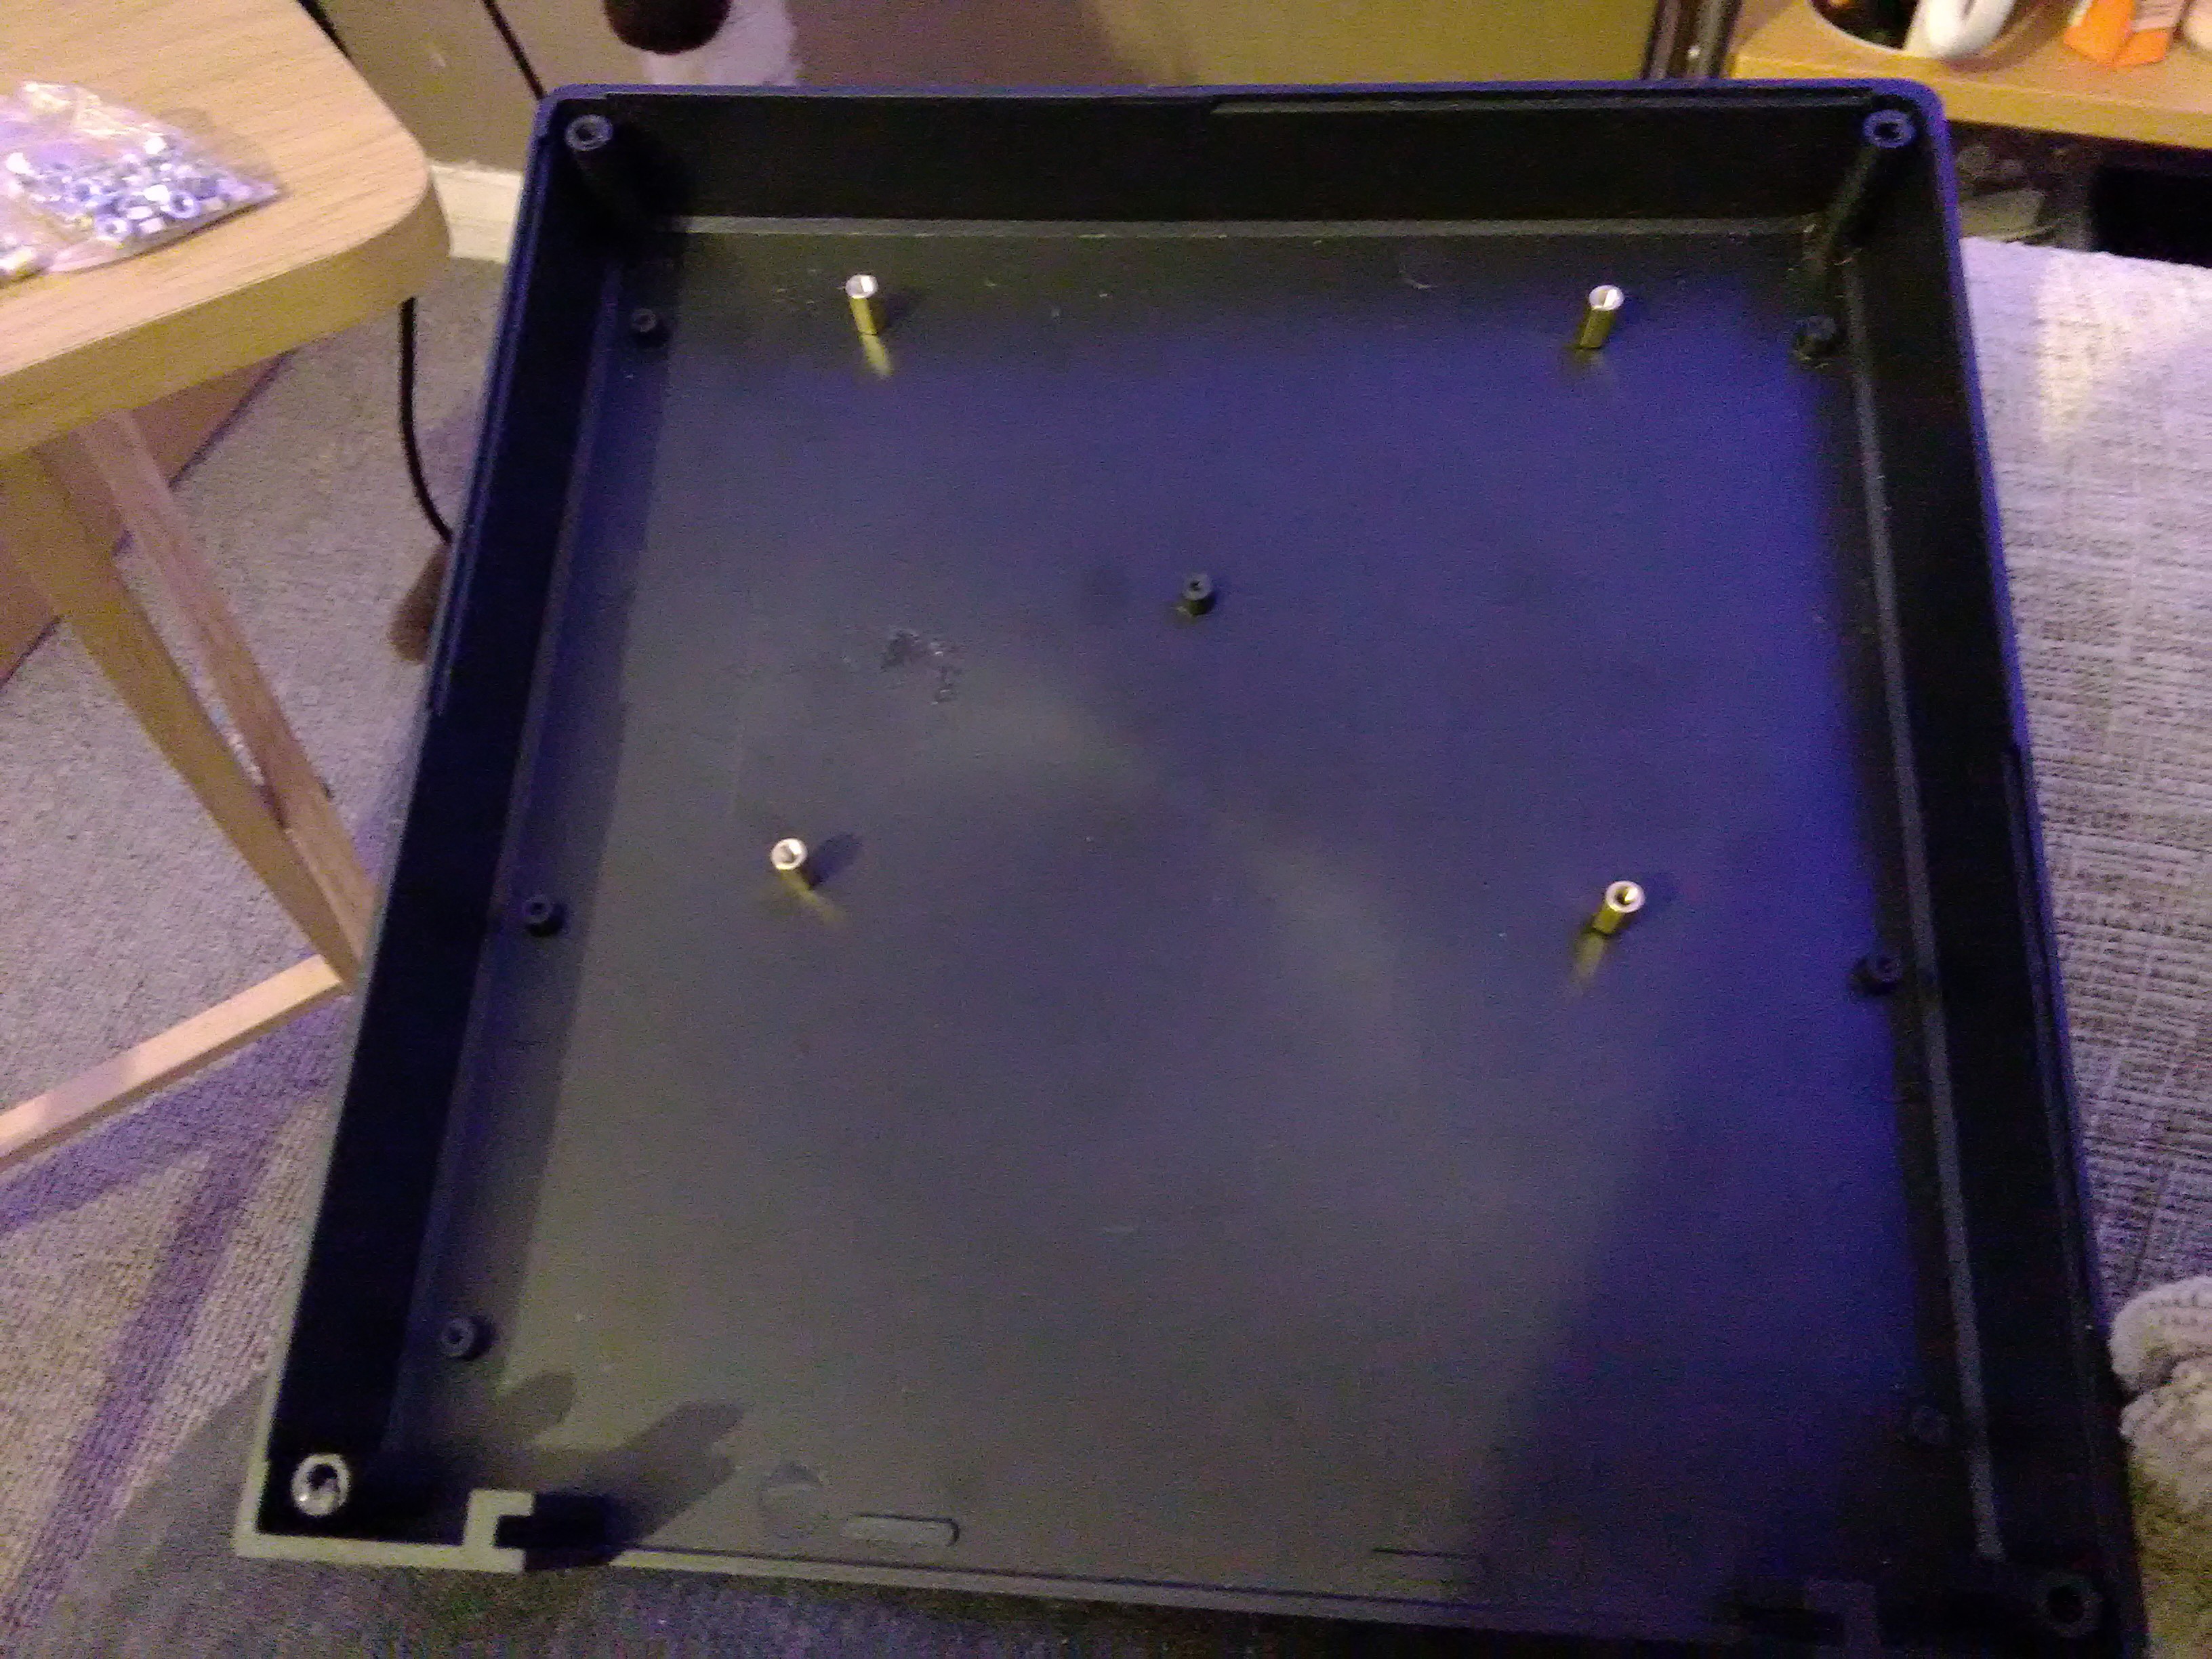
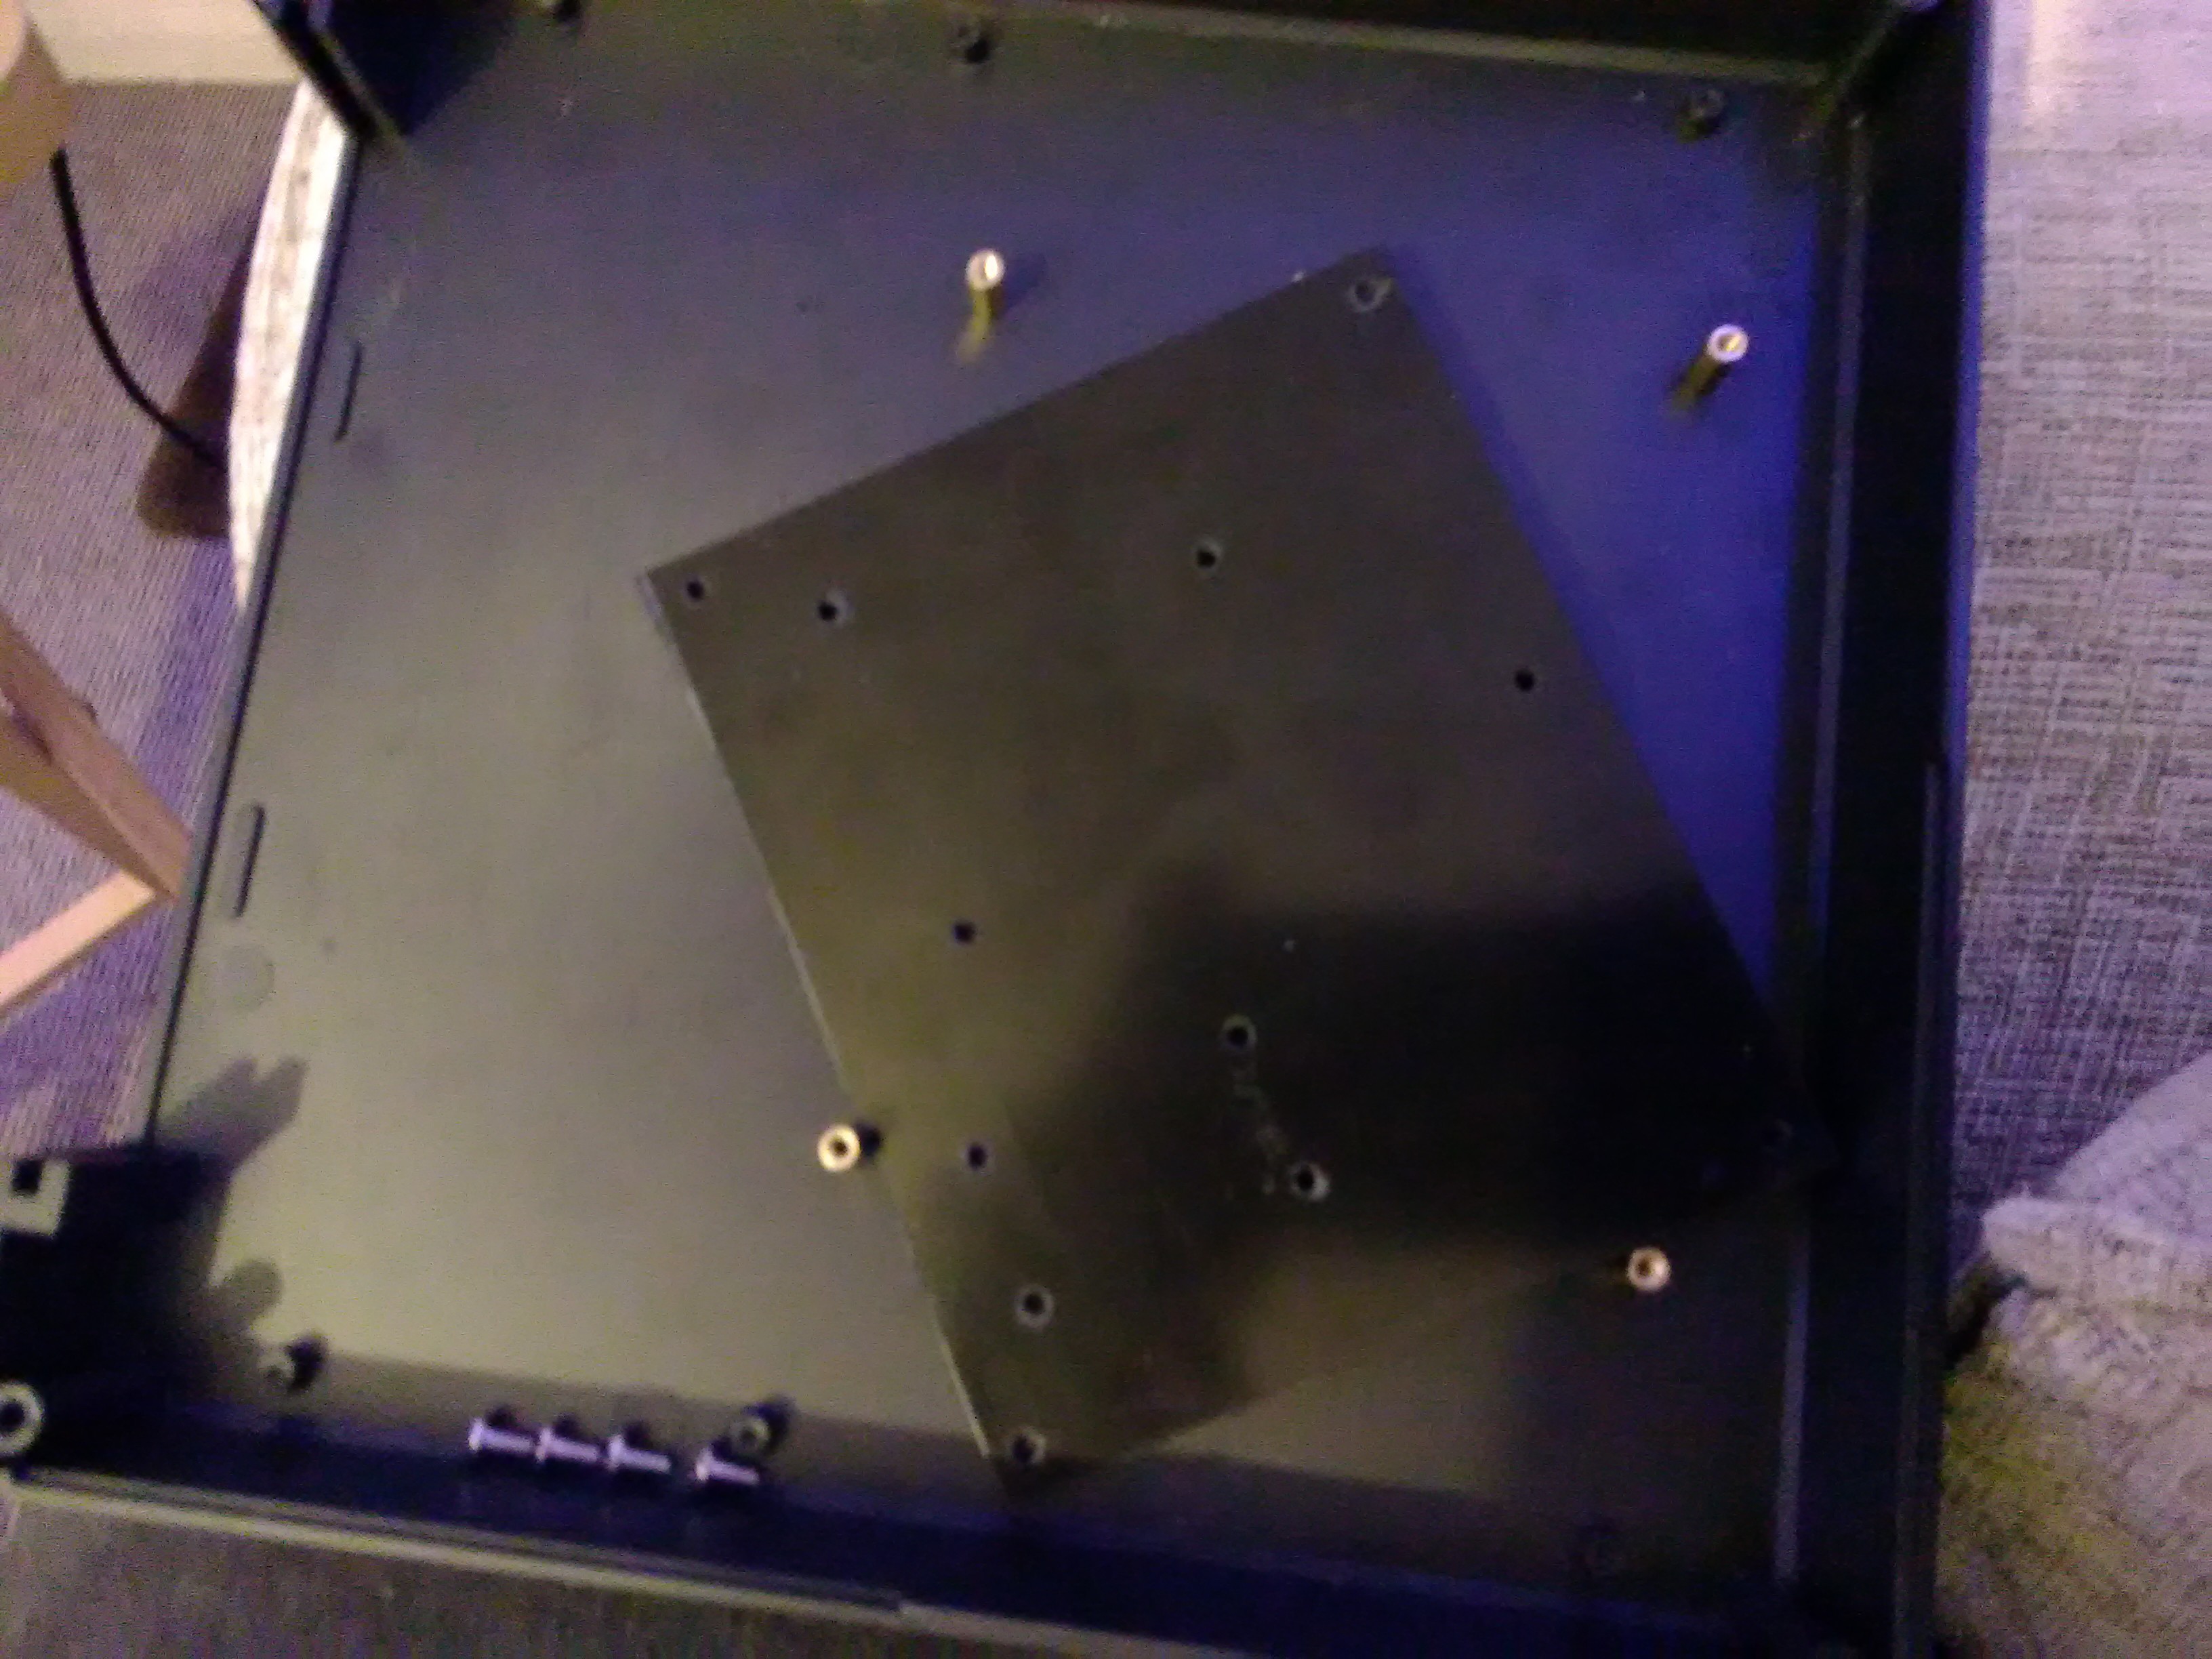
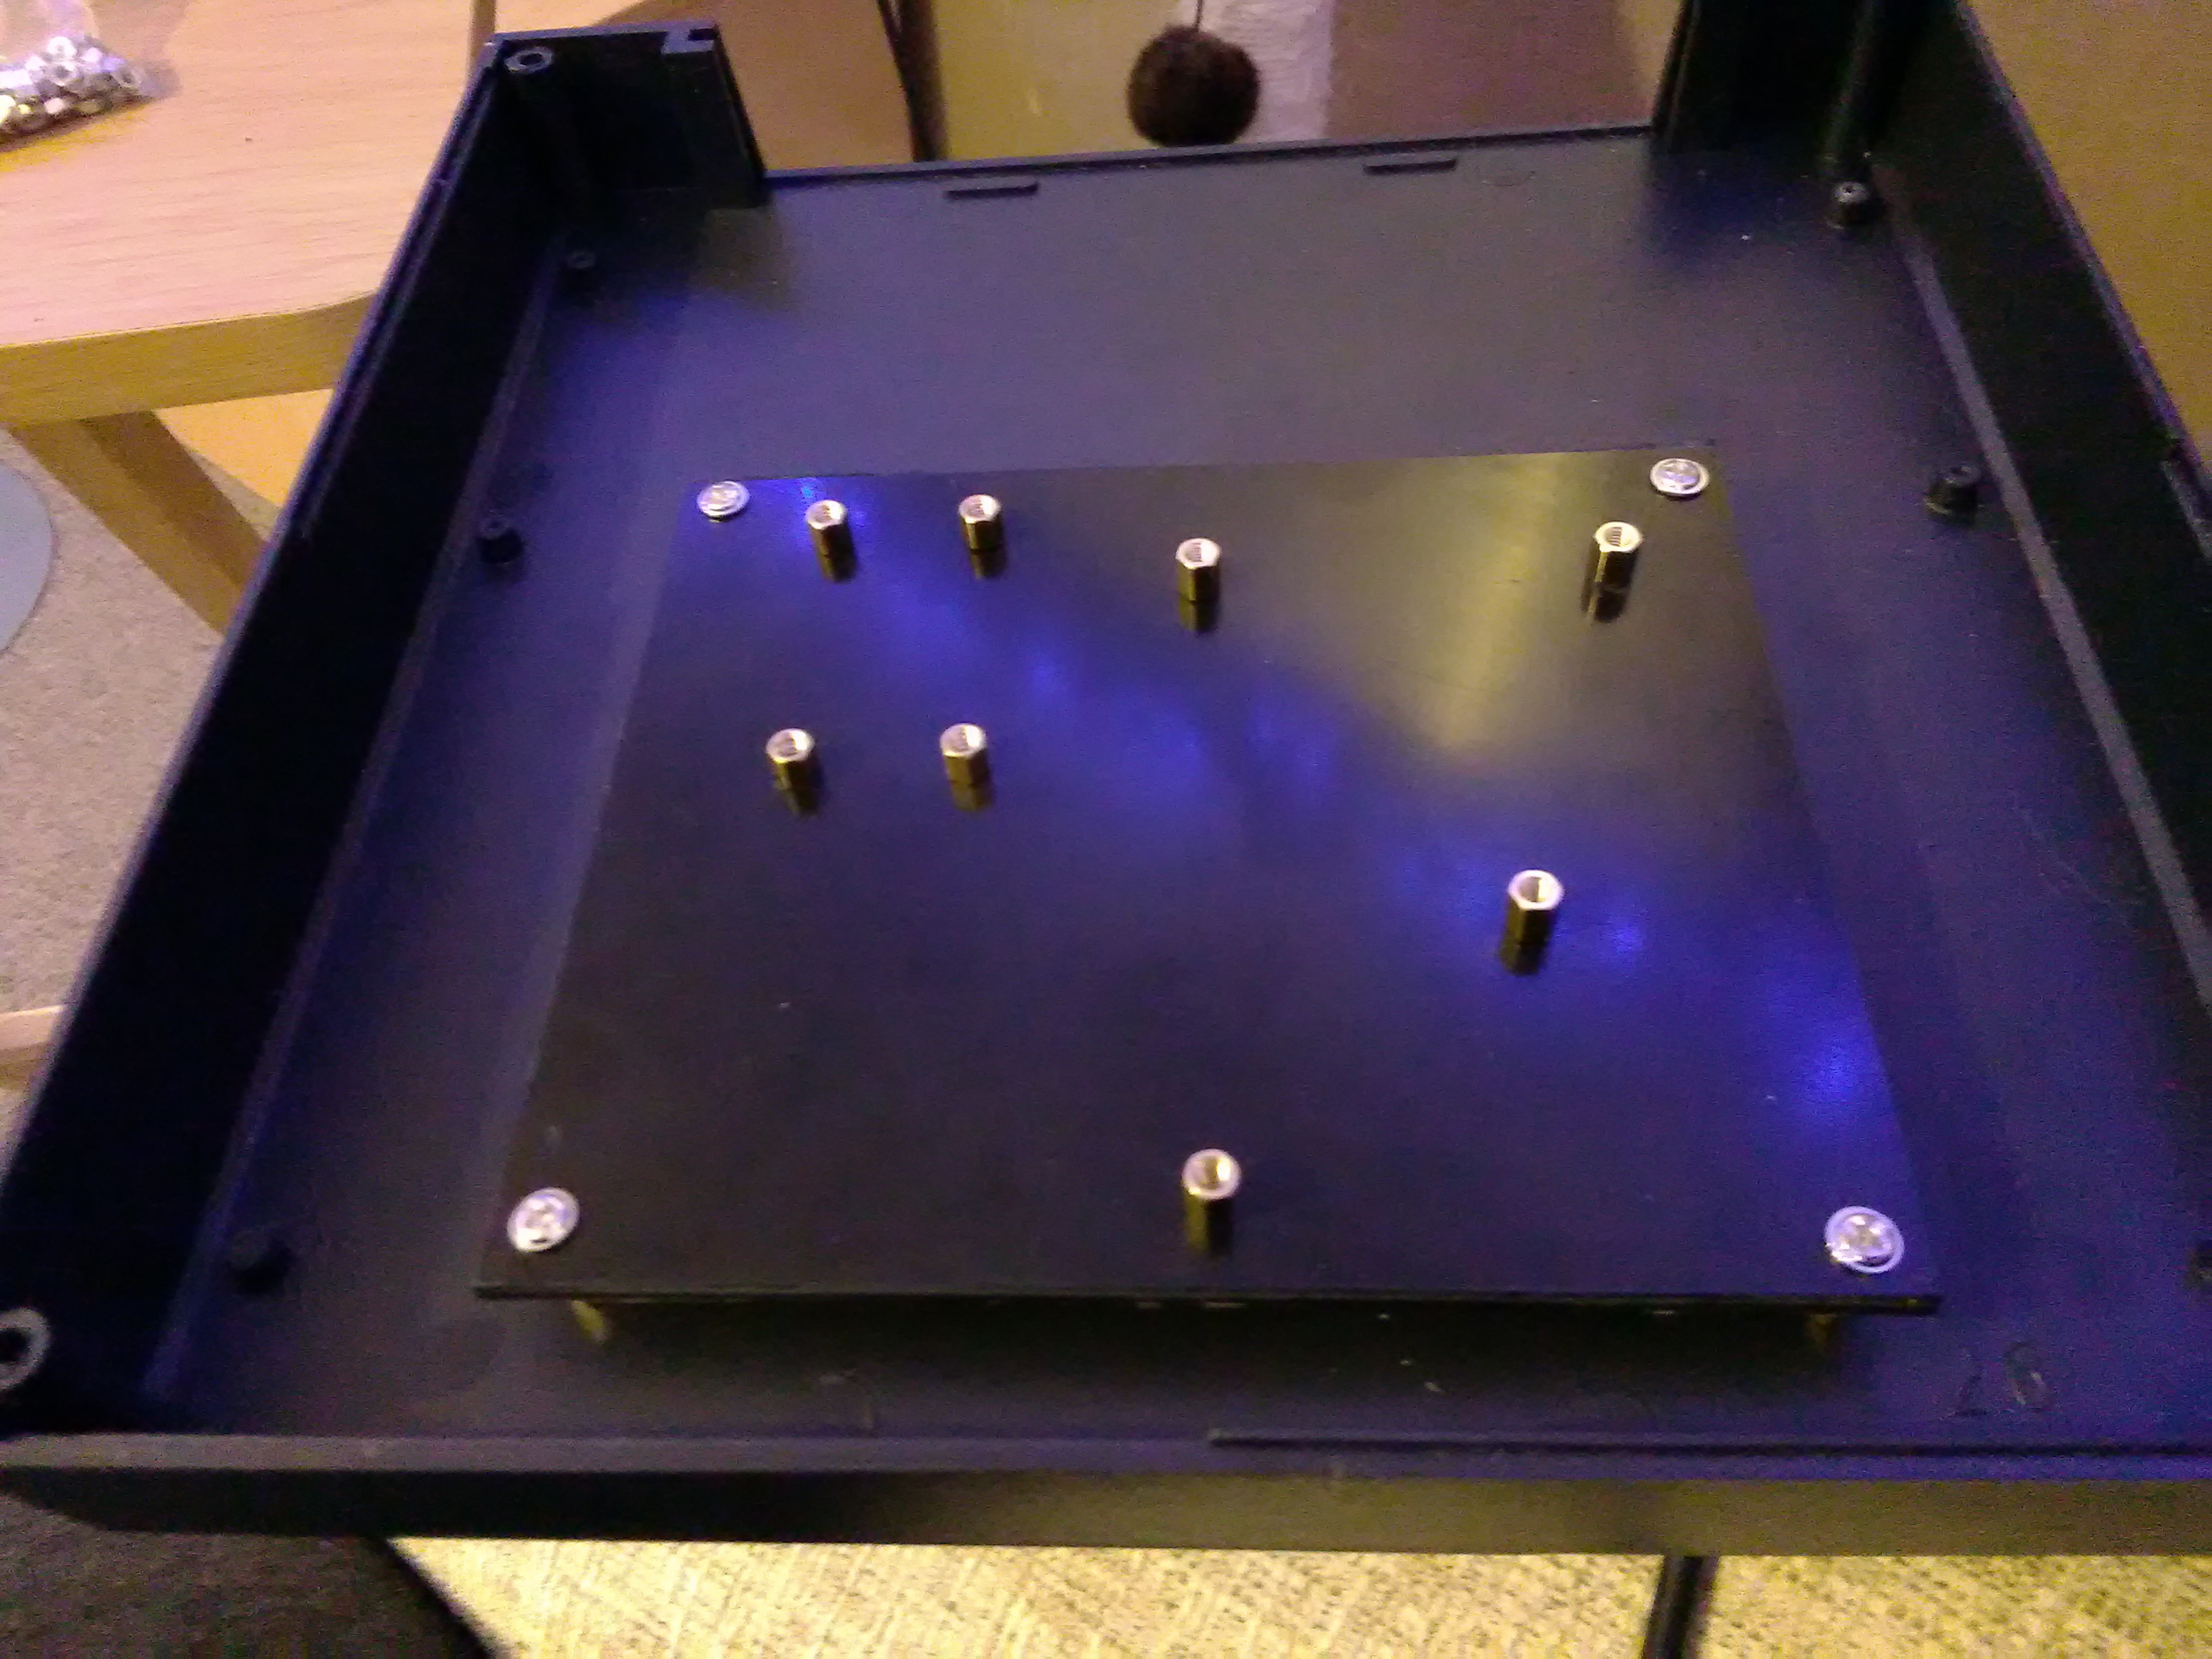
3Prepare the case
The Arduino and MicroSD adaptor will be mounted on a small piece of Plasticard, that will be fixed to the case.
Measure, drill and use spacers.
![]()
![]()
![]()
-
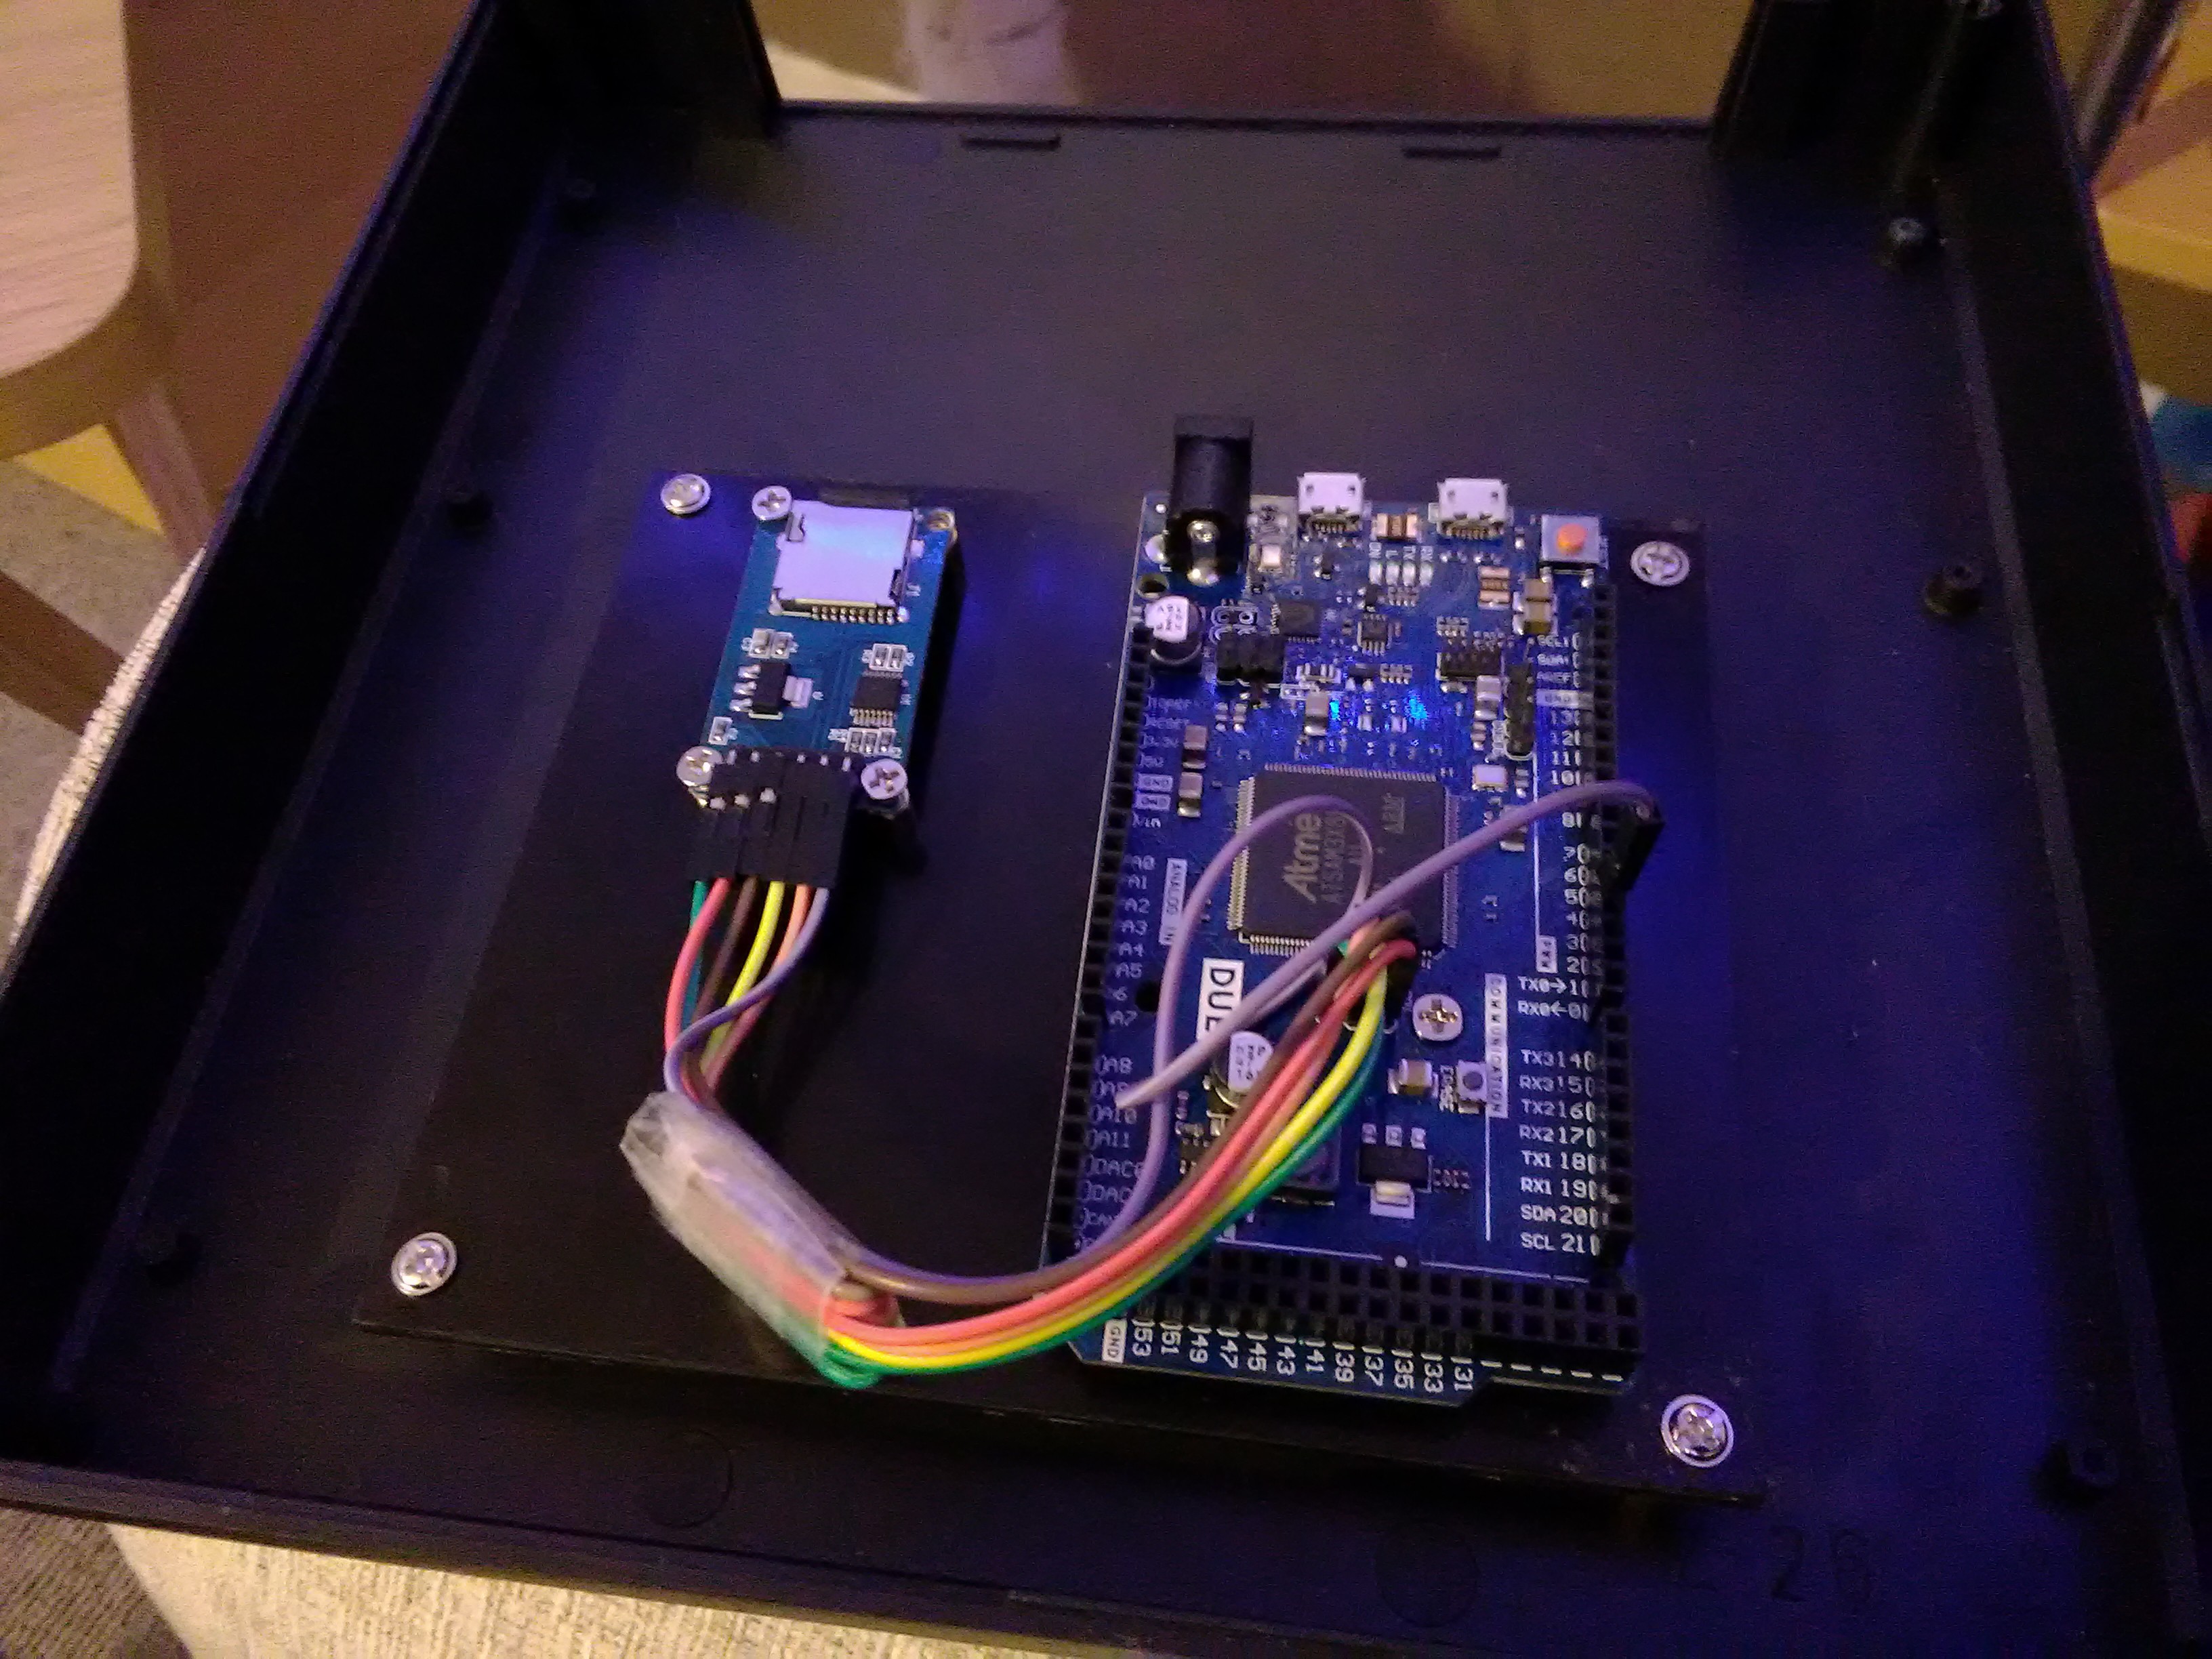
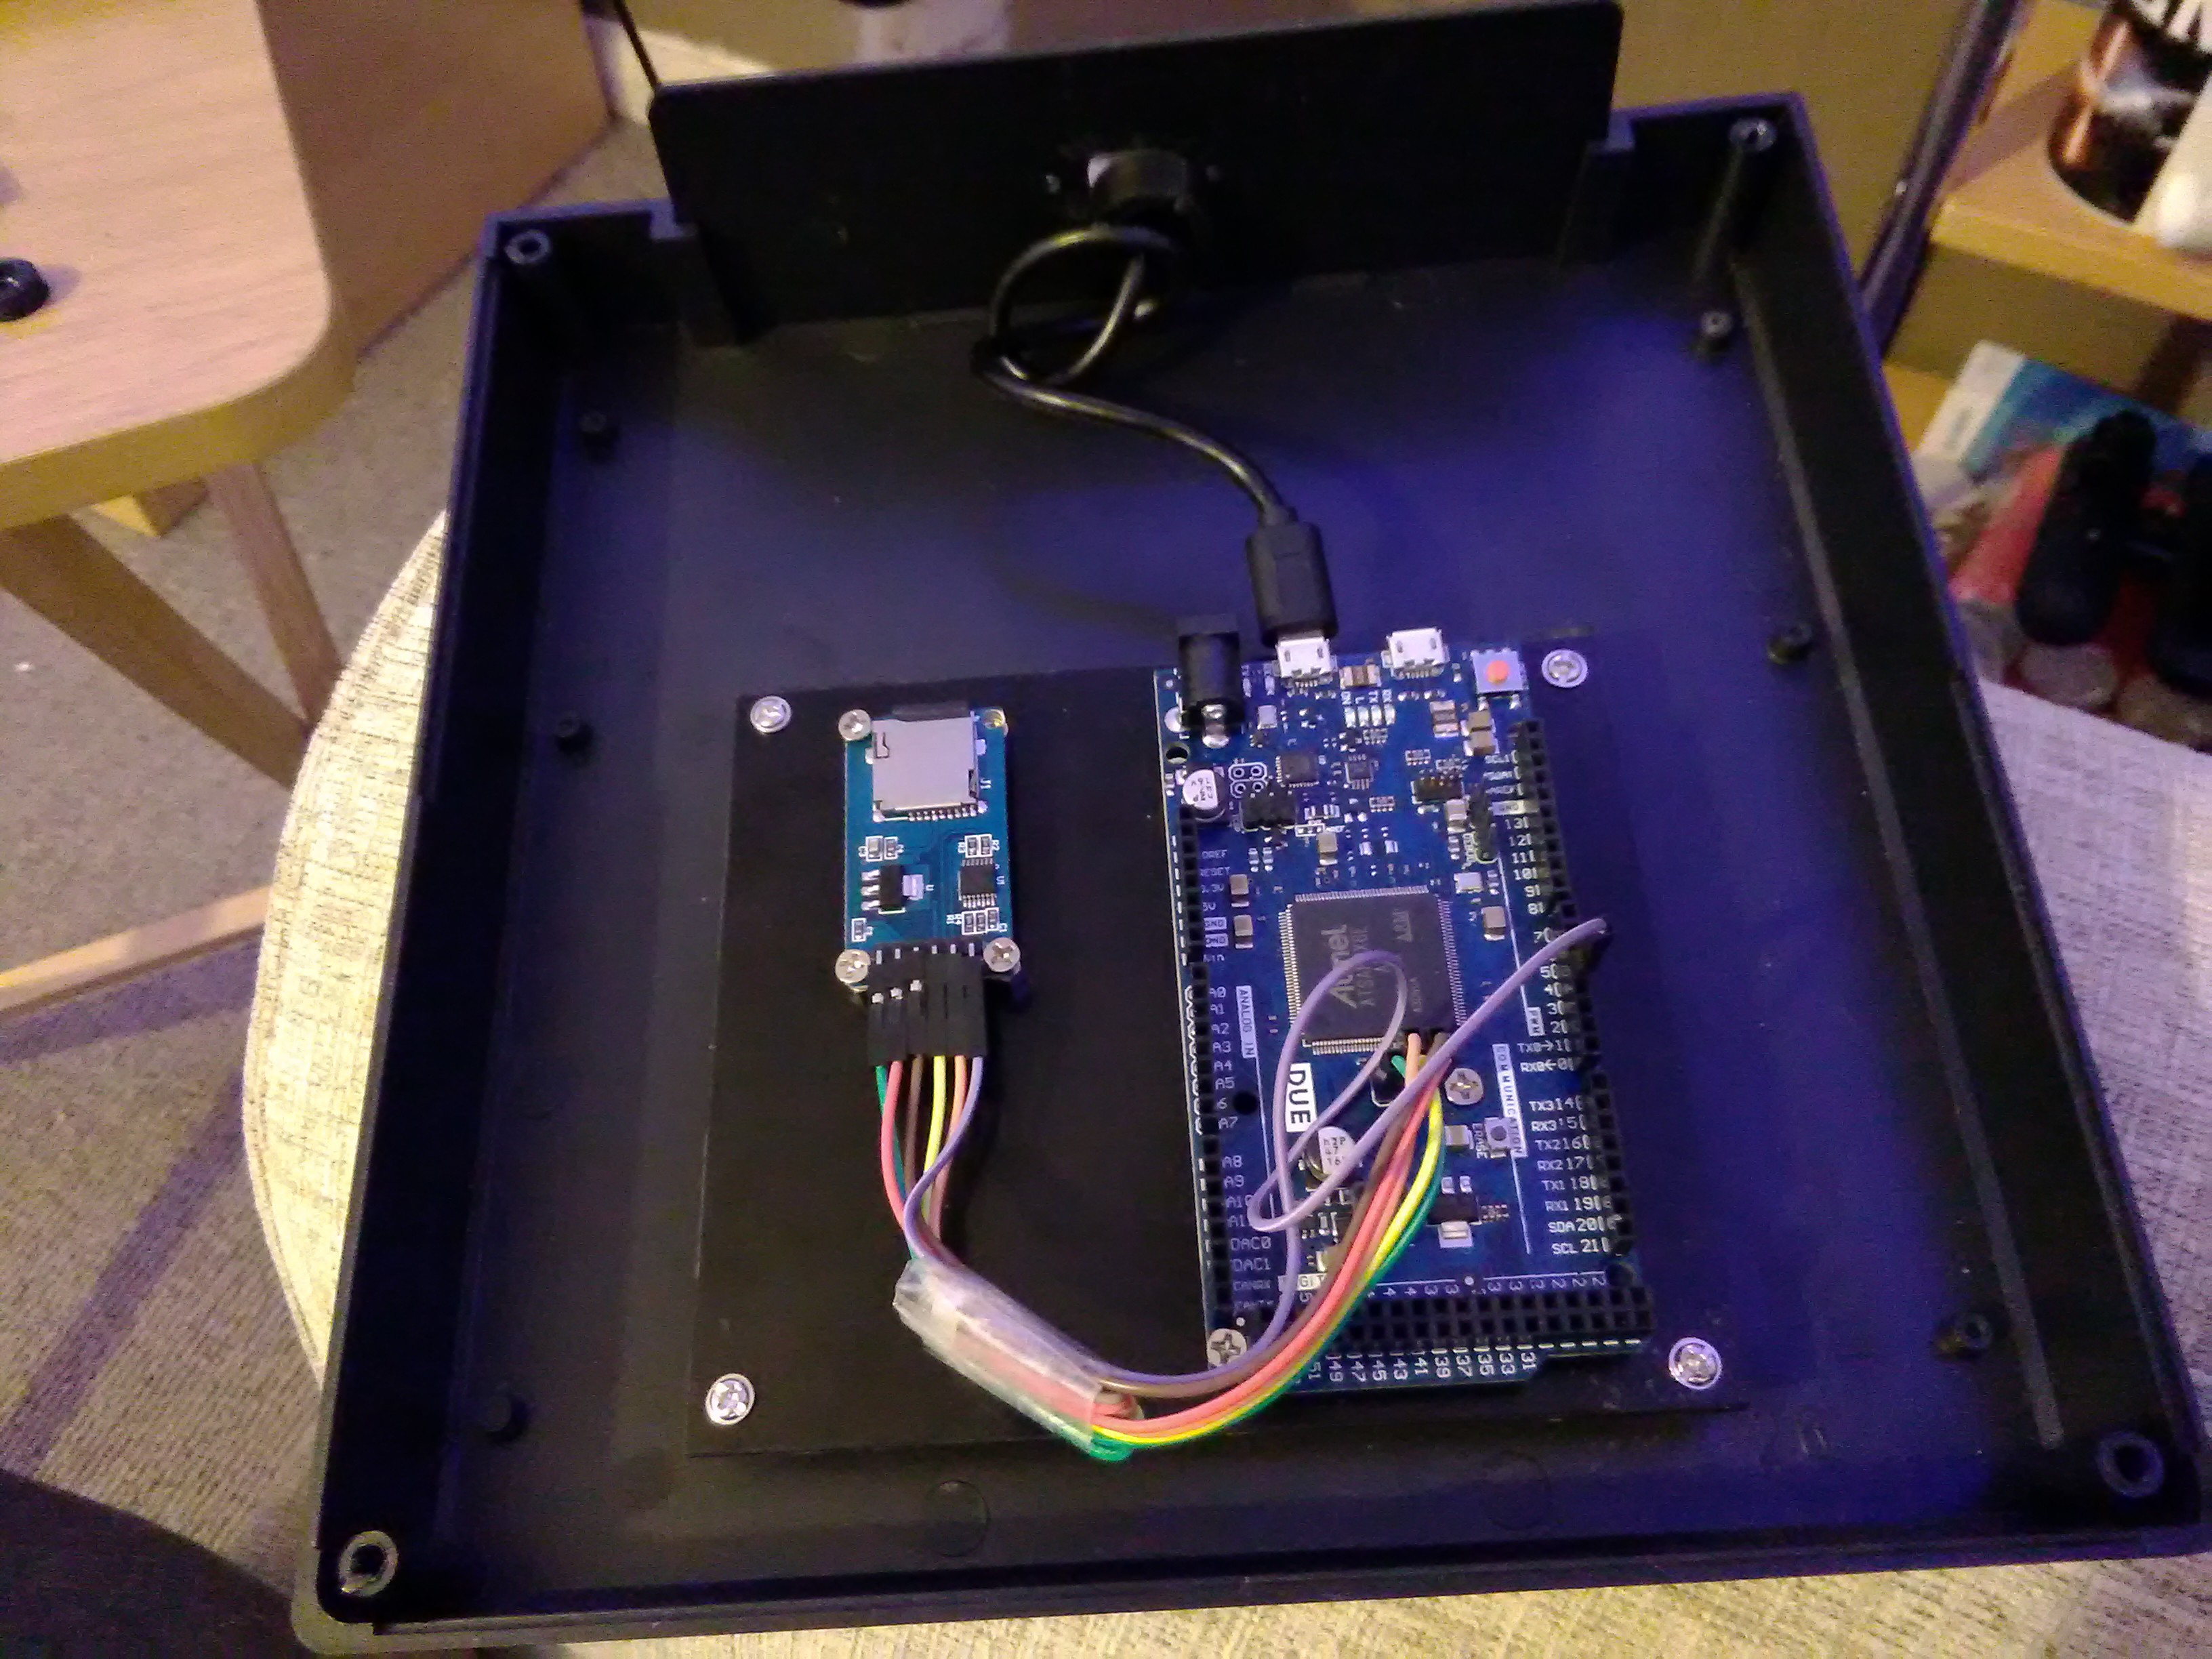
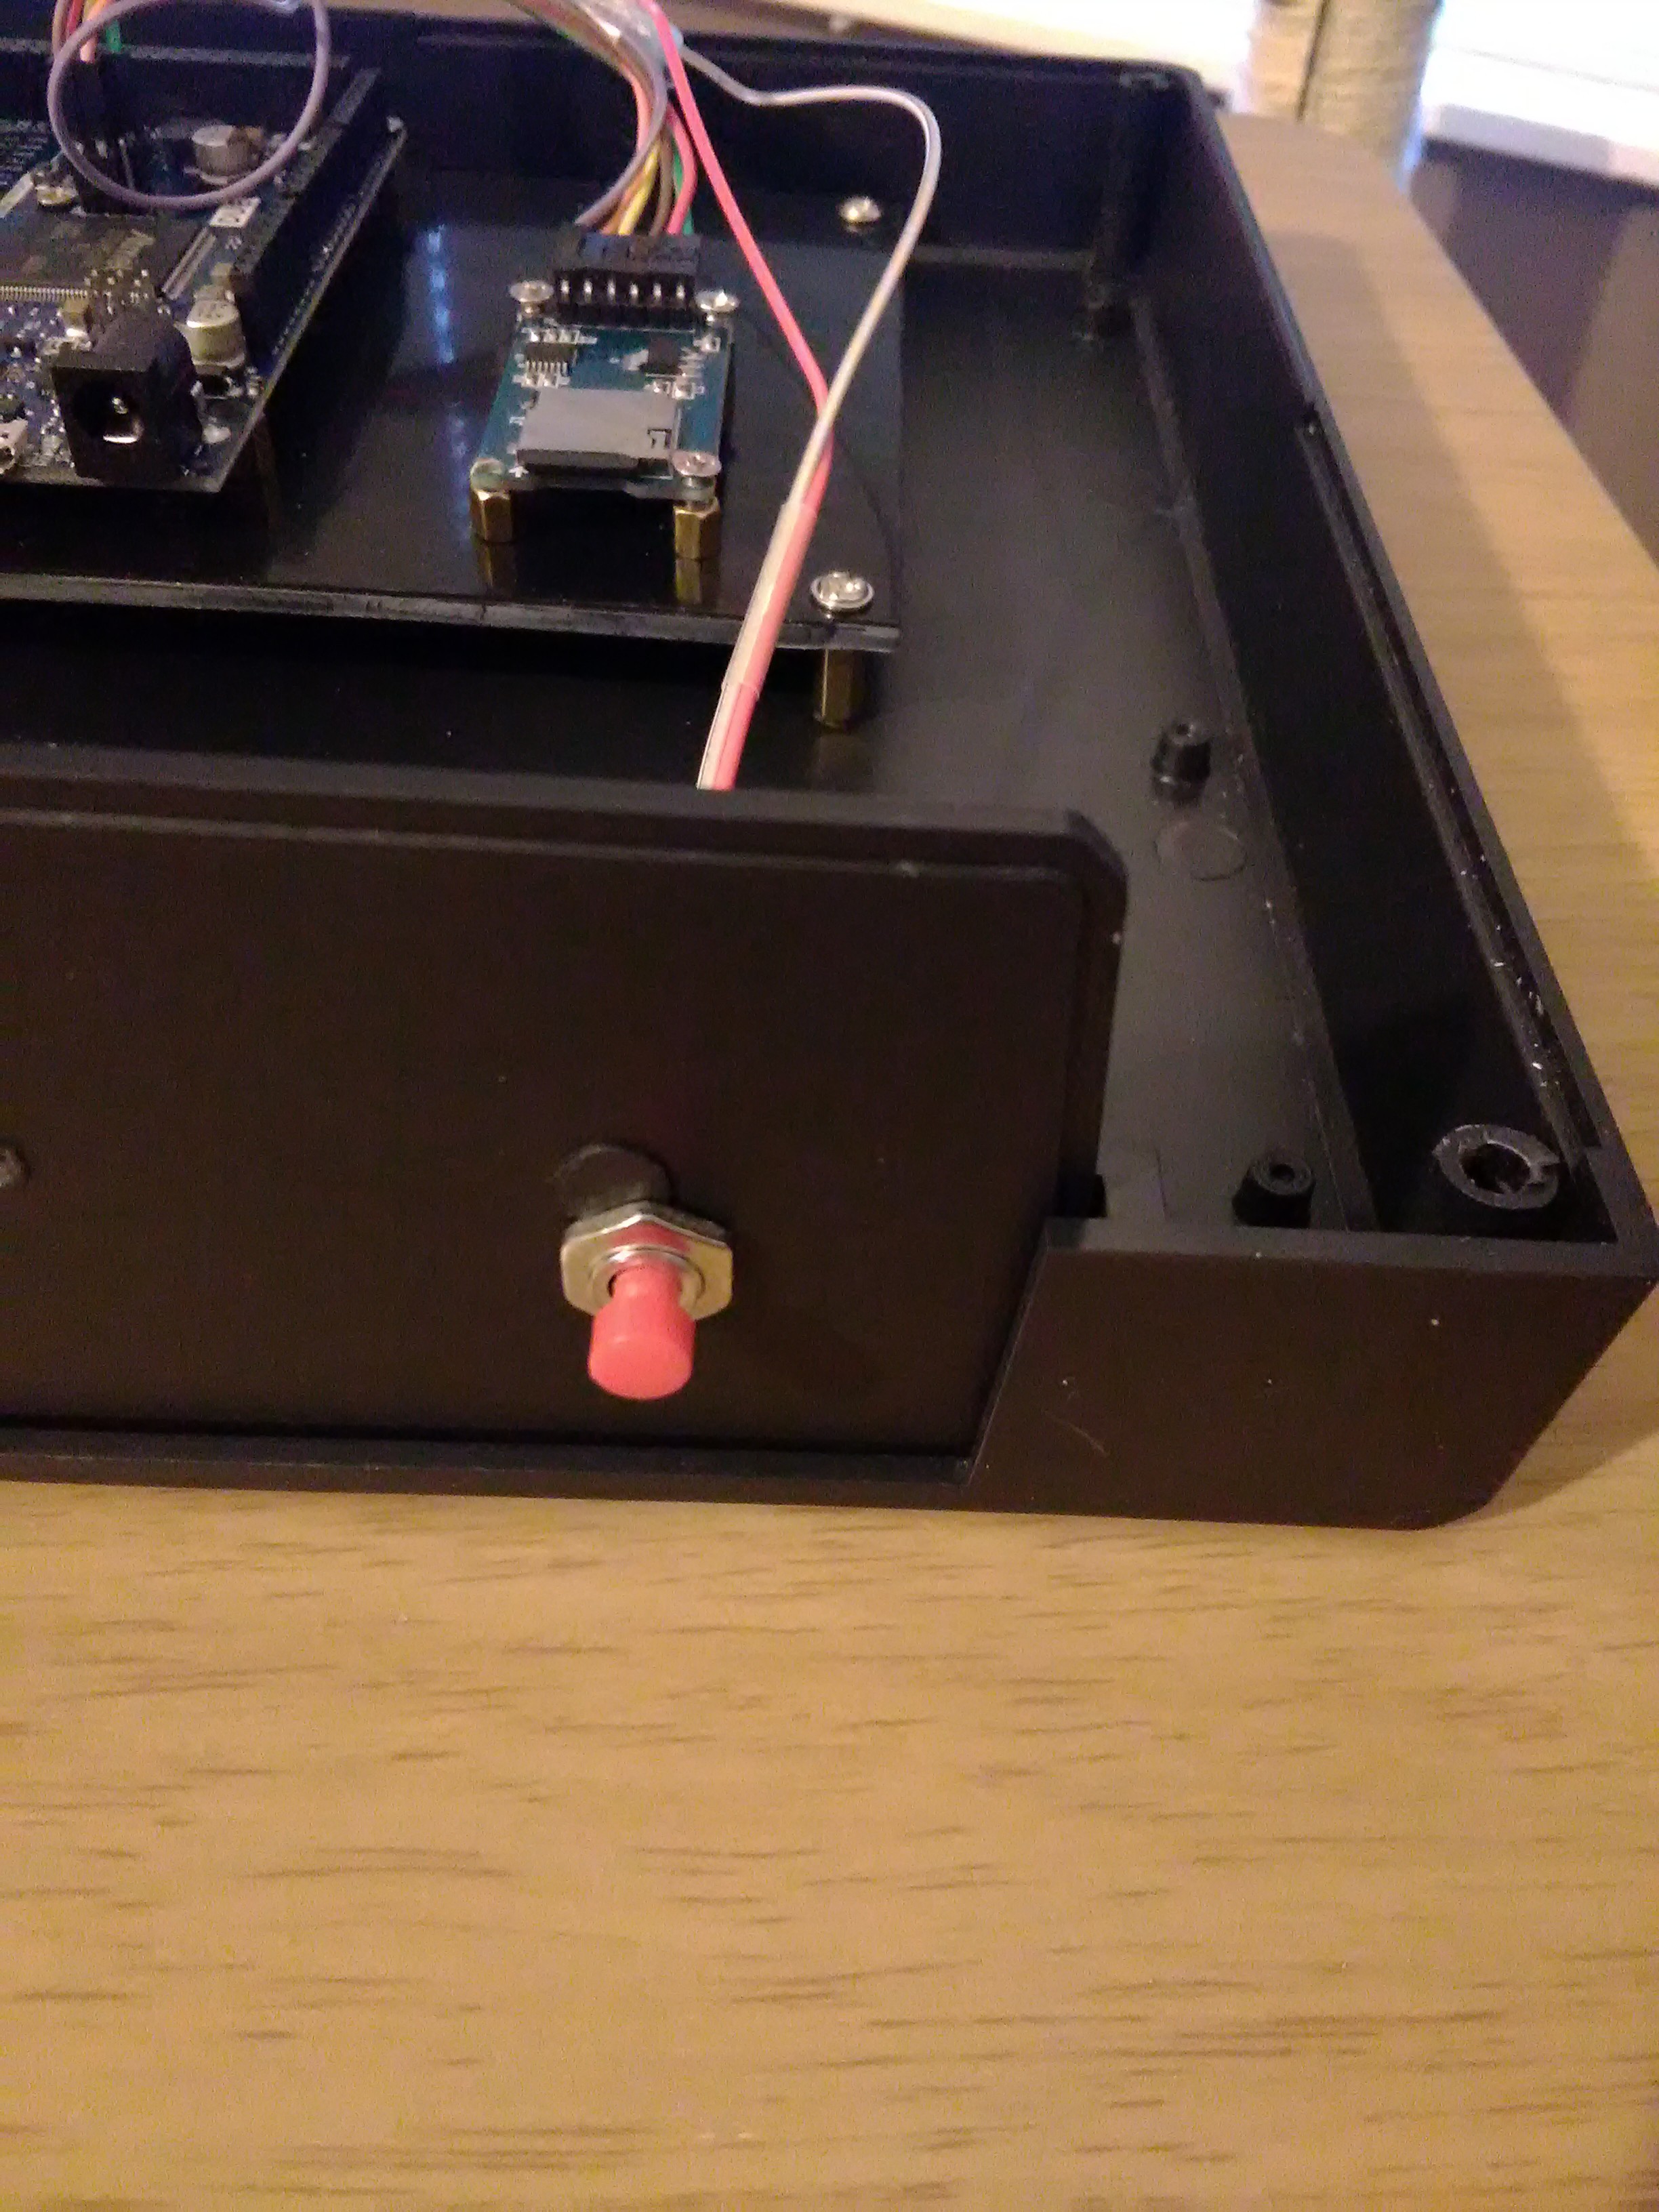
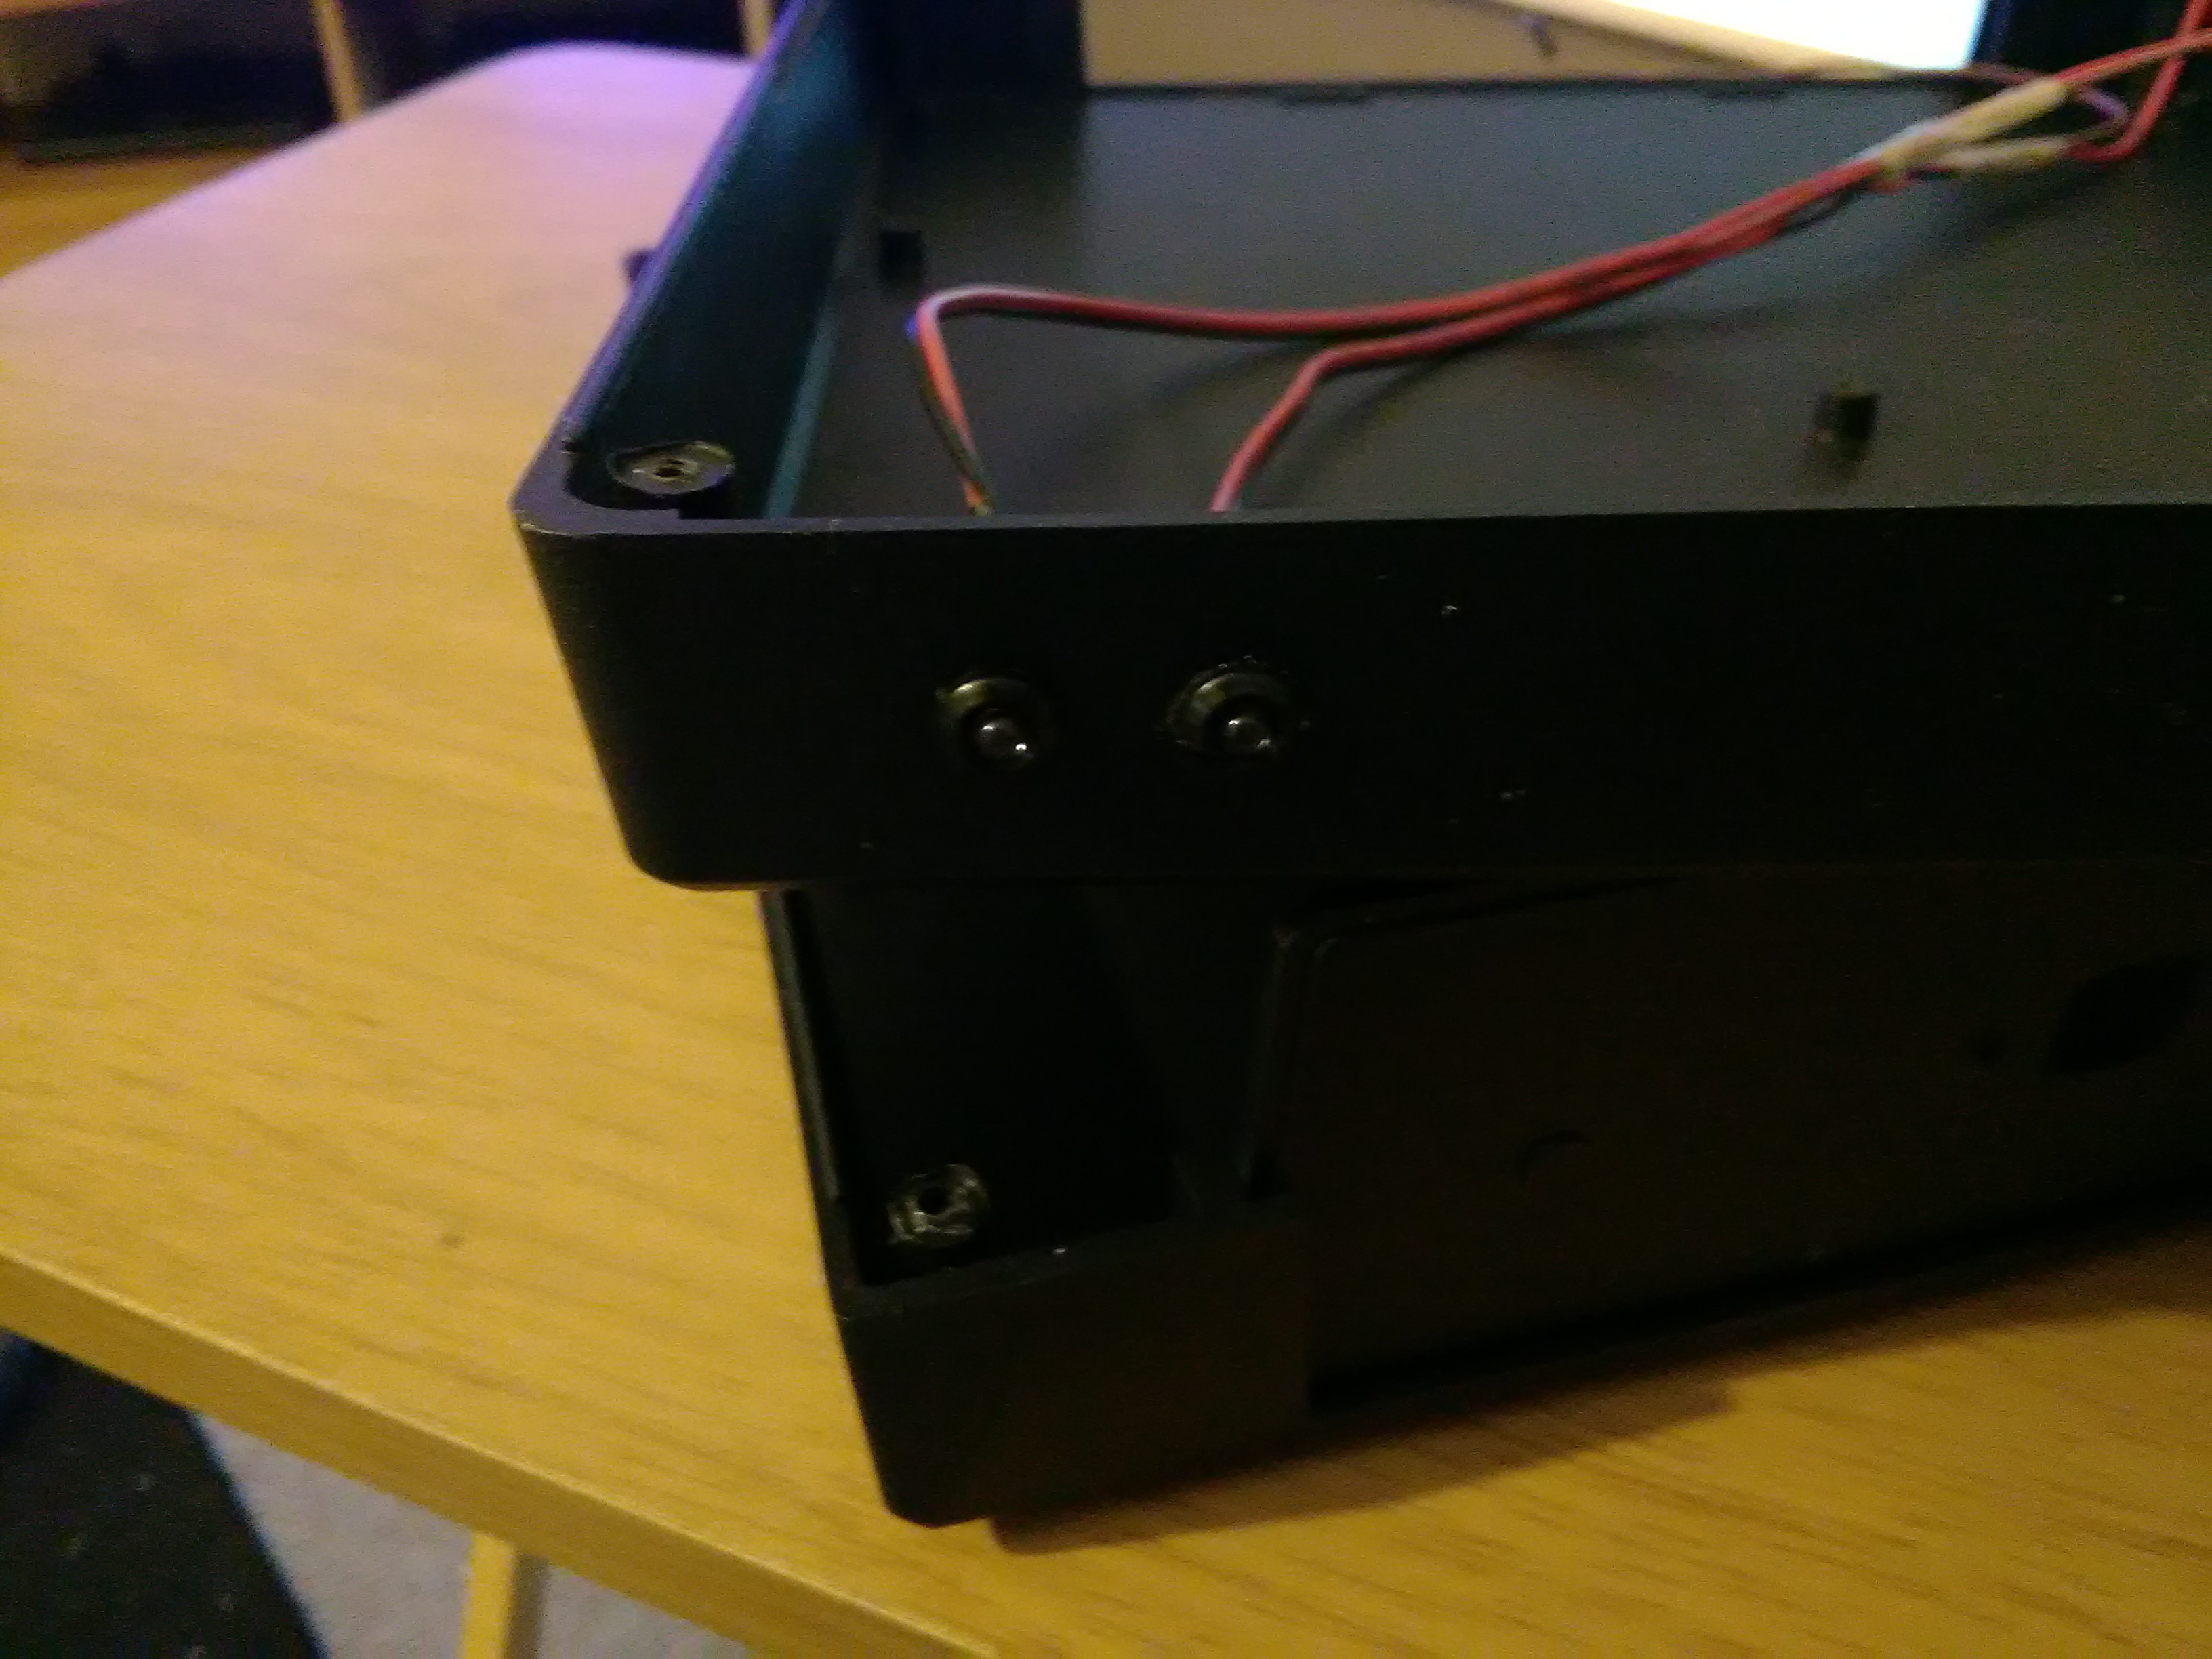
4Fit Arduino, USB cable, LEDs and Reset button
Attach the Arduino and MicroSD adaptor to the mounting board.
![]()
Connect USB:![]()
Connect LEDs and Reset button:![]()
![]()
![]()
-
5Wiring Notes
On the MicroSD Adaptor, there are SIX pins:
CS
SCK
MOSI
MISO
VCC
GND
These connect directly to the SPI header on the DUE (just above the logo):
MISO VCC
SCK MOSI
RST GNDConnect CS from the SD card to PIN 4 on the DUE. Leave RST on the SPI header unconnected.
The Disk LED is connected to PIN 13 and the Power LED is connected to PIN 12.
The Reset button is wired to RESET and GND on the Arduino.
Arduino Due CP/M Personal Computer
An affordable computer that anyone can make! CP/M for all! *** A RunCPM Project***

Discussions
Become a Hackaday.io Member
Create an account to leave a comment. Already have an account? Log In.
I need video ;-)
Are you sure? yes | no