One thing that i often lacked while developing embedded projects is to have a small device which acts as a VT100 compatible terminal emulator to show a debug info on it. It comes especially useful in situations where adding more usb cables, uart converters to your main pc is not possible, difficult or makes the work process uncomfortable.
Hardware:
I had an old RasPi B gathering dust, for which i ordered a 3,95" TFT LCD at elecrow (see the component list for the item ID) a while ago. The seller provides a custom image and a kernel. It will work only on RaspiB/+ and with the supplied Raspian image. The LCD uses an 8bit parallel interface, using up a lot of the IOs, but compared to SPI solutions it offers a much faster update rate. Luckily the UART pins are free to use, after deactivating the console login of course.
Since i have a lot of 9-18V adapters around on my desk, i decided to use a 5V output DC-DC converter module, available from many online sources to power up the RaspberryPi. A Graetz bridge (FWR) is used as a polarity protection, making the input works with both types of DC power jacks (center positive/negative).
A TXS0102 dual channel level translator is used to interface the Pi with the outside world. The output VCC pin is exposed and has to be powered from the target device. The range is 1.65-5.5V DC, which covers most of the uses. The UART port (TX, RX, VCC, GND) is accessible via an IDC6 socket installed on the front side of the enclosure.
I also installed a 4 way USB hub to have the ability to connect a keyboard if i need it.
Software:
Since it is a rather old Raspbian image, probably obsolete, i decided the device will not be connected to the internet. Only at the setup time to install all the required packages.
Do not try to run a system update, it will ruin the system and the display won't work anymore. Again, another reason to keep it out of the internet.
After burning the image onto the SD card a few steps are requires to set up out new emulator:
- Replace the original kernel with the supplied one as it is provided in the display manual.
- Do the usual startup changes, like expanding the partition, keyboard layout settings etc.
sudo raspi-config
- expand filesystem,
- set the desired keyboard layout,
- enable login to console, requiring login,
- disable the console on the serial port ttyAMA0 (Advanced->Serial). - Set up the network, used to install additional software. The image supplied by the online store comes with a static IP set to 192.168.134.something, might be different from what you usually find as default in routers.
sudo nano /etc/network/interfacesuse the settings of your local network.
Since i have mounted the Raspi inside the enclosure without access to the LAN connector, i added
iface eth1 inet staticright under
iface eth0 inet staticthis way i can use an external USB-LAN adapter if i need to connect the Raspi to network again.
Reboot:
sudo reboot
- Next, i changed the CLI font type using the following command:
sudo dpkg-reconfigure console-setupParameters changed:
Font: Terminus
Font size: 6x12 (framebuffer only)
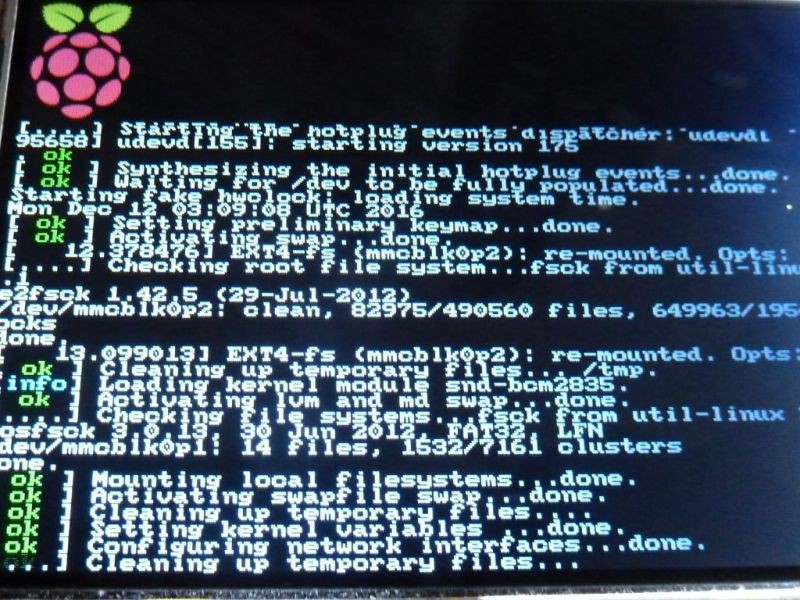
It will change the default console font:![]() into:
into:![]()
- Connect the RasPi to the internet and Install Minicom, used as a VT100 emulator:
sudo apt-get install minicom
and any other software that may come handy in the future. After that disconnect the Pi from the internet. The system image is quite old, comes with a custom kernel and we are going to enable an auto-login in the next step. It is safer to keep it offline.
- Enable autologin and boot to CLI:
sudo nano /etc/inittabfind a line with the following content:
1:2345:respawn:/sbin/getty --noclear 38400 tty1and replace it with:
1:2345:respawn:/sbin/getty --autologin pi --noclear 38400 tty1Reboot. Pi should start and automatically log in the user "pi".
- Add a script to automatically start the Minicom after boot up:
in home directory:
sudo nano start_term.shThe script looks like this:
#!/bin/bash
STRING="Starting minicom @115200baud 8N1"
echo $STRING
minicom -c on -b 115200 -o -D /dev/ttyAMA0
Ctrl+X, Y to save the file.
Change the default terminal settings according to your preferences. Type
minicom -help
to get the list of all settings.
Make the script executable:
sudo chmod +x start_term.shEdit the /etc/profile:
sudo nano /etc/profileand append the following line at the end of the file:
. /home/pi/start_term.sh
Again, press Ctrl+X and Y to save the changes. Reboot.
RasPi should automatically start the minicom with default settings.
 into:
into:
Usage:
As mentioned previously, the VCC pin on the output UART header should be connected to the target power supply in range of 1.65-5.5V DC. The target VCC sets the output logic level for the internal TXS0102 translator.
Use your favorite VT100 terminal emulator library (ie. BasicTerm for the Arduino world) to send a color coded debug reports from the device you are working on.
PiTERM can be used as a remote UART controlled text display.

Update: Clean shutdown button.
fdufnews mentioned in the comments, that adding a clean shutdown button would be a good idea. Indeed it its!
Pin 13, which corresponds to the GPIO27 is used as button input performing the clean system shutdown. Schematic is updated.
From the software side we need a script that will be waiting, preferably using pin change interrupt, for a falling edge on the GPIO pin followed by about 2 sec button press. If that condition is met, a "sudo halt" command will be executed.
You can use any momentary normally open push-button connected between the pin 13 (GPIO27) and 14 (GND) on the GPIO header. Notice, if you have a very old rev1 RasPi pcb, pin 13 = GPIO21 instead of 27.
I have used a script created by Luc Small (https://github.com/lucsmall/Raspberry-Pi-Shutdown-Button) , modyfing it to our needs.
First, create a new directory for the script, and enter it:
sudo mkdir /home/pi/off-button
cd /home/pi/off-button
Create a new script here:sudo nano wait-for-power-off-button.sh
with the following content:#!/bin/bash
# Raspberry Pi shutdown button
# Luc Small
# lucsmall.com
# 20150422
#
# Waits for a button press and then shuts down Raspberry Pi
#
# Momentary switch is connected between physical pins 25 and 26 on
# the GPIO header
#
# Script lives at:
#
# /home/pi/off-button/
#
# This script is added to crontab (with crontab -e) as follows:
#
# @reboot /home/pi/off-button/wait-for-power-off-button.sh
#
# All output goes to stdout and log file
# From http://stackoverflow.com/questions/3173131
# Redirect stdout to a named pipe running tee with append
exec > >(tee -a /home/pi/off-button/log.txt)
# Redirect stderr to stdout
exec 2>&1
echo Reboot at `date` - waiting...
# Execute inline python code
sudo python - <<END
import time
import RPi.GPIO as gpio
# Set pin numbering to board numbering
gpio.setmode(gpio.BCM)
# Set up pin 27 as an input
# enable pullups
# physical pin 13 - short with physical pin 14 (gnd) to shutdown)
gpio.setup(27, gpio.IN, pull_up_down=gpio.PUD_UP)
print "Python: Waiting for 2 second button press..."
# Code adapted from
# http://raspberrypi.stackexchange.com/questions/13866/
buttonReleased = True
while buttonReleased:
gpio.wait_for_edge(27, gpio.FALLING)
# button has been pressed
buttonReleased = False
for i in range(20):
time.sleep(0.1)
if gpio.input(27):
buttonReleased = True
break
gpio.cleanup()
print "Python: Button pressed"
END
echo Done waiting at `date`. Halting system...
sudo halt
Luc's code is well commented and should be self explanatory.Save it by pressing Ctrl+O and Ctrl+X and make it executable:
sudo chmod +x wait-for-power-off-button.shTo make it start at boot and work in the background we need to add it to crontab:
sudo crontab -eAt the end of the file add the following line:
@reboot /home/pi/off-button/wait-for-power-off-button.sh
Ctrl+O & Ctrl+X to save the file. Reboot. Now if you hold down the button for about 2 seconds, the RasPi should perform a clean system shutdown.