Close
0%
0%

Universal CNC Control Center

A portable, cheep and easy to made CNC Control Center.

Similar projects worth following
With a power supply from an old computer plus the most famous duo in the world of Makers: Arduino + Ramps1.4, I have built a control center to handle any CNC machine that uses stepper motors of up to 2A consumption. It also has PWM output of 5 or 12 volts to control a laser and two outputs for servos. There will be no need to wire, weld, or break your head thinking where to locate the components. You will just have to plug in the connectors and have your machine running.

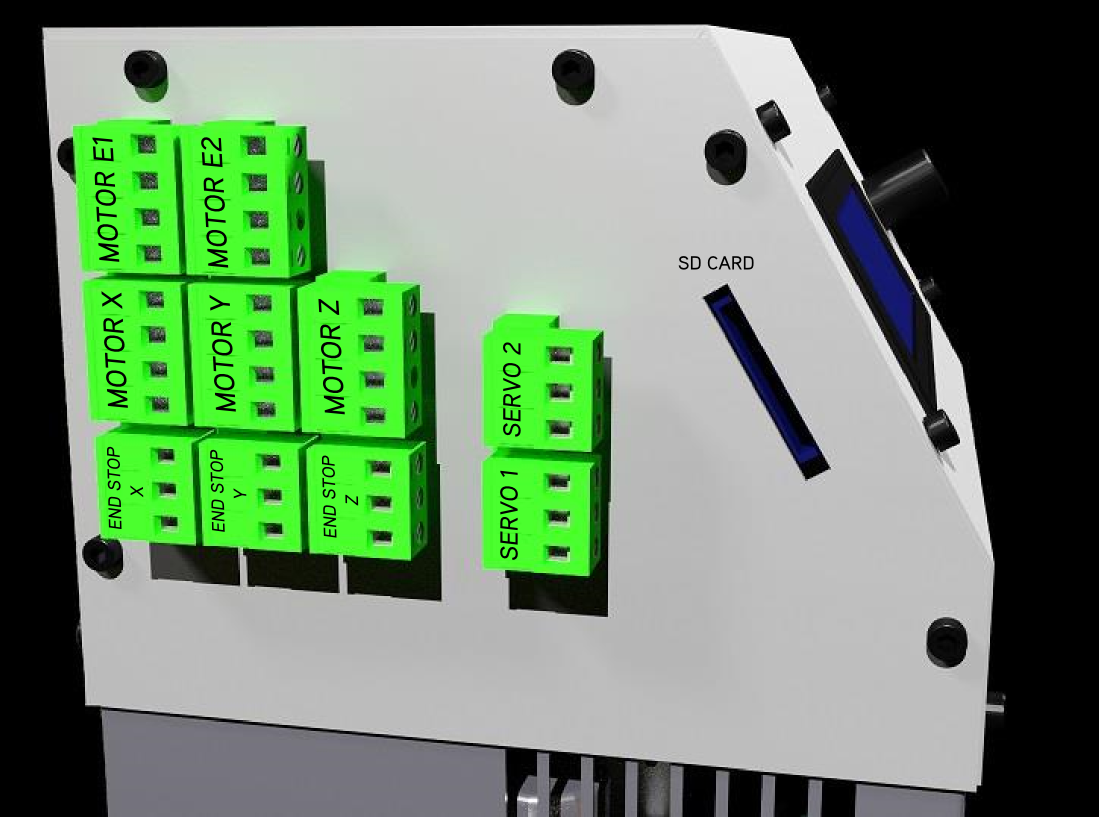
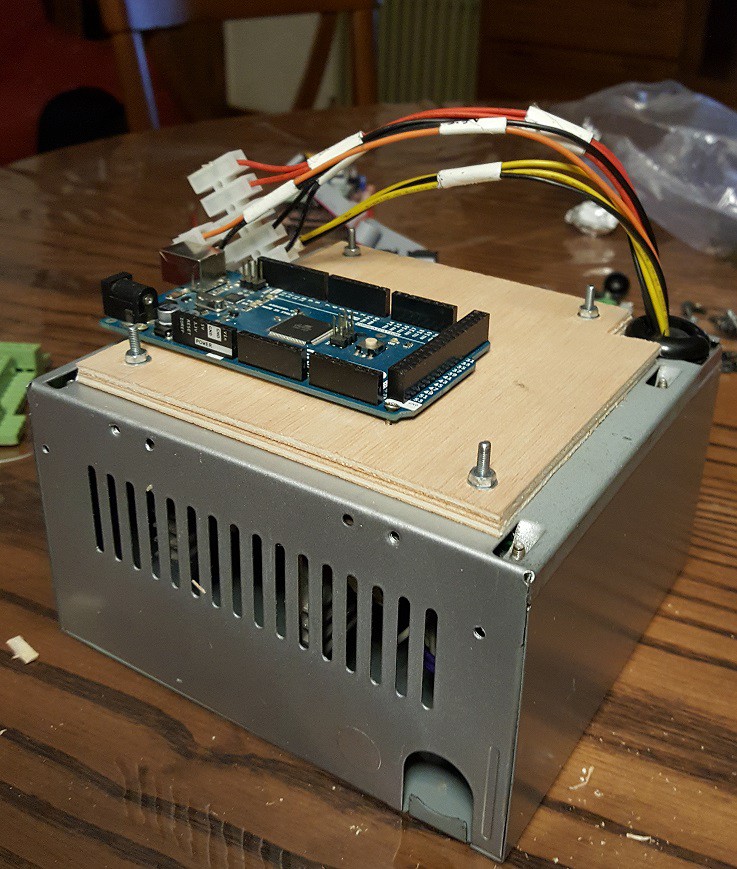
The idea is to integrate everything into a box to be transportable and with connectors easily accessible. Electronics are known by all for their use in controlling many of the 3d printers that are operating around the world, so the arrangement of the connectors is oriented to this use.
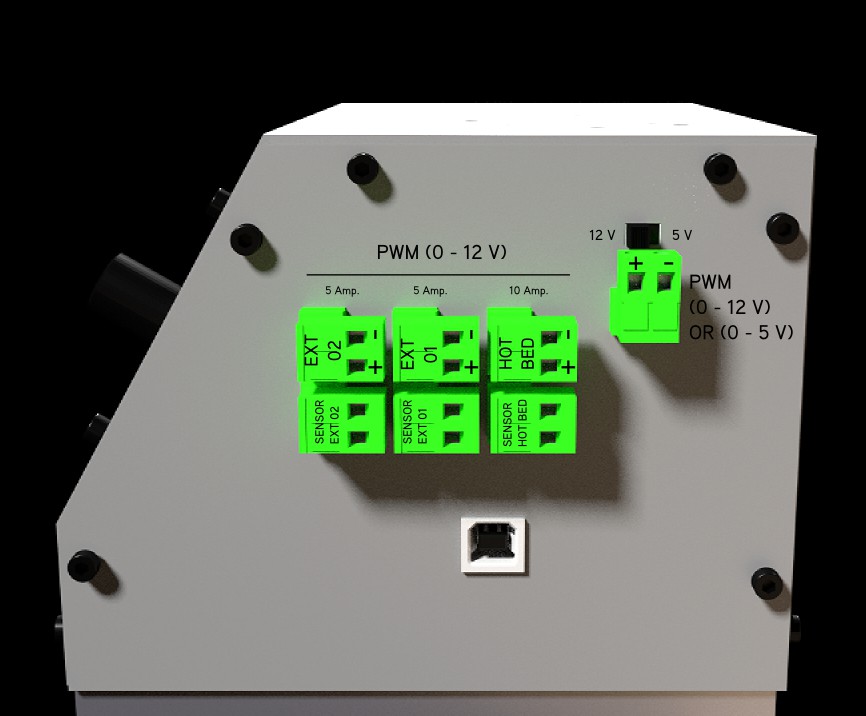
All the functions necessary to control a 3d printer are many and very sophisticated. For example control up to 5 stepper motors or control the temperature of two extruders and the hot bed. An Arduino Mega board loaded with the MARLIN firmware and a Ramps 1.4 board for the power stage, perform all these tasks very efficiently.
The point is that if we observe carefully the possibilities of this set of software and hardware we will see that the functionalities implemented to control a 3d printer, are usable for many other tasks of control and automation.

  • 1 × Arduino mega 2560
  • 1 × Ramps1.4
  • 5 × Stepper Driver a4988
  • 1 × LCD display 2004 Smart Controller RepRap Ramps V1.4
  • 1 × 40 x 40 fan

View all 6 components

  • 1
    Step 1

    A step by step through some images.

    These are the components to use

  • 2
    Step 2

    Here we can see the inside of the power supply and how the arduino plate has been mounted using a piece of wood as an insulator

  • 3
    Step 3

    Here we can see the mega arduino board mounted and you can also see the cables of the power supply for which a new hole has been made to come out to the outside by the top.

View all 10 instructions

Enjoy this project?

Share

Discussions

Similar Projects

Does this project spark your interest?

Become a member to follow this project and never miss any updates