 Tron9000
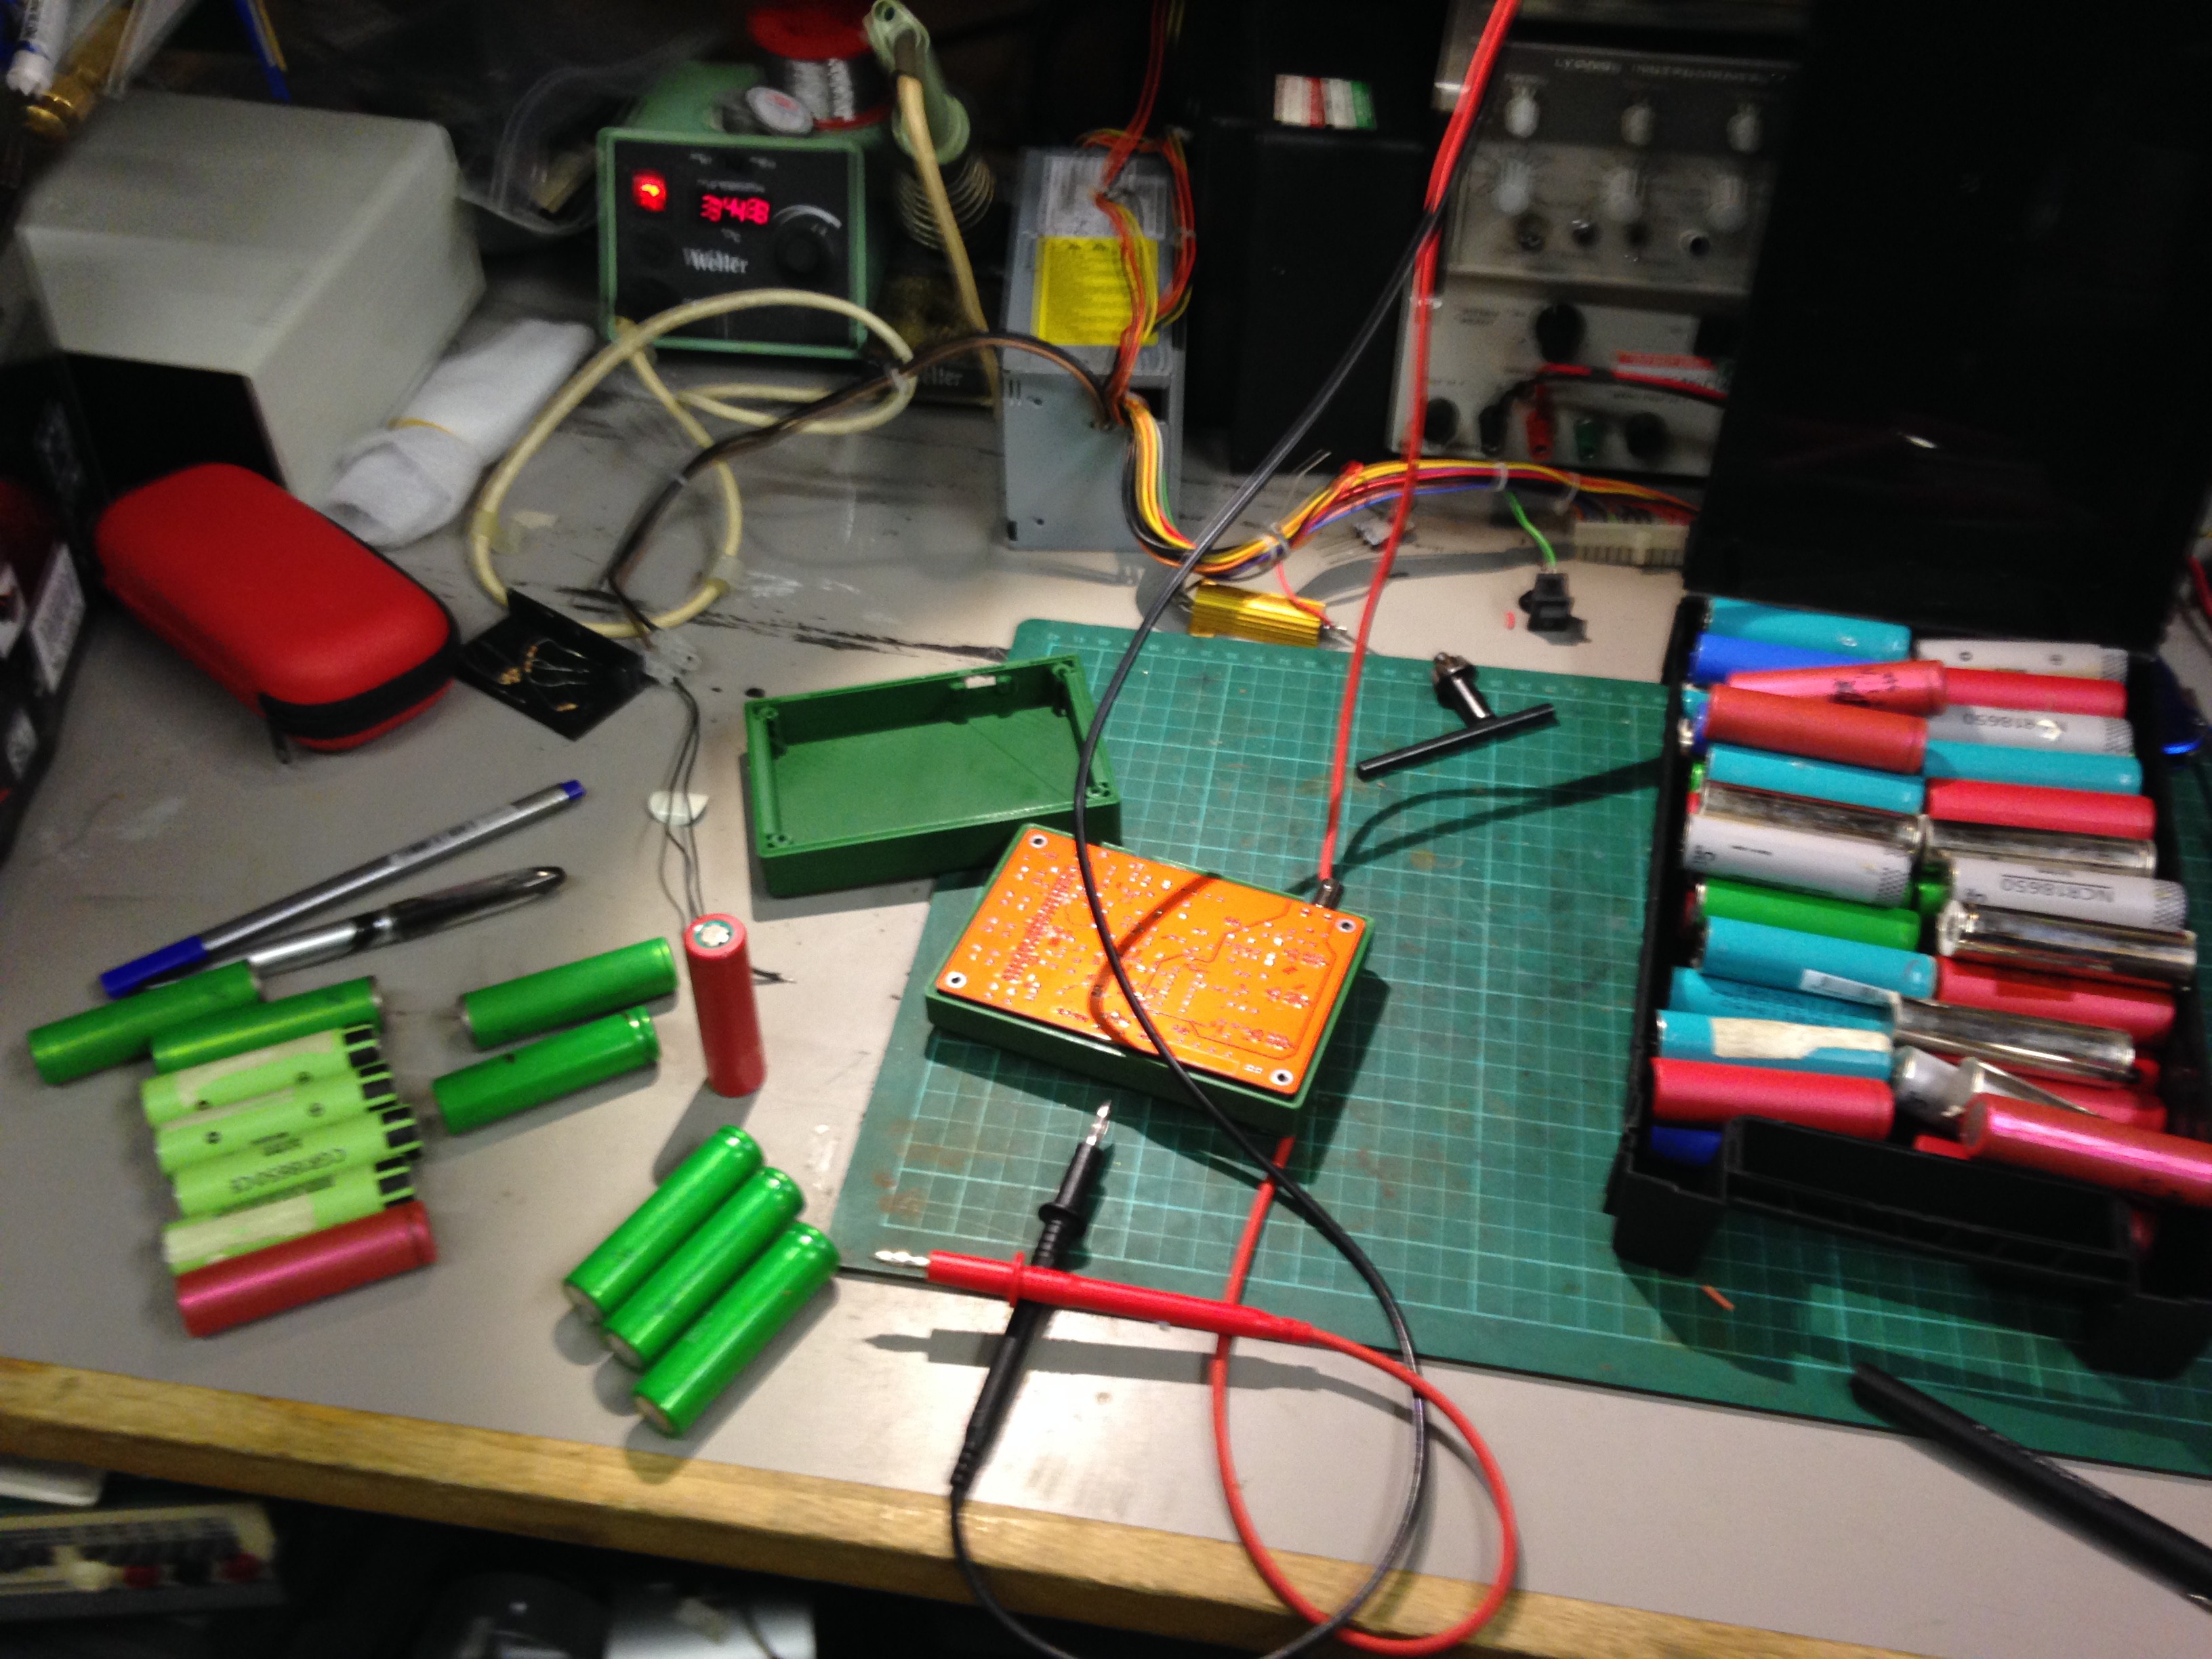
Made a start on constructing the battery pack. Since I panned to use 2x 18650's in parallell I needed 2 of them that had voltages very close it each other, which meant going through my 18650 hoard:
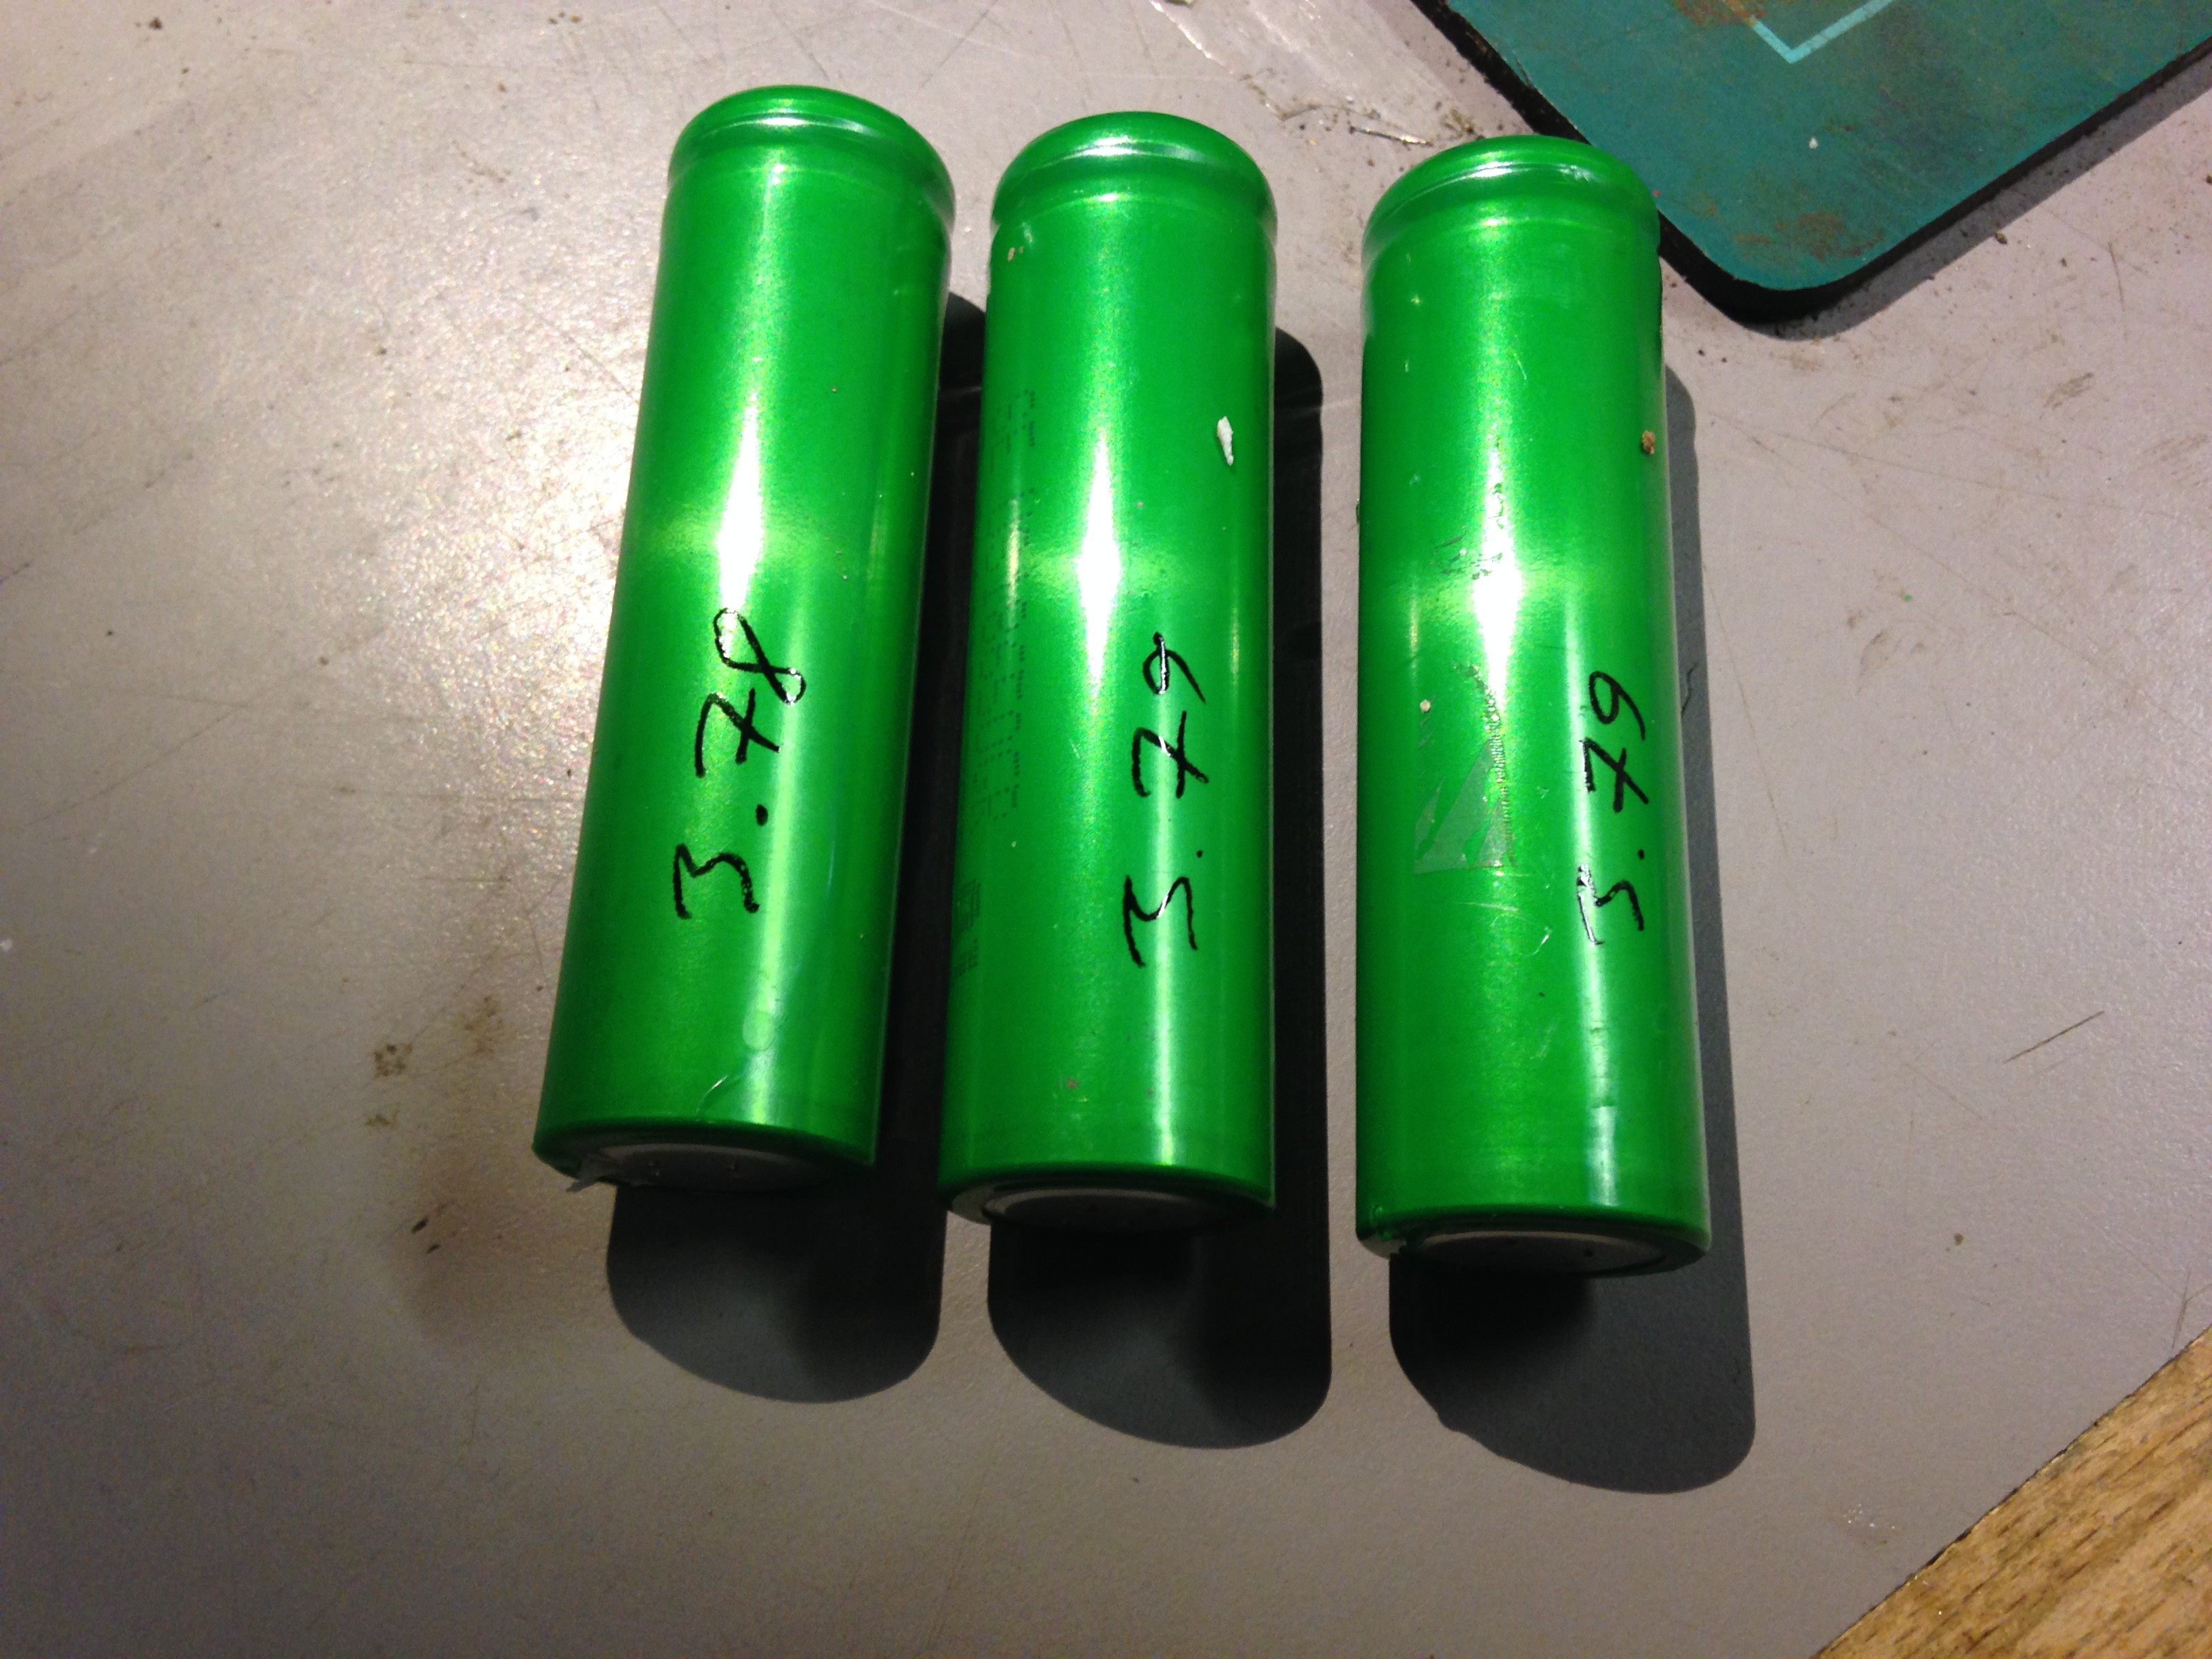
Managed to find 3 cells close, 2 of which were bang on 3.79V, which was also ideal as usually anything lower than 3.7V and the cell is usually deemed unusable, but I have seen people still use them anyway.
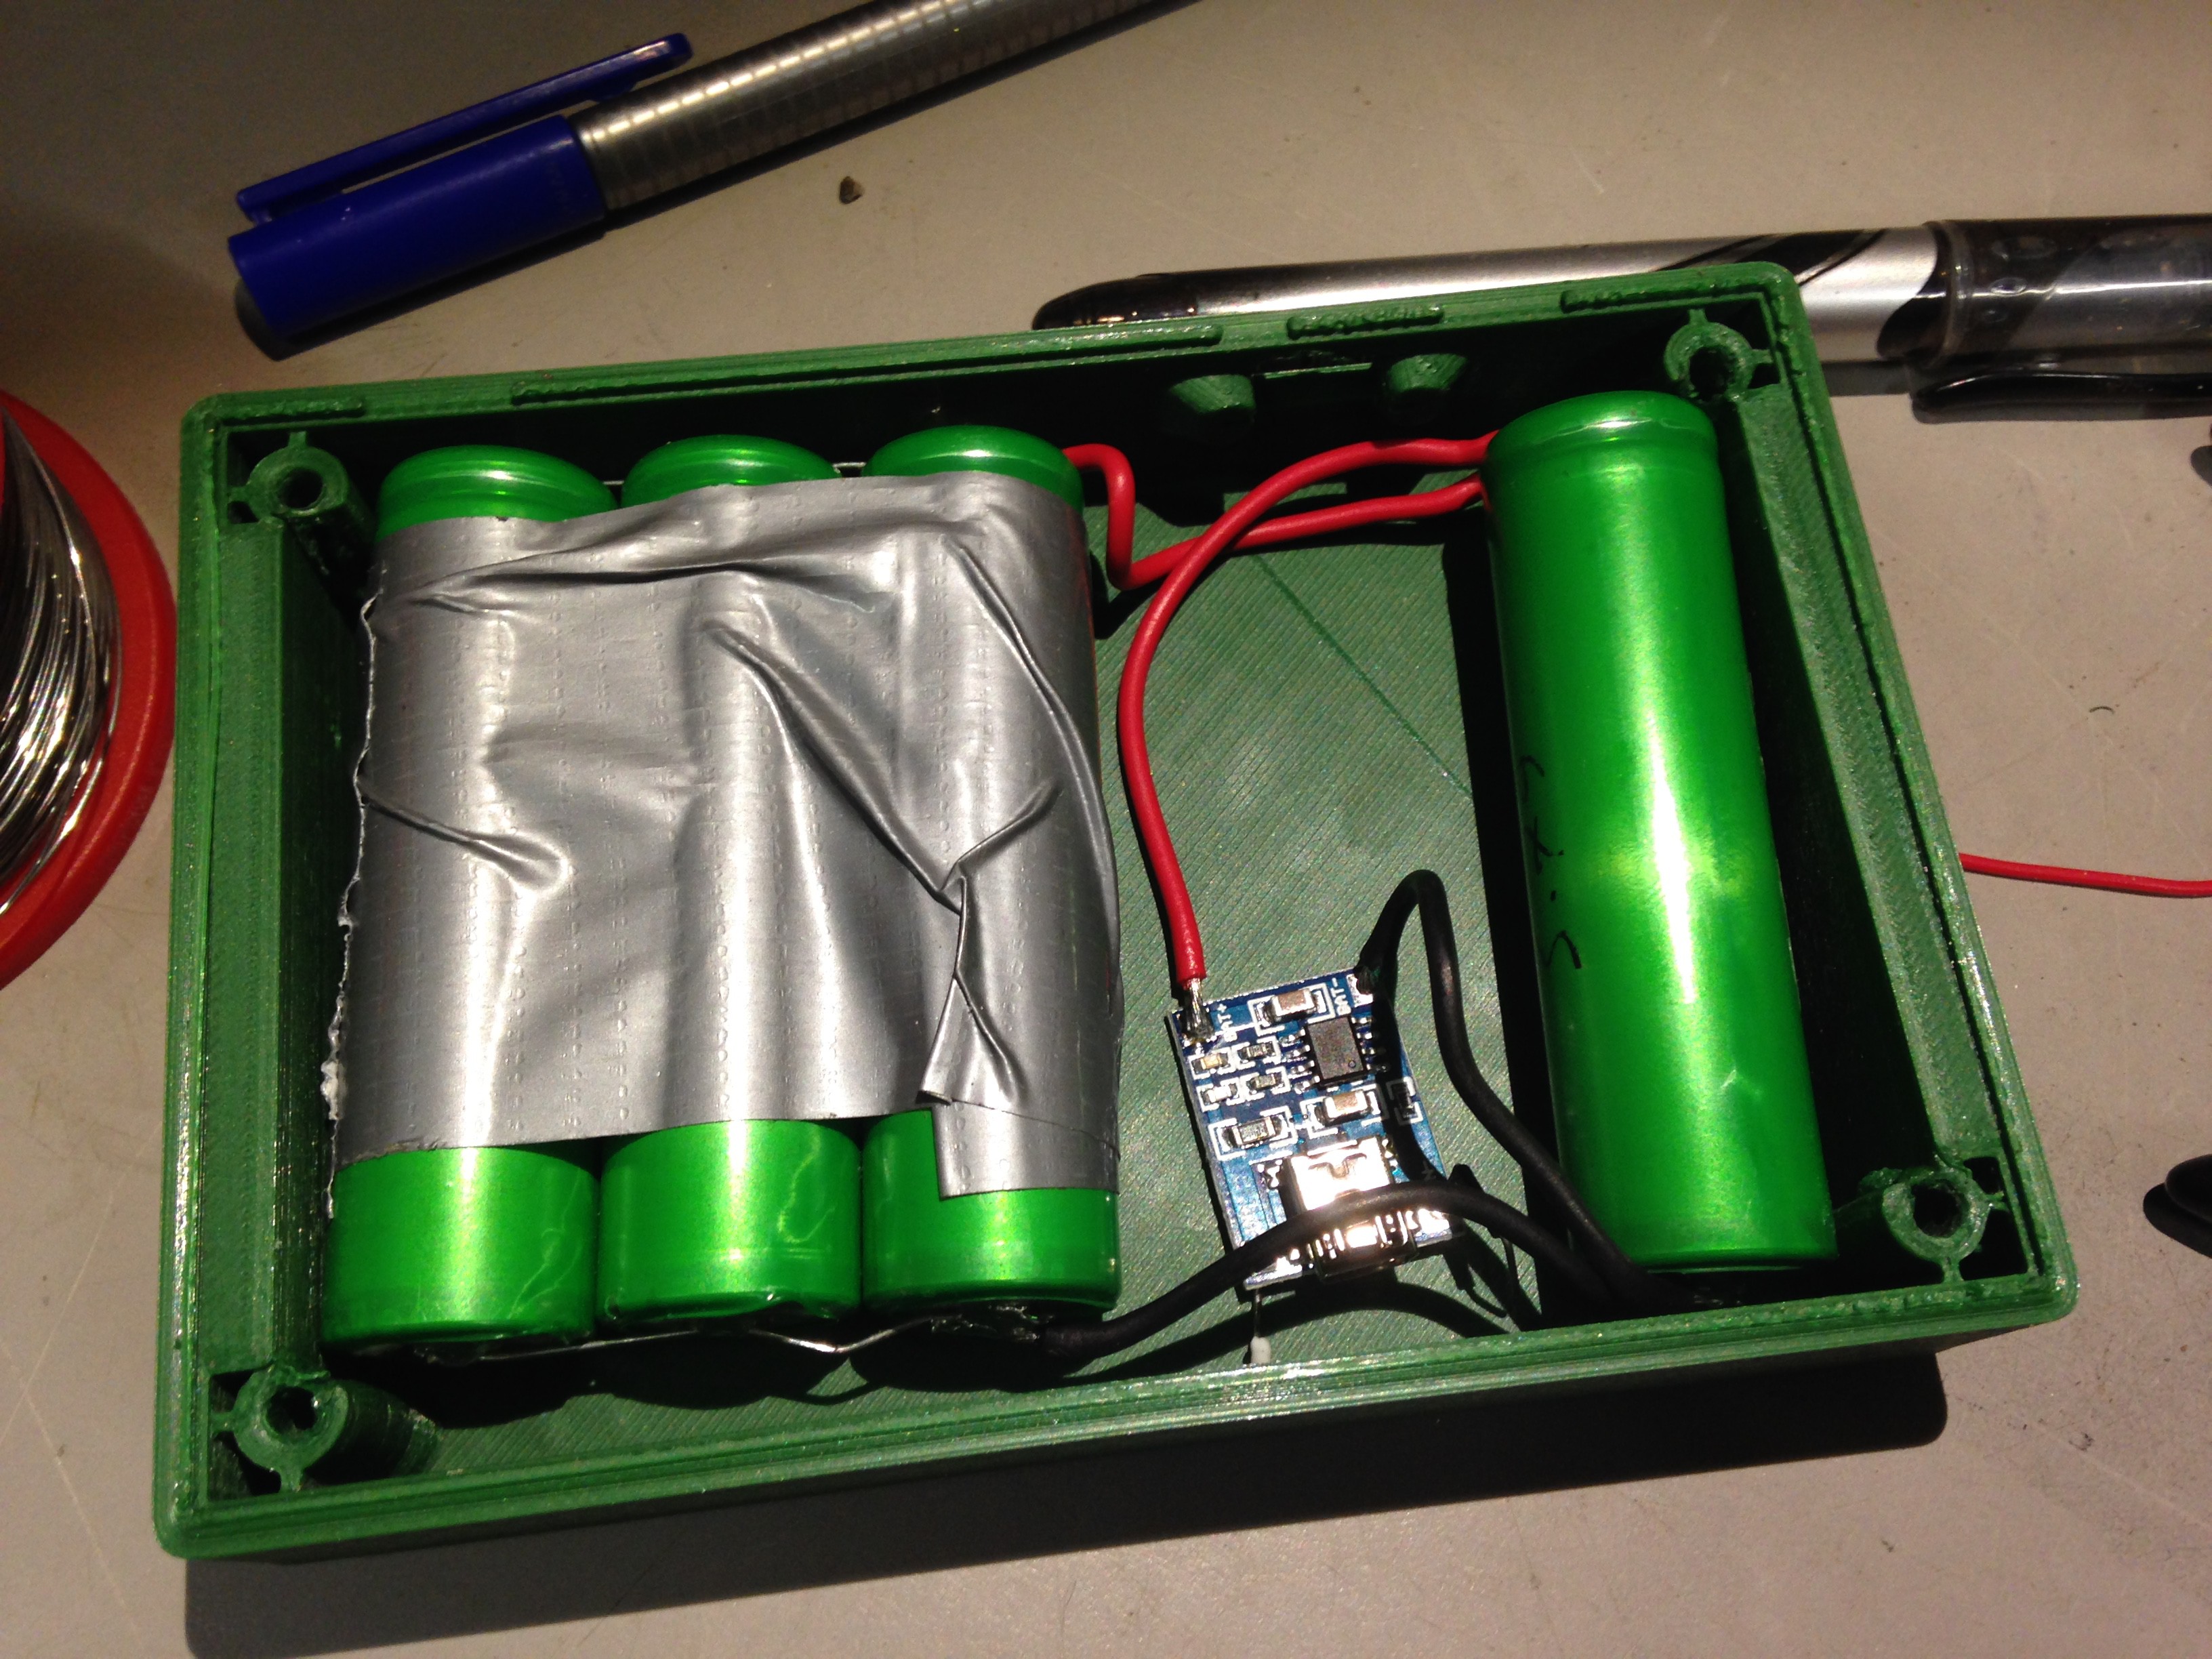
Then I checked they could fit into the enclosure and found I could squeeze 4 of them in there! The charge board could also fit in too.
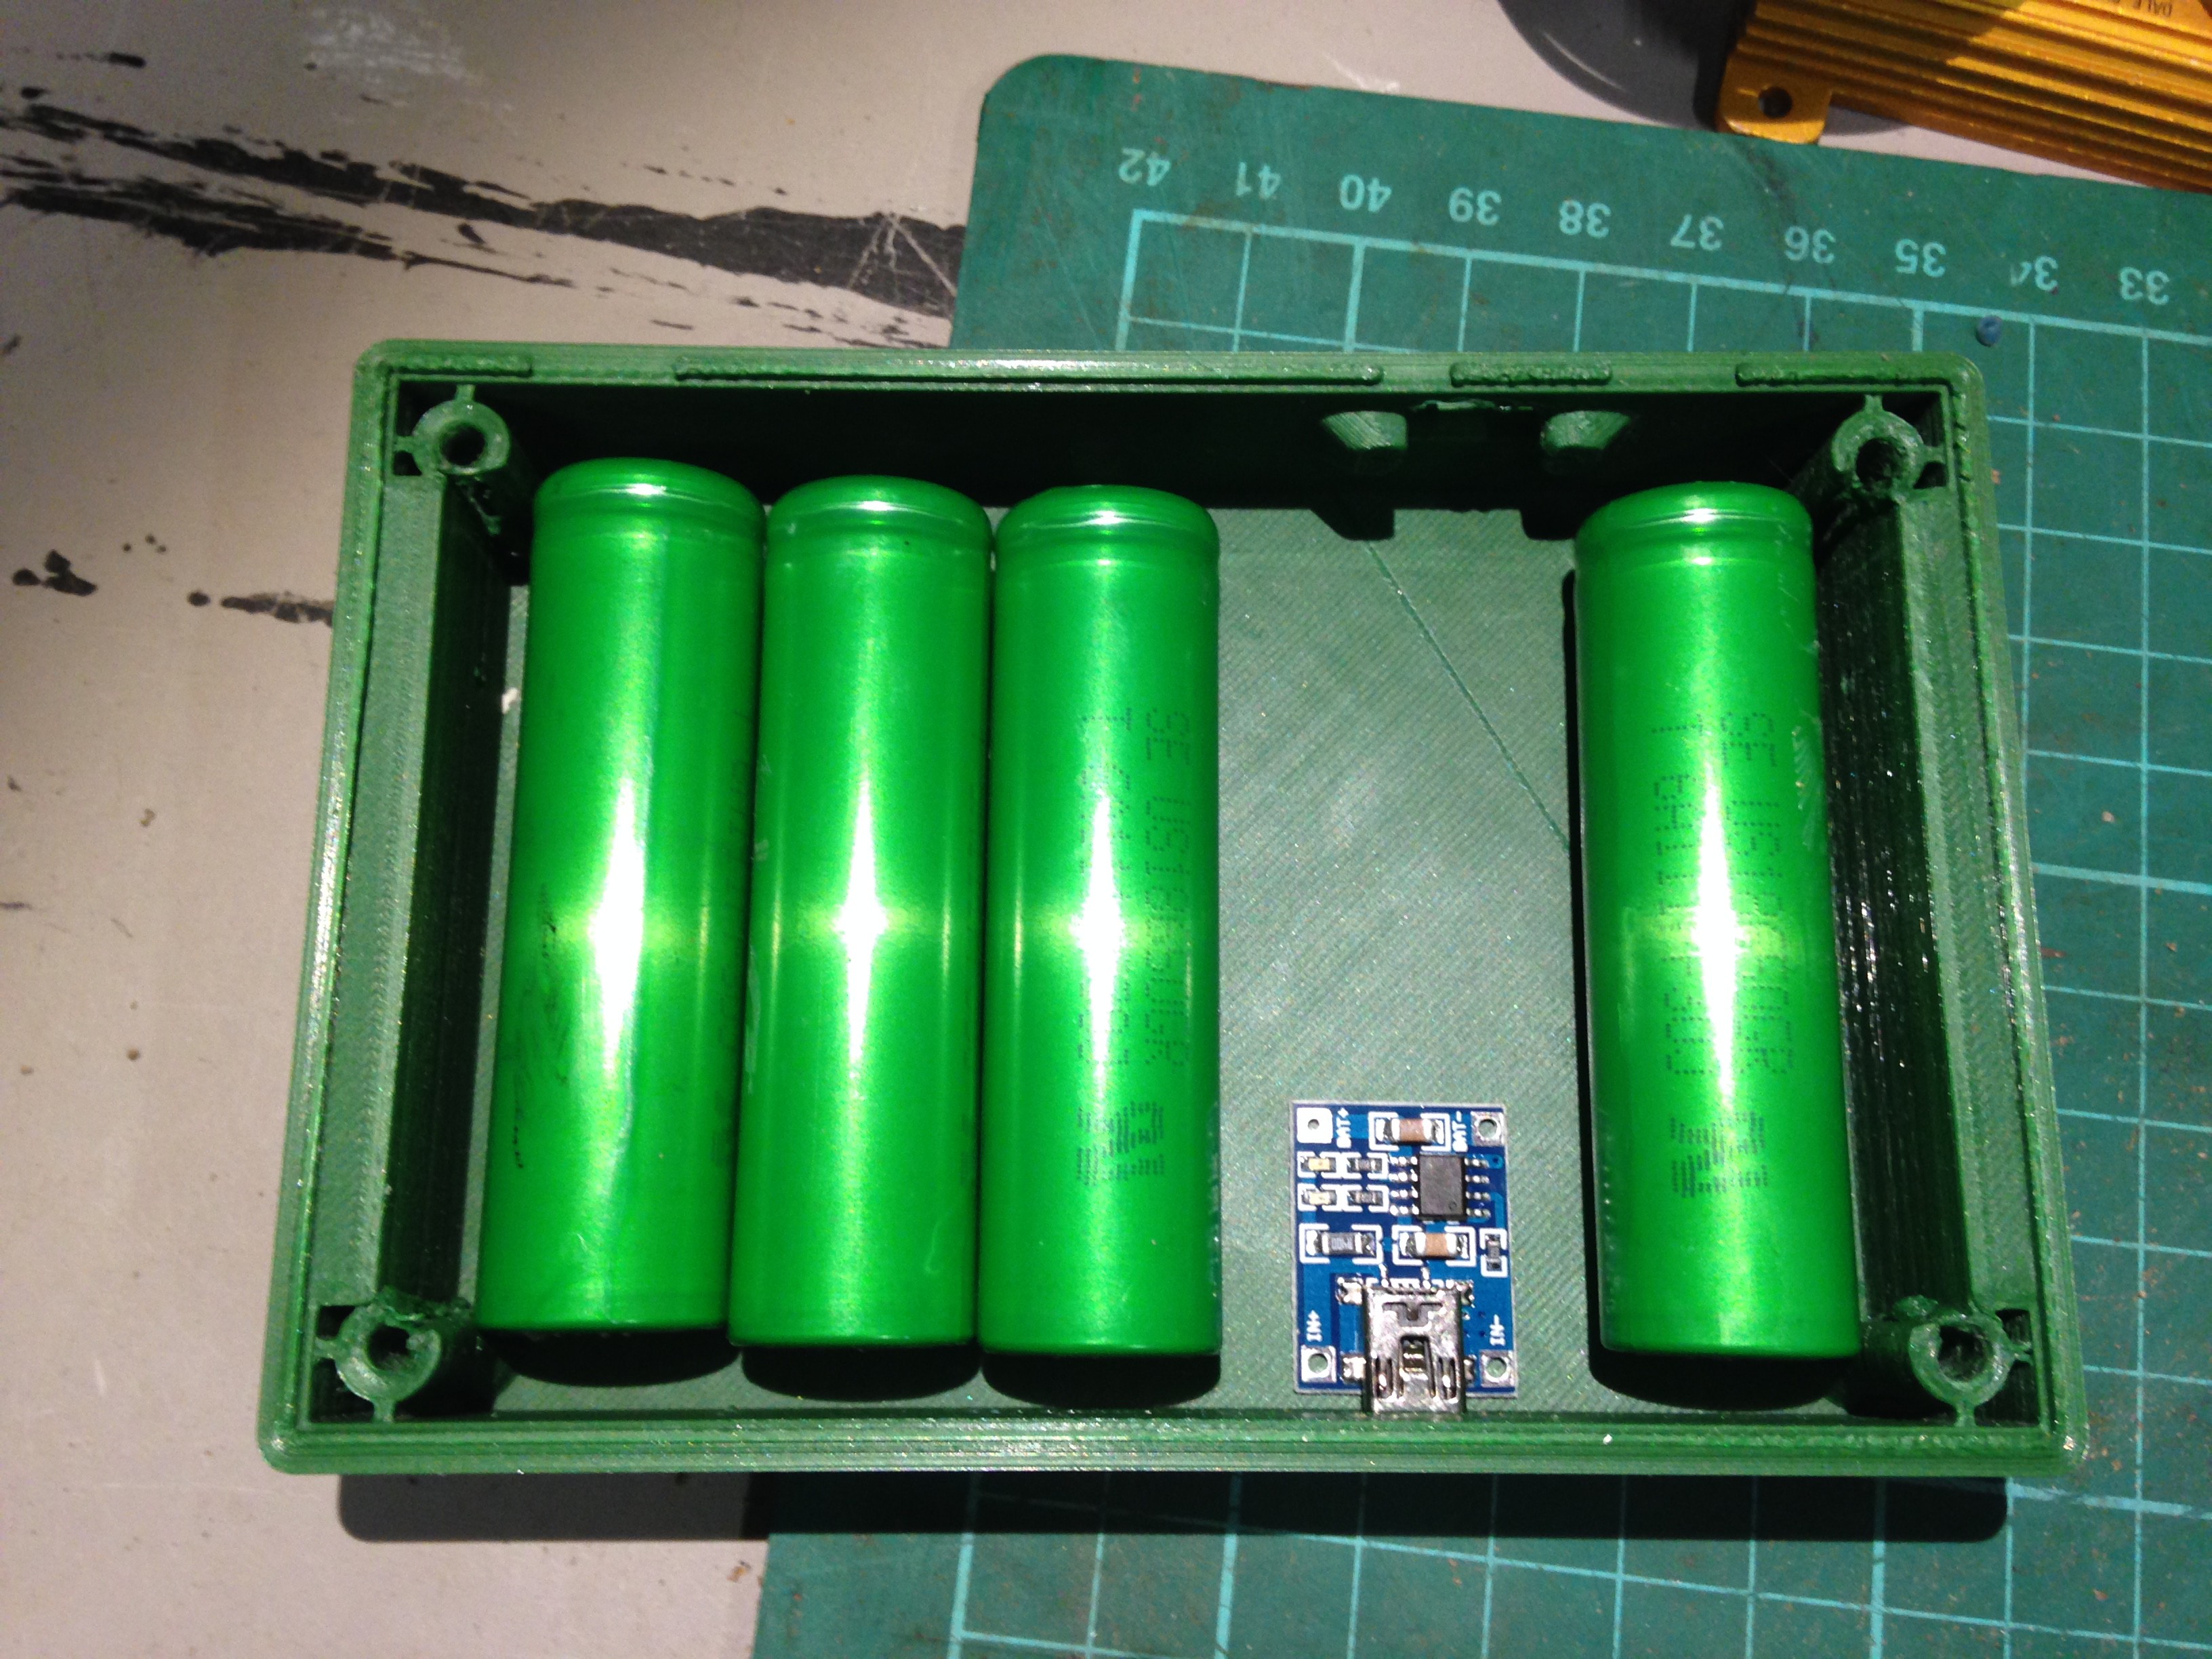
The reason for this layout was having all 4 in a row fouled the area where the on switch would go.
At this point I was curious as to what capacity these cells were. So checked part number on internet:
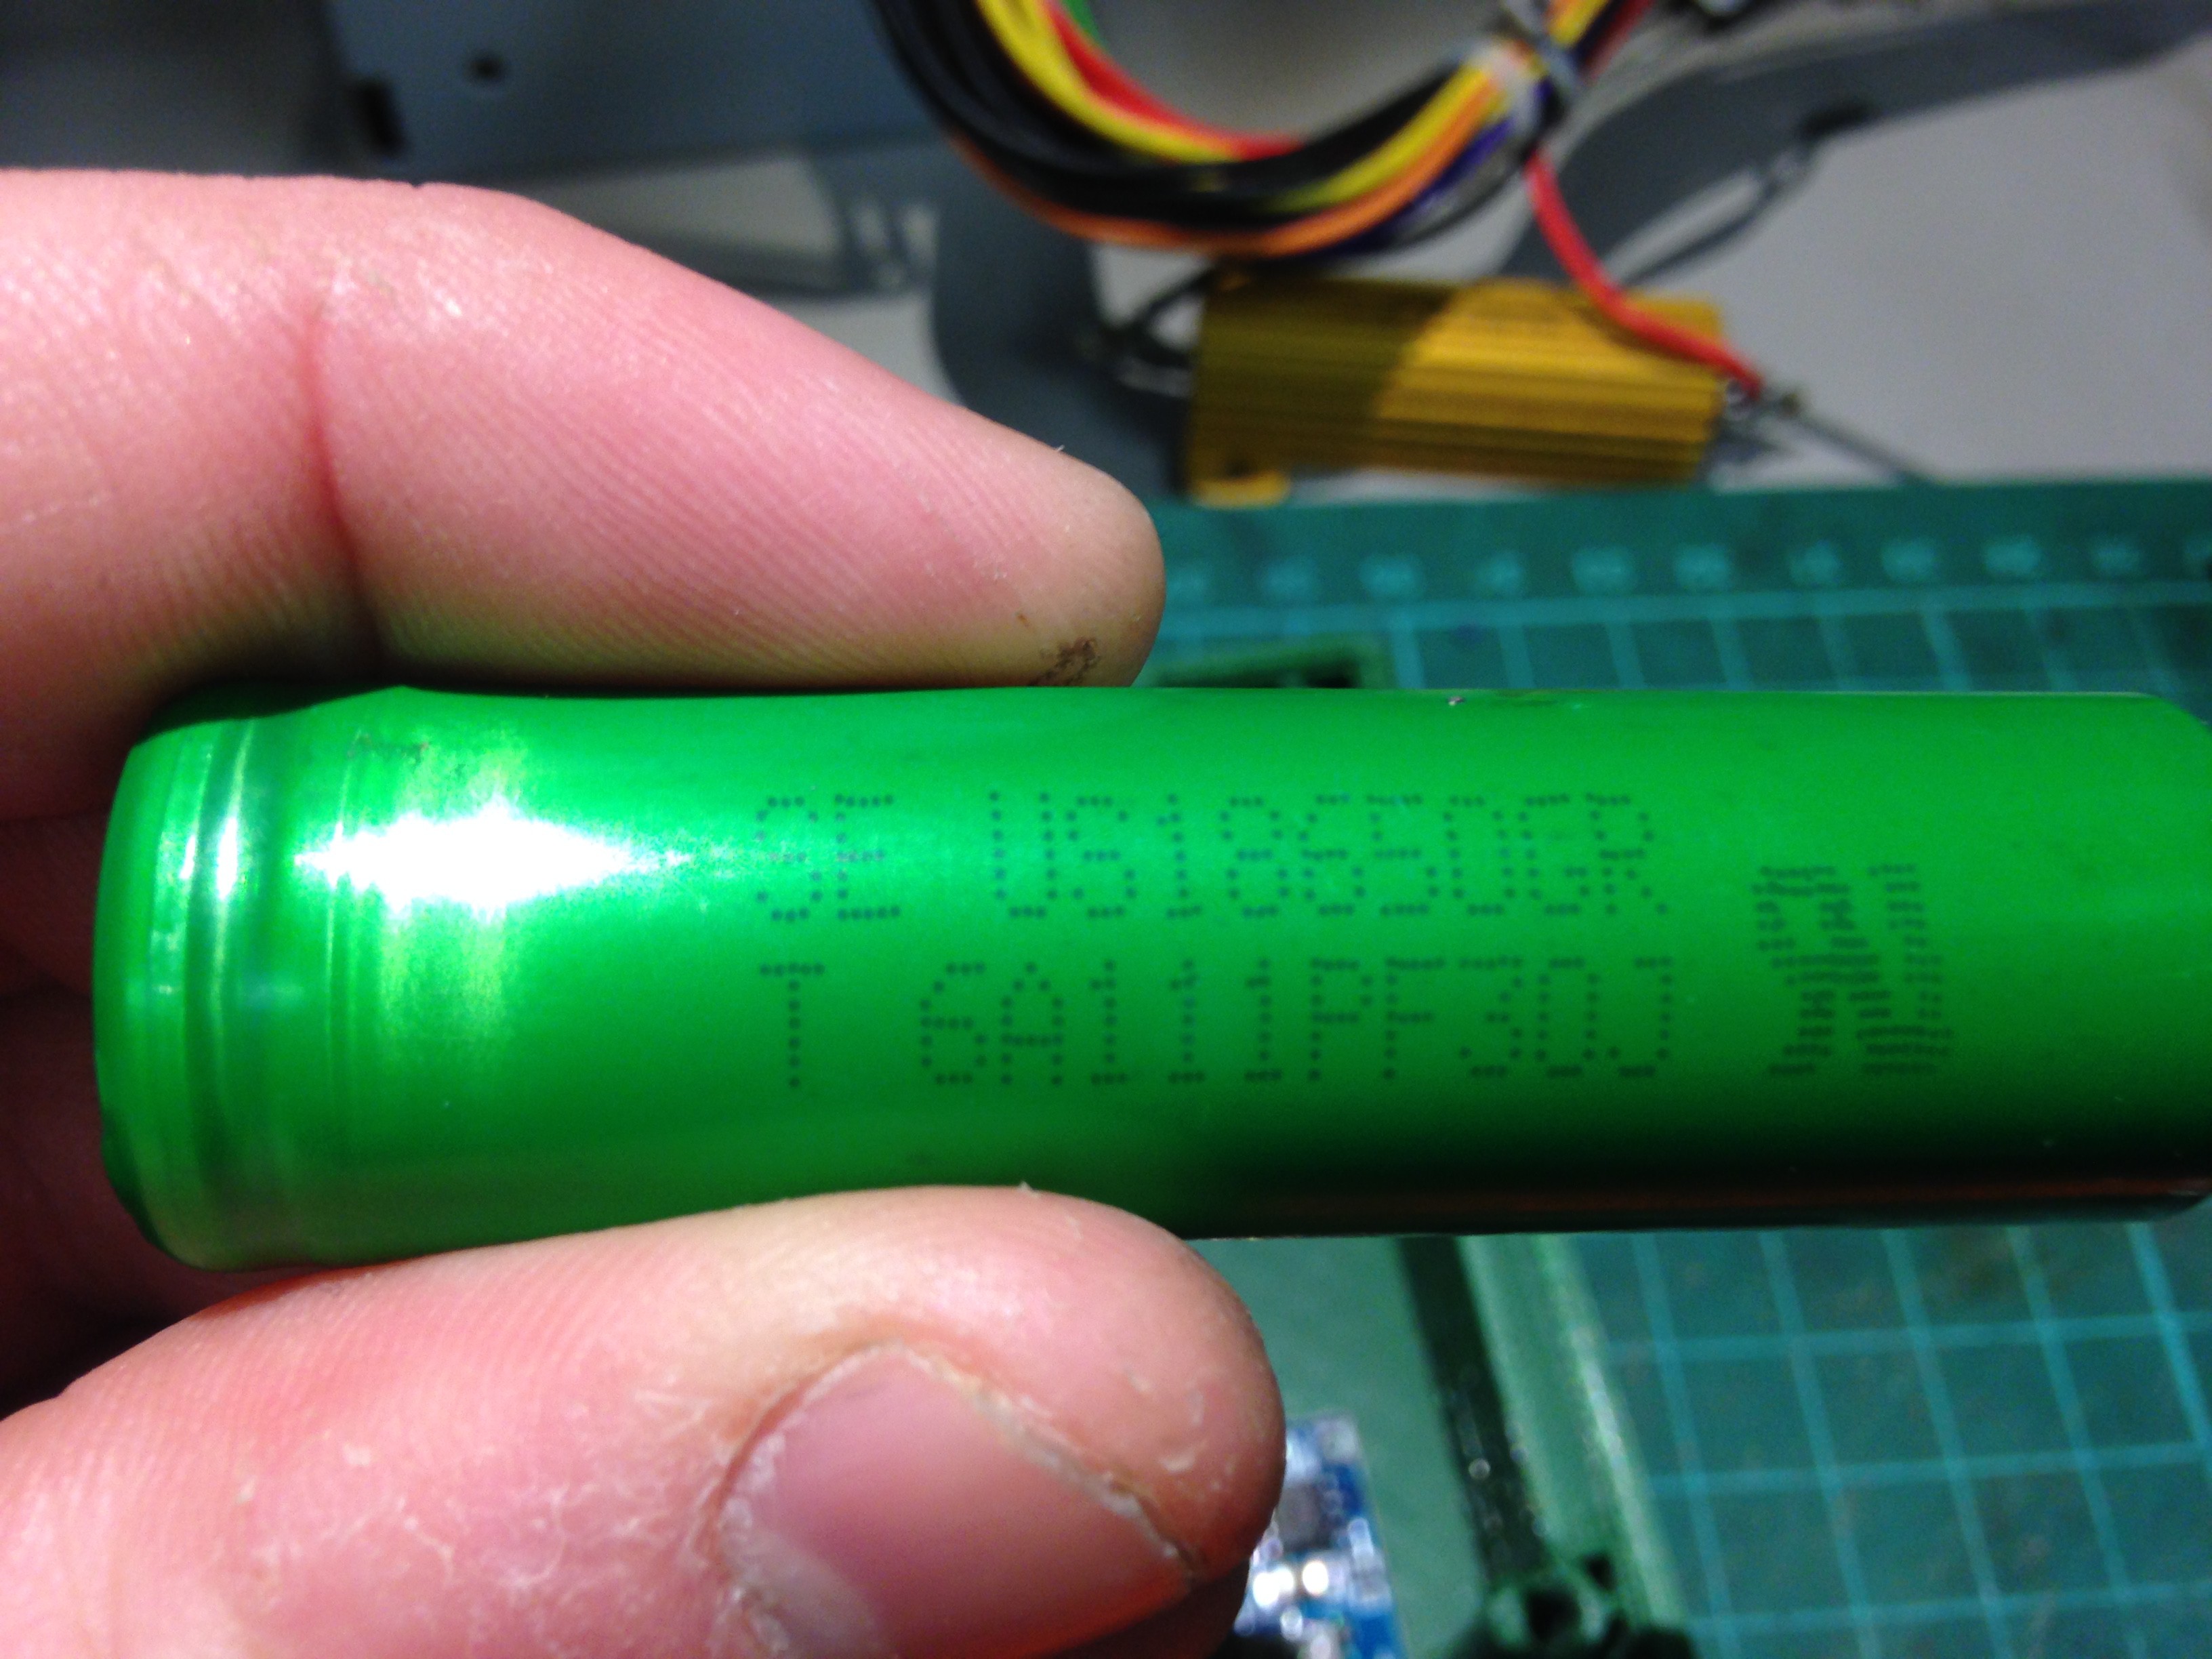
So according to a Flashlight forum post No. 21 I could identify the capacity of this battery as out of a sony laptop battery pack and had a capacity of 2200mAh! But is also 10 years old so don't know how much of that capacity is left! Anyway here's a table on how to identify similar cells:
| First line | Manufacturers data | US18650GR - which means its an 18650 cell and googling this also shows its made by Sony |
| Second line - first 2 digits after letter | Capacity ident | G4 = 1950mAh G5 = 2150mAh G6, 6A, 6B = 2200mAh G7 = 2400mAh 8A = 2600mAh |
| Second line - first of last 5 digits | Year of Manufacture | P=2007, Q=2008, R=2009, etc |
| Second line - second of last 5 digits | Month of Manufacture | A=Jan, B=Feb, C=Mar, etc |
| Second line - third + fourth of last 5 digits | Day of Manufacture | So I'm assuming that 2+6 = 26th day for example |
| Second line - final digit | Electrode History | Some internal reference - unknown |
So deciphering the code:
- 6A - 2200mAh
- P - 2007
- F - June
- 3 + 0 = 30th?
So each cell is 2200mAh and they are nearly 10 years old! I expect that they will have lost some capacity over the years. But if not then best case scenario is I have a possible 8800mAh battery. Yeh that should do, but I'm not getting my hopes up. Will have to test to verify this.
I then proceeded to carefully solder wire to the batteries in 4P configuration:
Quickly measured the starting cell voltage on the DMM:
So the cells appear to have balanced themselves out to 3.78V, without any drama. I then proceeded to solder the charger board to my batteries:
And finally gave it a quick test on bench to ensure it was charging:
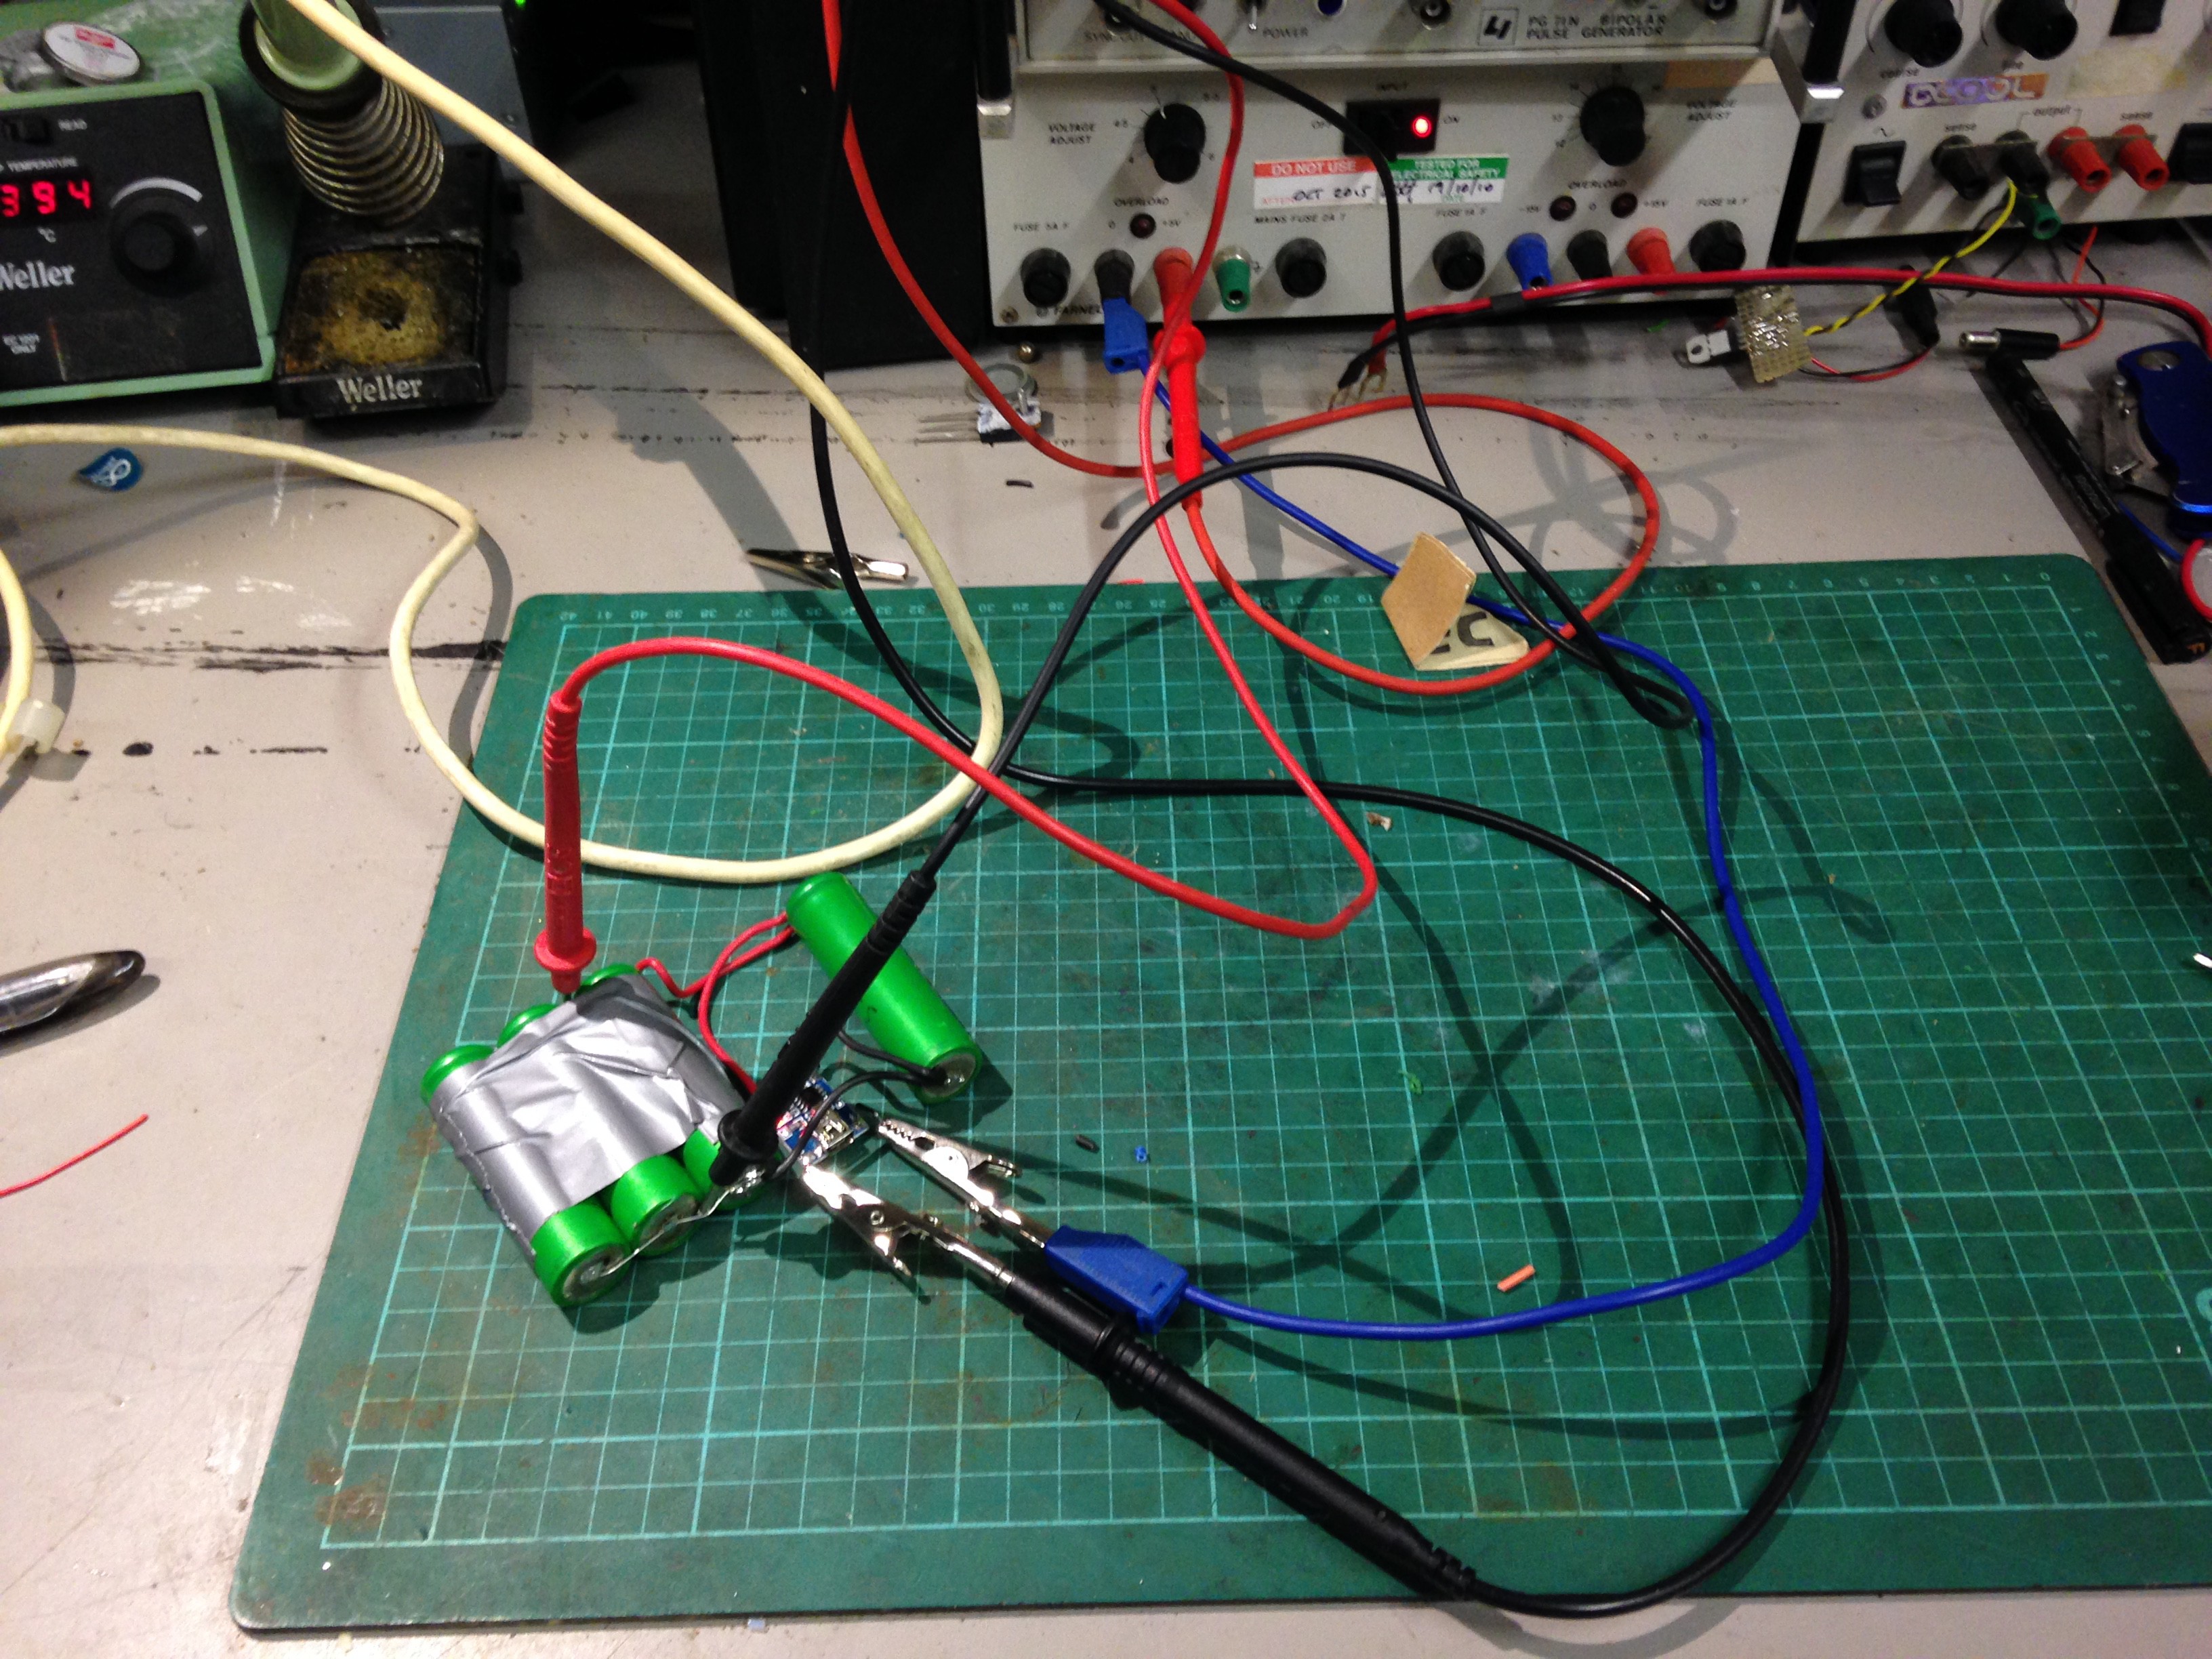
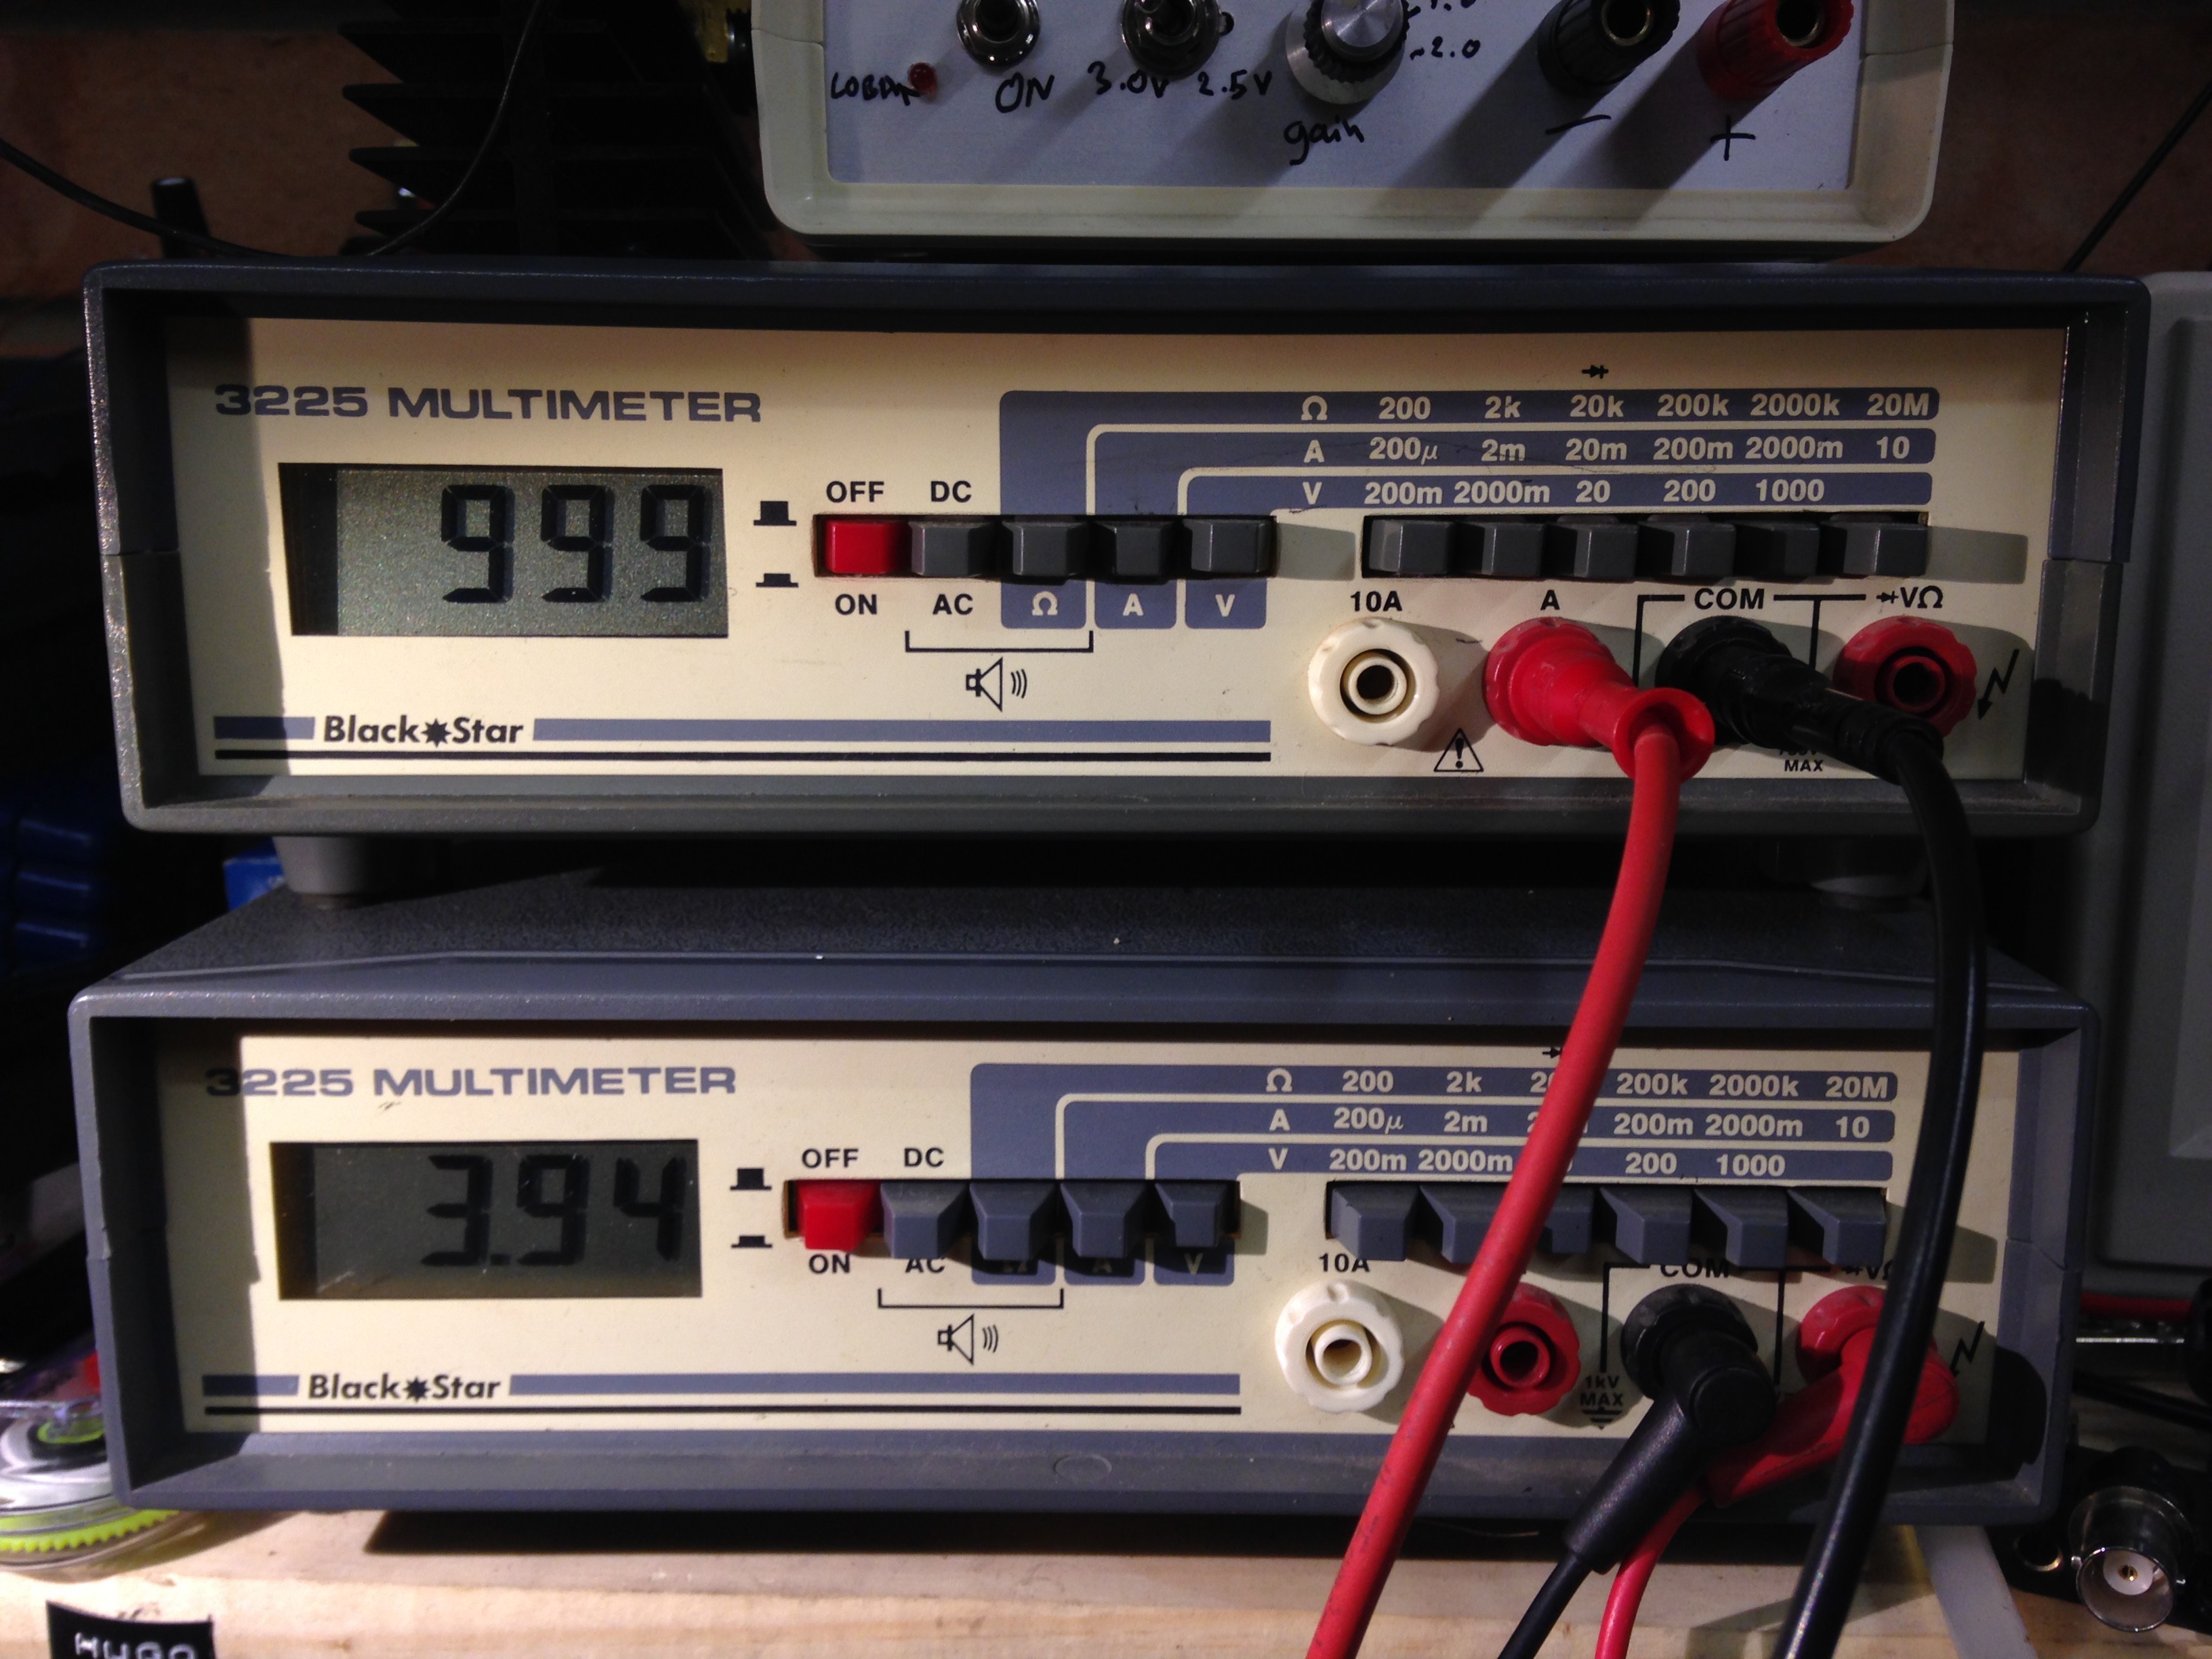
Top meter is measure the current into the charger and I monitored the voltage with the lower meter. The lower meter appears to be 0.17V out when compared to the upper meter - the upper meter is more accurate. So the reading is actually 3.77V. I watched this climb to an indicated 3.97 V with a steady 1A current and then turned it off. I plan to continue charging over a working day and monitor its performance. But from this quick test it appears to work as it should!
Discussions
Become a Hackaday.io Member
Create an account to leave a comment. Already have an account? Log In.