 Samuel Wittman
Let me start by saying that I found the idea on Reddit, but I'll be damned if I can ever find that post again.
First up, cut your foam core to size. One full sheet will be the top, and another will be the bottom. Cut one sheet exactly in half, as these will be the two sides. The last piece will be the back and need to be cut to a somewhat random size. Keep the scraps from cutting the back. They'll help support the weight of whatever lighting you use.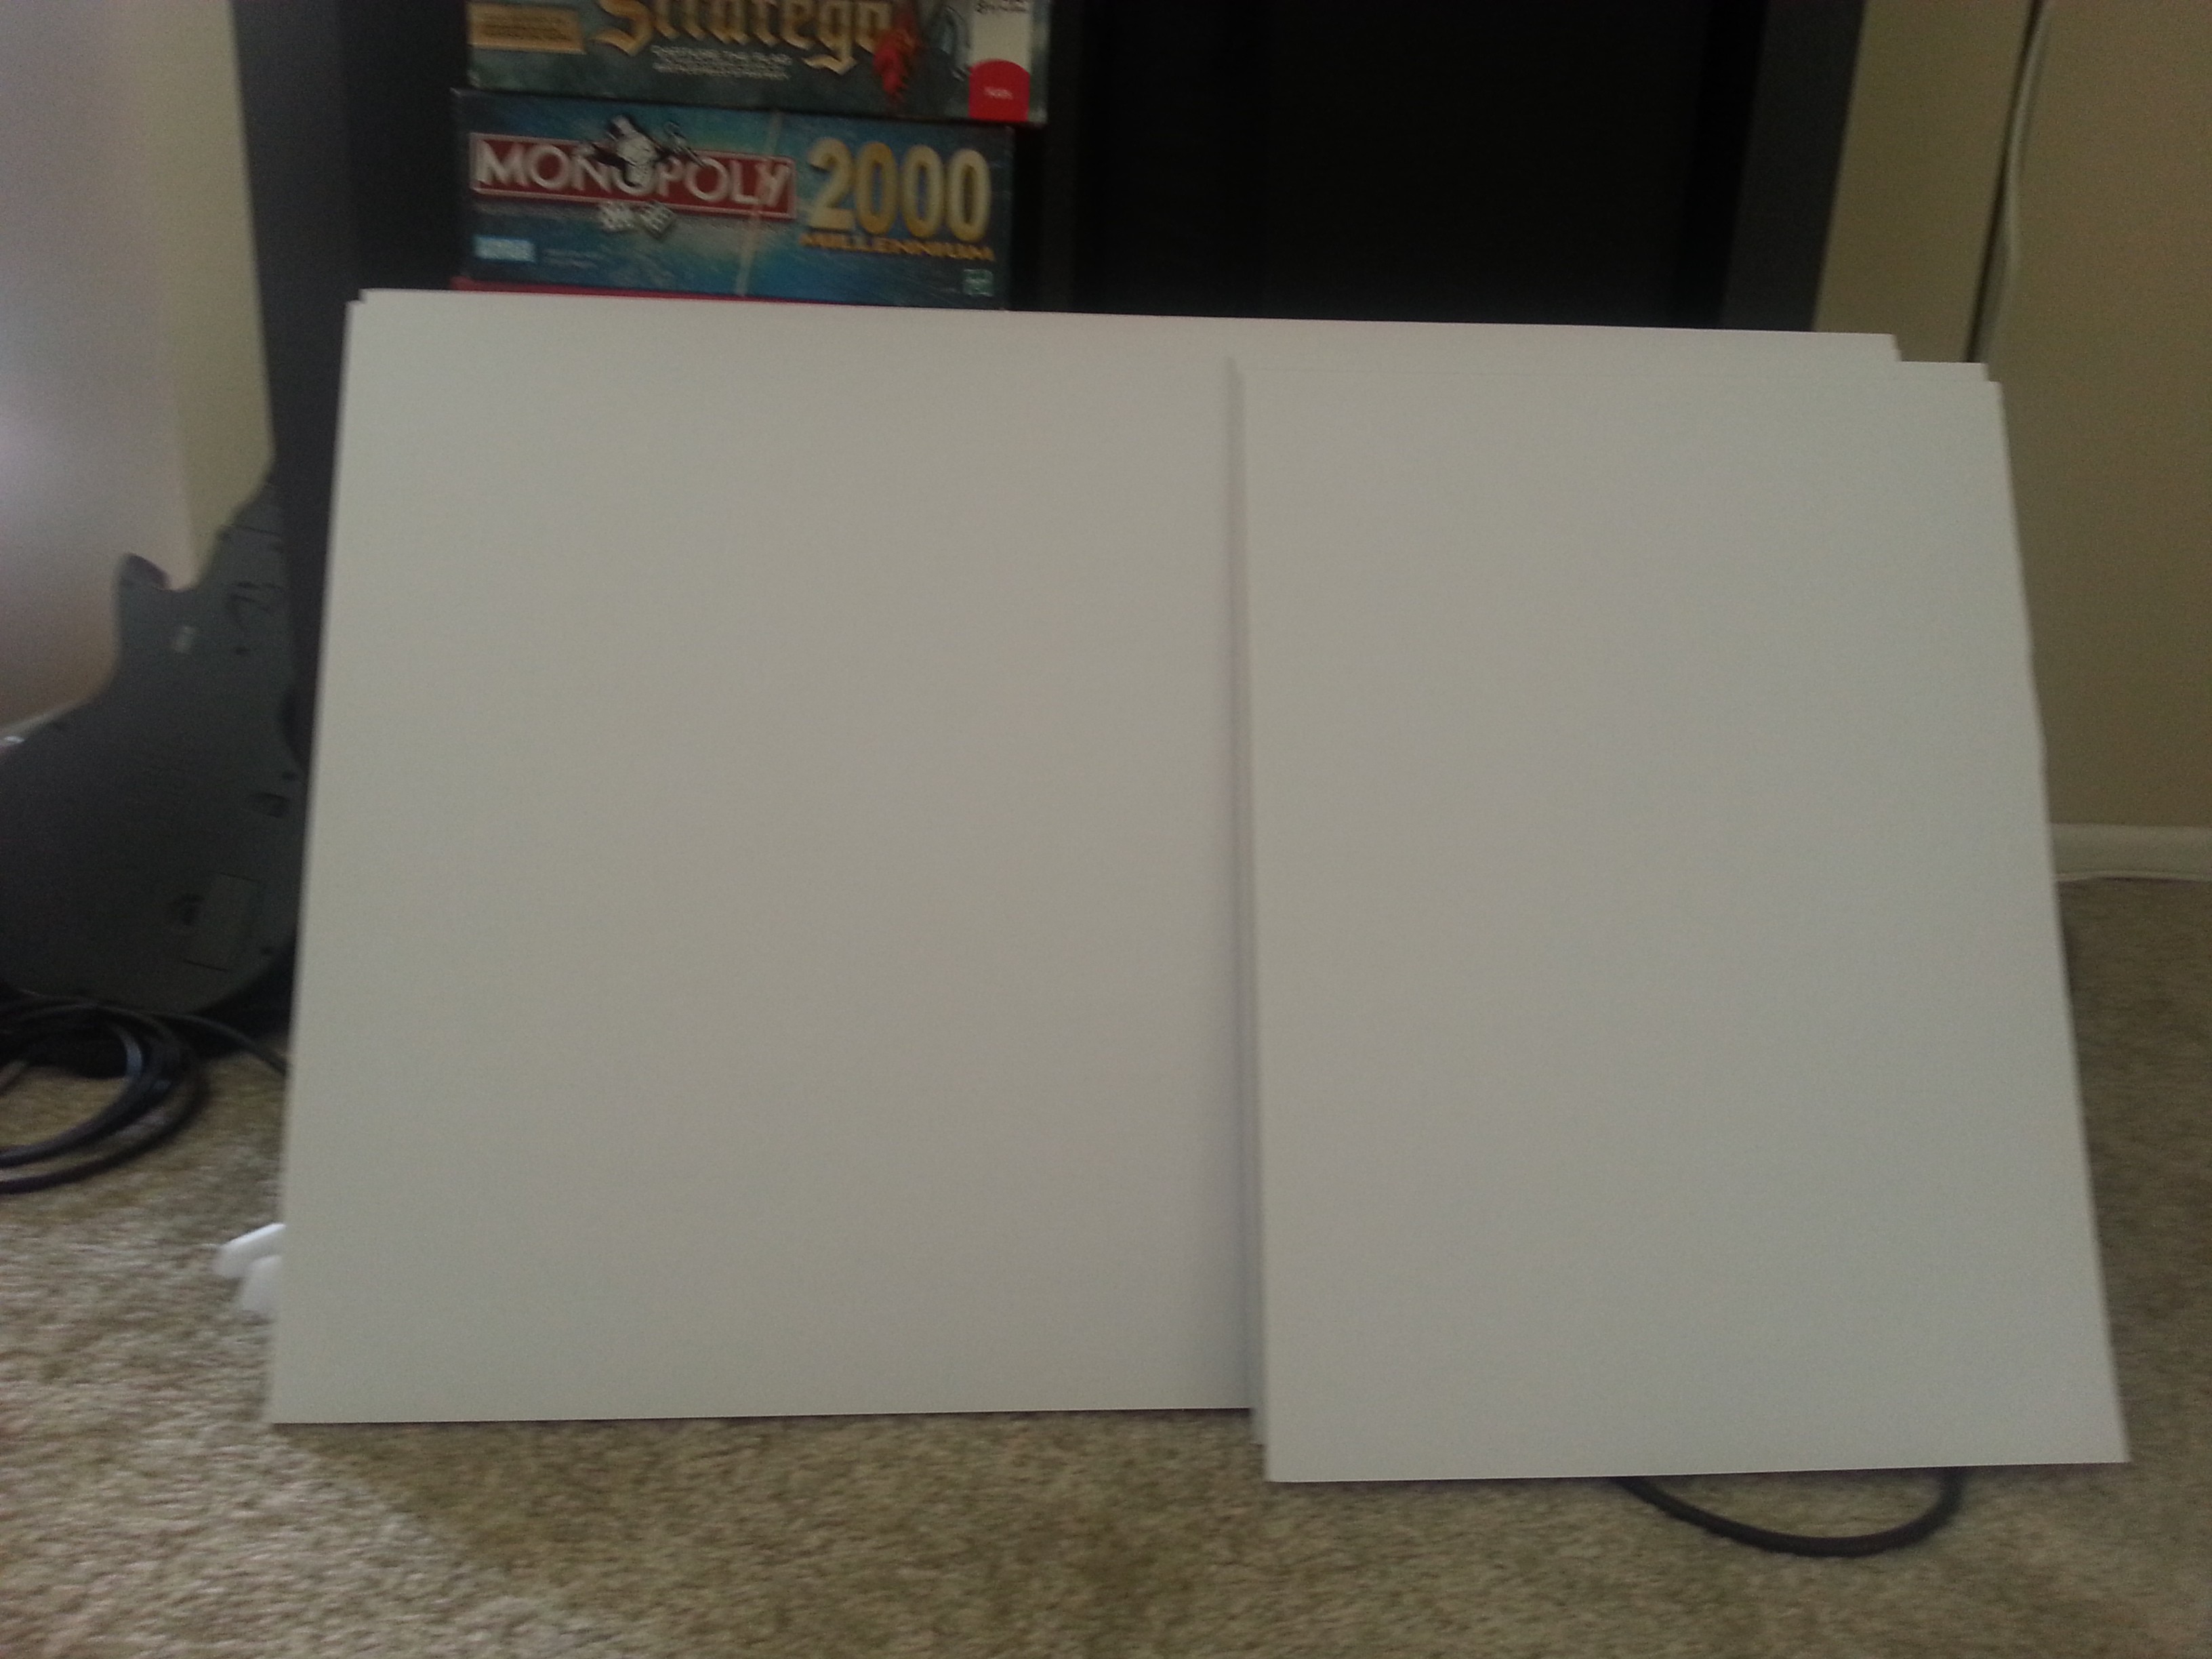
Your paperclips are going to be cut into pins and used to hold the edges of the foam core together by pushing them through the surface of one board into the edge of another. You can get 3 pins per clip by cutting them intelligently. The hooks on the end of each pin will keep it from falling out.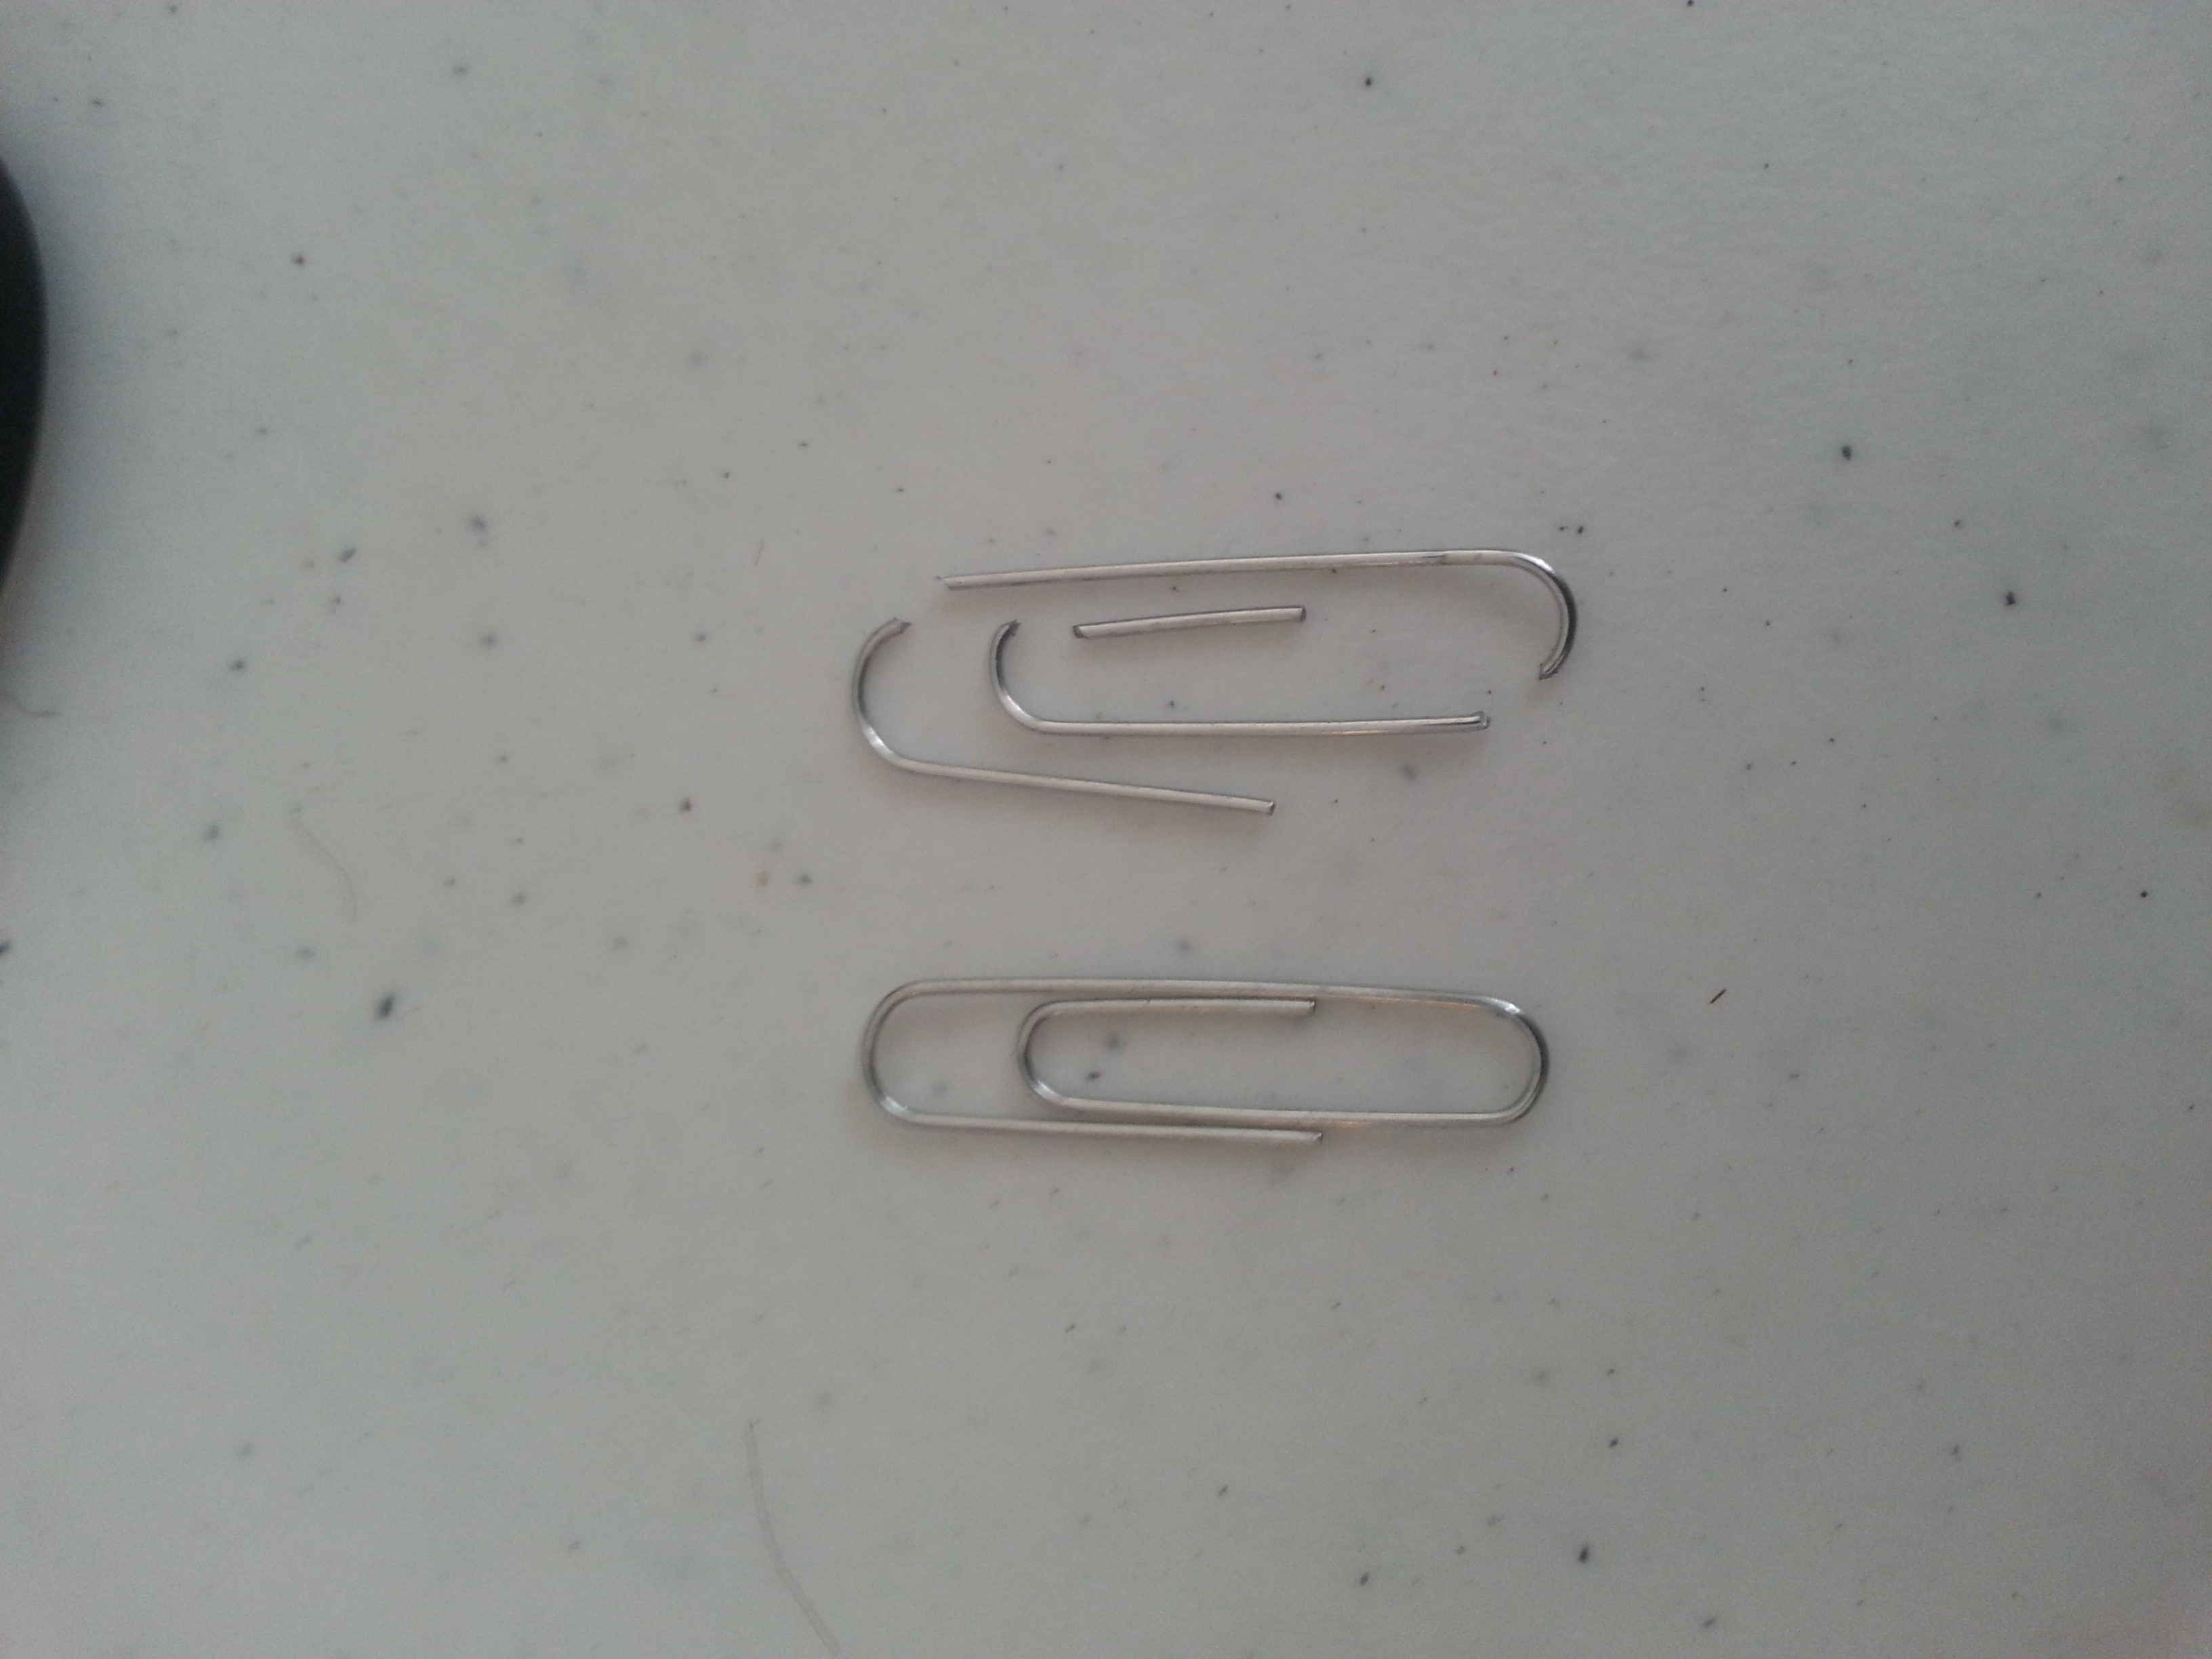
I started my assembly with a side and the bottom, then added the back, then the other side. I havent yet added the top because I don't have lights.
Starting with a corner, push one of the pins through the bottom into the edge of the side.

Secure this with a small piece of packing tape.
My foam core wasn't perfectly flat.
I decided to do both corners, then also one in the center of the edge to align the whole side.

Space additional pins evenly, with 4-6" between each.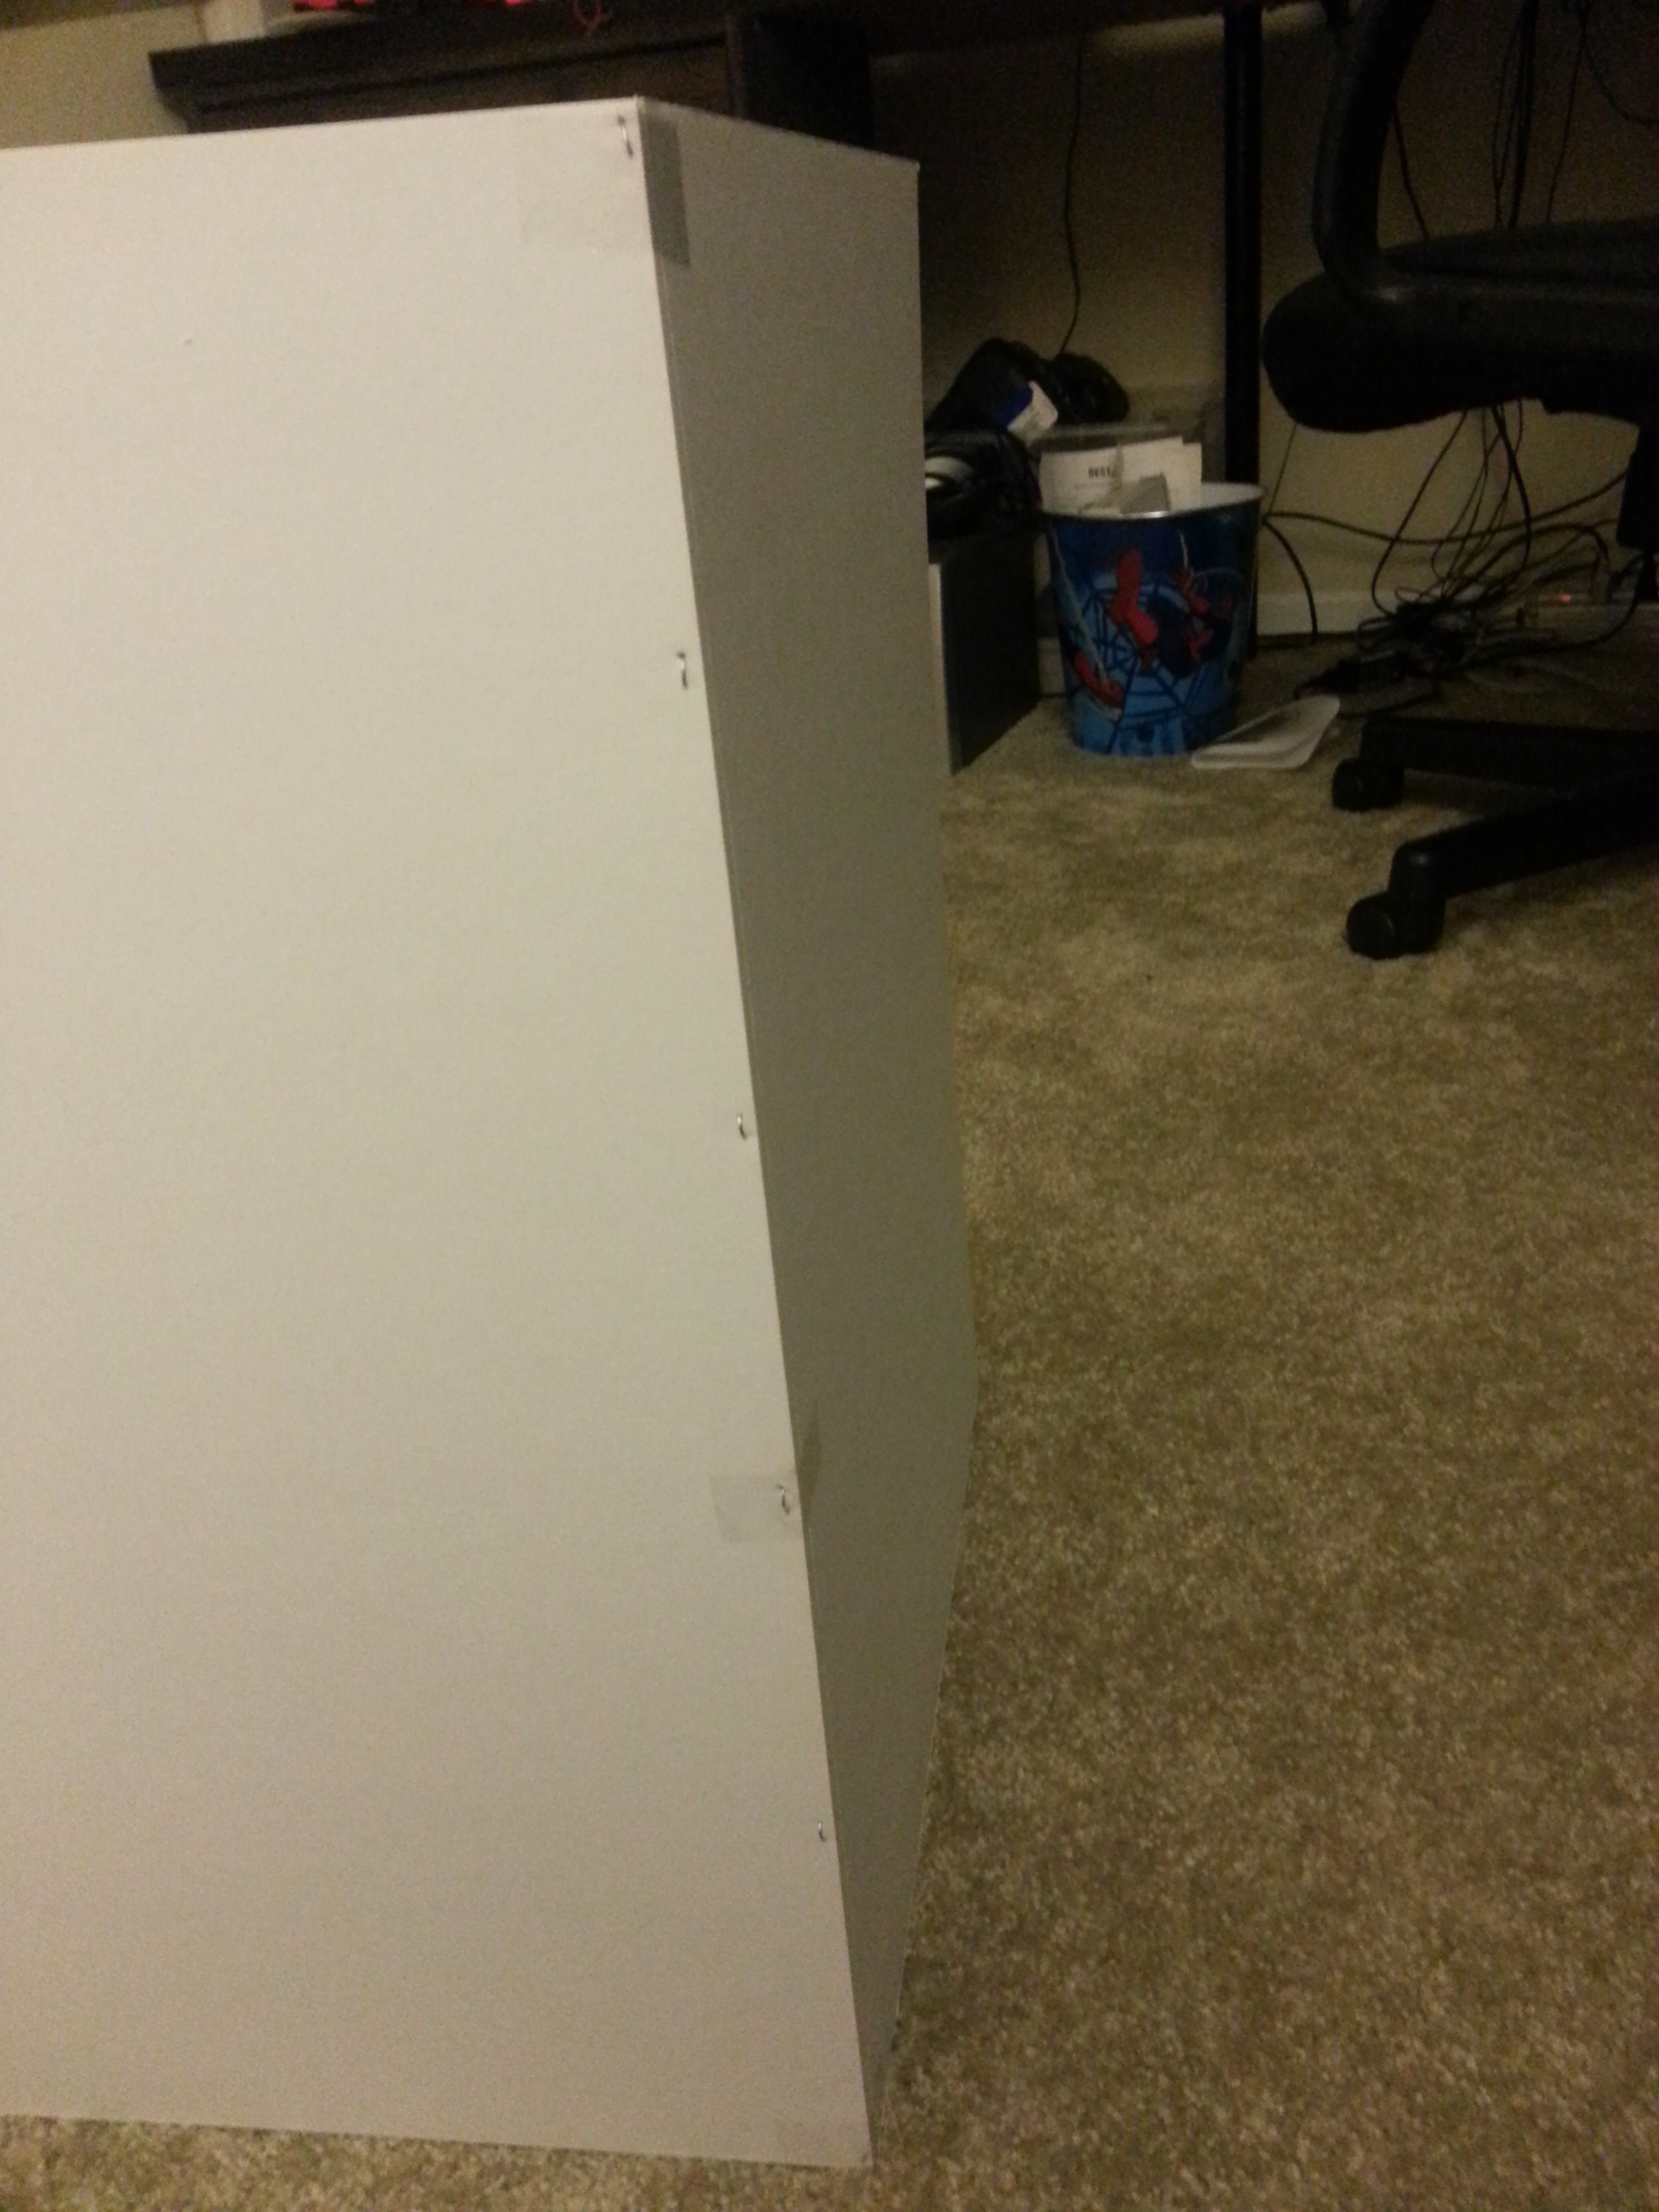
Run a single strip of packing tape over the edge to anchor the pins.
Repeat for all edges.
When I finally purchase some lighting, I'll come back and update with what I did.
Discussions
Become a Hackaday.io Member
Create an account to leave a comment. Already have an account? Log In.
Are you sure? yes | no