 Sci
SciThe original Stratasys FDM 1650 that the London Hackspace was donated was apparently built by one of the now directors of the company when they first joined the company. Which is an amusing way of saying; it was really old.
It was also really big. Think of the tumble-driers you use as a laundrette, but could only produce prints the same size as a modern kit printer. Though admittedly, at fine resolution.
The mechanical elements were the best bit of it. The bed used four ballscrews with a vertical resolution of 1/2000" at full step. The XY was handled by an Asymtek Automove 302, which I gather was an early high-spec pick-&-place head. But we'll get to that on the next log entry.
These great parts were in an oversized environmental enclosure, and I liked the idea of bringing it down to the size of household whitegoods. In the UK at least, that's 600mm wide and the same for kitchen cabinets. I also already use a large commercial display fridge as a heated cabinet for keeping my resins at their ideal storage temperature. A fridge is basically just an insulated box and commercial ones tend to lack weird internal mouldings. From the main guts of the Stratasys, I figured I could fit them inside a fridge with a 600mm outside width.
After a couple of weeks I managed to find one of close-enough size on ebay that was also within collection distance.
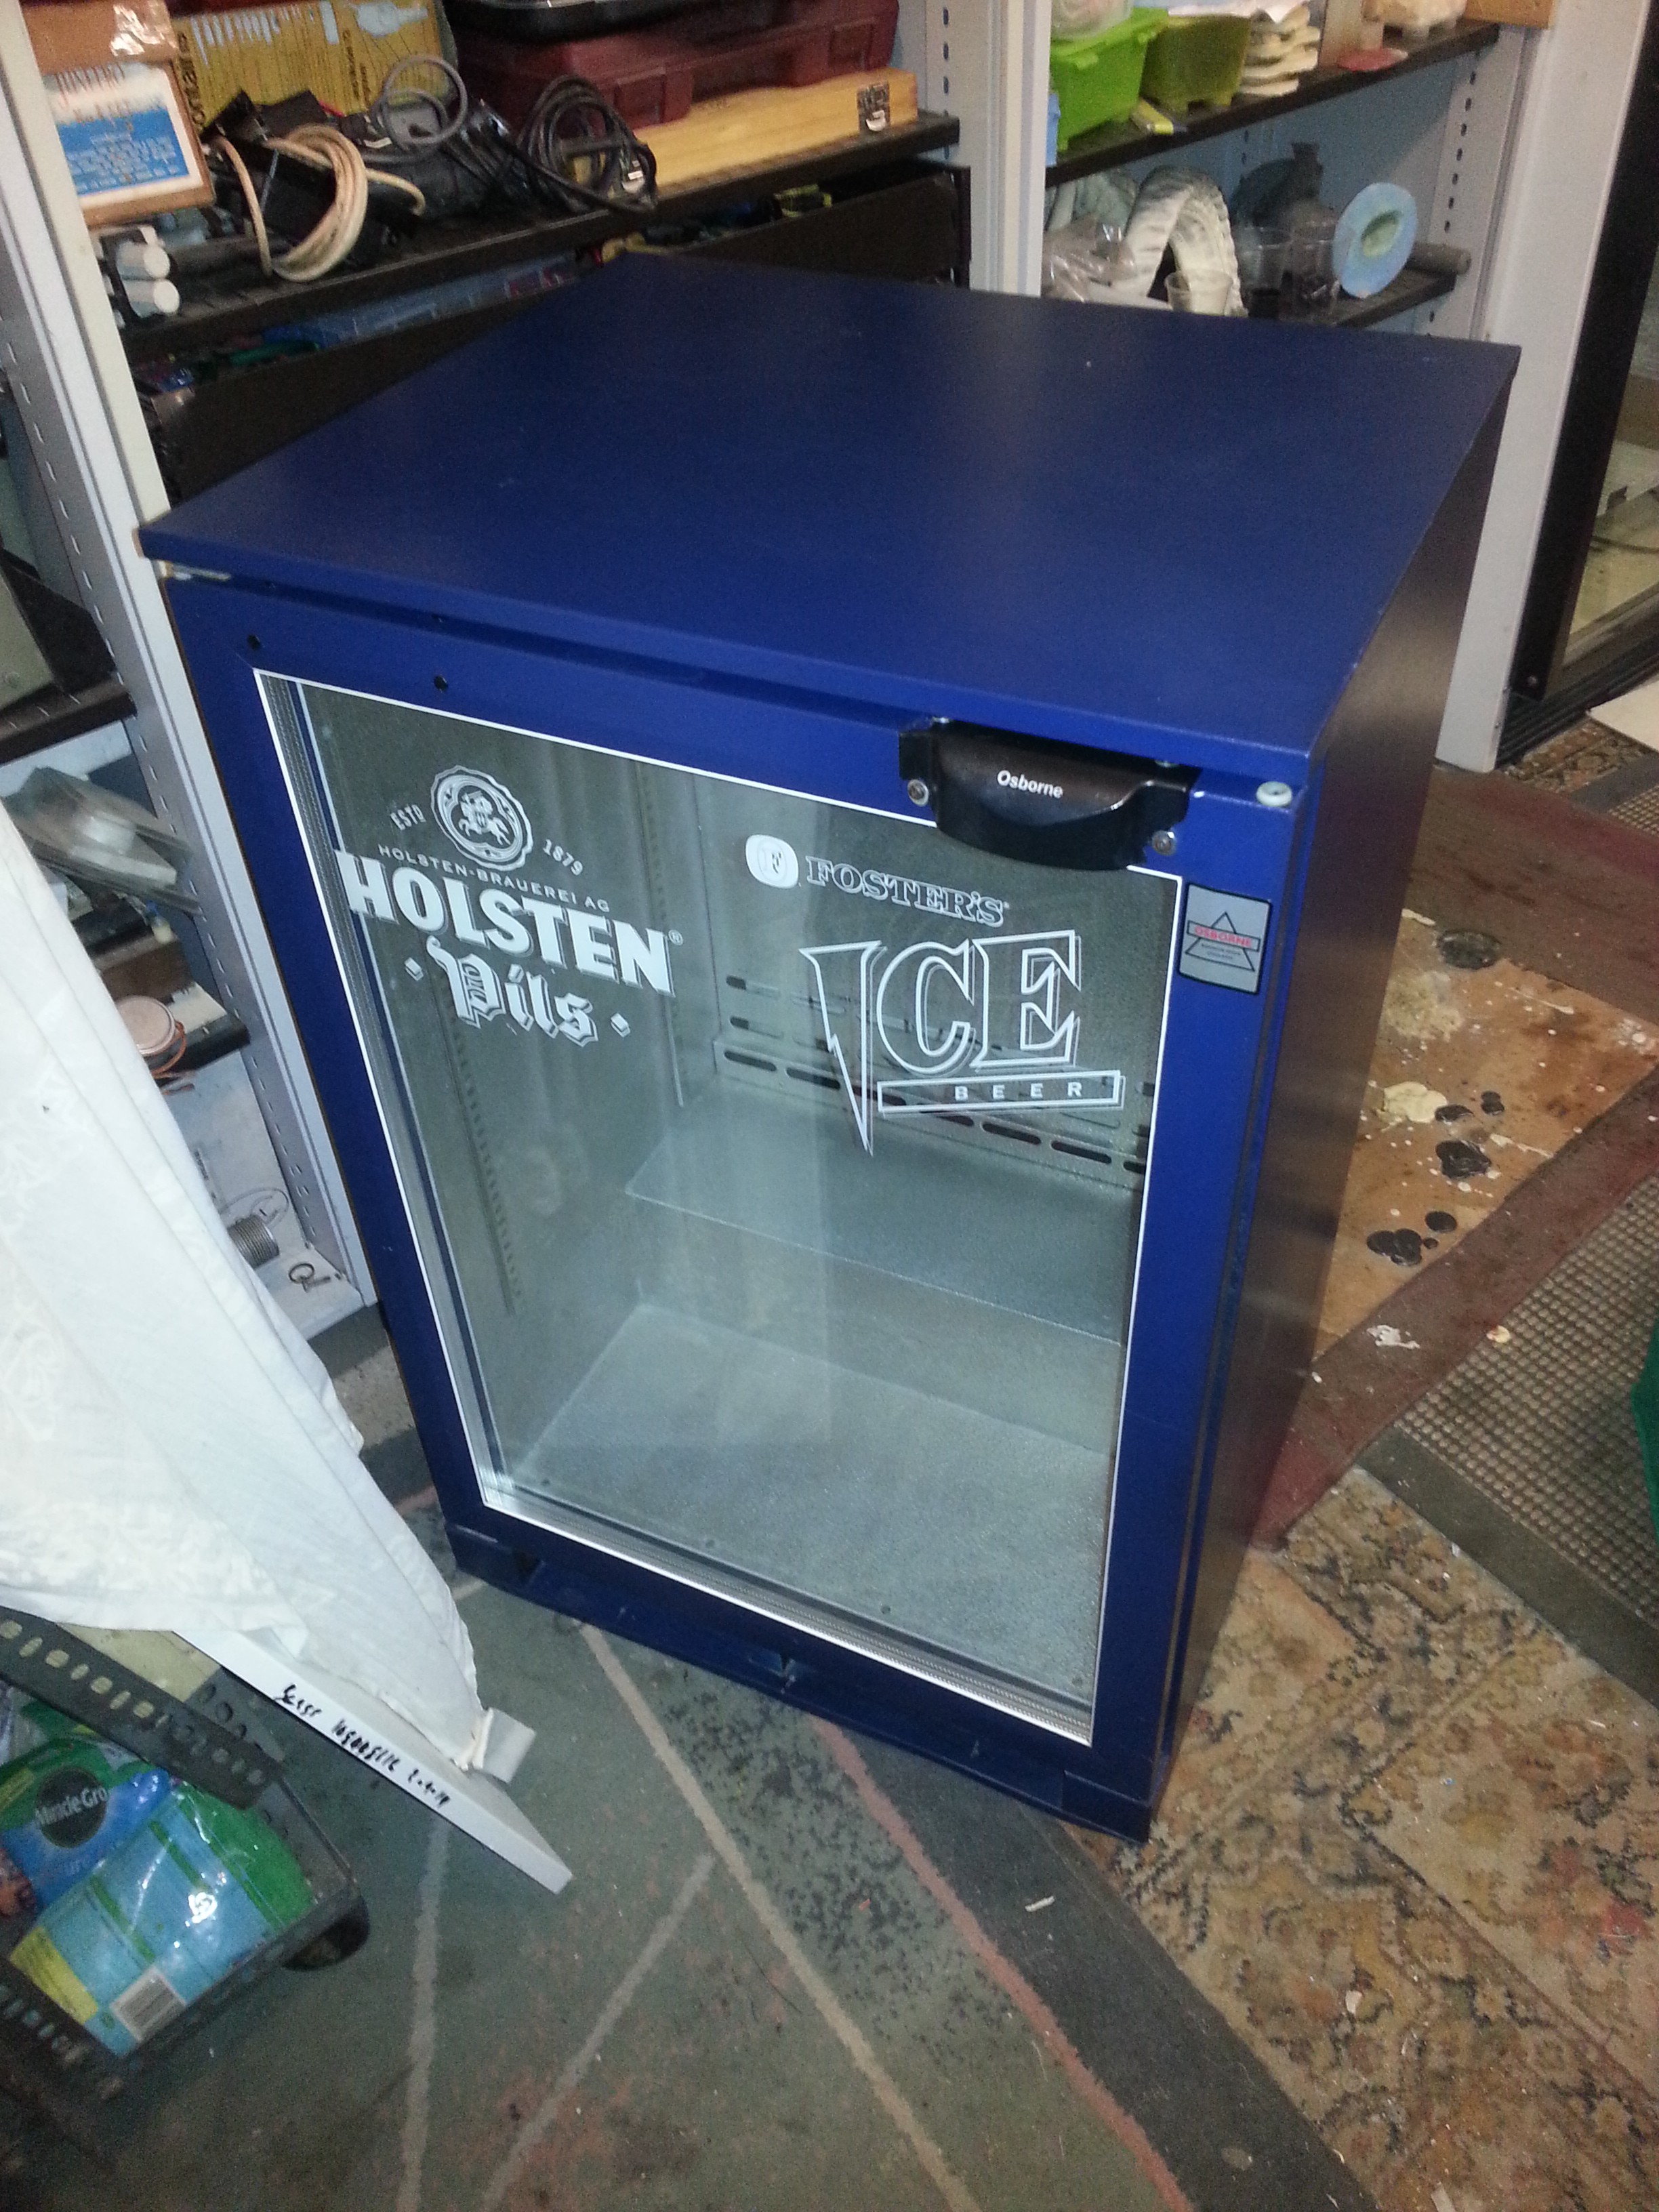
Once I peel off those decals, it'll look really cool with items printing inside in a nice warm environment.
First though, let's pull out the refrigeration unit.
I didn't have to worry about releasing the gas into the air because this fridge was sold as non-functional and in need of regassing. But just the same, it didn't look like it'd be hard to remove in one piece.
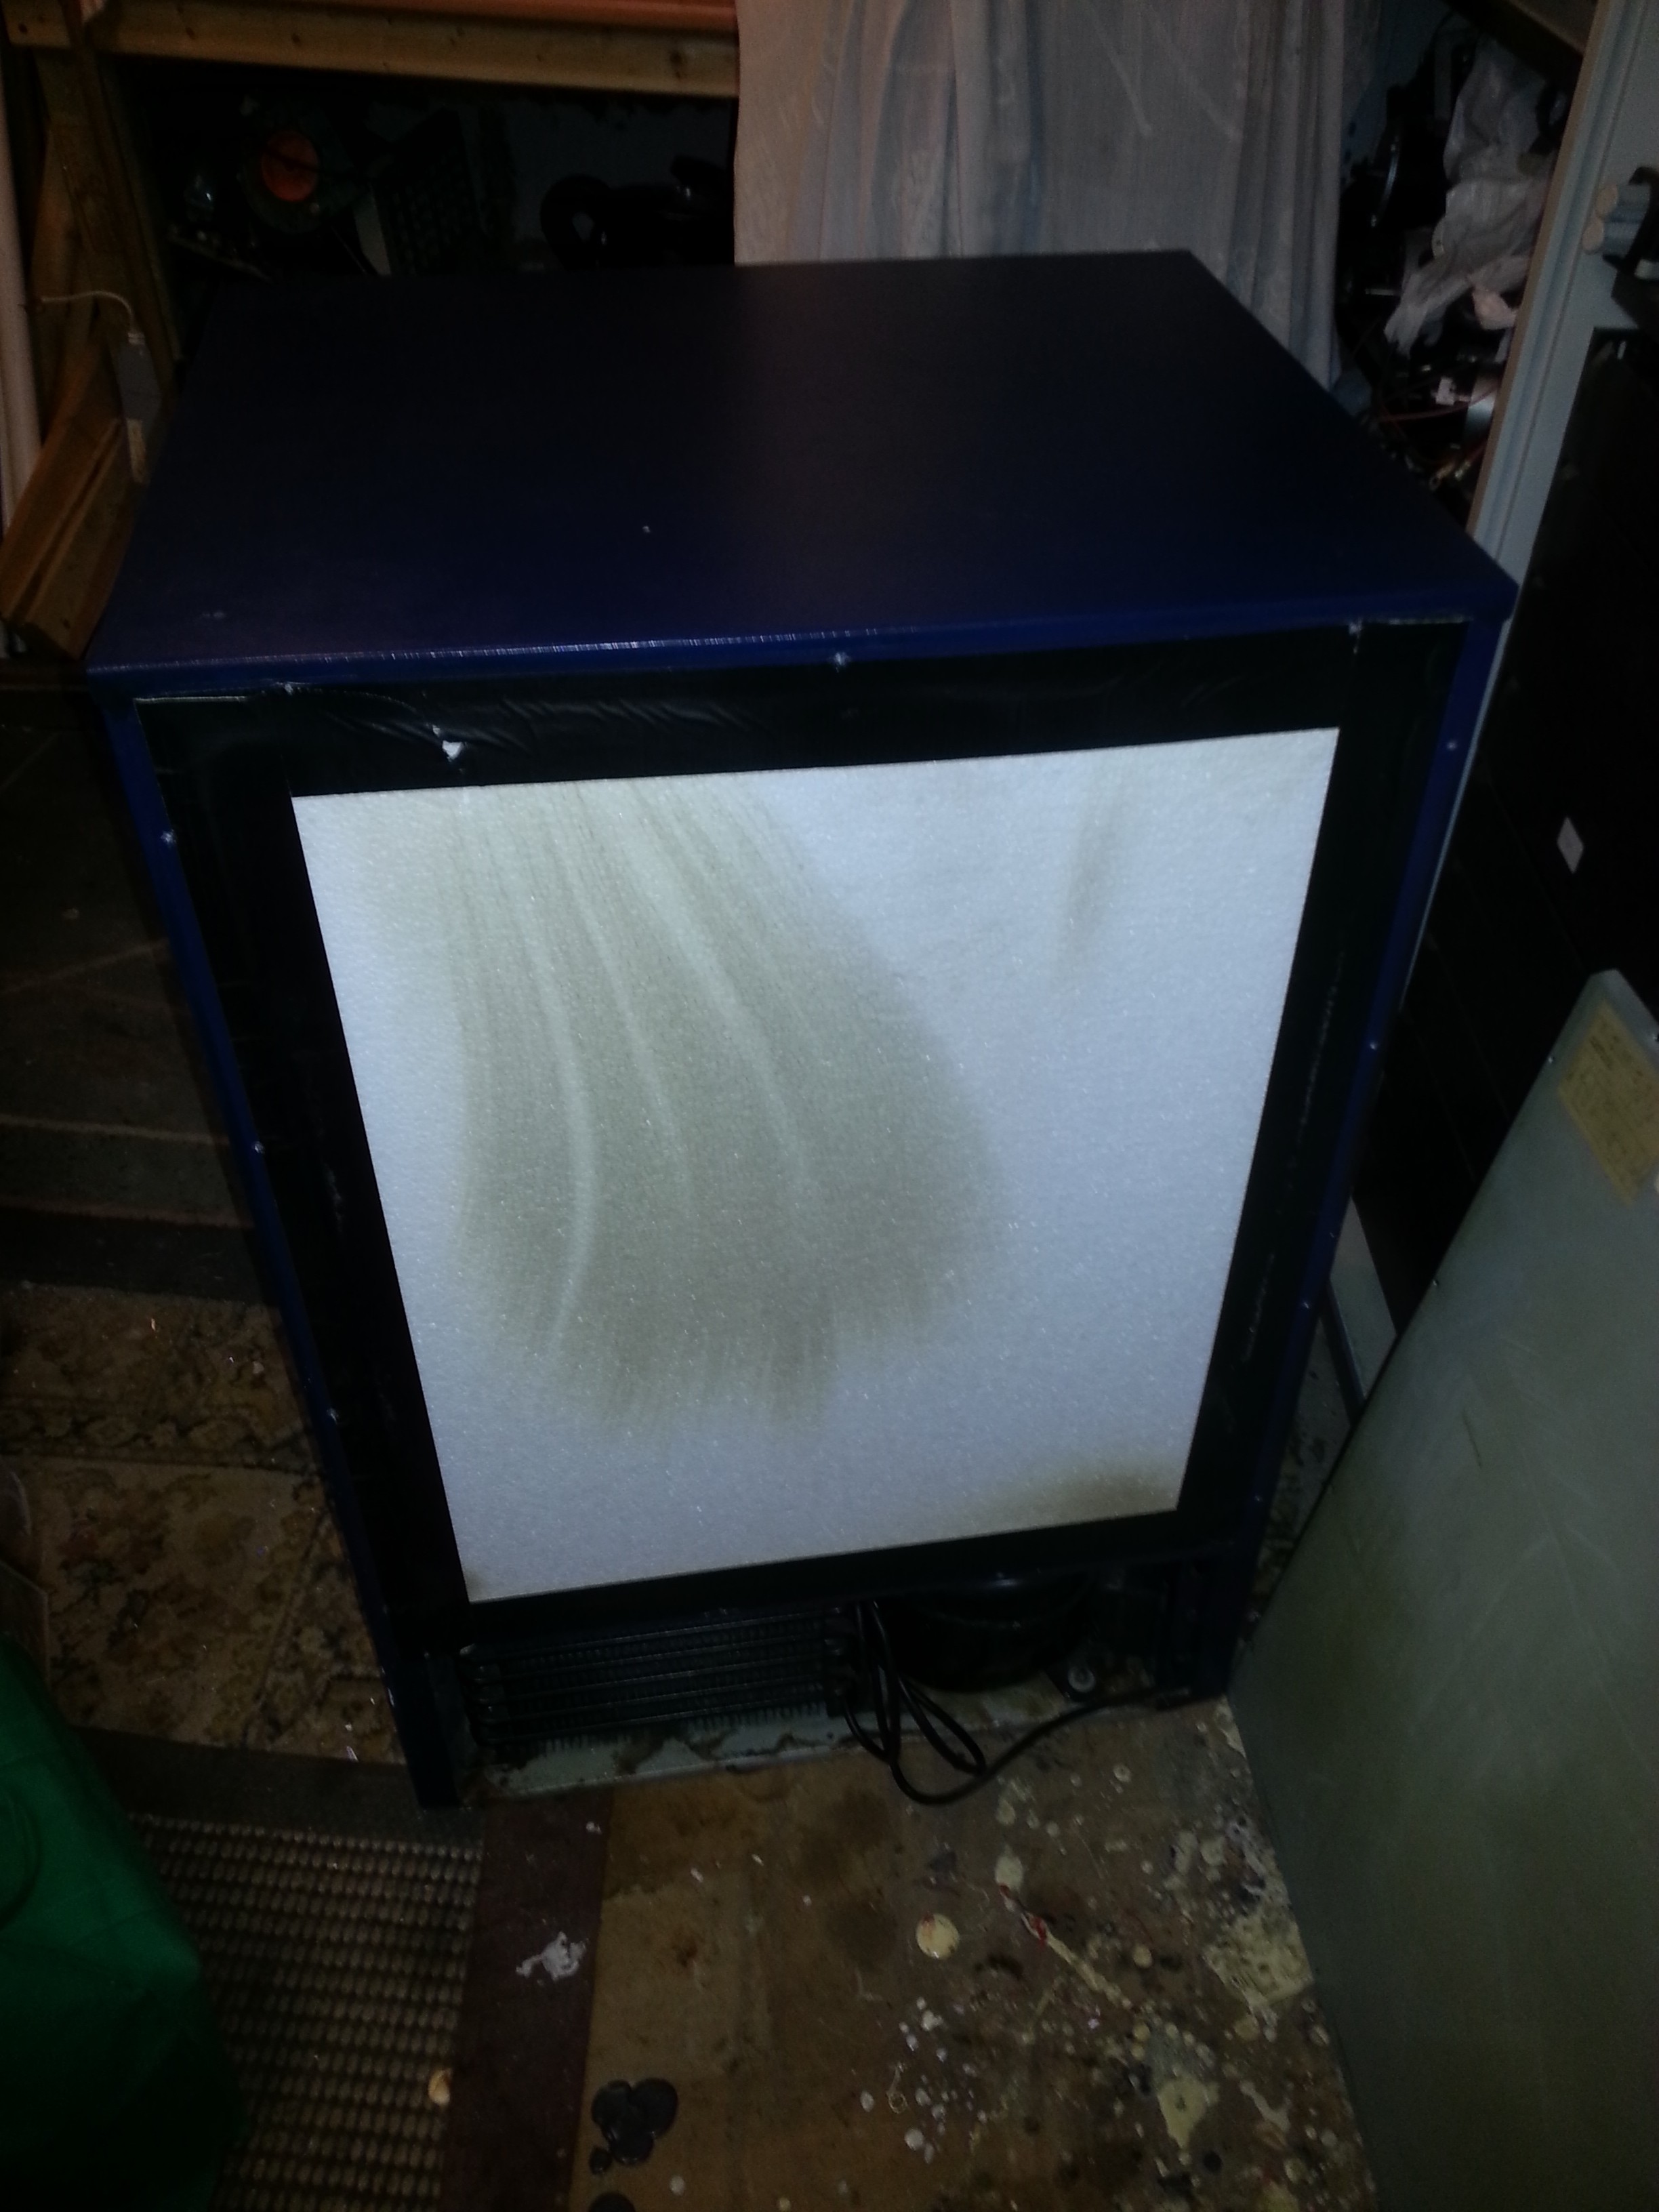
After removing the rear panel; issue one. That's expanded polystyrene, not the urethane foam I was expecting. Also, it's held in place with duct-tape, apparently from the factory.
The polystyrene is a problem. ABS best prints with an ambient temperature of 70-90°c. While polystyrene melts at 240°c, it's very flammable. And during long-duration prints it's possible something could go wrong enough to get a single point of ignition & send the whole thing up. The insulation will need to be swapped out for something more durable.
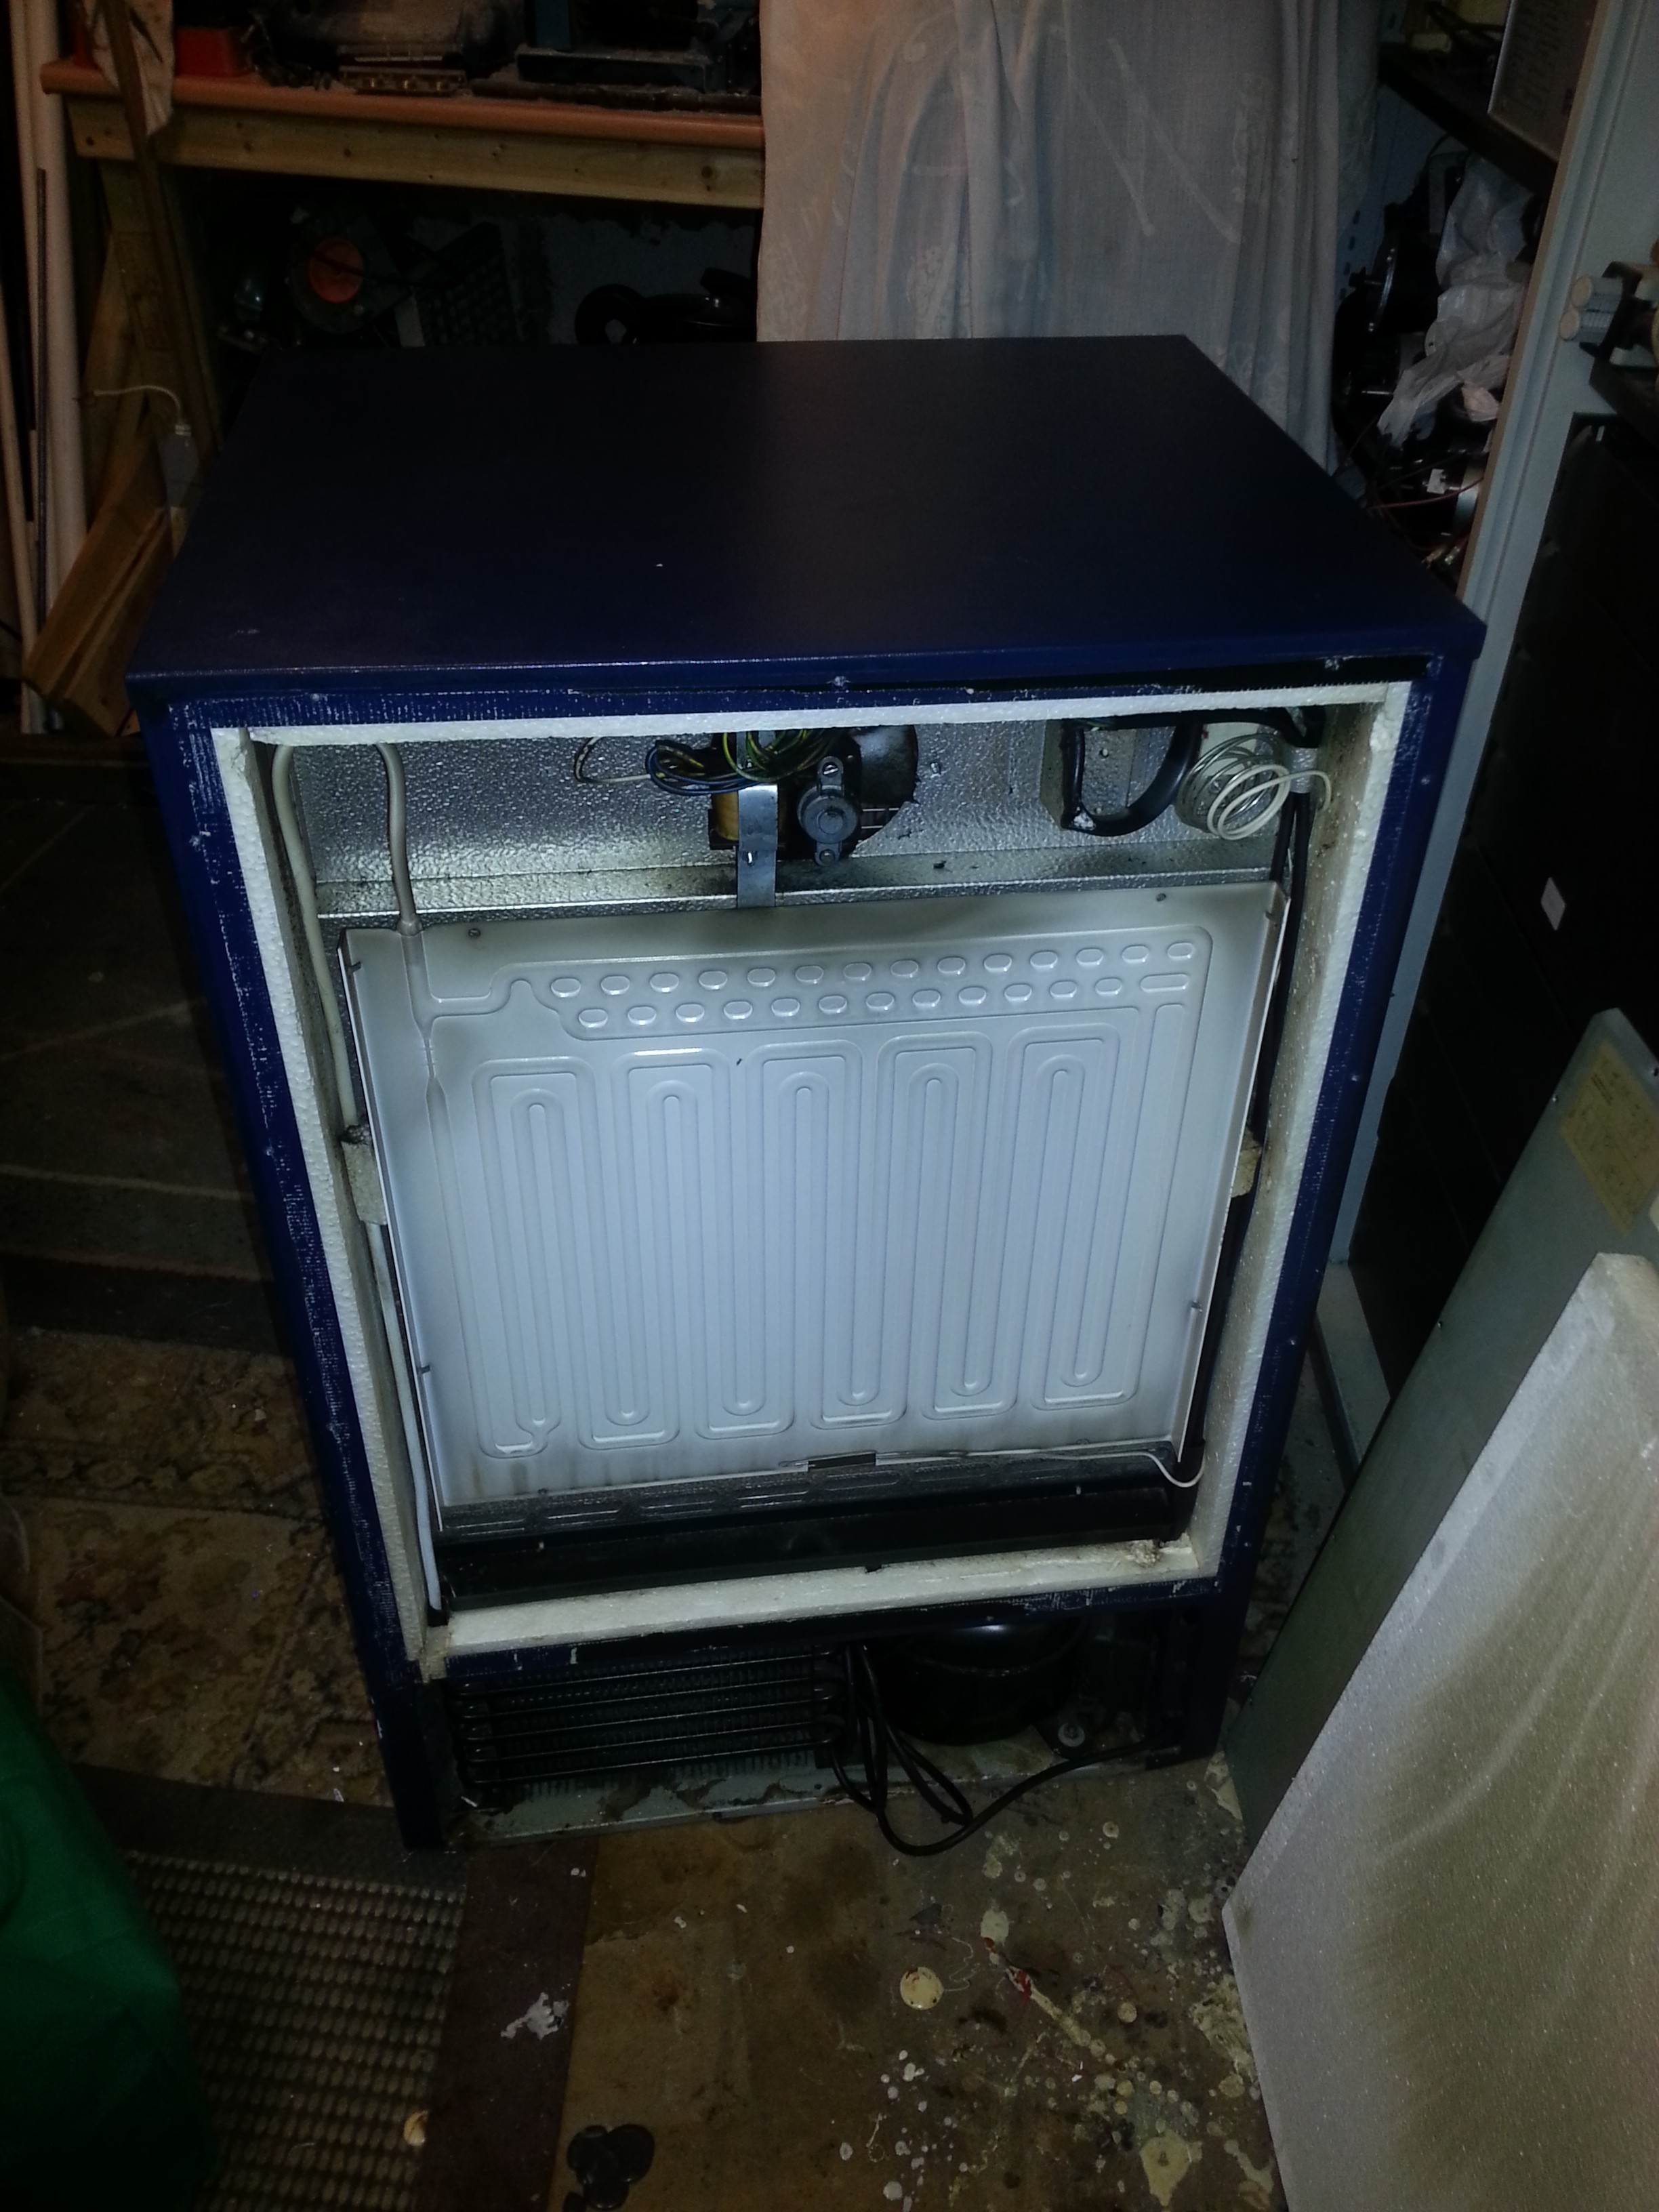
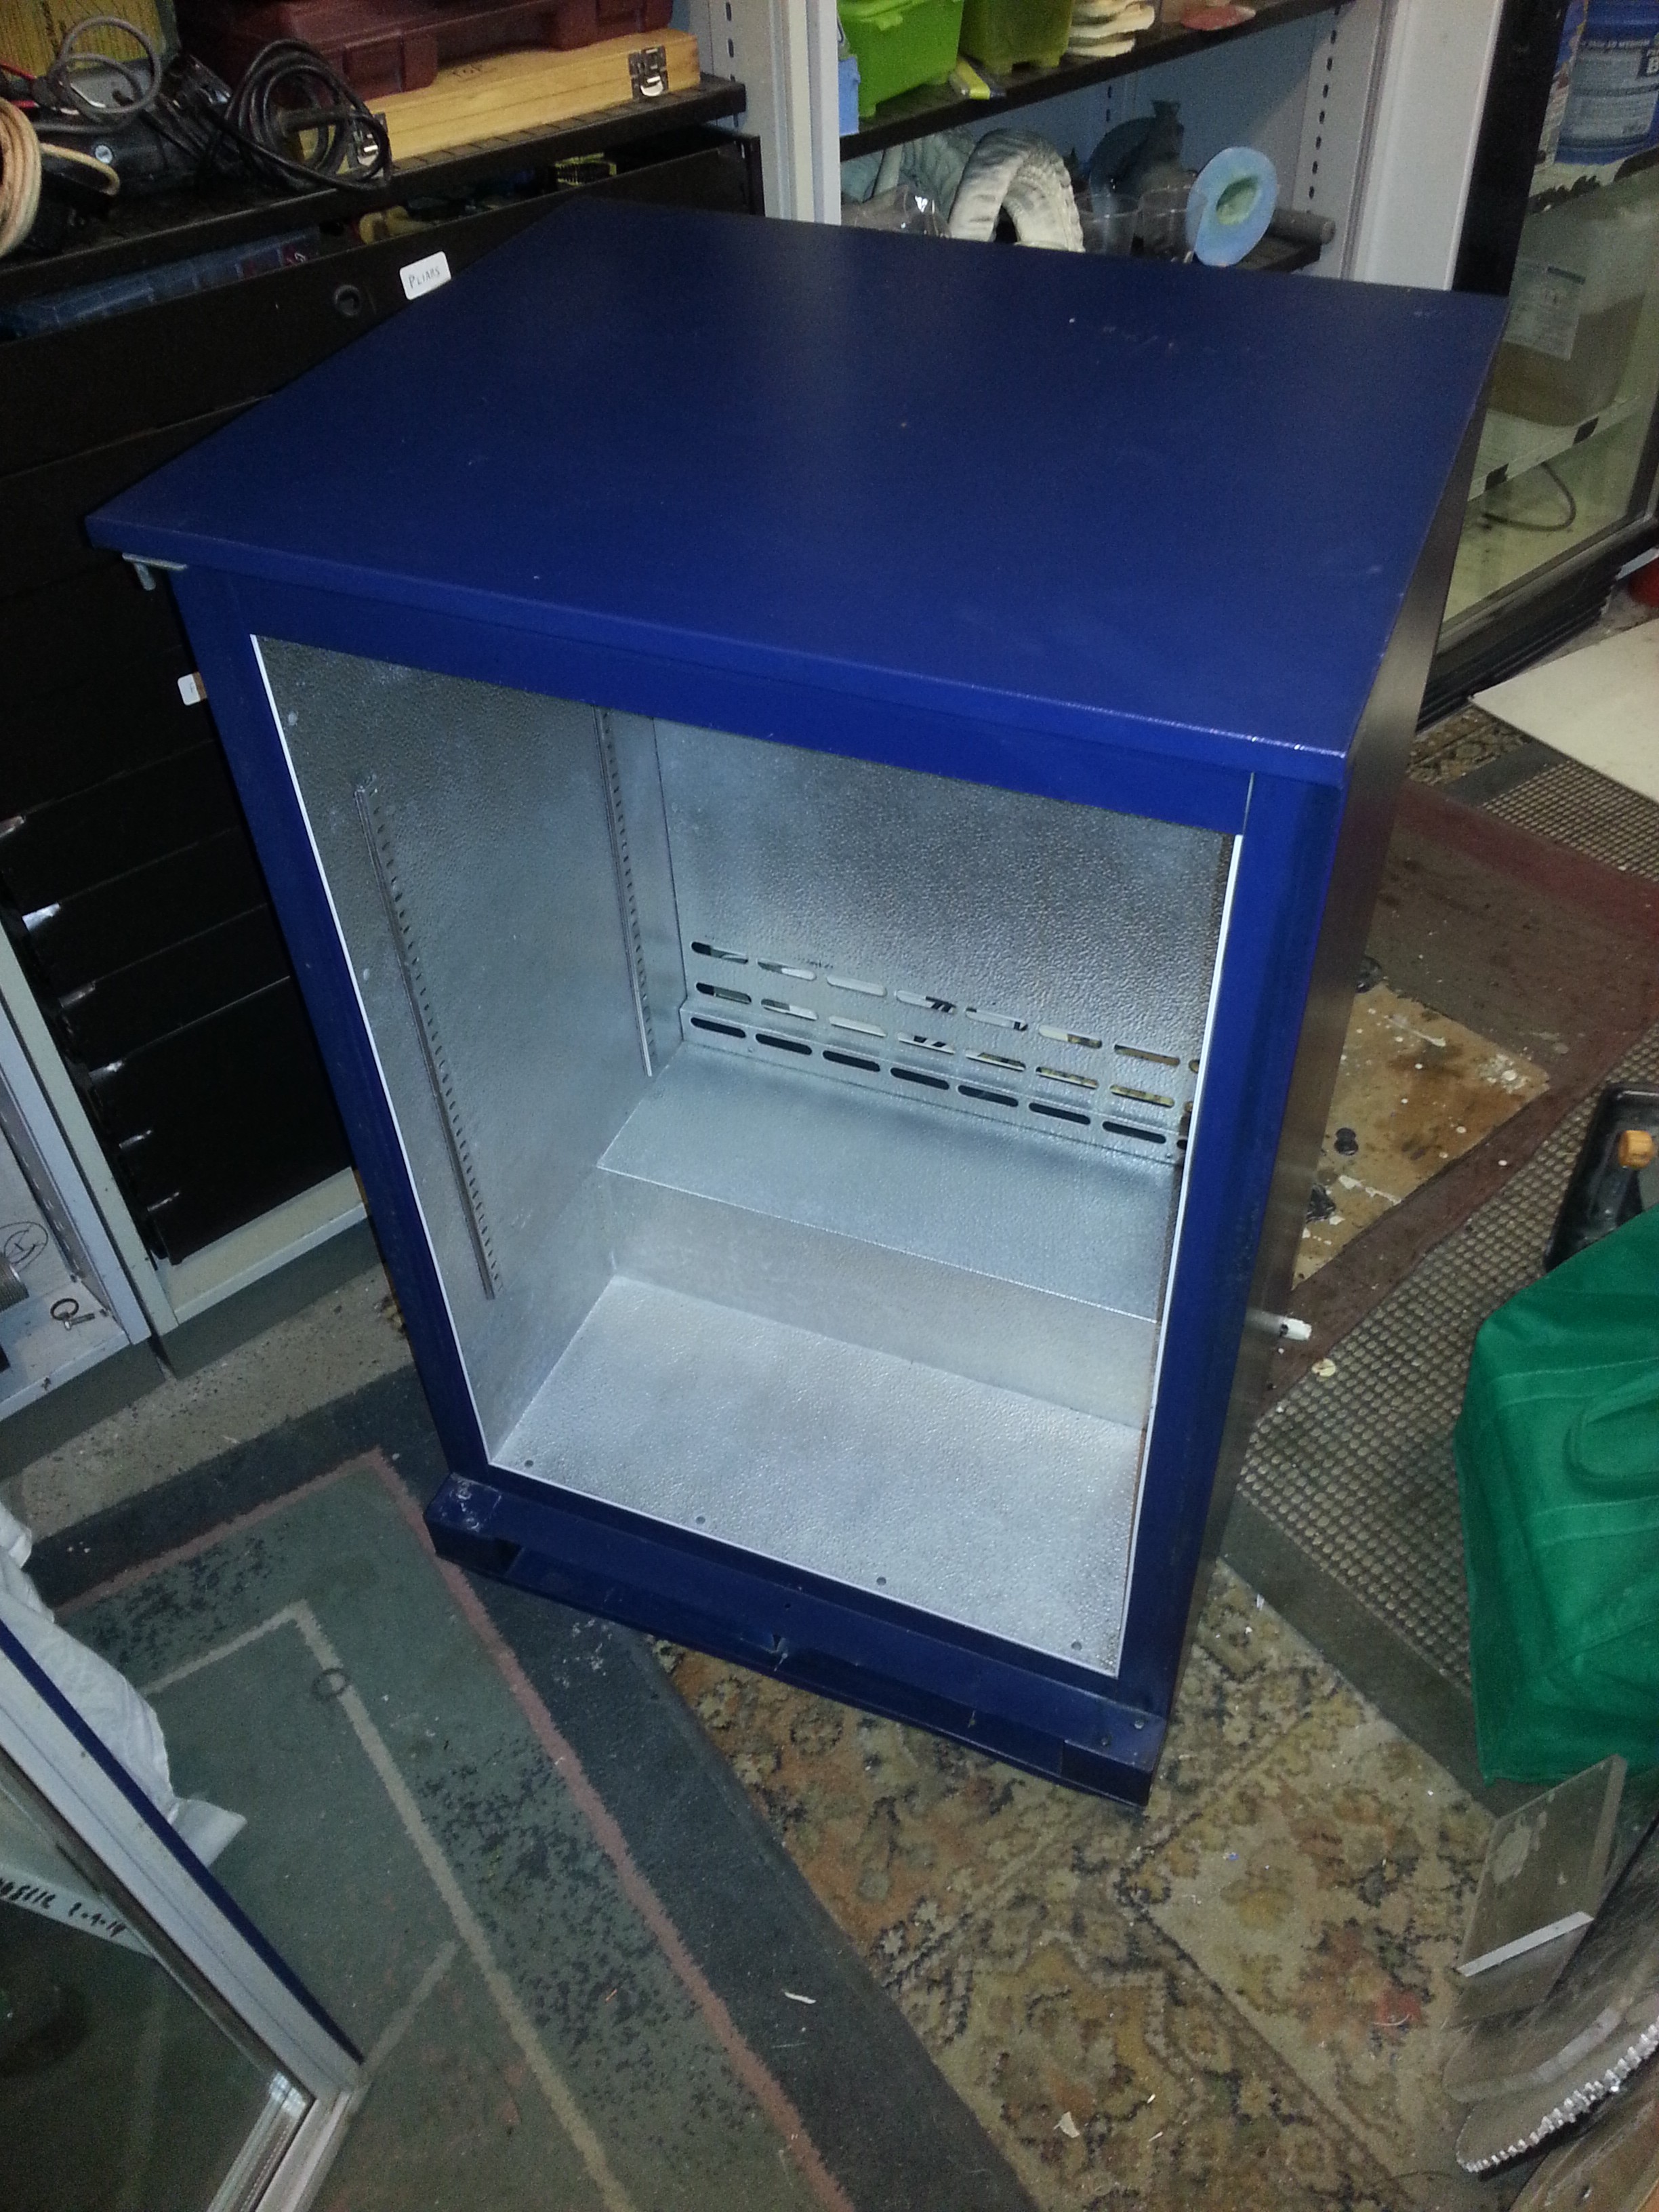
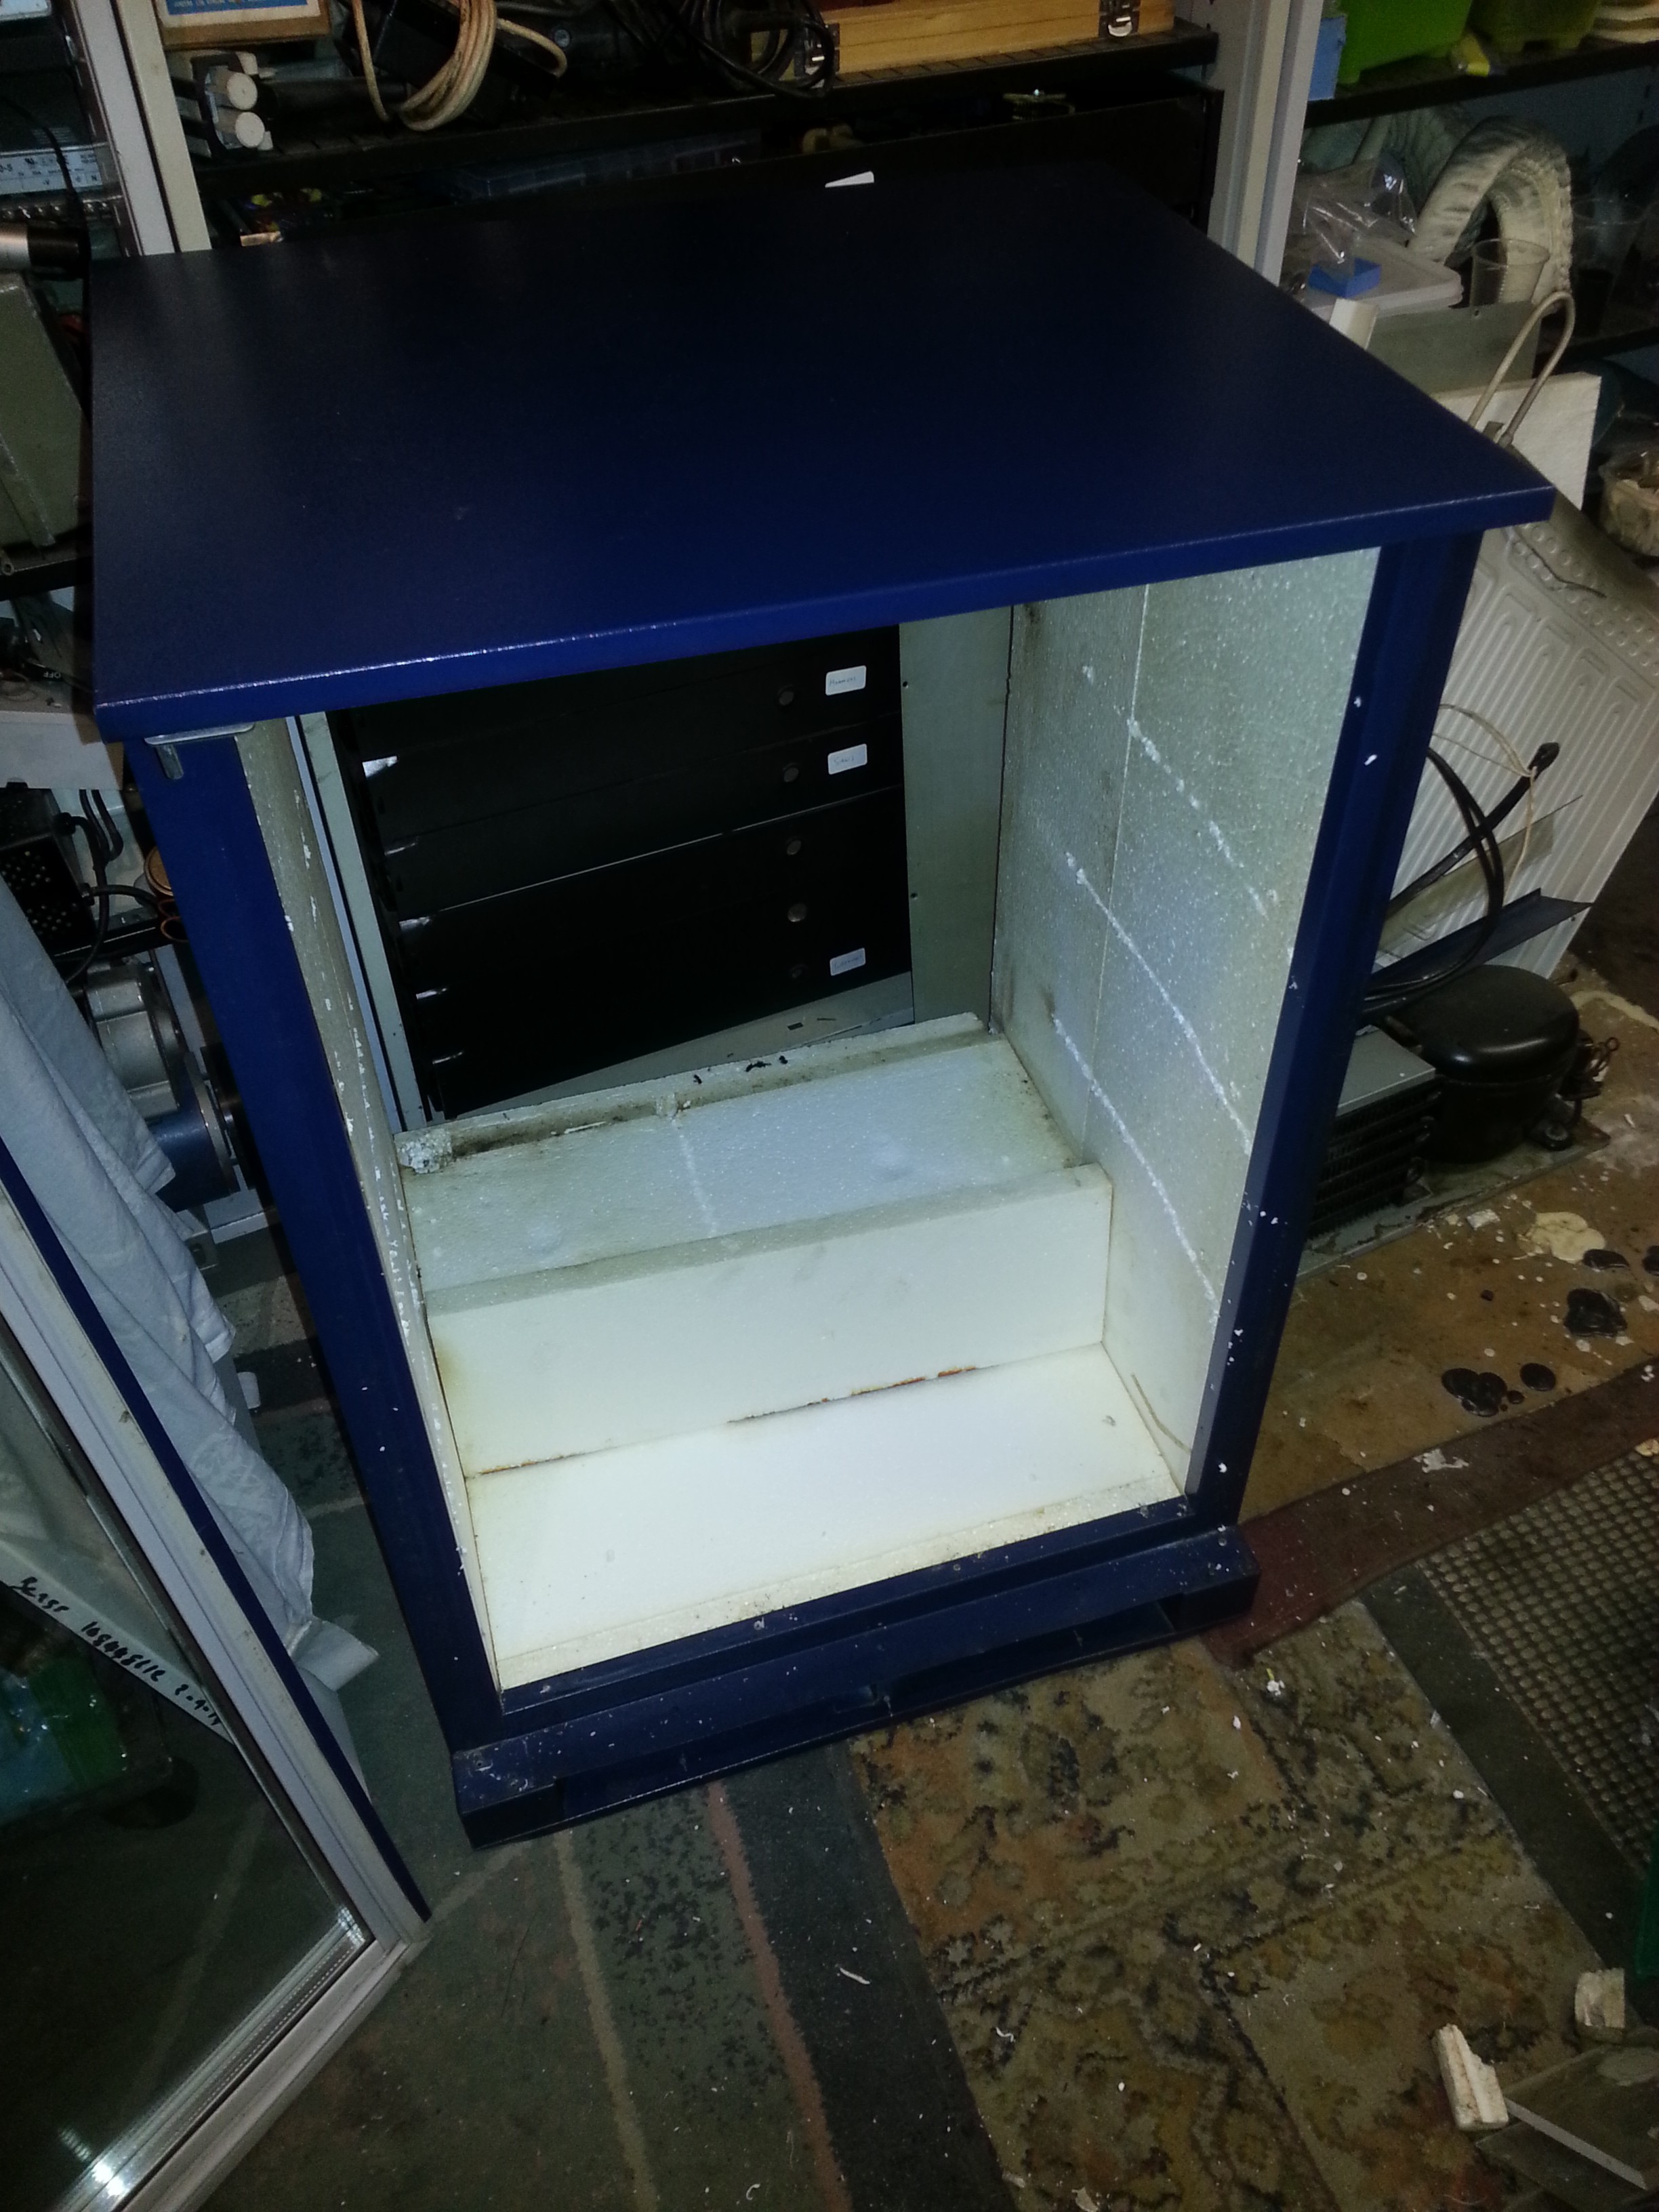
Aside from some rust under it at the bottom and a few small dents, the shell should do fine. I may need to make some alterations to the liner though. At very least, the ventilated back piece will need swapping out. The existing shelf-mounts may be fine for holding the printer guts.
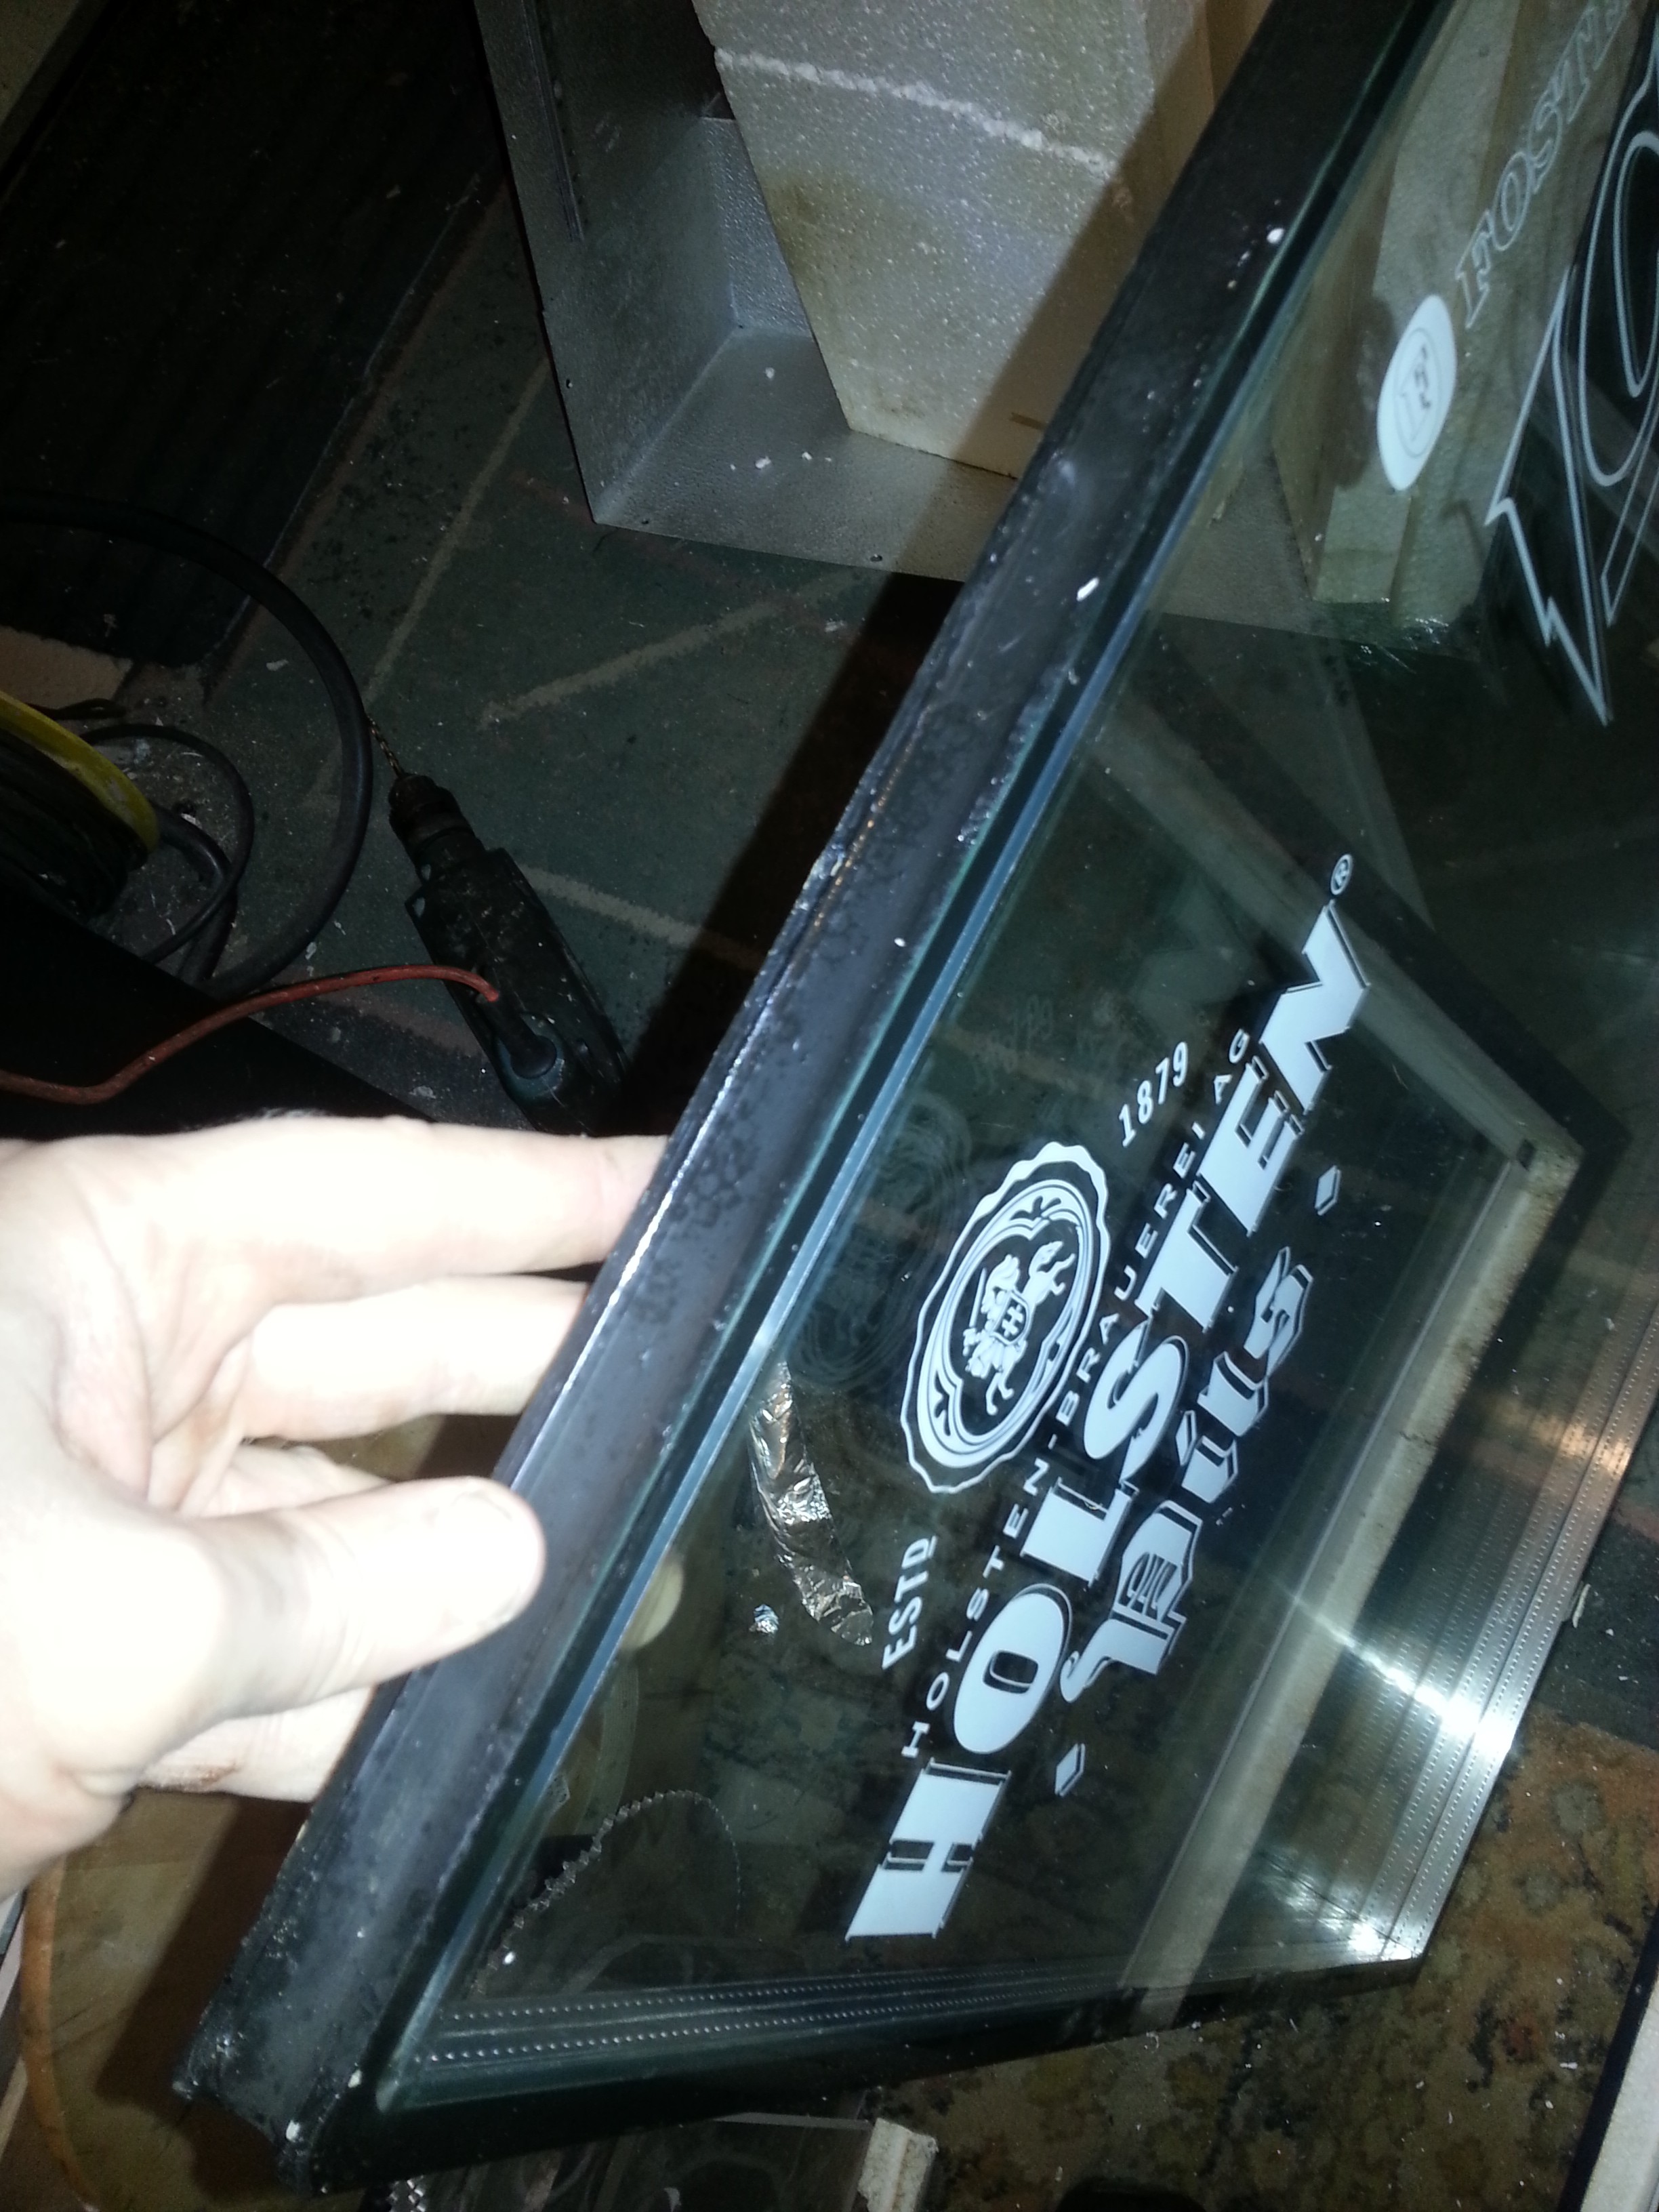
Let's get those decals off the door quickly and call it a night.

 Oh.
Oh.
There's no extra layer sandwiched to the front like I thought. The decals are painted on the INSIDE of the glasing unit. That's... going to be tricky to remove. Also the rubber sealing compound is very soft and I'm already worried it might melt at the temperatures needed.
That's going to need some thought. I may need to make an entire custom door. I'll fix the insulation first though.
Discussions
Become a Hackaday.io Member
Create an account to leave a comment. Already have an account? Log In.