 Keith Elliott
So rather than make individual posts for painting each of the pieces, I decided to lump everything together. The Xenomorph design has varied a lot between depictions, so really there were no specific requirements for coloring and design. I wanted something similar enough to the original designs to be recognizable, but I wasn't that concerned about fine details.
Disclaimer: Since I don't have an artistic bone in my body, my wife was kind enough to do most of the painting for me. She did a far better job than I ever could have and everything turned out wonderfully!
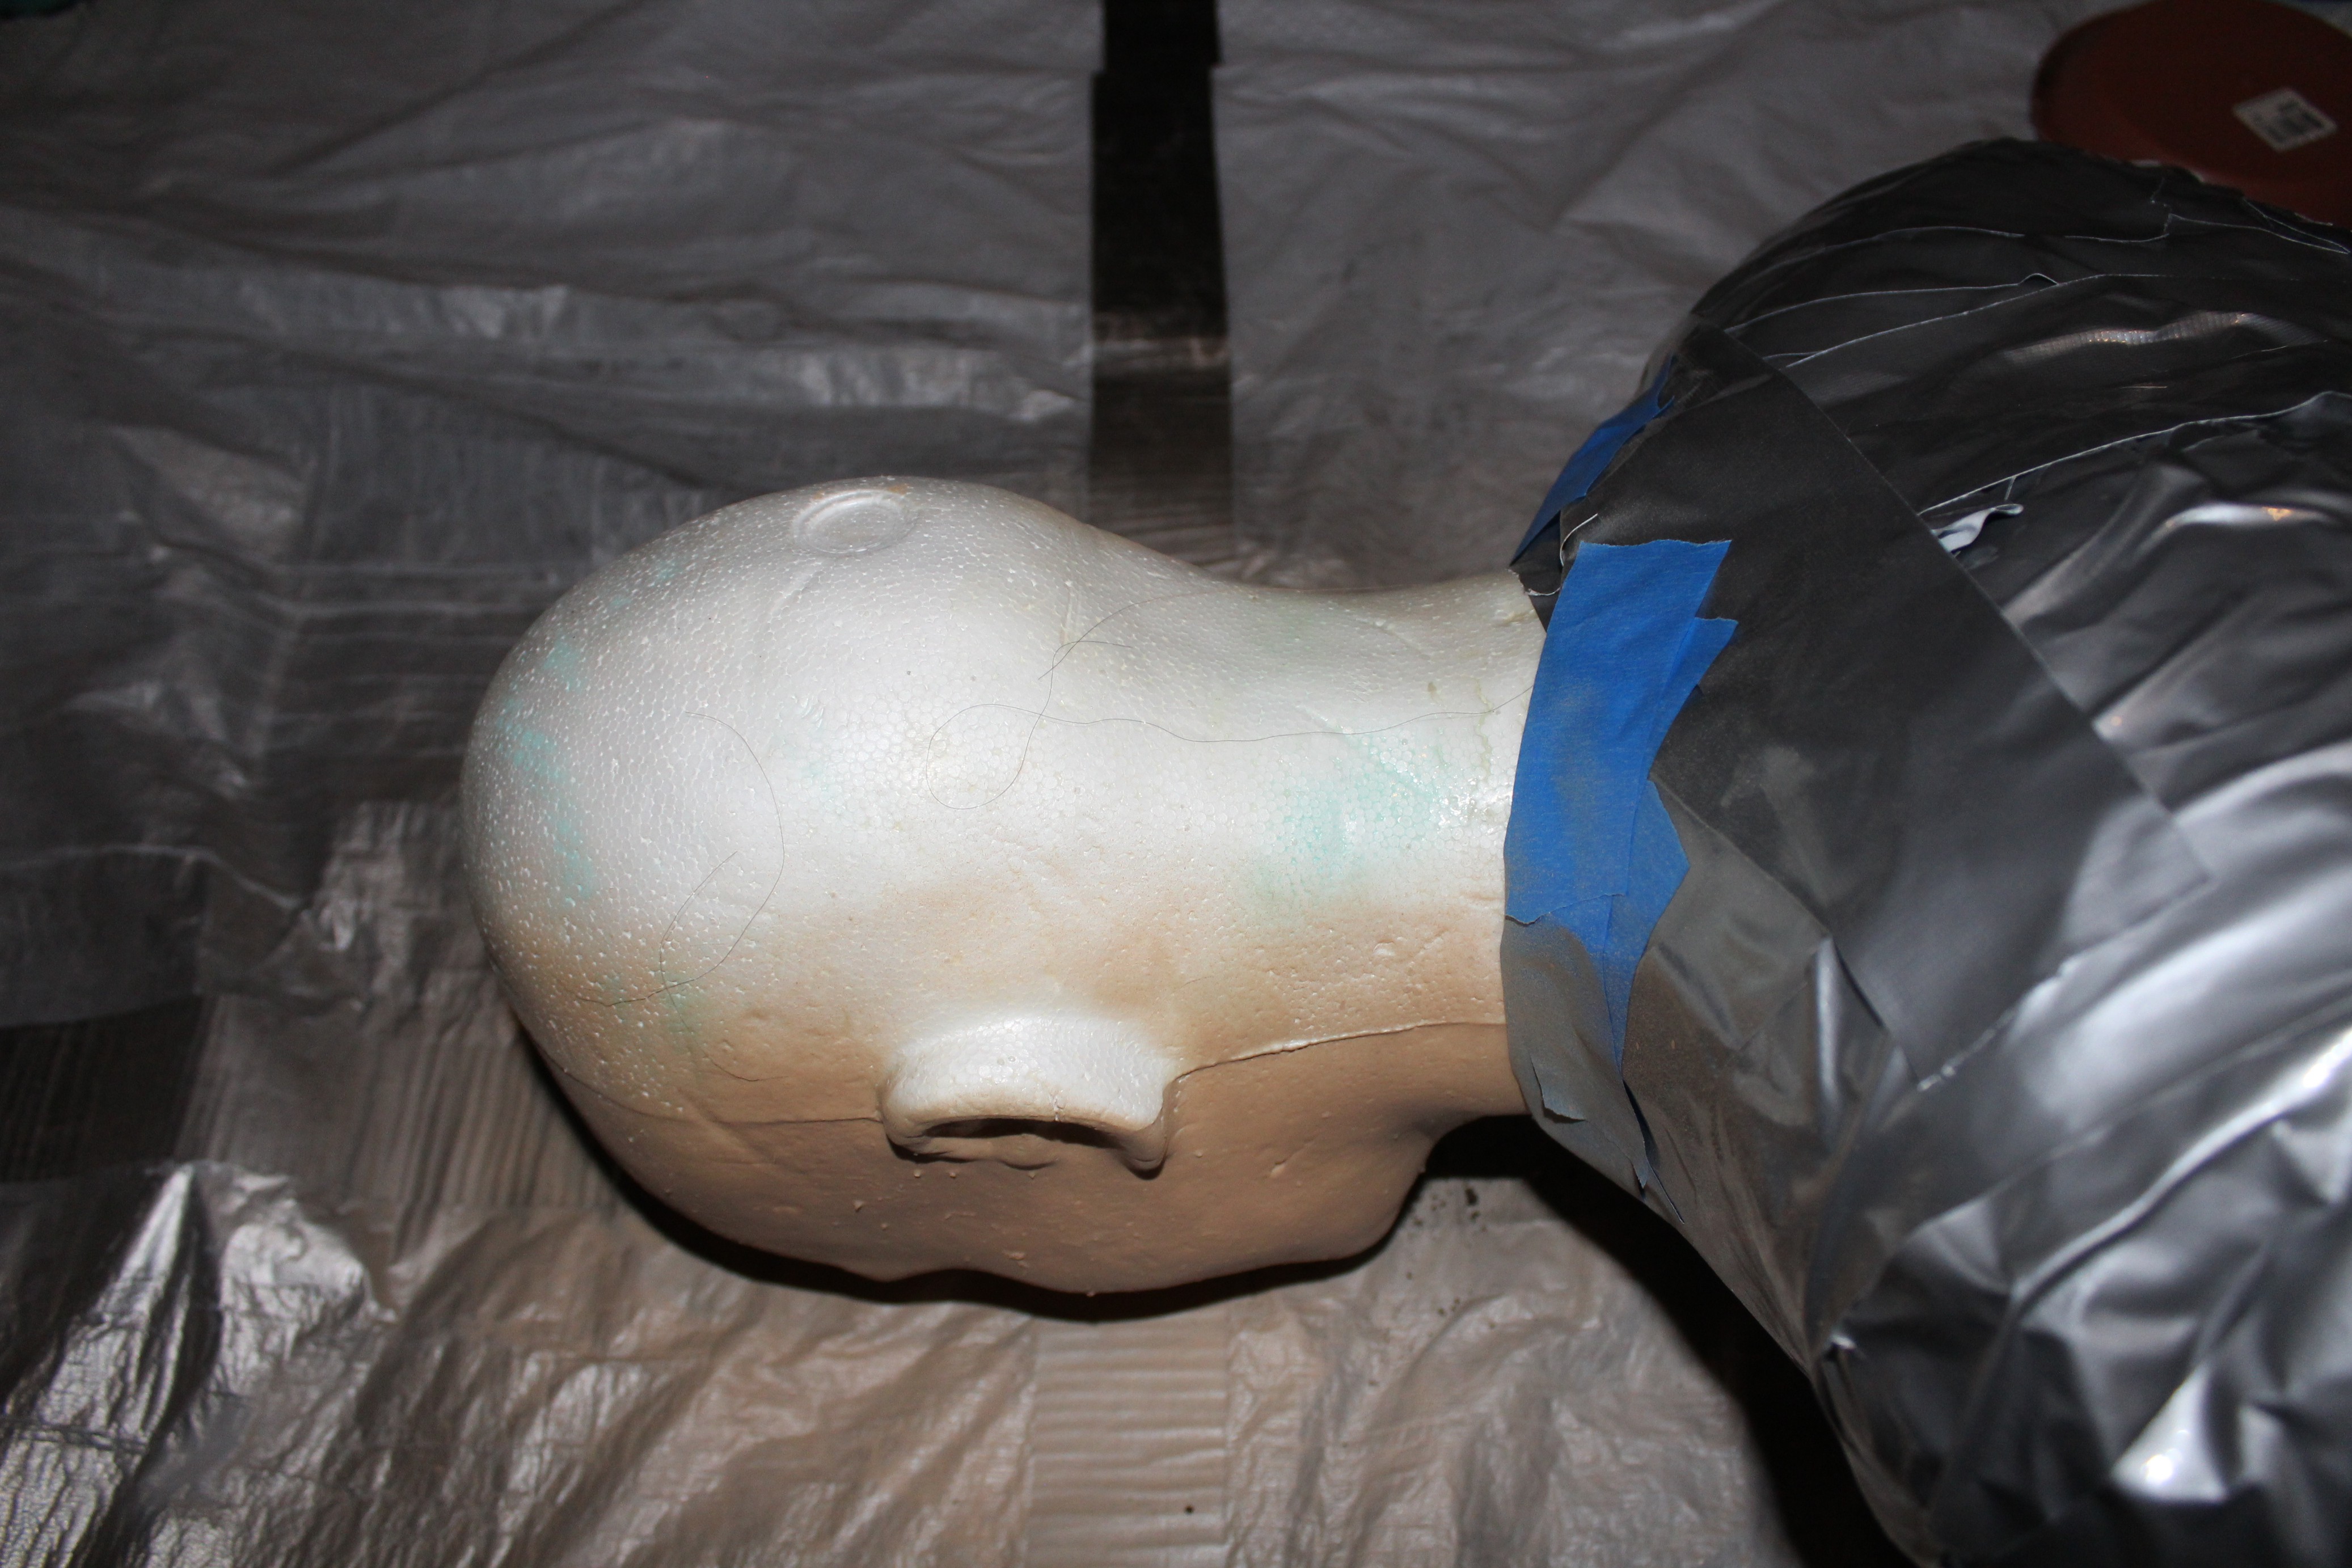
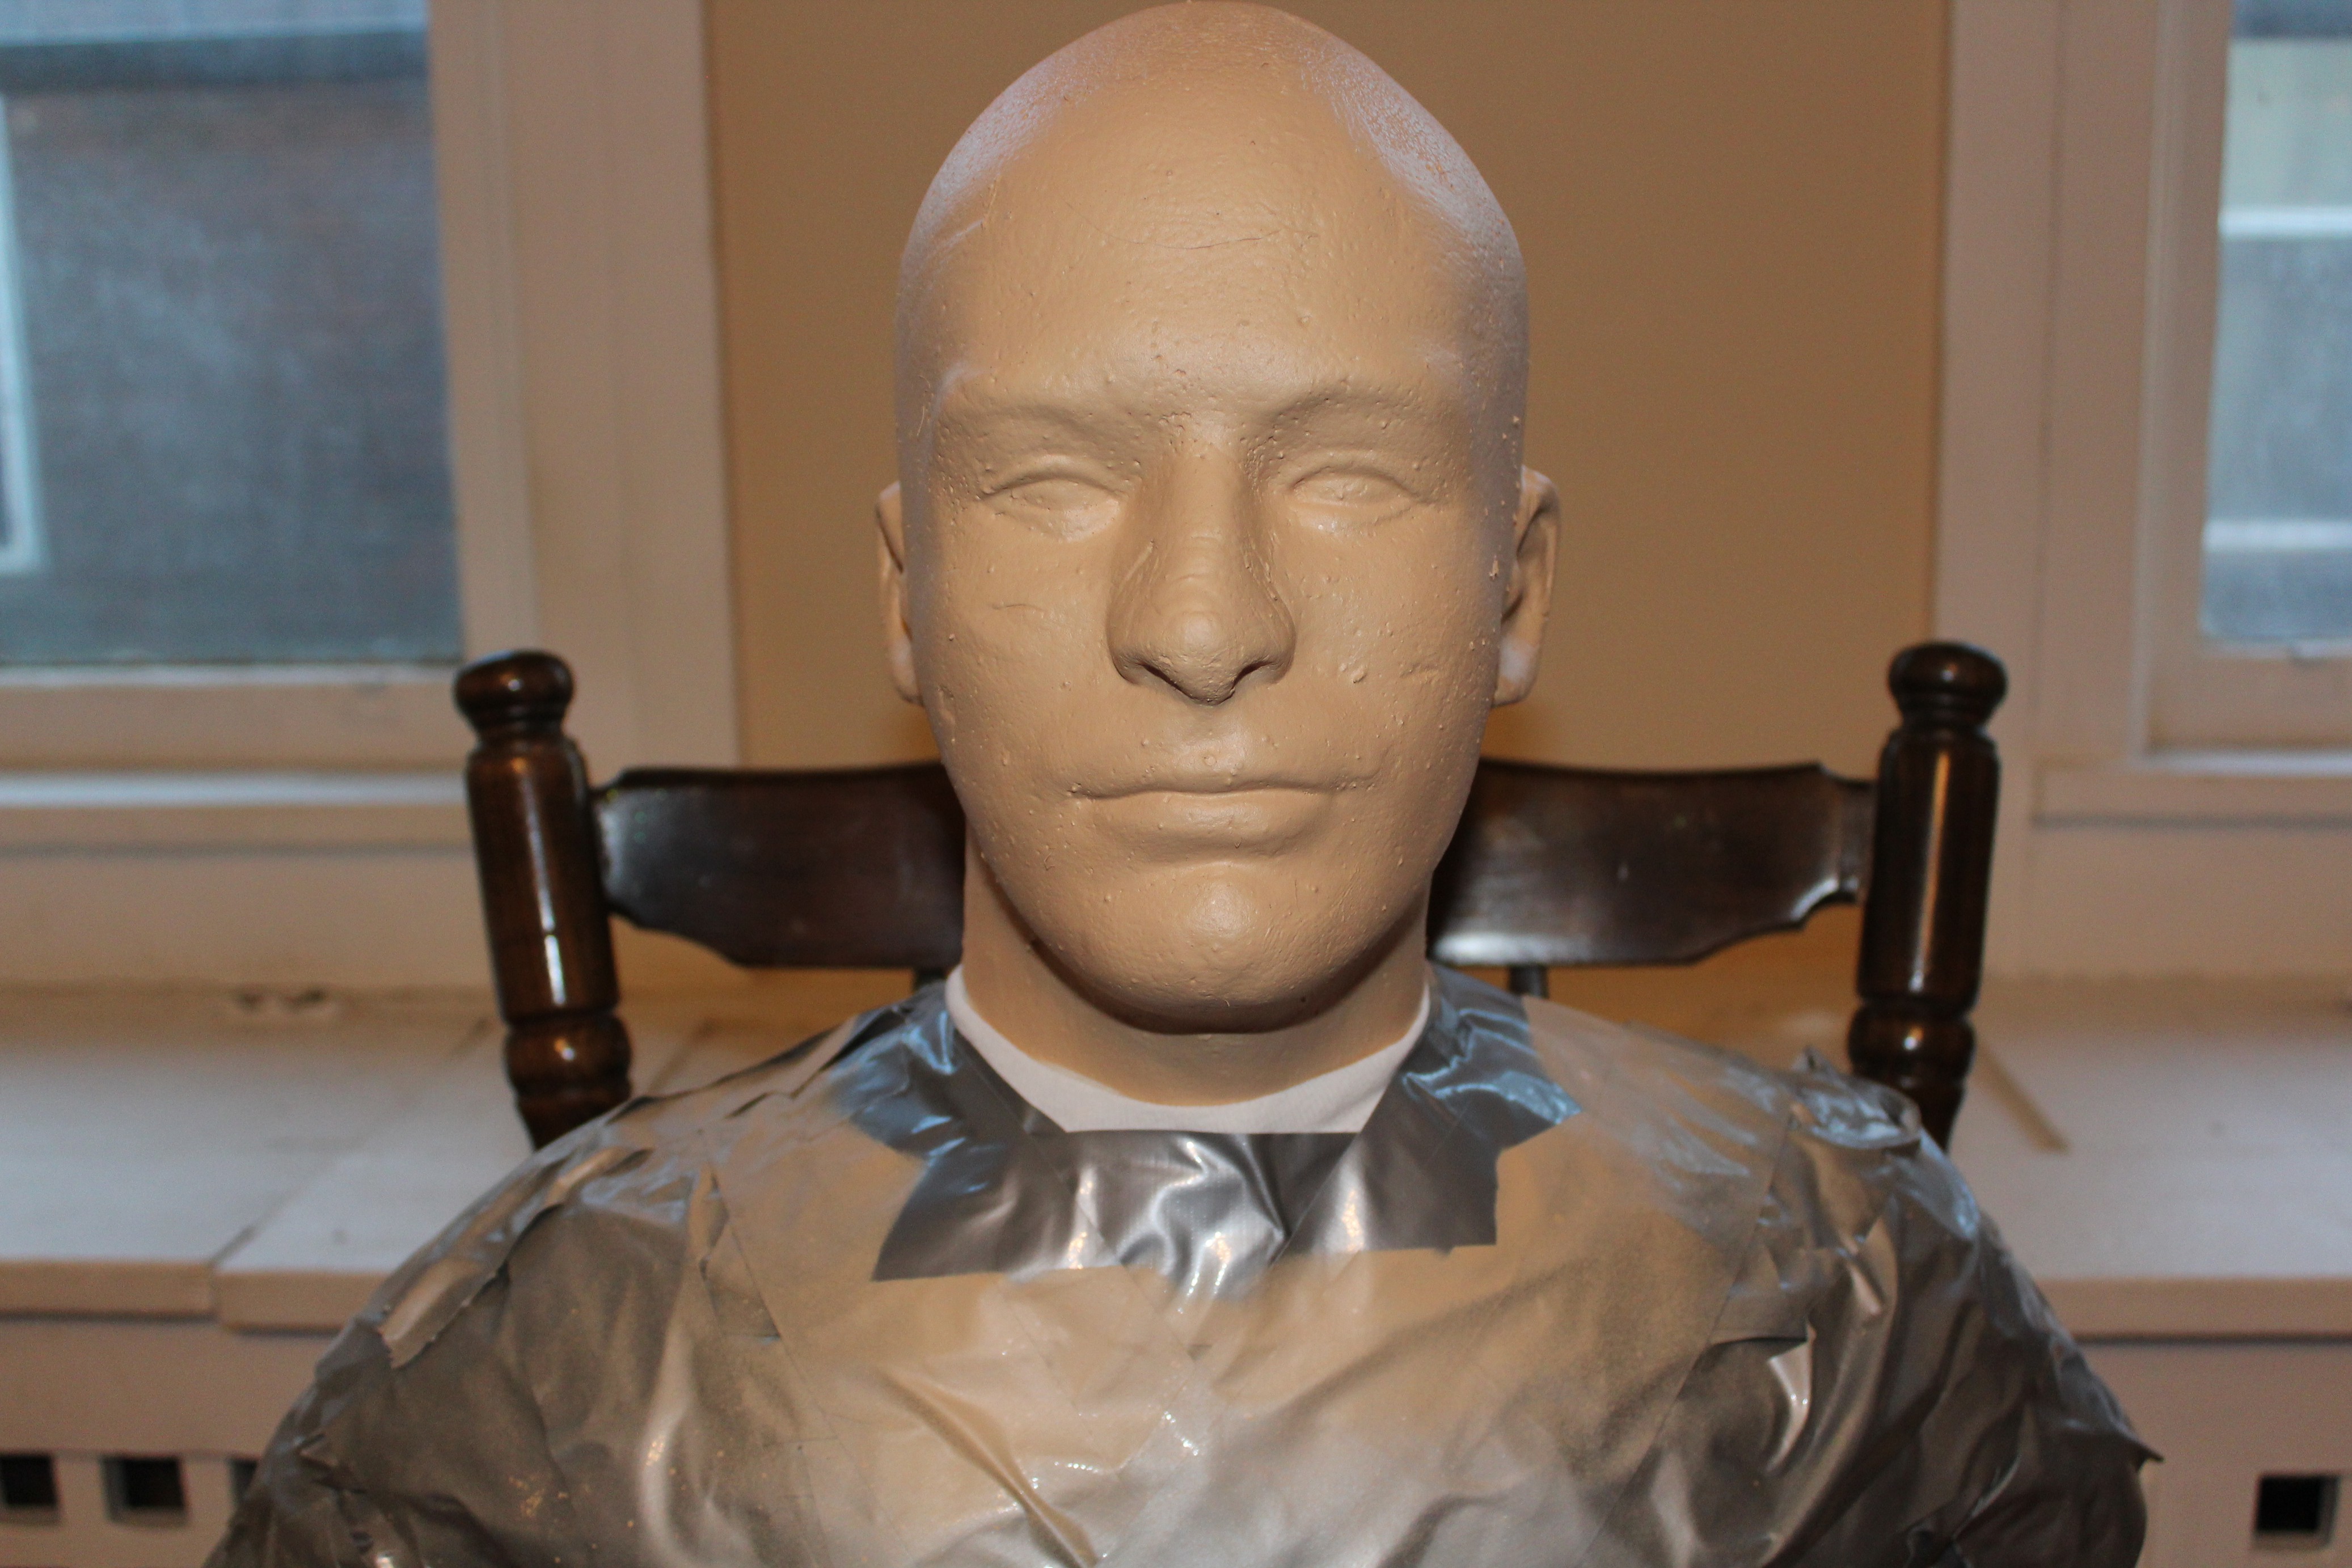
Prior to painting, I coated all the prints and the styrofoam head in liquid latex, which was an interesting experience. The bottle I purchased advertised that it was good for monster make up or making scars on faces, but it was difficult to work with to make a smooth surface. Luckily, the dried latex peeled off really easily, which was convenient in the case of mistakes but also sometimes peeled off too easily. After several tries, however, all the pieces had a nice matte finish and fleshy look to them.
Facehugger
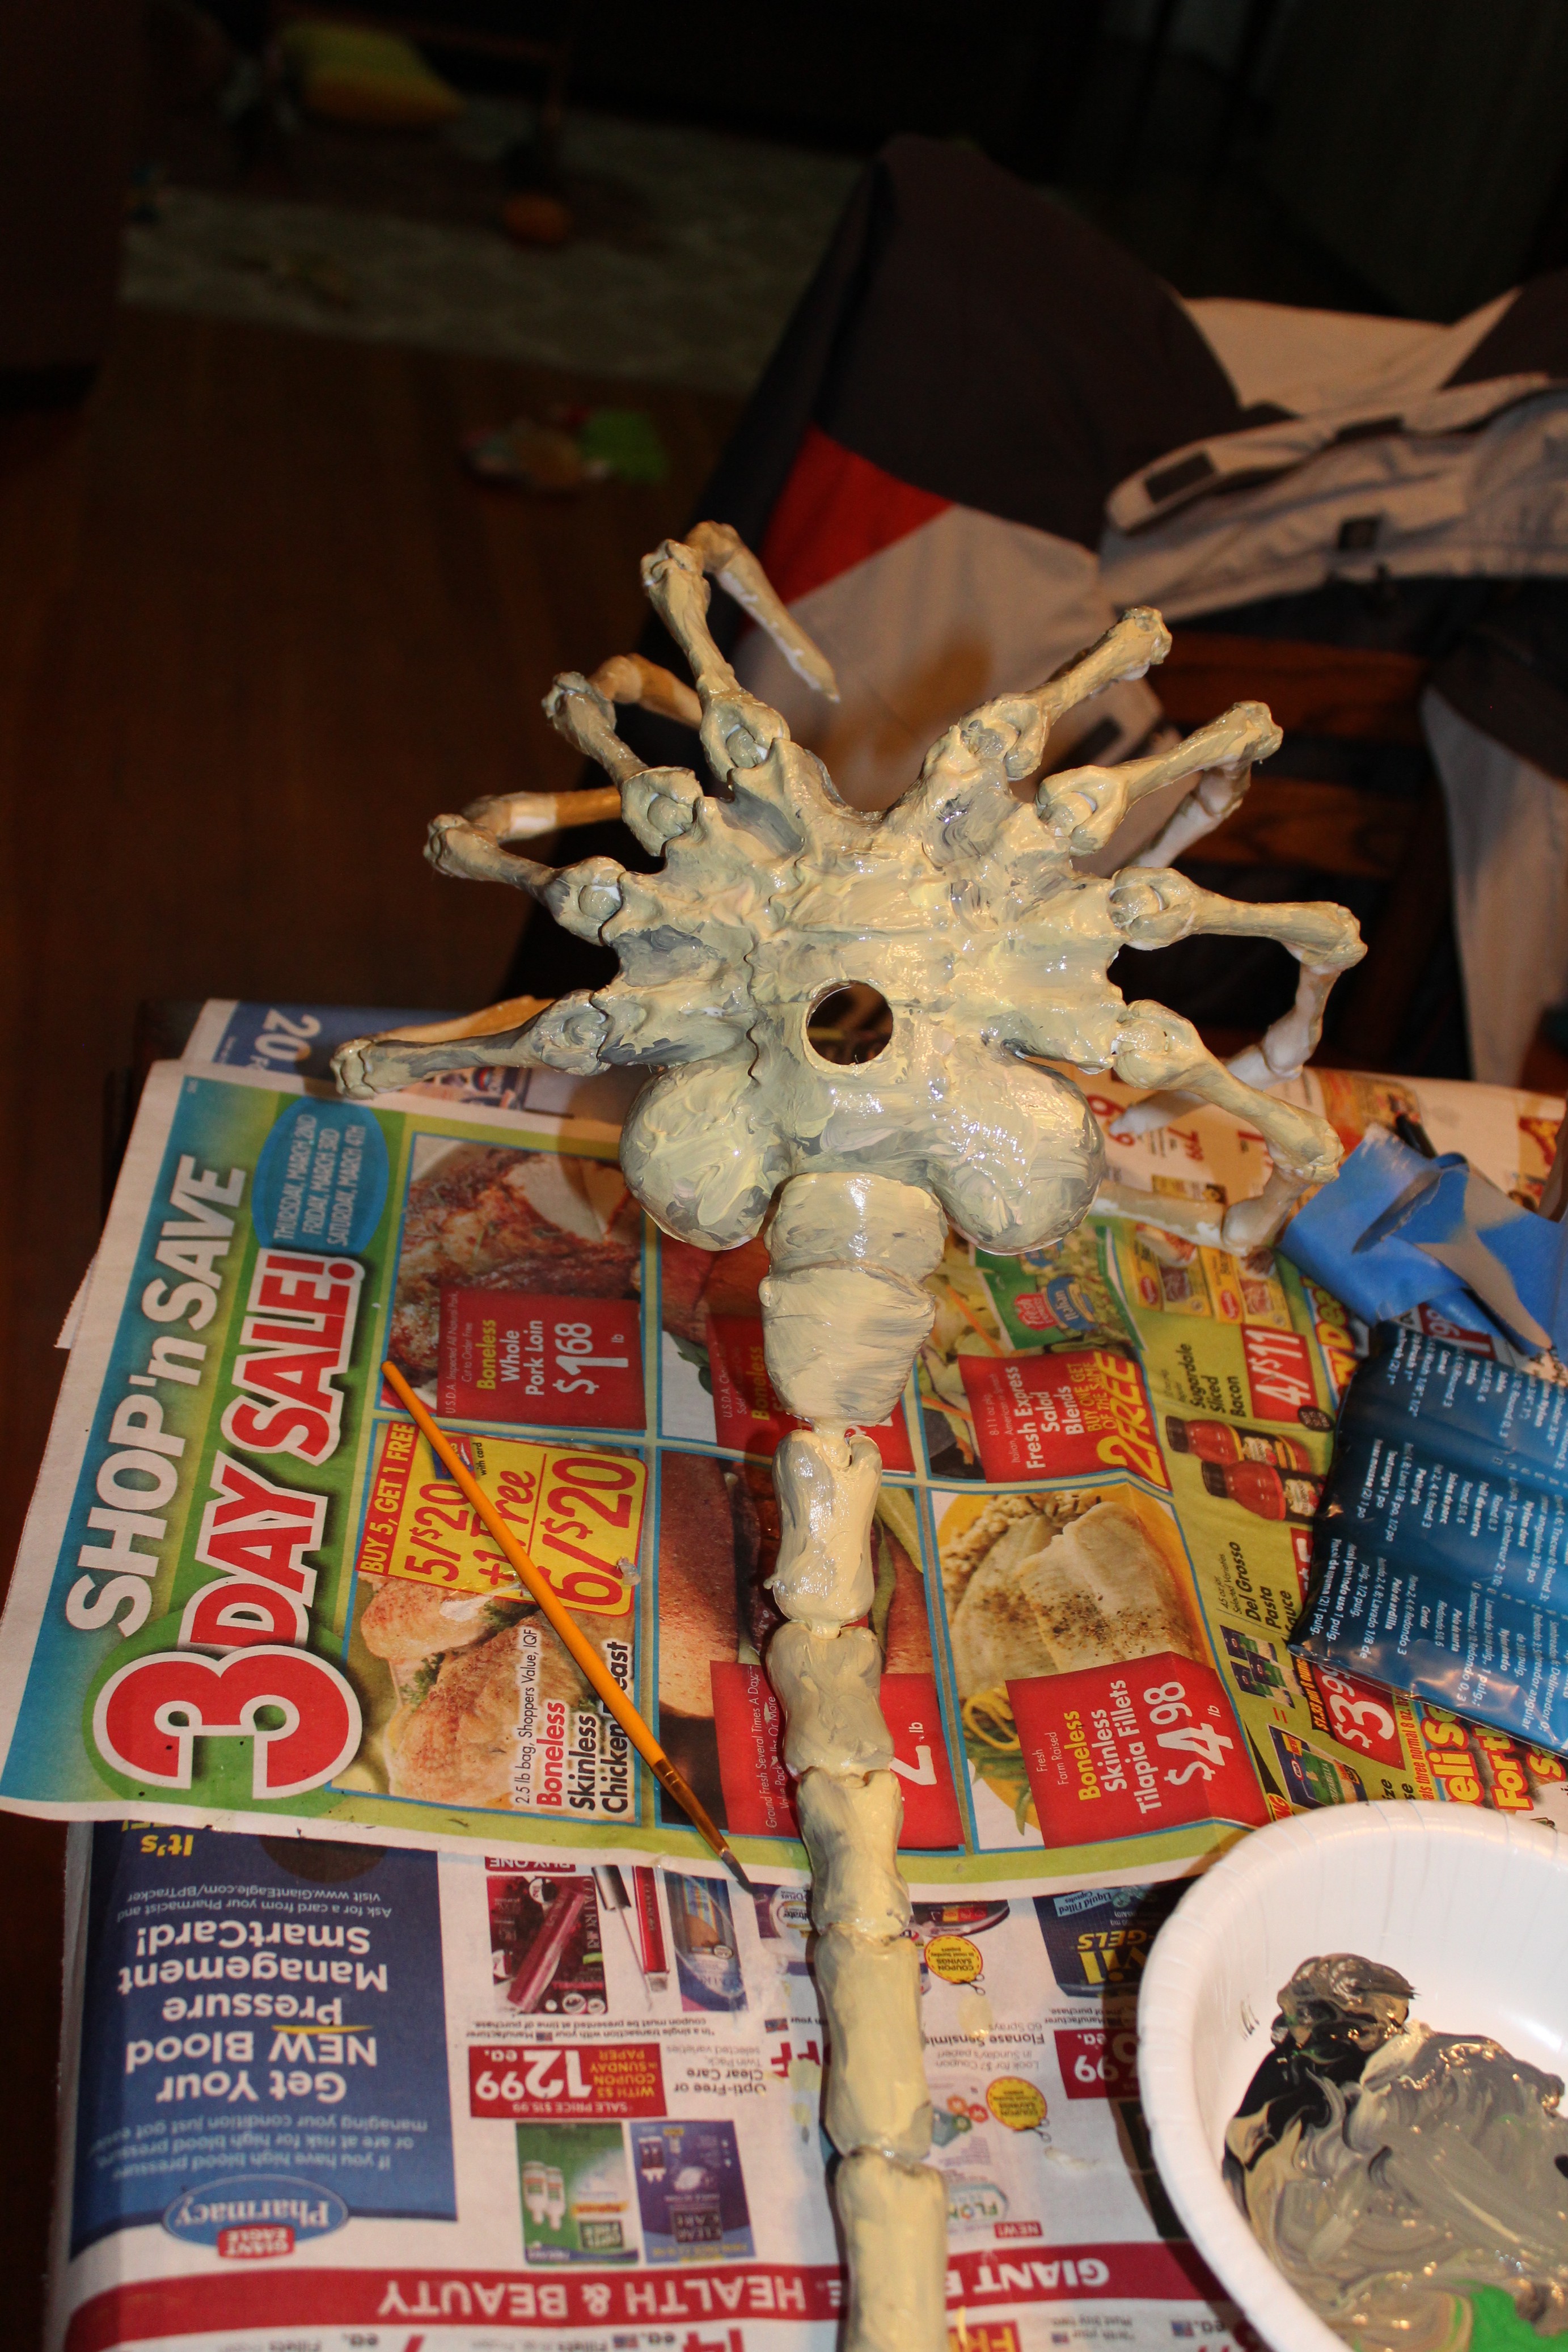
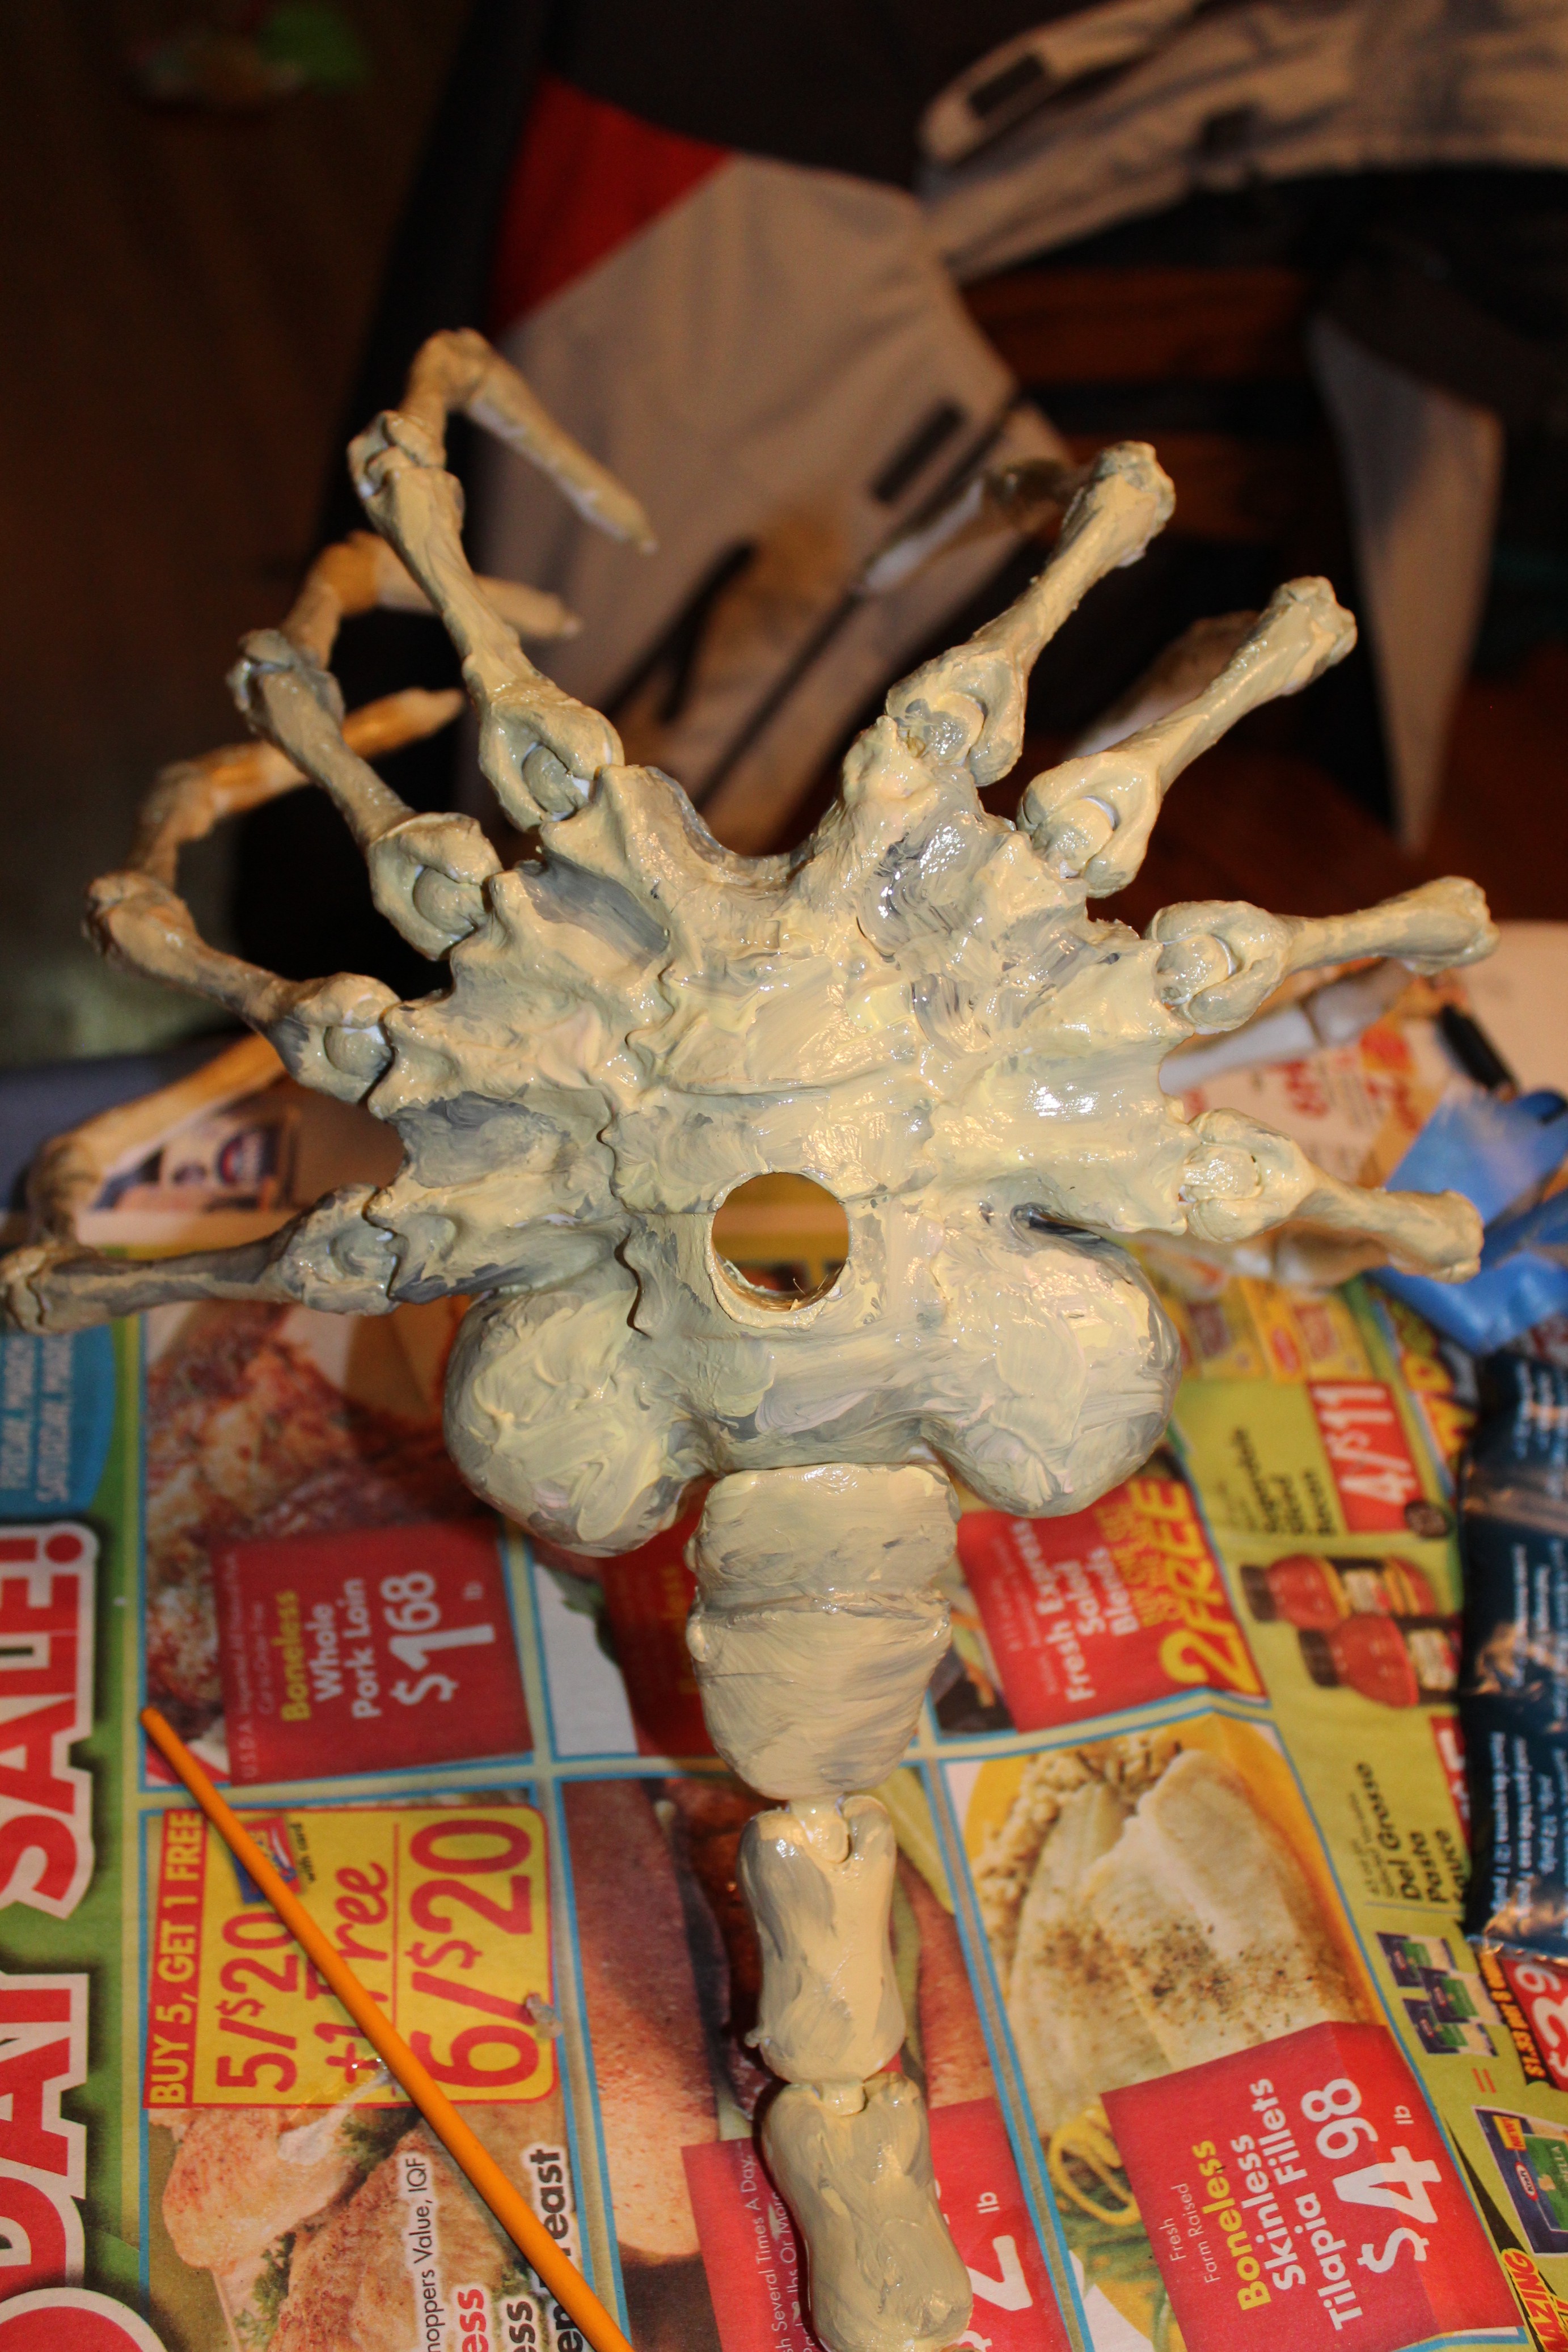
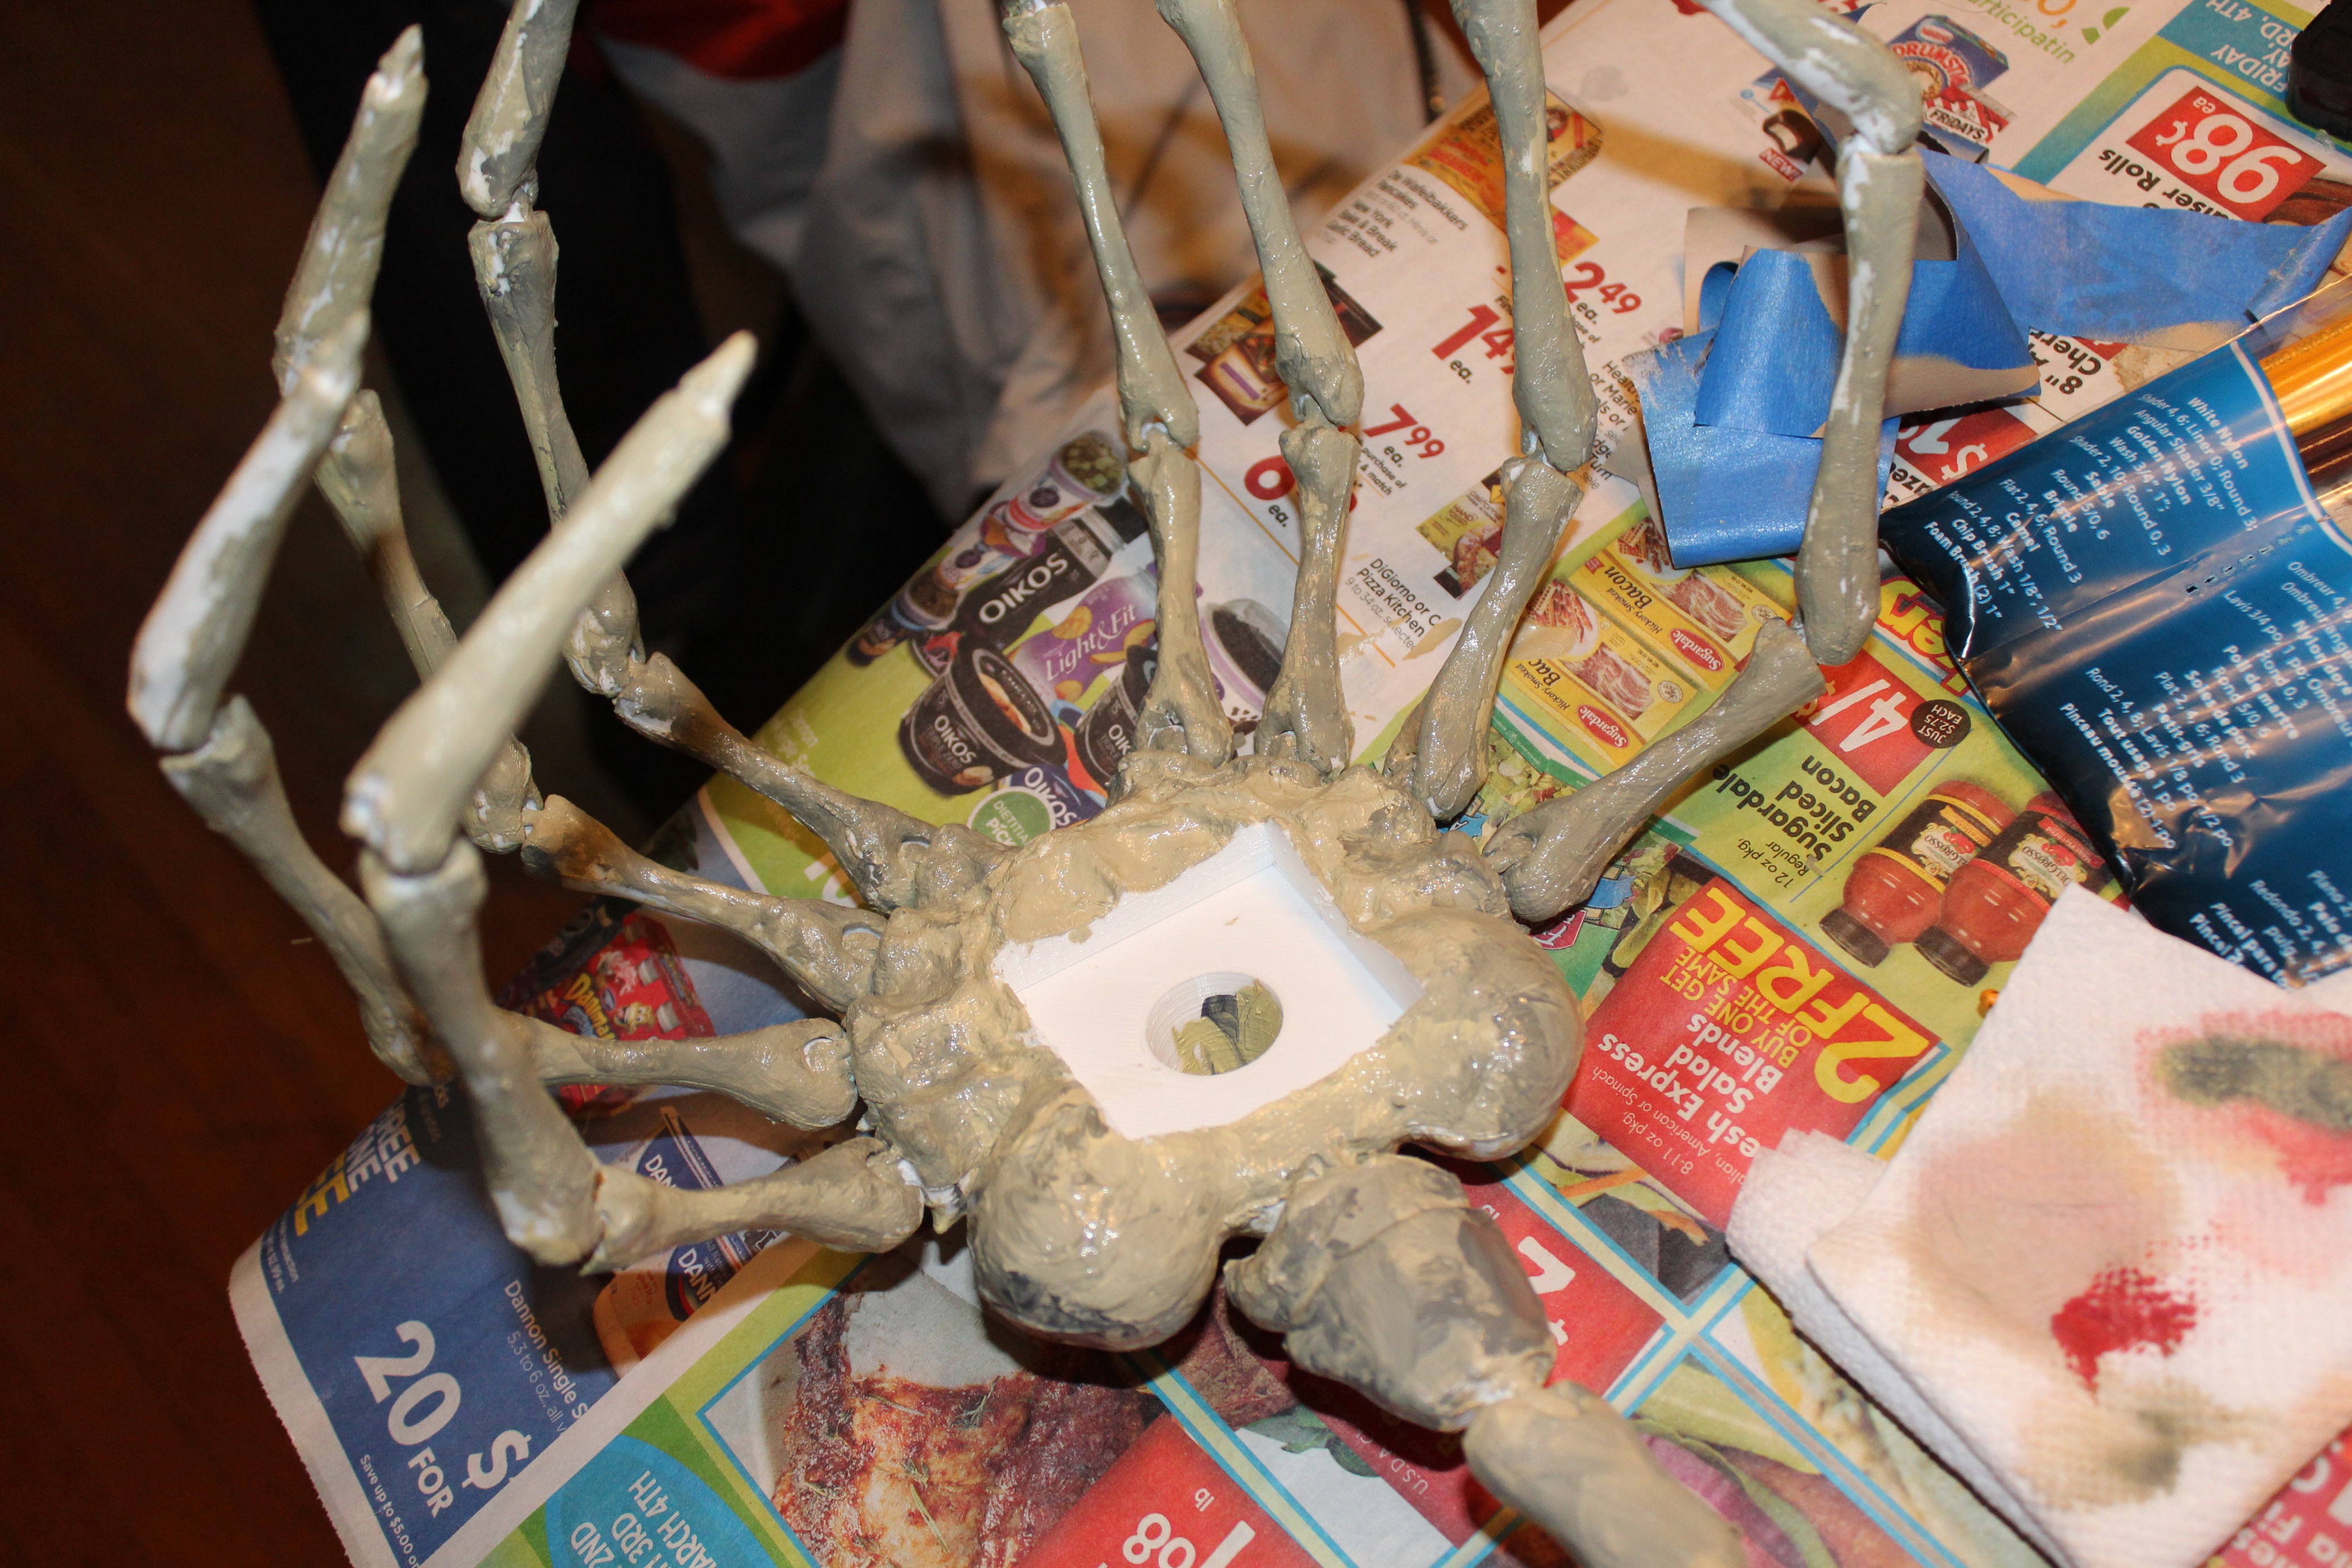
Since Freddie the facehugger is so large, we were a little concerned about keeping the color scheme constant if we went with the same messy approach used for Charlie. Instead, she mixed a ton of light yellowy greenish gray (again, technical terms!) as well as a darker, browner version and a deeper dark gray/brown for shadows. She coated the whole thing with the lightest shade and then contoured the edges and details with the darker colors. This approach was less detailed than mixing small amounts of each creepy bloody shade for Charlie, but it was the easiest way to keep this consistent from the tail all the way out to the arms. One extra challenge with Freddie was all the joints. We wanted to cover as much of the white PLA as possible while still allowing some flexibility. To solve this problem, we used a very watered down paint that was more translucent but soaked into the joints better and did a good job of covering all the visible white sections.
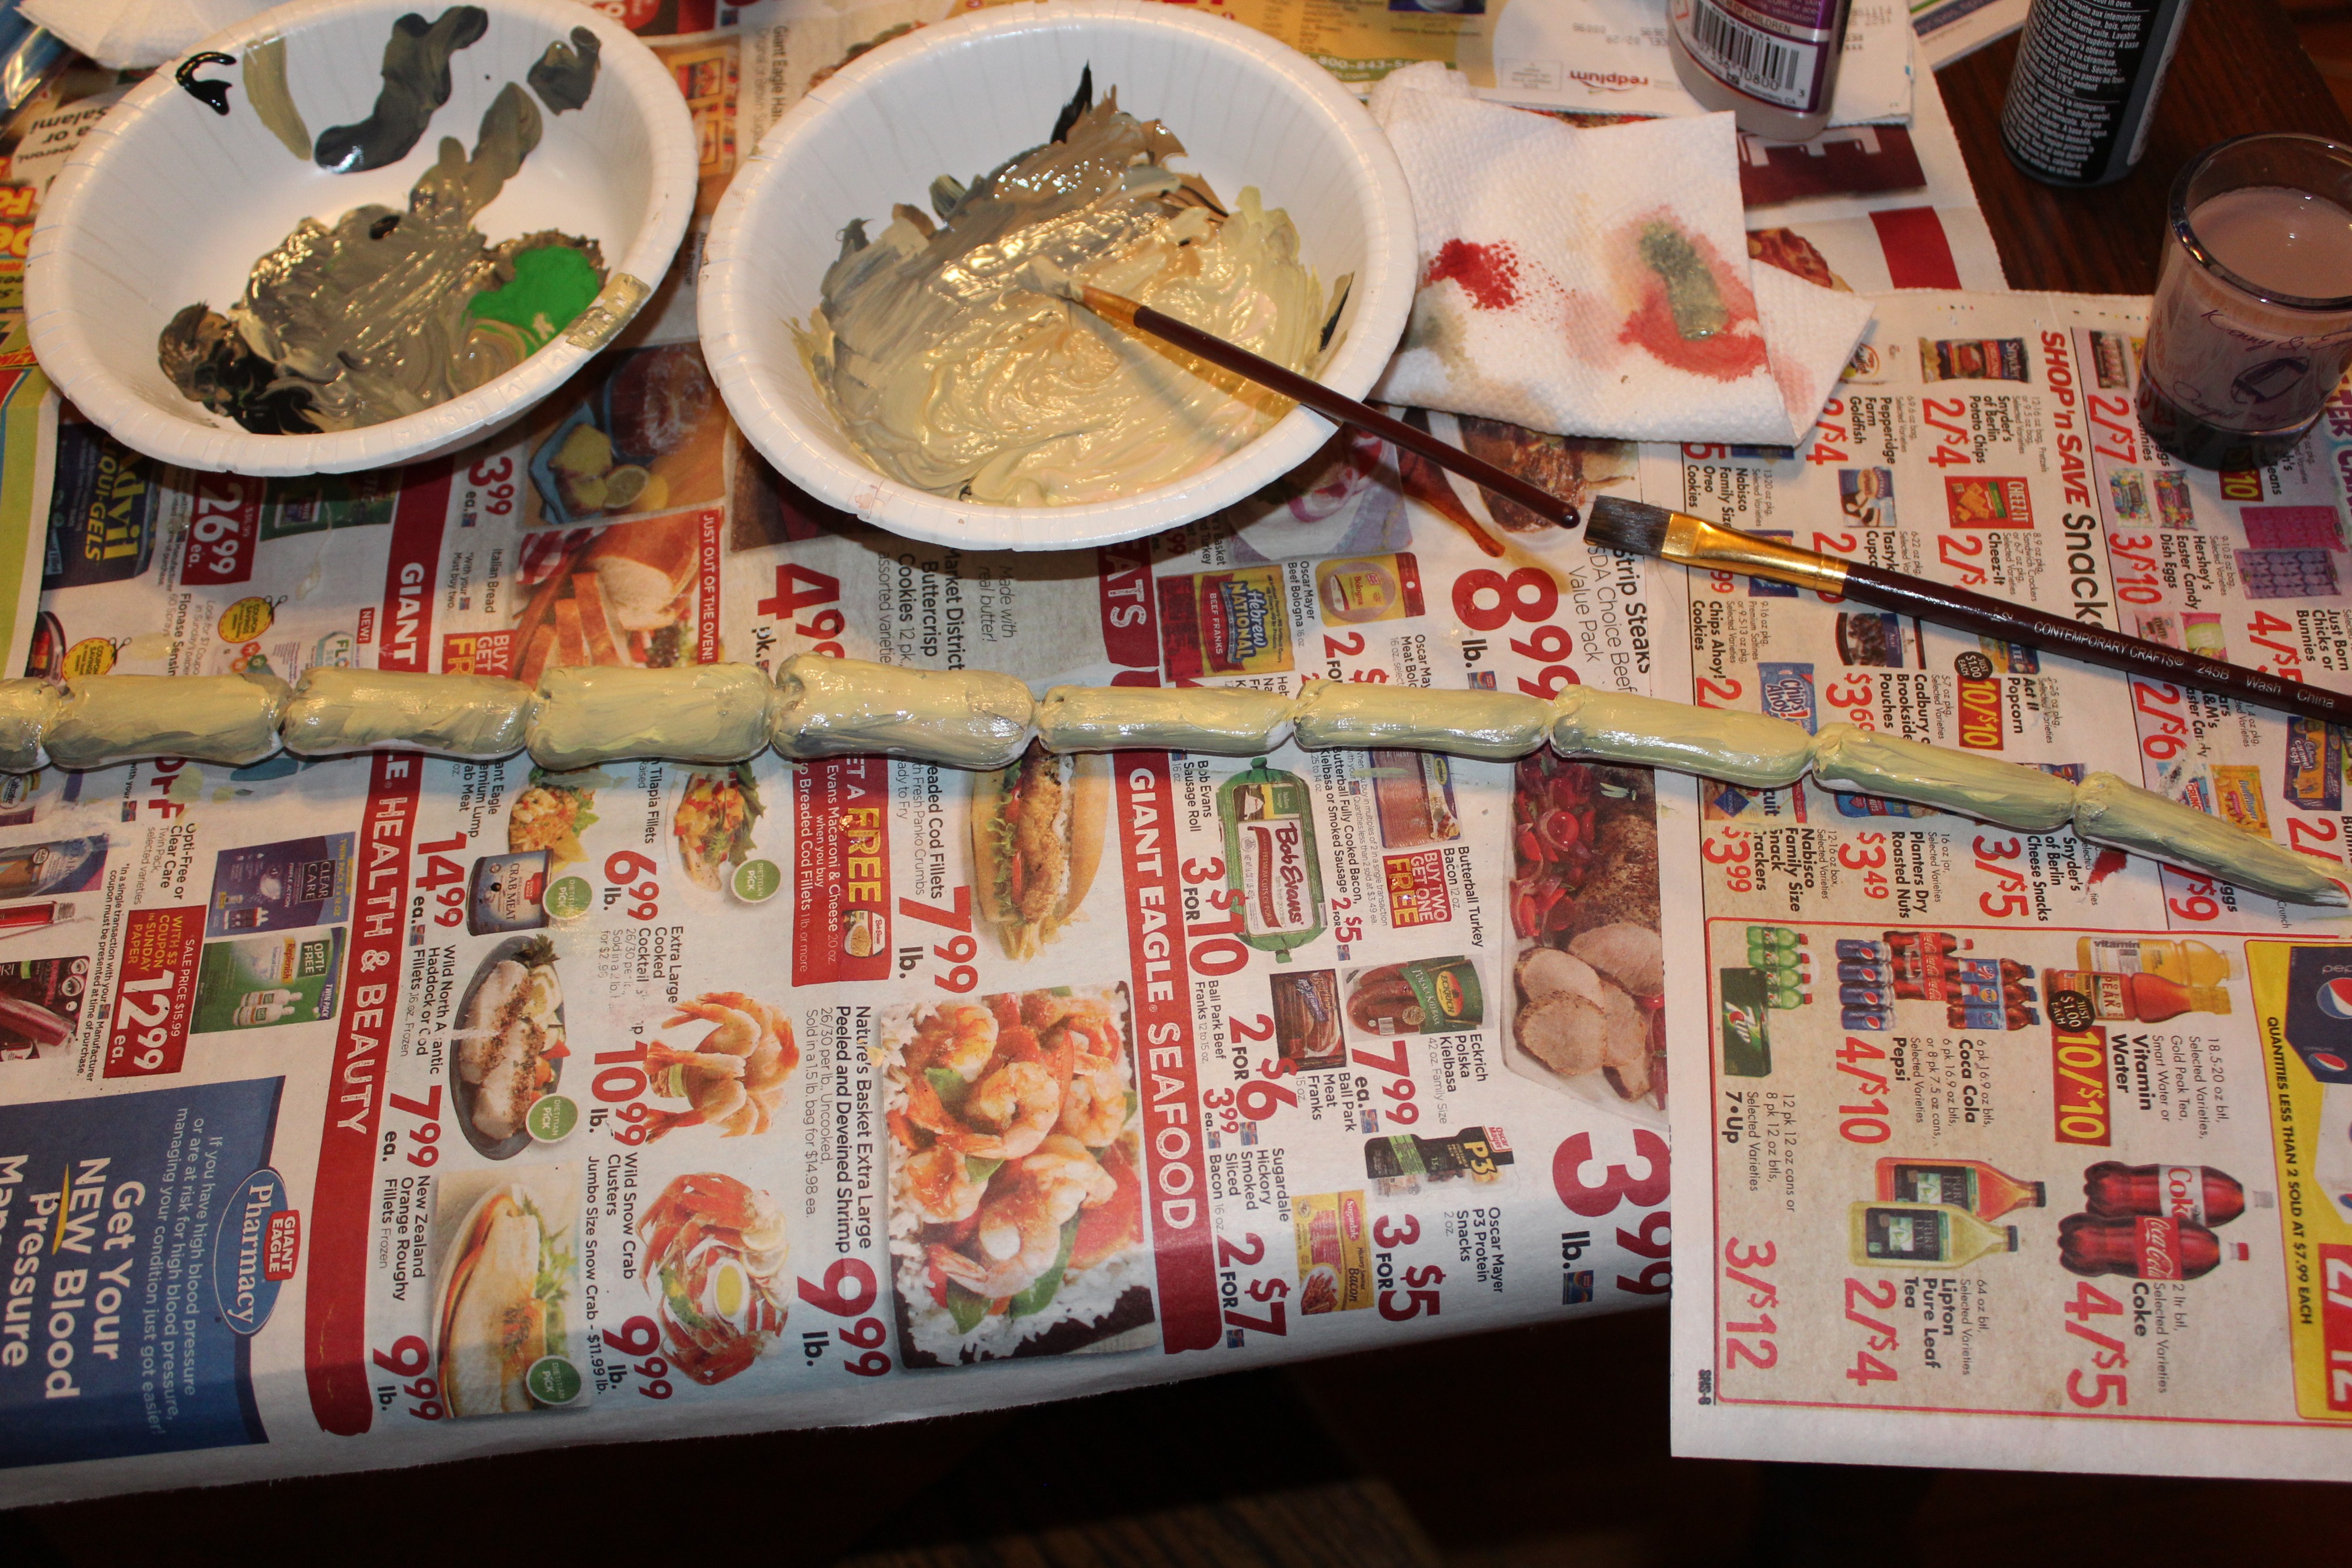

Chestburster
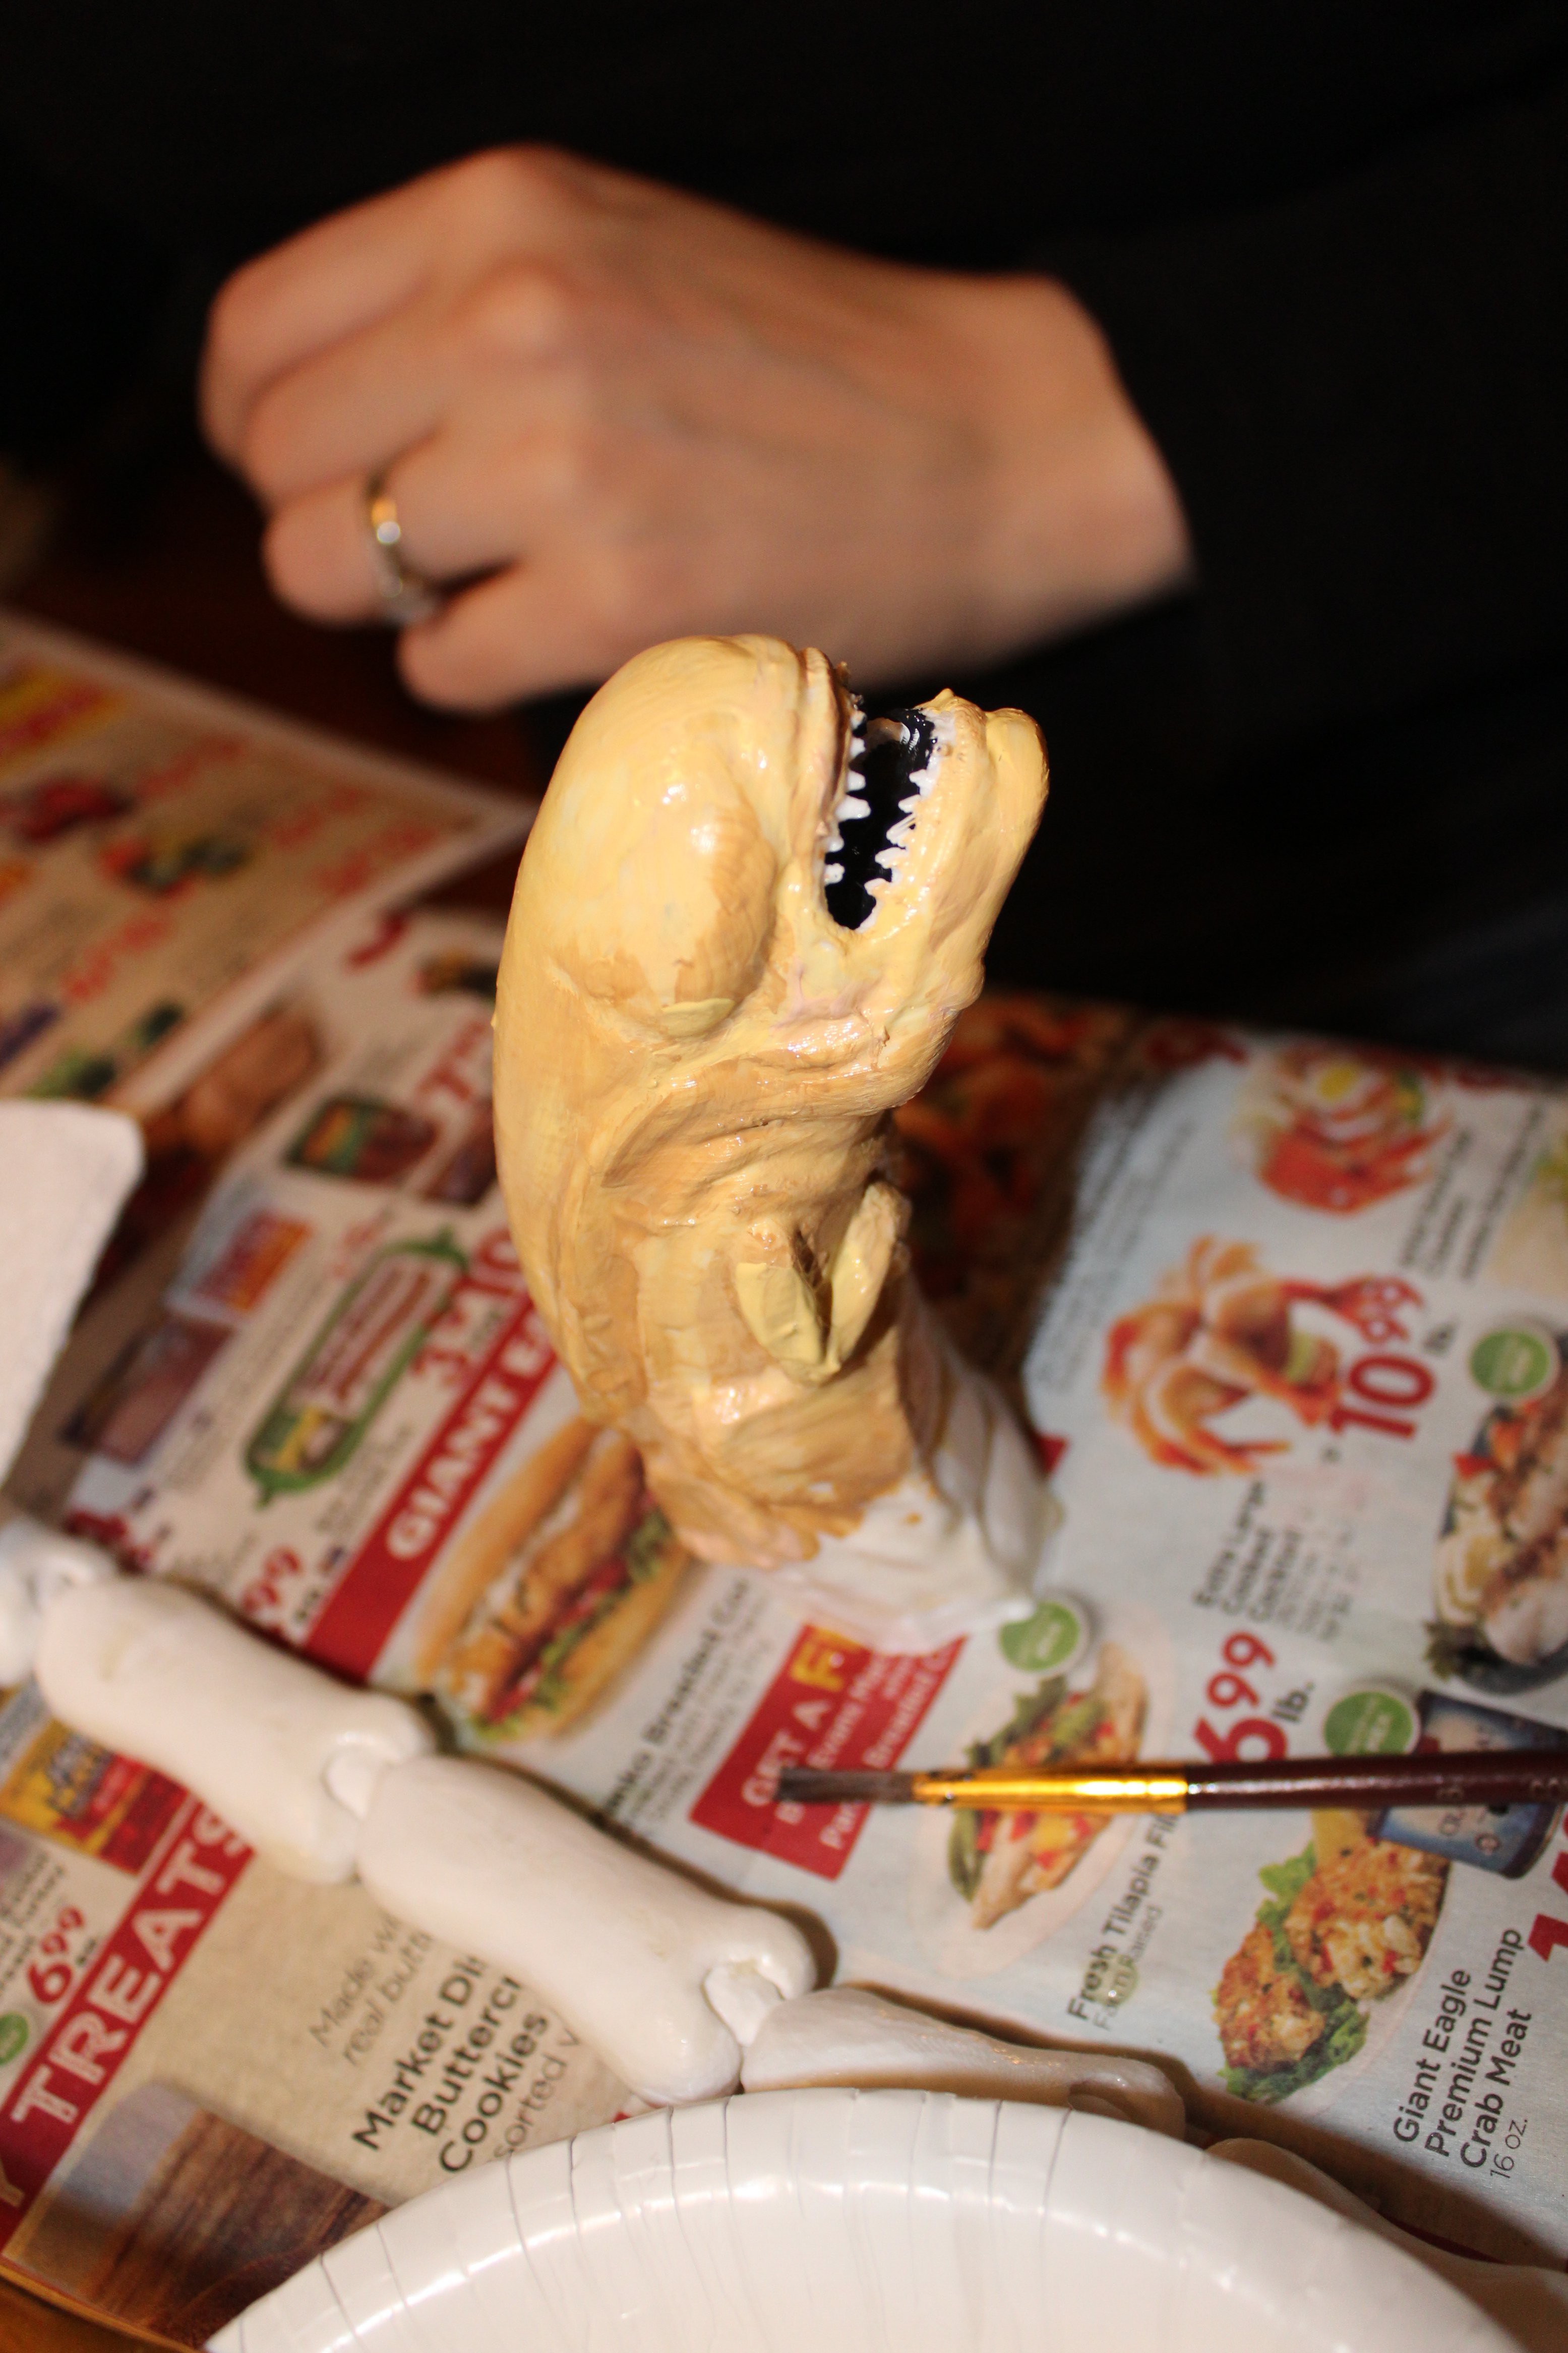
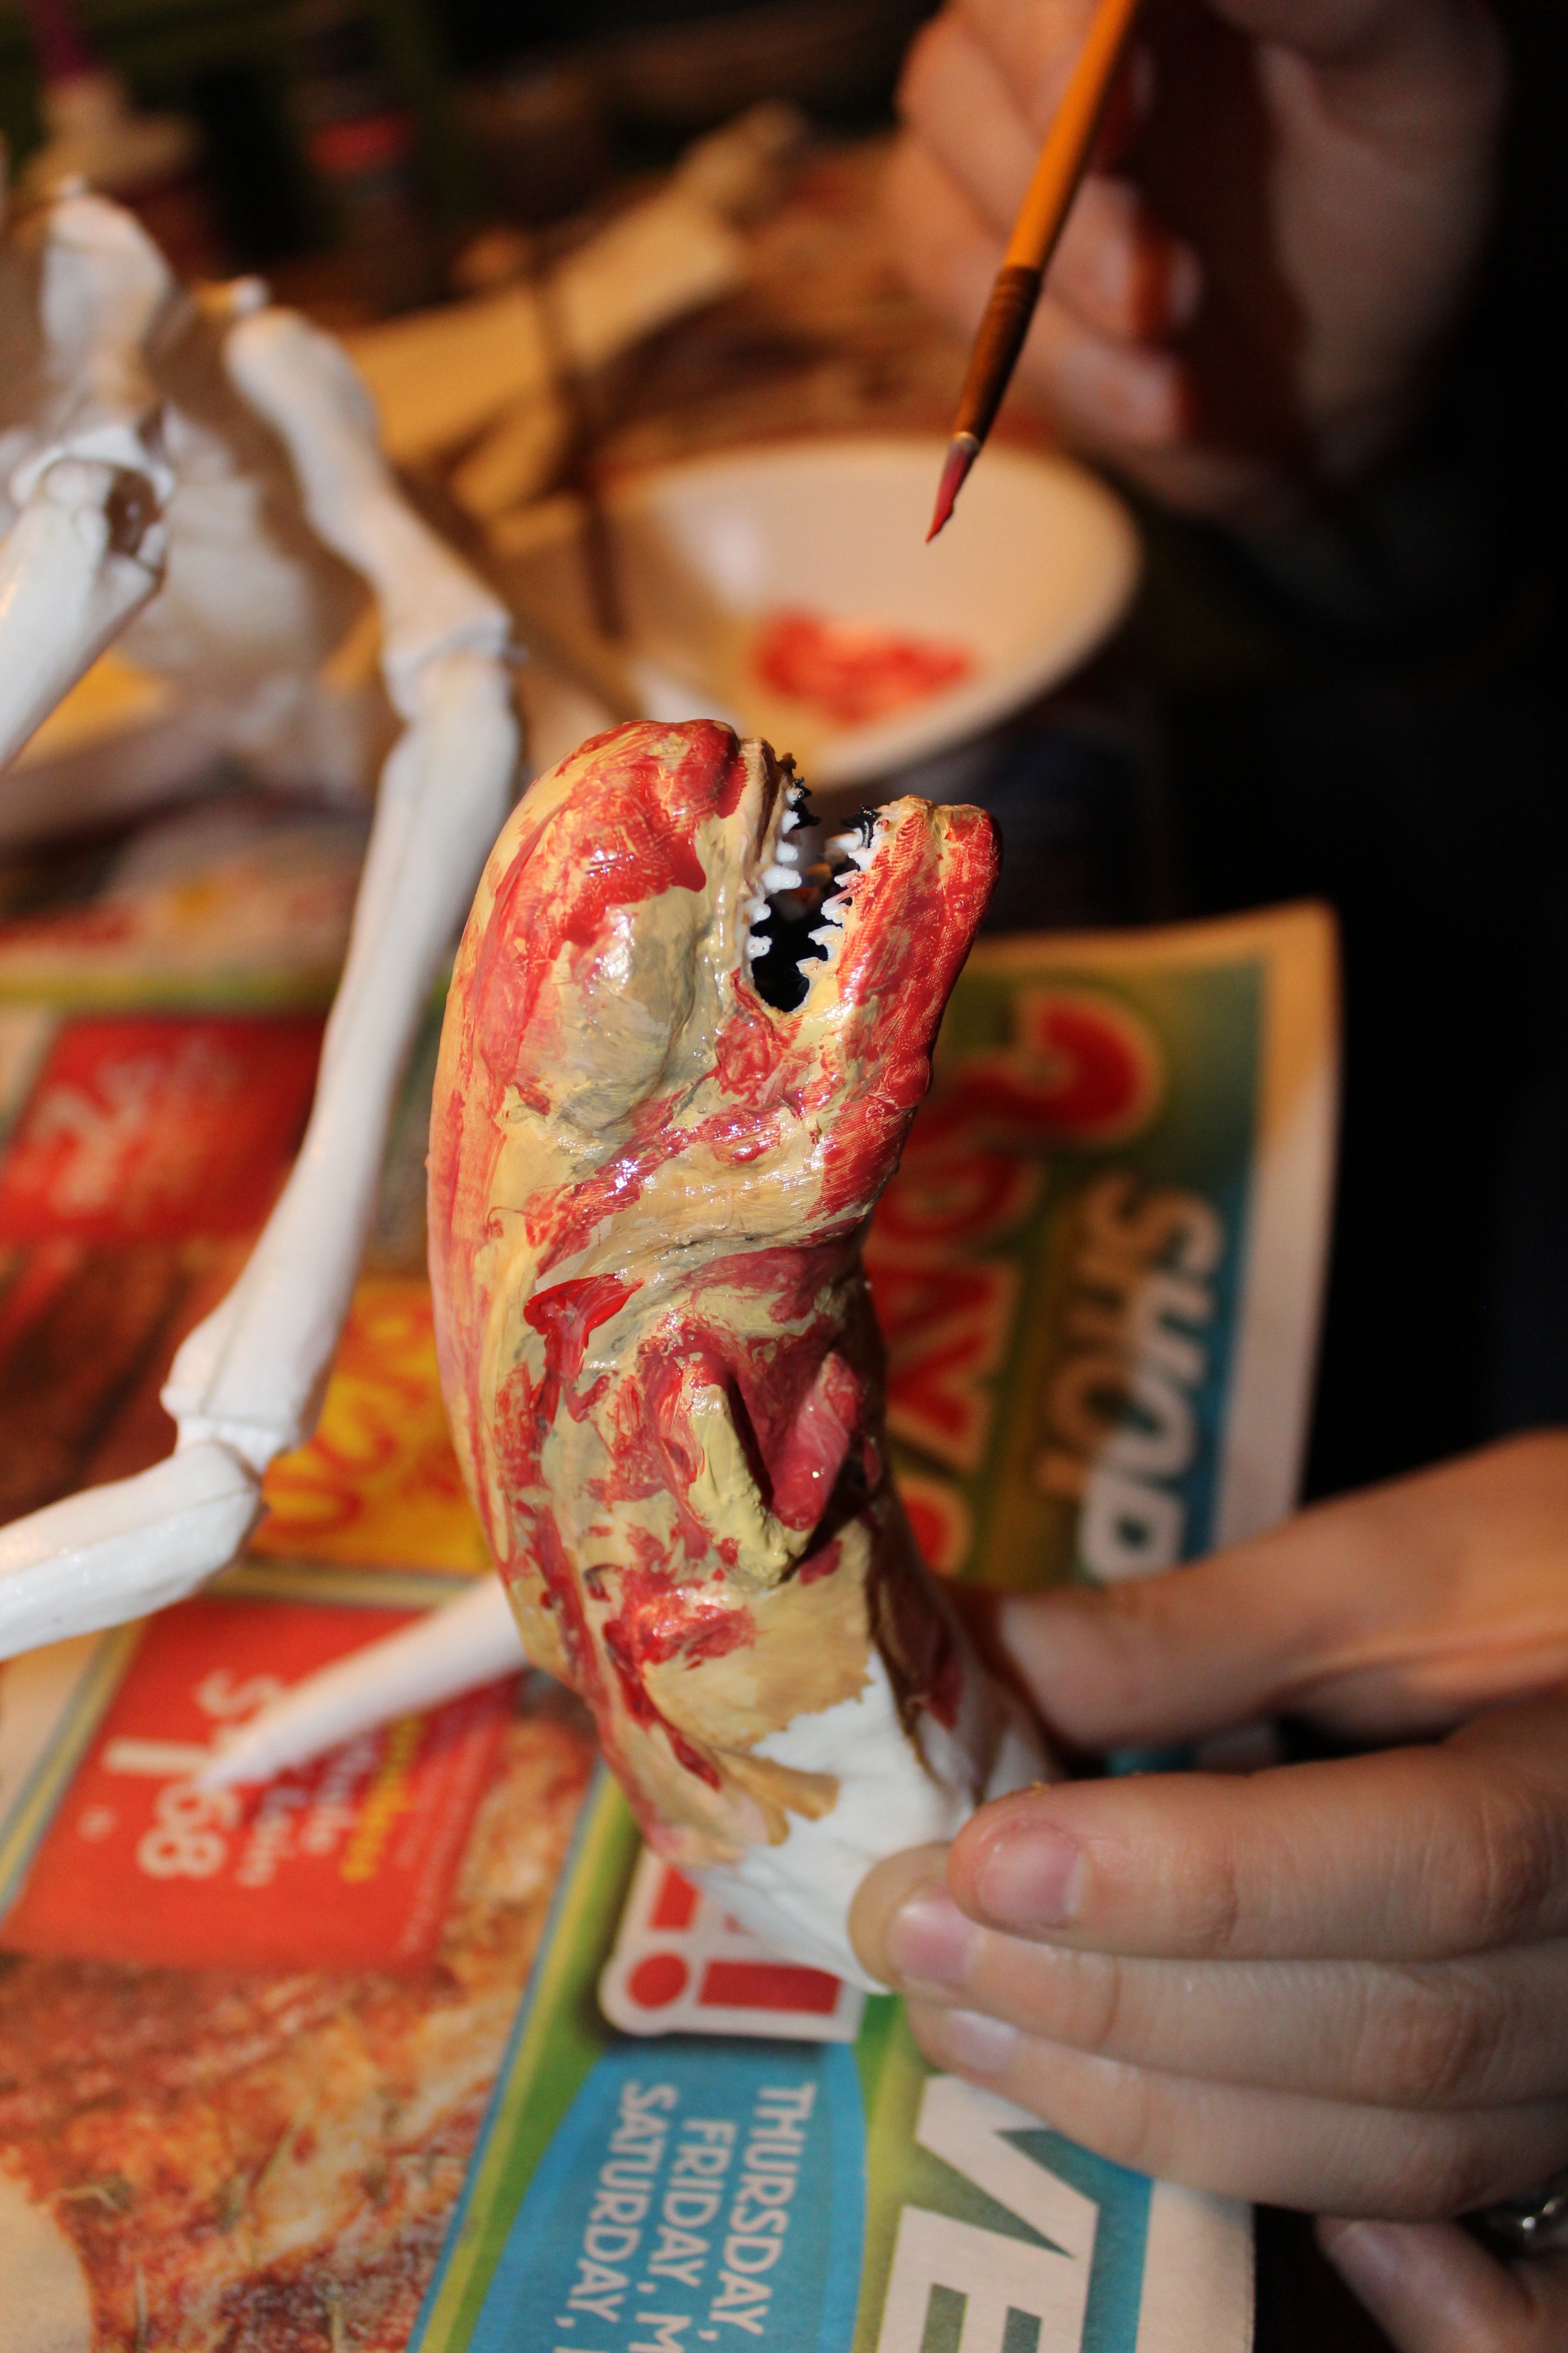
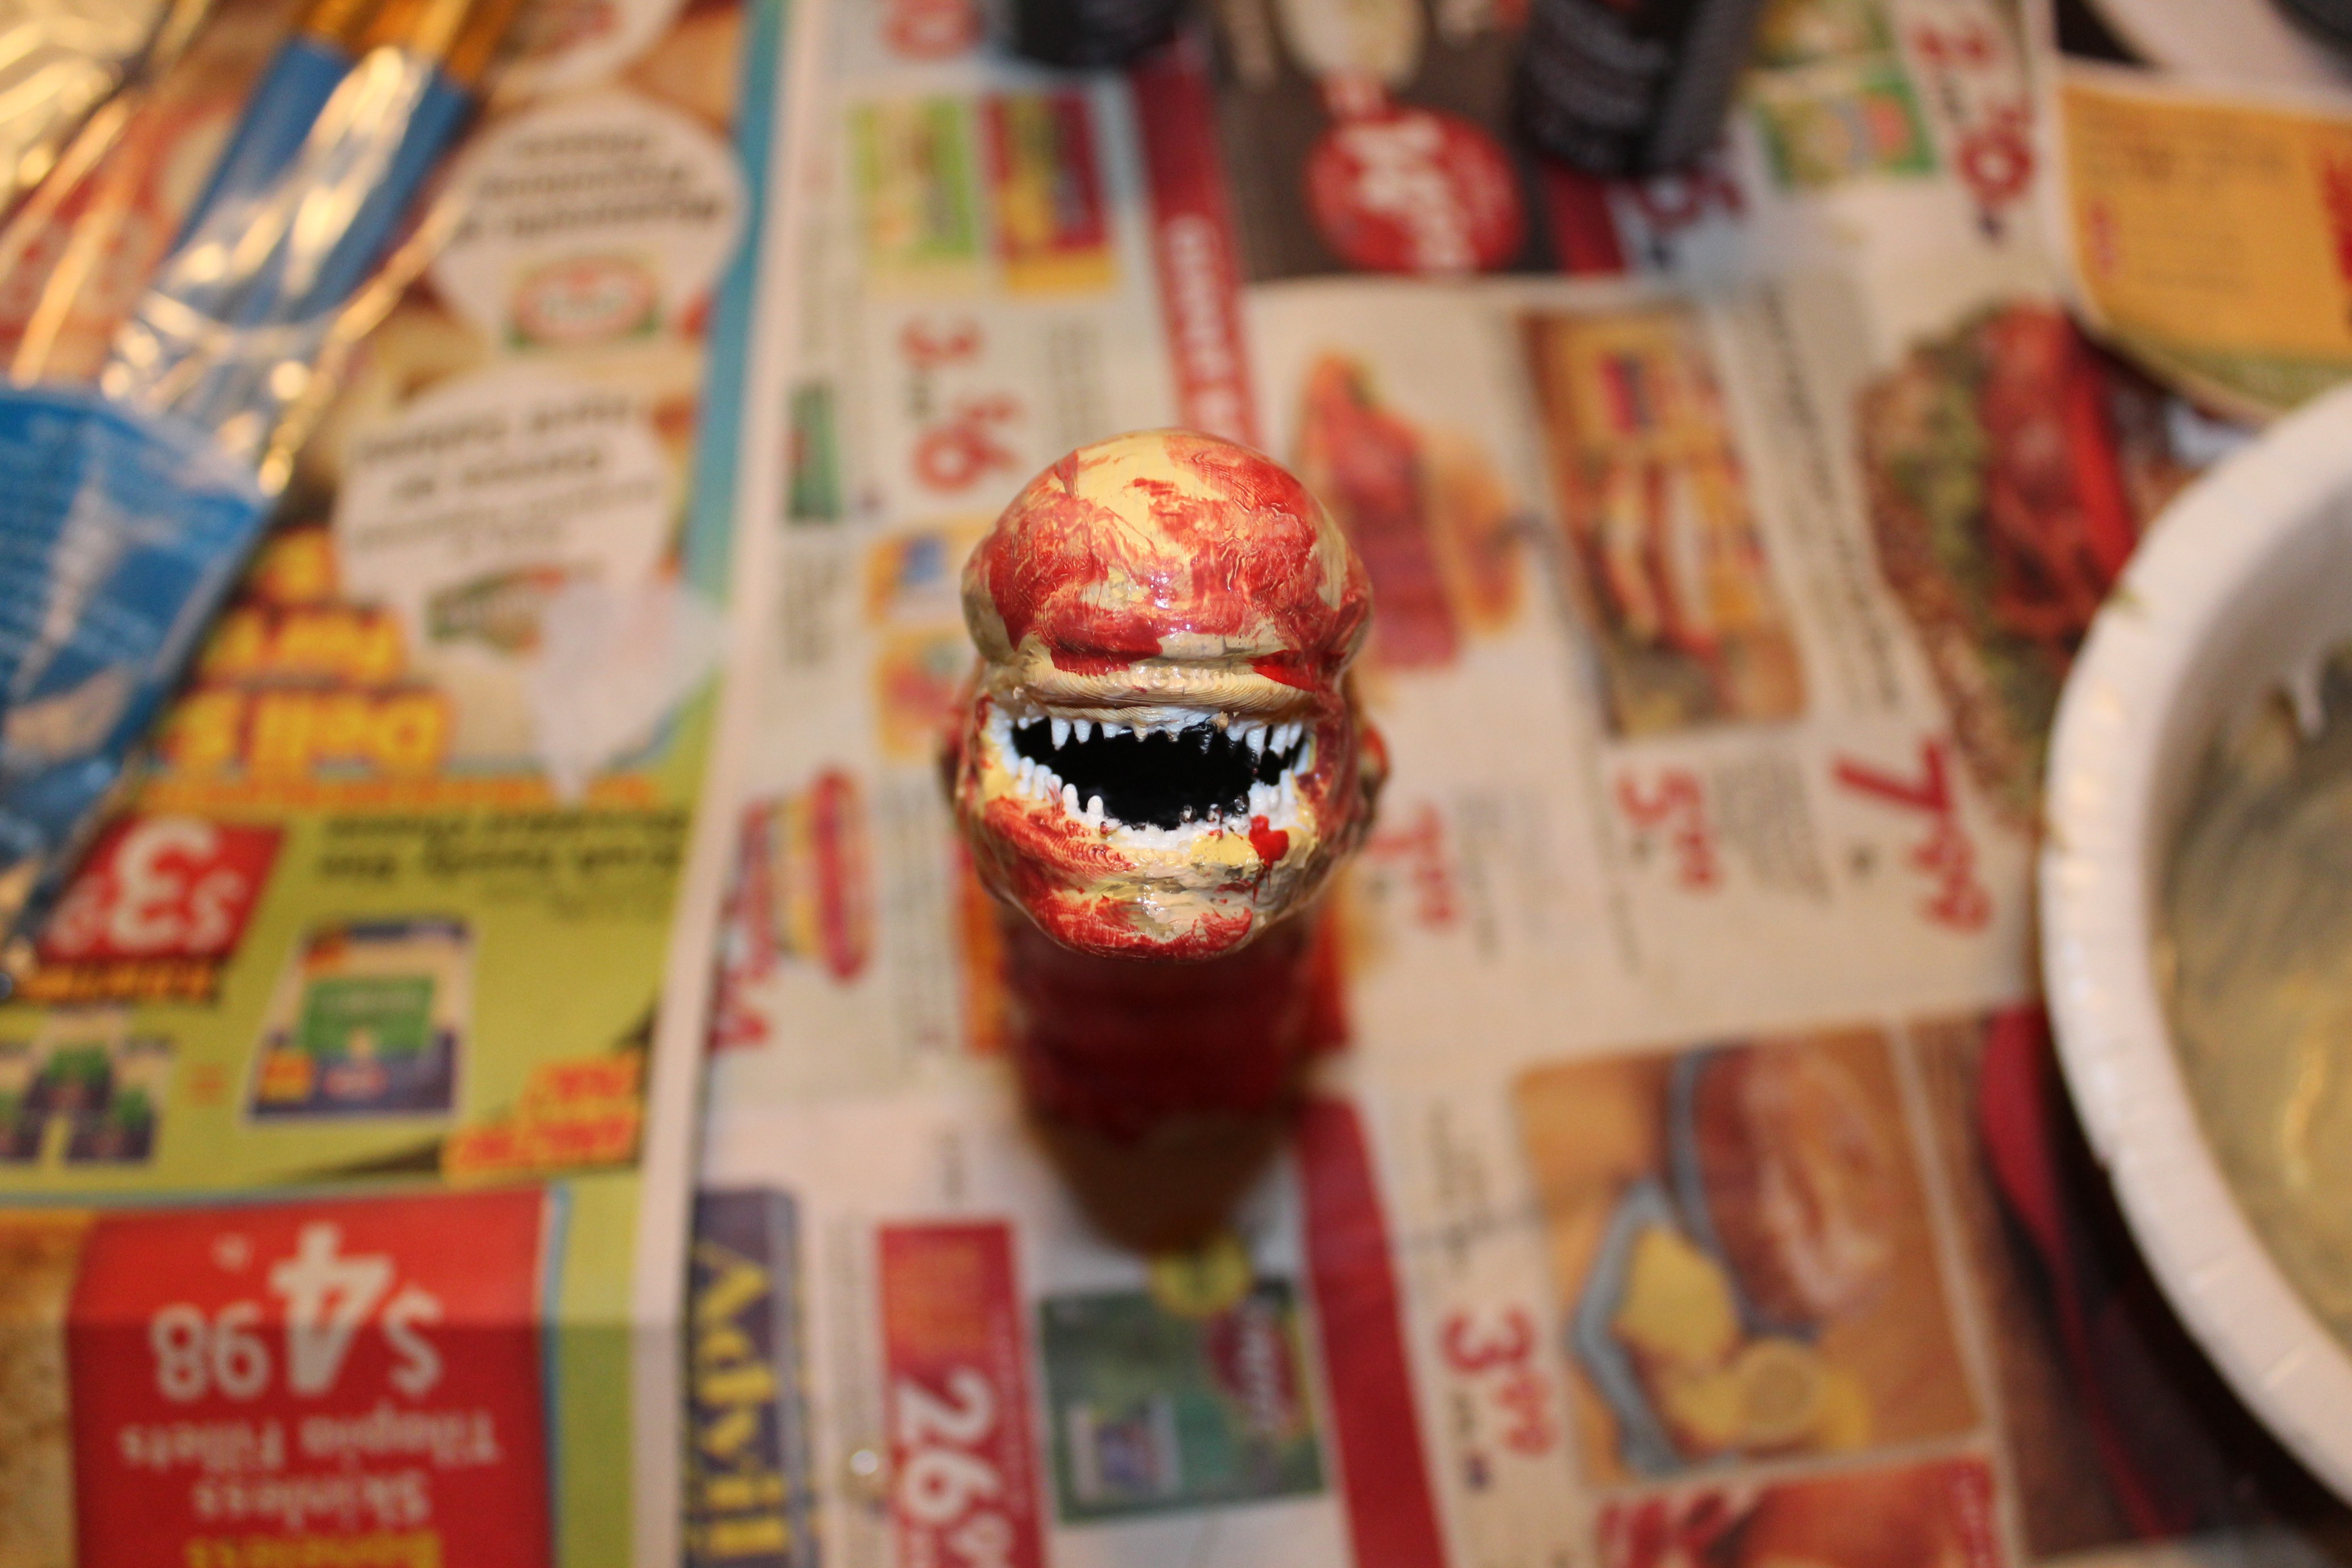
For Charlie the Chestburster, she painted a base coat of yellowish peachish brown (that is the technical term for it, I believe) with some gray mixed in for texture and then added darker gray to the shadows and details to help define them. For the blood, she mixed a bright red paint with black, brown, and green to get a deeper color and painted this on thick in splotches and also watered it down to stain other areas. This was a lot of just splashing paint around and hoping for the best, but the messy look really turned out well!
Mannequin
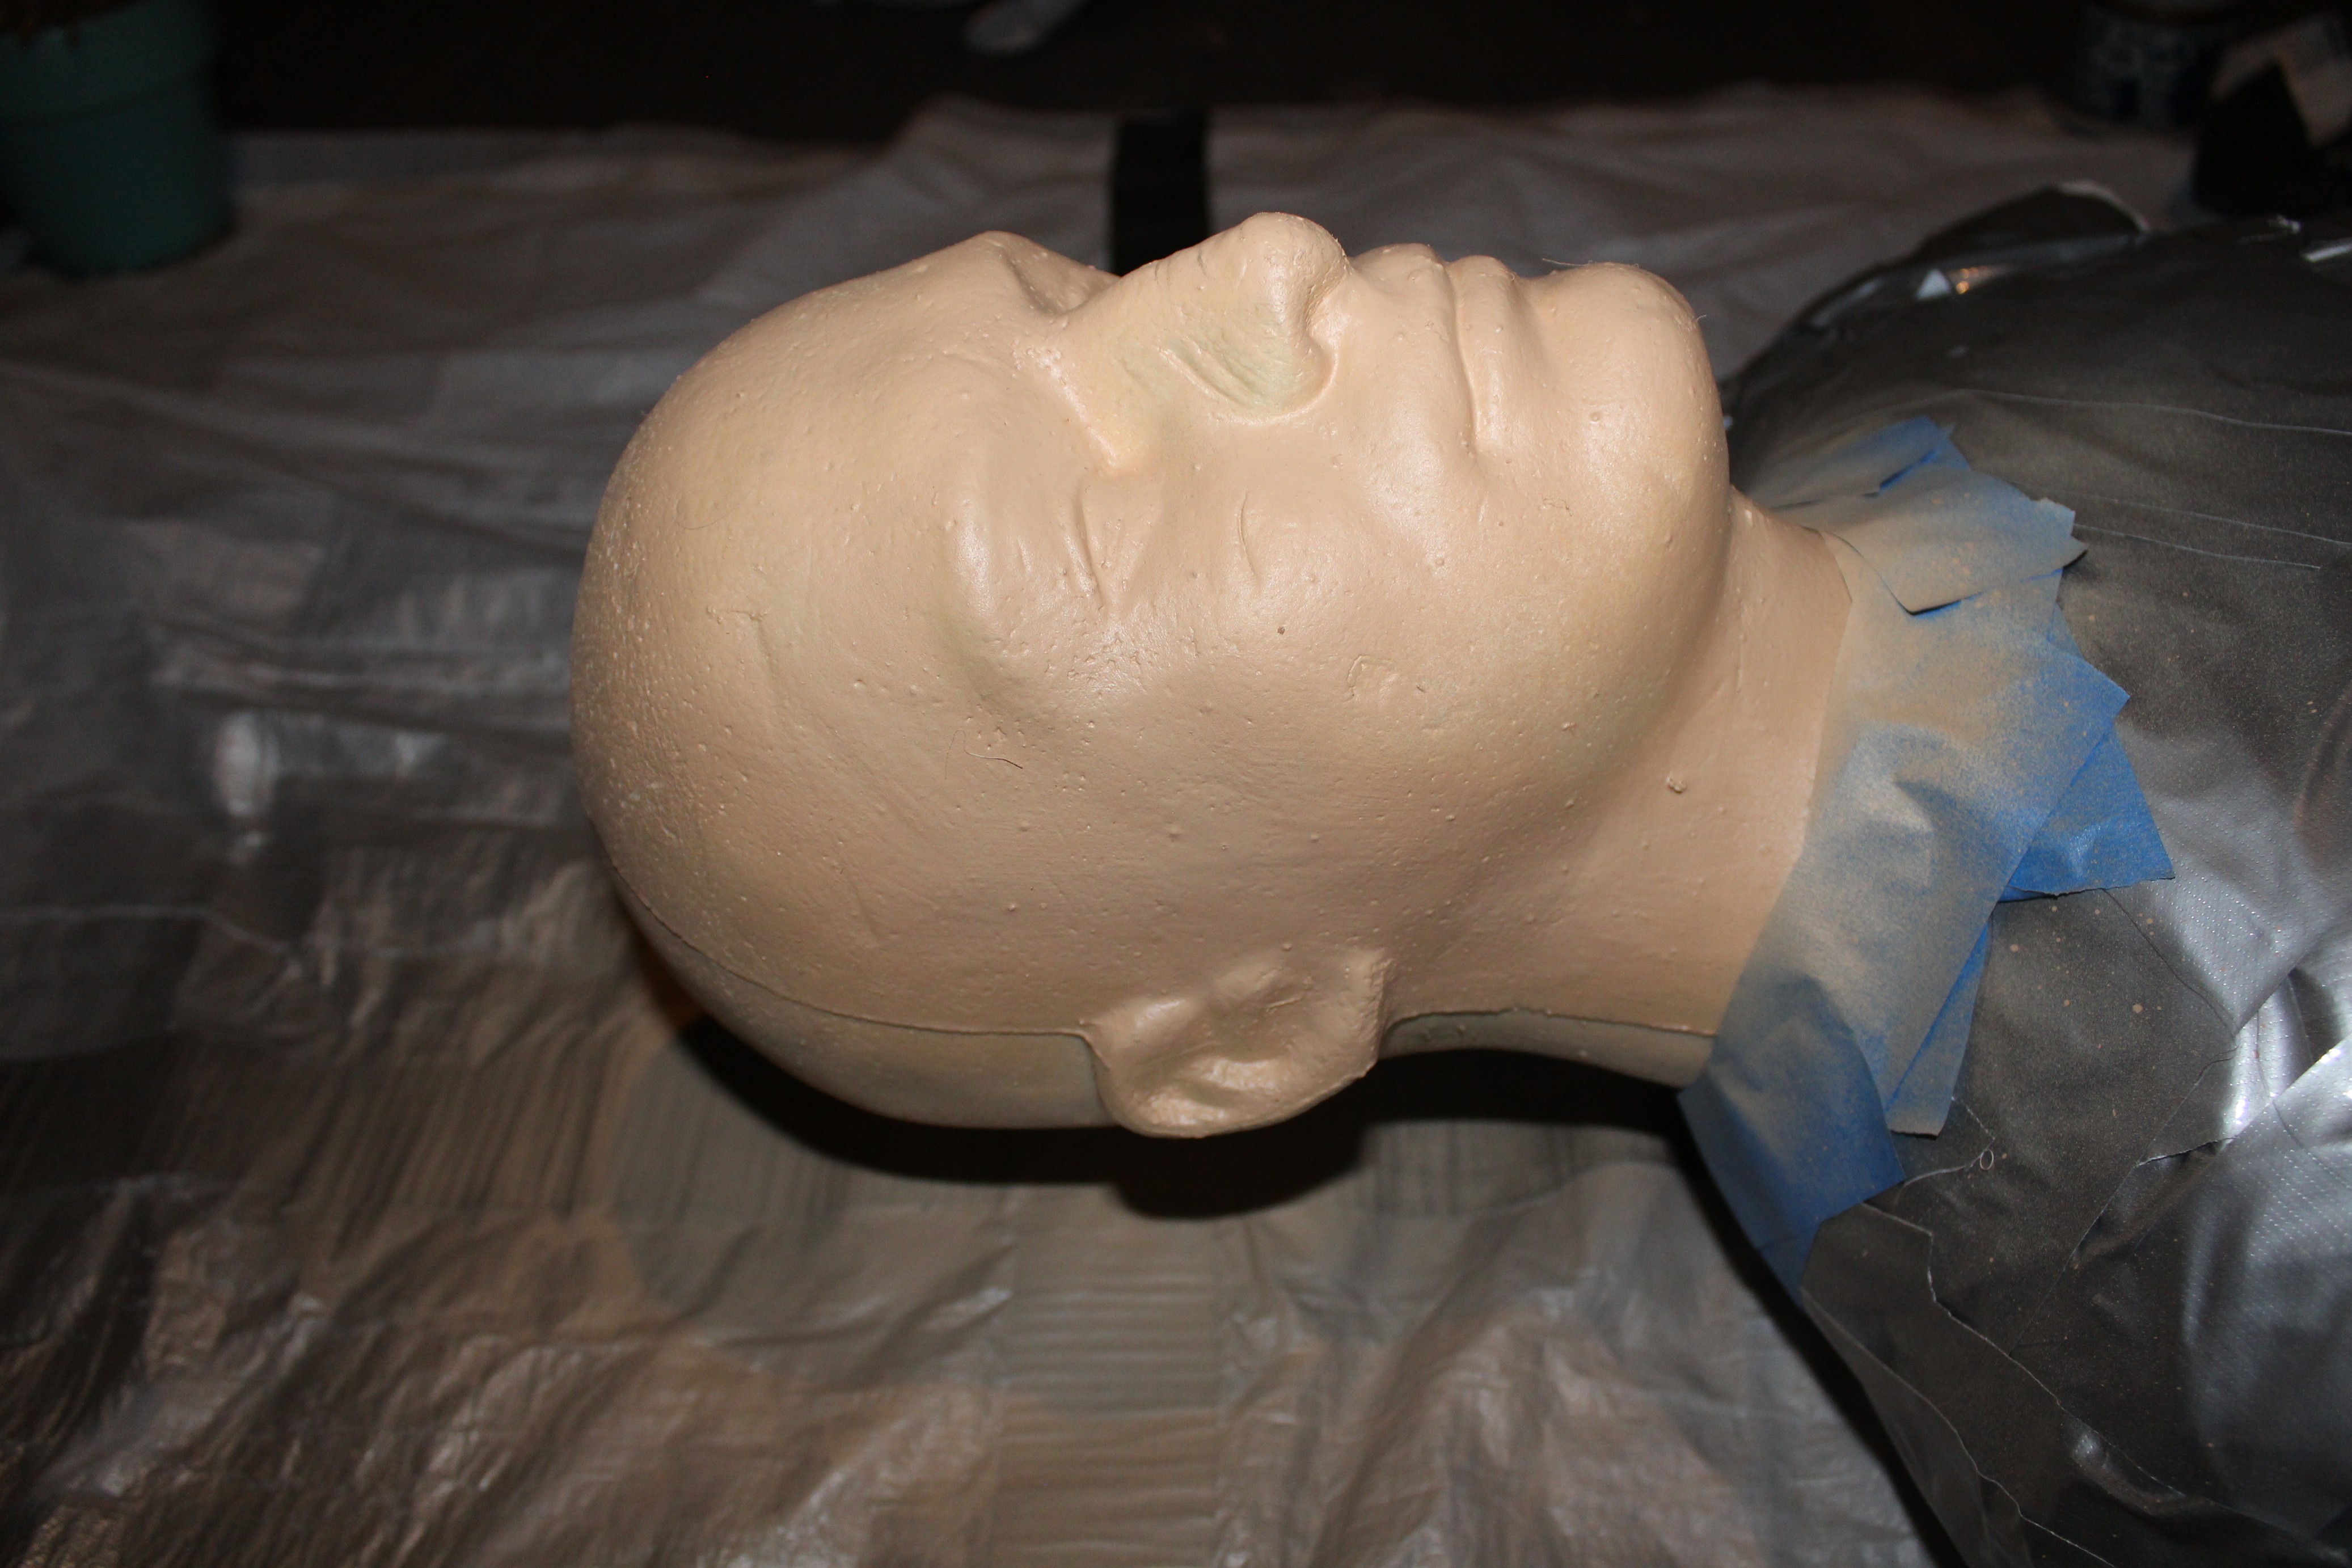
For the face itself, I just spray painted the styrofoam head model with two coats of "Skin colored" paint. The model had some stains and marks on it when I got it, but this really covered them up well. Plus, his face will be pretty much hidden anyway (poor guy).
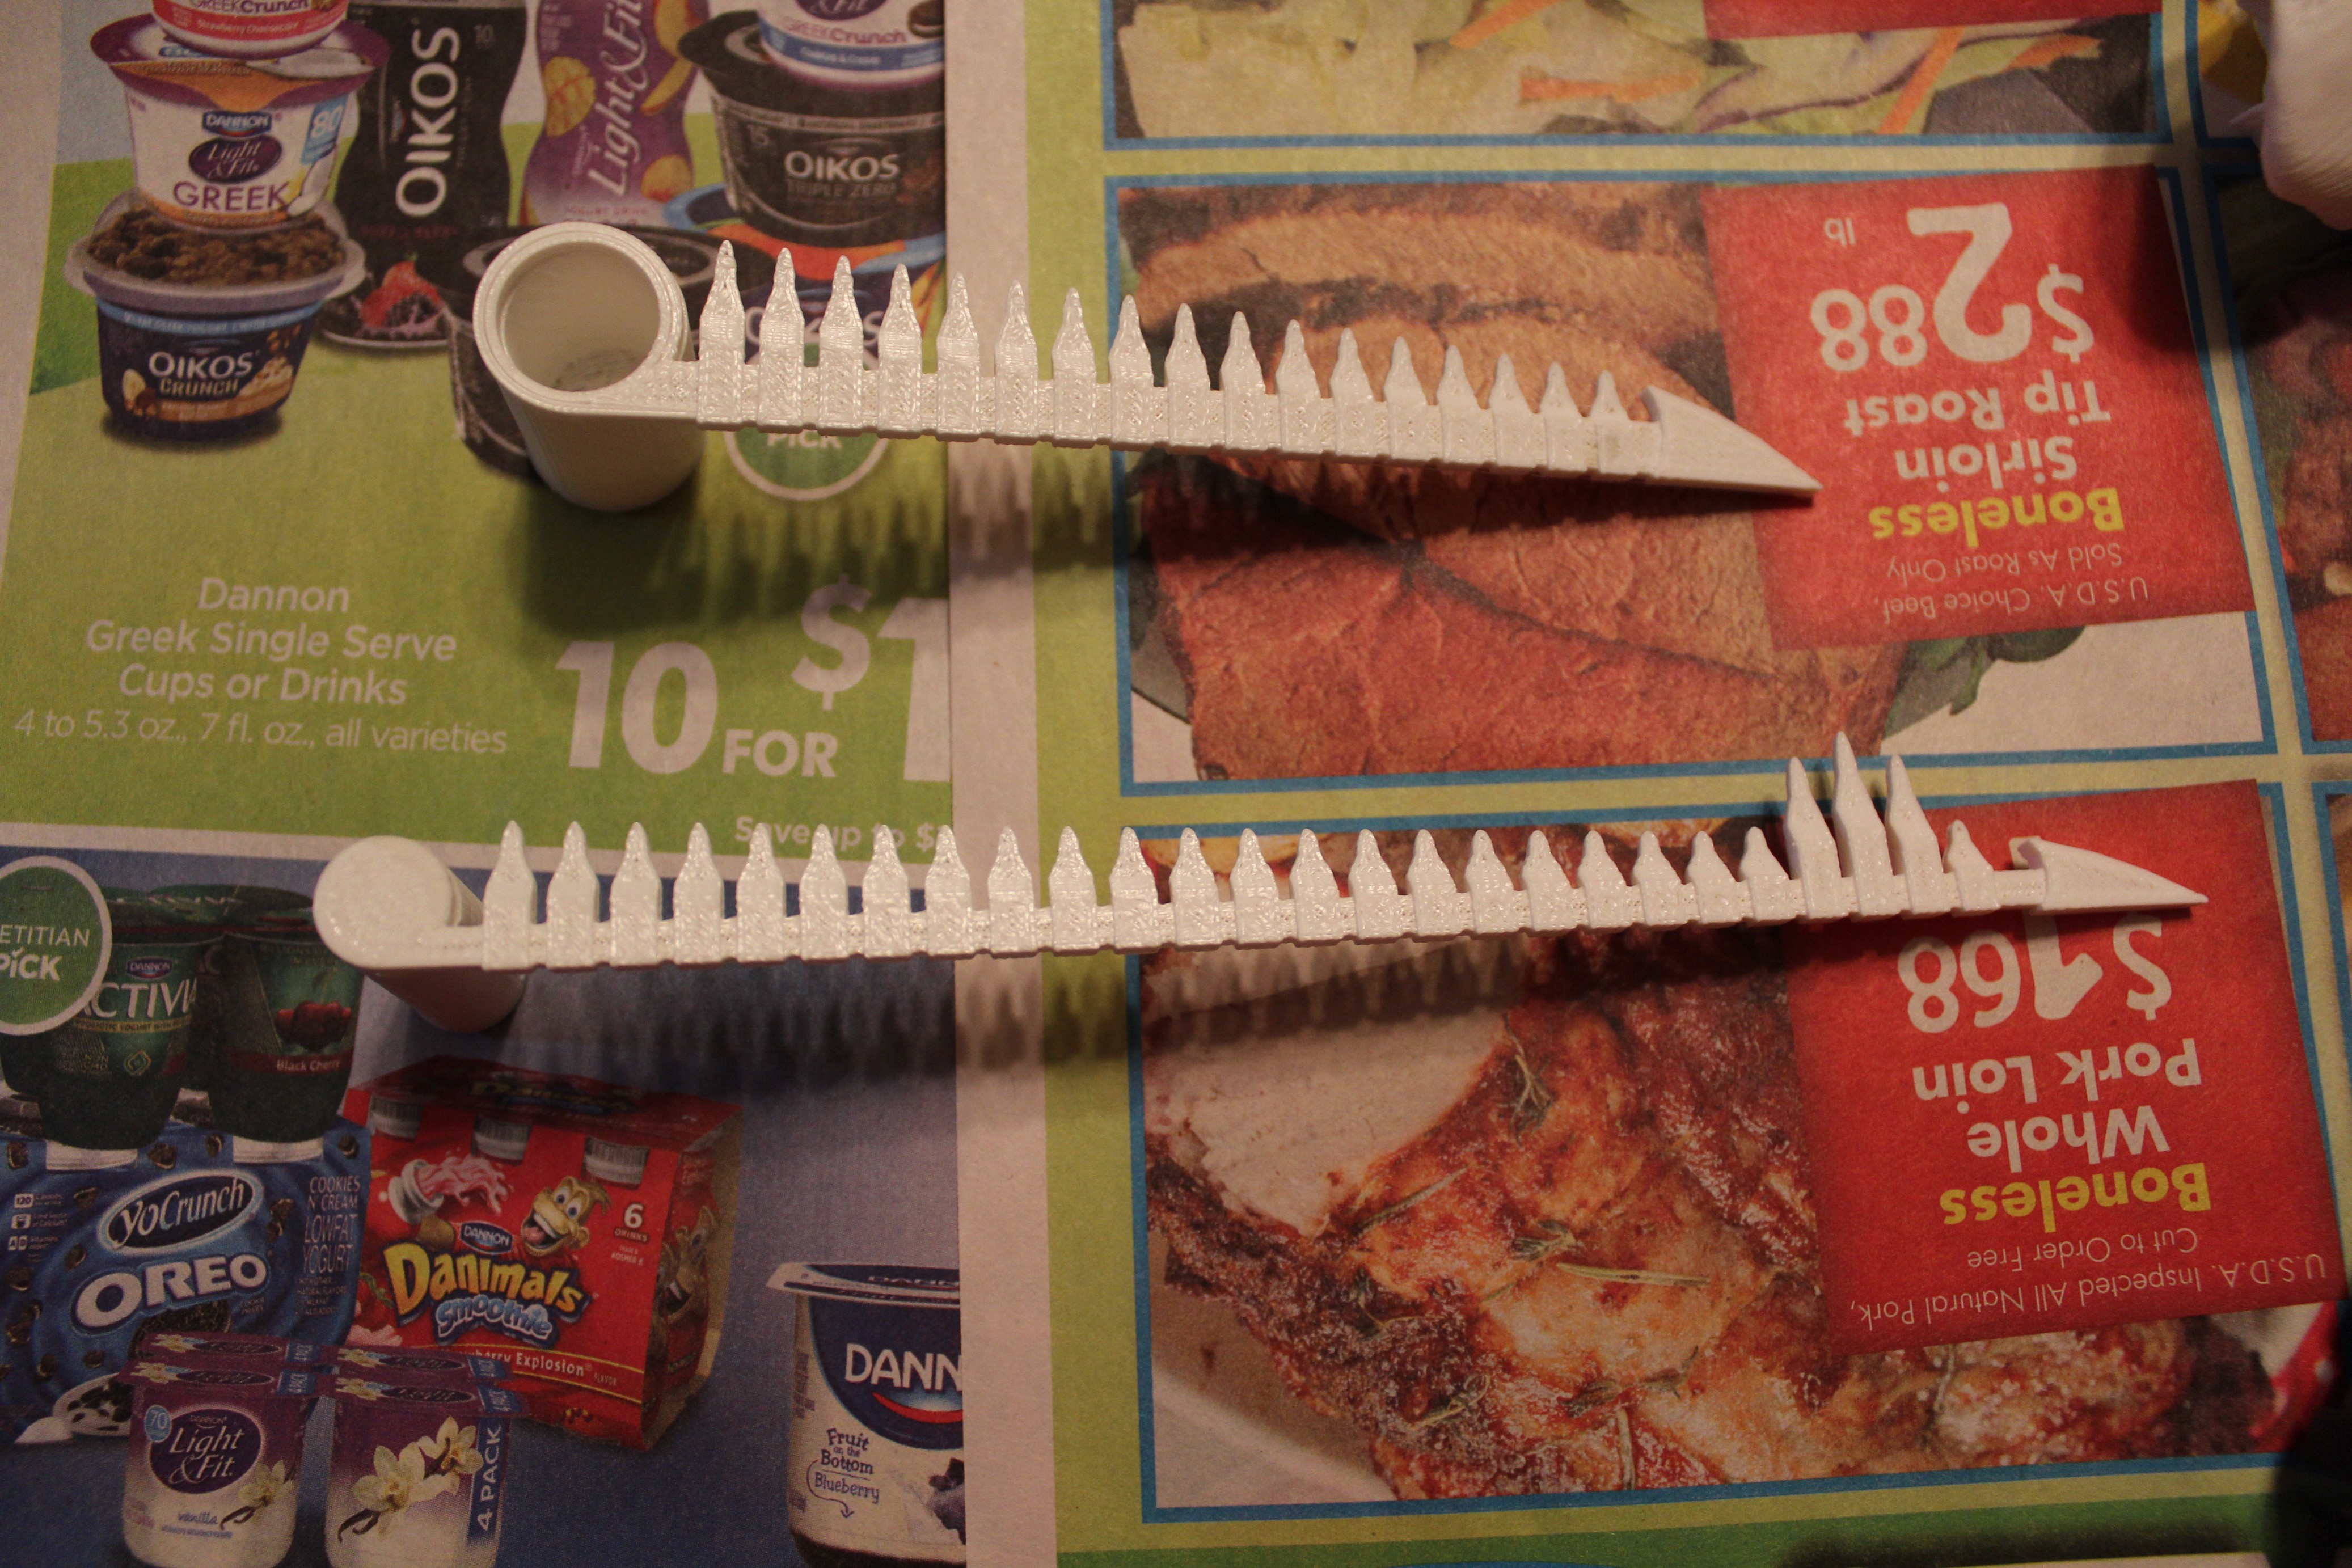
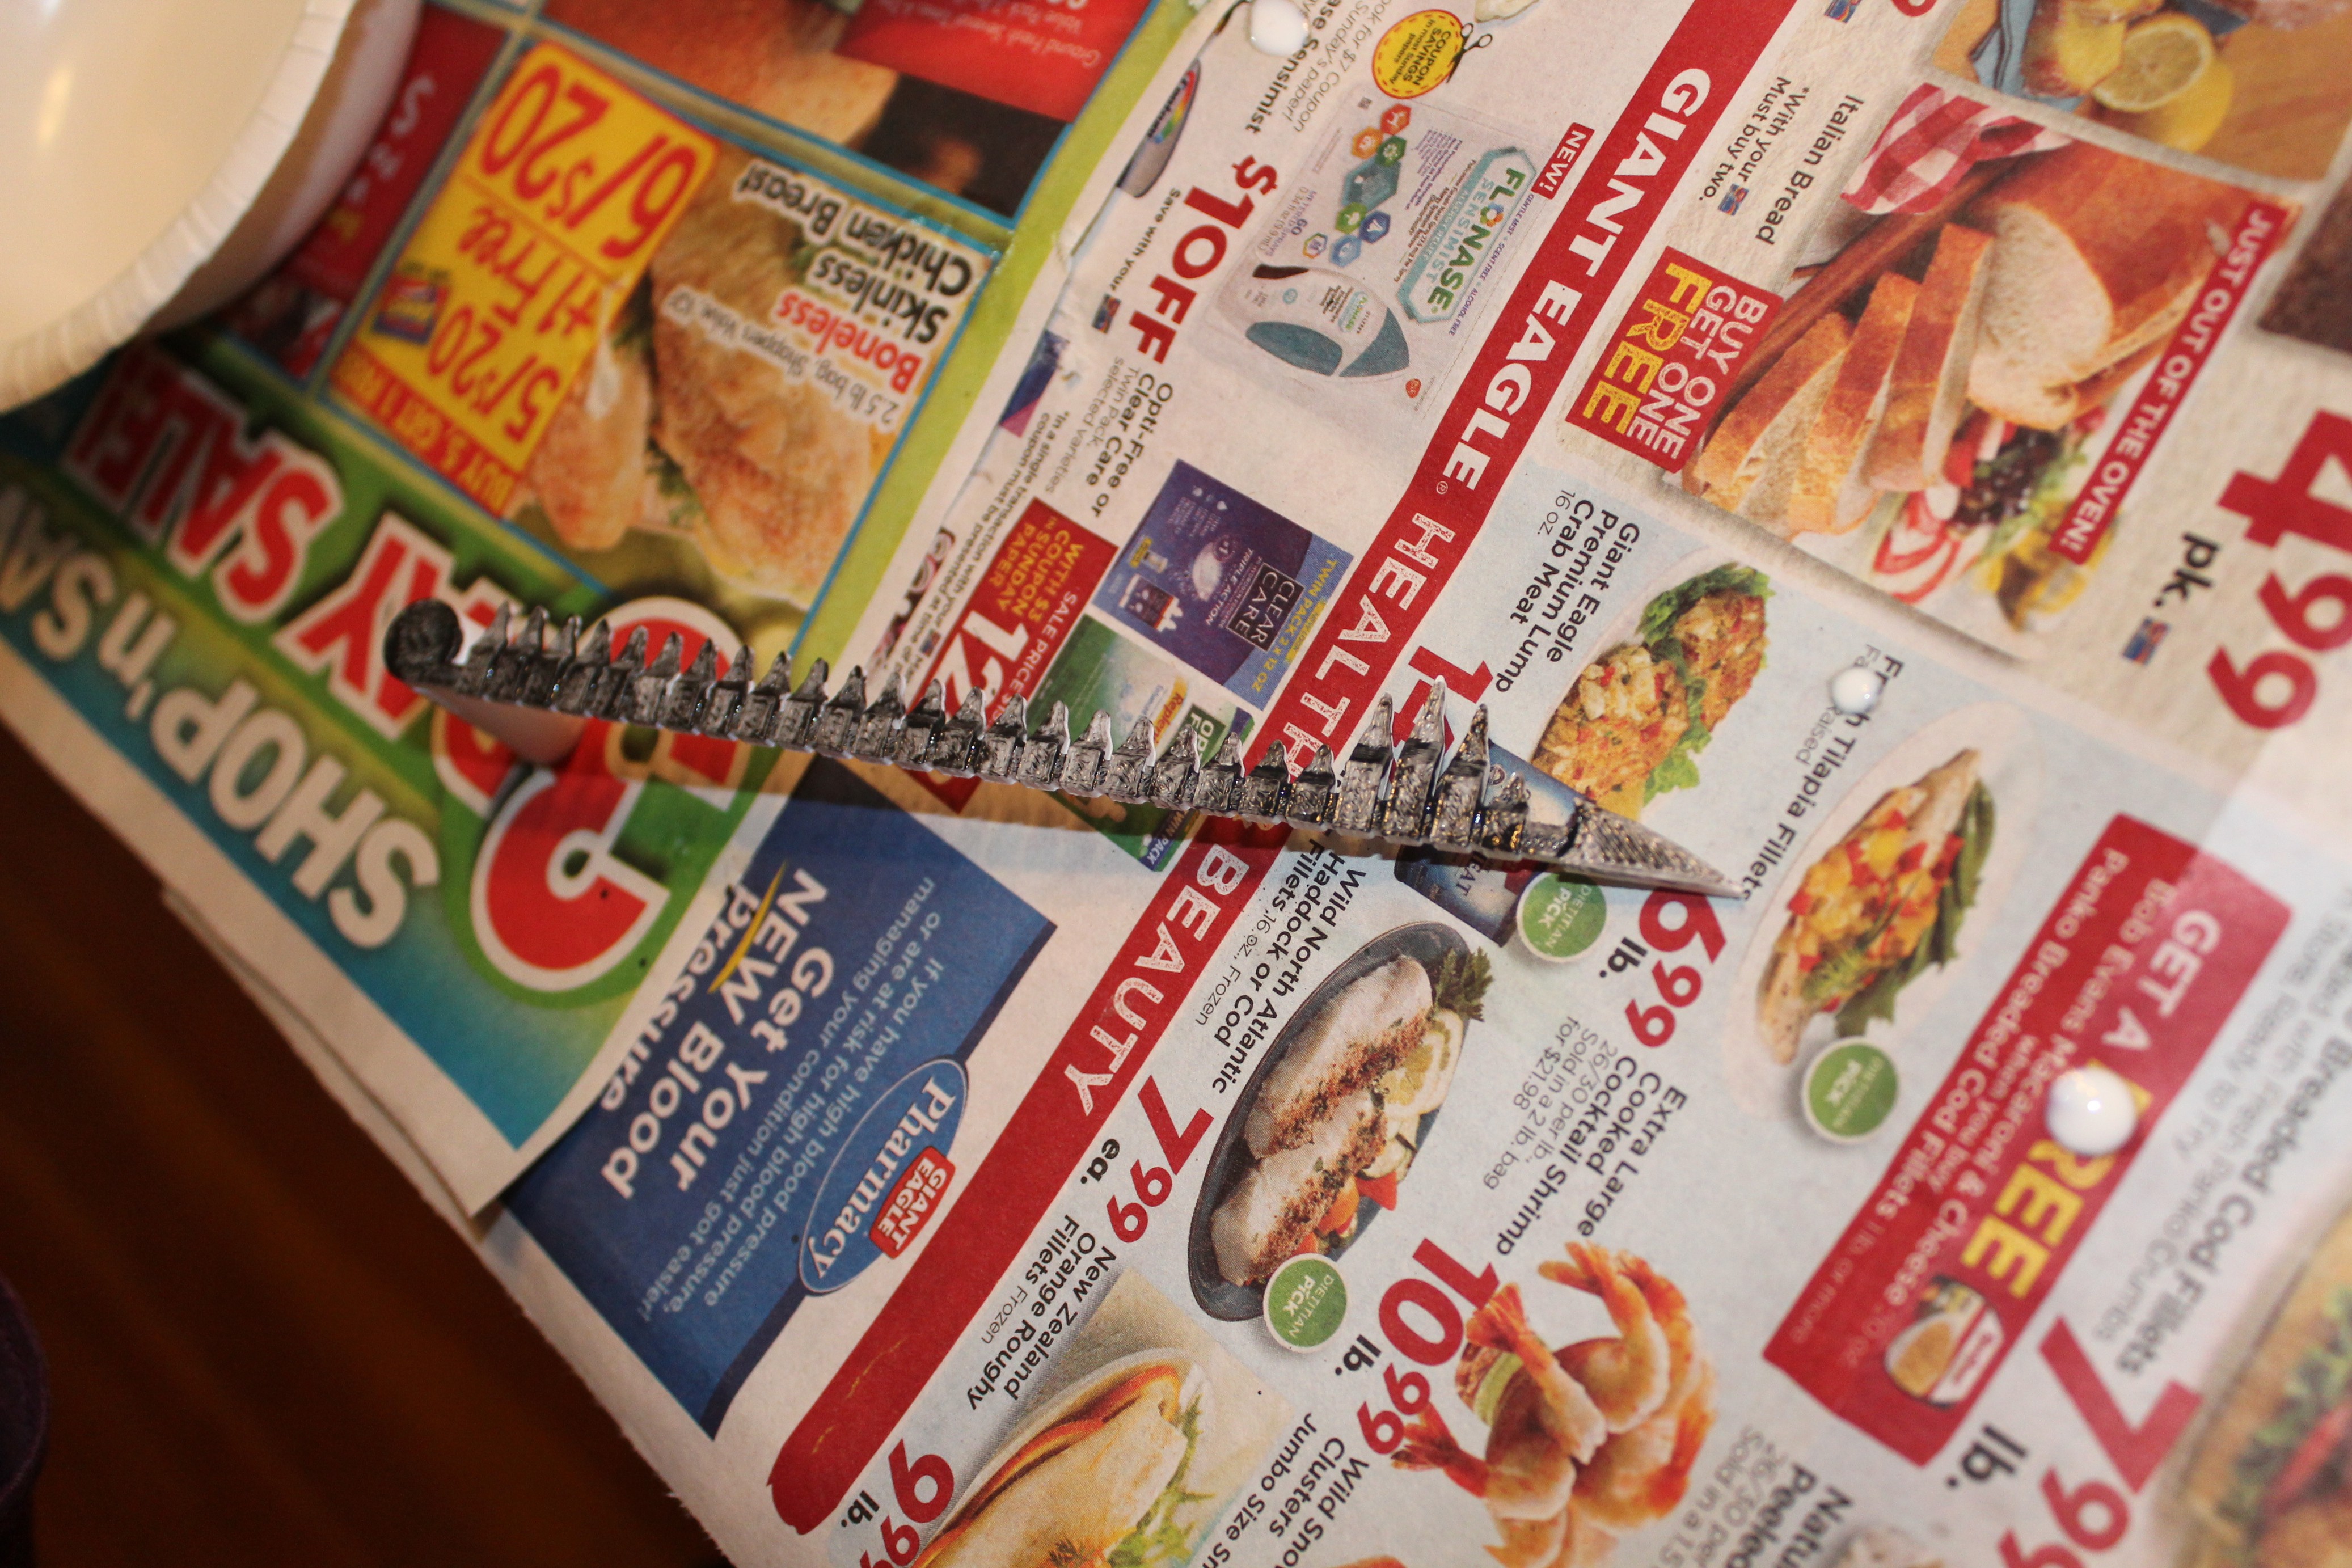
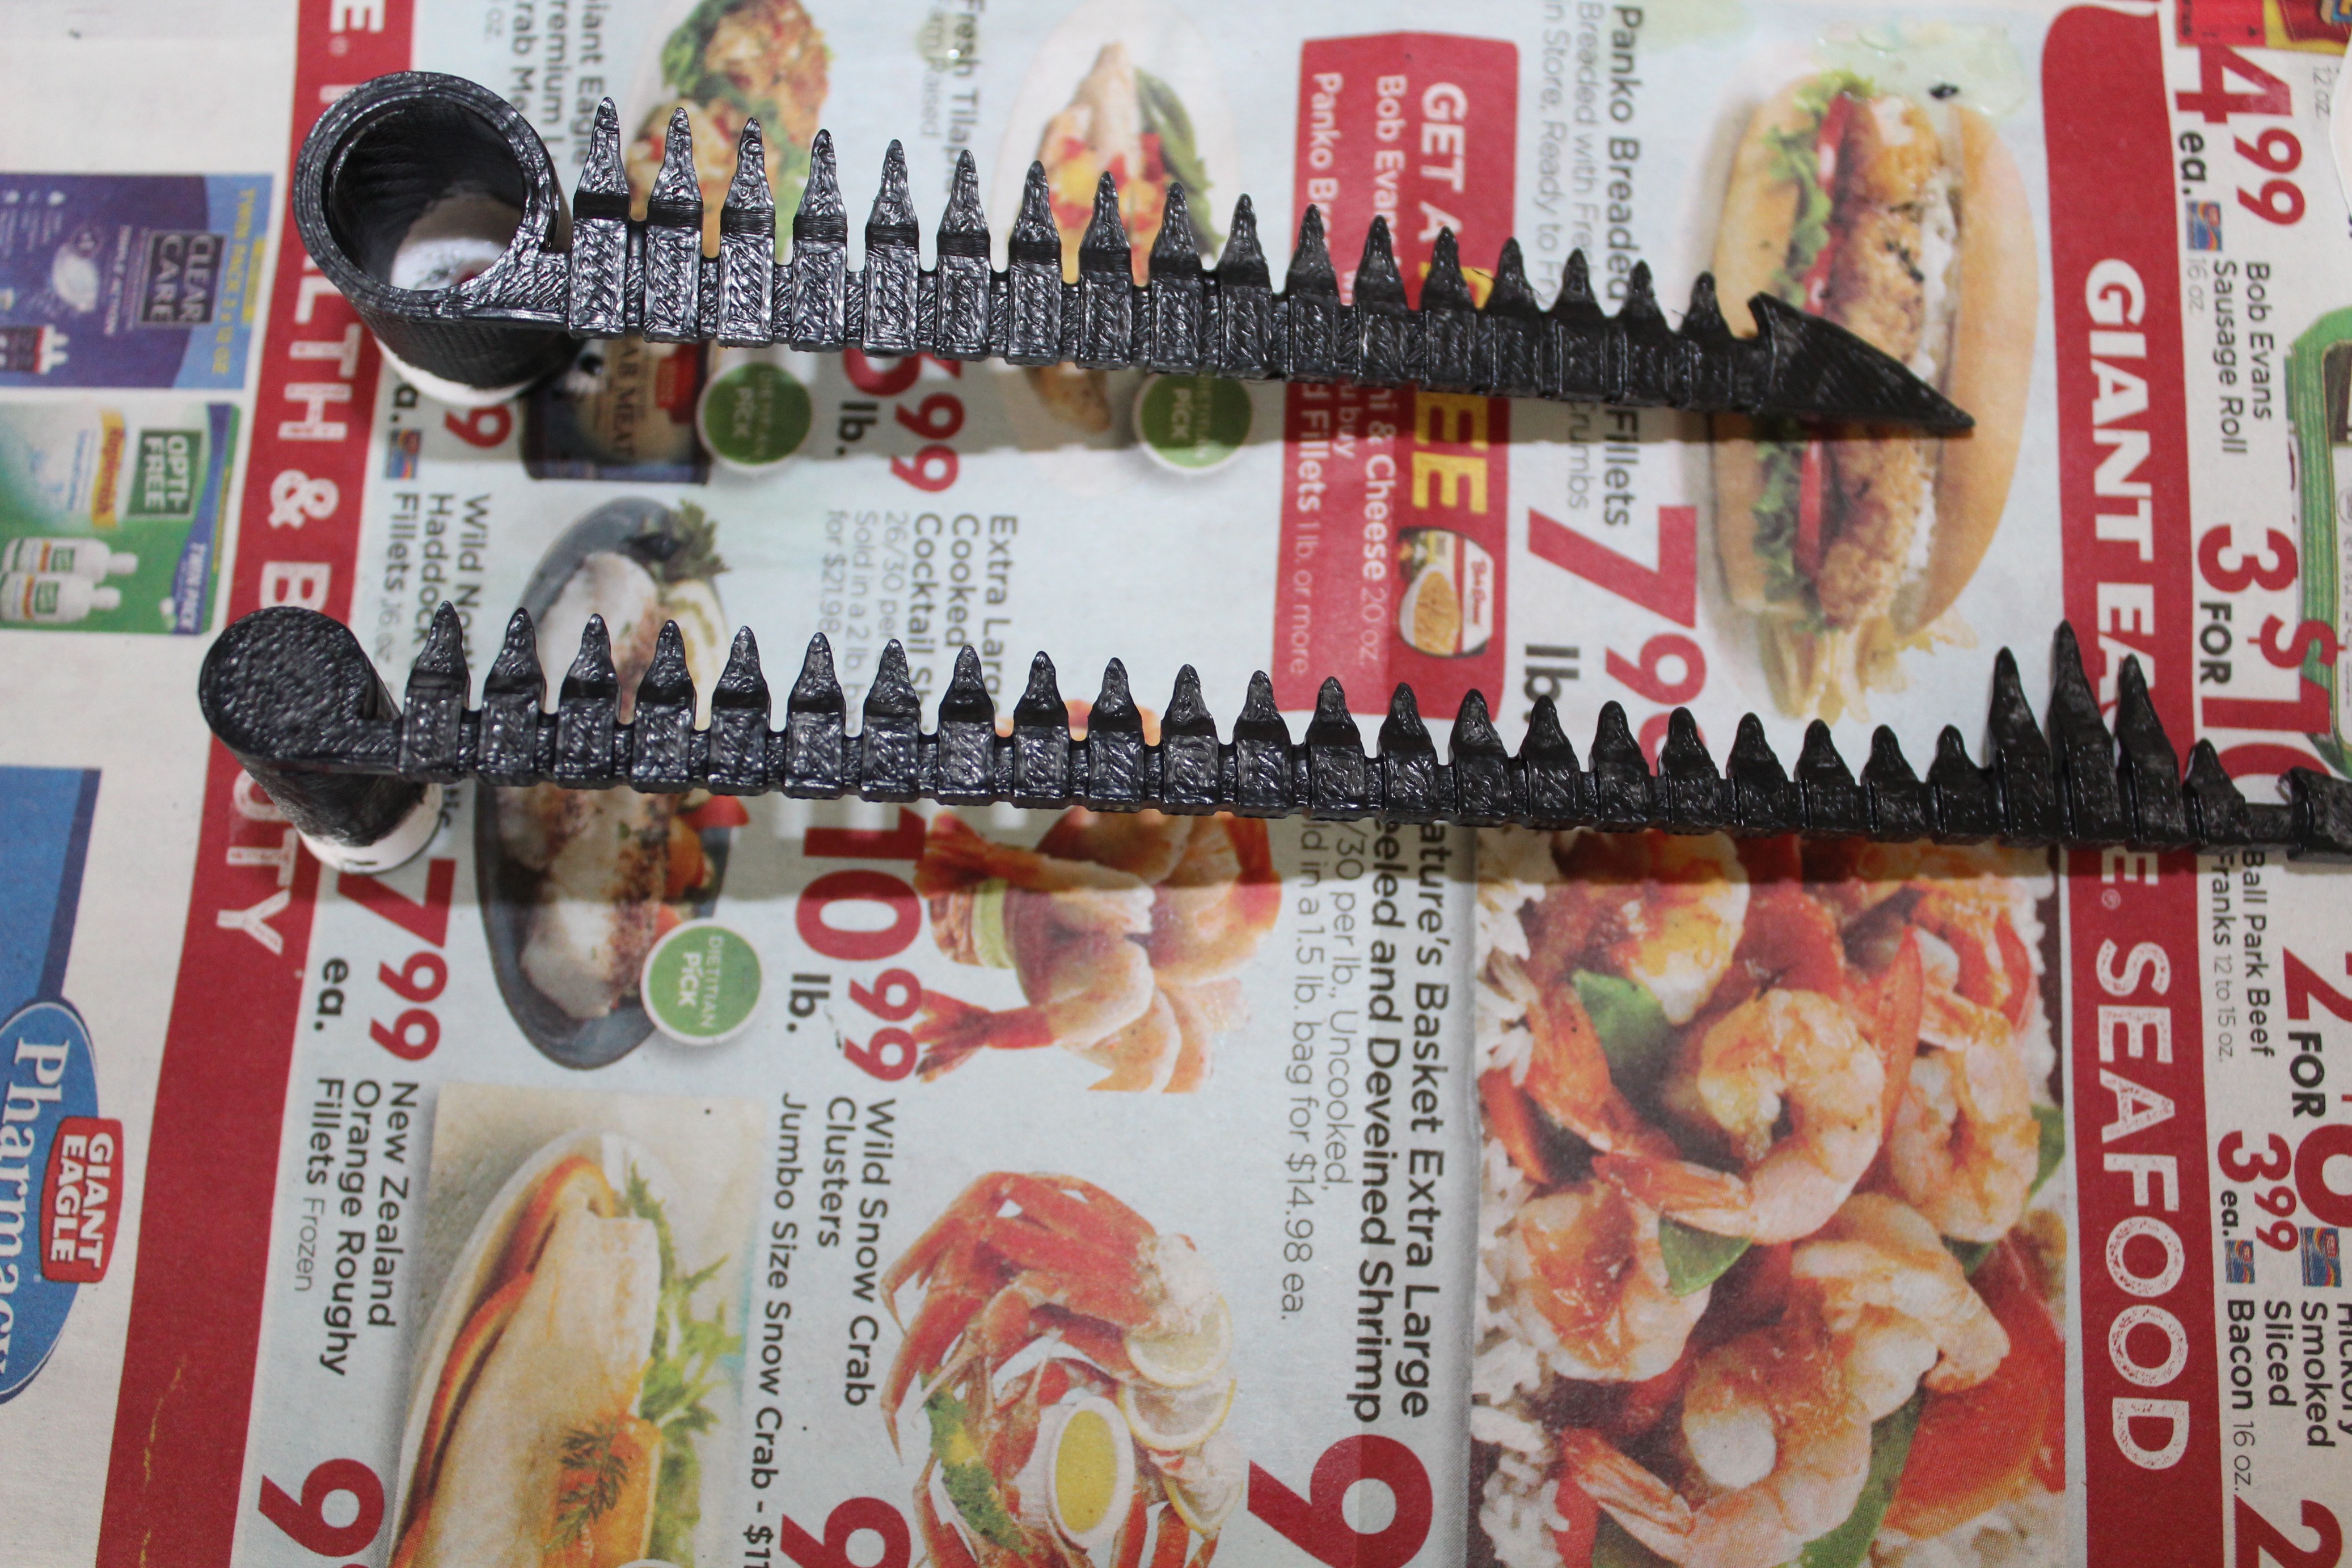
Clock Hands
The clock hands were just black and gray paint mixed together. We had to do two coats to get in all of the grooves of the uncoated PLA. The benefit of this is that it lets some of the white plastic show through and gives the "tails" a more textured look.
Discussions
Become a Hackaday.io Member
Create an account to leave a comment. Already have an account? Log In.