 Val
Val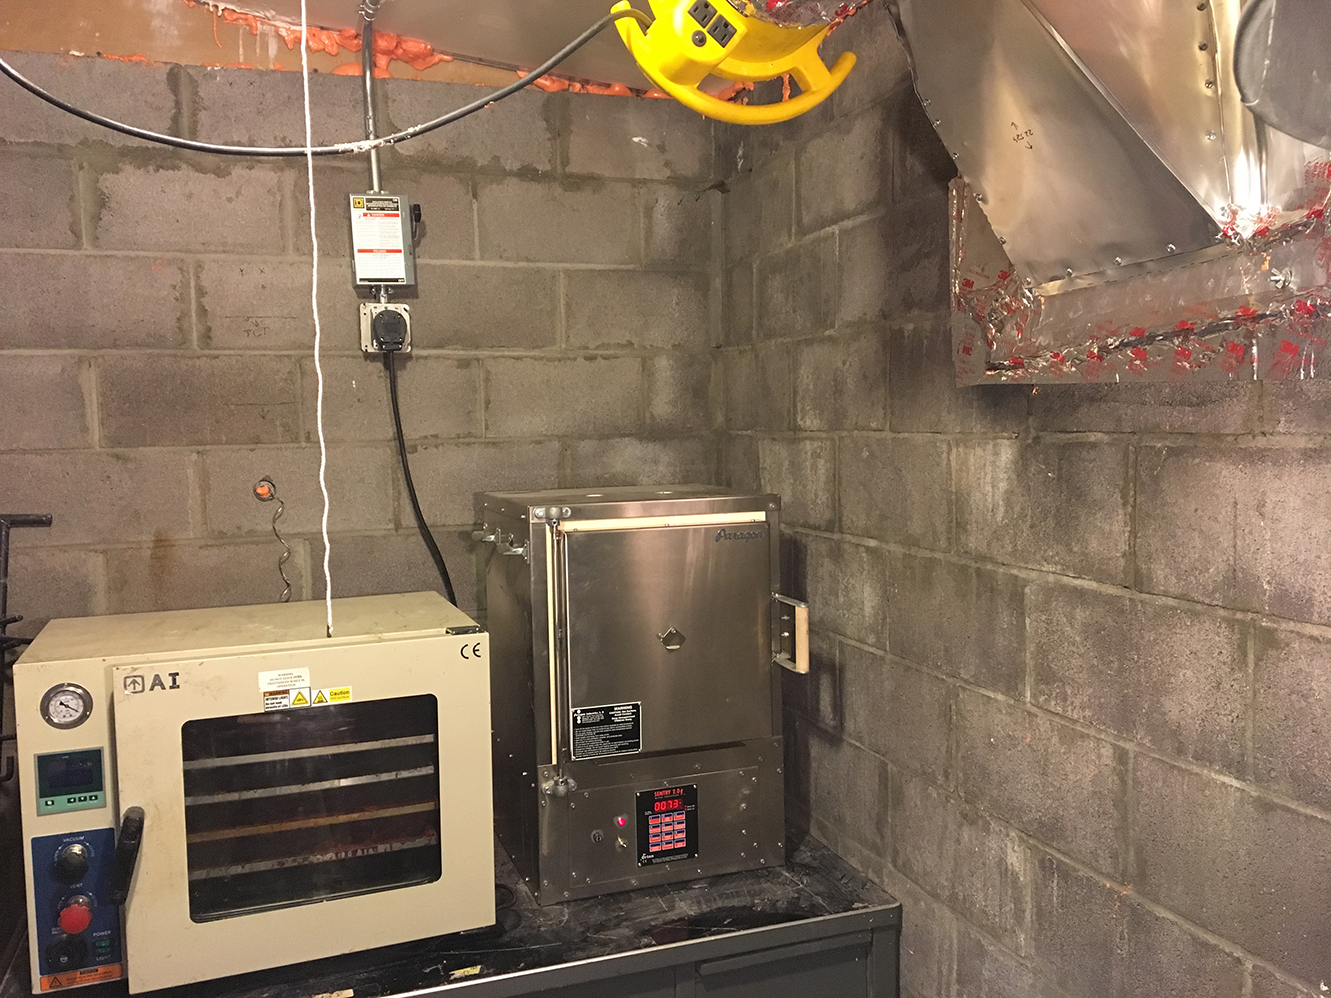
The new burnout kiln has finally been hooked up to 30 A / 240 V outlet, which I routed to a fusible safety switch, which then goes across the wall and the ceiling to the breaker box. After so much time spent routing EMT (electrical metallic tubing) conduits, my brain is randomly focusing on them everywhere I go and naming the components. I also had to cut off the kiln's power plug and replace it with another, NEMA 10-50.
The homebrew ventilation visible here was a result of intense labor to make a 3D model of the duct in Inventor, unfold it using sheetmetal functionality, export the sketch to Illustrator, and finally print it at 5% size. I projected the print using a tracer projector and got it to a focus state where 1" on Inventor drawing was equal to 1" on the wall, then traced on sheet metal and cut the patterns out with sheet metal scissors. Common sheet metal screws were used to assemble the final patterns after re-folding them with clamps.
Finally the switch was pulled and nothing exploded. The kiln emitted a long beep and the Sentry controller came online, burning with a demonic red glow. Today I am starting the first over-night (13-hour) burnout.
Discussions
Become a Hackaday.io Member
Create an account to leave a comment. Already have an account? Log In.
Check out BigPrint to do the large stuff without messing around with projectors:
https://woodgears.ca/bigprint/
Are you sure? yes | no
That was my first thought (Adobe Illustrator can do the same thing, no need for other software), but I think that taping the sheets of paper up and tracing through them would have taken about the same amount of time/effort. Actually the first thing I tried is FedEx Office, but their customer service made a mistake and delayed my job, so I cancelled it and rolled my own.
Are you sure? yes | no