 Stefan-Xp
This post is mostly about the crafting part of this project.
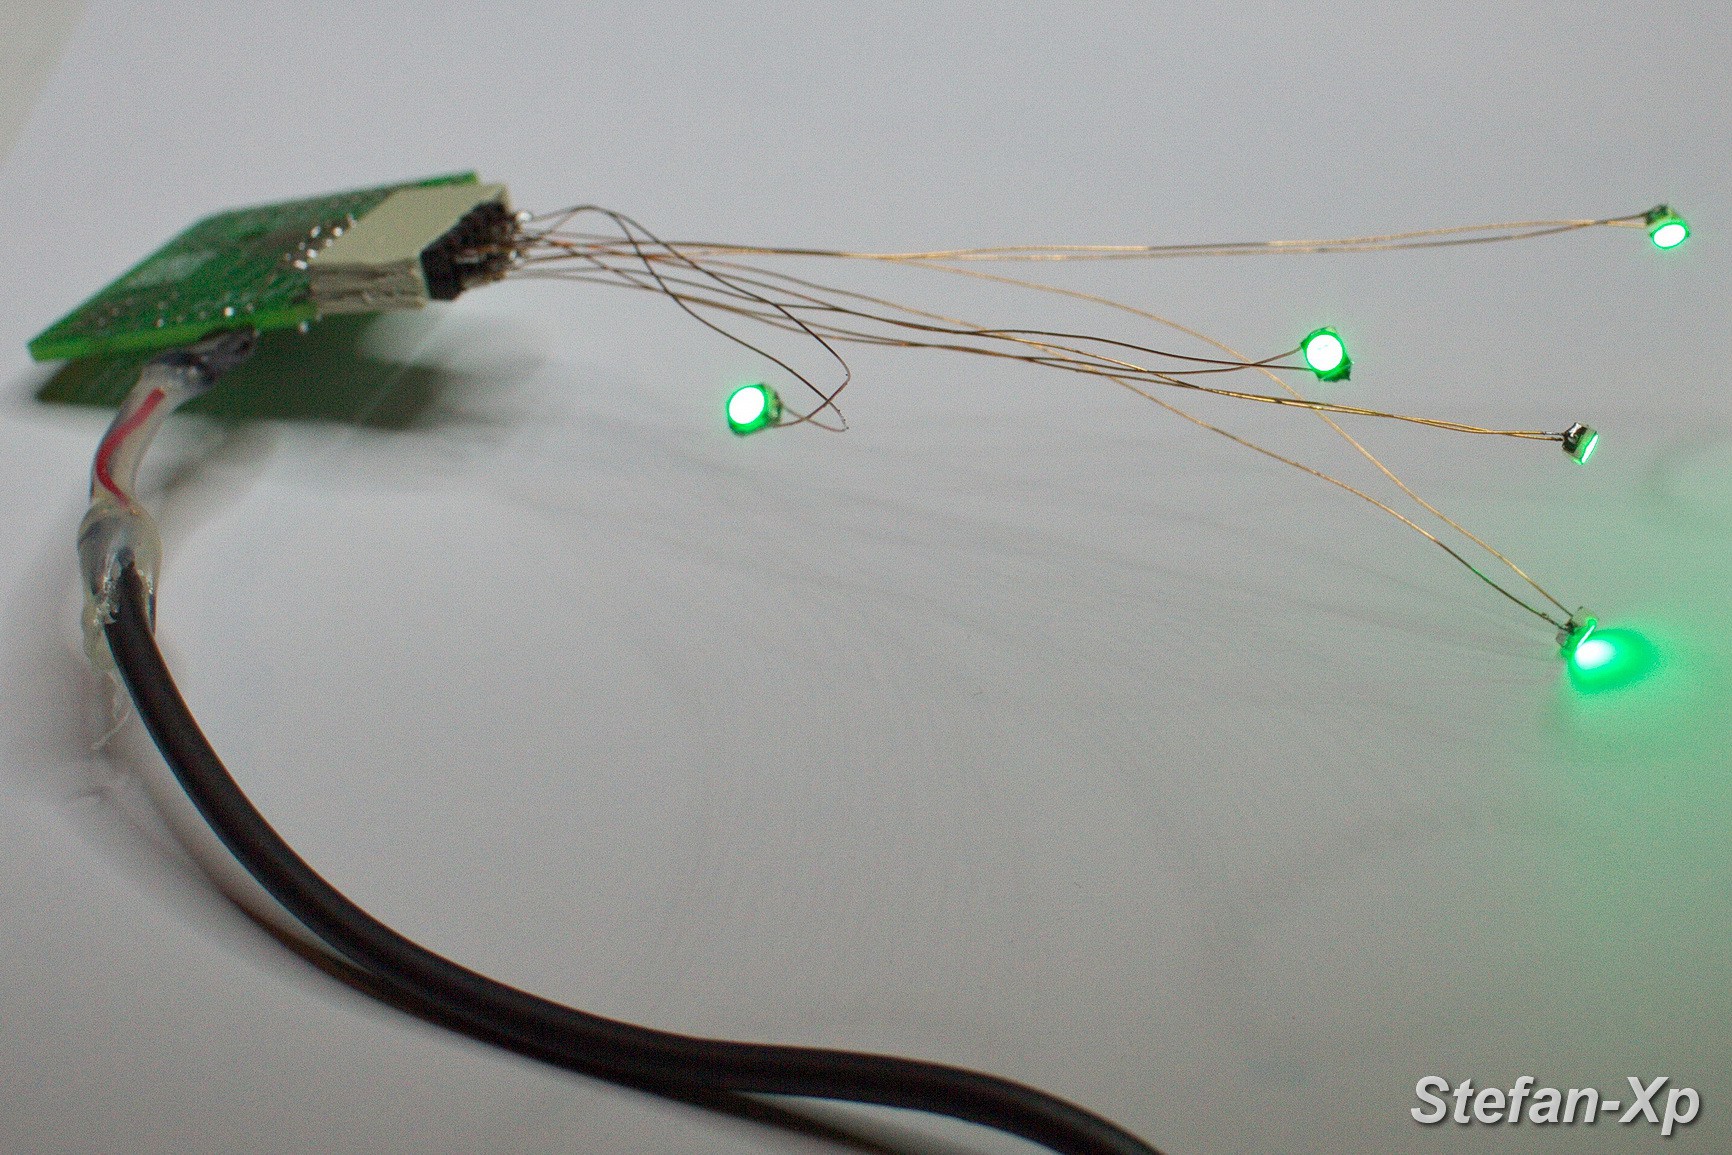
In general i just used up 5 Pins of the Atmega to connect them via series Resistor to a LED. I soldered enameled copper wire to the 5 LEDs and connected them to the #The Atmega Hearth.
You may connect the LEDs to your own Controller PCB.
 LED with enameled copper wire.
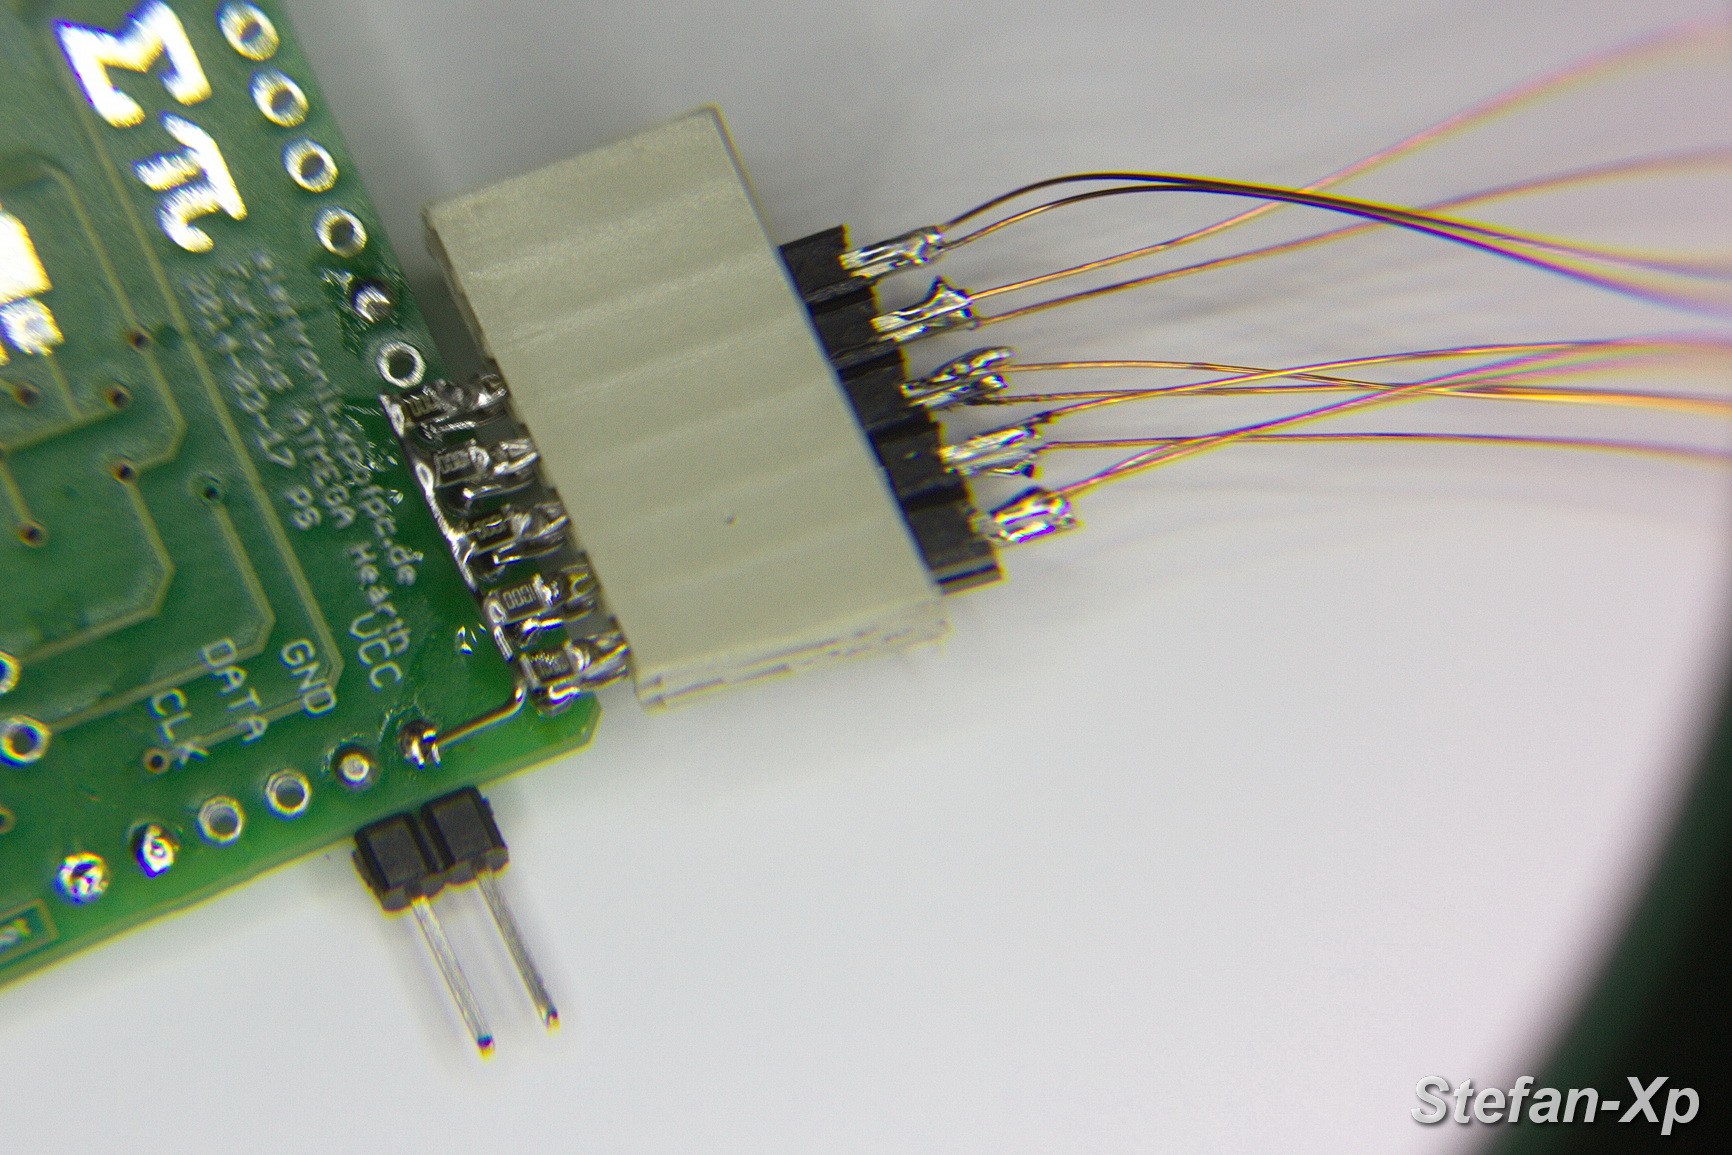
This is a 5x2 pinheader with the LEDs already connected.
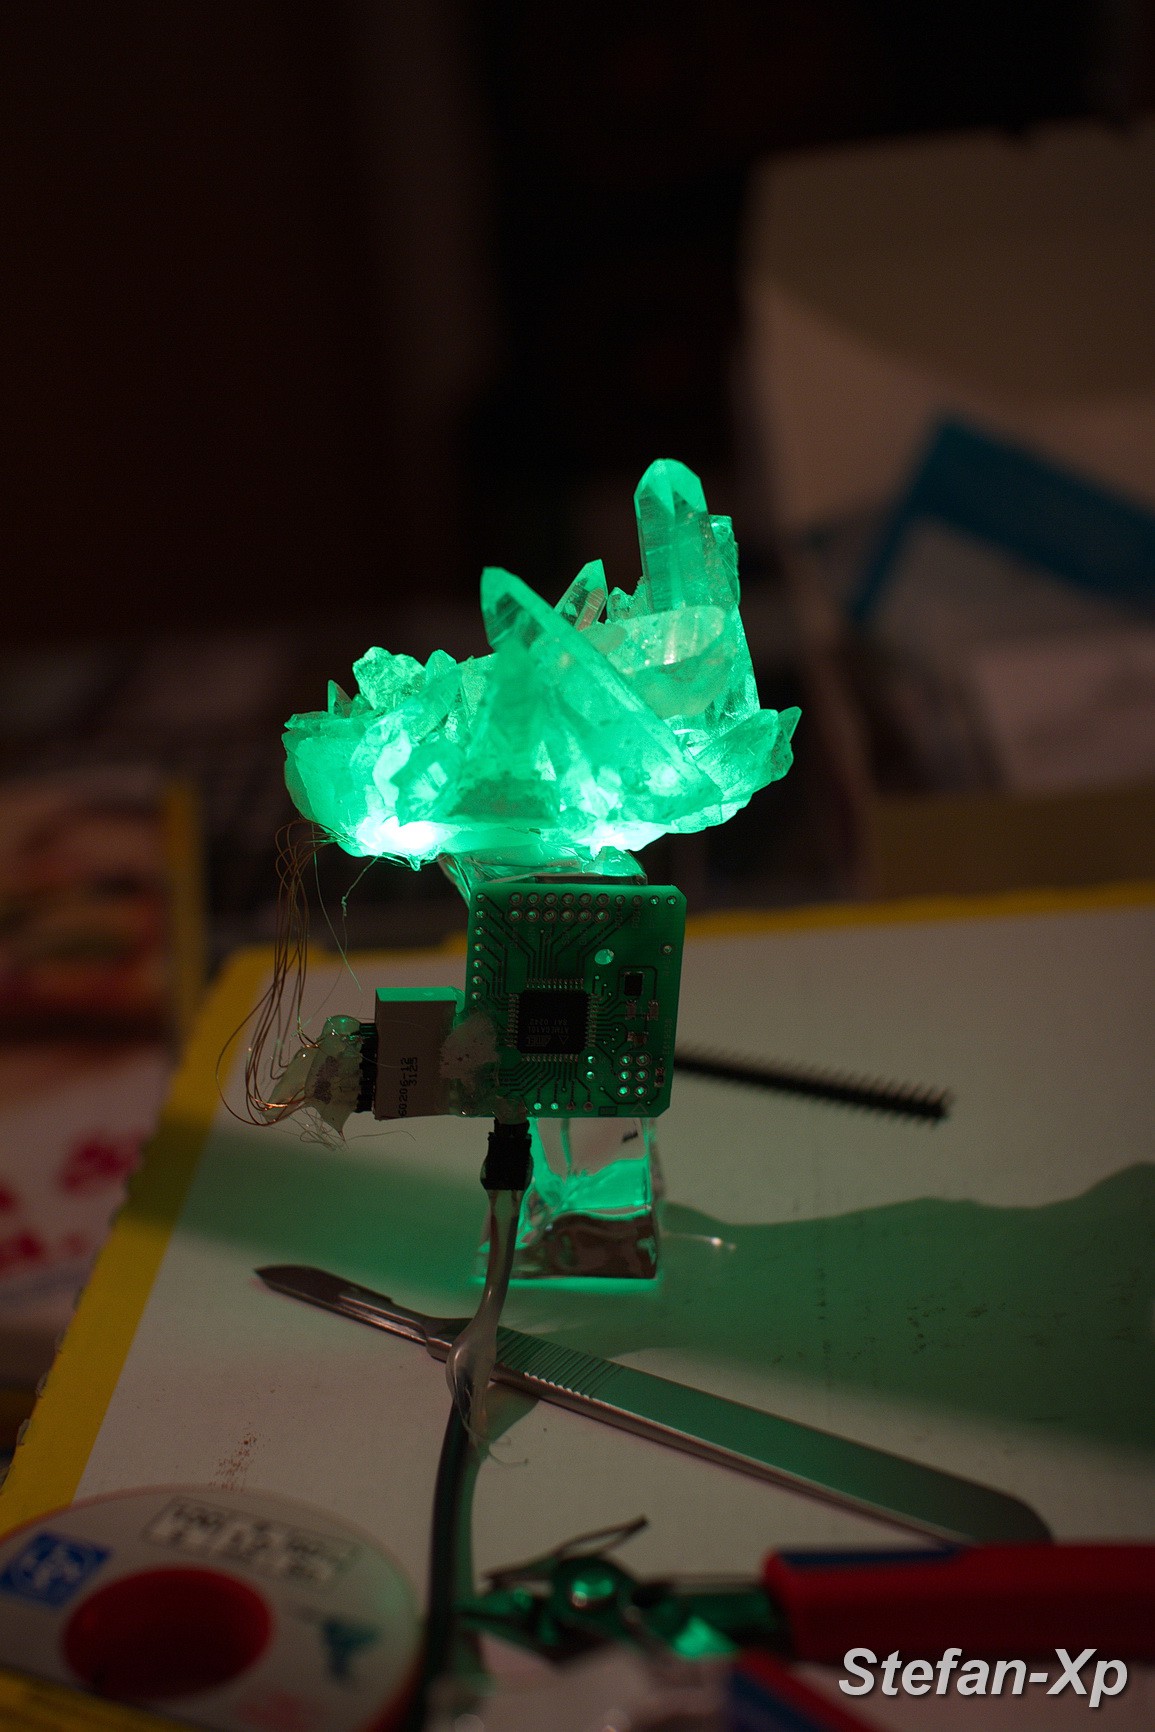 After the LEDs were hot glued, i glued two cubes below the cluster for better stability and mount for the PCB. I secured all fragile parts with hot glue since all below is buried in planting clay.
I also drilled a hole into the planting pot - so no cable obscures the upper view - you can only see it from behind..
Next step is to fill the planting pot with Seramis Planting Clay
(Advantages: Looks fine, is not conductive, looks more clean than soil) and bury the stuff inside.
Stay tuned for the final outcome!
Discussions
Become a Hackaday.io Member
Create an account to leave a comment. Already have an account? Log In.