 w_k_fay
As my pint of commercial etchant reached the end of its useful life I began to wonder if I could make my own. The commercial stuff works well enough, but it costs an arm and a leg. I paid $20 for 500 ml (that's about pint for you non metric folks). Plus I have to drive 400km or 250 mi (which ever comes first) to get it. So I thought maybe I should give chemistry a try. How hard could it be ? Turns out not very hard at all.
I have seen people try to etch with the following four solutions:
vinegar and peroxide
hydrochloric acid and peroxide
home brewed ferric chloride
cupric acid
White vinegar is about 5% acetic acid, and when it is mixed with an equal part of 3% hydrogen peroxide it is supposed to make an efficient etchant. This may work if you have a few days to kill. I tried it, and after six hours all I had to show for my efforts was a darkened copper board and some light blue vinegar. Too slow, and it will probably soften your resist and undercut the tracks before it etches the board clean. So it is not a serious contender for me.
Cupric acid is used by many large board manufactures. It is a stable solution that actually gets stronger in storage and it can be regenerated by bubbling air through it. Sounds good, and if you have a heated etching tank this may be for you. The down side to this chemical is that it requires maintenance to keep the oxygen and acid levels balanced so that you get reasonable etching times. It is also fairly simple to make. I don't have a tank, so I will leave cupric acid alone for now. I have included an article in PDF if you wish to pursue it.
That leaves two choices : make ferric chloride or make hydrochloric acid and hydrogen peroxide solution. The good thing is that both methods require the same chemicals which are readily available from the hardware store.
You will need the following :
HYDROCHLORIC ACID 30% this is sold at the hardware store as MURIATIC ACID 30% or 10 molar (37% 12 molar is fine too) for cleaning concrete about $15 gallon
HYDROGEN PEROXIDE 3% for cleaning cuts available everywhere (buck a pint at the Dollar Store)
STEEL WOOL or RUSTY NAILS (not shiny galvanized ones)
SAFETY GOGGLES and GLOVES, glass bottle, plastic bottle and that's pretty much all you need. So without further adieu let us begin.
HYDROCHLORIC ACID and HYDROGEN PEROXIDE
This stuff works like a charm. It is faster than commercial ferric chloride and a hell of a lot cheaper. I use the toner transfer method and I use Sharpies to fix any small errors in the toner. I have a complete page on this method if you are interested. This etchant will not dissolve the Sharpie as quickly as ferric chloride. In my experience the slower you etch the more problems you will have with your resist dissolving and undercutting your tracks.
100ml peroxide and 50ml hydrochloric acid.
The down side to this wonderful stuff is that it CAN NOT be used indoors. Take my word for it, not ever in a well ventilated room. It releases hydrogen chloride fumes and hydrogen gas. The hydrogen is not a significant danger unless you are in an enclosed room and happen to be smoking. The hydrogen chloride fumes, however, will corrode any metal in the room and they are quite toxic. Good for the summer but not for a Canadian winter.
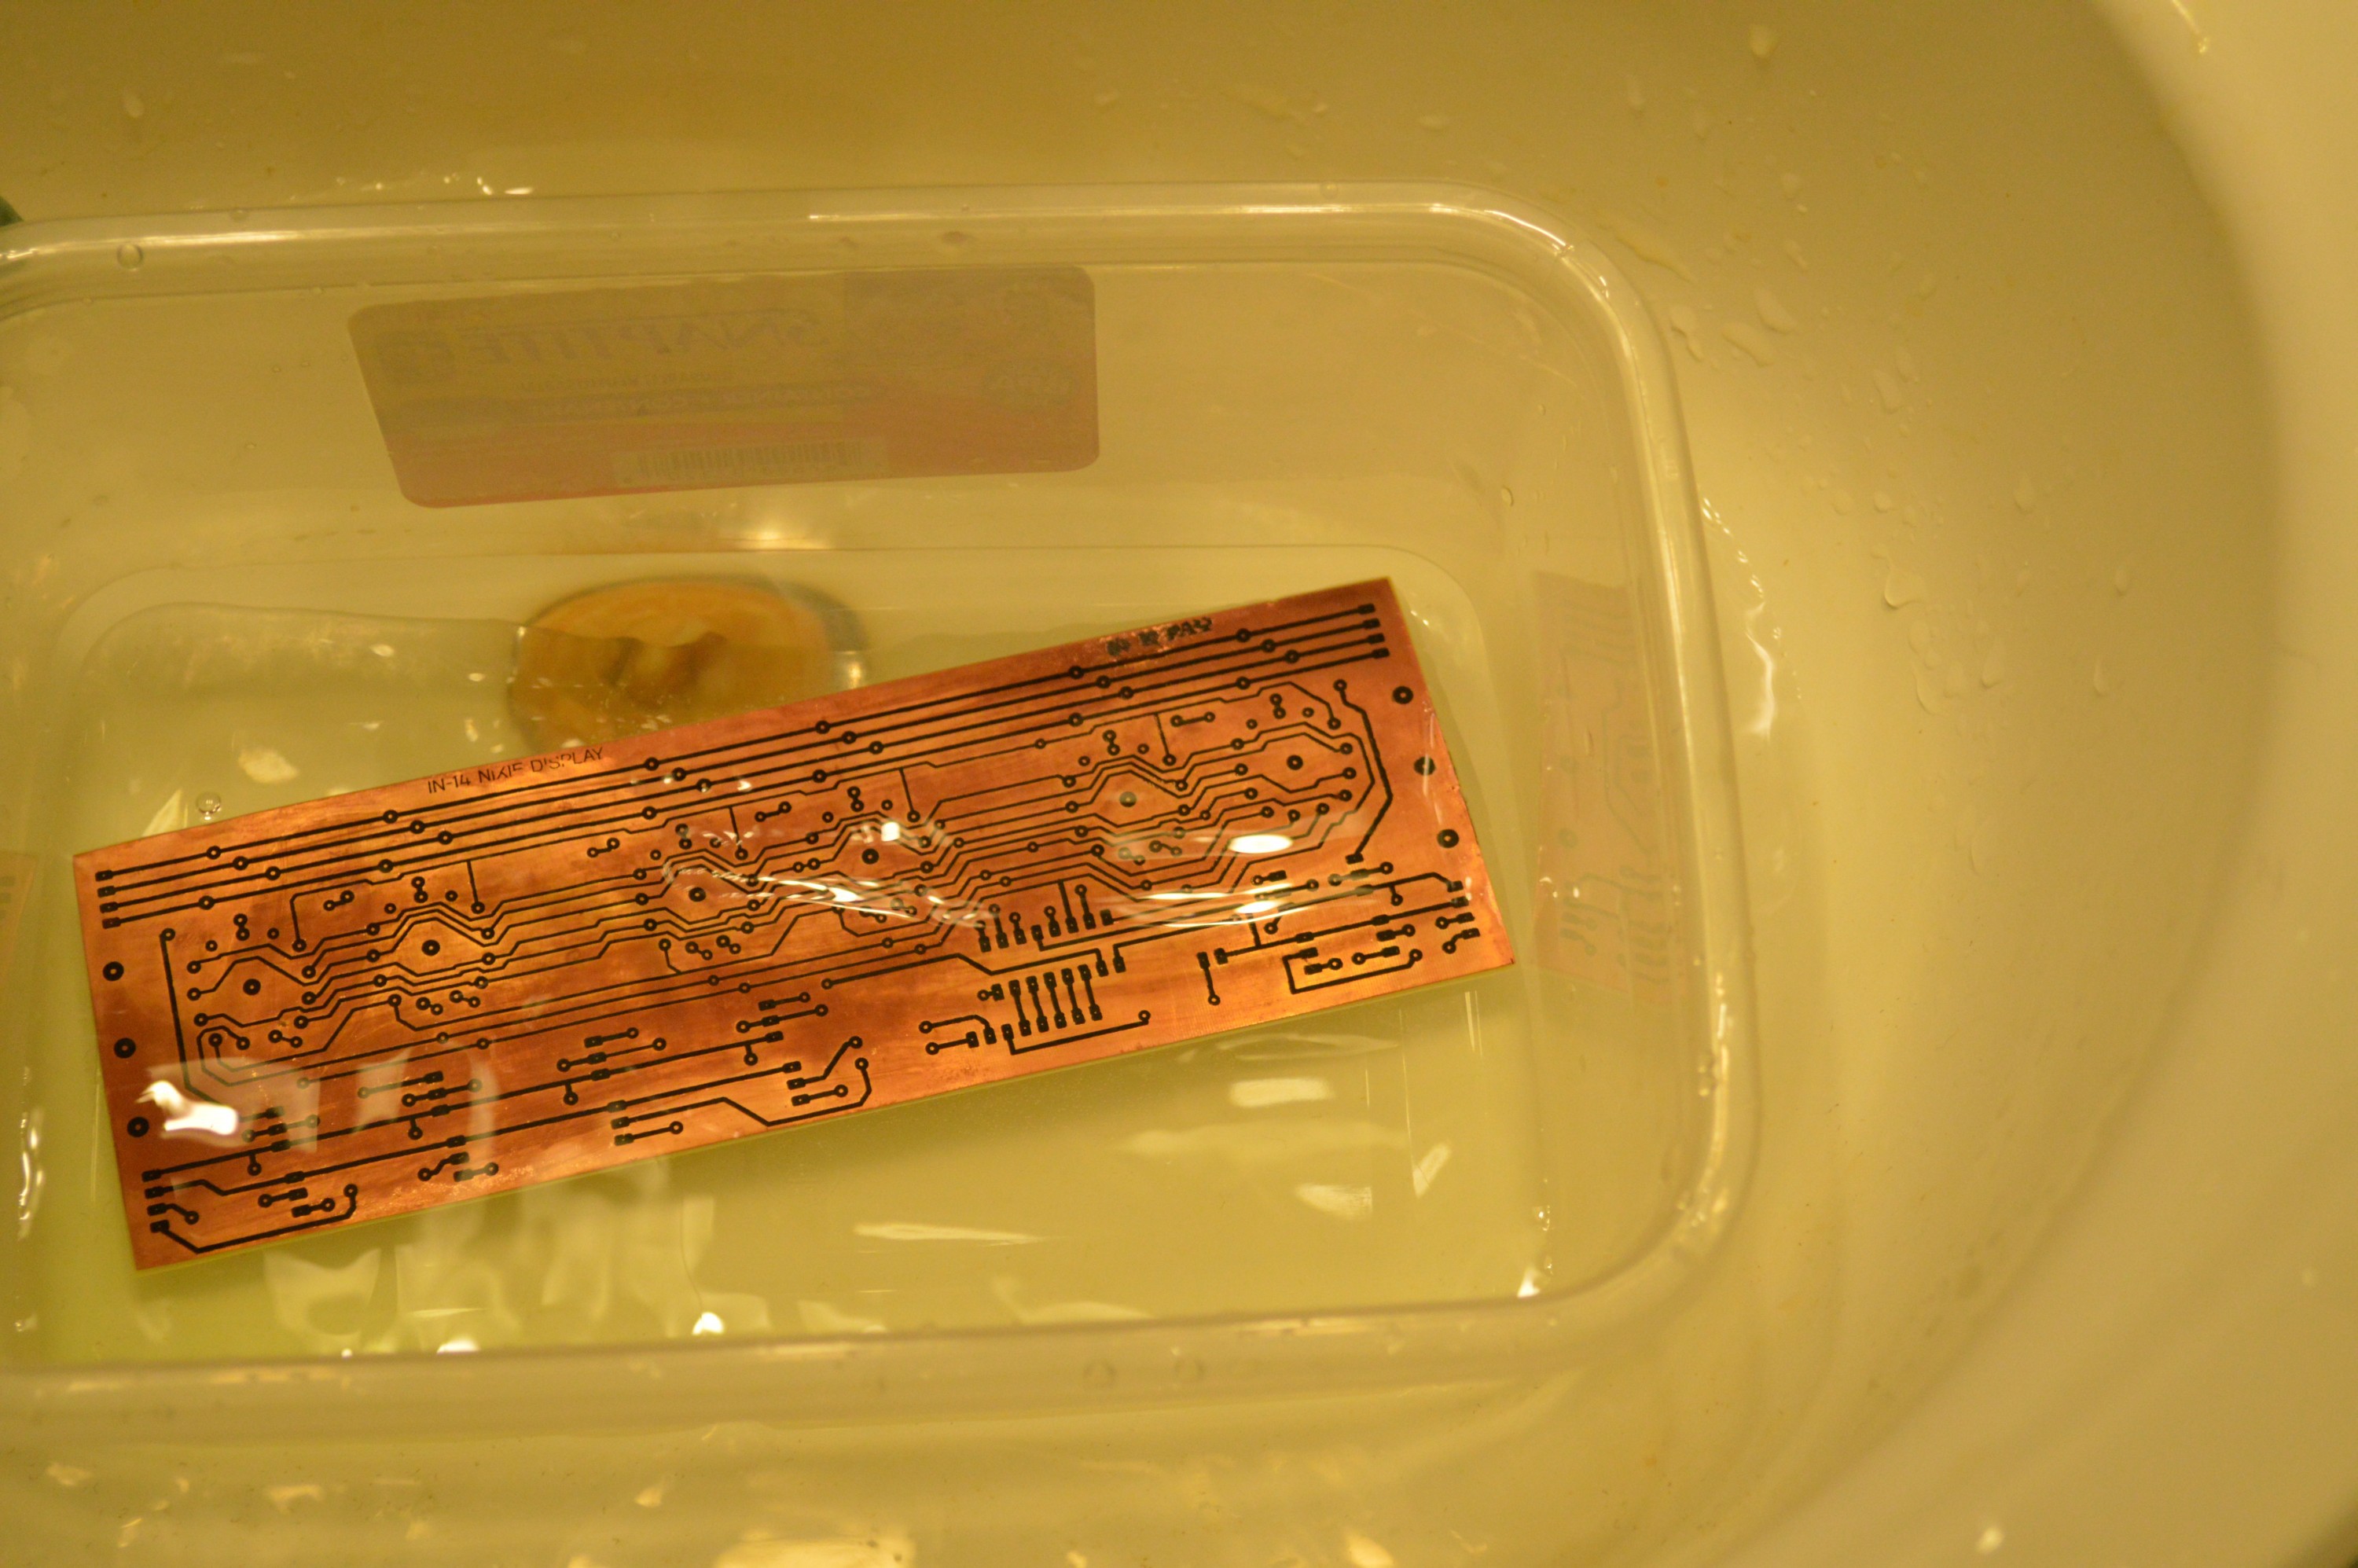
About 2 minutes into the etch.
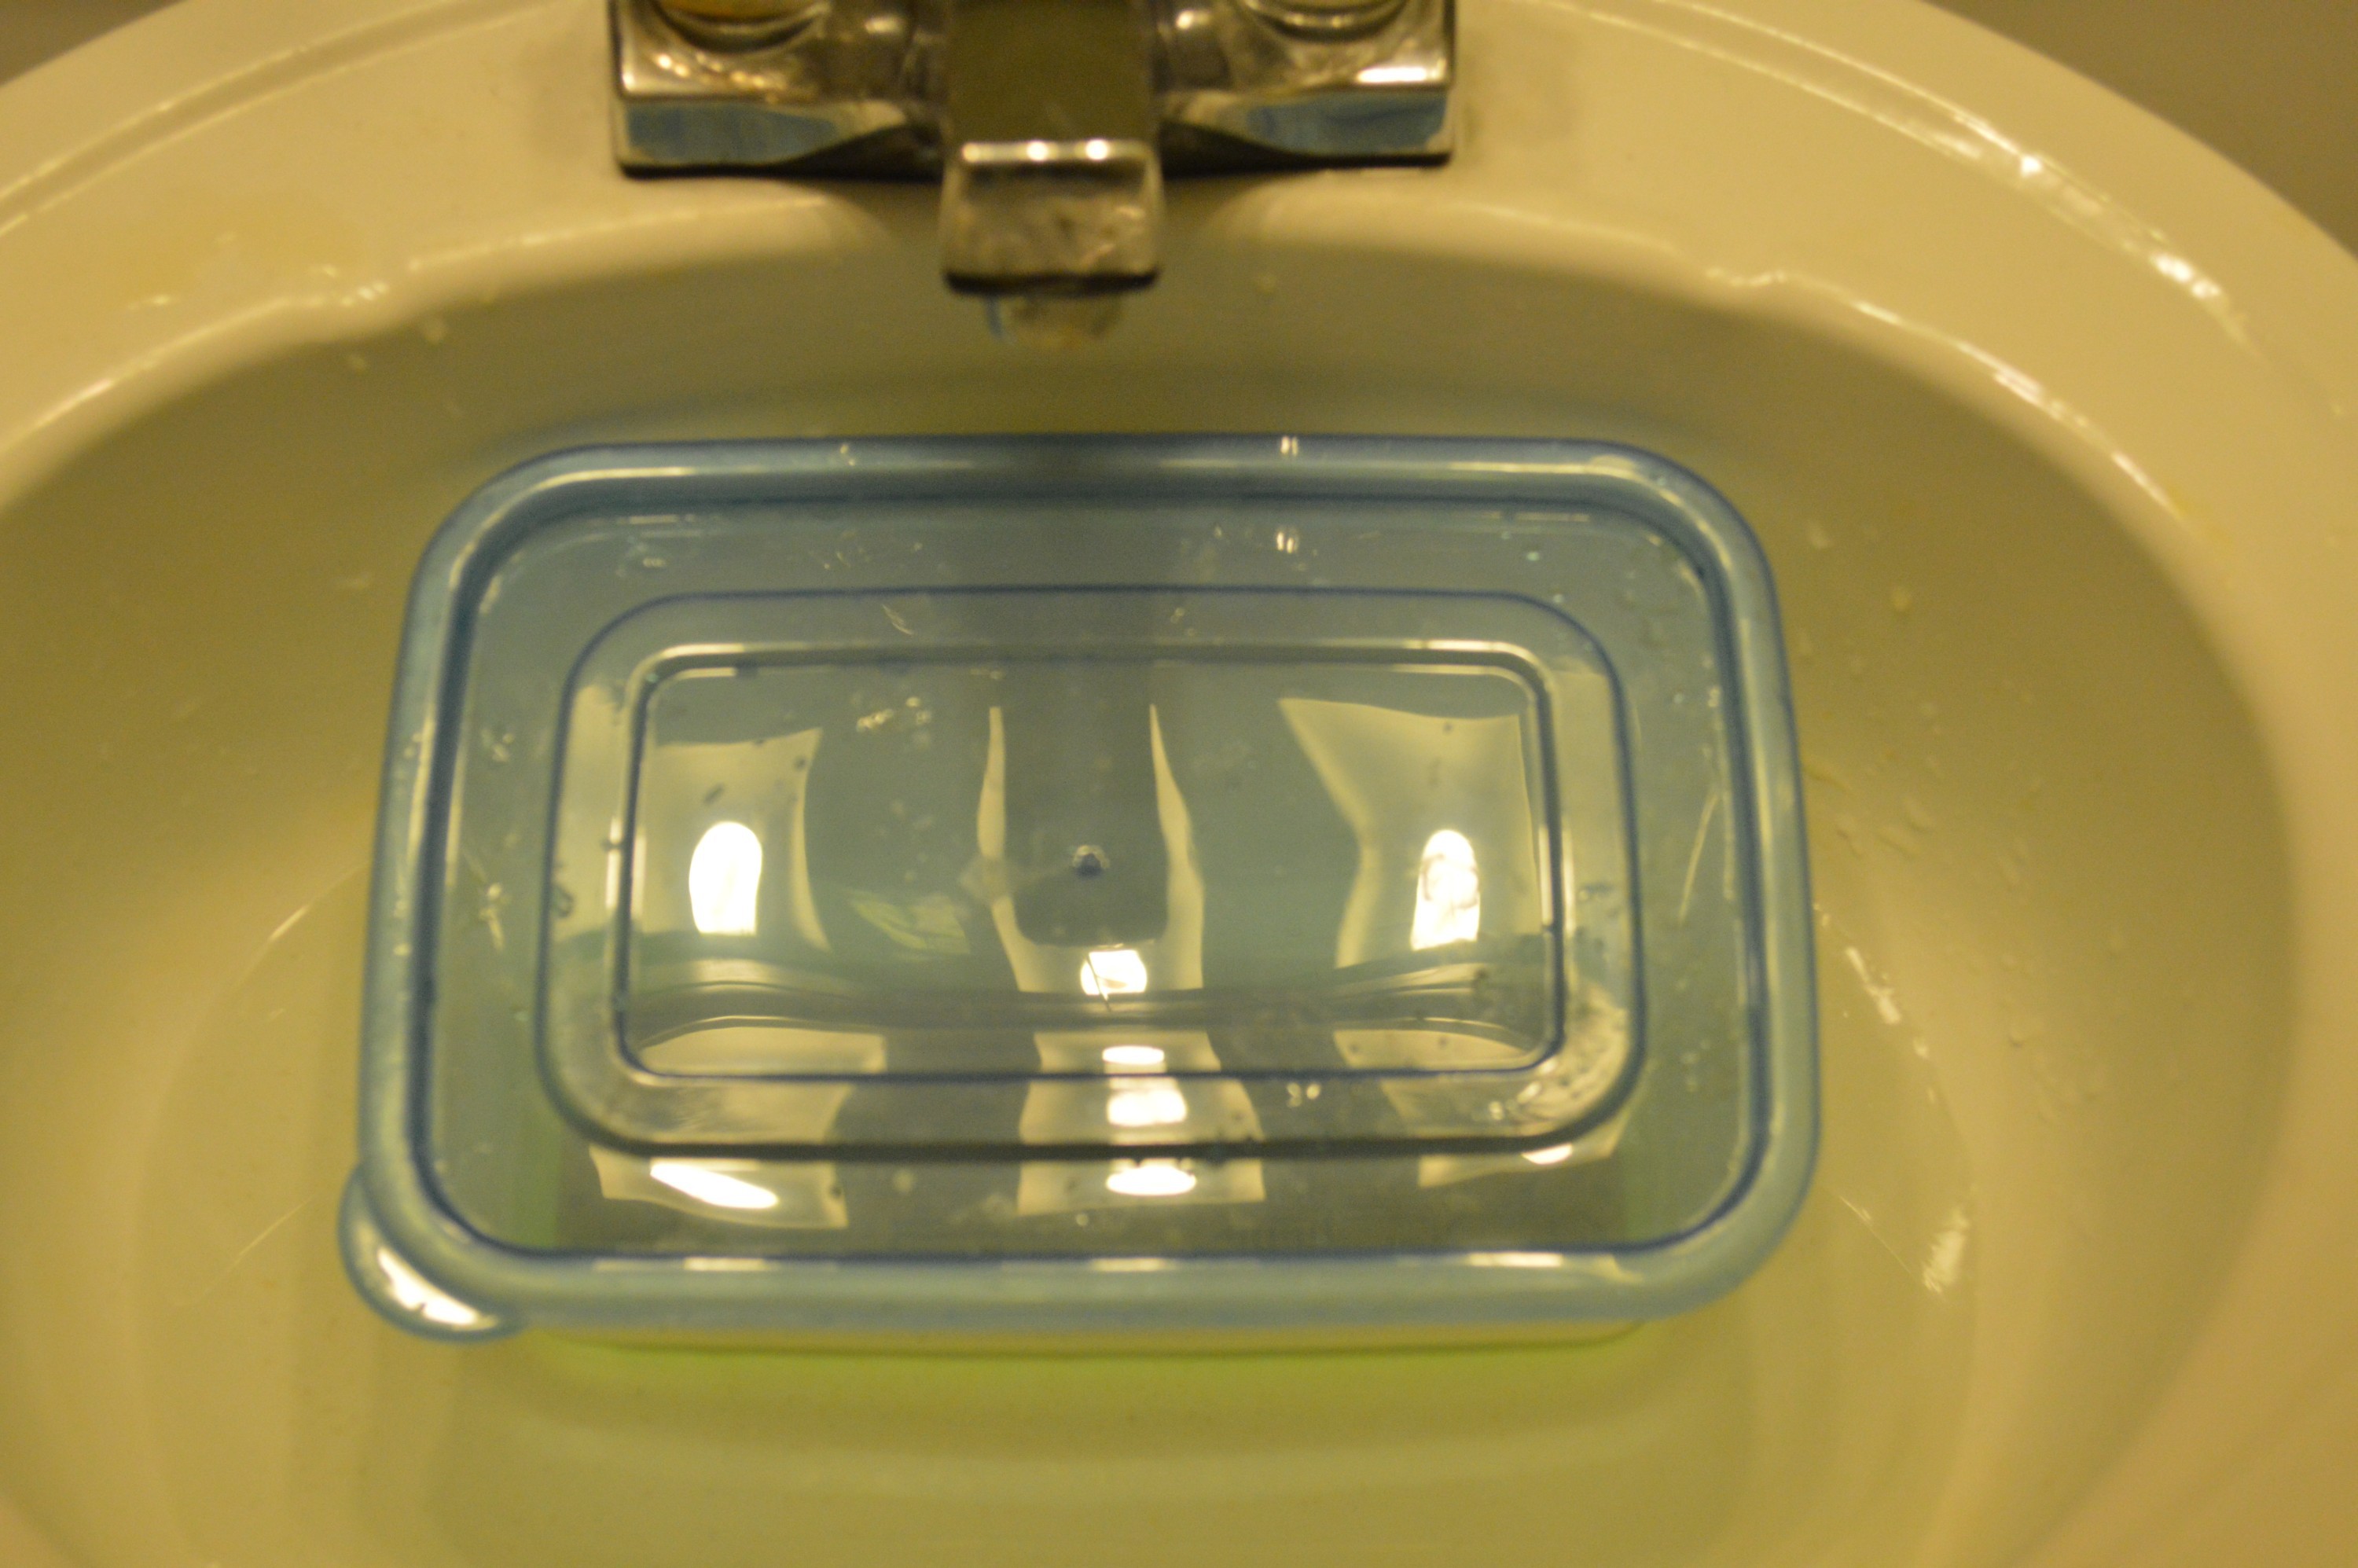
Fume management. I also wore a respirator and goggles for this one.
It is unstable and will break itself down in a day or two. You must mix it and use it fresh, then dispose of it. If you do the occasional board or batches of boards this is really effective. Etch time varies with temperature. So heat it with a water bath like you would for ferric chloride. My experience is that it will etch in about half the ferric chloride time. The spent solution contains cupric acid, that can be concentrated by evaporation and used in an etching tank.
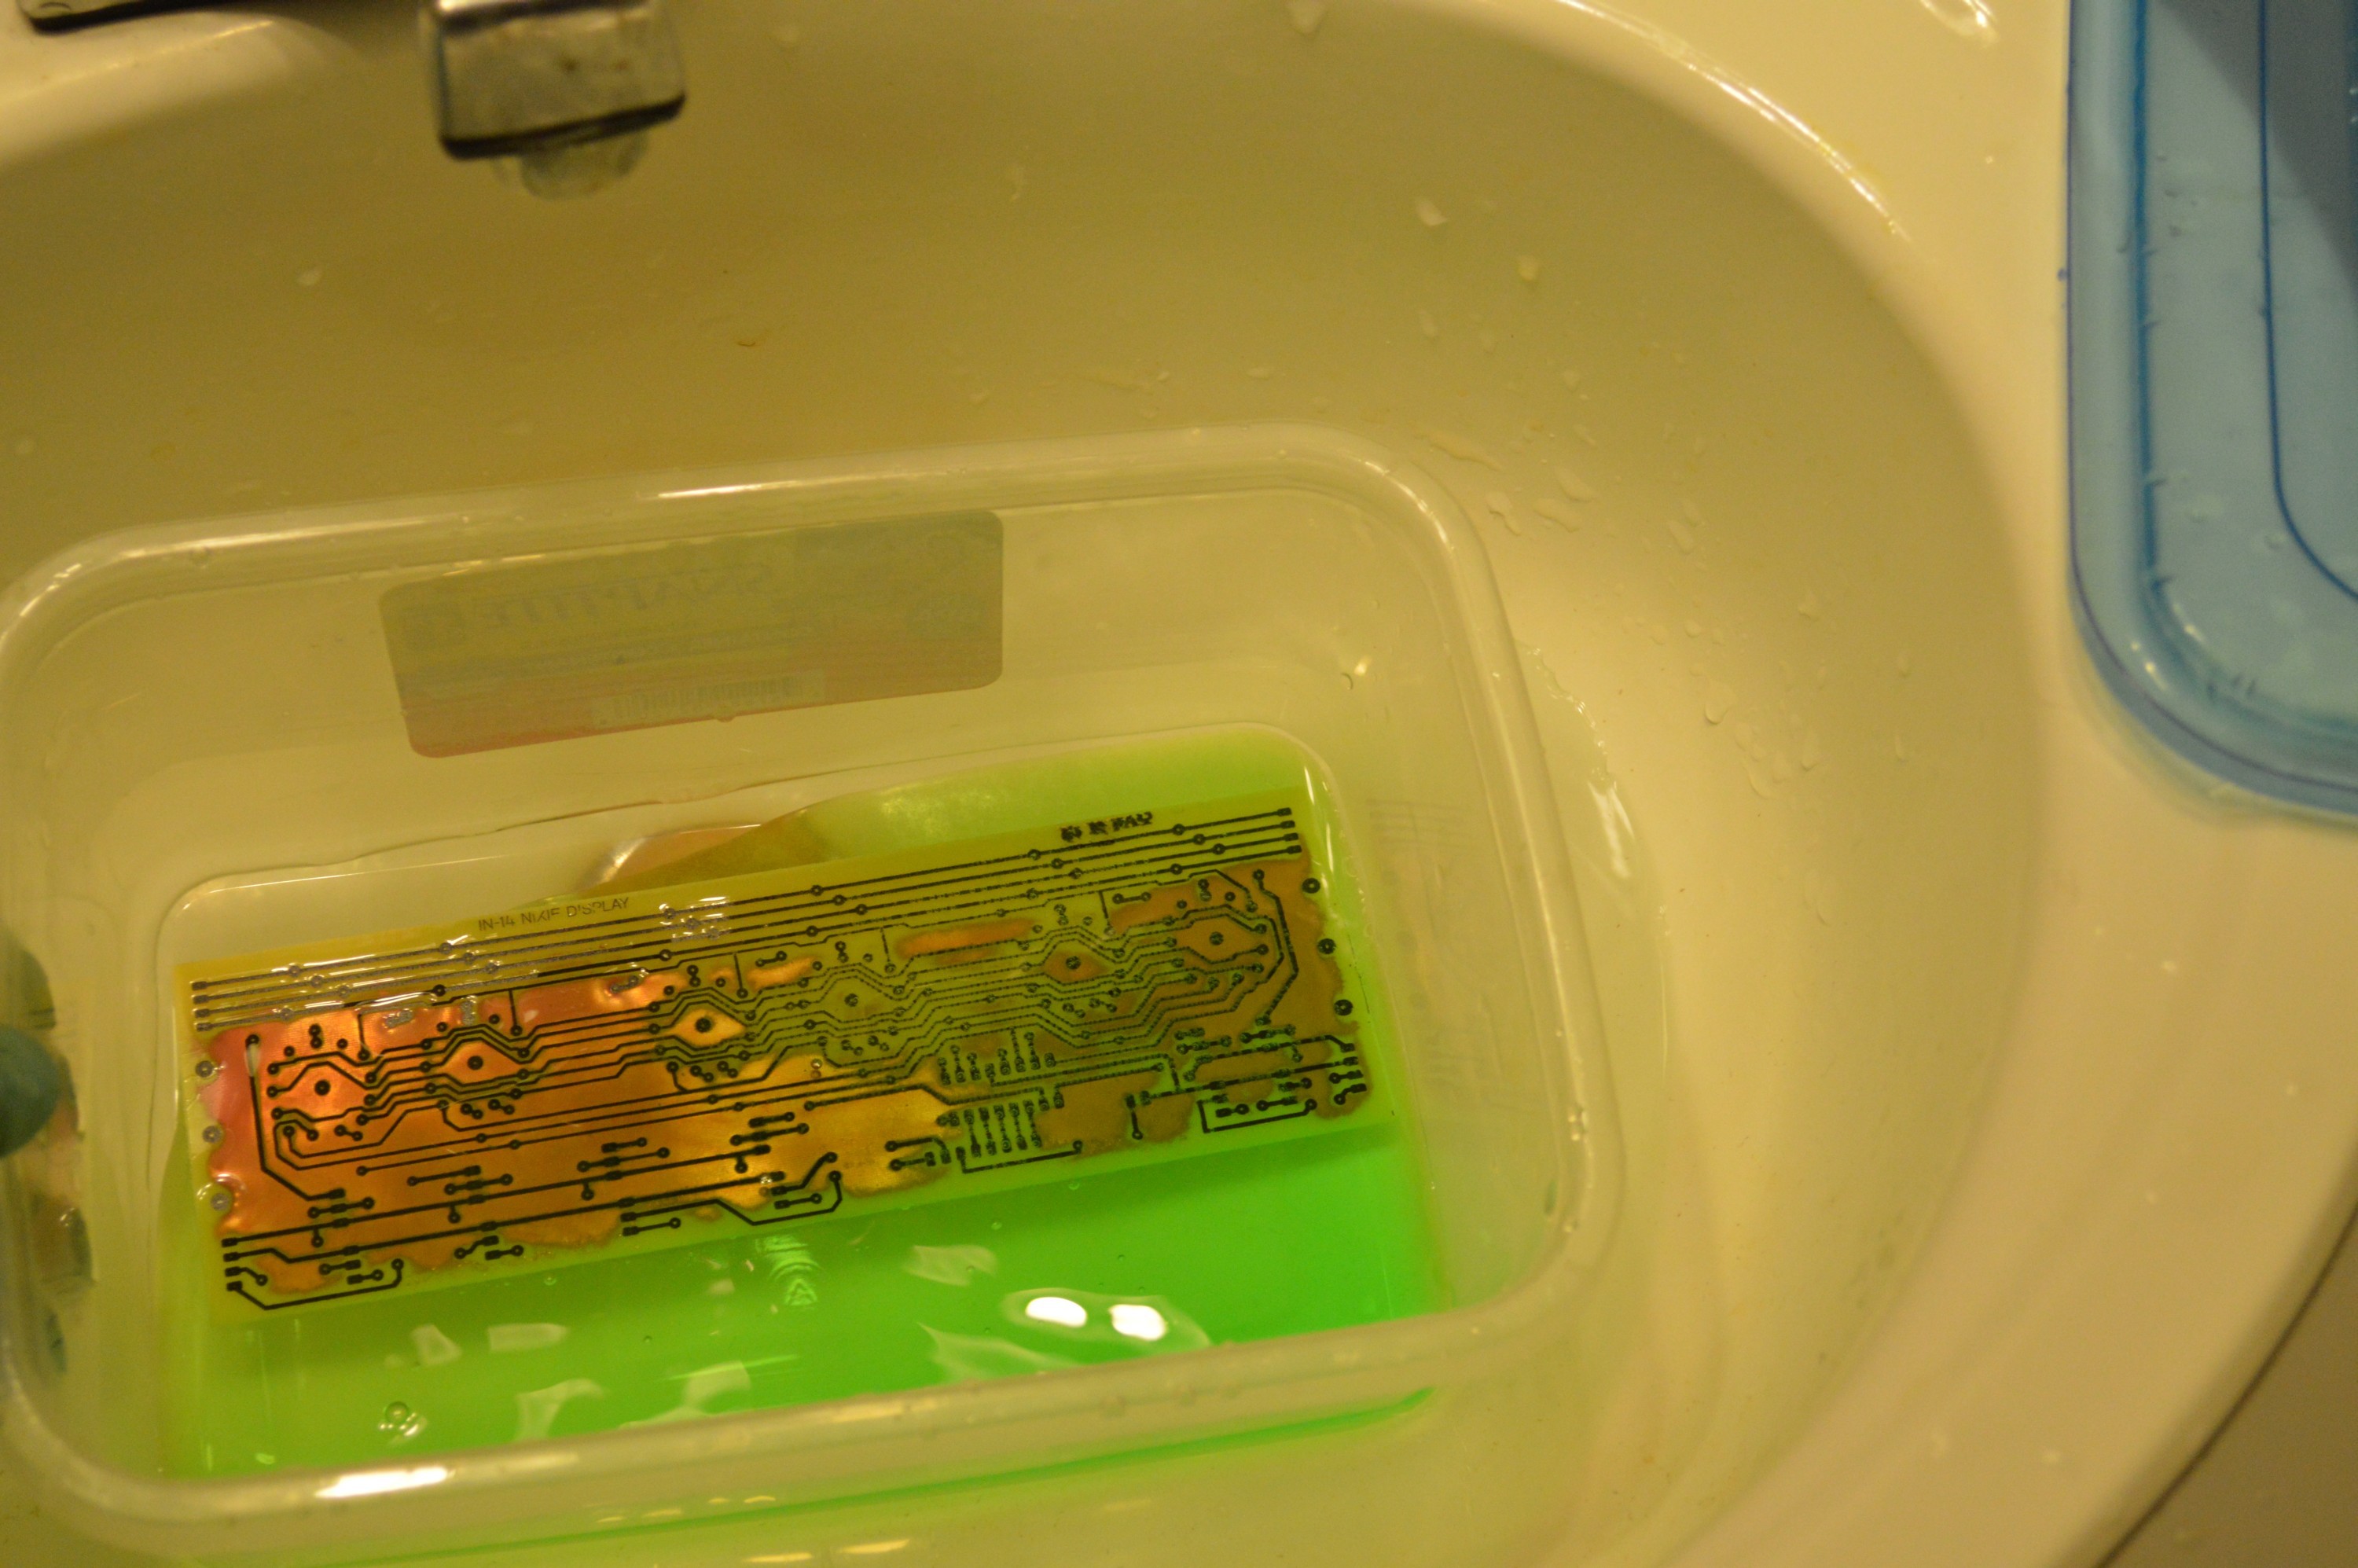
About 3 minutes into the etch. Done in about 3.5 minutes. no undercutting !
The mixture I am using is a 2:1 mixture of 3% peroxide to 30% hydrochloric acid. It is good practice to add the stronger 30% hydrochloric acid to the weaker 3% peroxide, but I found that these chemicals at these concentrations don't react much at all. The solution will get slightly warmer when the two chemicals are combined. I tried a 1:1 ratio and found that the board took about twice as long to etch.
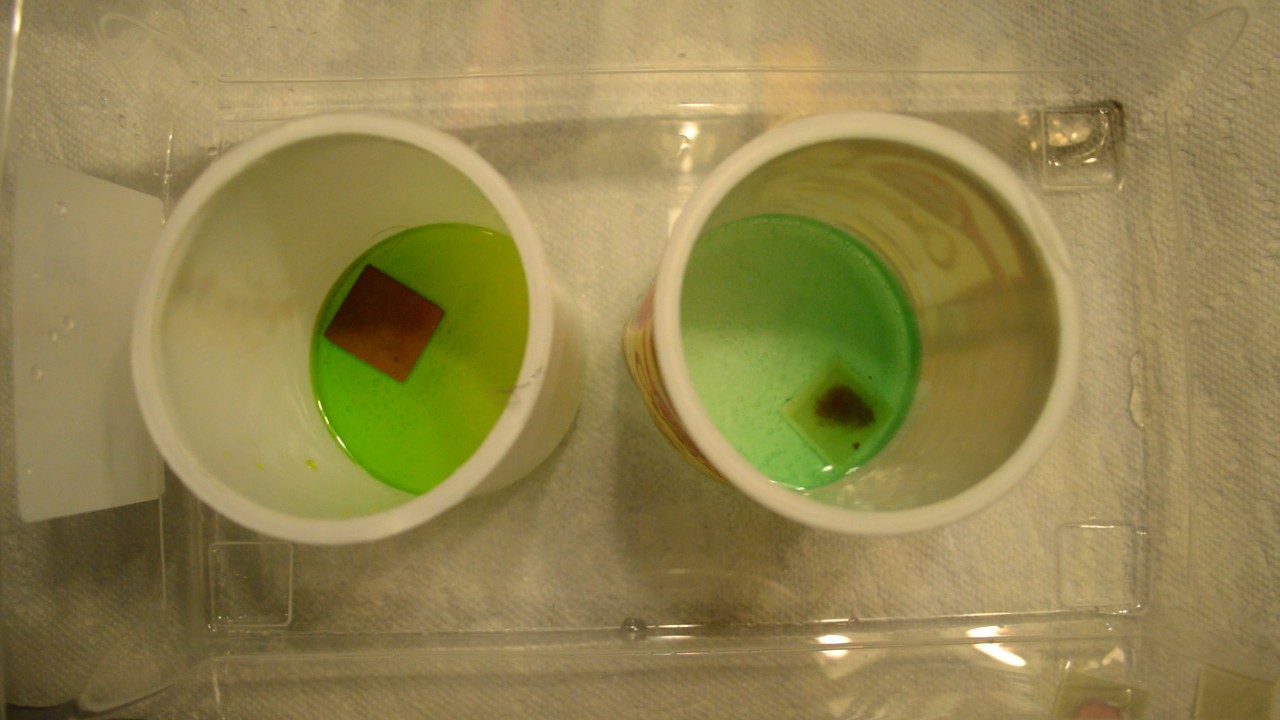
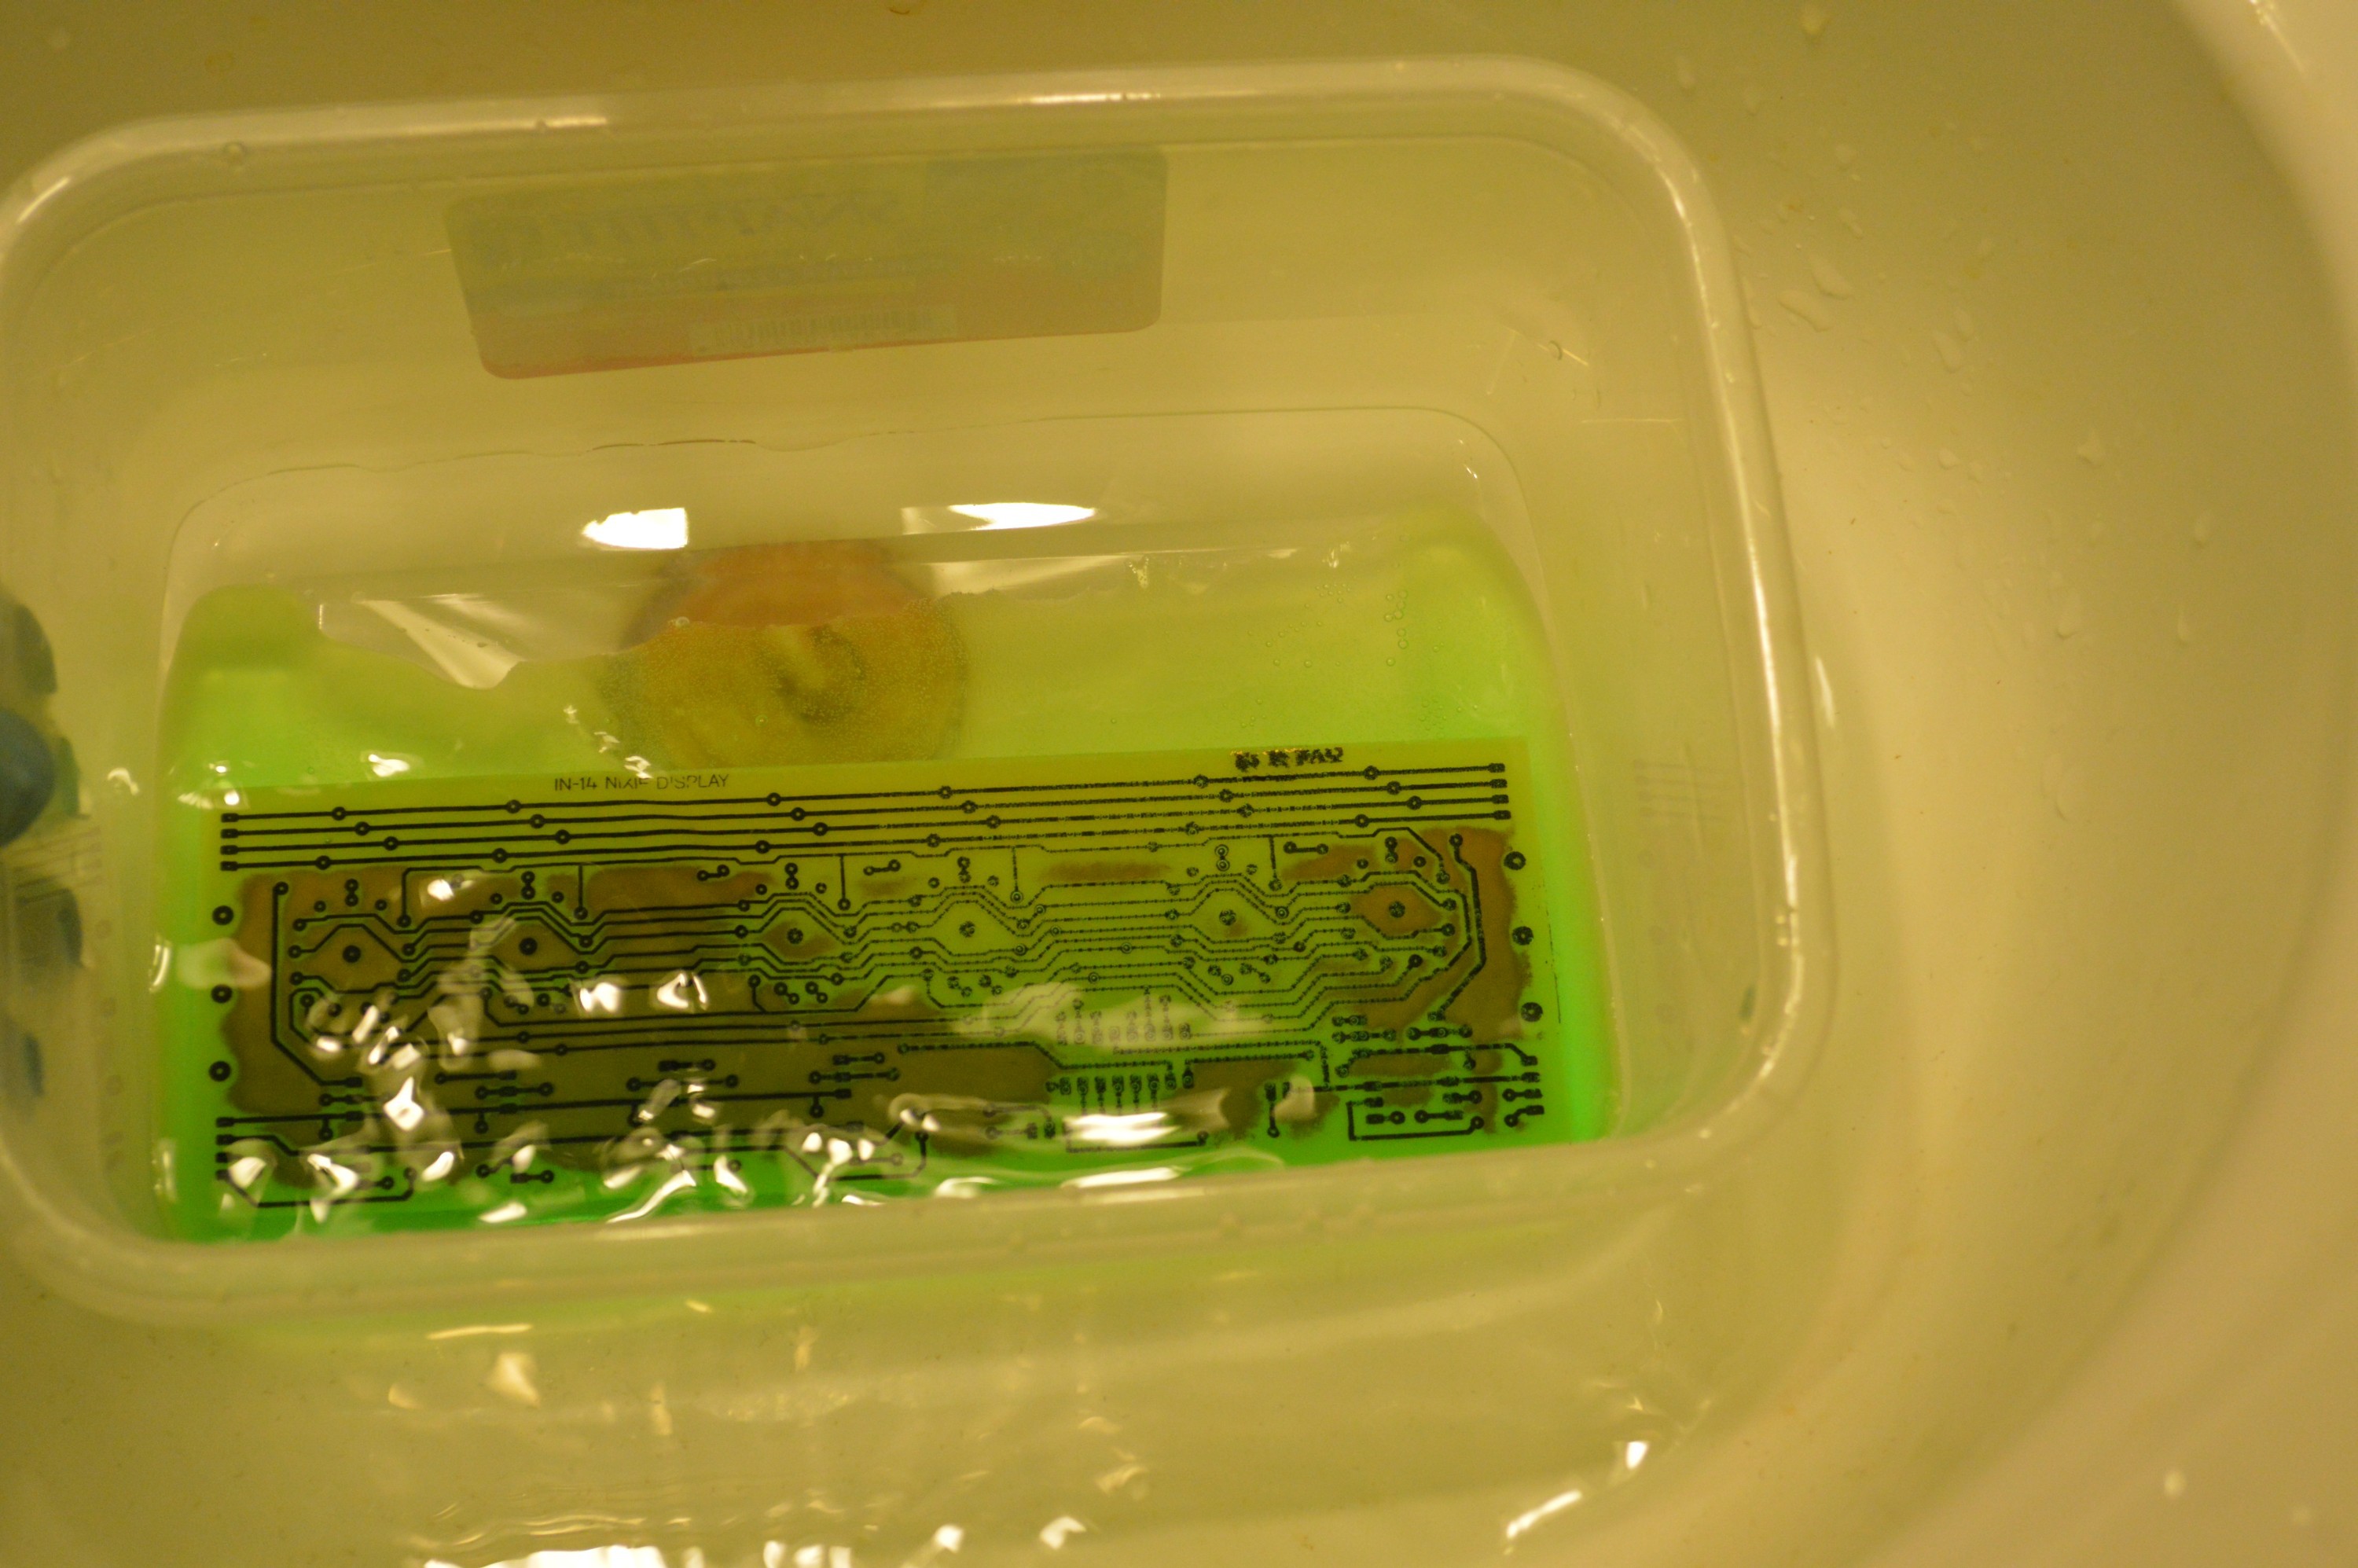
Left 1:1 ratio Right 2:1 ratio It took about 5 minutes to etch the sample clean with the 2:1 ratio solution. Green color is cupric acid forming. Second test went much quicker. The solution needs some copper to get it started.
Using a high concentration of peroxide will reduce the etch times accordingly. You can find videos of people etching boards in a matter of seconds. Your board will be "Gone in 60 Seconds" if you turn your back on it, so I am happy with the 3% peroxide for now. Come summer lookout.
FERRIC CHLORIDE
This is the big daddy of etchants. It is the most common PCB etchant on the market and it is surprisingly easy to make. All we need are hydrochloric acid, peroxide and nails. Determining the concentration of the solution is beyond my pay grade, so we will have to experiment a little to find a concentration that works as well as the commercial stuff.
Ferric chloride is stable and doesn't breakdown in storage, so you can make it ahead of time and store it for later use. It does many boards before it is exhausted which makes it very cost effective. It is low fuming and can be used indoors with adequate ventilation. Overall it is a pretty good solution to the problem of how to etch PCB s at home. It is used in water treatment and if you have access to a chemical supplier you may be able to buy ferric chloride crystals by the pound for next to nothing. If you don't have access to a chemical supplier the method for making this is pretty simple.
STEP ONE
Take 30grams of nails or steel wool (your choice) and place it in a glass jar. Add 100ml of Hydrochloric acid to the jar. The reaction releases hydrogen so do this outdoors. Leave the lid loose to let the hydrogen escape. The iron will break down into ferrous chloride (iron II chloride). It will take over night to break the steel wool down or a number of days if you use nails. You will be left with a green / yellow liquid and some bluish precipitate at the bottom of the jar. When all of the iron has broken down then on to step two.
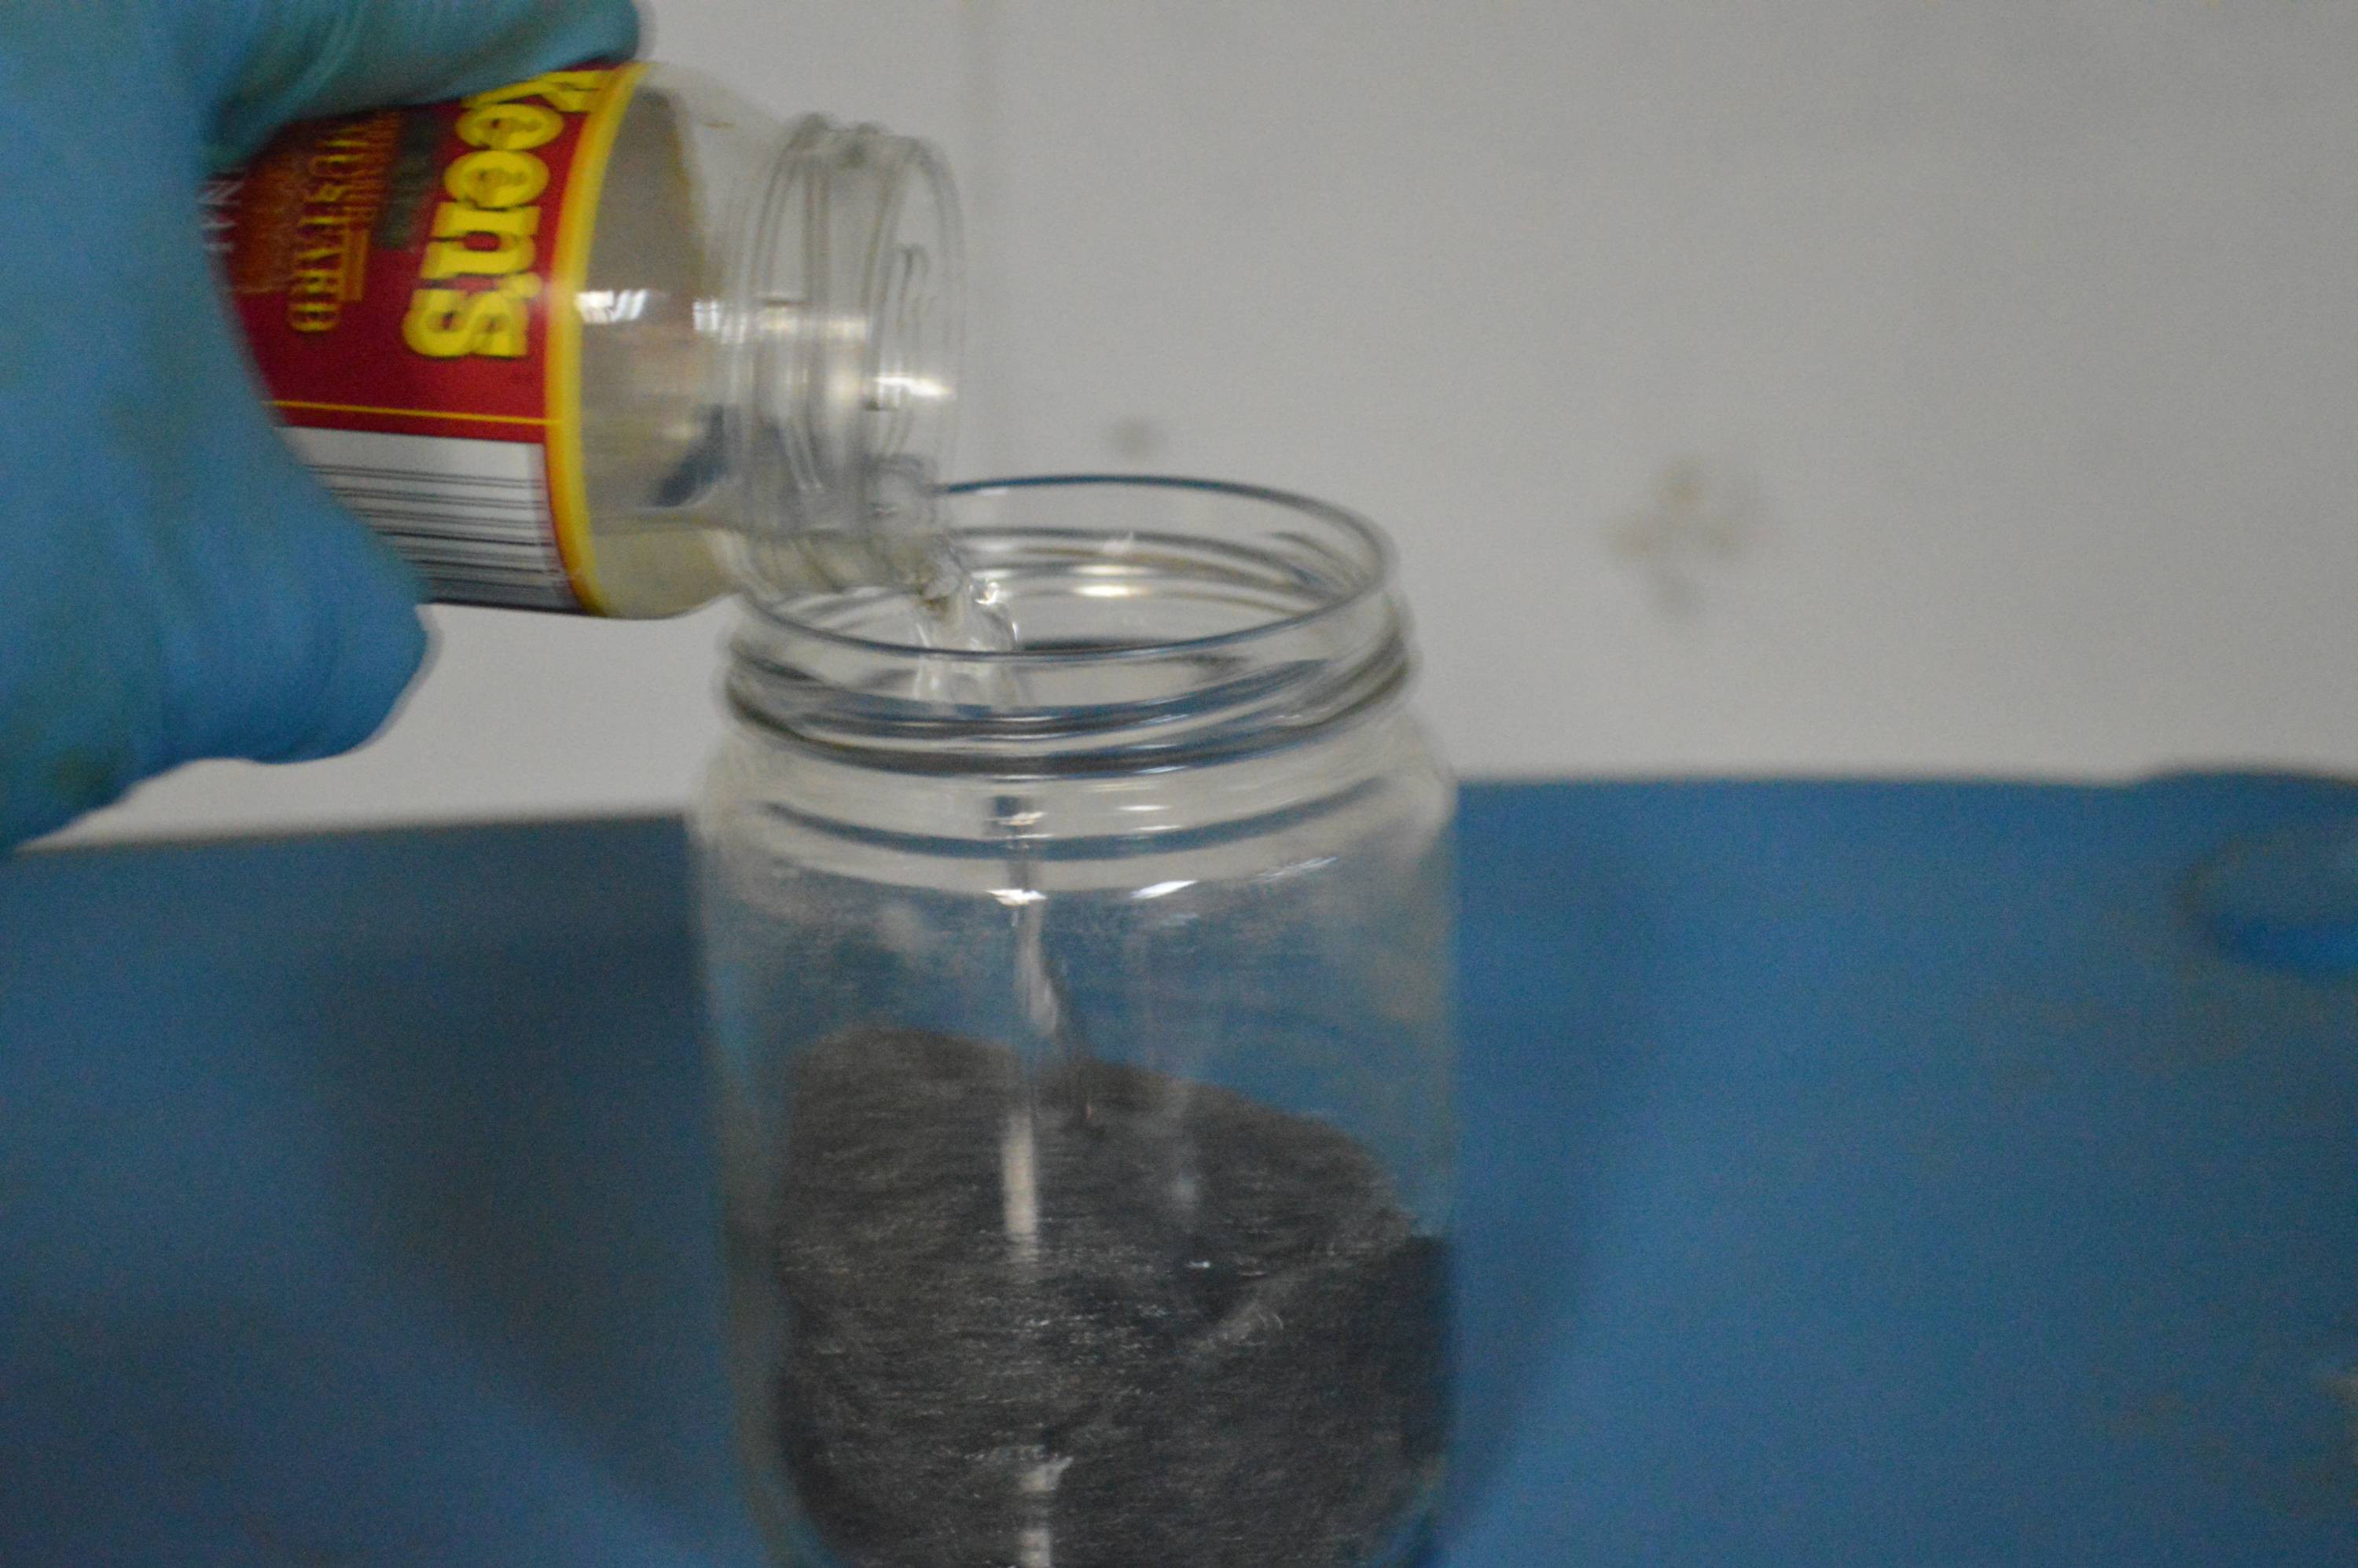
30g steel wool meets 100ml HCl
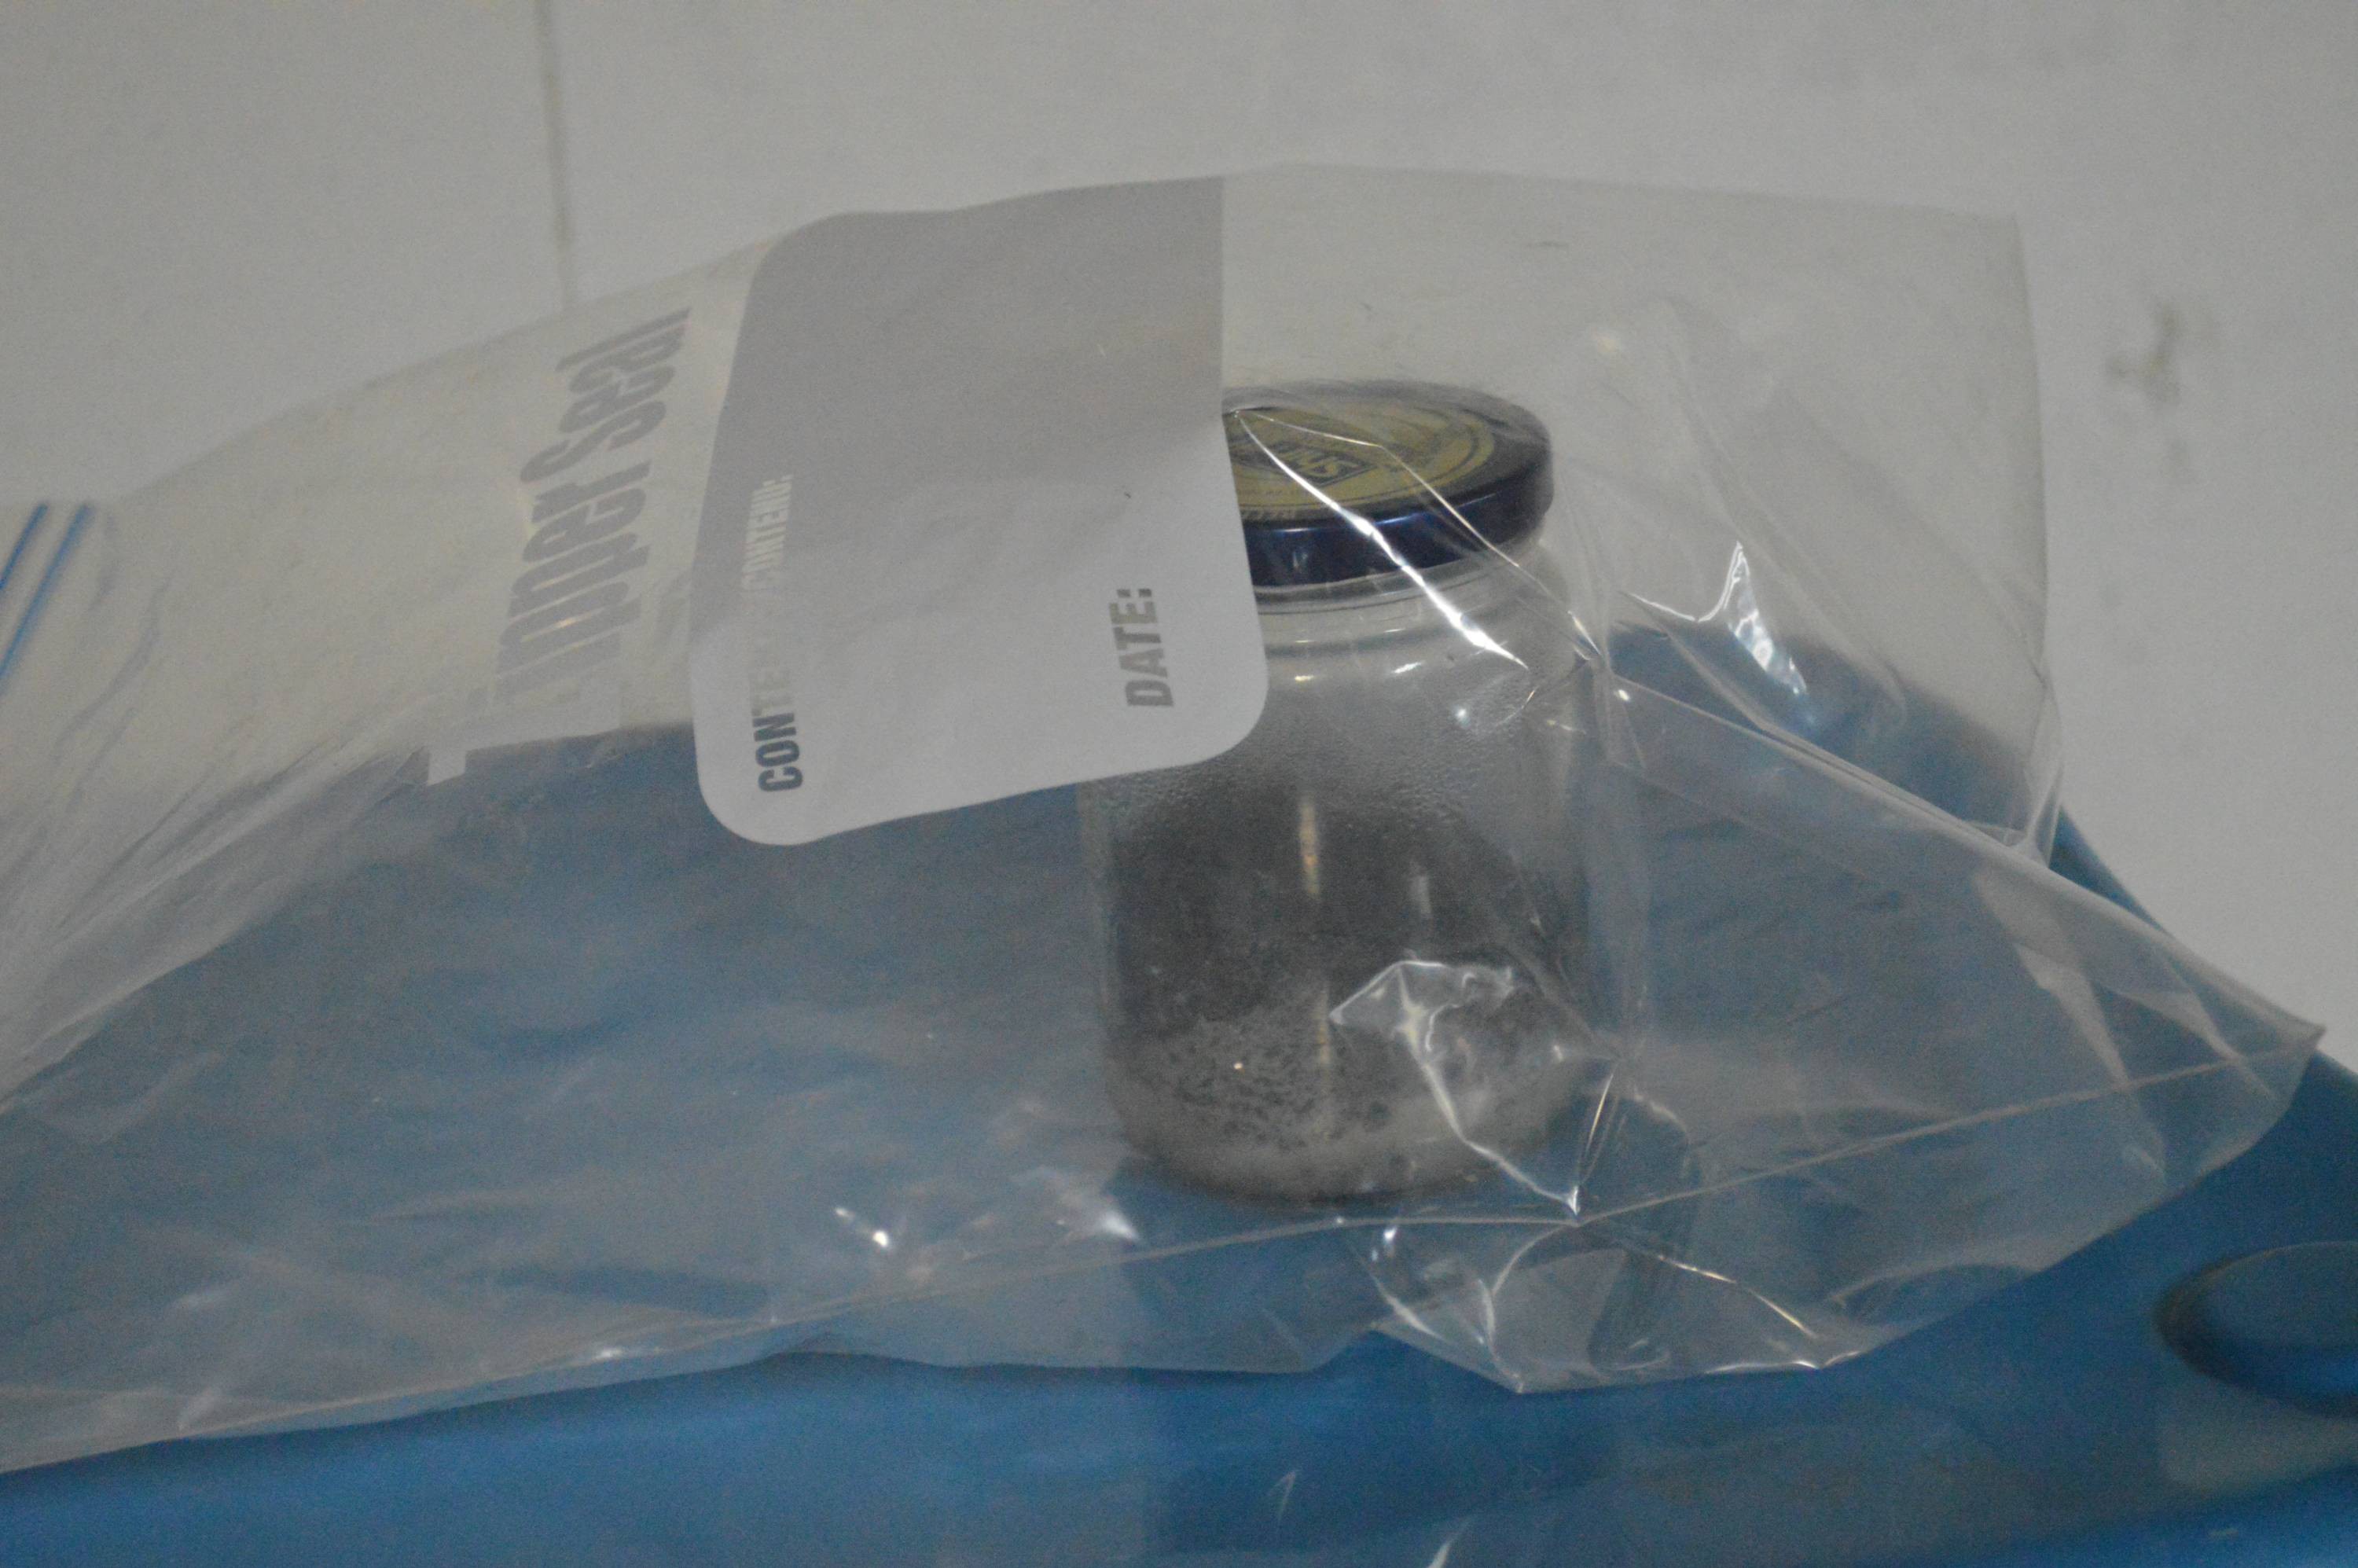
Lightly capped and bagged for indoor use. Don't forget to take it outside and release the pressure before the bag goes pop.
Next day steel wool has become ferrous chloride. Ready for STEP 2
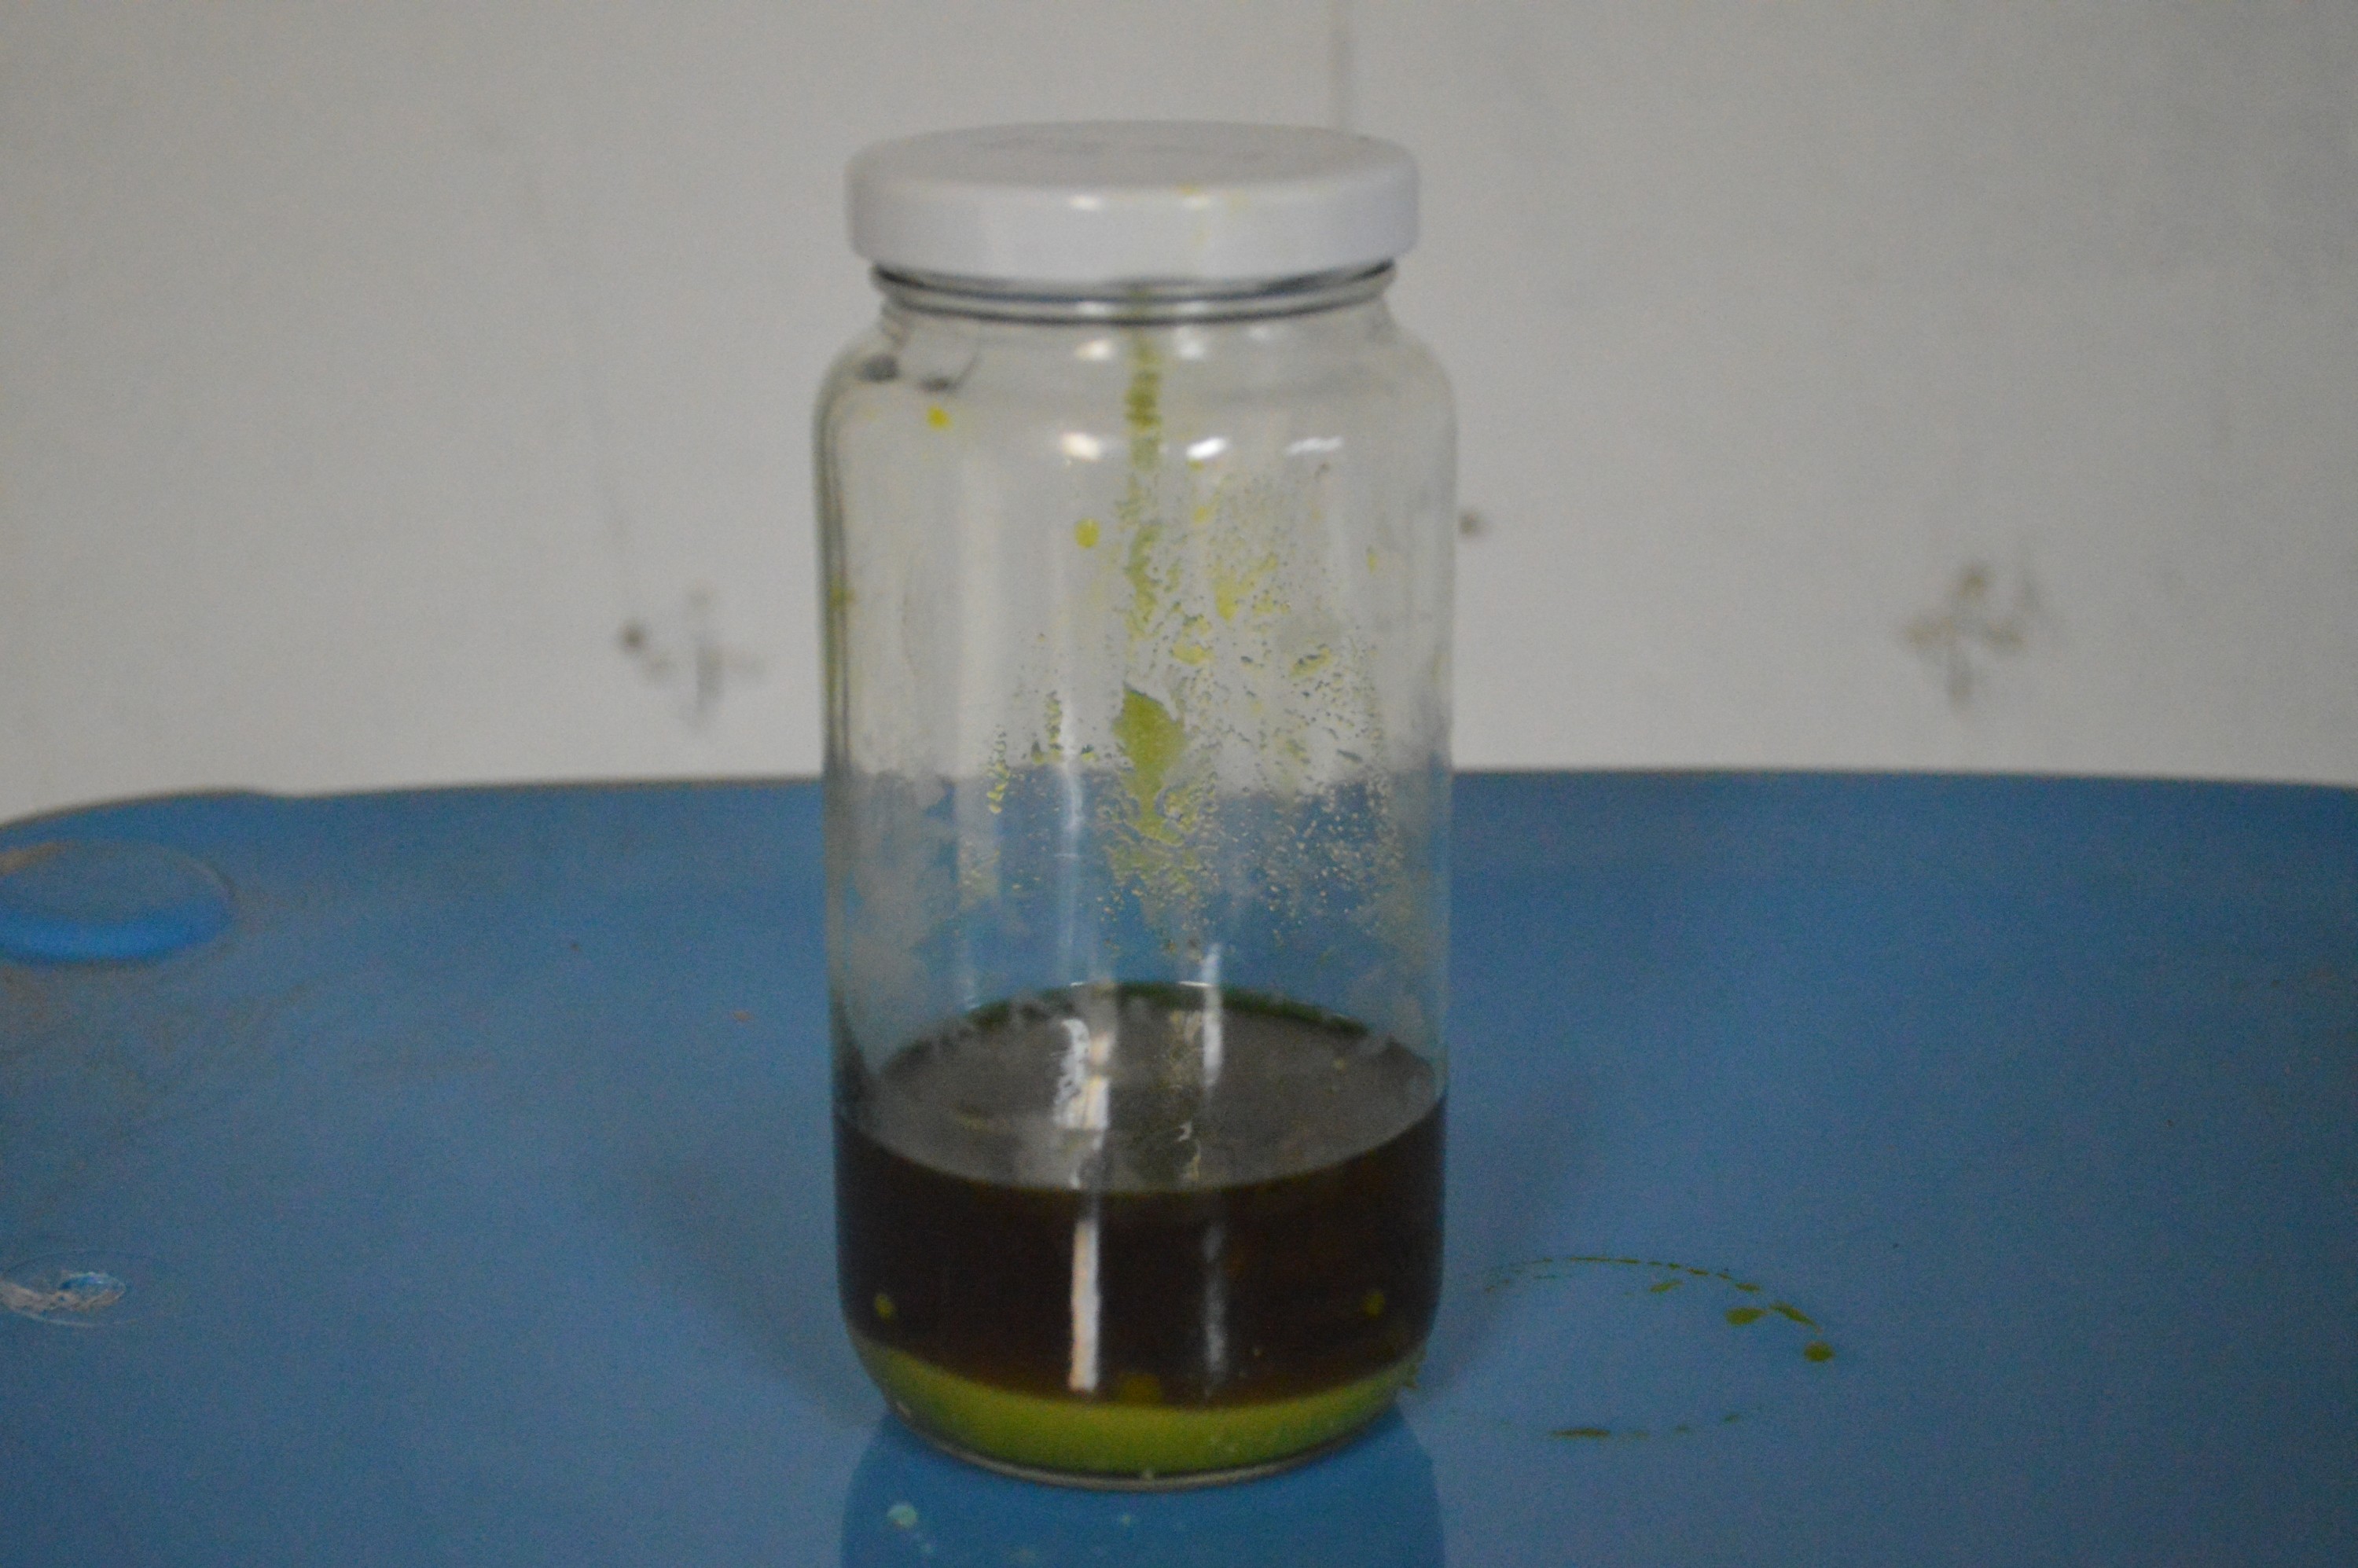
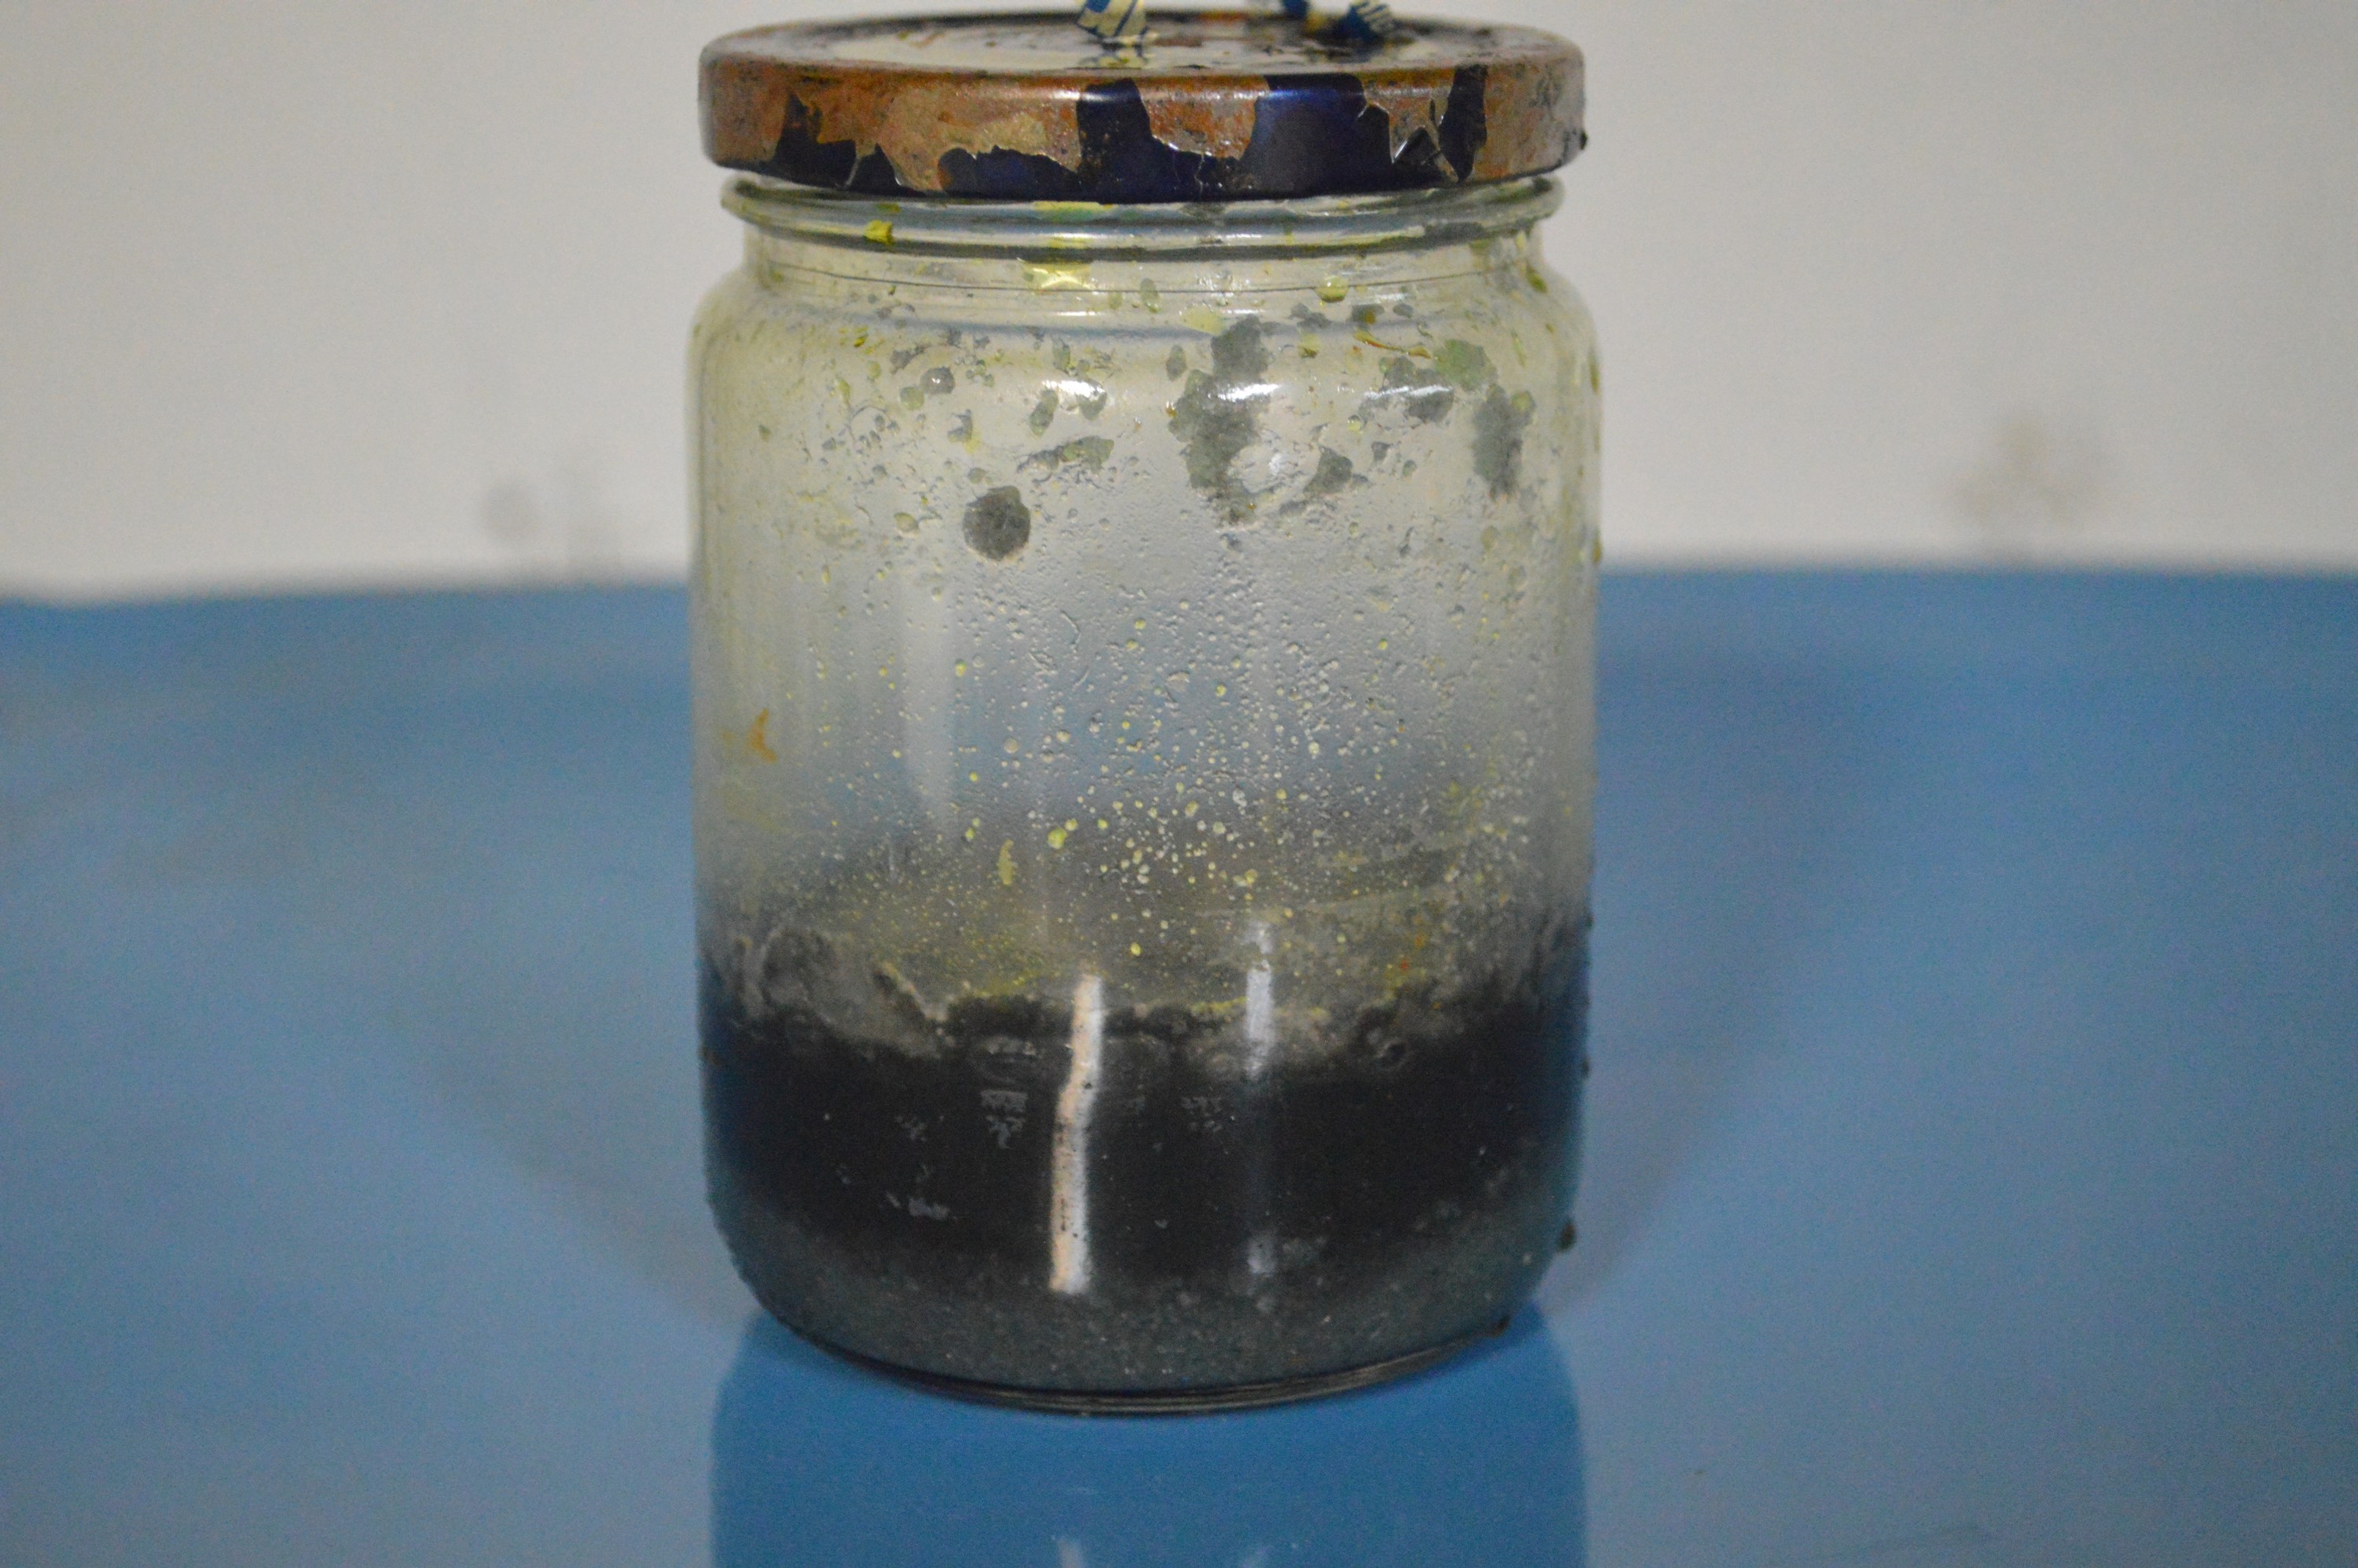
Rusty nails in HCl . Liquid has turned green from the oxygen in the rust. Precipitate at the bottom is ferrous chloride tetrahydrate. It will go into solution when we add the peroxide. We are now ready for STEP 2.
STEP TWO
To turn ferrous chloride to ferric chloride we need to add oxygen. You could bubble air through the ferrous chloride with an aquarium pump until it turns brown, indicating that has become ferric chloride, however this takes several days. The faster way to do this is - you guess it - add peroxide.
The concentration of your peroxide will determine the strength of your solution.
Adding 200ml of 3% peroxide will produce a weak but usable ferric chloride.
Adding 100ml of 6% to 10% peroxide will produce a product as good as or better than the commercial stuff.
You will need to add enough peroxide to dissolve all of the precipitate, so I don't suggest using smaller amounts of higher concentrations of peroxide. If you want screaming fast etches use the hydrochloric acid / peroxide method described earlier.
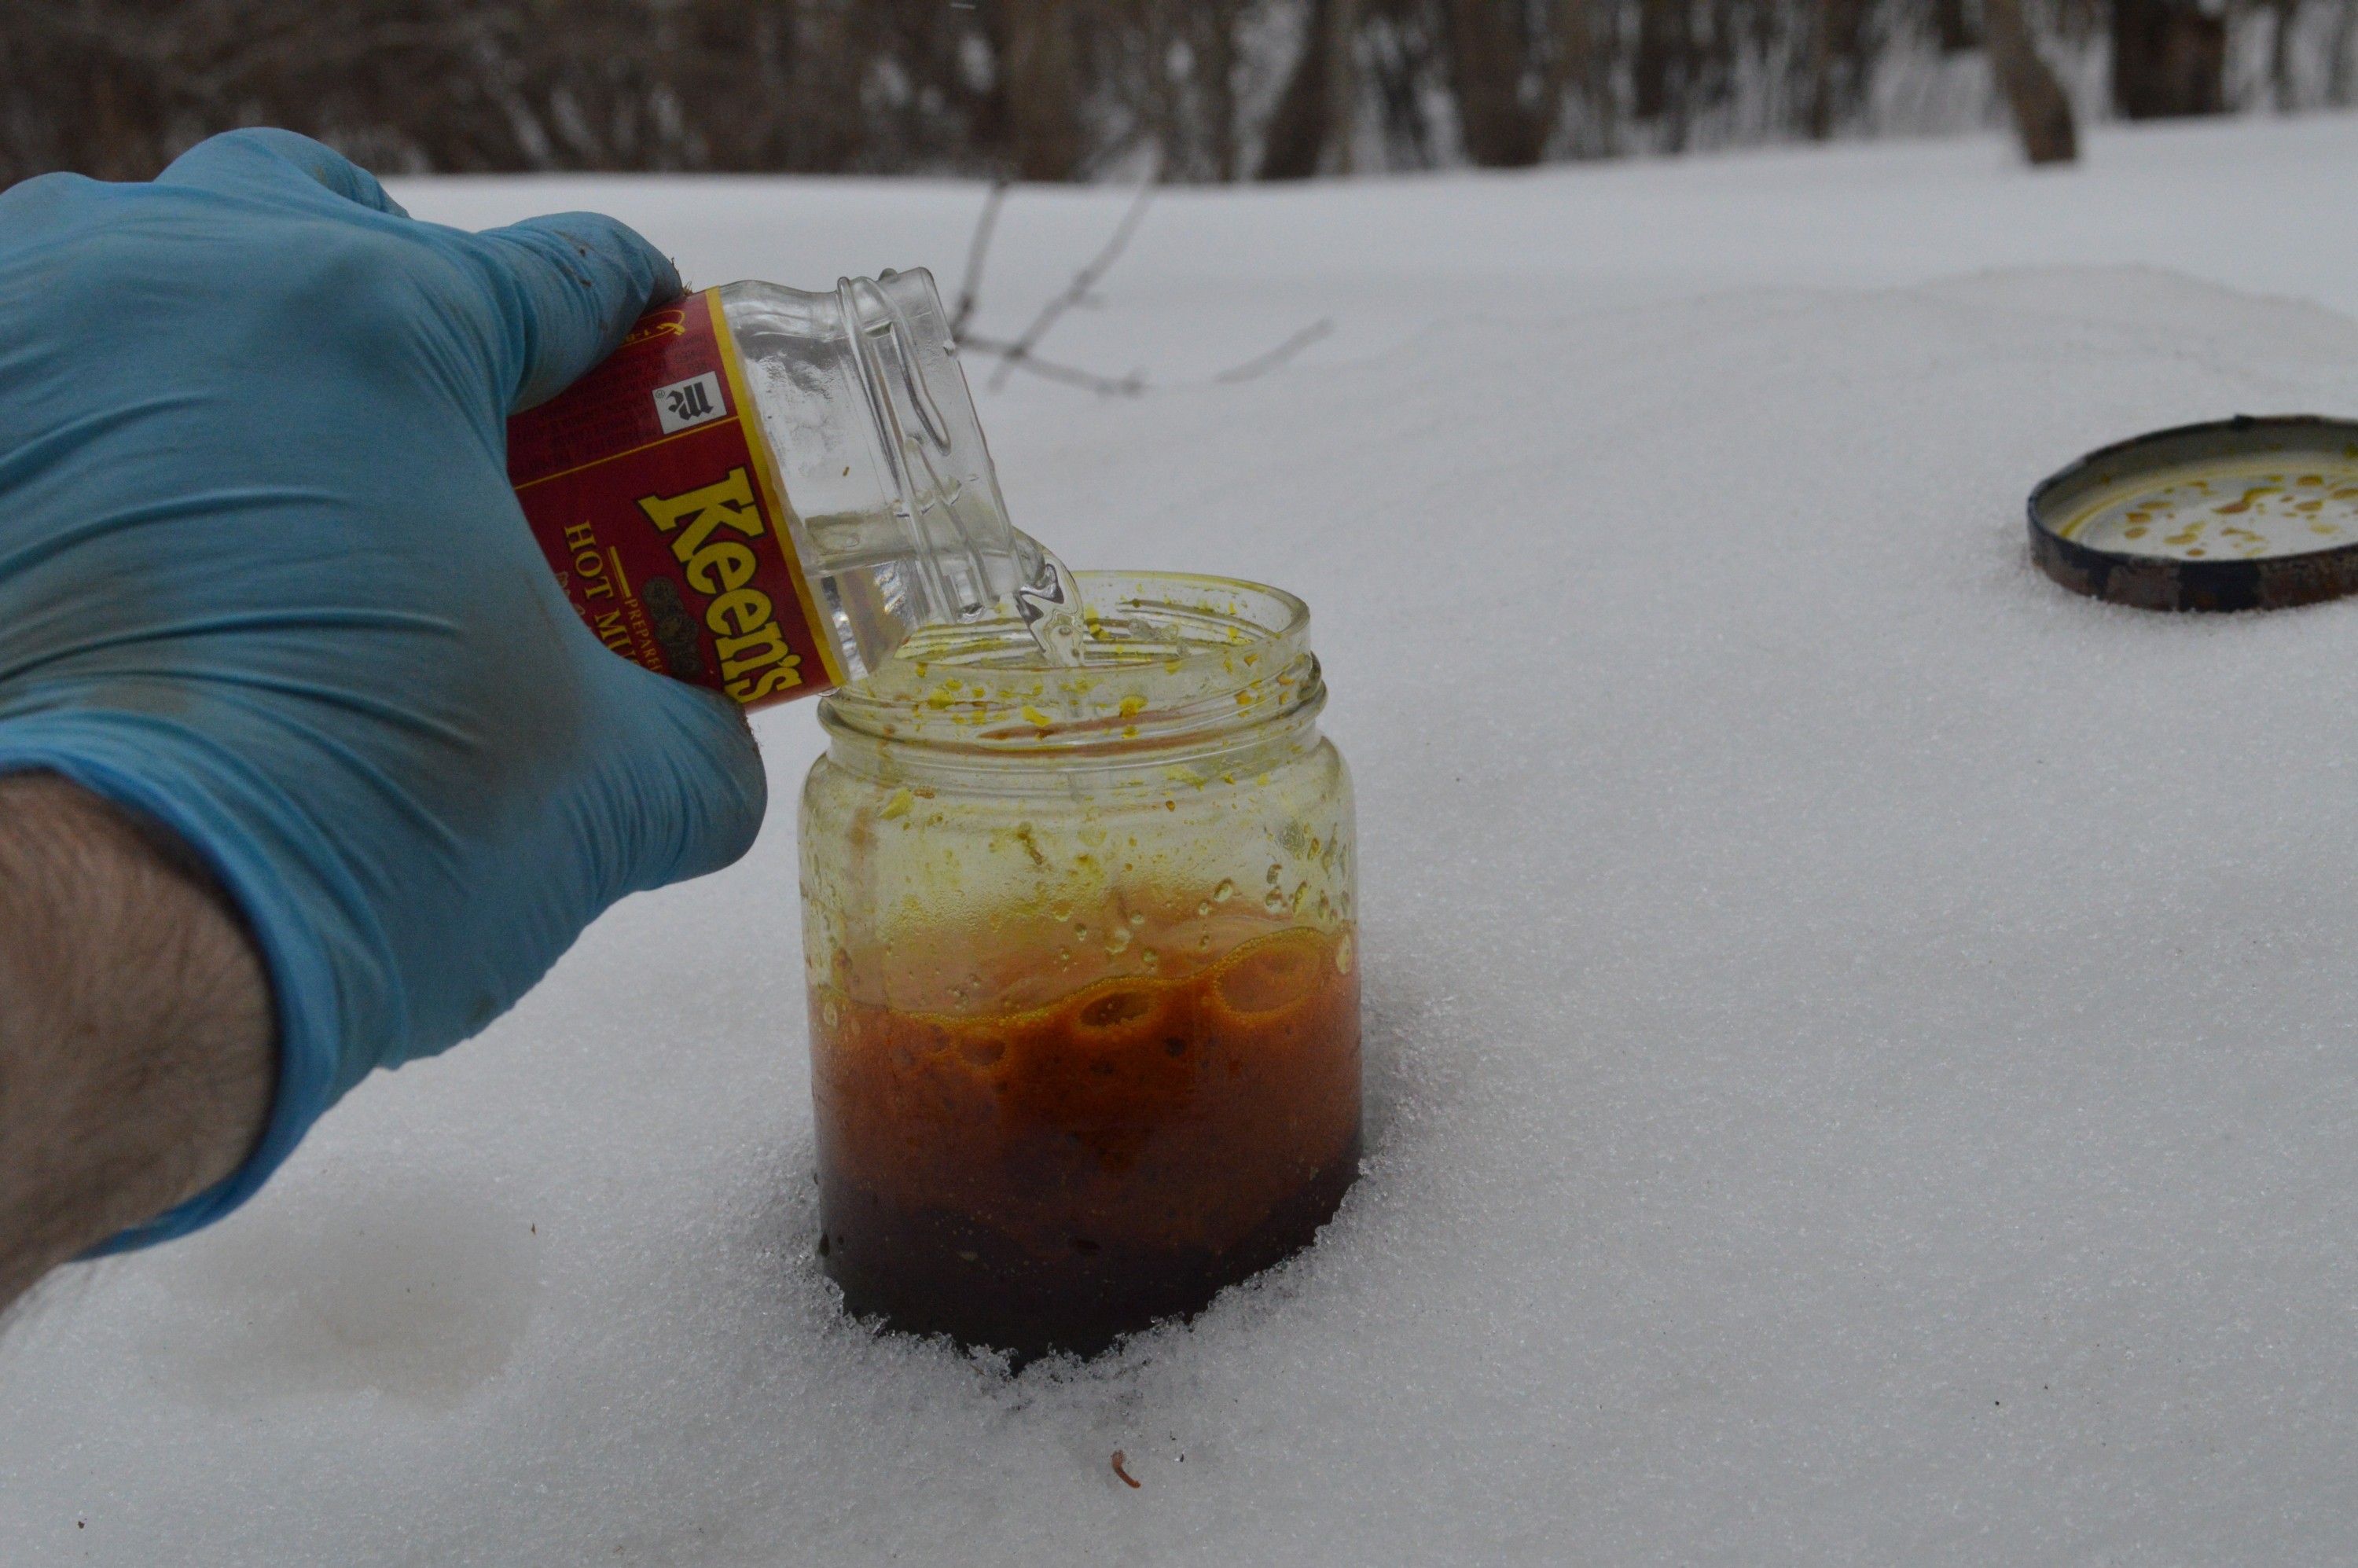
Peroxide reacting with the ferrous chloride. The snowbank does slow down the reaction.
Adding peroxide will cause a fairly violent reaction (like a baking soda volcano), so add it a little at a time and wait for the glass to cool down to the point where you can touch it. The resulting solution is ferric chloride, just like mom used to make.
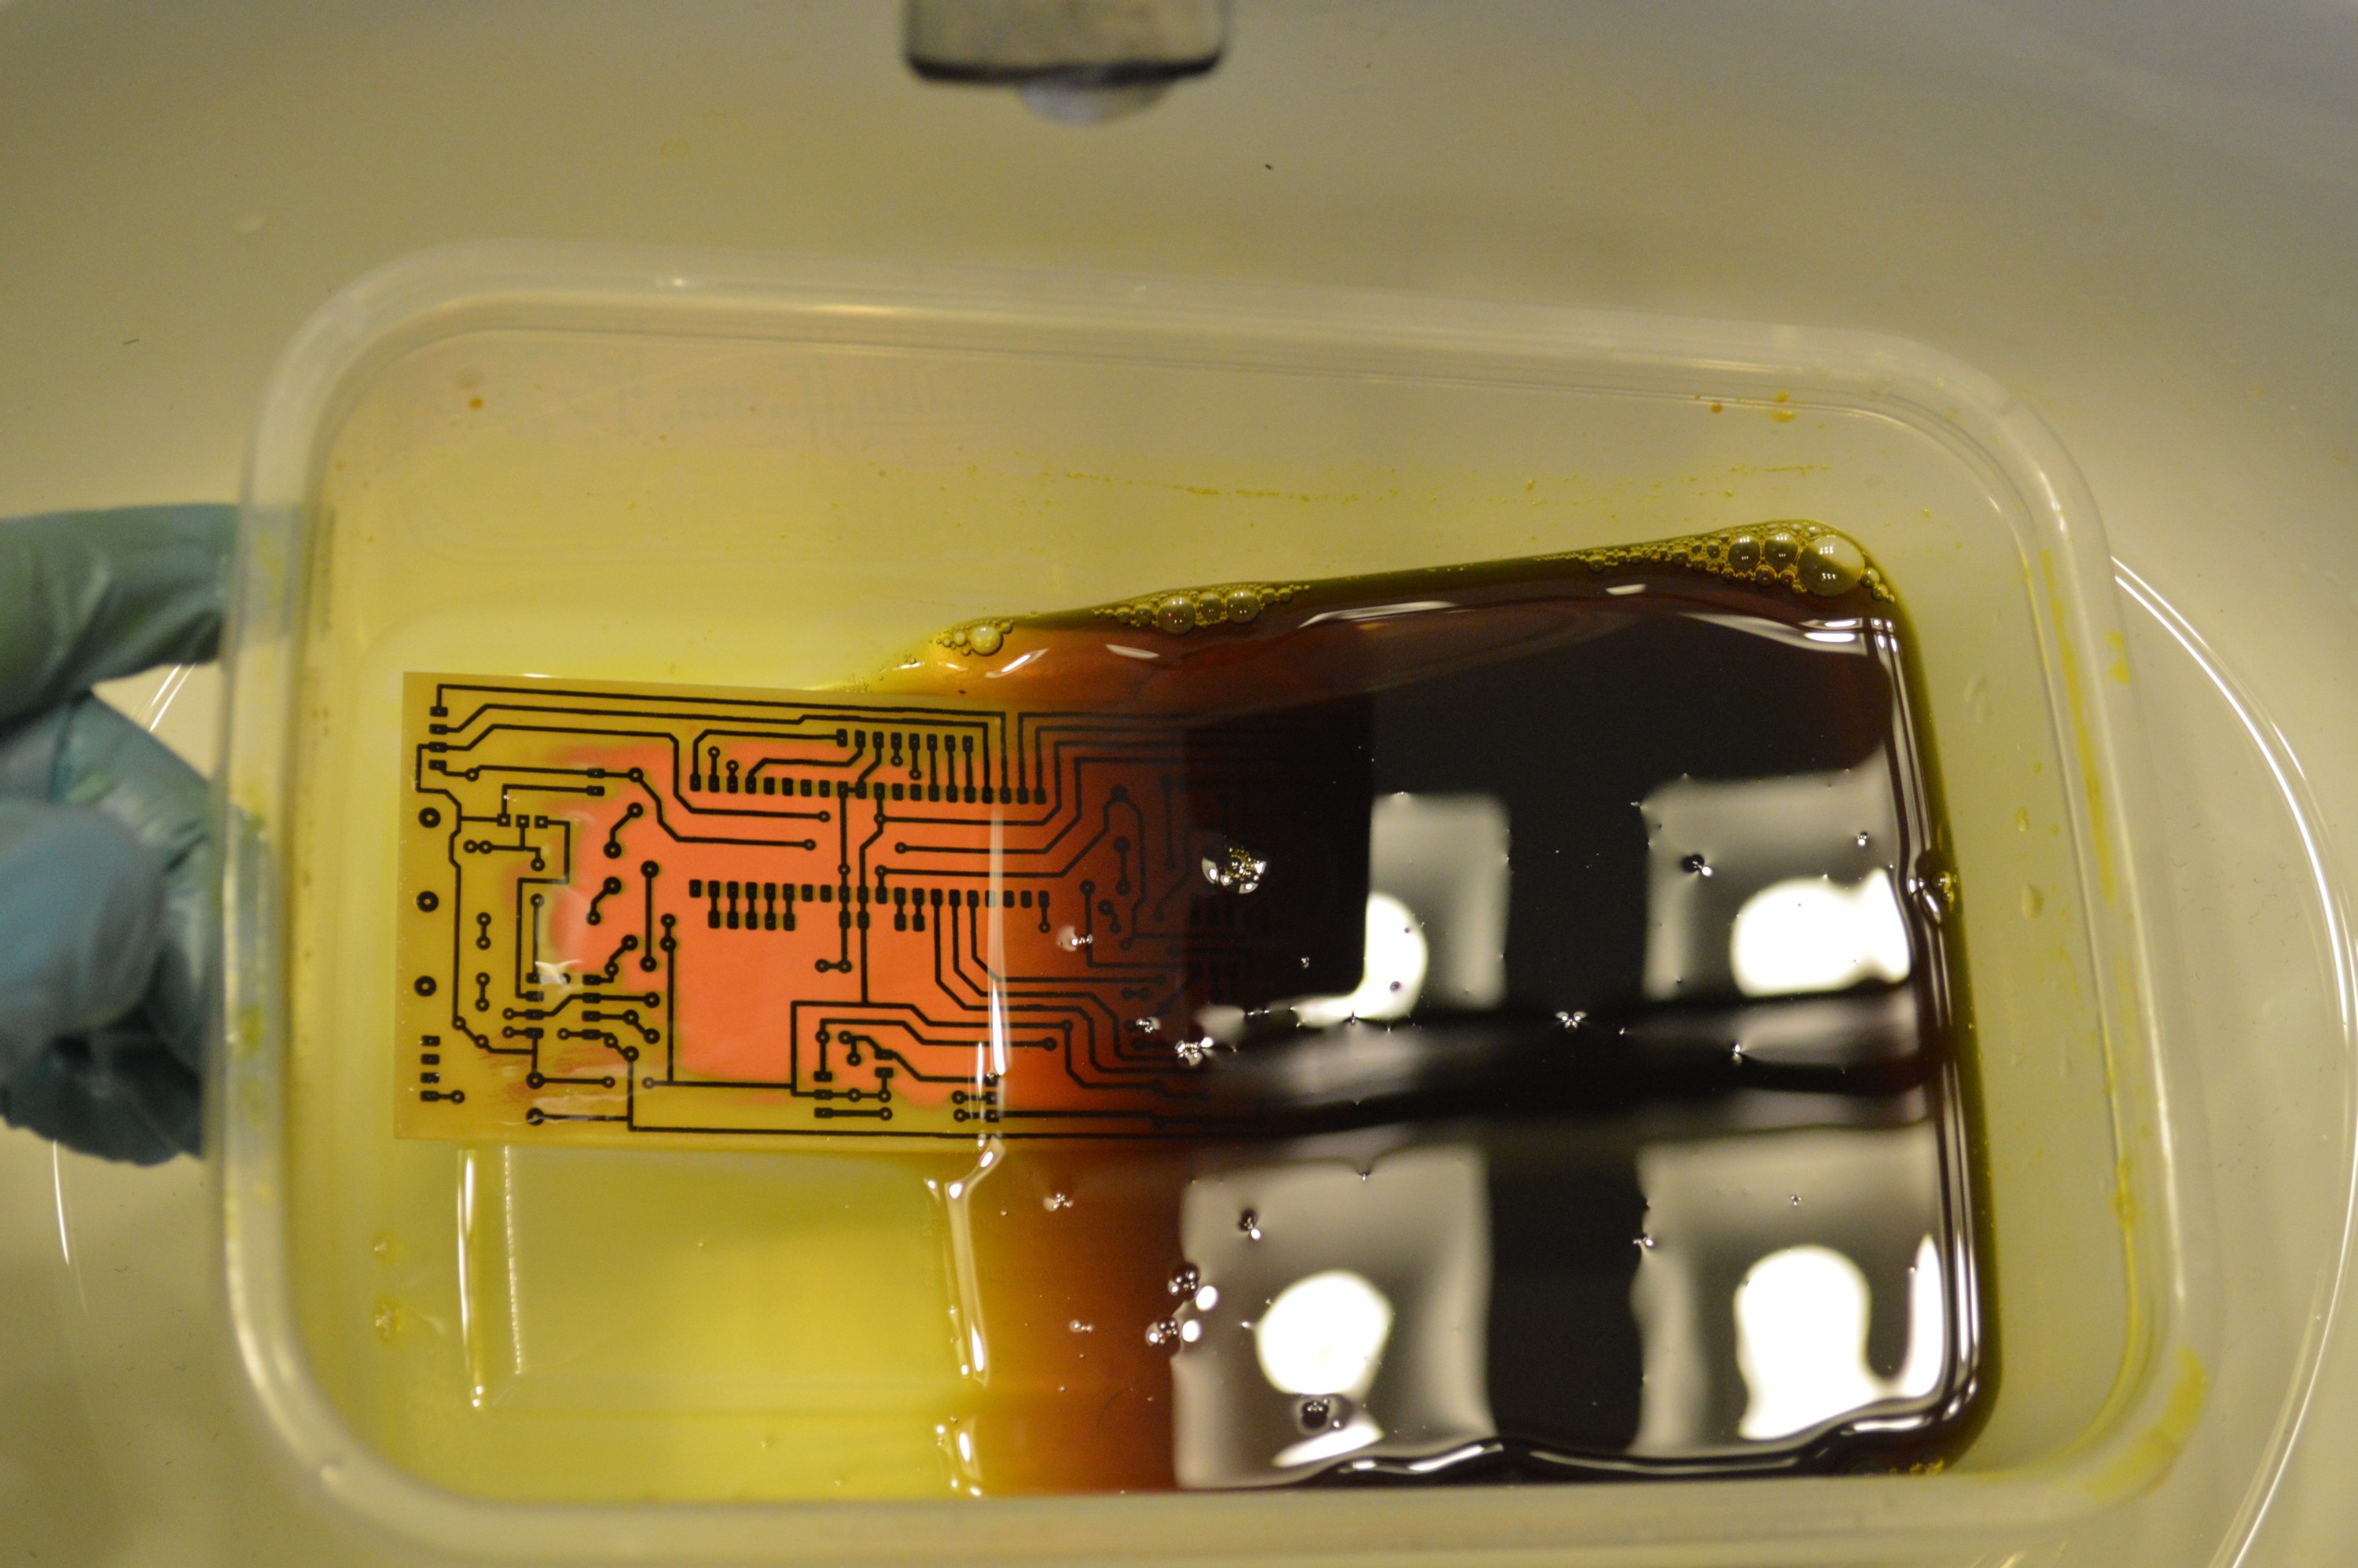
It took 12minutes to etch this board with my home brew ferric chloride.
You can concentrate the 3% peroxide by freezing the water out of it in your freezer. Pour the peroxide into a large plastic bottle and squeeze out some of the air so the water has room to freeze and expand. To make 6% peroxide, freeze the peroxide to half of its volume. To make 9% peroxide, freeze the peroxide to one third of its volume. 9% peroxide can burn your skin so use gloves when handling this concentration.
You can buy peroxide at 8% to 10% from beauty supply stores for hair bleaching. check the label to be sure that it does not contain other chemicals. 30% peroxide is sold as a pool treatment. It can be diluted down to a 10% solution by adding two parts water. Both of these are more expensive than the 3% peroxide from the Dollar Store.
If you try these etchants post a comment to let me know about your results.