 Jeroen
So the PCB fabrication worked out nicely. I recently switched from using the toner transfer method of home fabricating PCB's to the UV exposure method because I wanted to make compact boards with small SMD components. My experience with toner transfer indicated that while this may be possible to achieve using that technique, it will be pretty hard to get reliable and decent results. So as a side-project I constructed a small UV exposure box using UV LED's I found on the cheap on aliexpress.
Using the double-sided photosensitive PCB's and developer I get from my local electronics supply store (Brigatti), making a PCB is really very easy. I am amazed at how tolerant modern photoresists are against over-exposure. After some experimentation I settled on an exposure time on my 84 LED UV box of 3 minutes, but anything from 2.5 to 8 minutes (the longest I tried) works just fine. Similarly, once exposed and developed, the remaining etch resist is very hardy. I can safely let the board sit in the etchant until all superfluous copper has been removed without loosing even the thinnest traces.
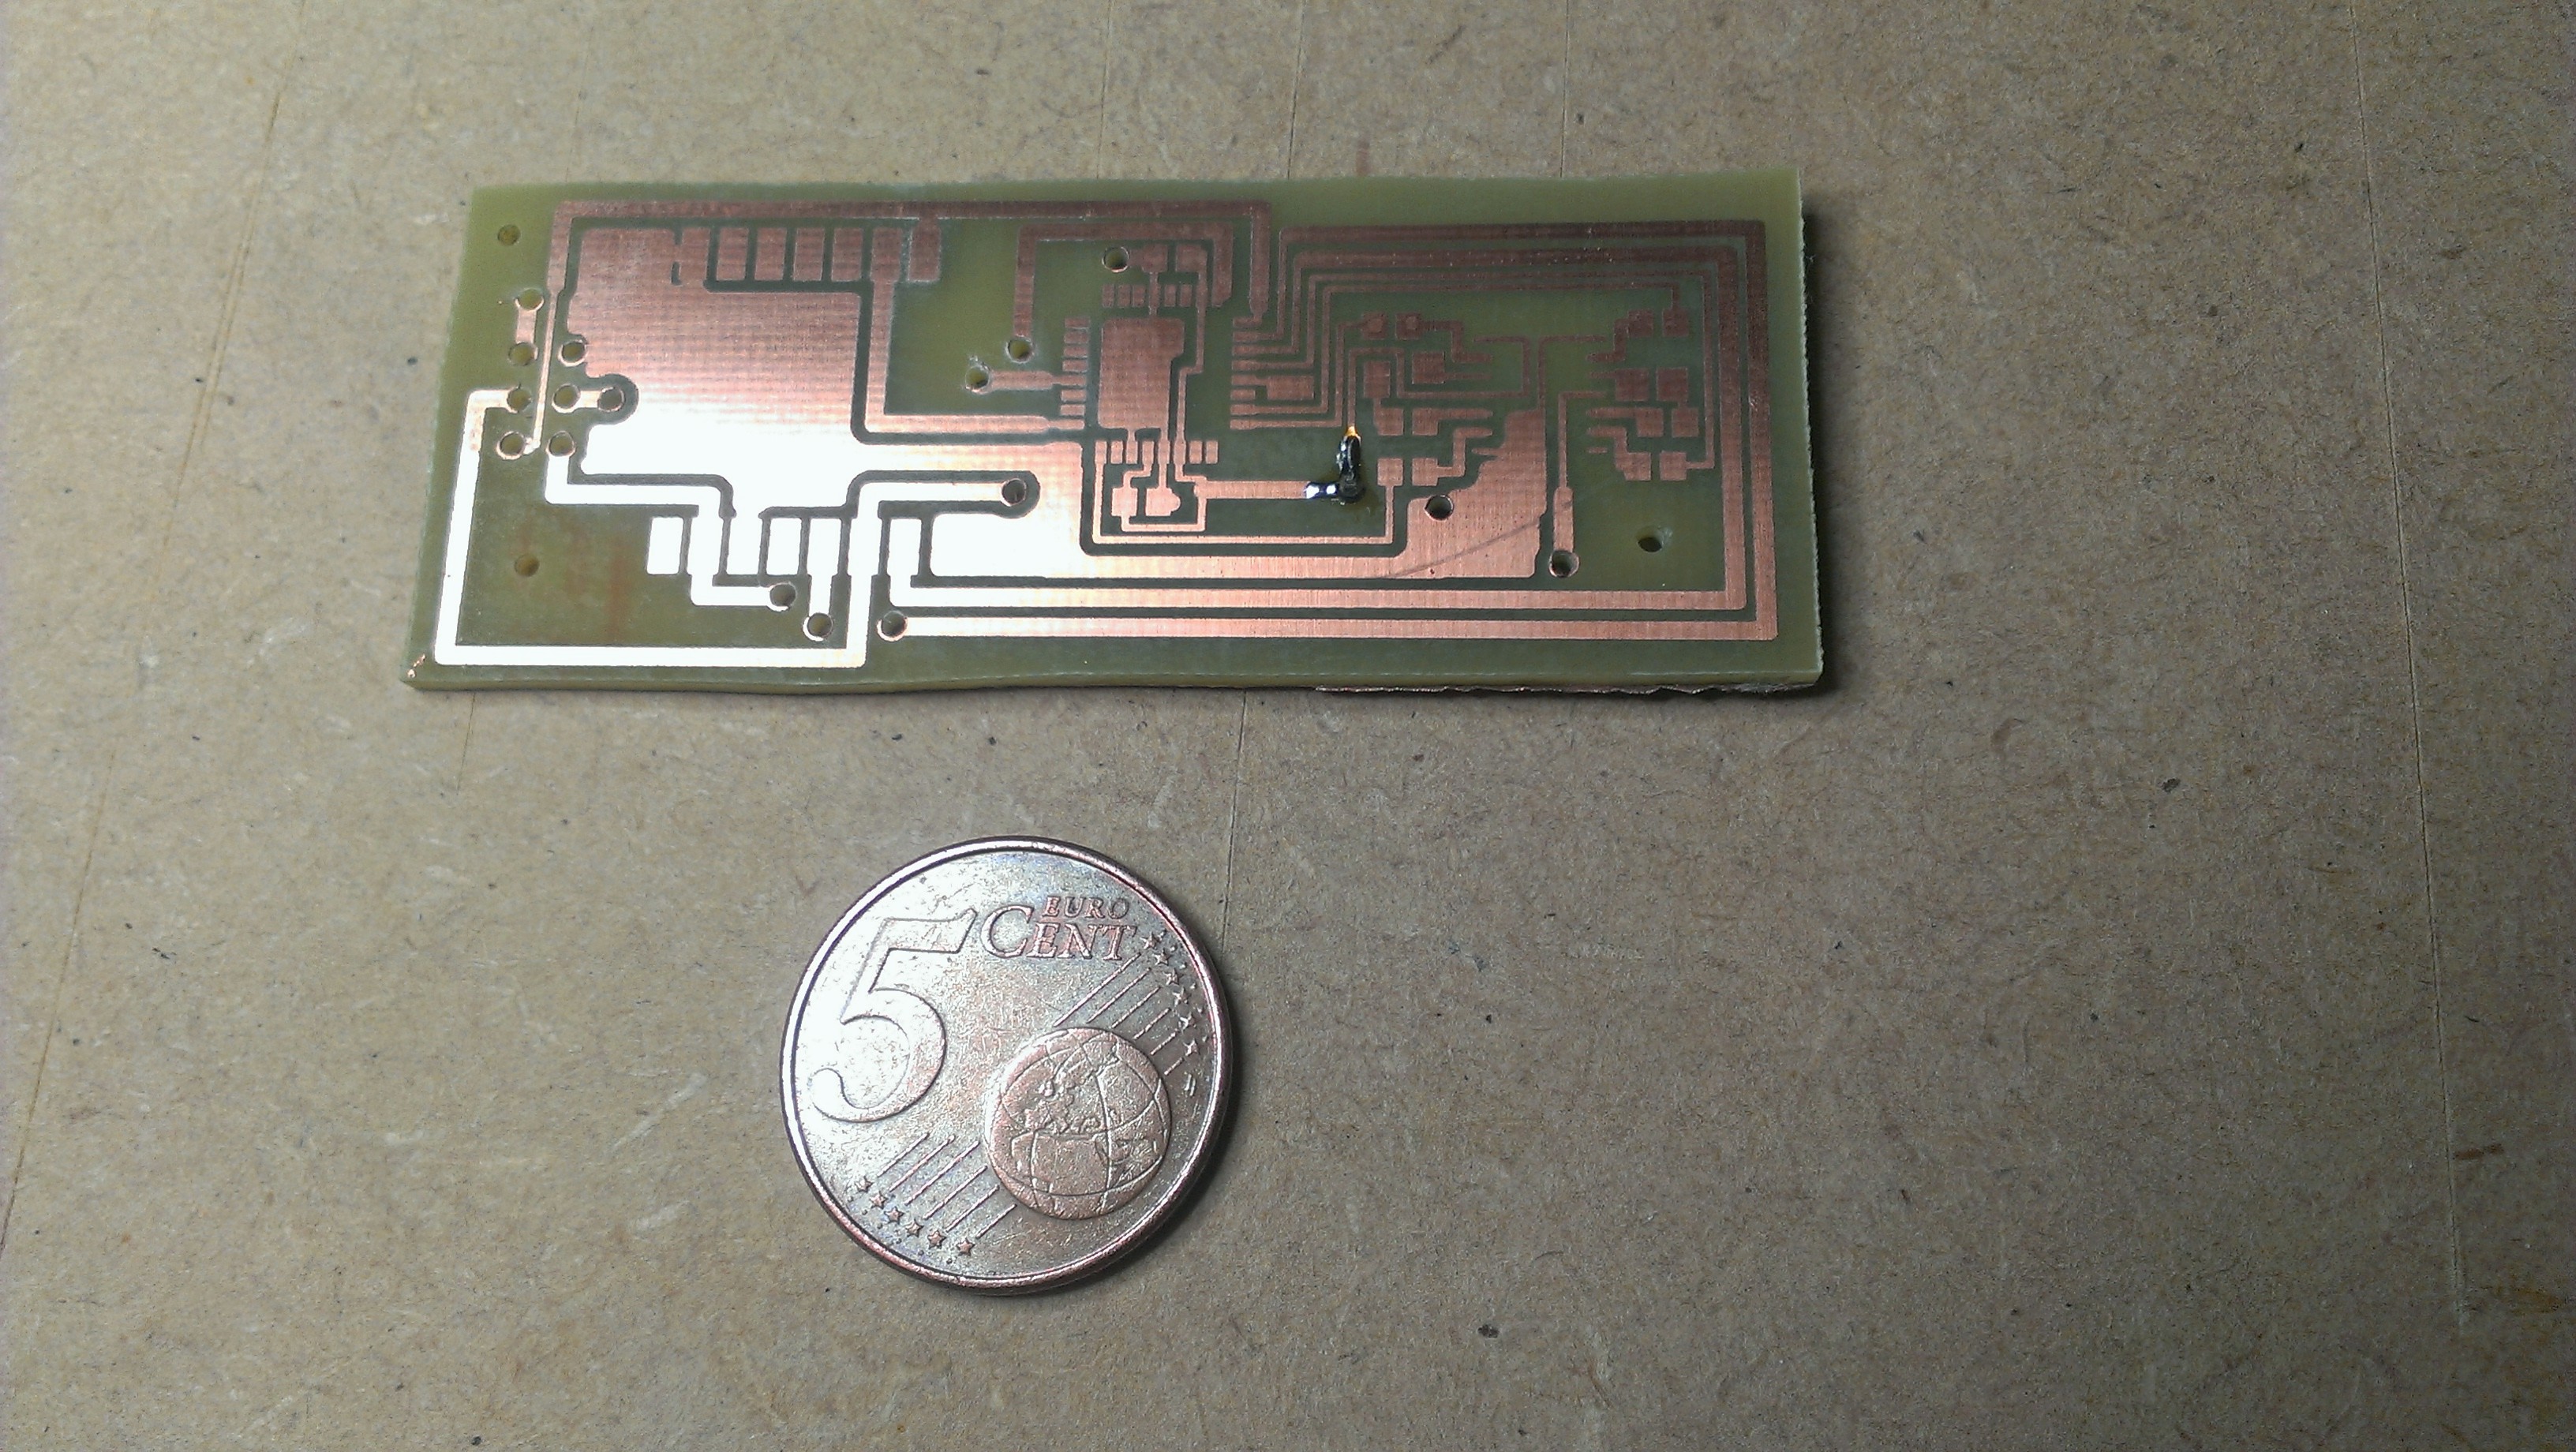
The end-result looks like this, with a 5-cent coin added for scale reference (and with one via already in place, as I forgot to take a picture at first):
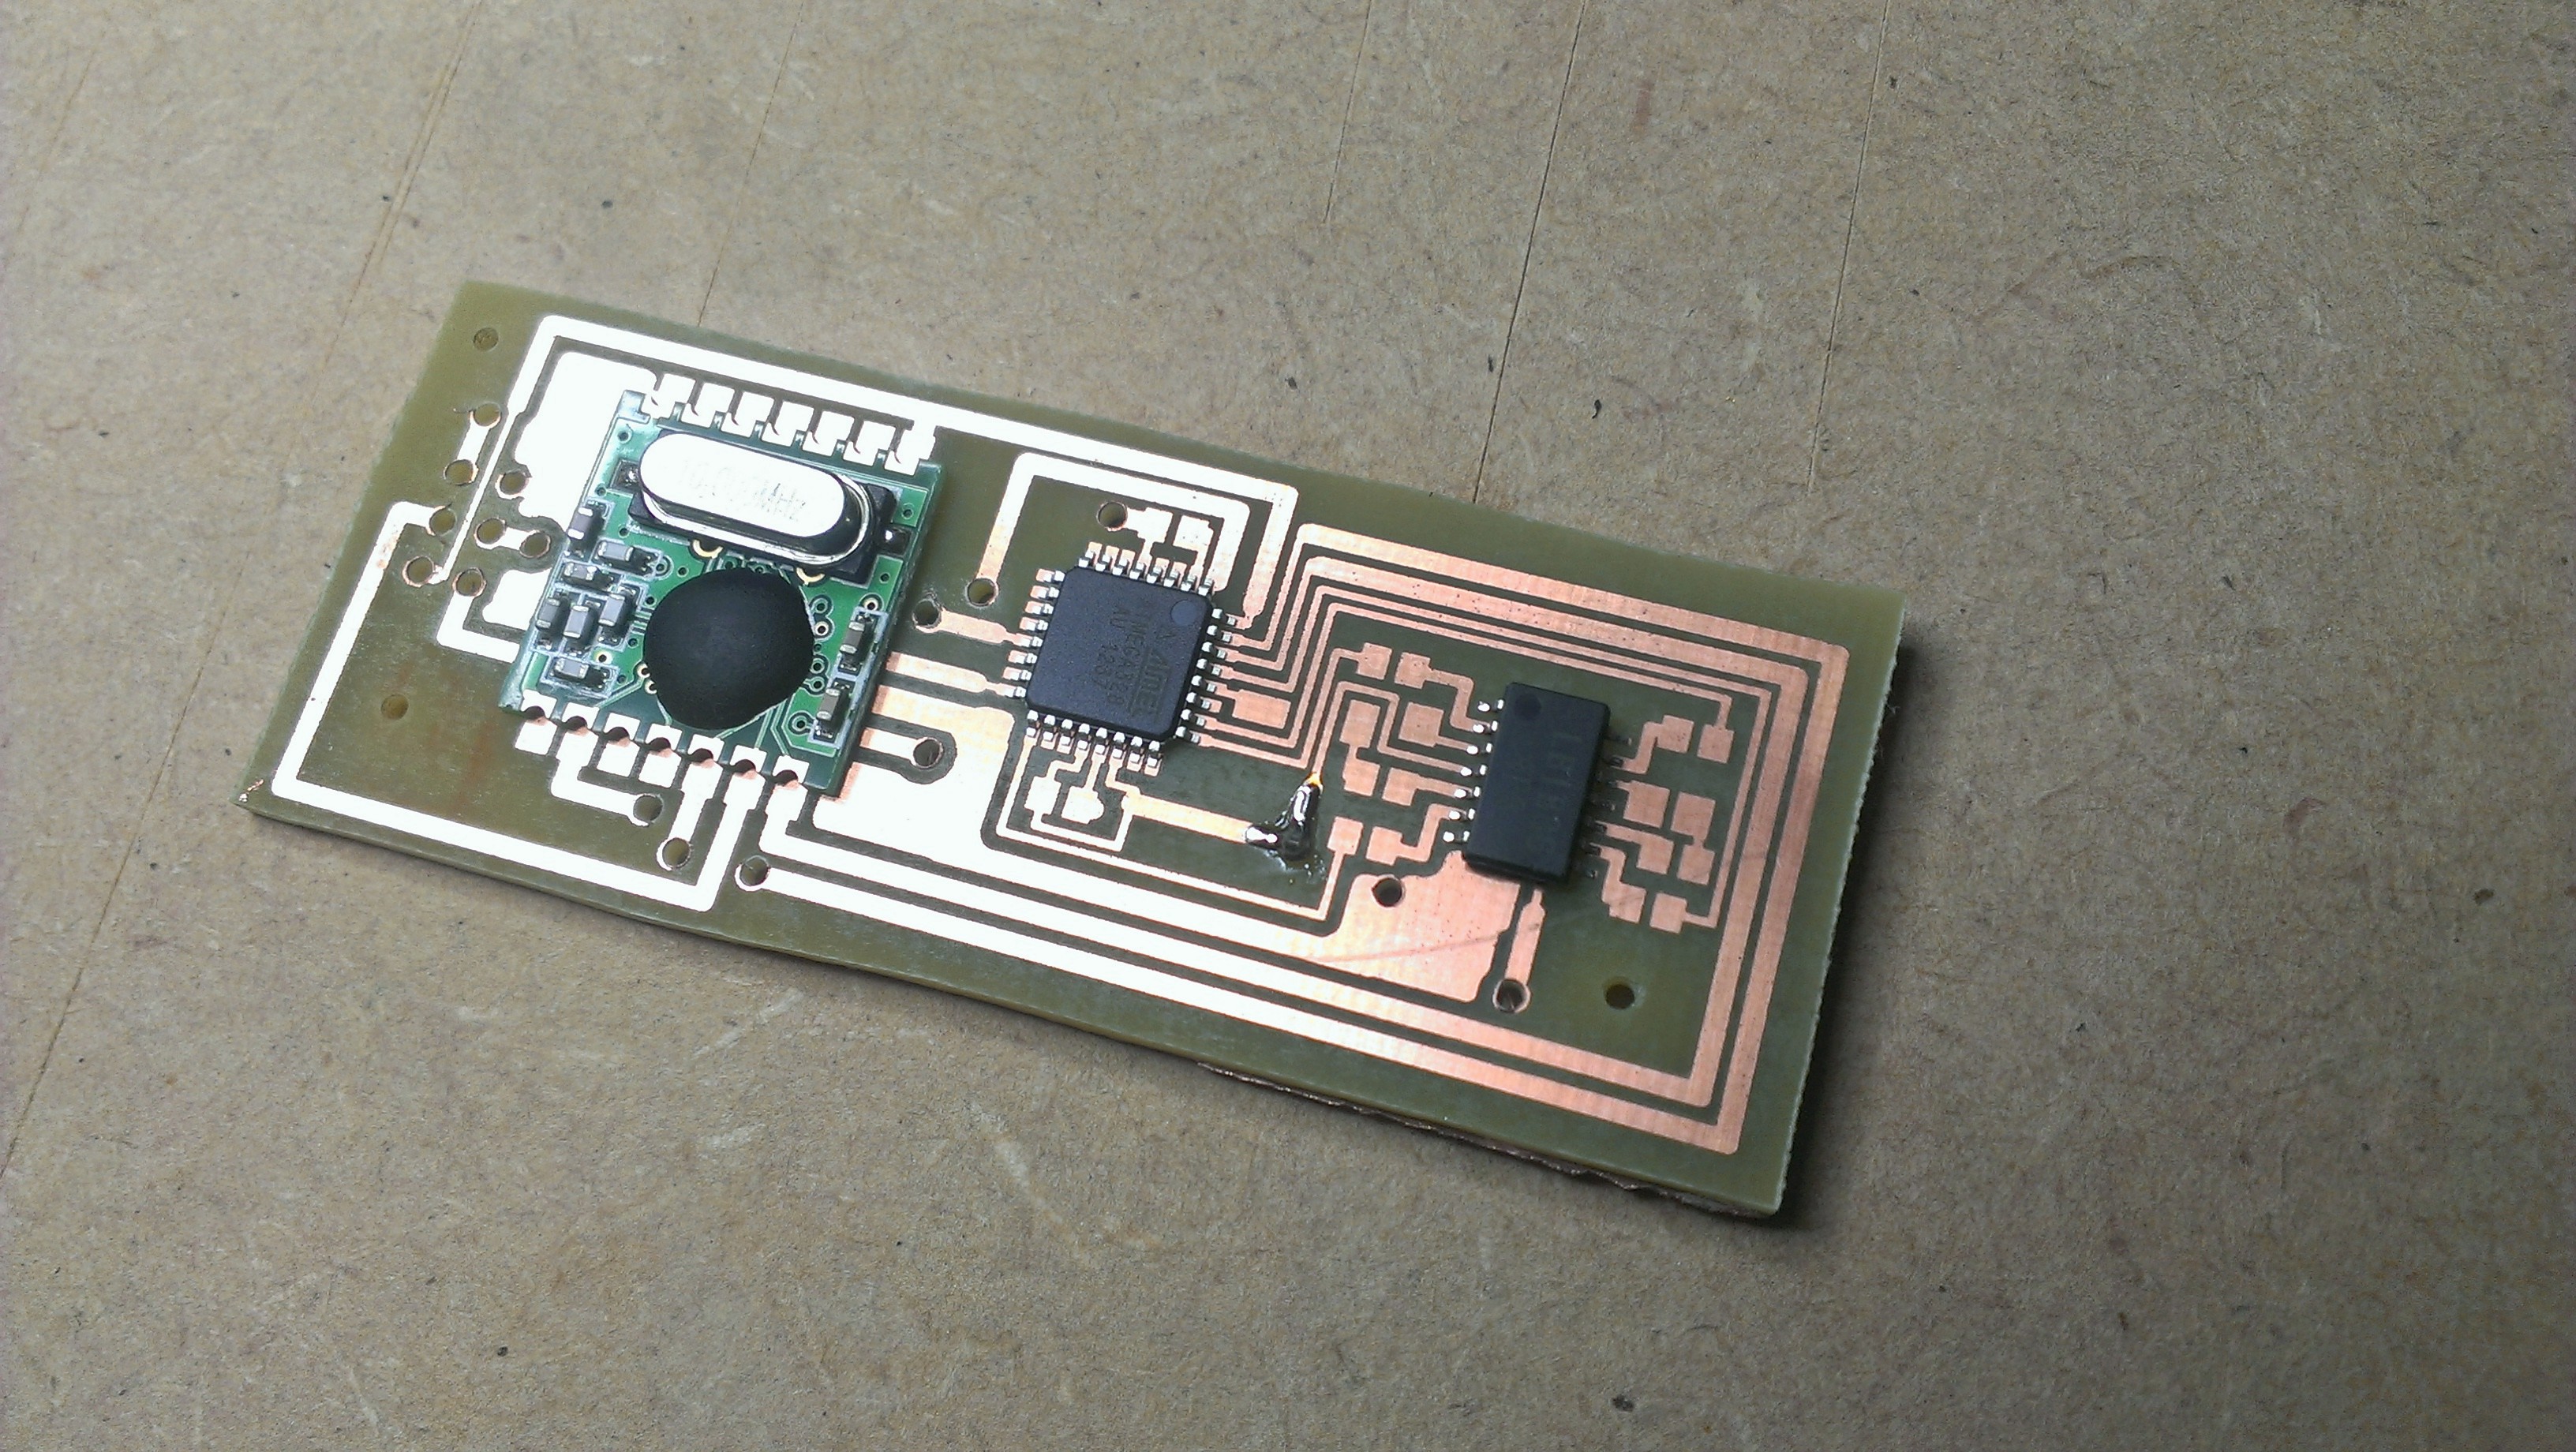
And here is the same PCB with the main components (wireless module, microcontroller and motor driver IC) laid out. The middle chip is the Atmega328P TQFP package (32 pins)
Discussions
Become a Hackaday.io Member
Create an account to leave a comment. Already have an account? Log In.