 Jorj Bauer
I've dabbled in emulator writing several times. I know that I can write them. I also know, from many programming contests over the years, that I suck at optimizing my code; compilers are much better at optimization than I am. Which is fine, now that compilers do an amazing job at optimization. (In the early 90s, not so much.)
So I started this journey with a reasonable assumption that I would be able to write a full 65c02 emulator; wrap that in an Apple //e housing; and have something that runs properly. The only piece that I didn't know was whether or not I'd be able to make this virtual Apple //e run at its full 1 MHz. Now, if I were writing it on a full-blown modern computer, yeah - no problem. Taking a 2 to 3 GHz processor and emulating a 1 MHz system on it is fairly trivial. On an AVR that's a serious challenge for multiple reasons. Things like the number of instructions needed to emulate various opcodes in your target CPU. The complexities of emulating the Memory Management Unit - where all RAM access has to go through an arbitrator because of funny business in the target computer's architecture. The difficulties of driving displays and keyboards in addition to just running the emulated CPU.
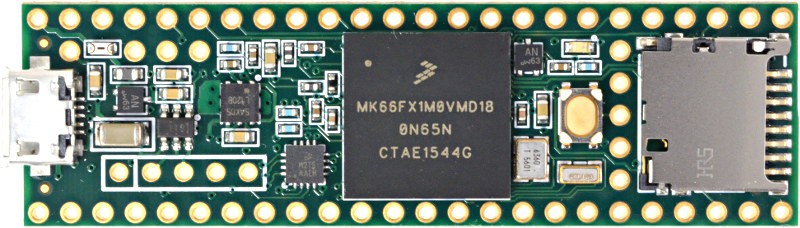
And that's where the Teensy comes in. The Teensy 3.6 is a 180 MHz ARM Cortex M4 32-bit processor. When the 3.5 and 3.6 were released, I put in an order for a couple of 3.6es with no specific plans of what to do with them. I've got a couple projects using the Teensy 3.1, and while they're not high on my list of devices I like to use -- there are some details of how they work that bother me -- I certainly recognize that they're useful as microcontrollers in some situations where other solutions fail. I've got one that drives my Christmas Tree lights (strands of WS2812 LEDs). Another that runs the live Dalek voice changer in Bob the Dalek. And I fully expected that I would one day think of the thing that I needed either more pins, or more than the 72MHz from the Teensy 3.1.
One processor: check.
What other parts will I need? Well, I like the keyboard design of Max's 2014 AVR Apple II emulator. I've got a bag of 200-ish 6mm square pushbutton switches. So that's a go.

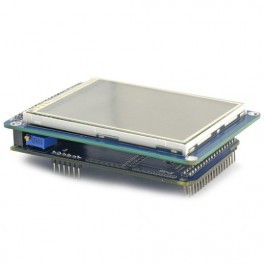
A display, of course. A few years back I built a little Arduino Mega computer that just ran a bit of BASIC that I cobbled together. I had bought a SainSmart 3.2" LCD shield for it. The project was fun to work on, but ultimately wound up in the spare parts bin; not enough RAM on the Mega for me, so I wound up adding an external SRAM, at which point the fun kinda got lost under the complexity, and the parts went out to pasture. Time to bring that LCD back to usefulness.
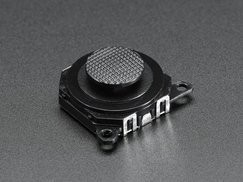
A joystick. Seriously, this is the Number One Thing that keeps me from enjoying many of the games from my childhood. The Apple II emulators that I use have, generally speaking, adequate hacks for joystick support. But if I had an actual joystick on this new thing, I'd be able to actually play games. And - whaddaya know - I've got a PSP 2-axis joystick from Adafruit that I used for the first generation remote control when I built Bob (the Dalek, in case you'd missed that bit).
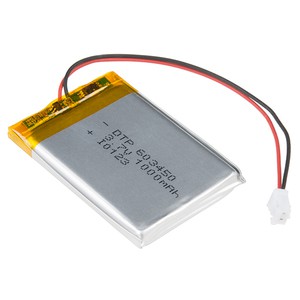
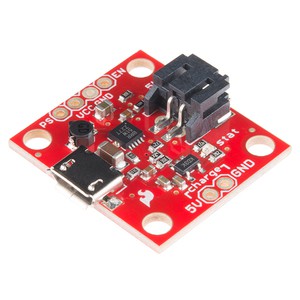
A battery. Well, with all of the projects I've built, I've amassed a small collection of lithium ion batteries. And chargers / regulators. I grabbed a 1000mAh Lithiium Ion battery off the shelf, and a little USB LiIon charger from SparkFun.
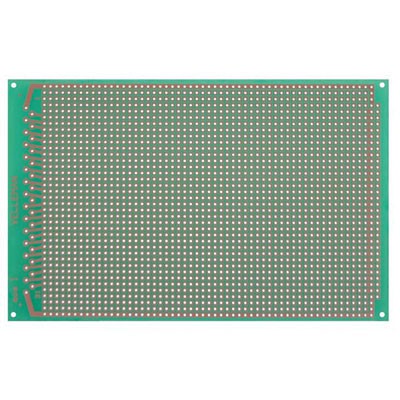
A good sized piece of protoboard. Back in the 80s, it was easy to pop over to Radio Shack and pick up a good quality piece of protoboard. When they restructured their business in the mid-90s and their electronics gave way to games, batteries, and more batteries, I started looking around for a new supplier. While I've found many over the years, I've never been really happy with any of them. The copper pads tend to pull off of the boards really easily. With the old boards, I could desolder and re-solder a pad a few times before I had to worry that the copper would come off with the solder. With basically every board I've bought since then you're lucky if you get to correct one mistake without pulling up the copper.
Which is all to say that I have a varied collection of protoboards lying around. I tend to buy a number of them at once when I find something that looks promising. Invariably, they let me down; but I have spares lying around and can start over if I need to. And that's how I happen to have a dozen perfectly-sized protoboards for this project. The Velleman Eurocard, a 3.9" x 6.3" hunk of protoboard.
The rest is pretty much academic: a slider switch, a couple of resistors and a capacitor to monitor the battery level. And that's my initial bill of materials - all things sitting around the house. Nice.
Discussions
Become a Hackaday.io Member
Create an account to leave a comment. Already have an account? Log In.