 agp.cooper
Lofting
Bought some marine plywood yesterday. I could not get 4 mm so the skin thickness is now 6 mm. Formatted the lofting offsets in Excel and printed them out:

Along with a plan:

After 2 hours (half done), time for a coffee break:
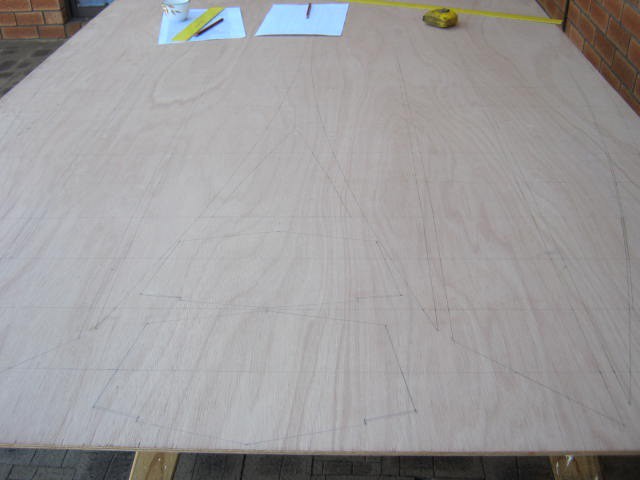
I will say it was worth redigitising the layout design to align with the 100 mm offsets or sections.
Lofting Done
Complete the lofting in 200 minutes excluding the coffee break. That is about two offsets per minute. A useful statistic for next time.
If I had a suitable CNC machine (I can dream!) then I would have designed the wiring holes and perhaps a toothed edge for seam alignment.
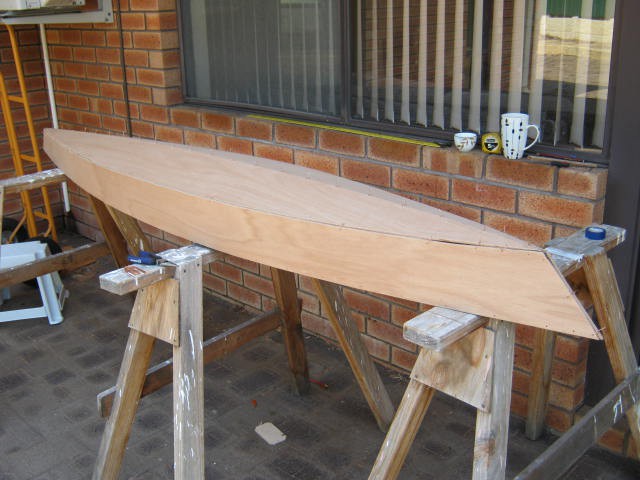
Cutout, Trimmed and Sanded
Took about 3 hours to cutout, trim and sand the panels.
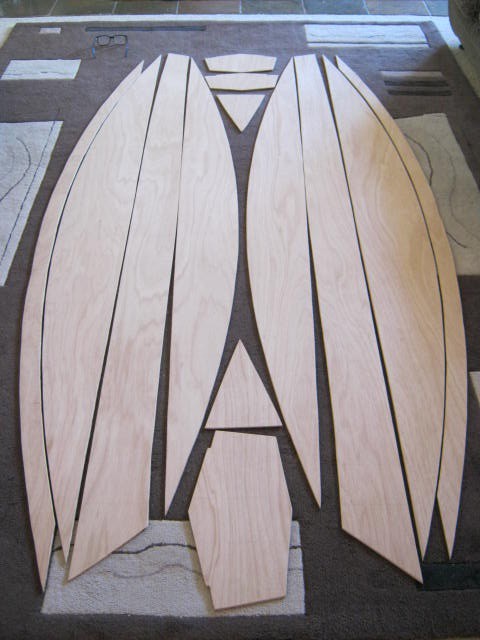
For the amount of work spent on the pontoon I could have built a full size kayak!
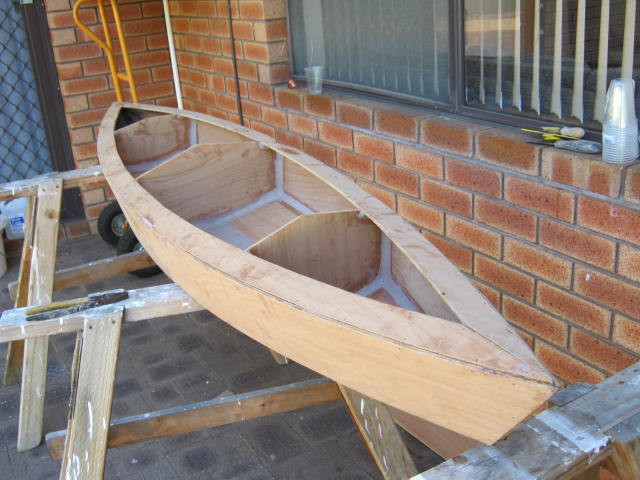
Assembly
The next task is to drill the wiring holes. I should get away with 150 mm hole spacing. I can always infill if necessary.
I will assemble and glue the "harpins" (i.e. the two outer thin crescent shaped pieces and the two triangles) first, then the deck using the harpins and bulkheads as temporary forms to get the right shape. After that the harpins are used with the bulkheads for the main hull. Finally the deck and hull as glued and screwed together.
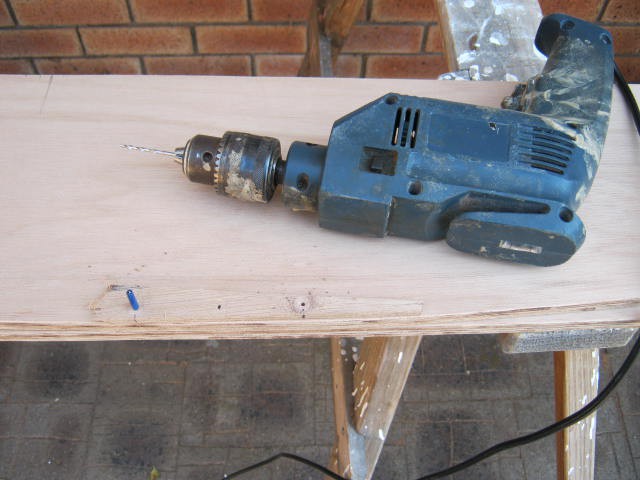
Stitching the Hull
Made up a template that drills 100 mm spaced holes 7.5 mm from the edge. I start in the middle of the panel and work my way to the ends. The blue pin in the image below pops into the last hole drilled to keep everything properly aligned:
I taped the panel in pairs to reduce the drilling effort:
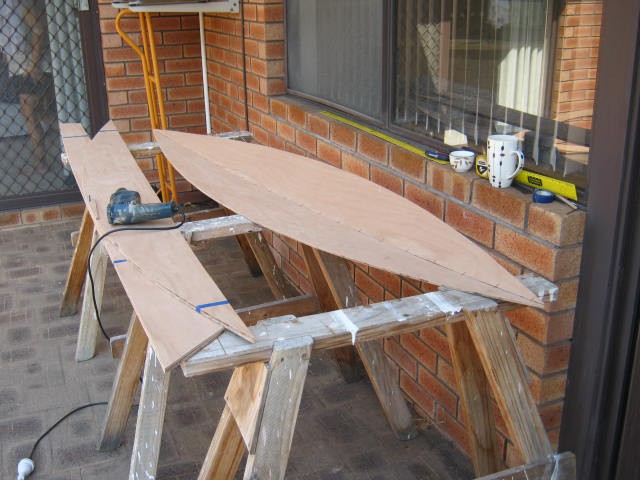
Here is the bottom and side panels wired up:
Copper wire works best as it can be heated with a propane torch to allow removal (this trick does not work with steel wire). Unfortunately the copper wire is a bit light duty so I need to be gentle when tightening the wire to close the gaps.
All done (about five hours later):

A close up of the front:

The Deck
I could join the deck with copper wires as well but I want to try nylon lacing instead:
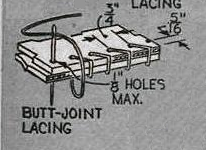
(Source: "Graefin 10" by Will Graef (Science and Mechanics Magazine, May 1964))
The nylon lace is stretchy so the join and be opened. More holes to drill and fill but less issues with heating the copper wire to get it out. Also easier on the fingers (the copper wire ends are sharp). I suspect getting the string tension just right will be important.
More Seams Done
I made up two batches yesterday and most of the inside of the hull is done. About 90 minutes to mix and place. The main problem is that the pontoon is just a little too small to easily place and smooth/finish the filler and I can't get my head in to see what I am doing. The filler is very sticky and hard to place/finish, you need room to work. Still two more batches should finish the inside seams. Here a examples of the work:
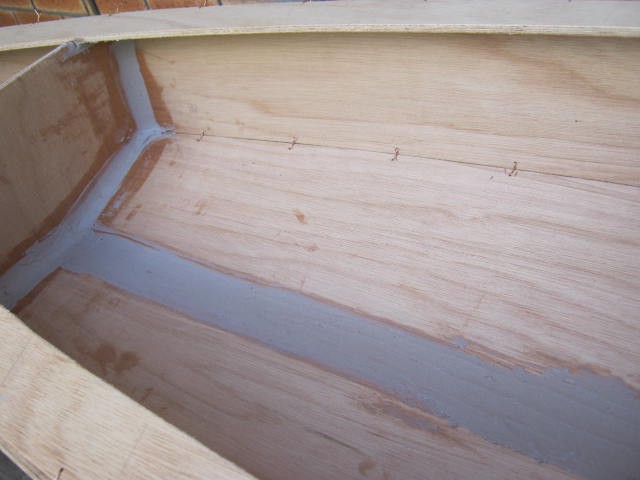
Finished the inside seams. Tomorrow I will try the heat gun on the copper wires to see if they will come out. After that a slightly more runny mix of epoxy filler to fill the outside seams and the wire holes.

Epoxy Safety
I don't use polyester resin as it is not safe without the proper breathing gear. Epoxy is pretty safe but you can become hyper-sensitive to it (i.e. that would mean the end of my boat-building) so I now use rubber gloves. I once used acetone to clean-up but now I use white vinegar. It deactivates the epoxy allowing it to be washed off with detergent. It is not perfect as it still leaves a residue but good enough. I don't try to reuse bushes etc. I reuse metal spatula/scrapers by grind off the epoxy after it has hardened. The filler is a hazard to your lungs so I would recommend a face mask when mixing it with epoxy (or at least hold your breath not to breath the dust!). I have swore off fibre-glass tape because sanding the (sharp) edges a pain (lots of sharp fibrous dust). I will be trying dynel tape (a form of very tough nylon). It is more expensive! It is about 40% of the strength of fibre-glass tape so good enough taping seams on canoes and dinghies.
Hot Air Gun
Previously I use a propane torch but this time I will try a hot air gun. The hot air gun works very well. 10 seconds on each end of the wire is usually enough. Repeat for difficult wires. Here is the pontoon de-wired:
It's a warm day (~28 degrees C) so the epoxy is going off in about 1/2 an hours so quite a bit of wastage. Here is the bottom seams and wire holes filled:
A close up:

The only problem was the occasional break in the fillet on the butt join when I pulled out the wires:

I will just fill these when it is convenient.
Lid
I wired up and taped the lid to the hull:
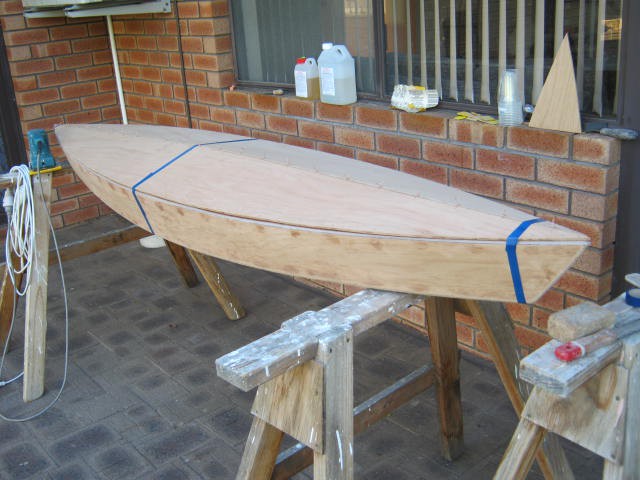
And then "tacked" the top seam:

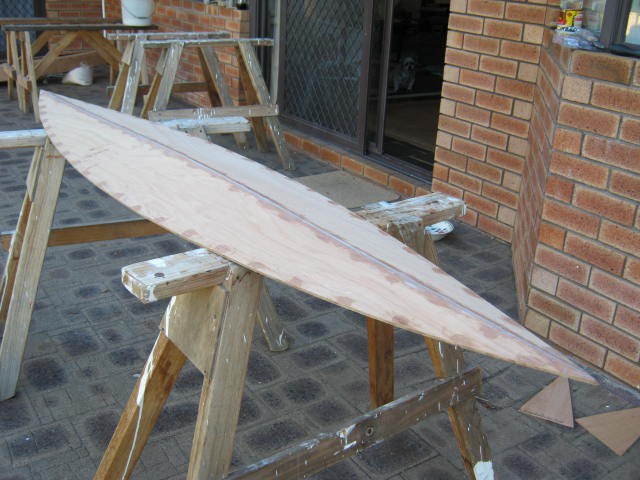
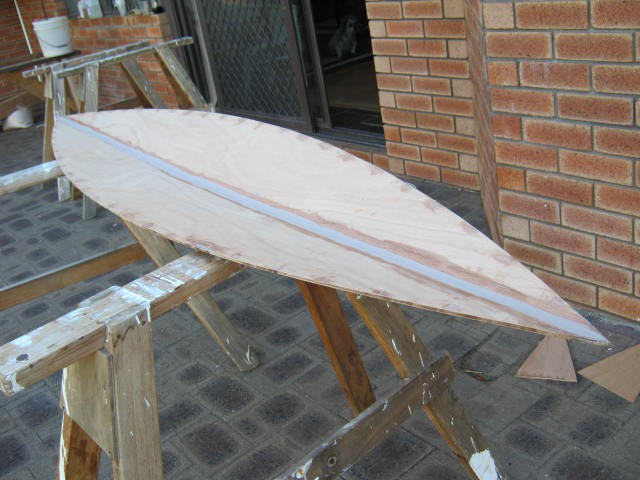
After the tack had set, I removed the wires and finished the top seam:
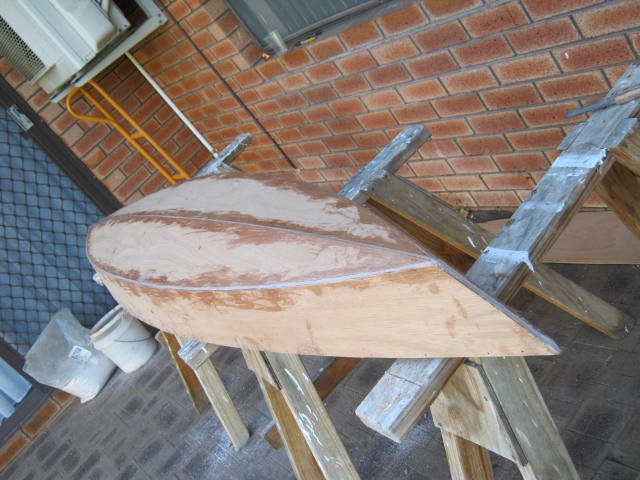
Pontoon Sealed
Sealed the pontoon:
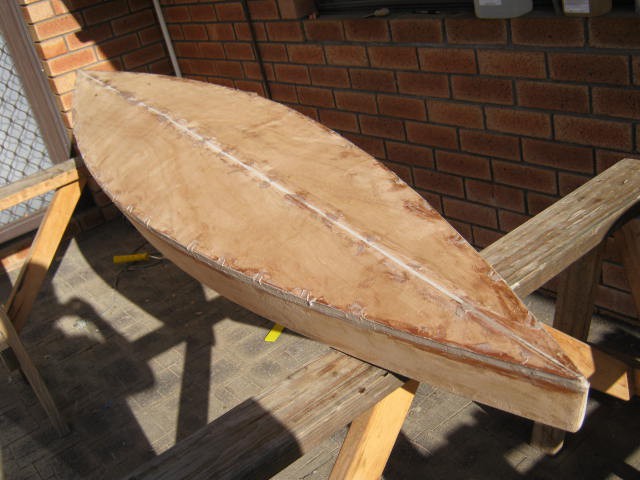
A final sanding and then it needs to be taped. I will use some penetrative/preservative in the epoxy this time. After than it needs to be painted.
AlanX
Discussions
Become a Hackaday.io Member
Create an account to leave a comment. Already have an account? Log In.