-
1Step 1
![]()
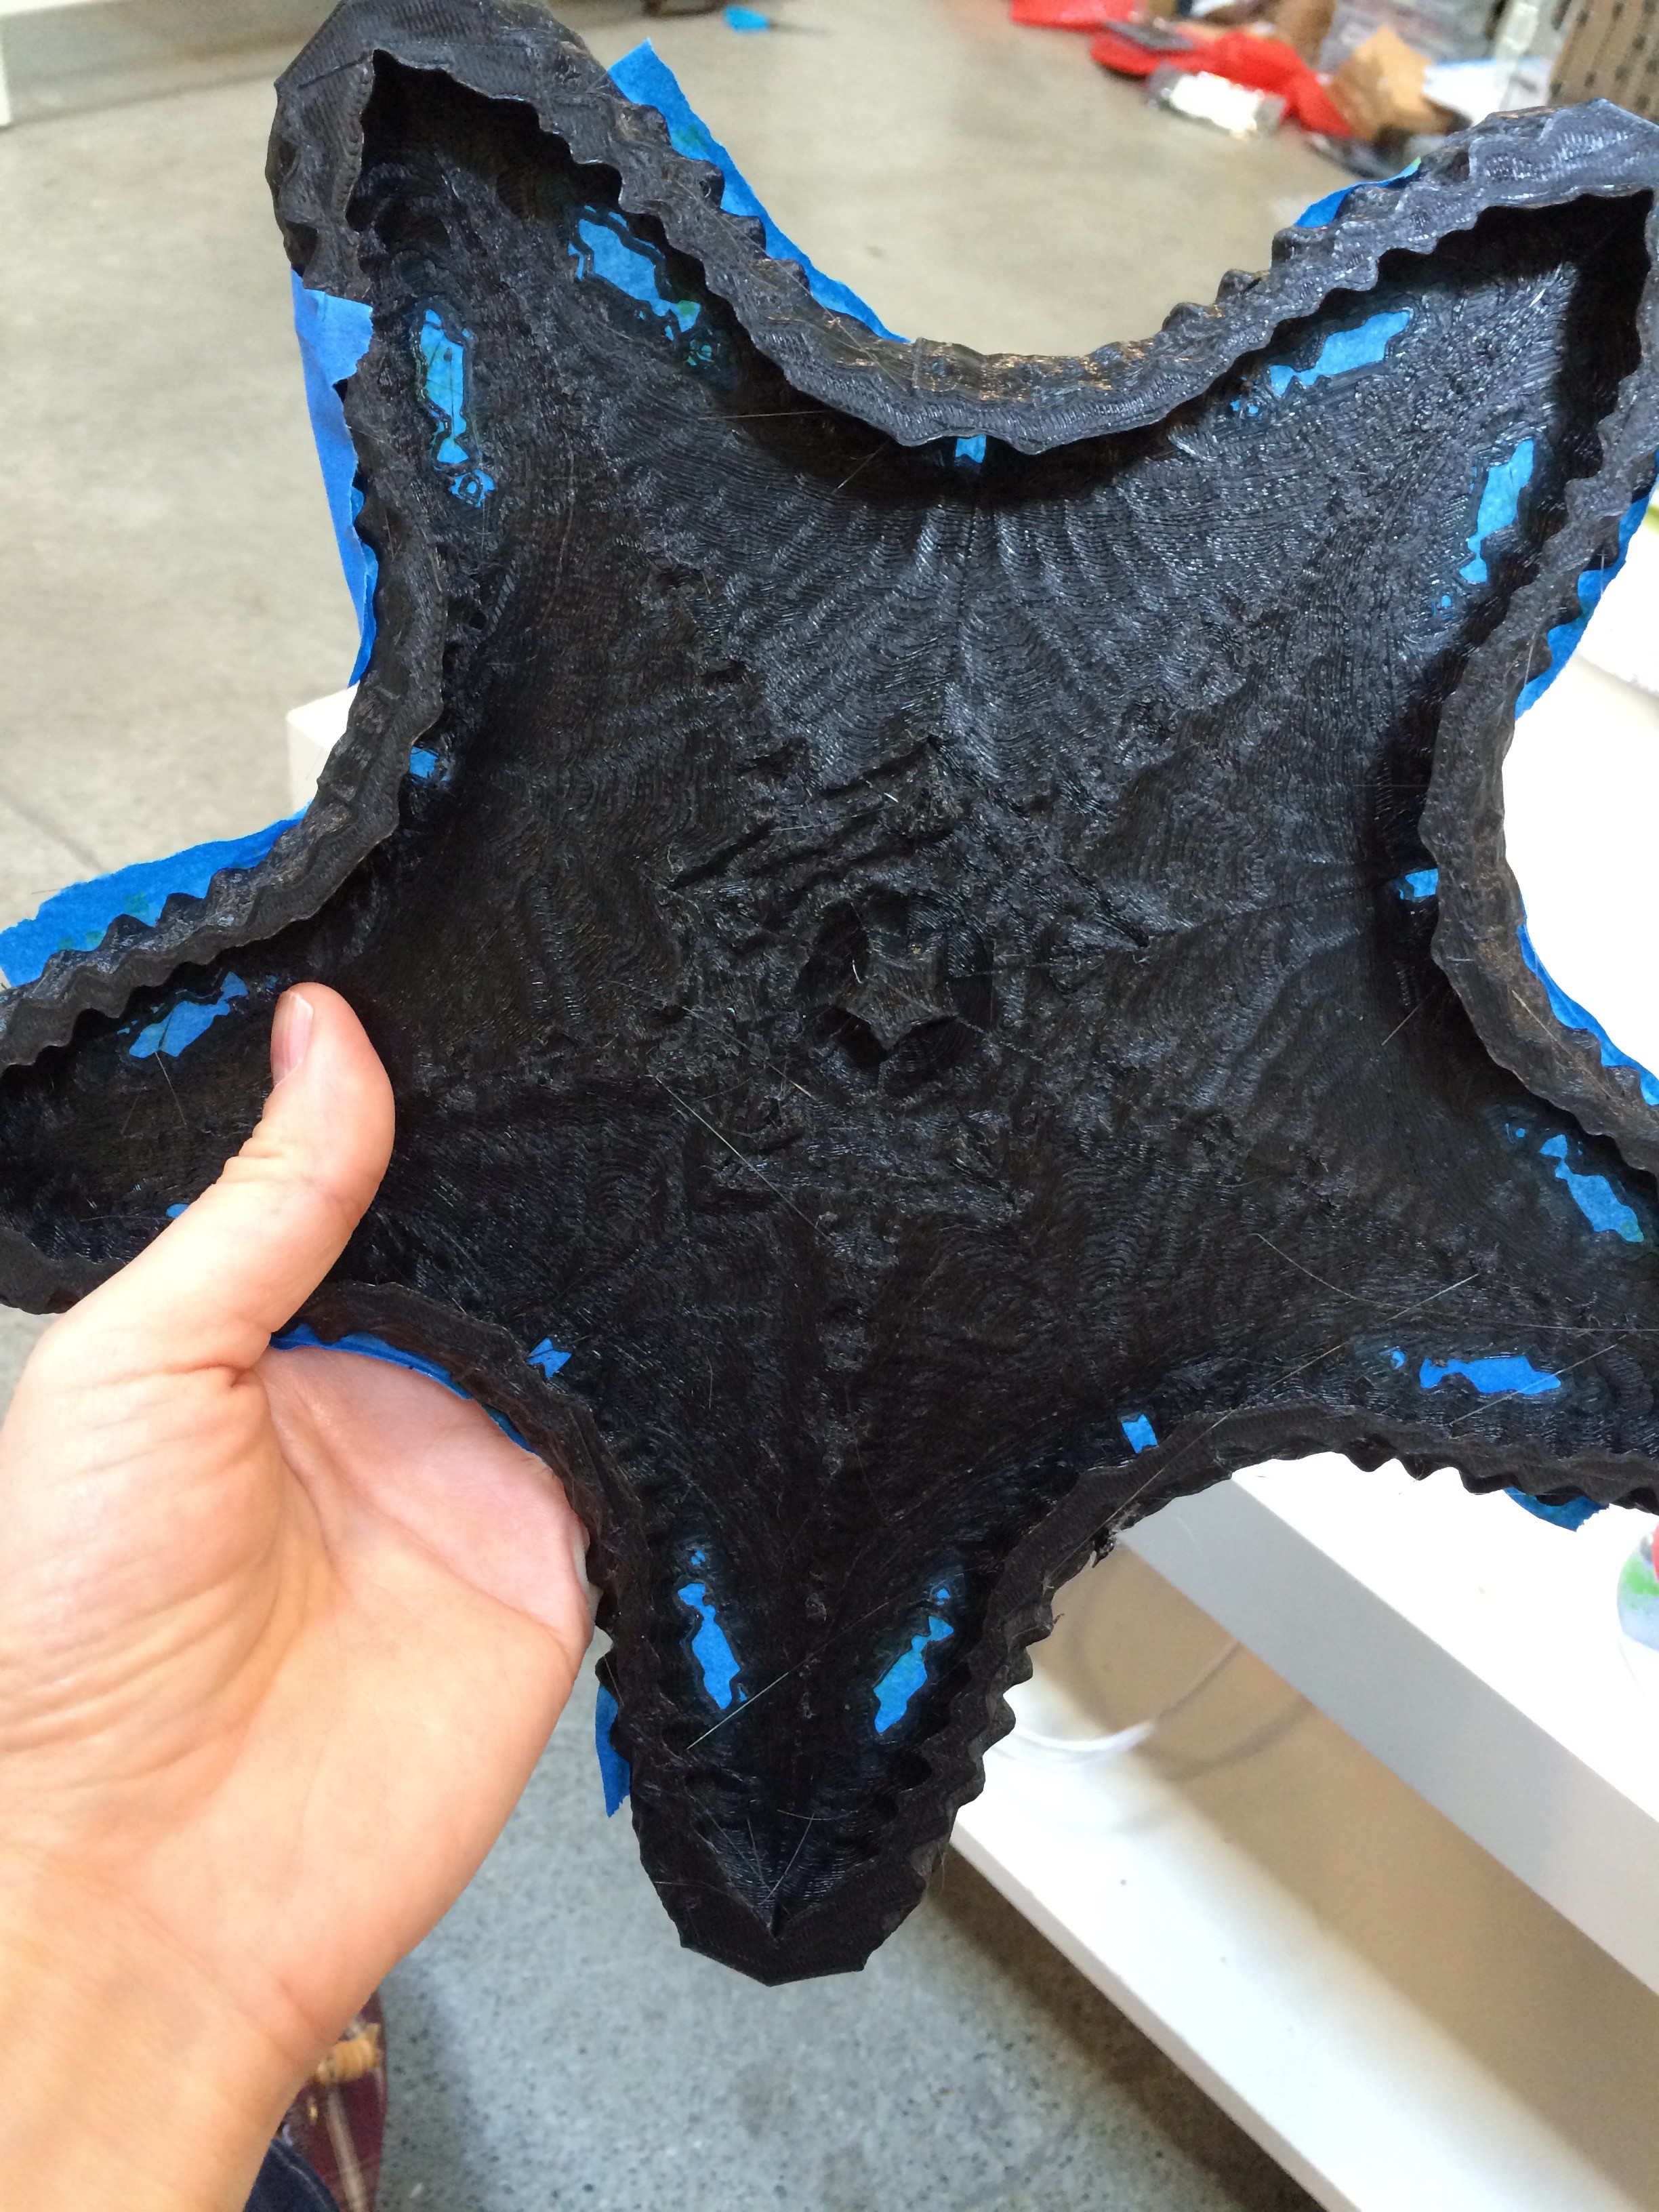
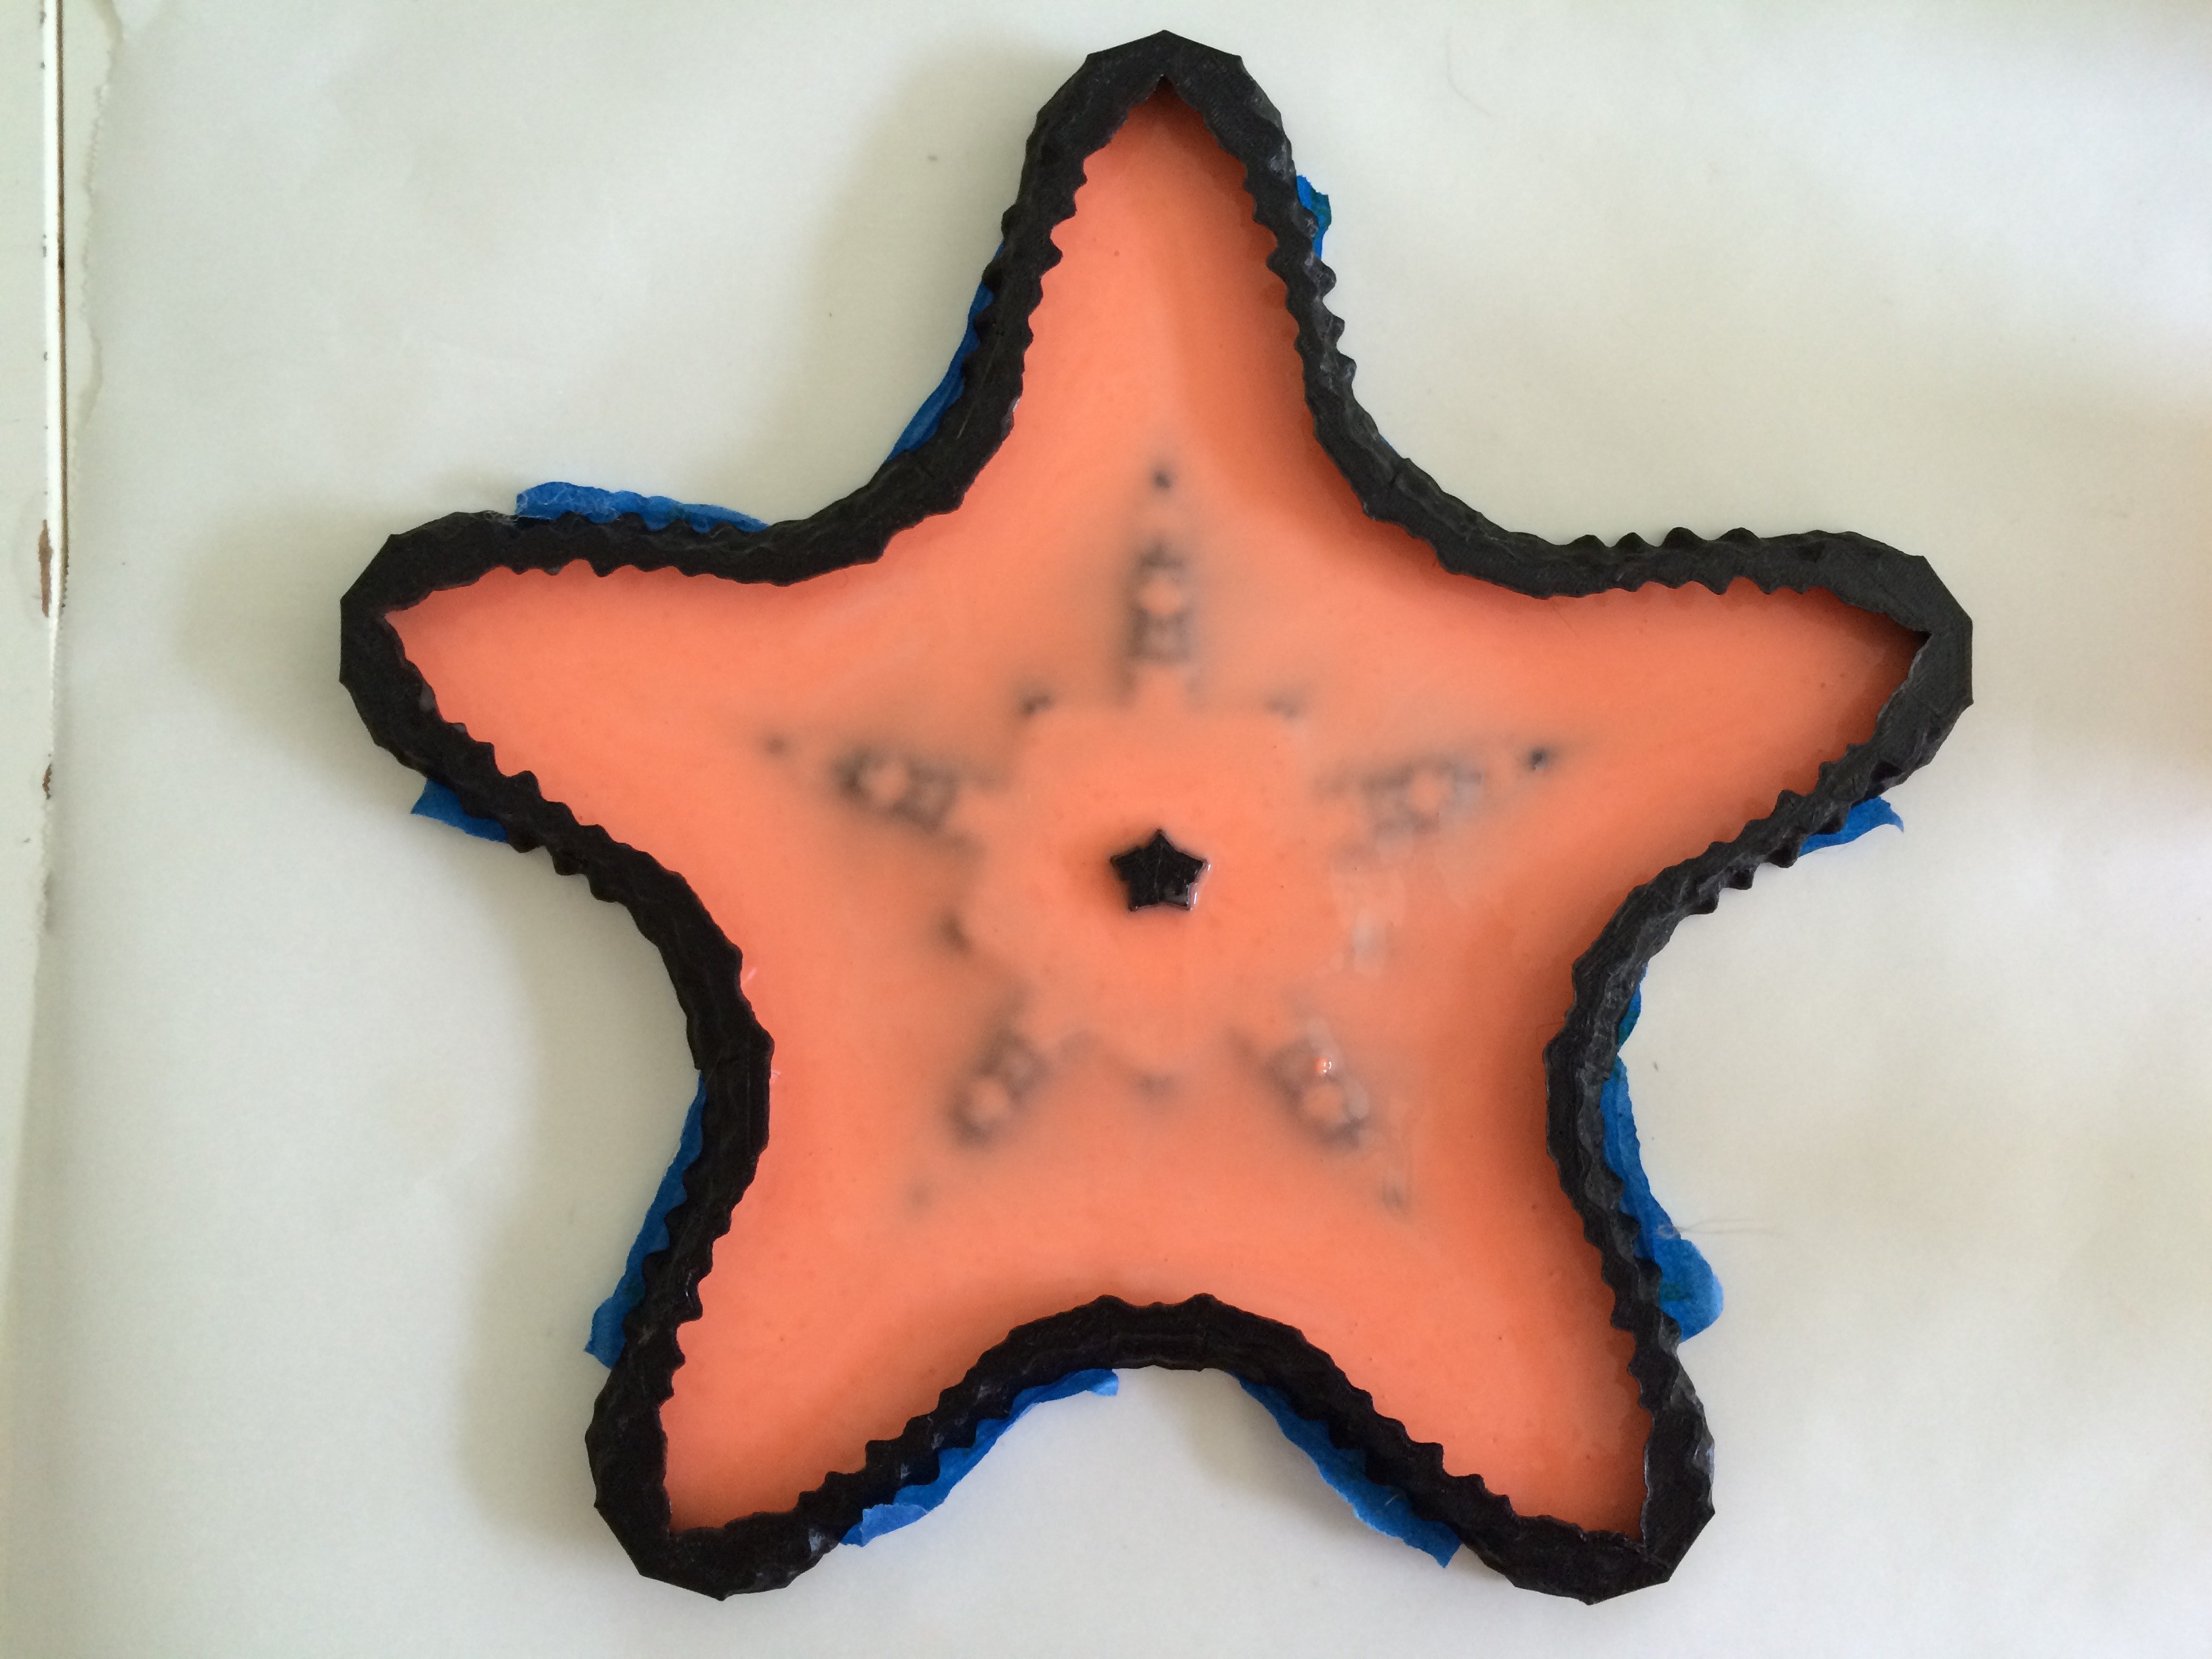
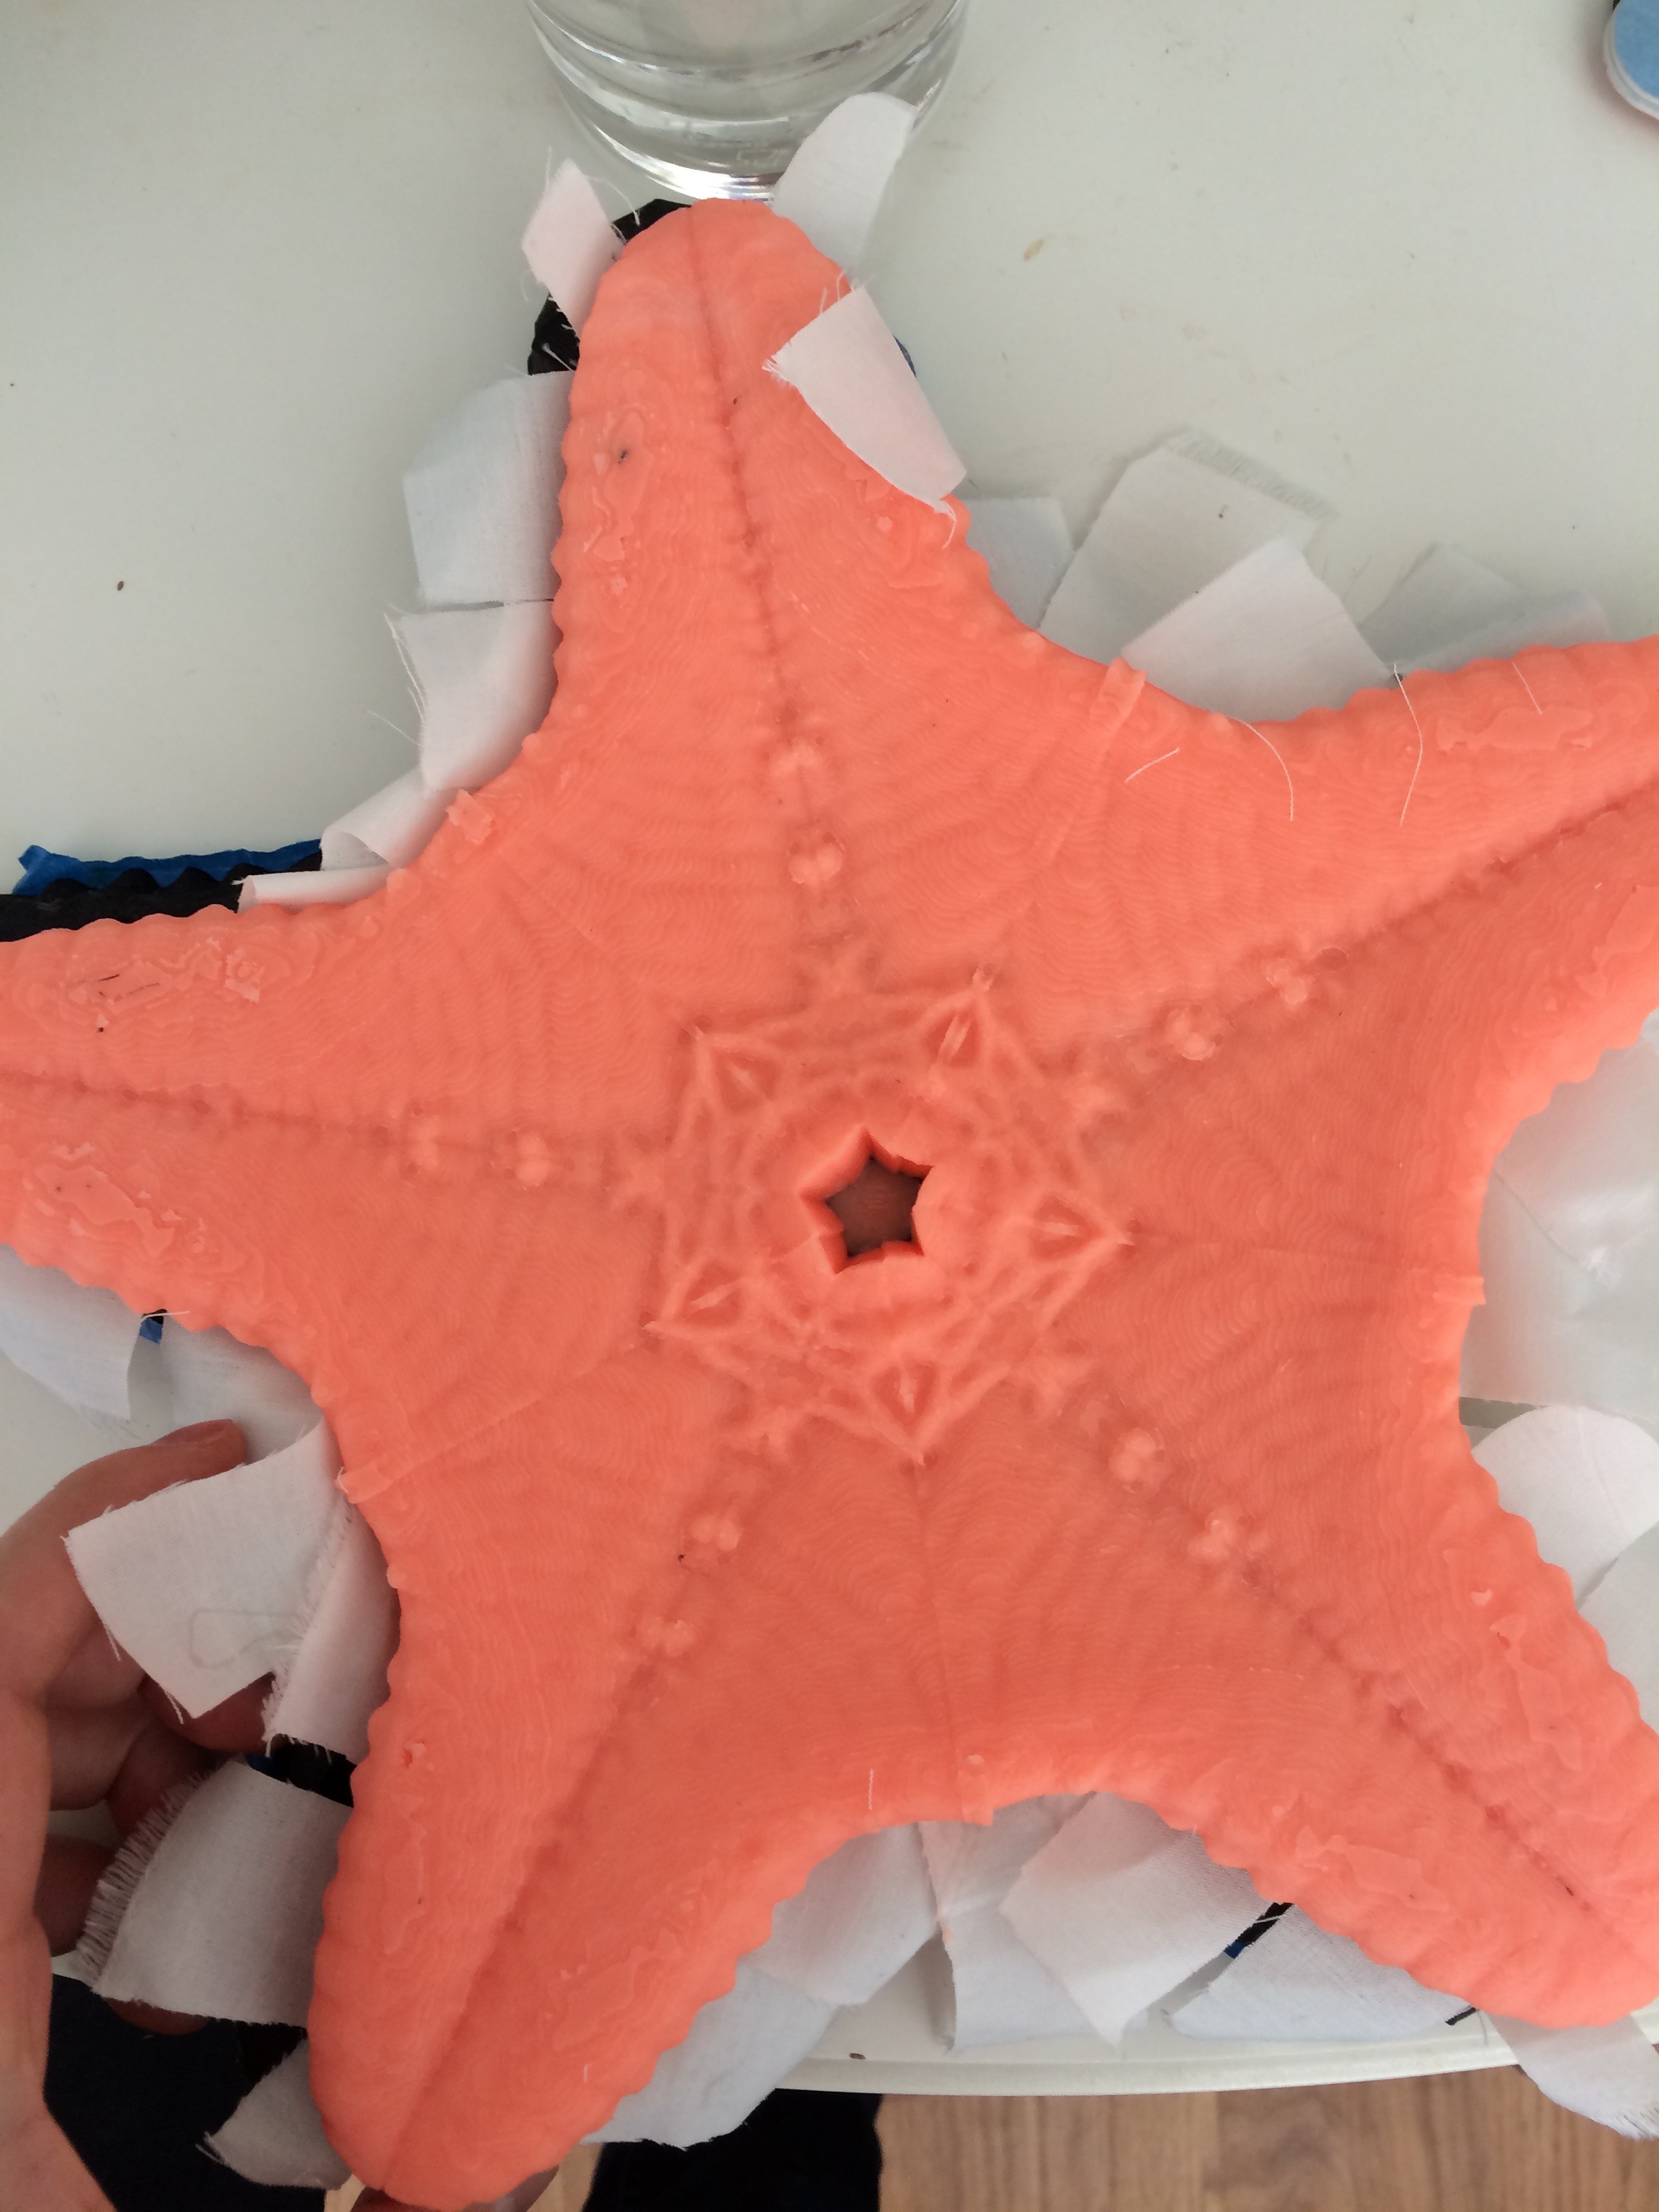
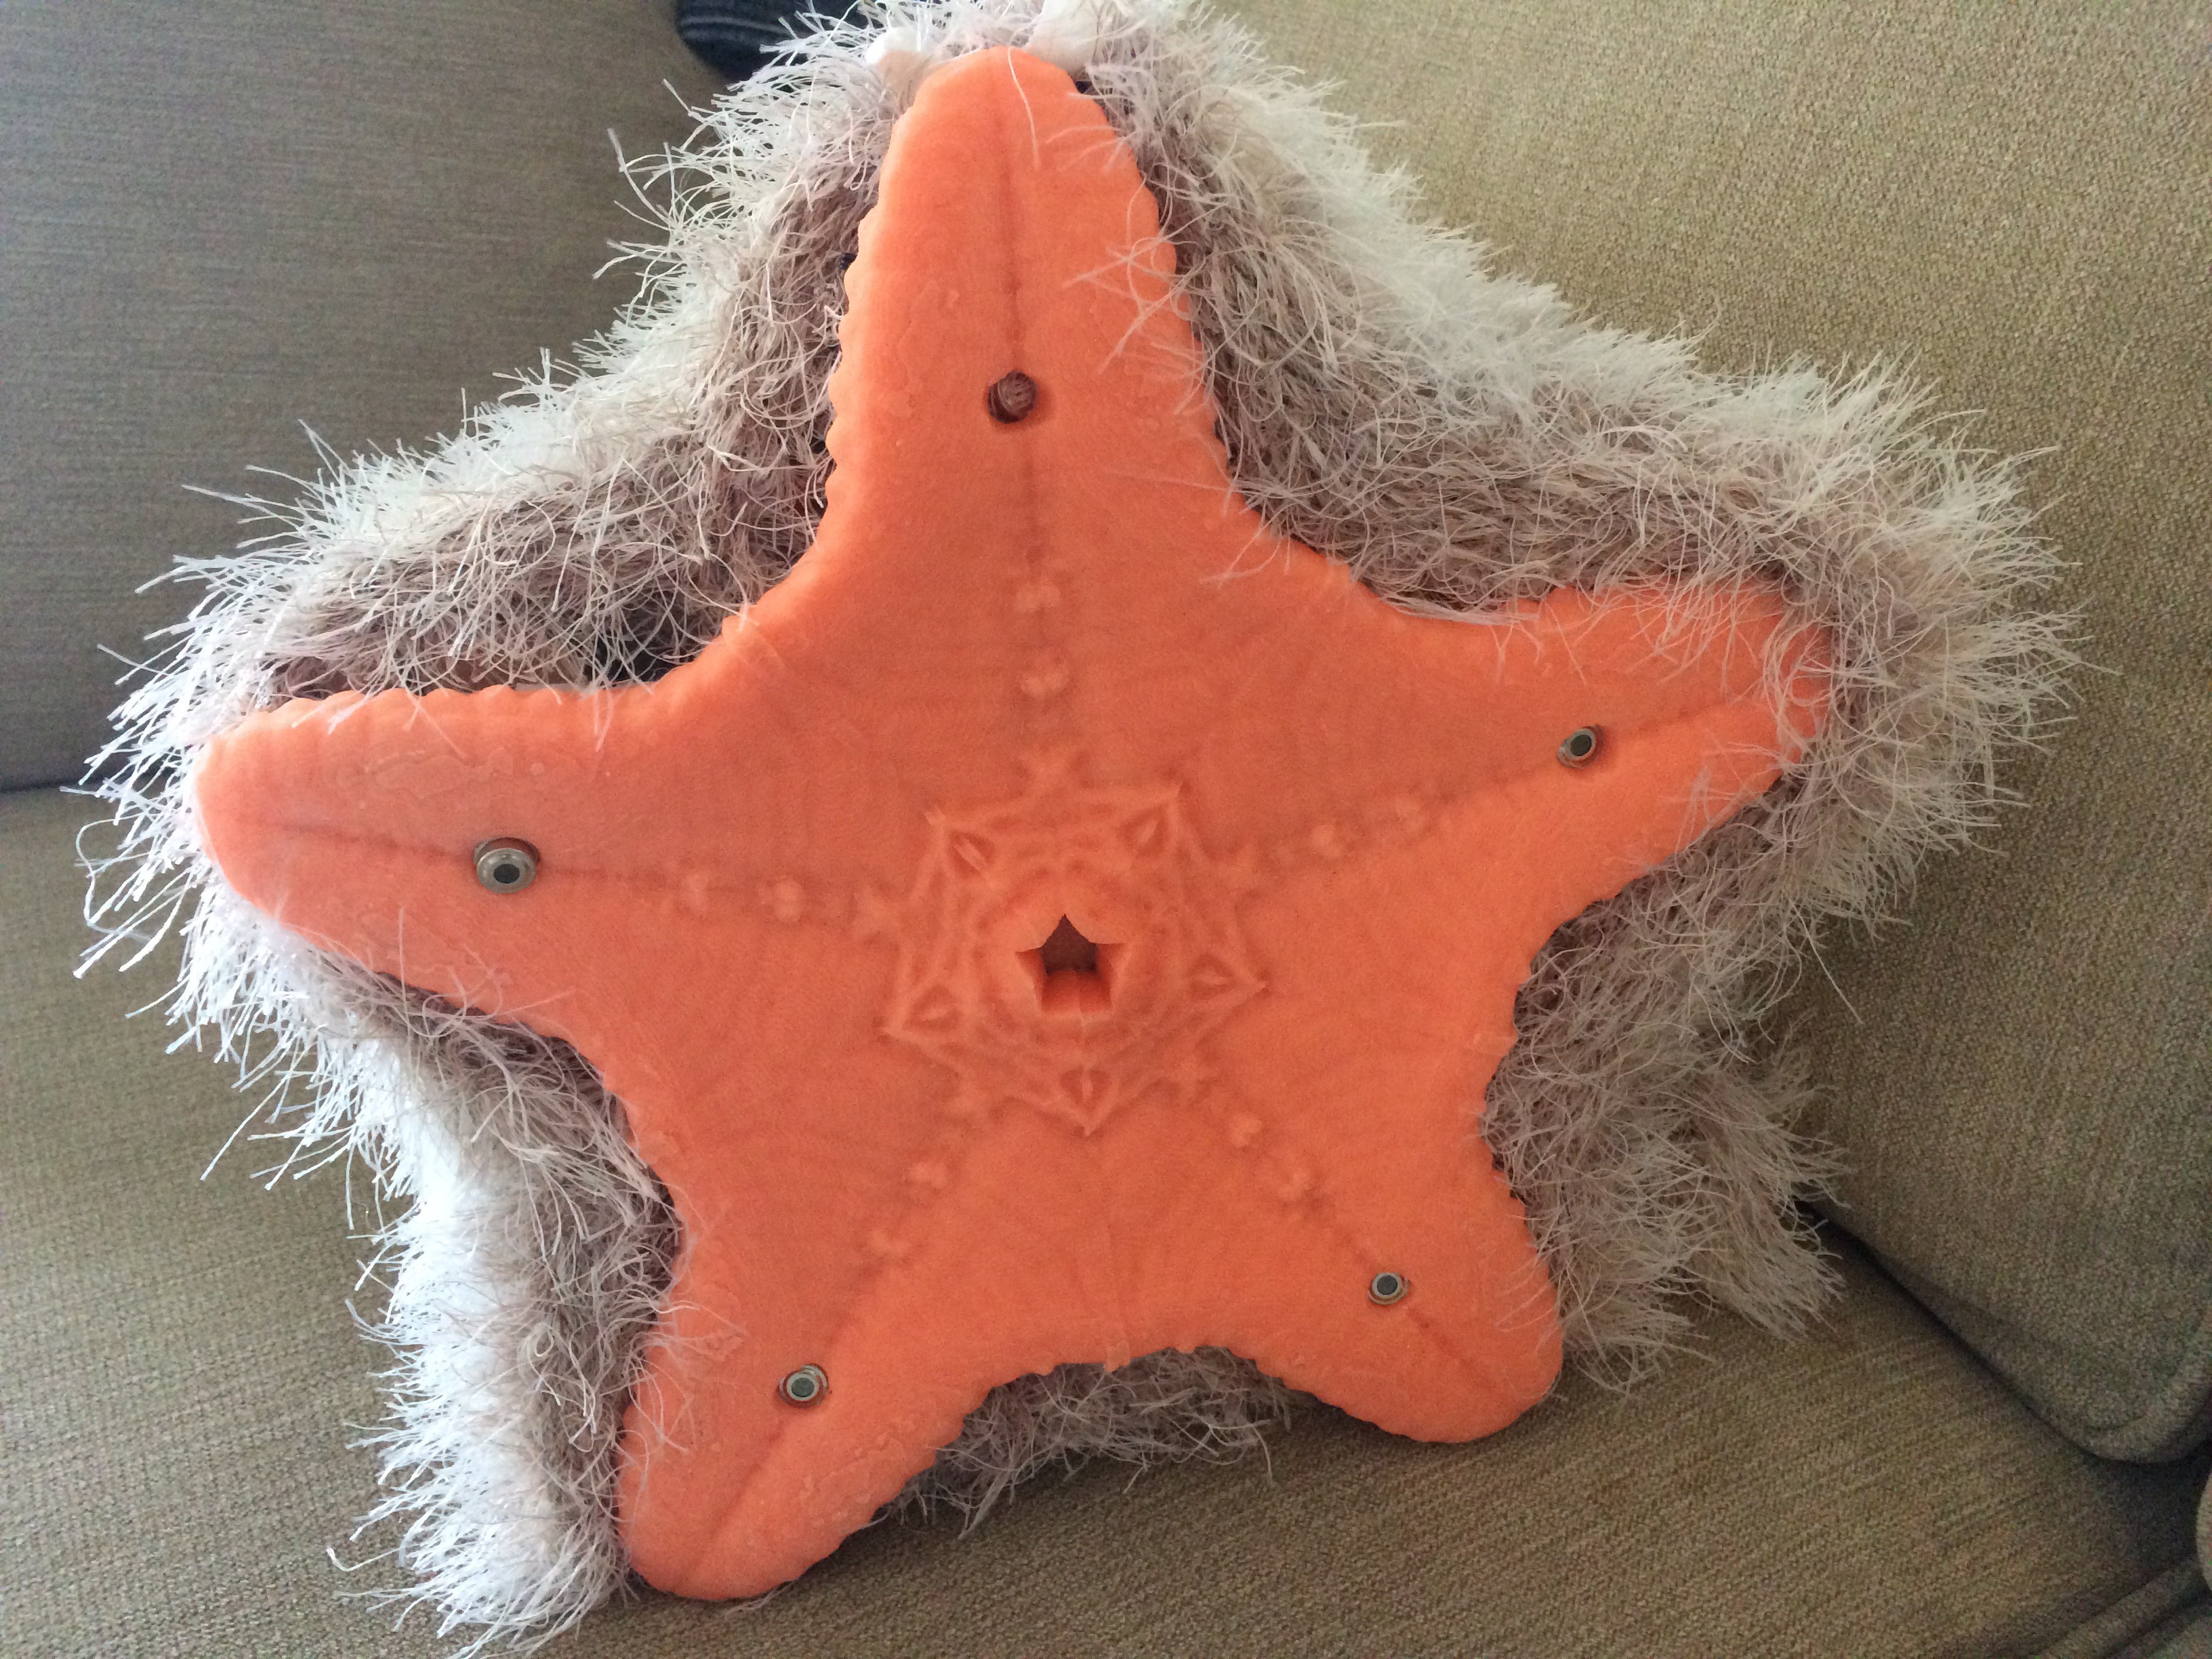
Print mold and pour starfish base. Suspend 2" x 1" pieces of scrap fabric in the base when it is partially set. Leave the base to set fully. When it is set, punch out 1/4" holes using a sharp piece of pipe.
![]()
![]()
![]()
-
2Step 2
Create the voice and brains of the starfish. Load the code from starfish-cat.ino onto his brains (the Particle Photon microcontroller) and add meowing sound effects (from your own kitty if possible!) onto the Adafruit Audio SoundFX board and hook it up to the speaker. Adafruit has an awesome tutorial for this, if you have never done it before!
-
3Step 3
Make your Starfish Cat's eyes. Make it so that your Starfish Cat can see in the dark! Get your 5 IR temperature sensors. You'll need to change the addresses using an arduino, so that your Cat can tell what he's looking at. To make it fit the code, label the sensors 0 through 4 and change the addresses to:
Sensor 0: 0x40
Sensor 1: 0x45
Sensor 2: 0x50
Sensor 3: 0x55
Sensor 4: 0x5A
-
4Step 4
Make an on/off switch and tail for your Cat. Split the USB cable down the middle and splice in a switch on the power line. Be sure to use tape or heat shrink to prevent shorts, and test the cable before you use it. When you know it works, plug one end into the USB battery and the other into the Photon. You can use the remaining intact USB cable to charge the battery. The two cables together will form the Starfish Cat's tail, where you can charge him and switch him on and off.
-
5Step 5
Plug in your Cat's nervous system. Connect the Photon to your other components. I do this by using 3x20 breakaway right angle headers where several rows have been shorted together to be power and others to be ground. This lets me better organize my components.
Pin use as follows:
- IR Temperature sensors: D0 (data), D1 (clock)
- Pneumatic motor output: A0
- Sound FX Board trigger: A1
- Servo output: A4, A5, A7, RX, TX
-
6Step 6
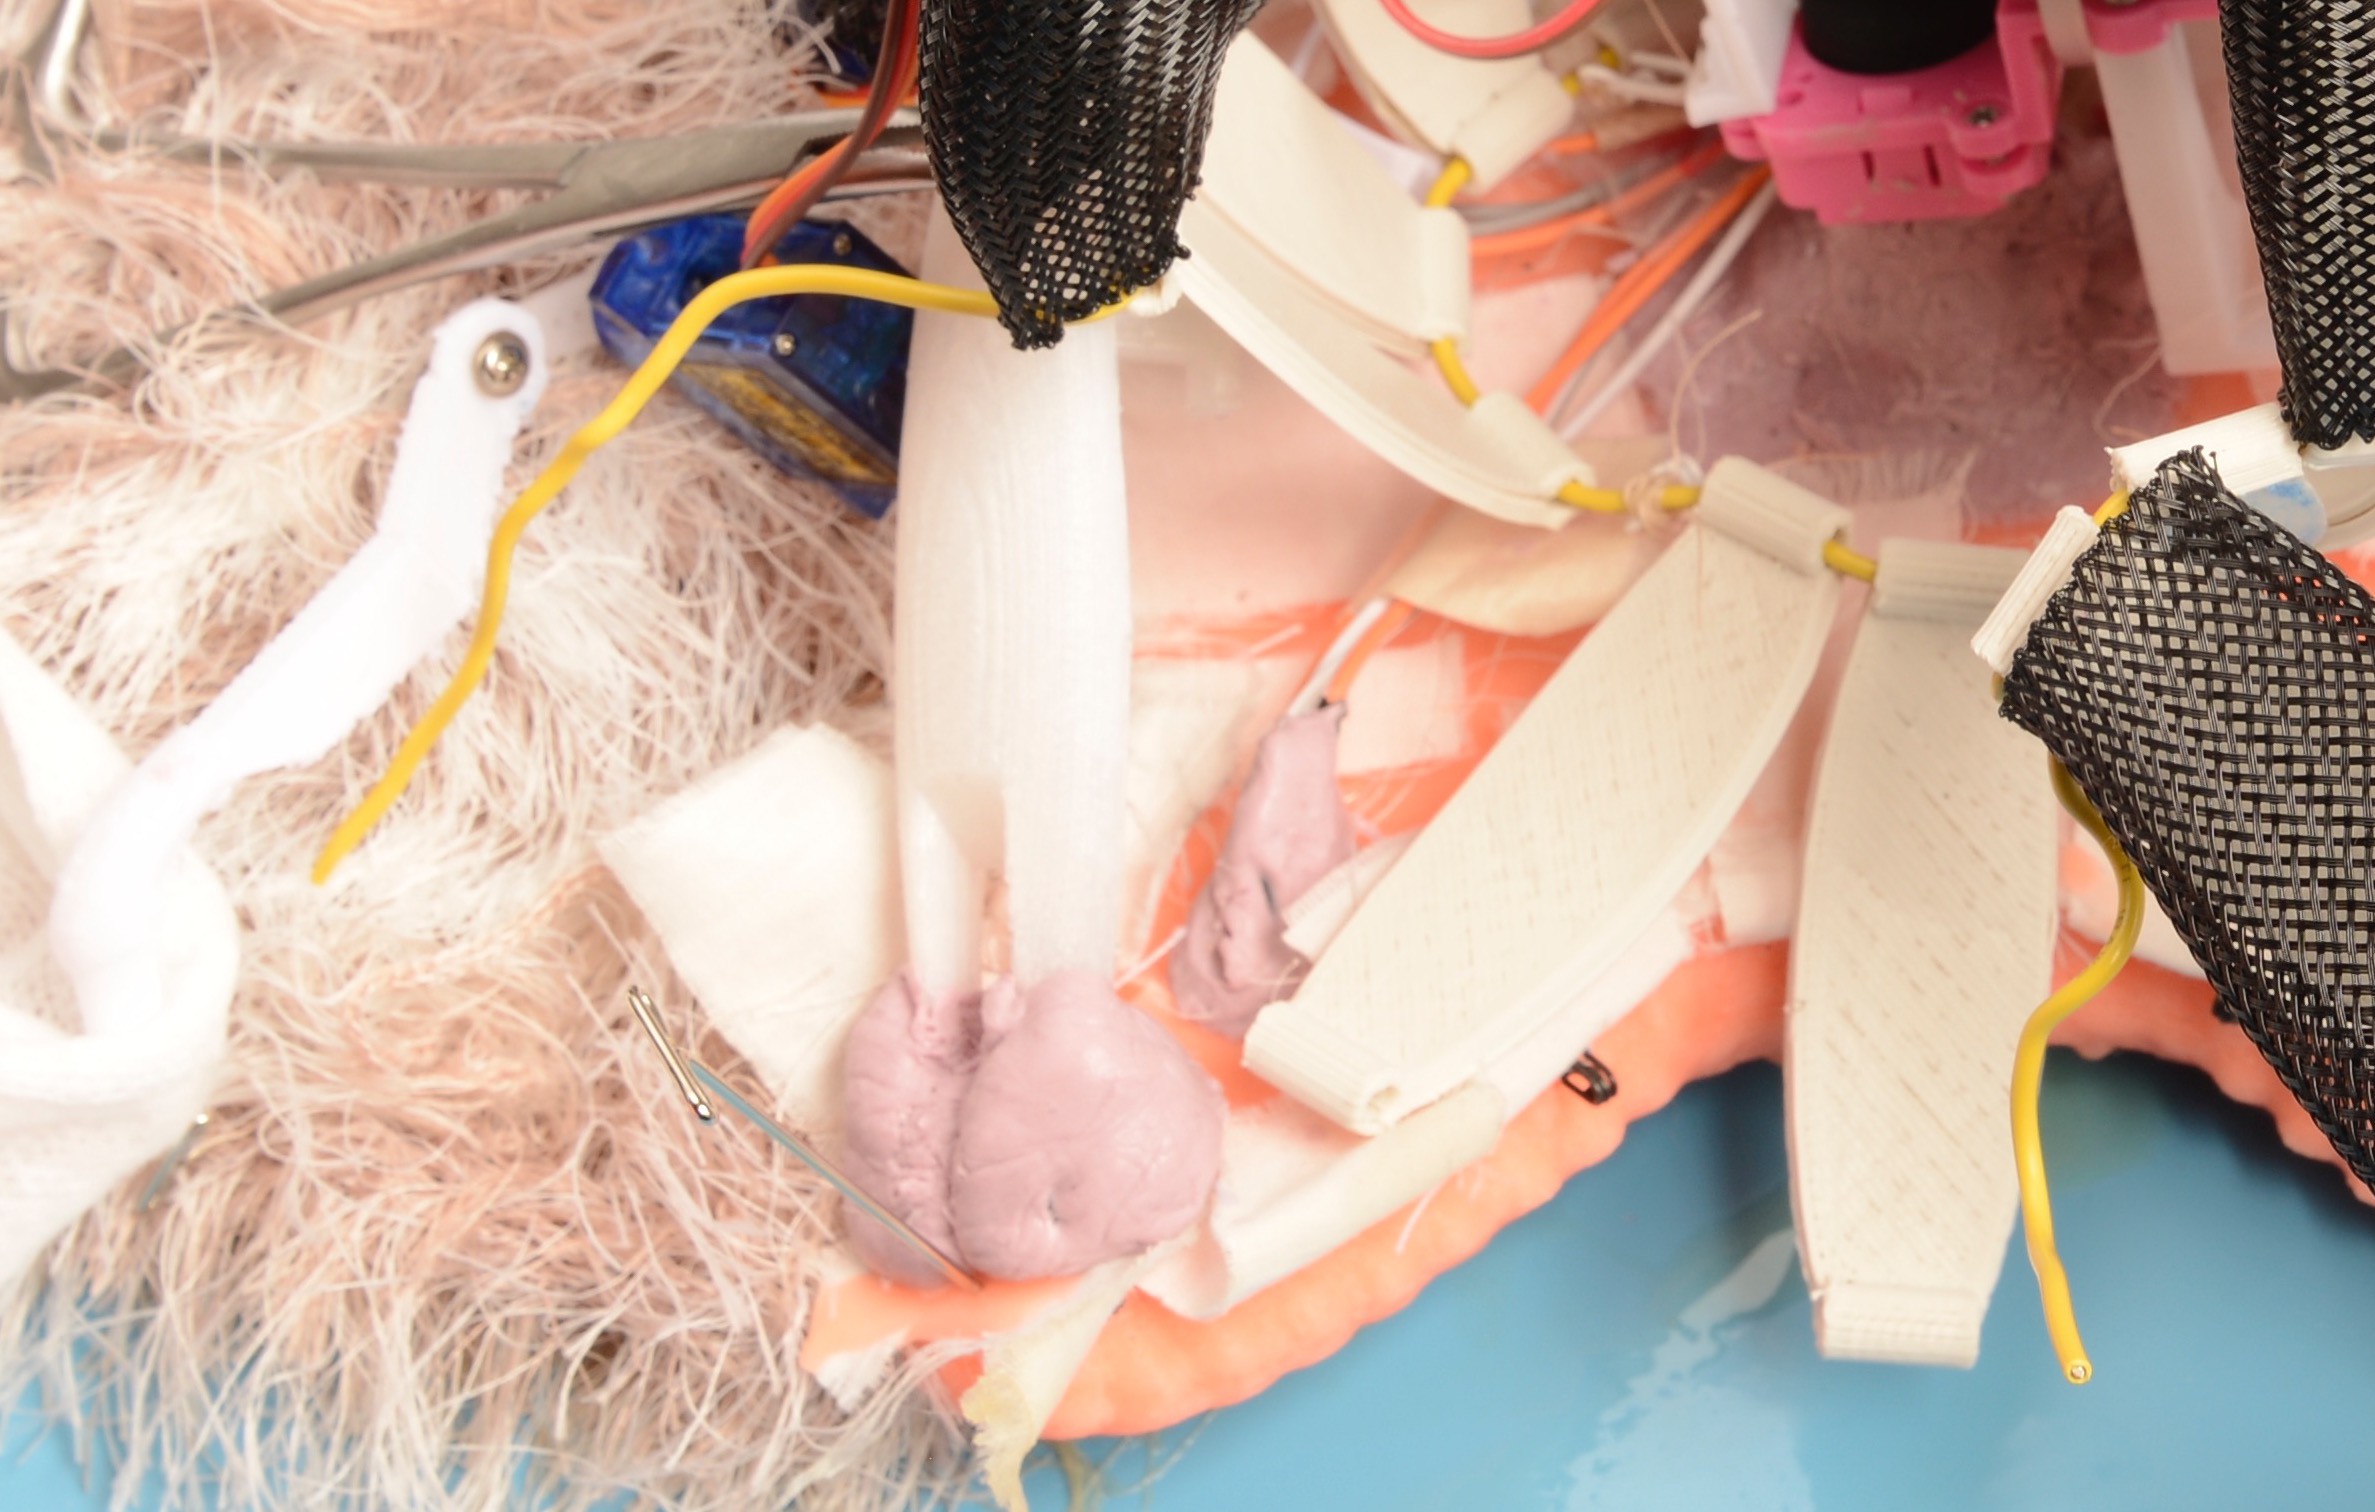
3D-print your Starfish Cat's skeleton. Alternate his flexible ribs on a piece of 12 gauge wire. Every 5th strut, add one of the arms with the servo-holding part turned towards the ground. After the first and third arm, thread in an ear with the point facing up. Then, to create a spherical structure, twist the wire ends together to make a circle. Cover alternating struts with wire wrap and thread a wire through the top of the ribs to make a spherical top, making sure you include the ears so that they stick outward. Thread a different wire through the bottom struts to create a spherical bottom.
![]()
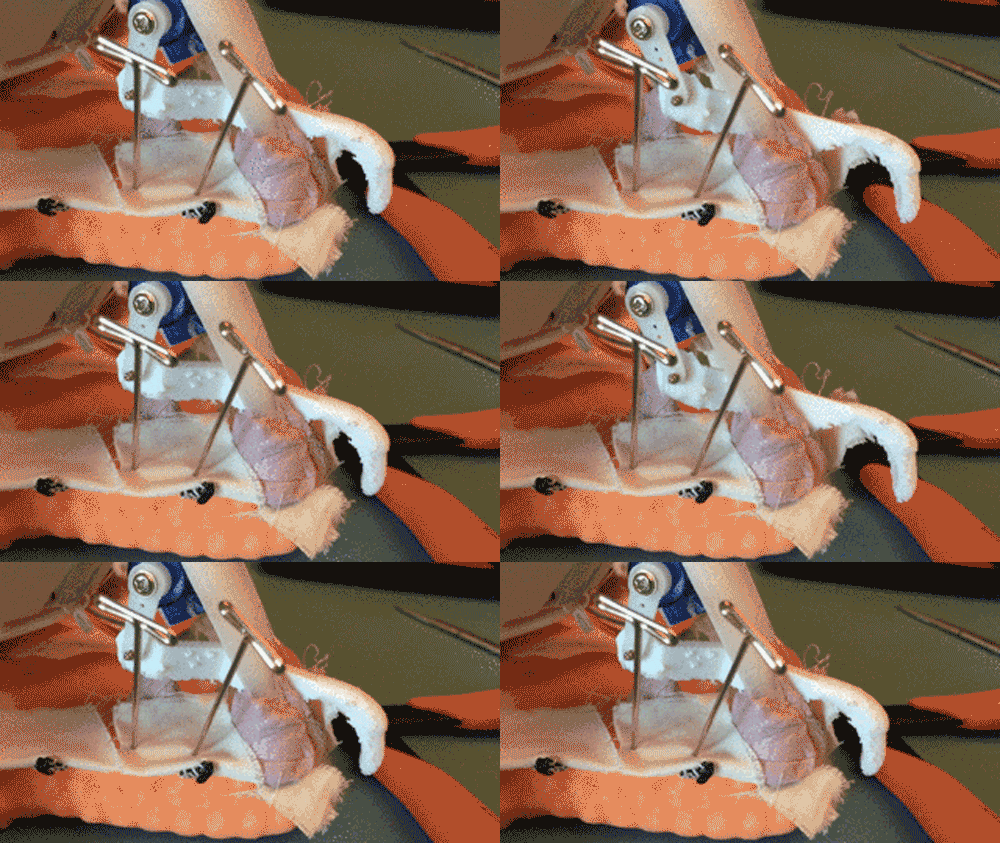
Secure the claws onto the servos and slide the servos into the holders in the arms. I suggest also supergluing them here. Ensure that the claws can move freely through the struts, and that they point towards the ground.
-
7Step 7
Place your Starfish Cat's lungs. Secure the pneumatic motor onto the base of the Starfish Cat, around his "mouth." You'll want to make sure that your Starfish Cat's mouth is open first, clearing away any random debris. Then secure the motor onto the opening so that any suction will be funneled through the mouth. I use a putty silicone here to secure components. Test the motor to make sure it works.
![]()
-
8Step 8
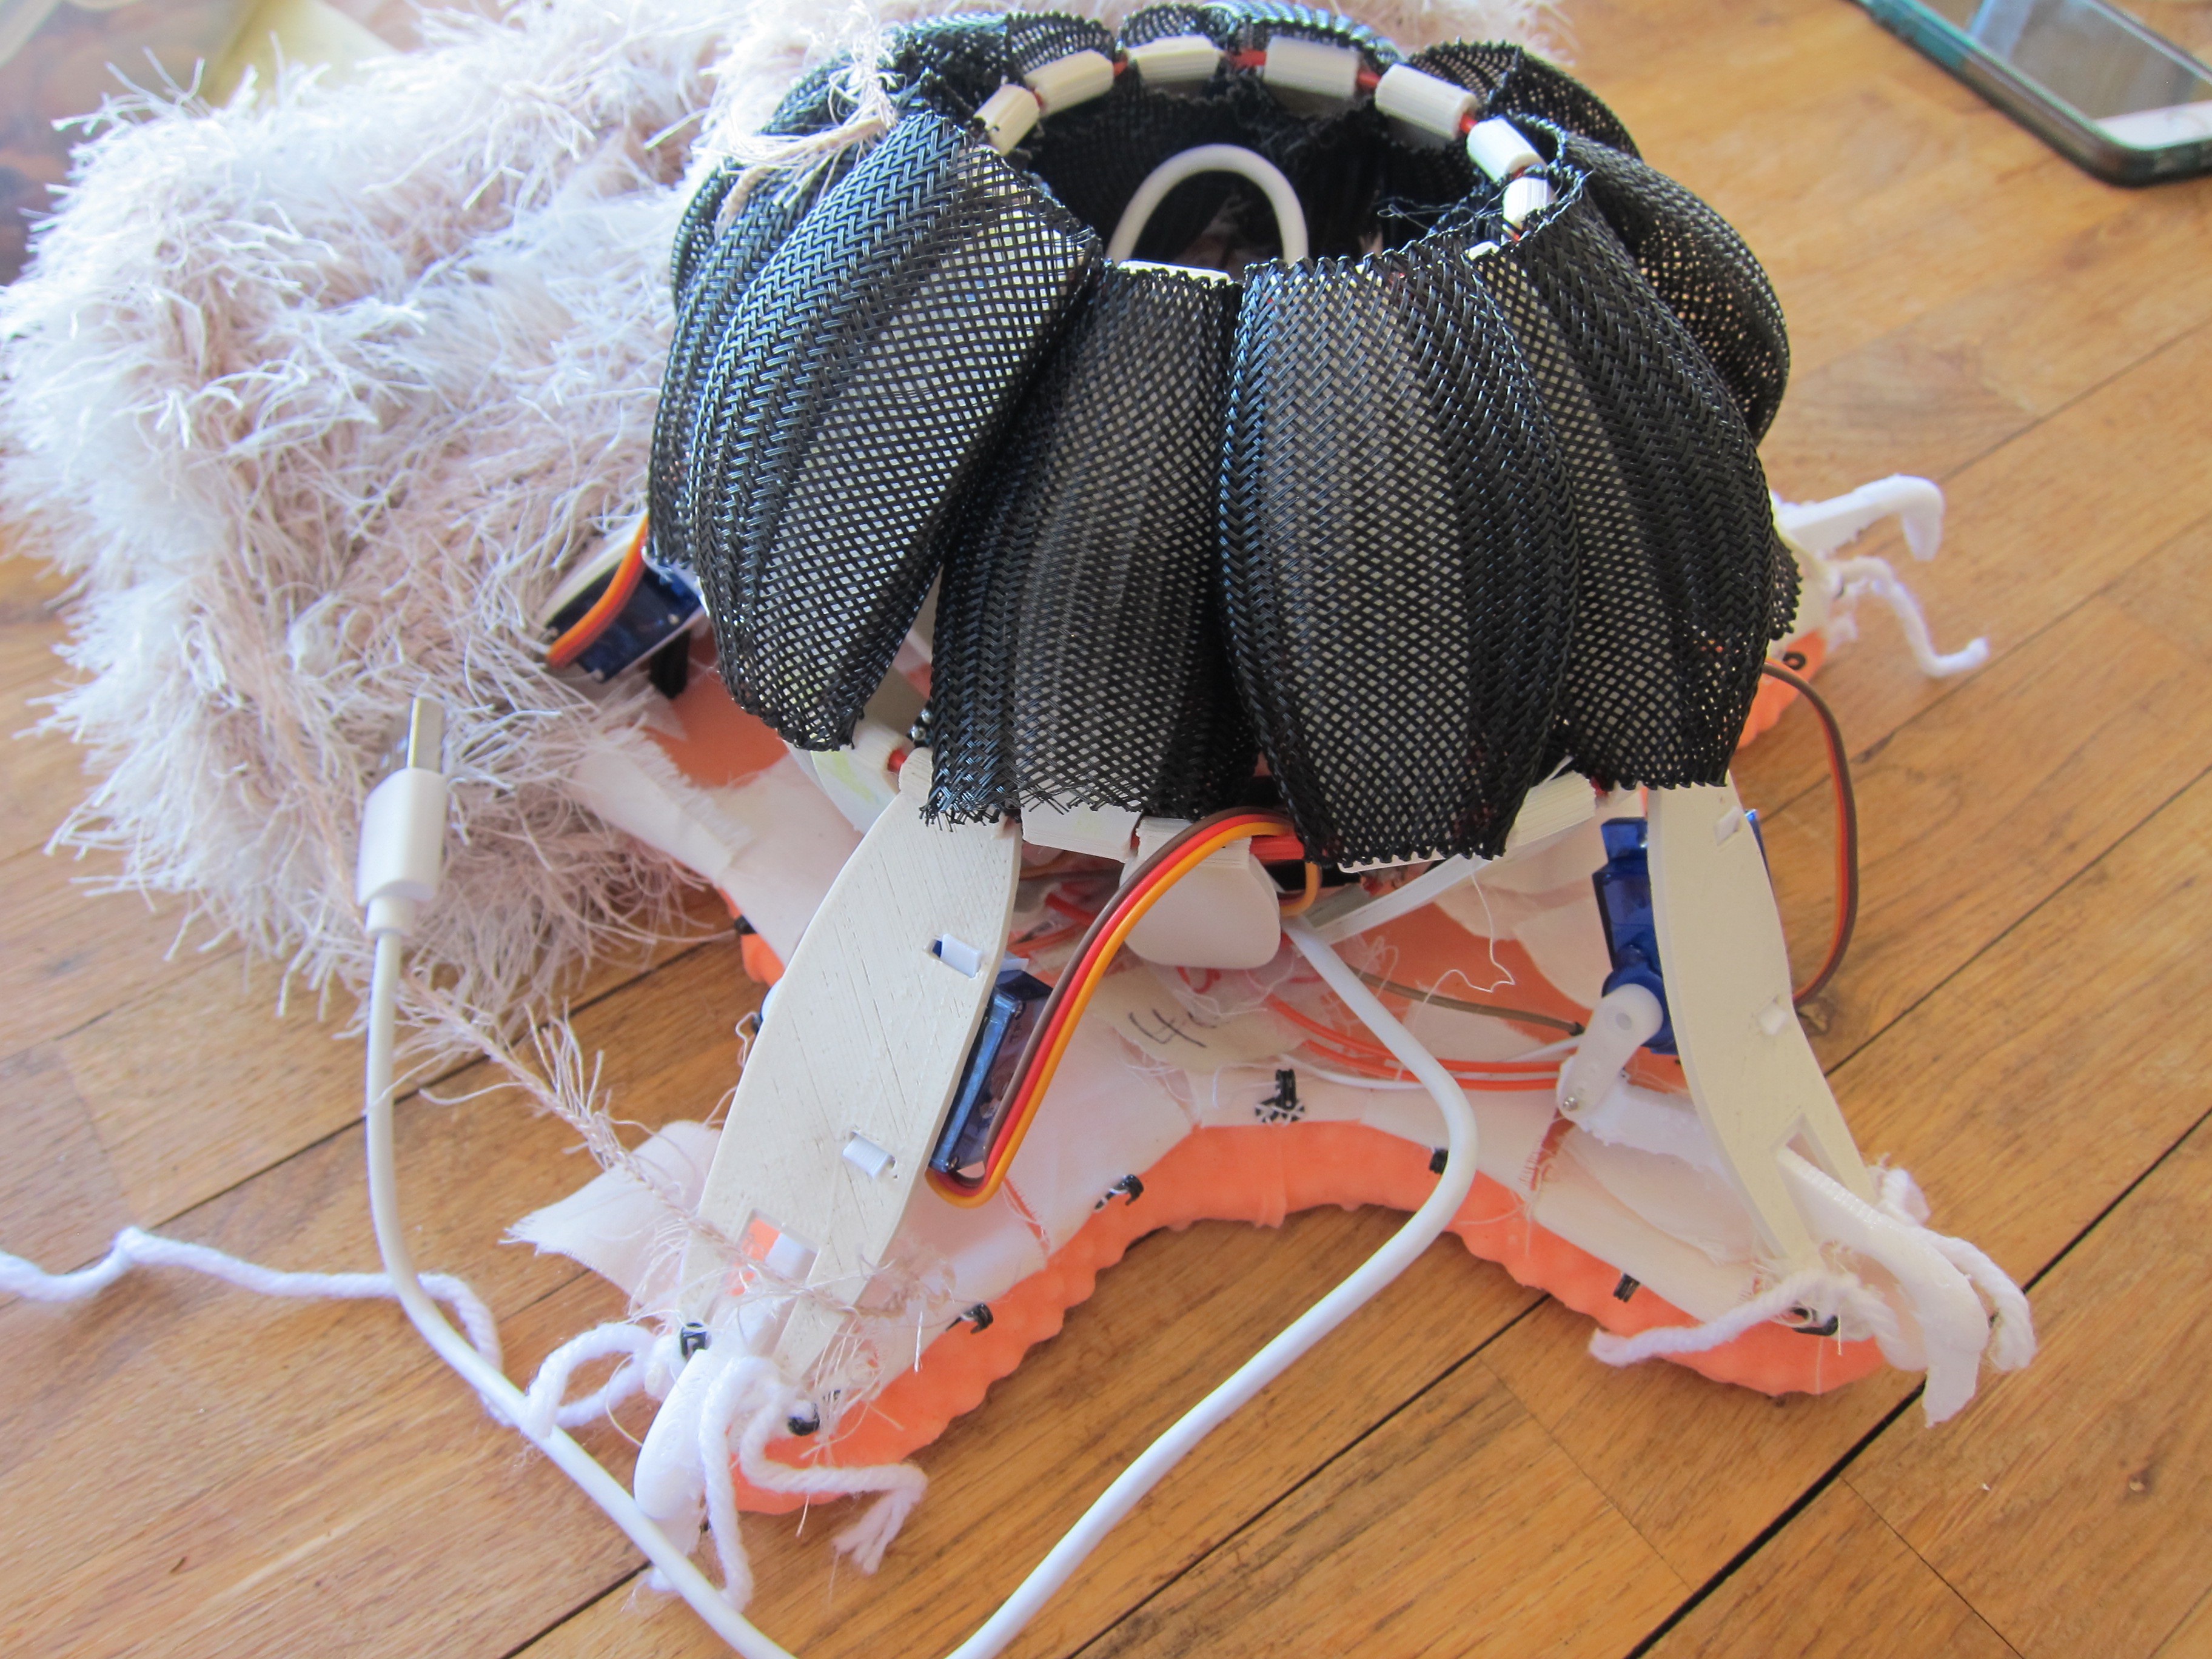
Connect the skeleton and base. Nestle the components into the center of the flexible chassis. Make sure they work first, then secure them with silicone putty. The temperature sensing "eyes," pneumatic motor, and arm bones should all be secured.
![]()
Be sure to leave space for the claw to extrude in and out of the slot in the bone!
![]()
-
9Step 9
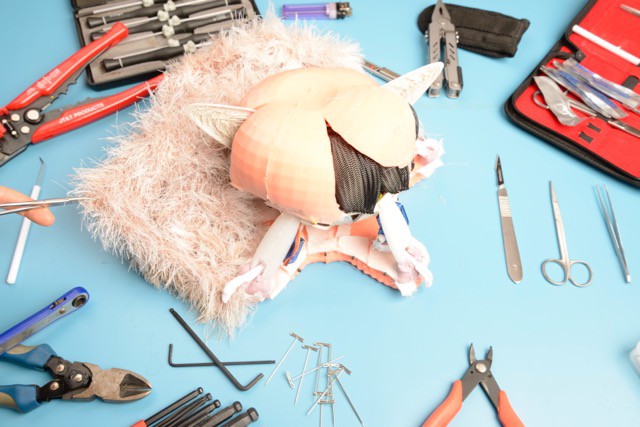
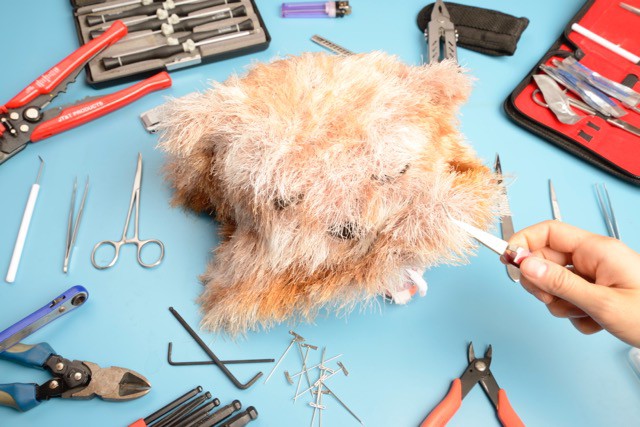
Dress up your Starfish Cat. Your kitty would hardly be cute without any fur! Put the fur on top of your Starfish Cat, and pin and adjust it to fit. Add some eyelashes and a cute nose if you like! To enhance the pettable feel of your Cat, you can add another layer of silicone here as more fascia-- but don't pour it directly onto your Starfish Cat! Instead, mold a roughly spherical shape using nested bowls, and then slice and trim the edges to fit your Cat's head.
![]()
![]()
Now it's time to add velcro. Match up the edges of your cat's skin with the scrap fabric we inserted into the silicone. Sew or stick the tacky part of the velcro onto these scraps. Depending on your fabric, you may not even need to add the soft part onto the cat's fur. But probably you will. Test the cat a few times here to make sure that his claws are able to move freely.
Make sure you leave some overhang in the fabric, to camouflage your Cat's terrifying starfish base! This will help him hunt more effectively in the wild.
-
10Step 10
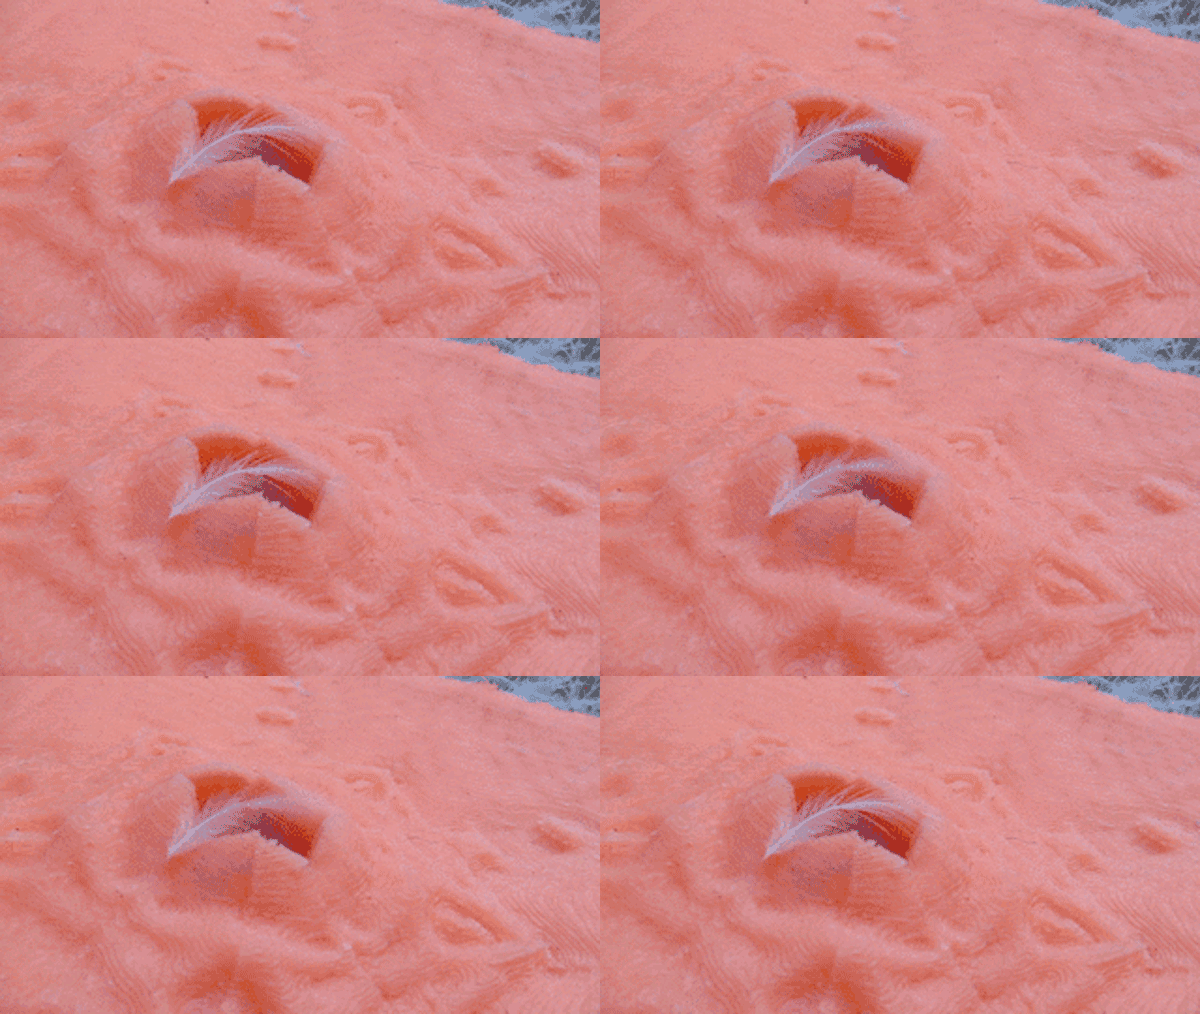
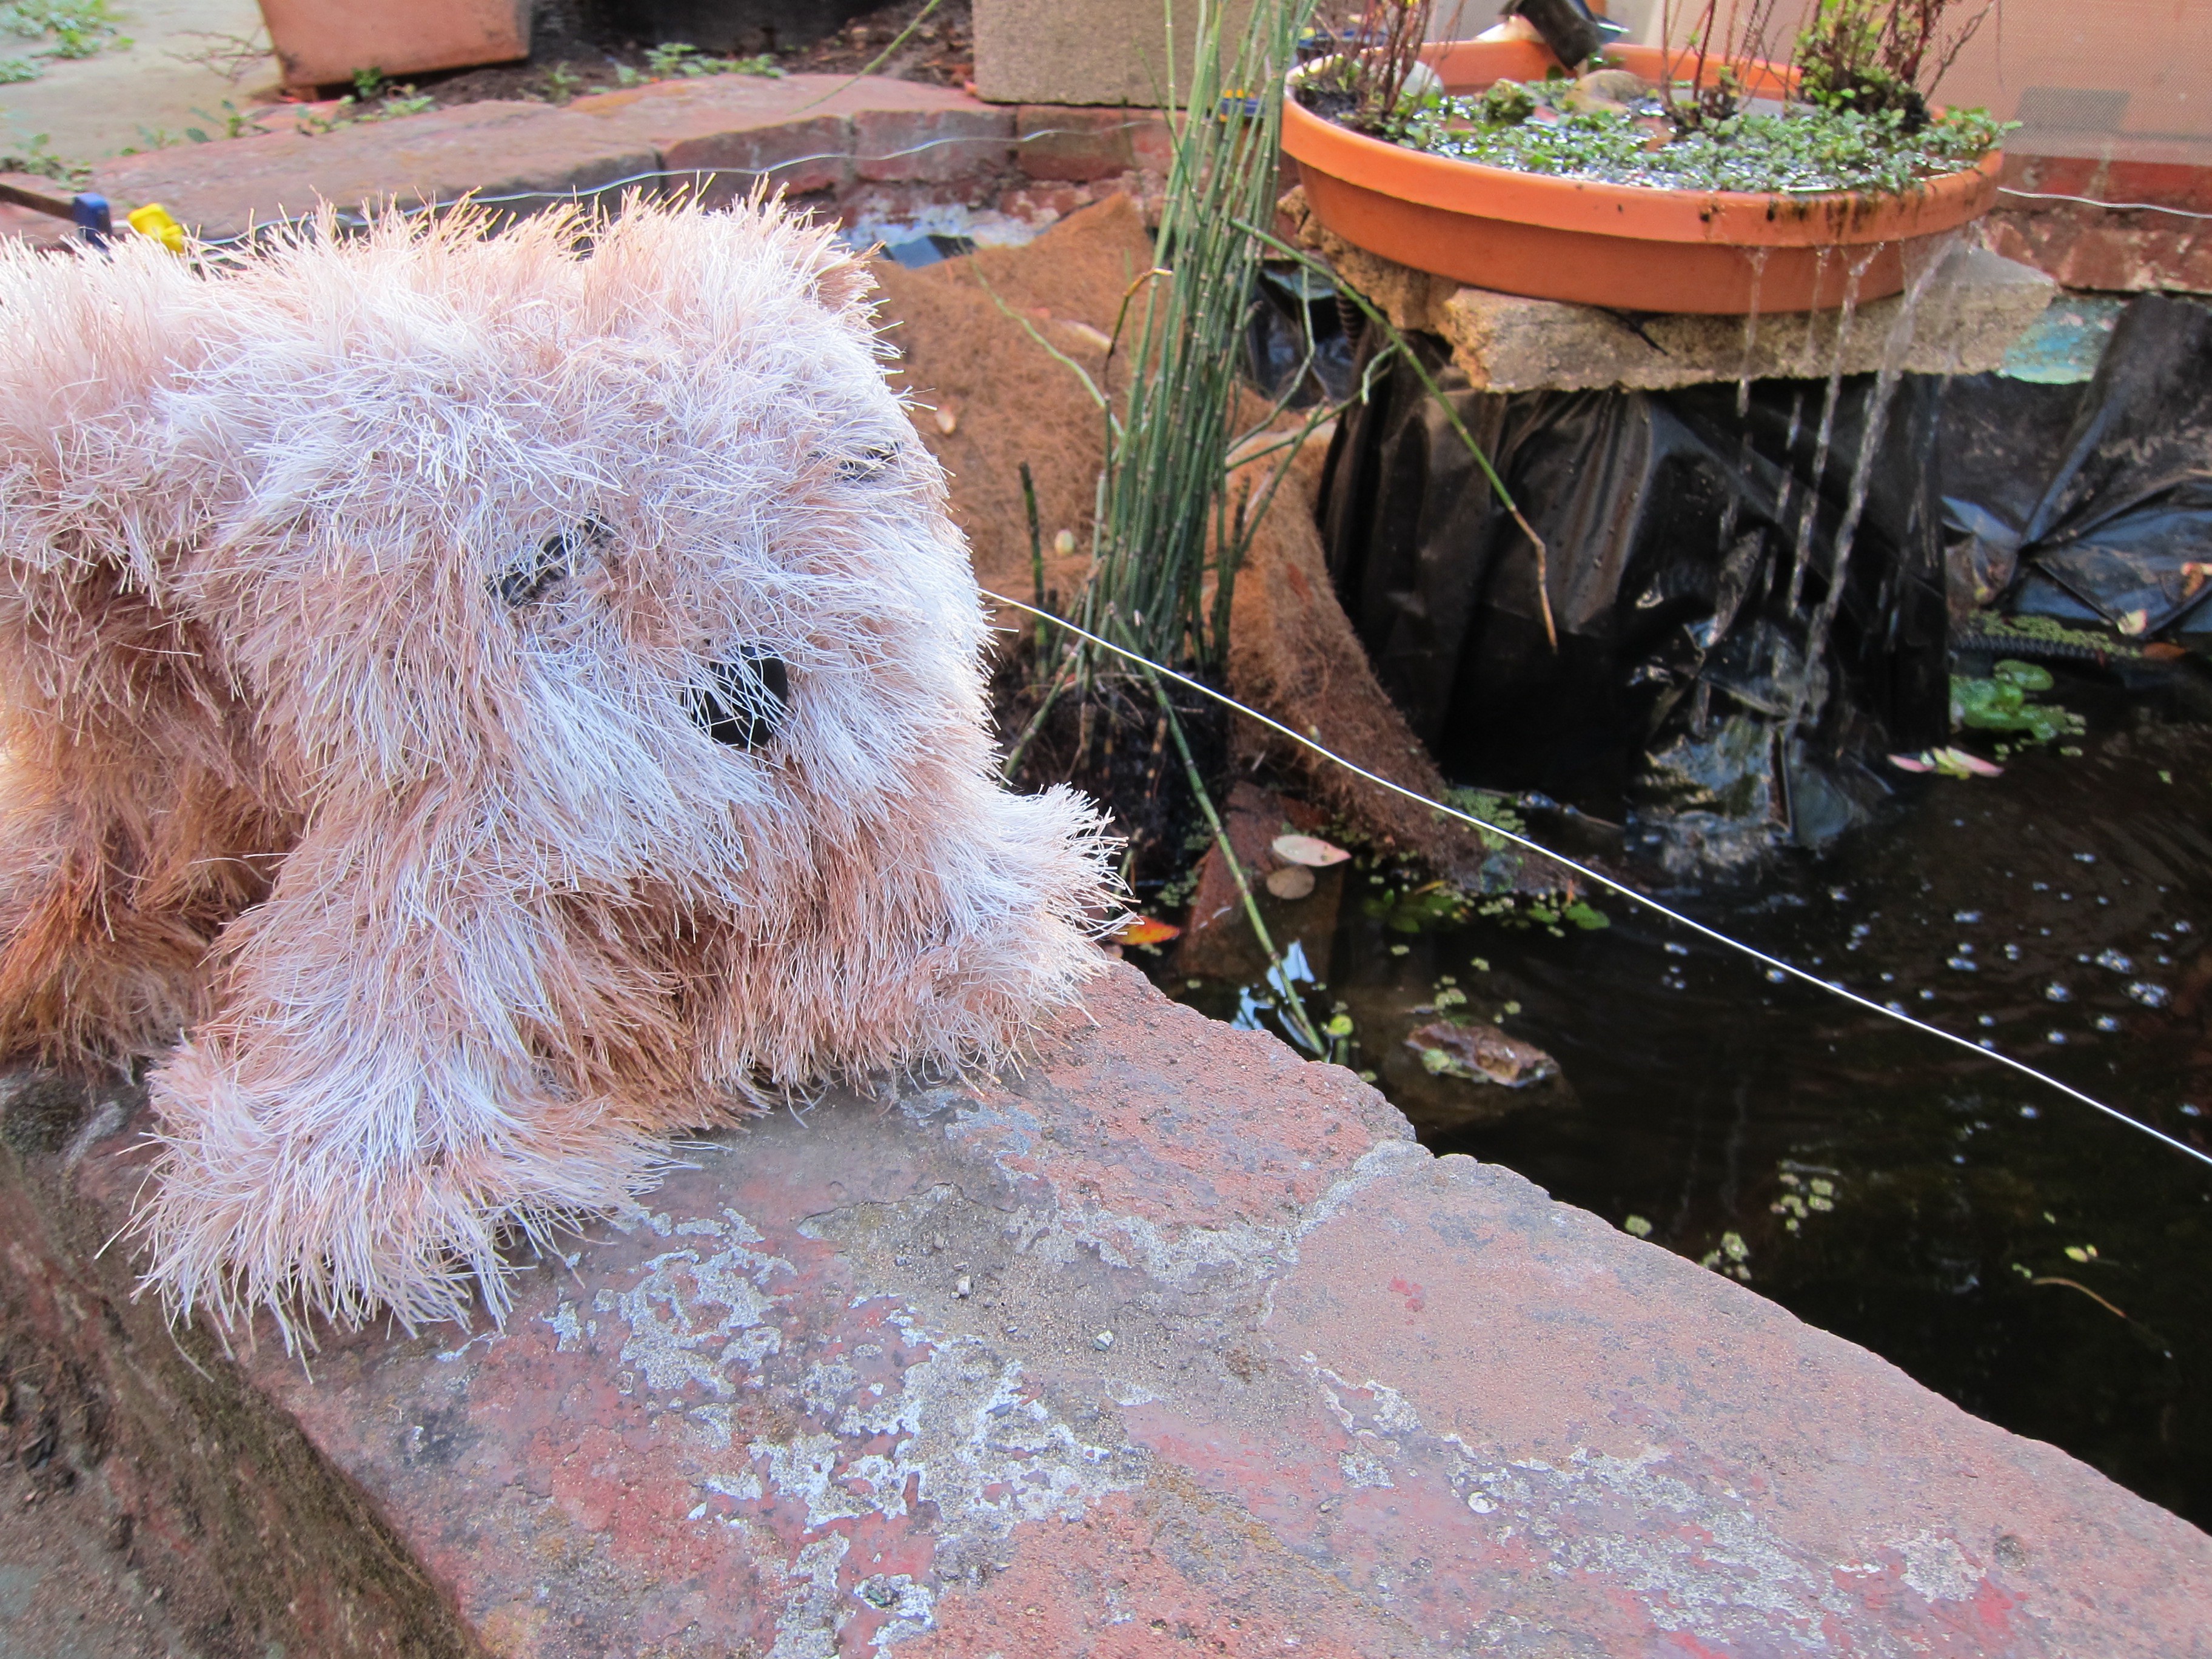
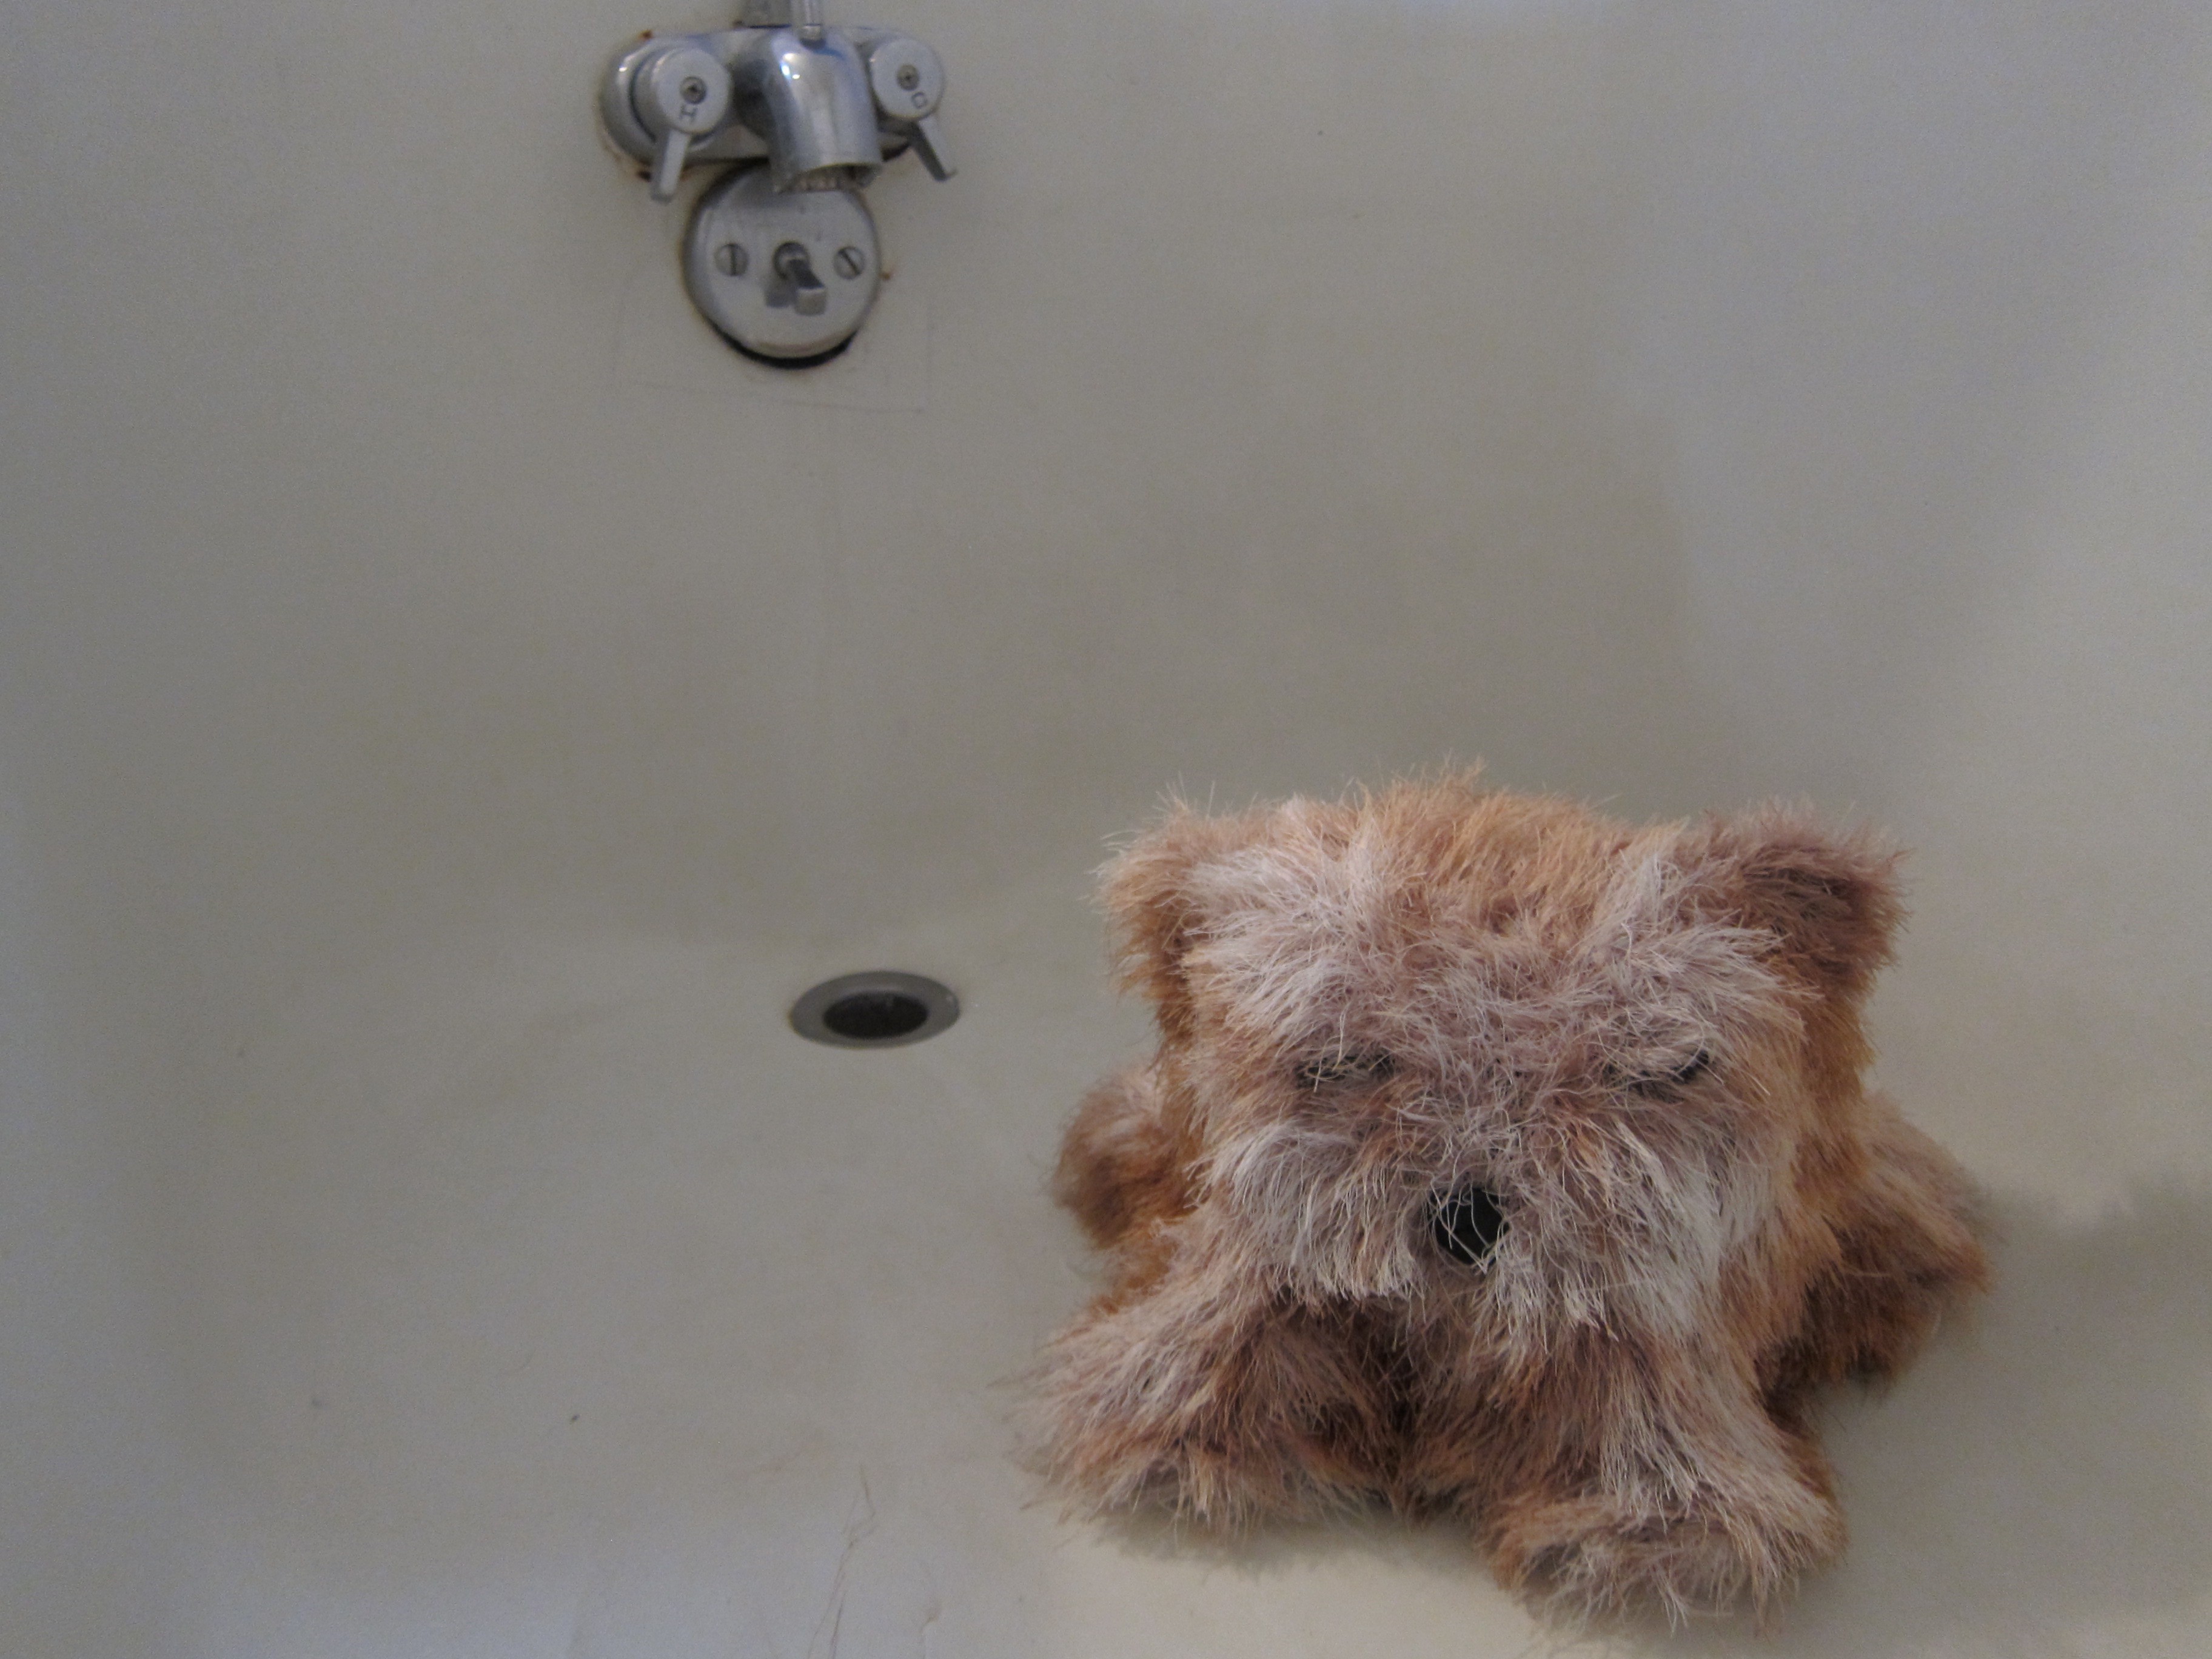
Play with your Starfish Cat! Test your Starfish Cat to make sure he works, then take him for a spin around town! Starfish Cats like being by water and seem to enjoy being held close to you. They are probably detecting your body heat for love and not because they are deeply hungry with an inexplicable yearning for human meat.
![]()
![]()
Have fun!
Starfish Cat: Your Lovecraftian Furby-like Friend
Starfish Cat comes from the stars. Or the ocean. Or he escaped from some kind of secret laboratory. We're not really sure.
 Christine
Discussions
Become a Hackaday.io Member
Create an account to leave a comment. Already have an account? Log In.