 todbot
Along with experimenting with lamp shapes, materials, diffusers, and LED types, I really want to explore different input methods for controlling these lamps. They have the opportunity to be so expressive, a simple on/off switch or dimmer seems too restrictive.
That's why my initial test board to drive the LED strips also had three rotary encoder knobs on it. I feel rotary encoders are more interesting, since they offer "infinite" rotation and effectively report the delta of the angle rotated. Unfortunately commercial rotary encoders have fairly low PPR (pulses per revolution).
So let's build our own encoders! But instead of rotary, what if they were linear? Can we make our own sliders? And if so, can they be made on a curve? Turns out, the answer to all these is yes.
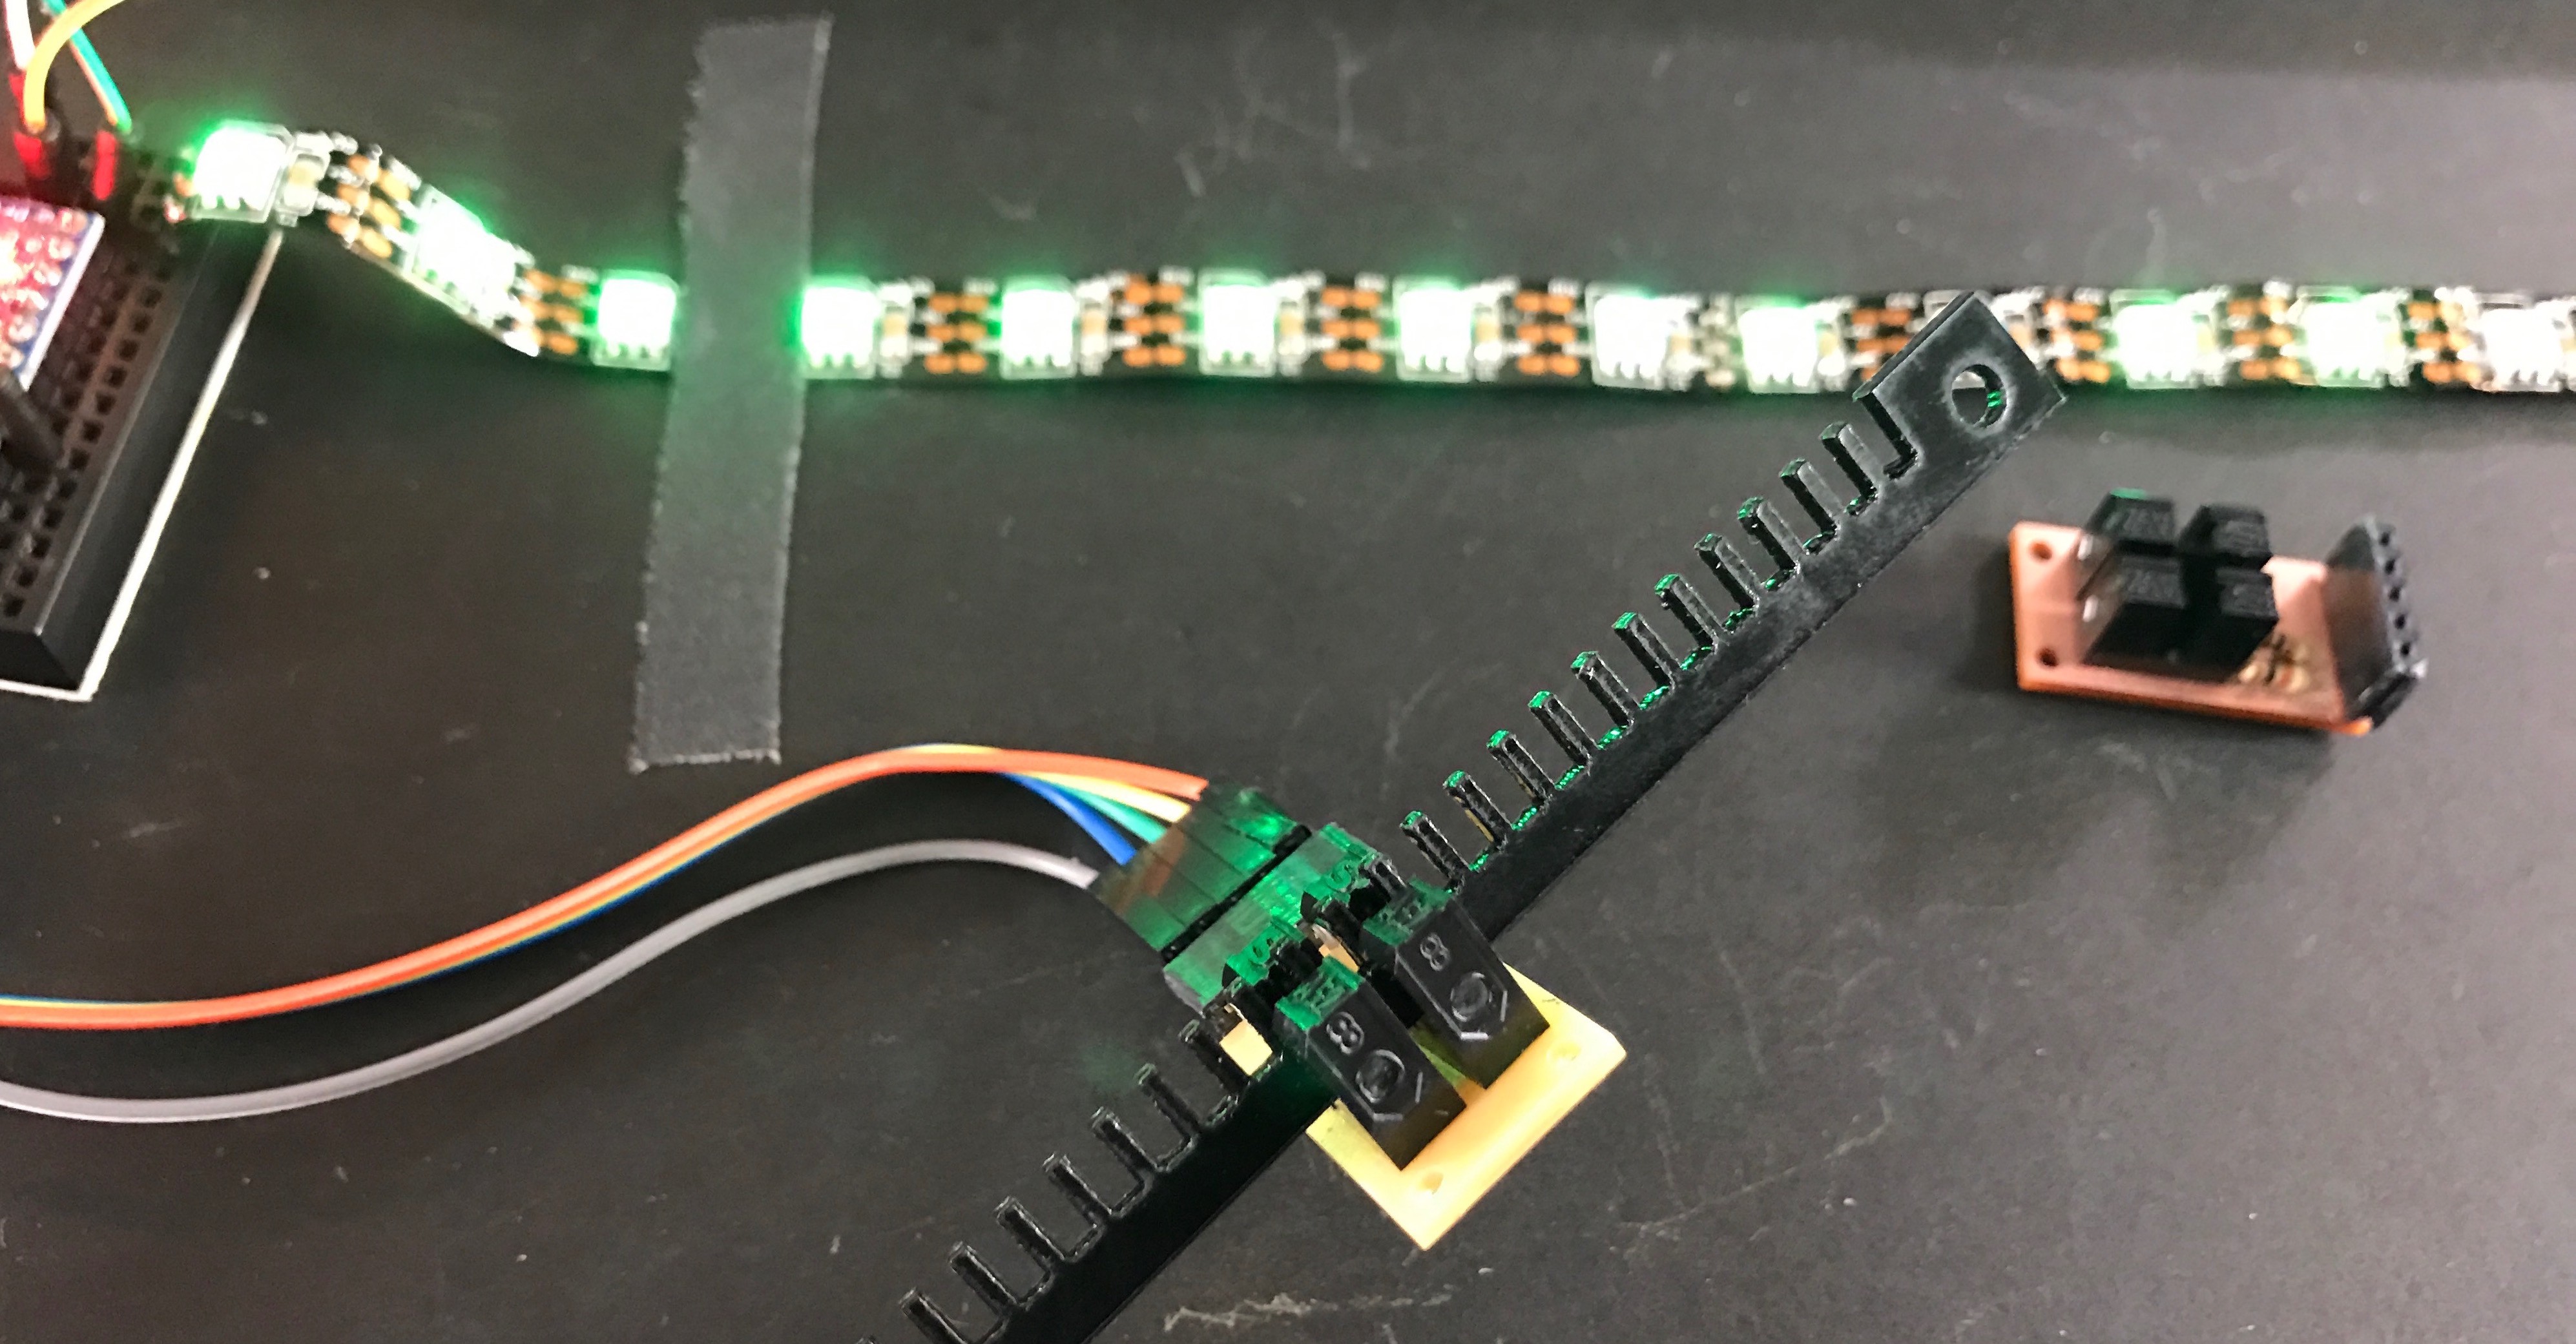
In use, I'm imagining the encoder strip is mounted stationary and the slider knob is the PCB with the optointerrupters. I think that can be made robust. The cable to the interrupters can be made light. (only four wires are needed) And it would allow the encoder strip to be curved to follow the shape of a lamp. The interrupters used in the test are some of the most common (and thus the cheapest) but they are quite large for this use. The "slider knob" PCB could be made *much* smaller. For instance, here is a comparison of the interrupters used in the test and the super tiny interrupters used in some digital cameras:
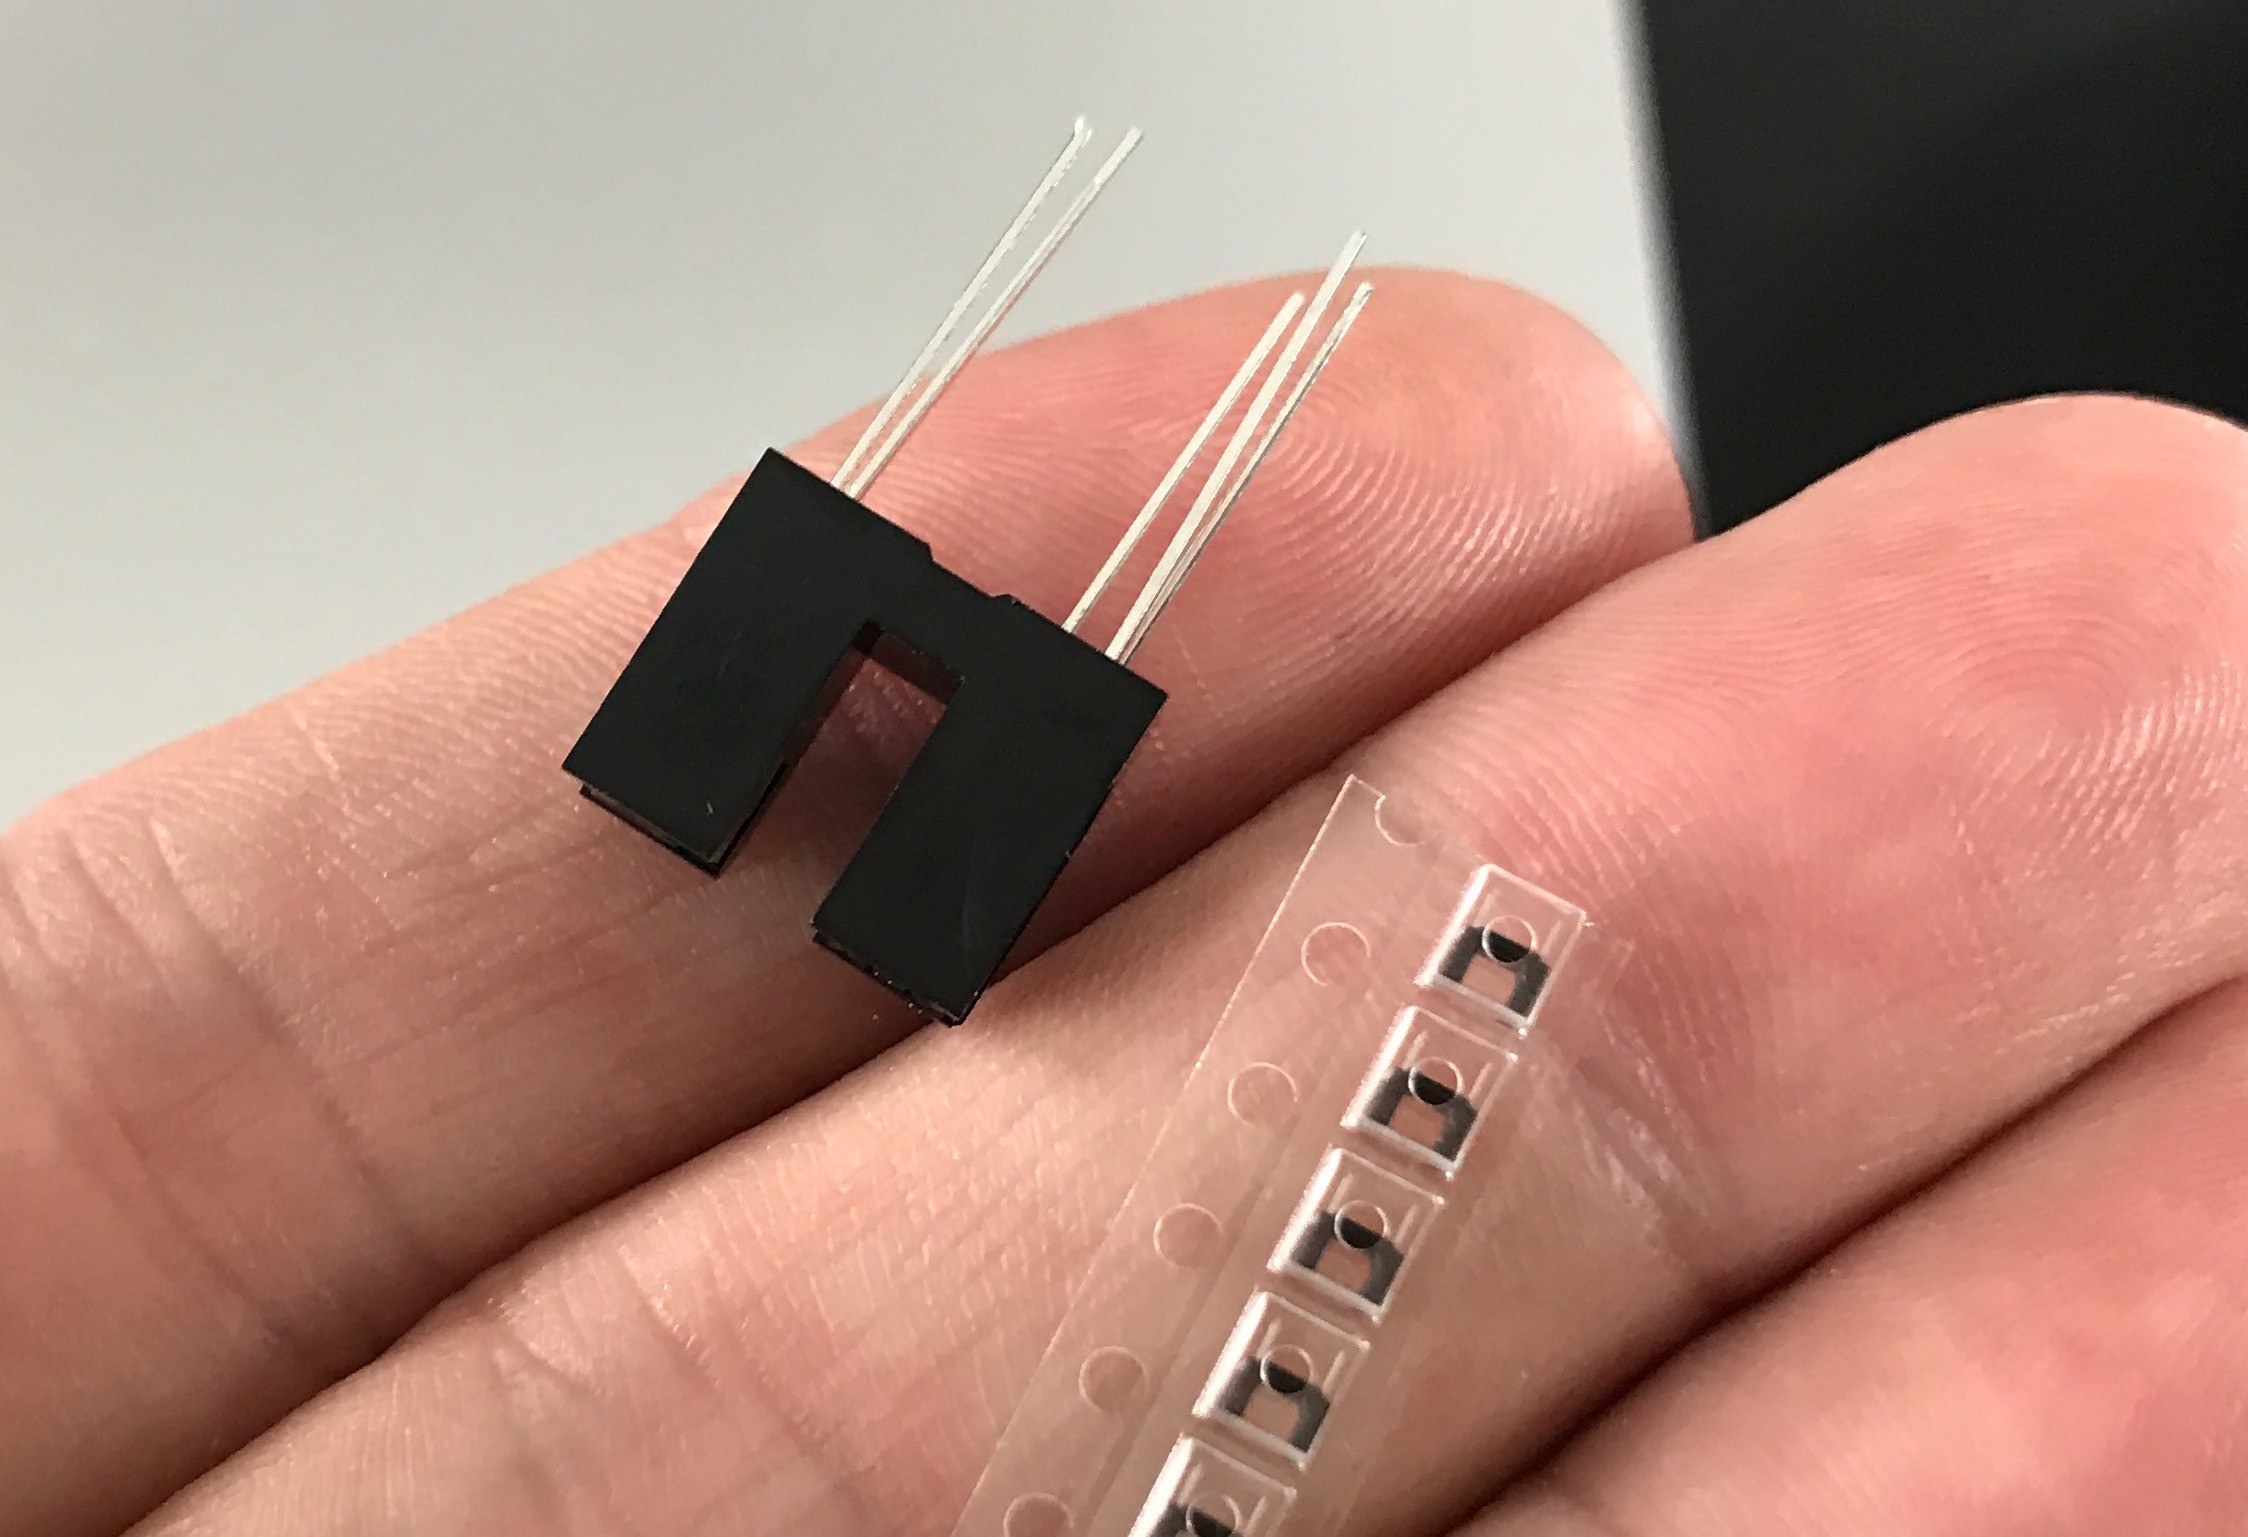
So tiny!
The test circuit was created by mounting two standard optointerrupters on a PCB and making an interrupter strip on the laser cutter. This created a quadrature signal just like a regular rotary encoder. So, the standard Encoder Arduino library could be used to parse the output of the interrupters. The code used in the above example is on the ILOVELAMP github as "diy-linear-encoder-test0.ino" so you can see how simple it is.
The schematic & PCB for this test is equally simple:

One thing I neglected to remember when I first made this PCB on the Othermill, is to use a single-sided board blank when milling a single-side board! If you have *any* through-hole components, they will short together on the unused (but covered in METAL) side of the PCB.
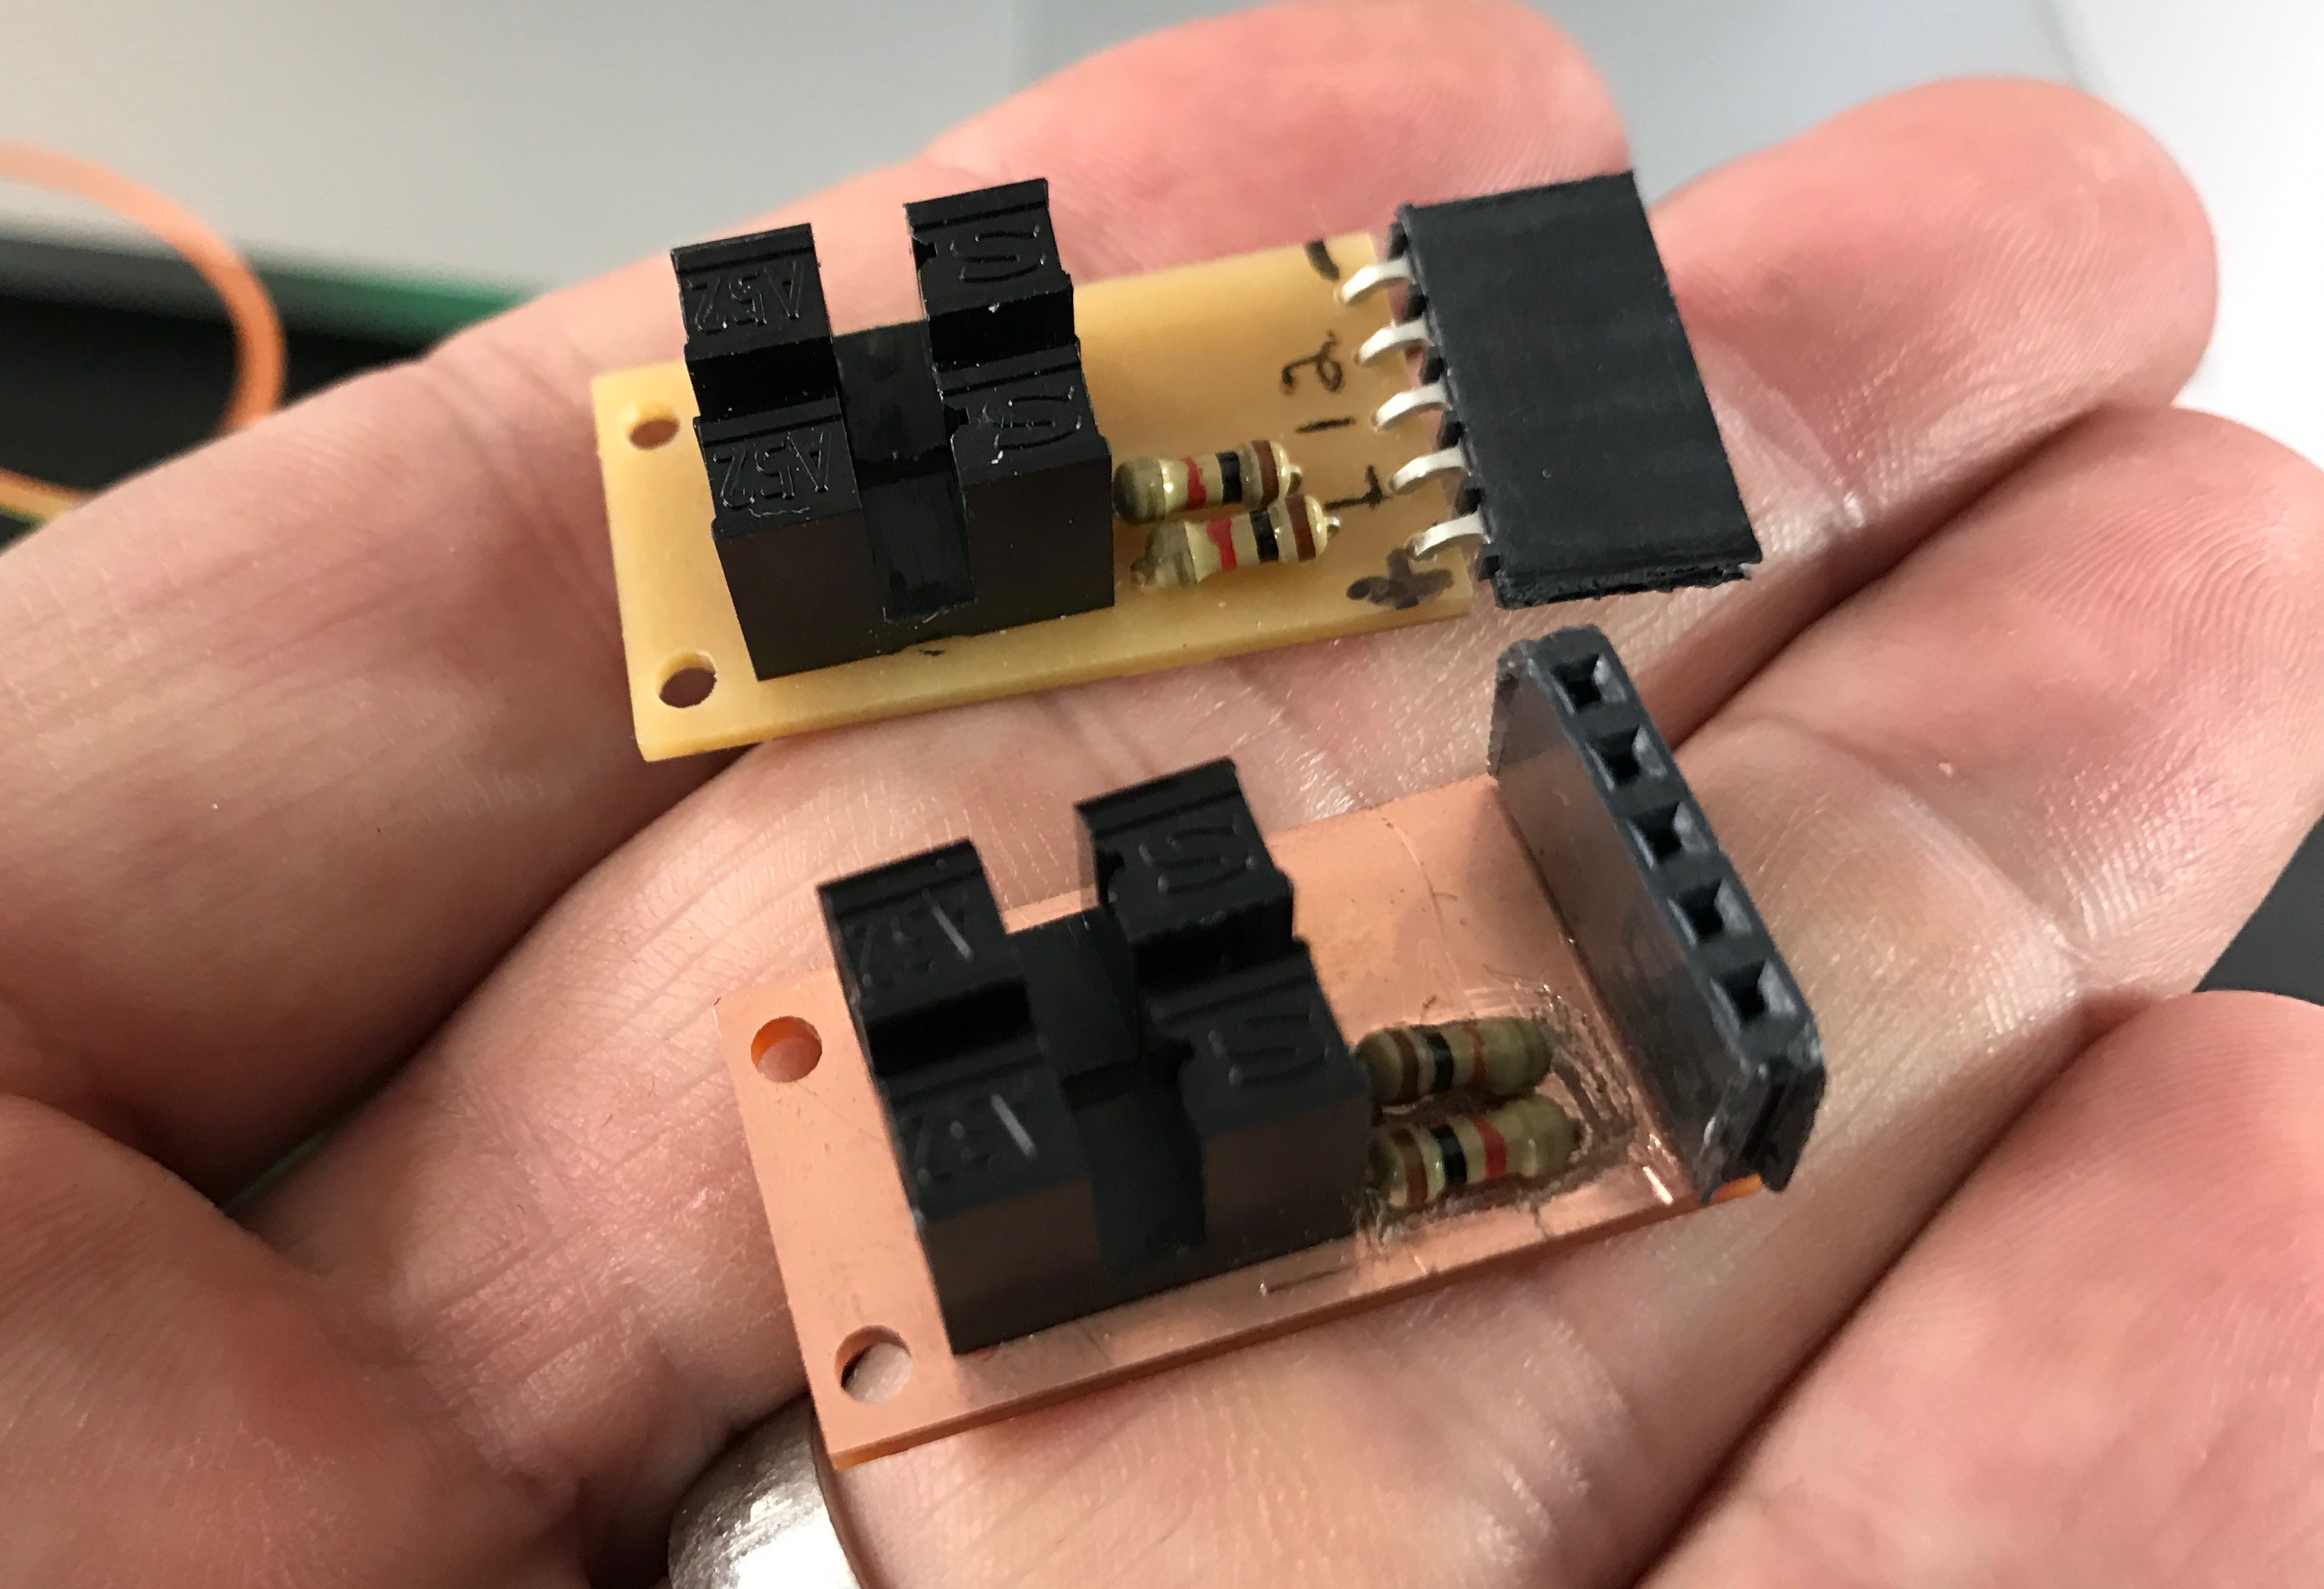
Ooops. I ended up frying two optointerrupters but it was a good reminder about always checking what kind of PCB blank I'm using.
Discussions
Become a Hackaday.io Member
Create an account to leave a comment. Already have an account? Log In.
I was impressed with the linear encoder you made. I'm thinking of using your idea for our project, can I get the pcb gerber file?
Are you sure? yes | no
This is Awesome, I couldn't find H9340s, so hope the ones i ordered do the job. Nice work Mate ;)
Are you sure? yes | no