Oscar Toledo
-
Boxes are hard
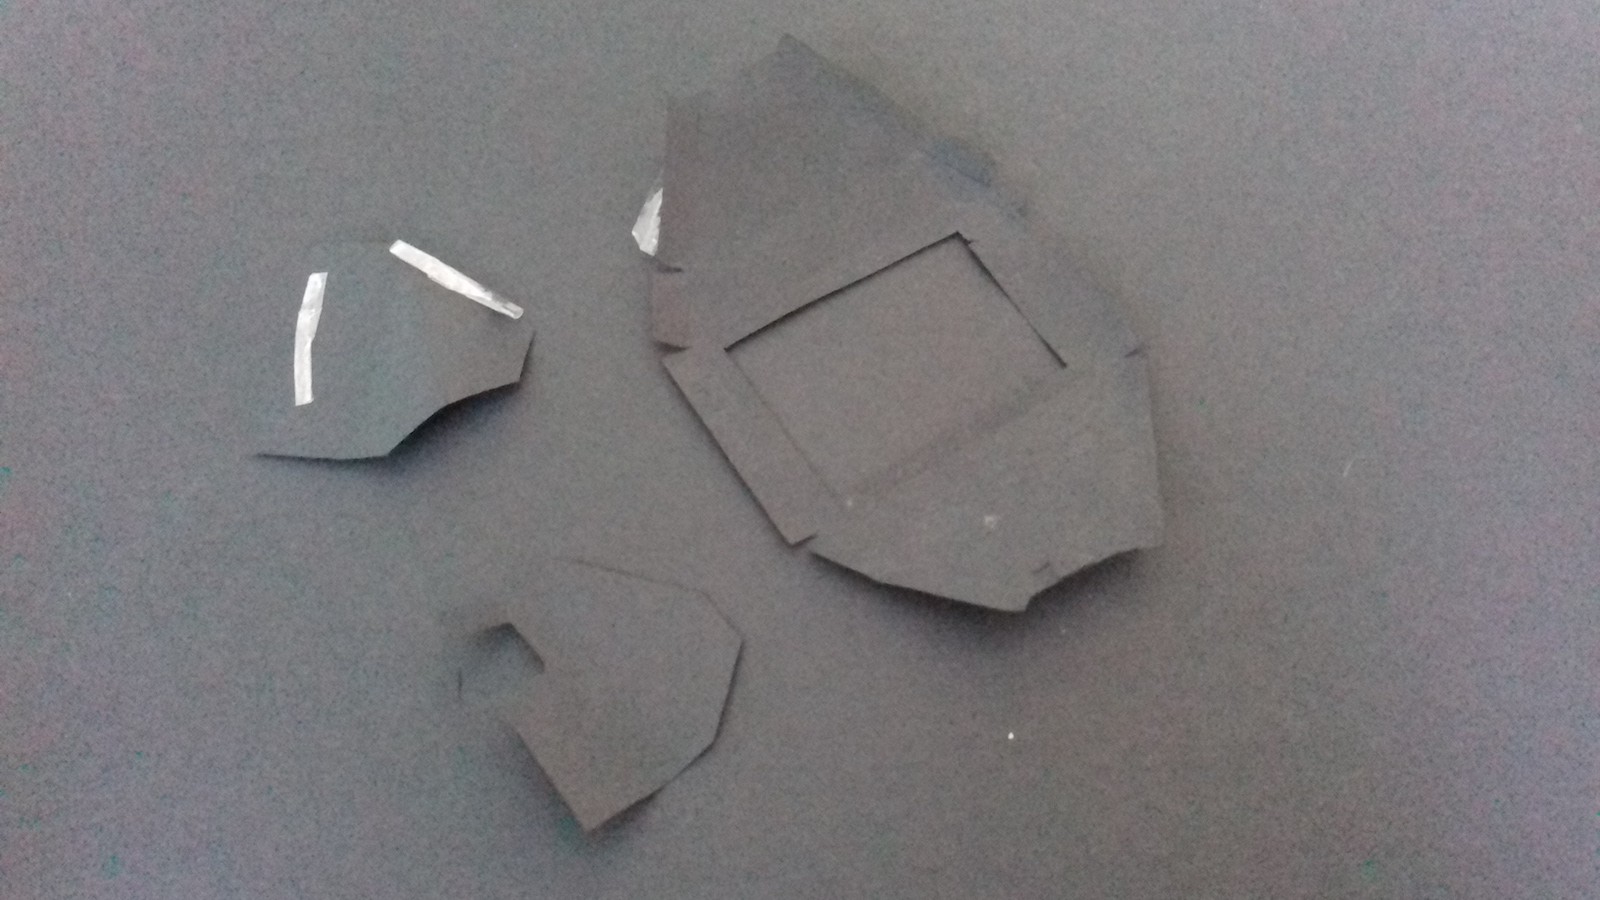
03/02/2017 at 18:25 • 0 commentsI bought a black cardboard sheet and made a first box in 3 parts. It didn't look so good as I thought once built, so I used the 3 parts together as reference to build a single part for the box, the result was better.
![]()
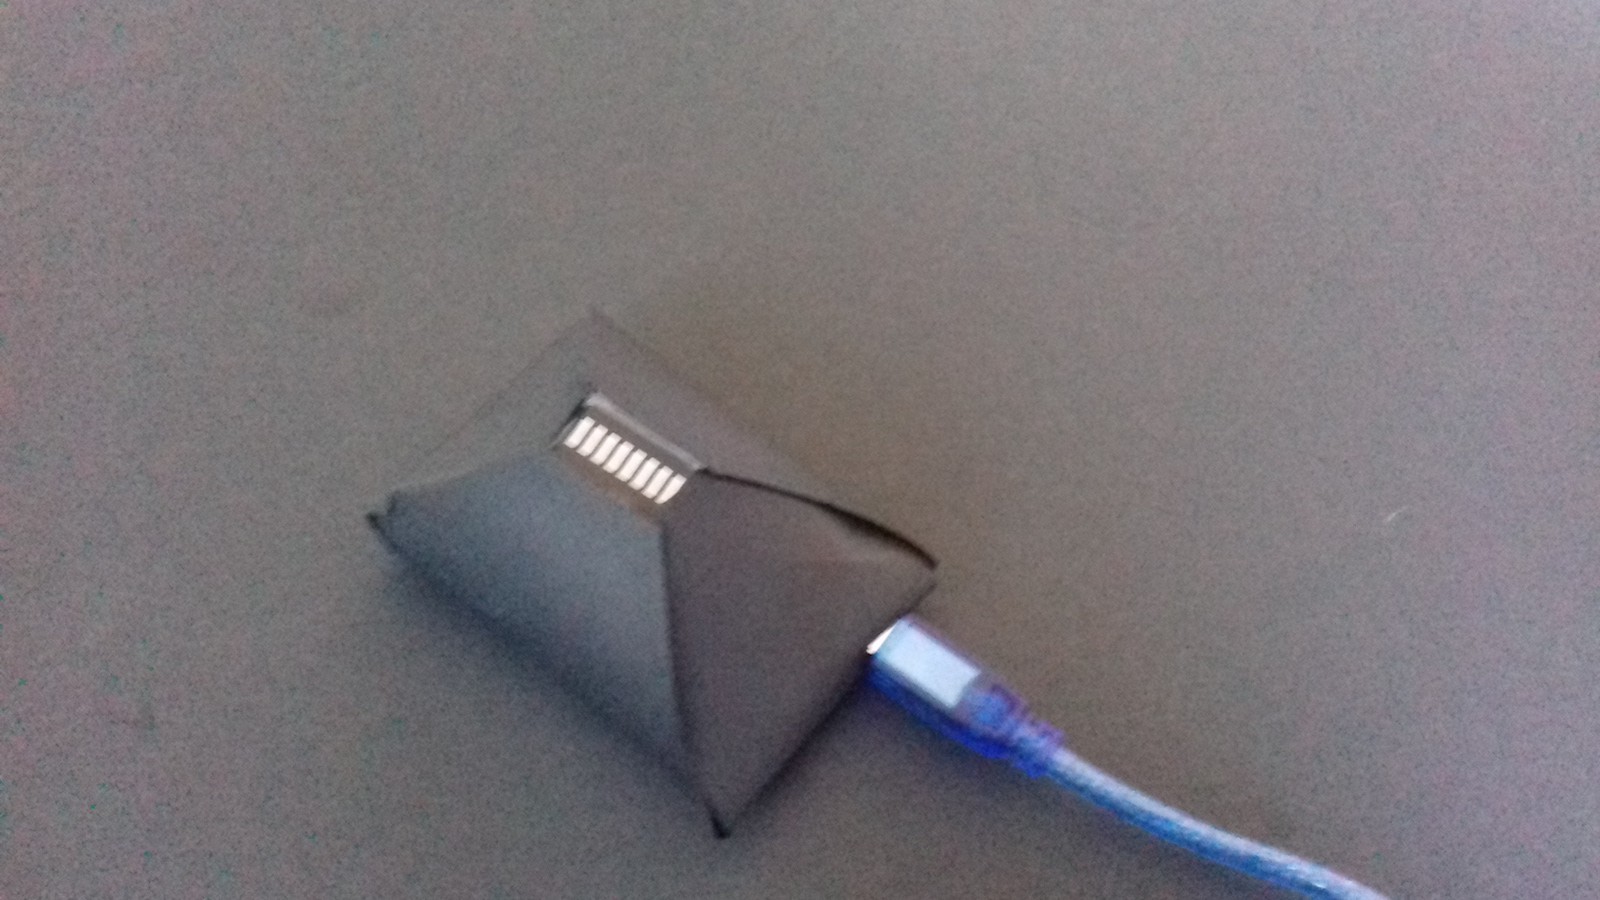
Still, the cardboard was too thin, it could have look a lot better, even better if creating a model using a 3D printer, but this is what it looks using only 2 hours of my time and looks pretty good.
![]()
-
Adding the "scanning" light
03/02/2017 at 16:39 • 0 commentsOnce you click the figurine image, it will start loading the image corresponding to the area. At this moment the Arduino will turn on the scanning light and will cease once the image is fully displayed.
I wanted a white light but unfortunately it was not clearly marked. I made a simple hack connecting all 8 leds anodes to A5 and catodes to GND, I'm sure I should have used a resistor but no time to go to the hardware shop, but given the leds are illuminated briefly I hope the Arduino supports it very well or leds will start smelling like burnt candy.
That's all, I'll upload the final files and proceed to build the box for the gadget.
-
Mixing everything
03/02/2017 at 15:10 • 0 commentsNow to mix everything in a functional package. I had great difficulties there, as some code from the examples was still there, it happened there wasn't enough memory for some tasks and Arduino failed silently but with side effects like not displaying any image, it took me several hours to discover the problem.
Also polished the calibration for the touch screen and optimized the BMP display.
It looked really well when working even if it's a direct and simple. Best things are direct and simple, aren't?
Although the instructions for unsuspecting viewers are to click in the screen to do the X-ray scan, in reality pointing to the figurine in screen shows the corresponding part of the human body, point below the foots to see the fetus image, a practical prank for your female friends after focusing the abdominal area.
Still missing two things: the led bar for the "scanning" and put things inside a box. So far I've got cool enjoyment chuckles from people trying the current version.
-
Images and touchscreen
03/02/2017 at 15:01 • 0 commentsI needed some medical images, so I went to Pixabay for some public domain images, I choosed Human Skeleton (1813086), X Ray (1704855) and Fetus (1788082).
I cut manually the images to the 320x240 size of the screen using Paint .Net, put them into black&white and improved contrast.
Then I designed up a cover screen looking like something from Star Trek and using a picture from my own wood figurine.
Next step was to use the touch screen, I discovered that I couldn't test any of the samples from MCUFRIEND_kbv because keep complaining about missing TouchScreen.h, after 2 hours of seeking for it, I finally found a place to download at https://github.com/adafruit/Touch-Screen-Library
This made Touch_shield_kbv to compile at last, but nothing happened, even if the controller was detected. I checked the other samples and found a webpage with a very similar LCD PCB appearance but everything look right, another checking of examples made me to find "diagnose_Touchpins" and it found the right pins for my LCD!!! Thanks god!
Recompiled with the right pins and only the X coordinate was reversed, just a matter of calibrating touchscreen for my LCD.
-
Getting started
03/02/2017 at 14:42 • 0 commentsInstalled Arduino IDE for Mac OS X from http://www.arduino.cc
Discovered the TFT screen I have isn't supported from the box, needed to install MCUFRIEND_kbv using the Sketch/Include Library/Manage Library options and searching for it.
This in turn required the Adafruit GFX library.
For the images I needed to install also sdFat, this proved to be hard to install, this post put me on the right path https://forum.arduino.cc/index.php?topic=384749.0 and then downloaded and installed per the instructions.
Once this compiled I put a sample image of my wife and me, but the program refused to work, it results it only loaded images with "tiger" and ".bmp" in the name, and later also discovered it required it to be from the "/bitmap" directory.
Also discovered that a 2$ USD Power Source I bought in the subway could provide enough power to the system while keeping a high-tech look.
Star Trek X-Ray device
Give fun to your friends with this easily built gadget.