 Mike
Mike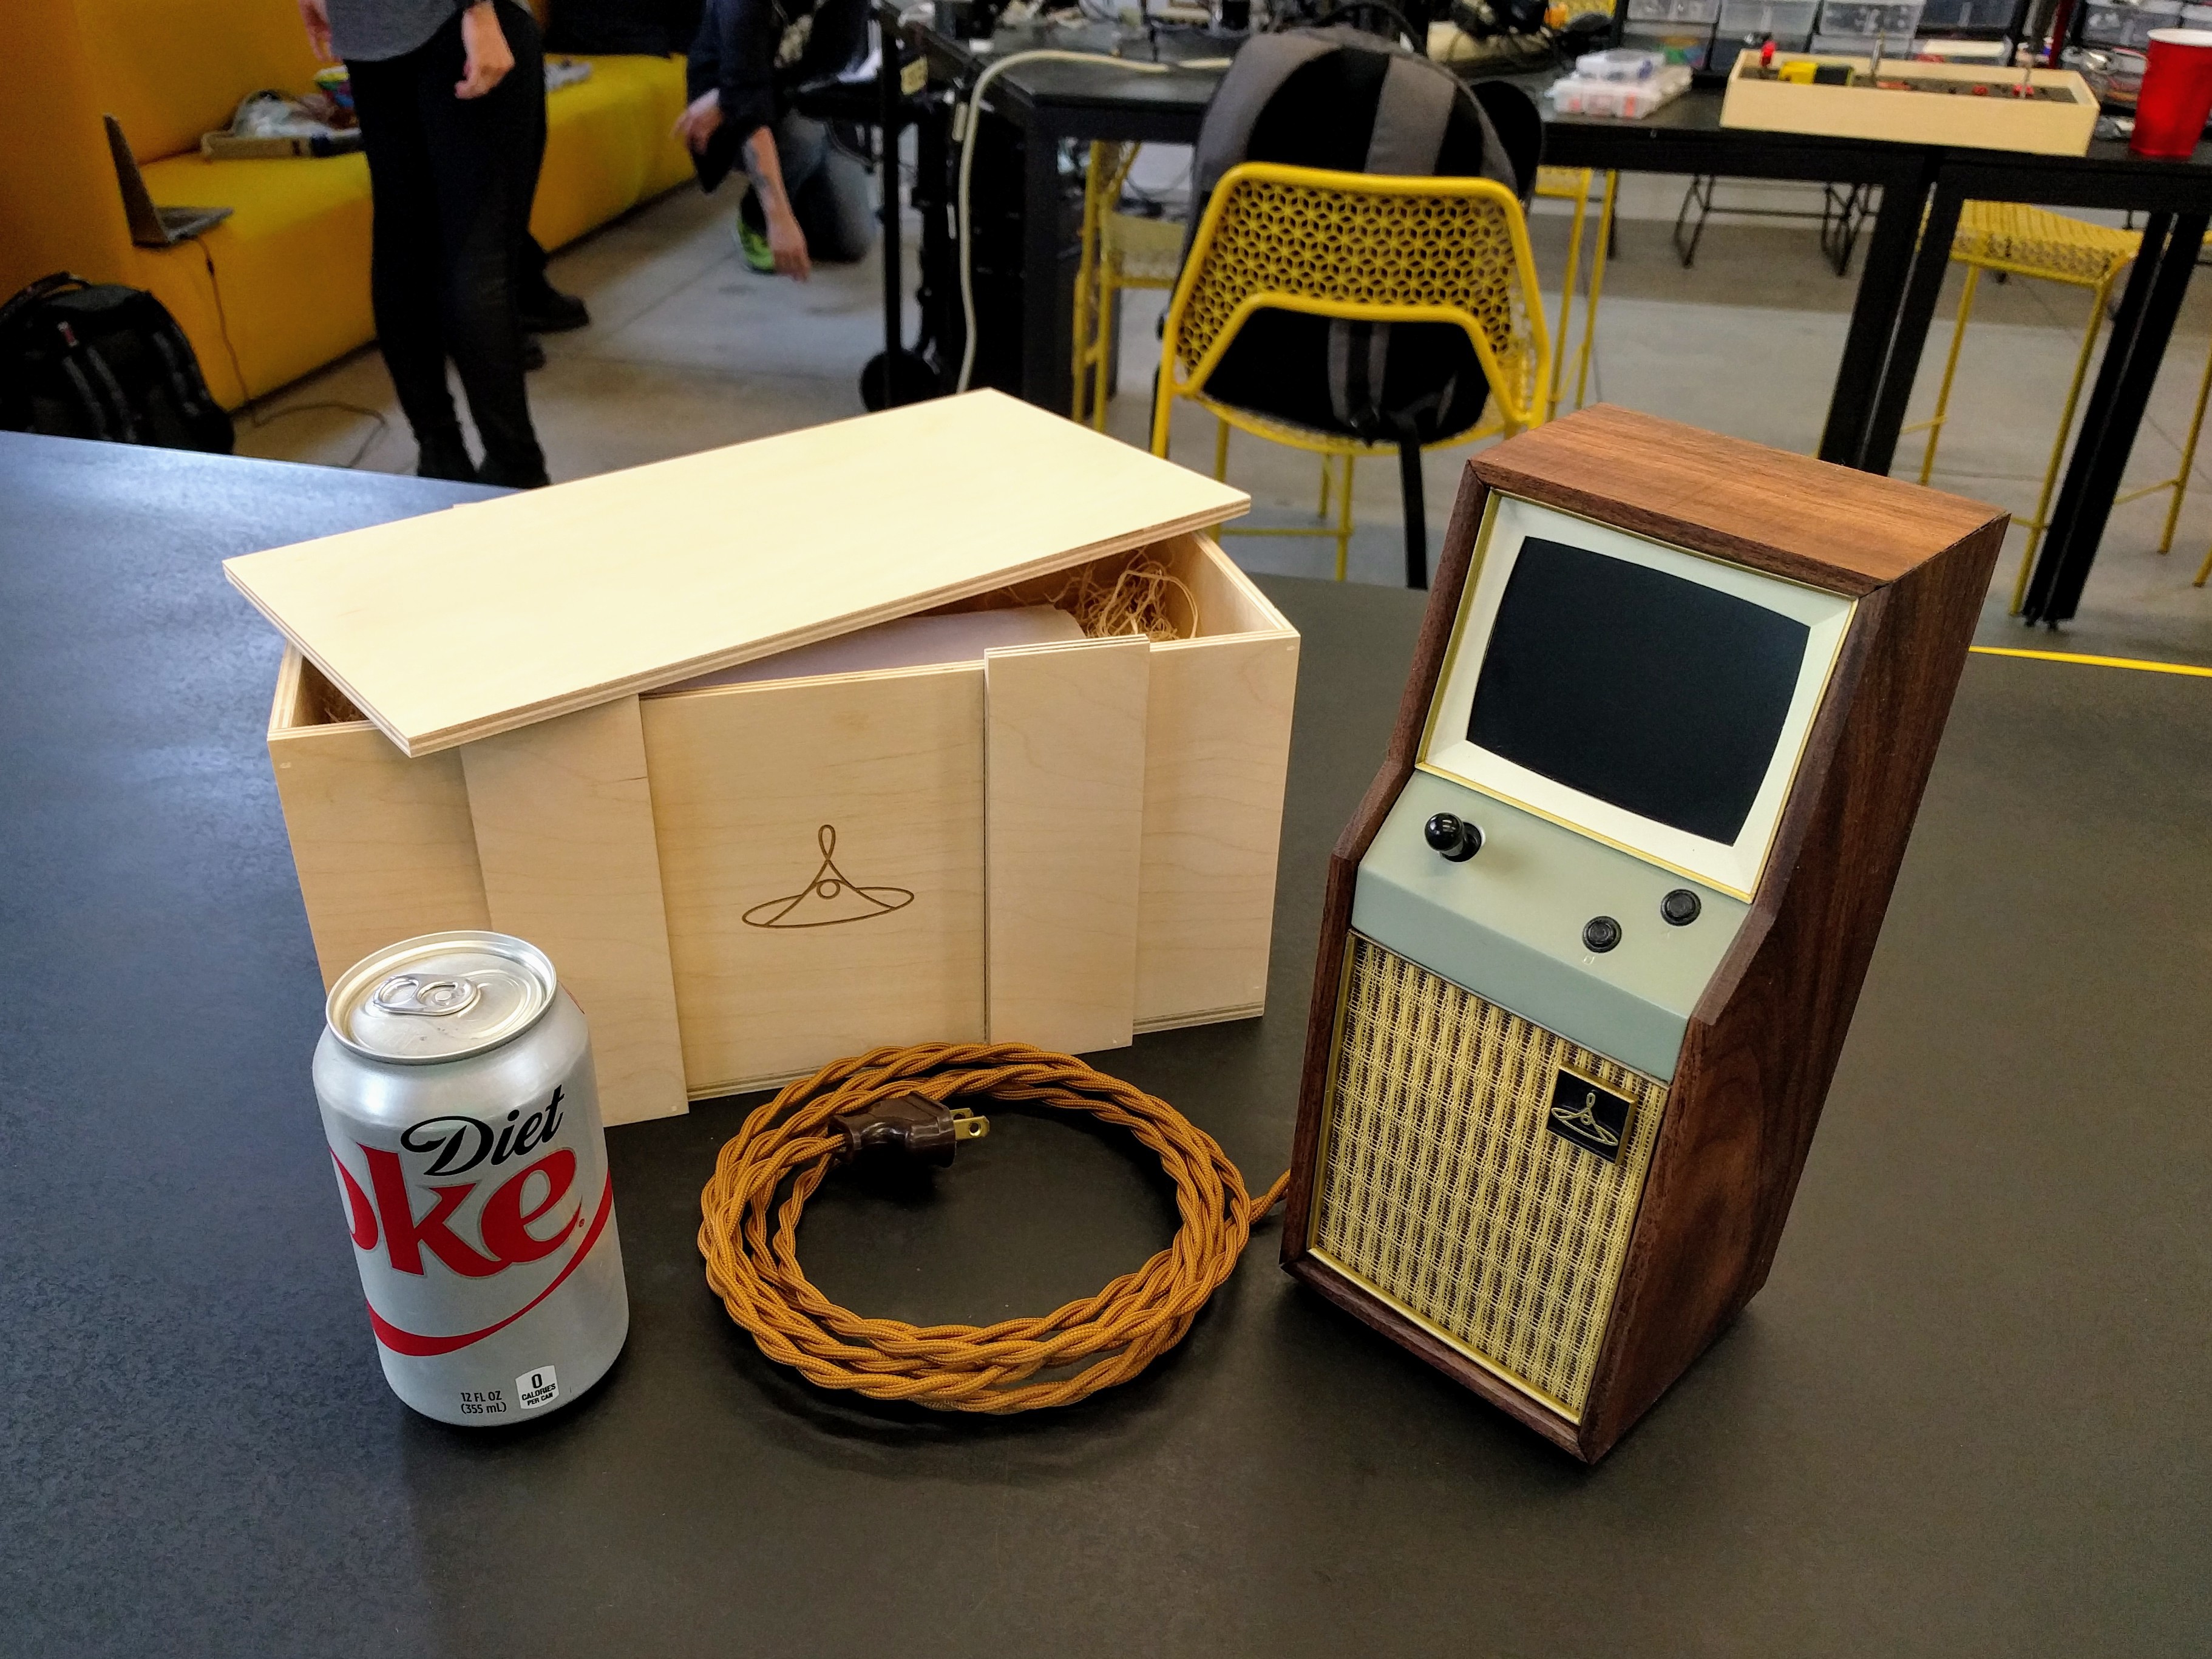
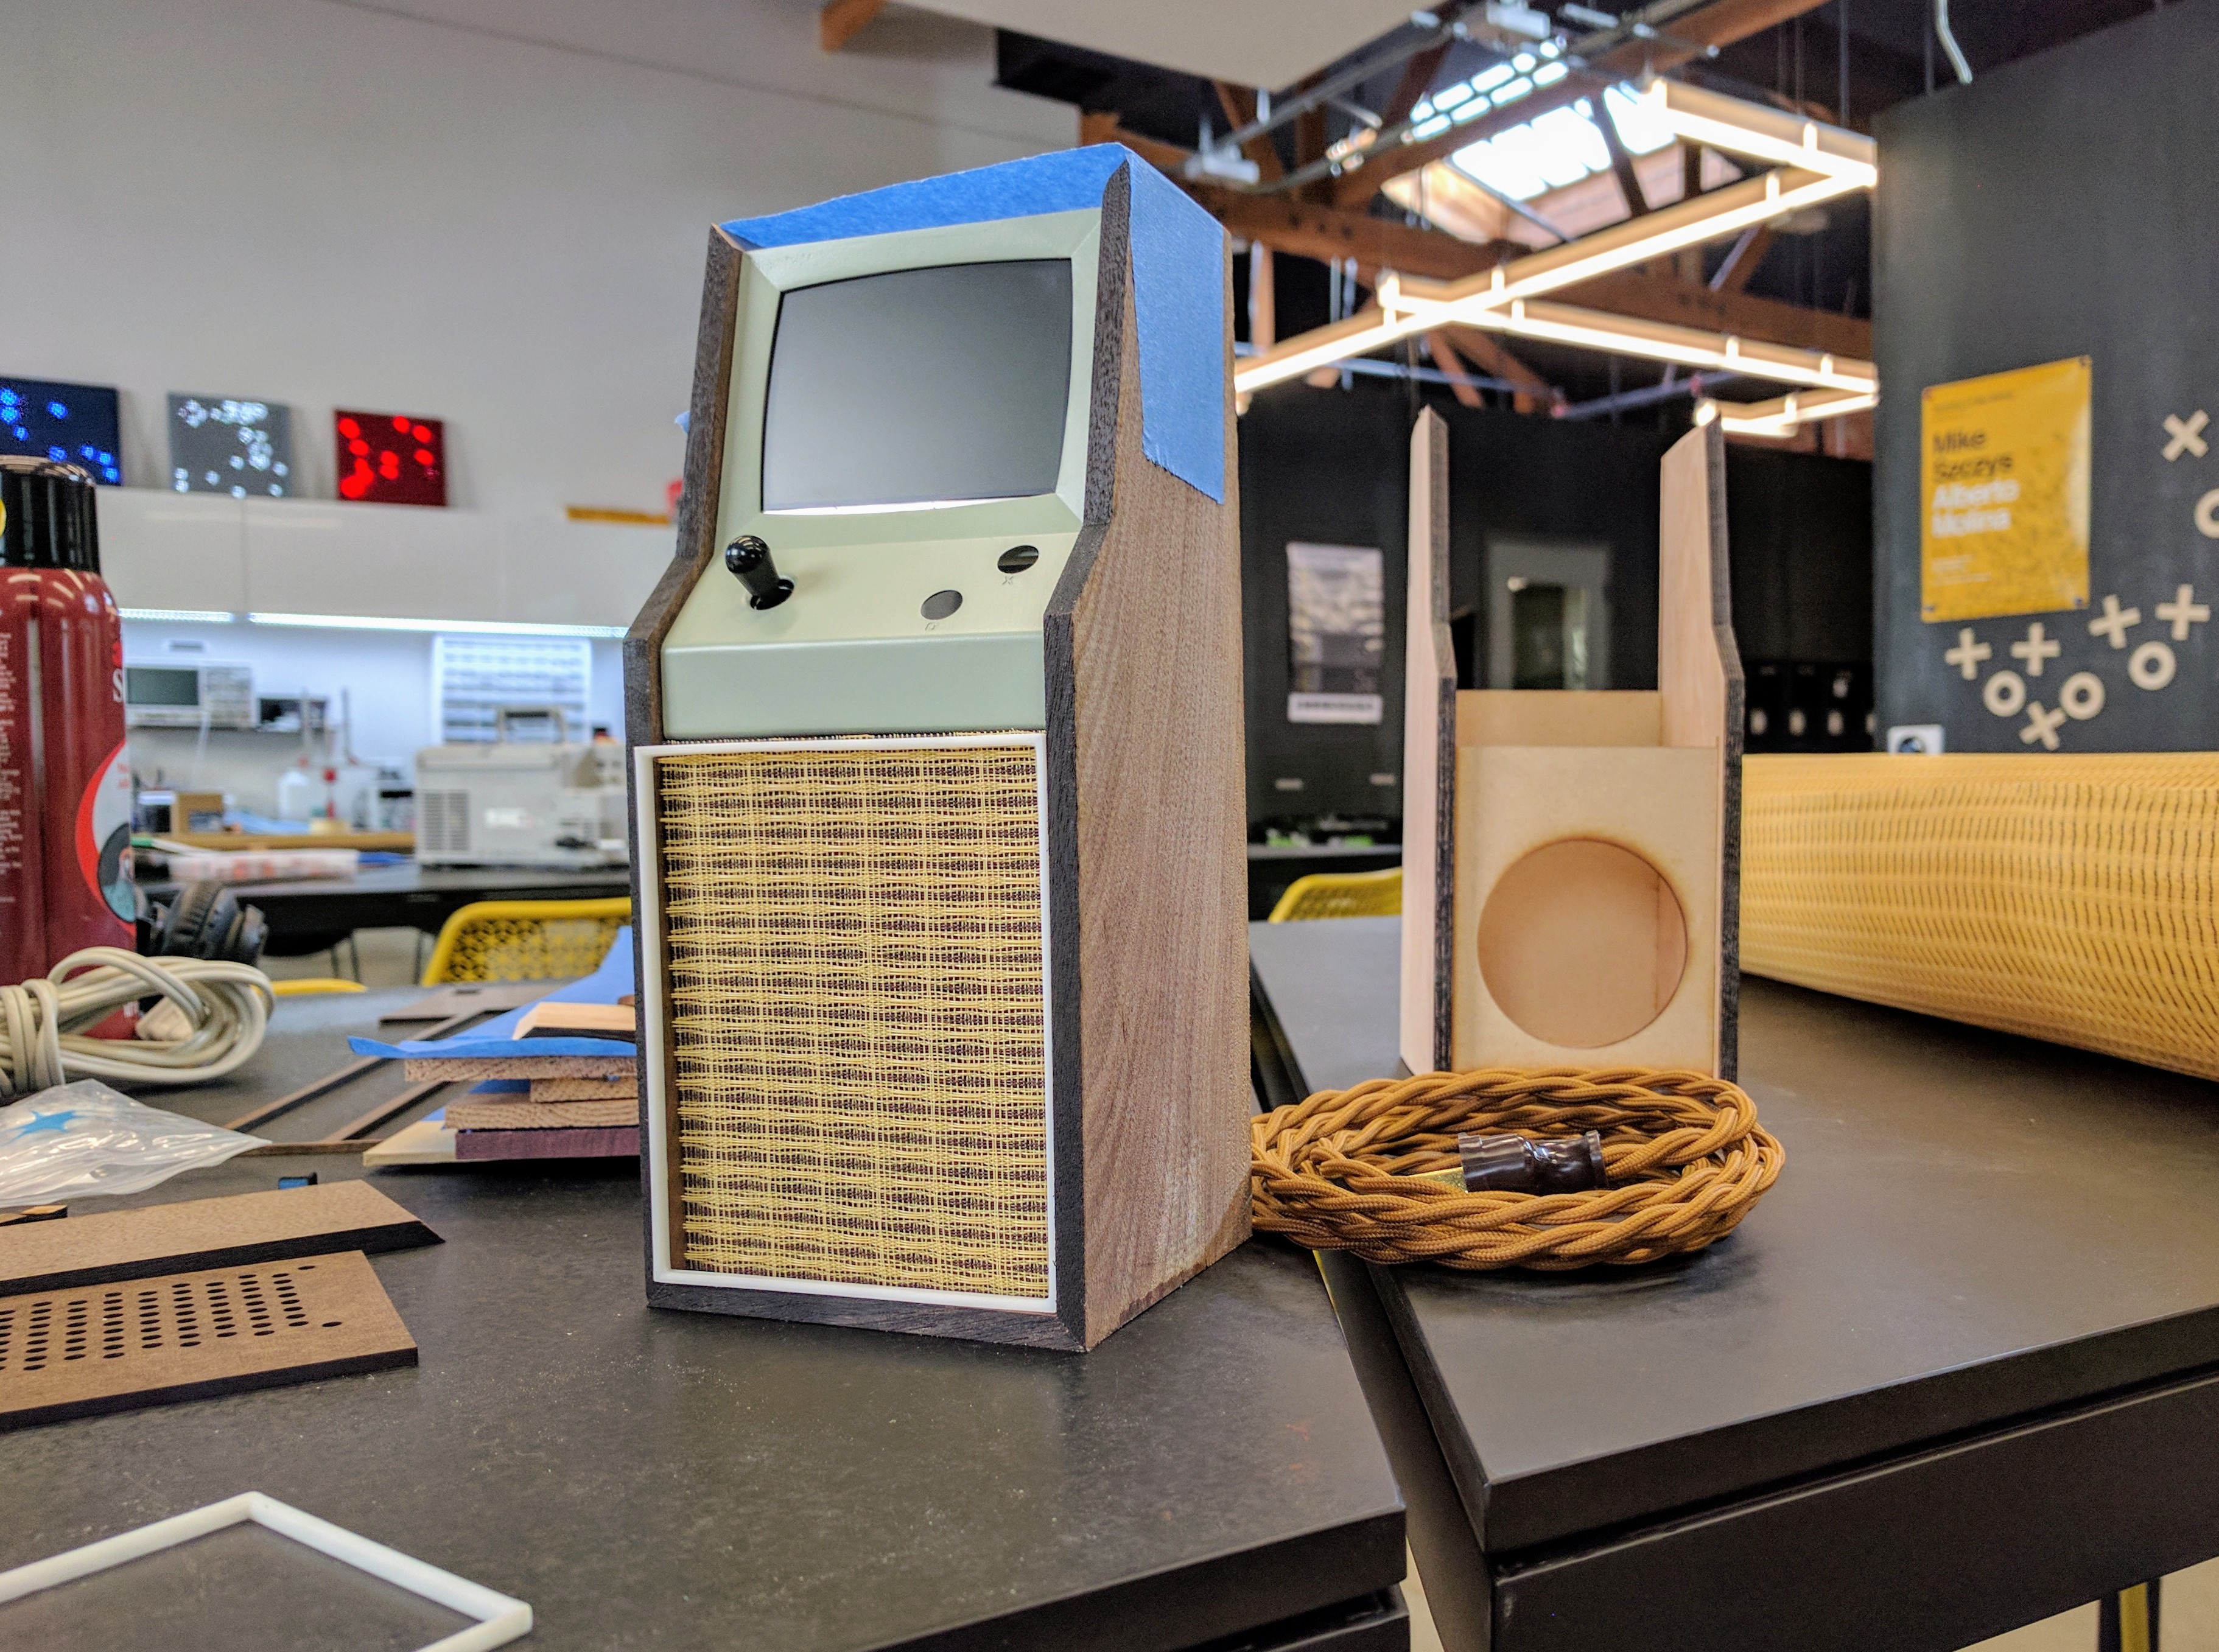
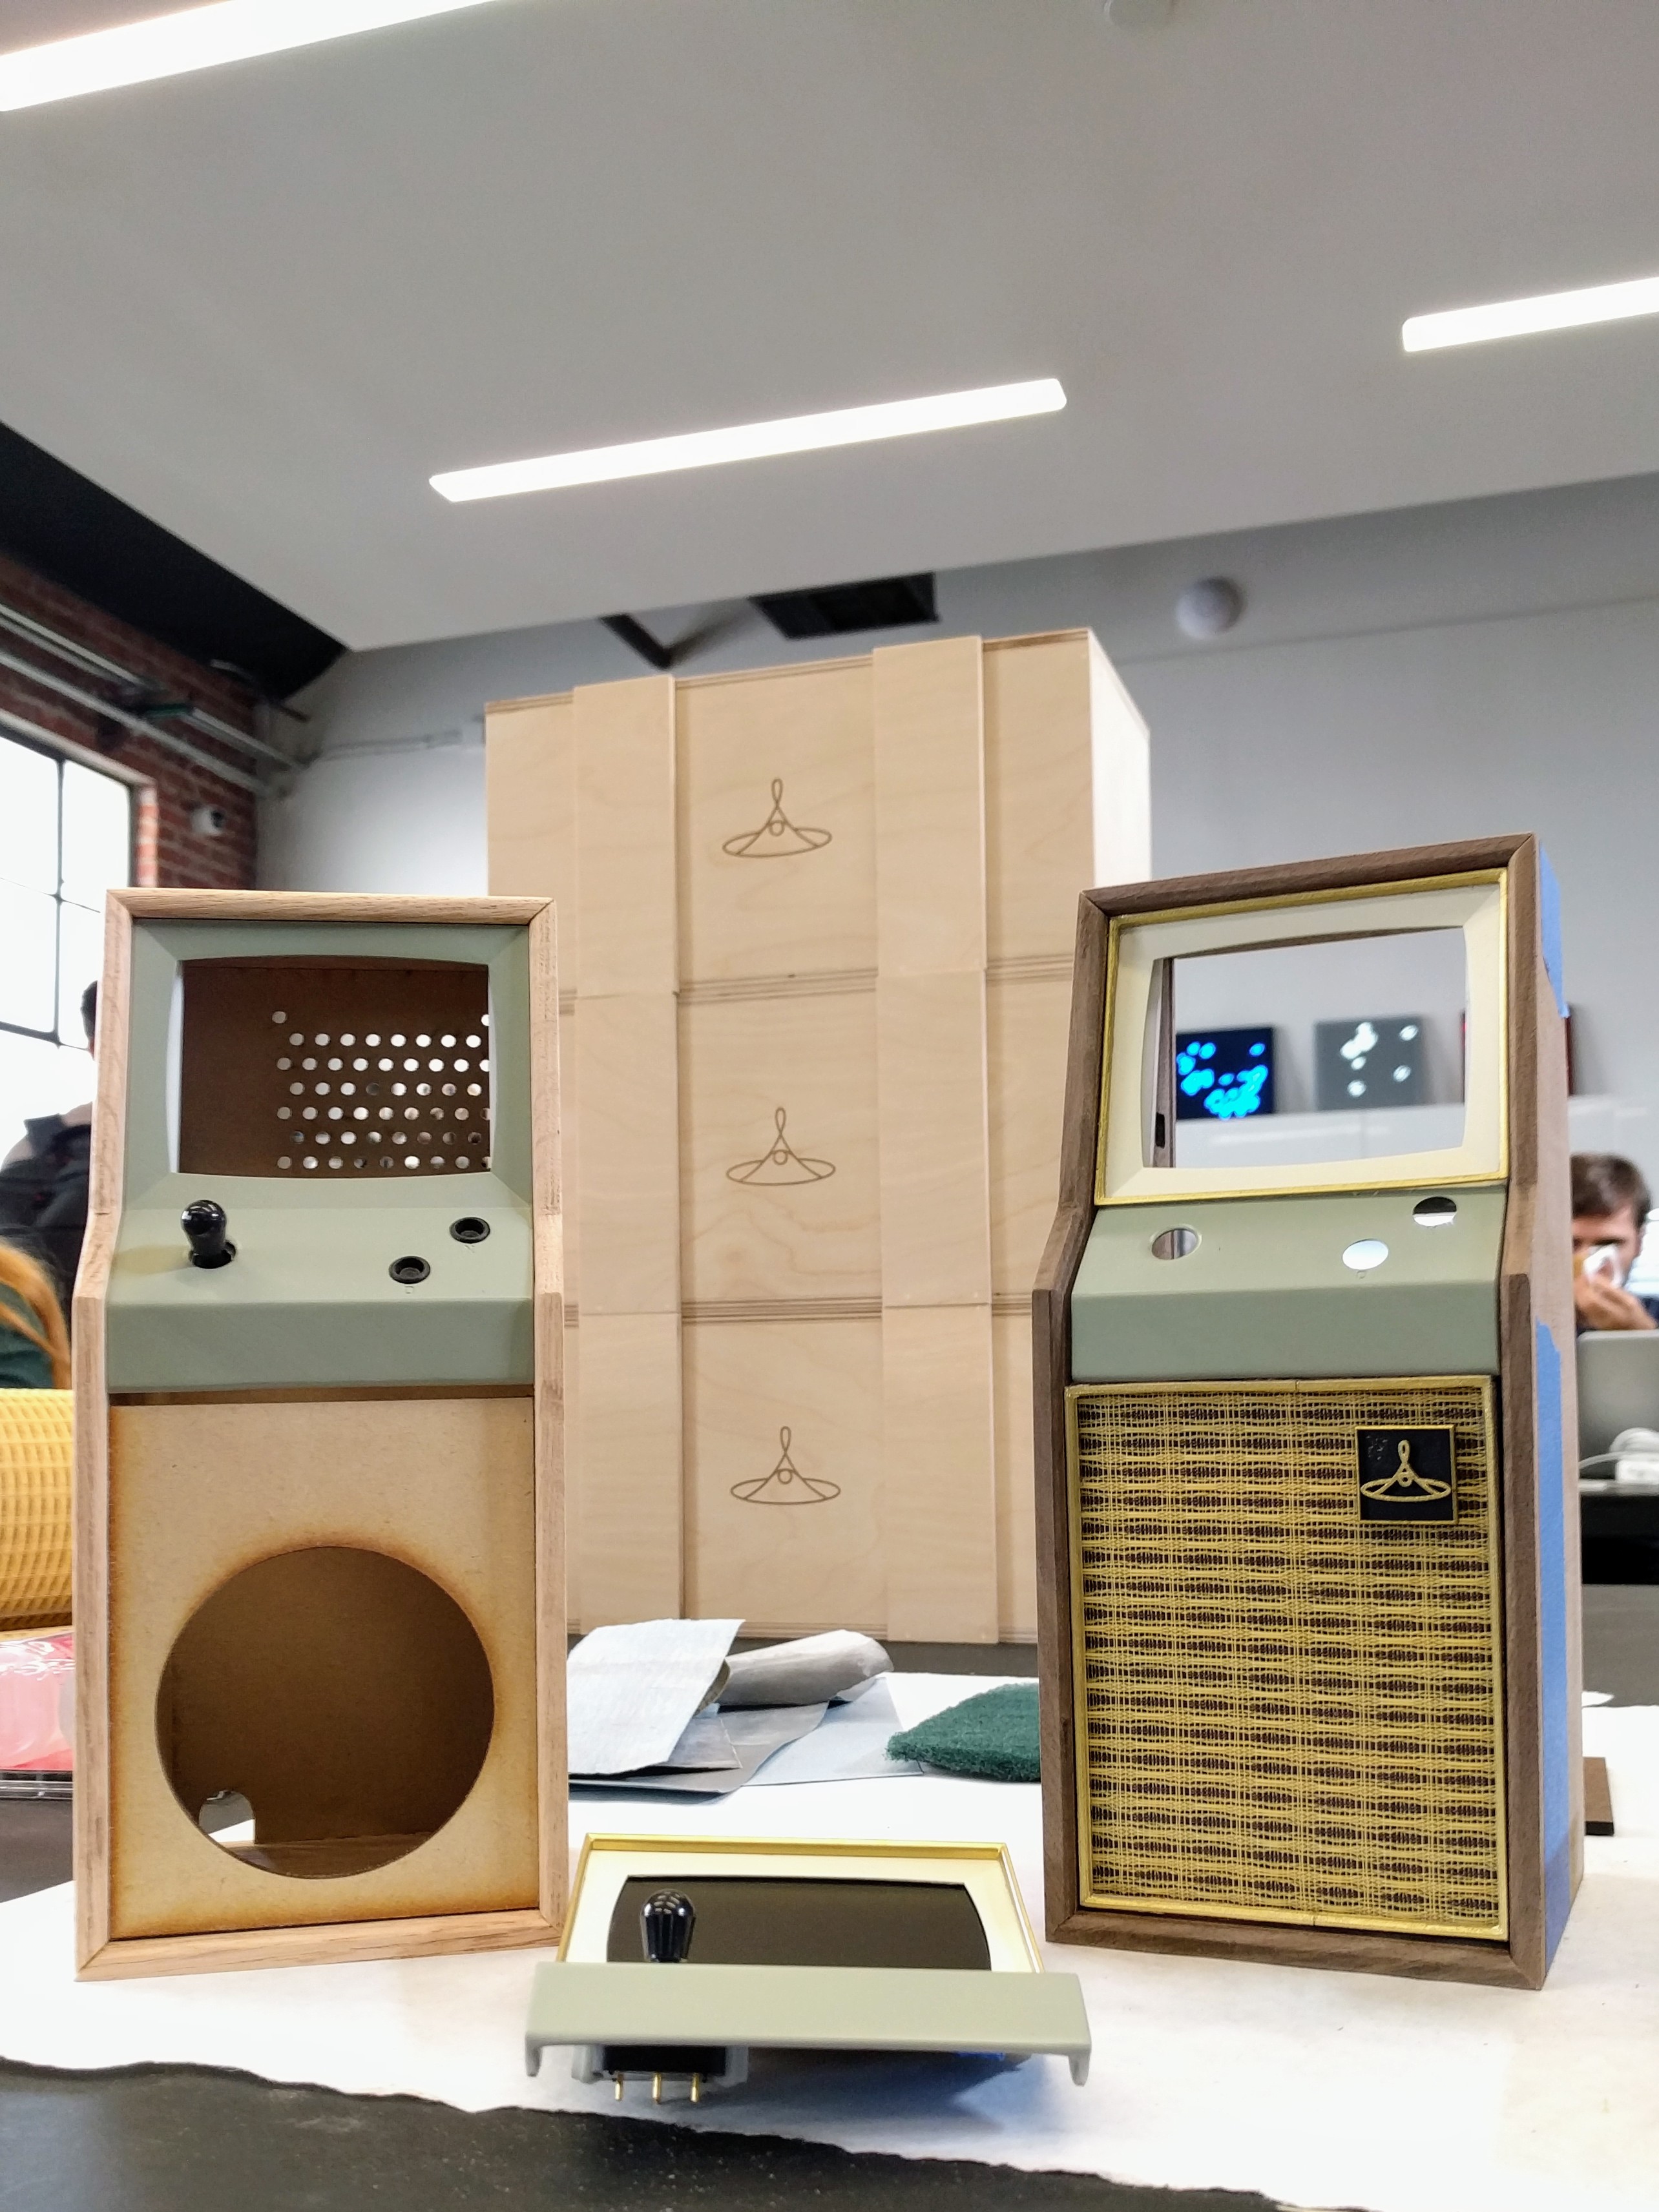
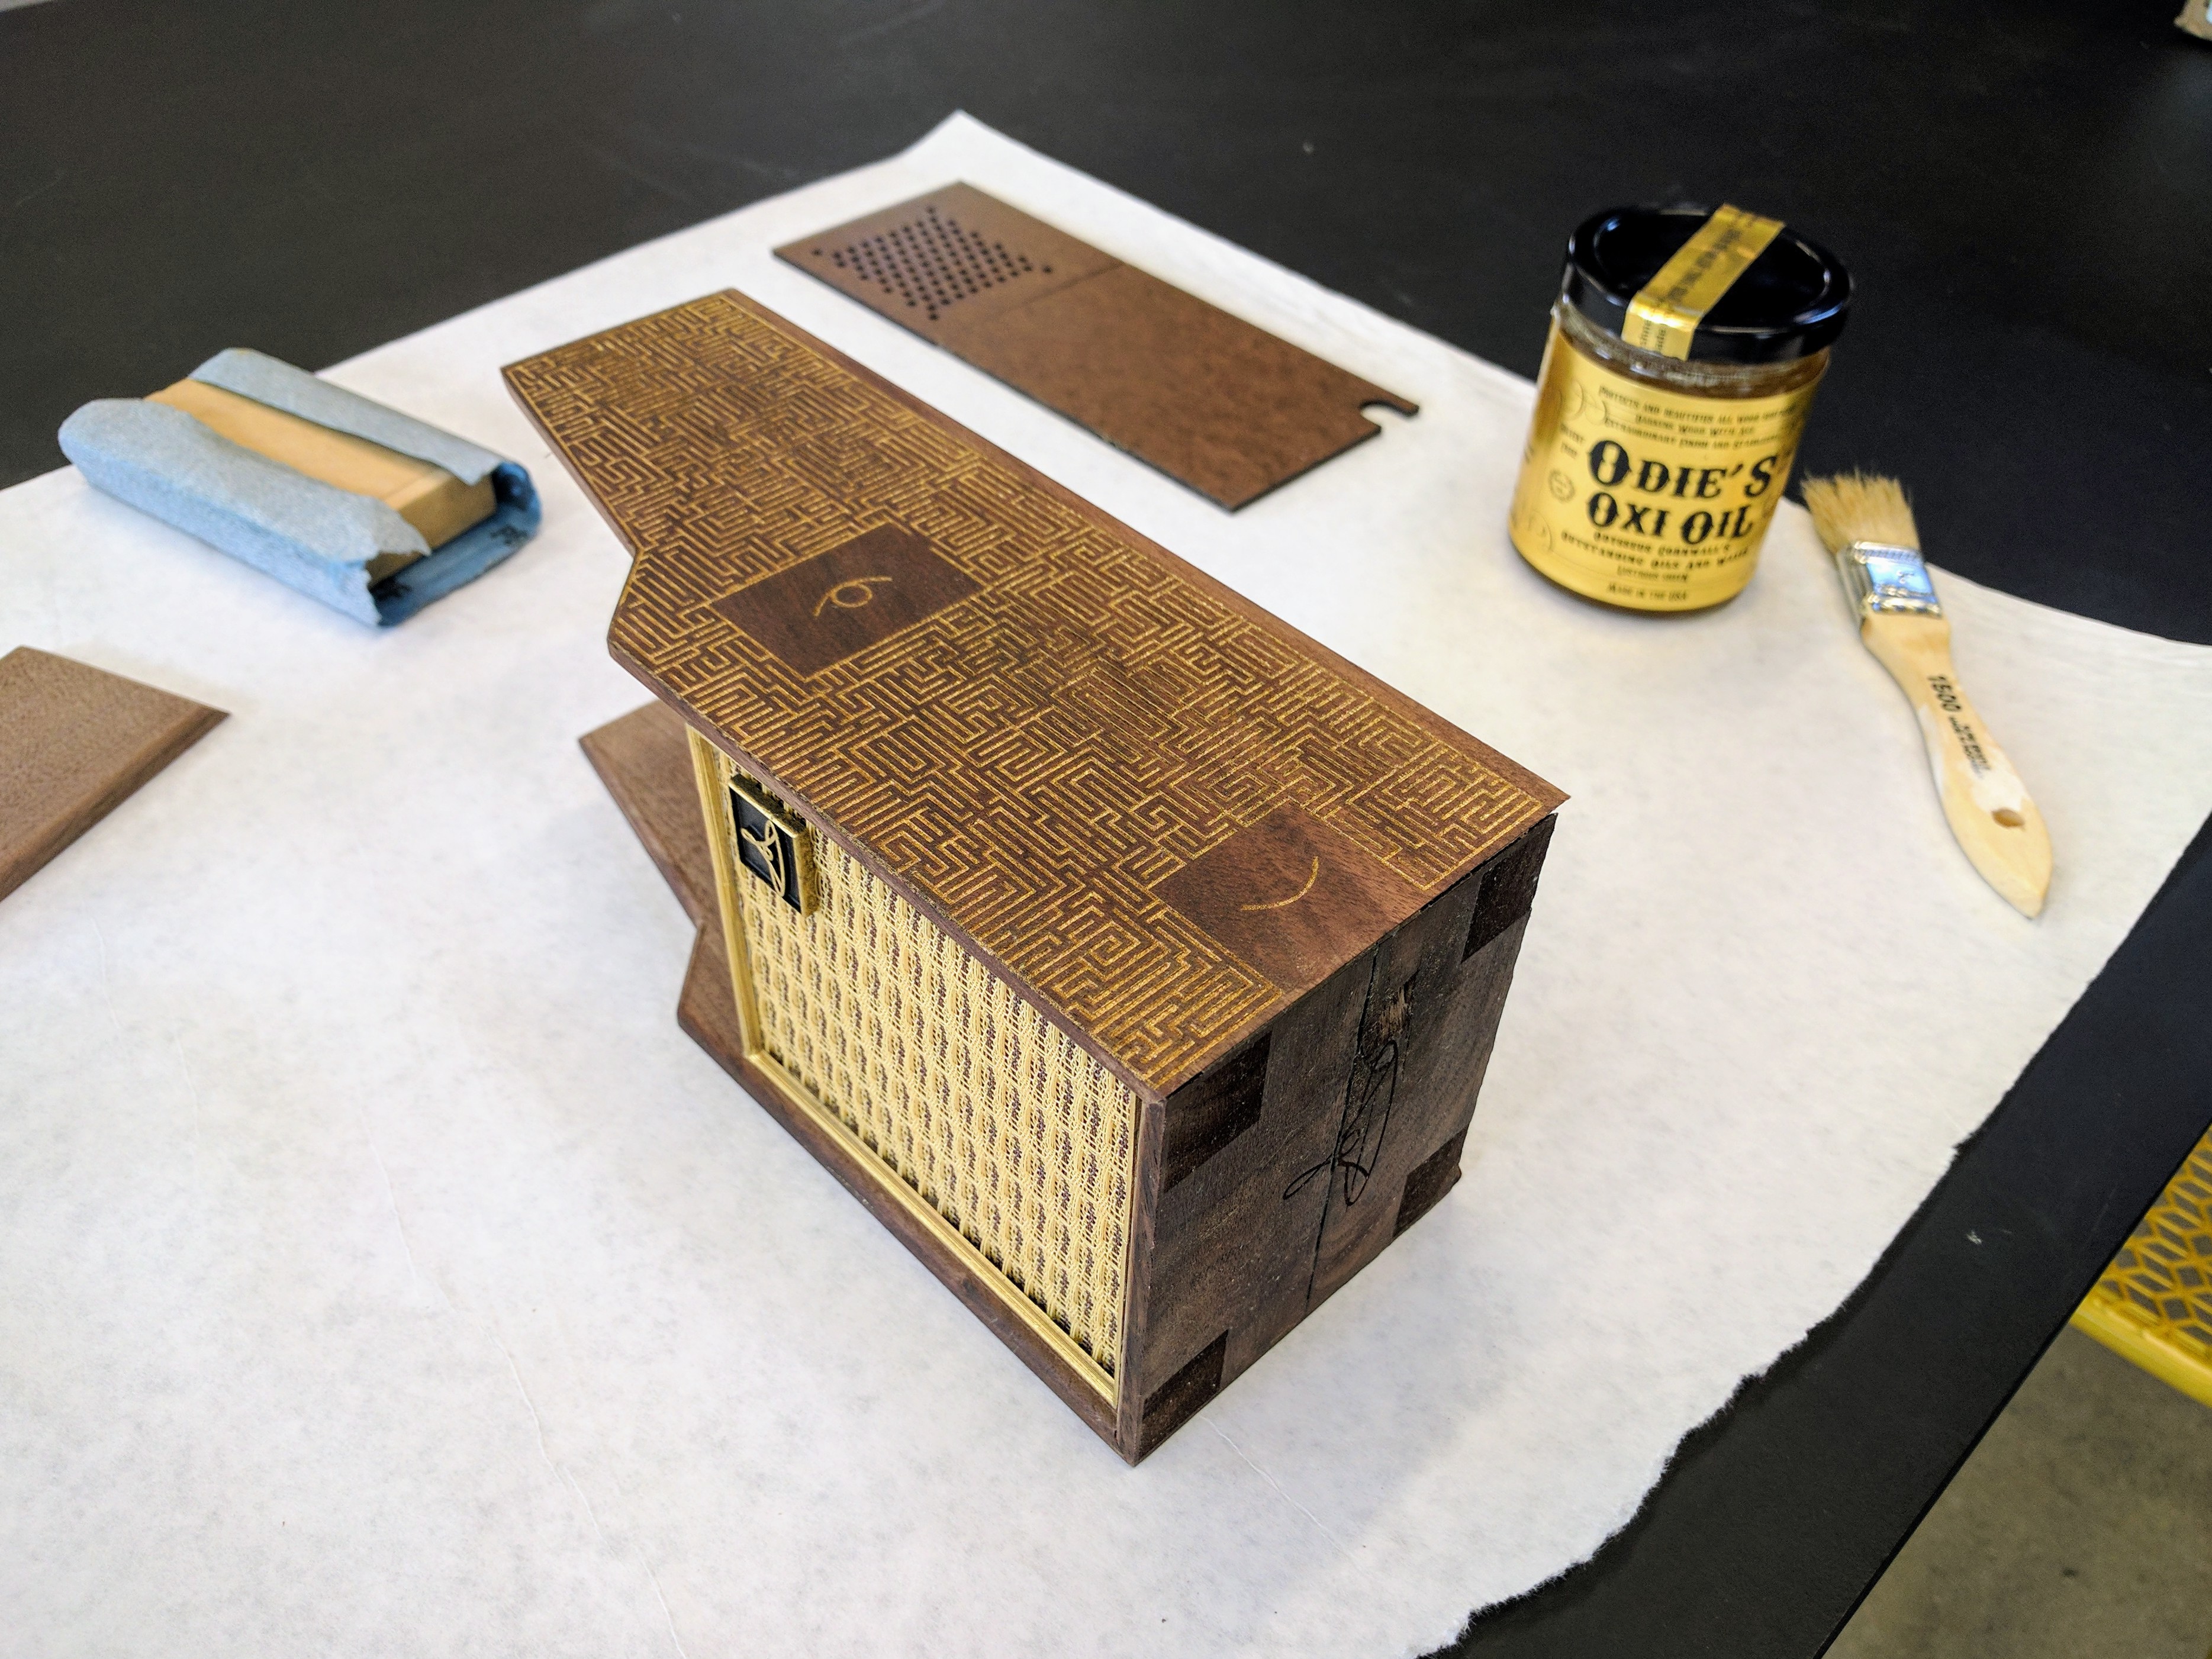
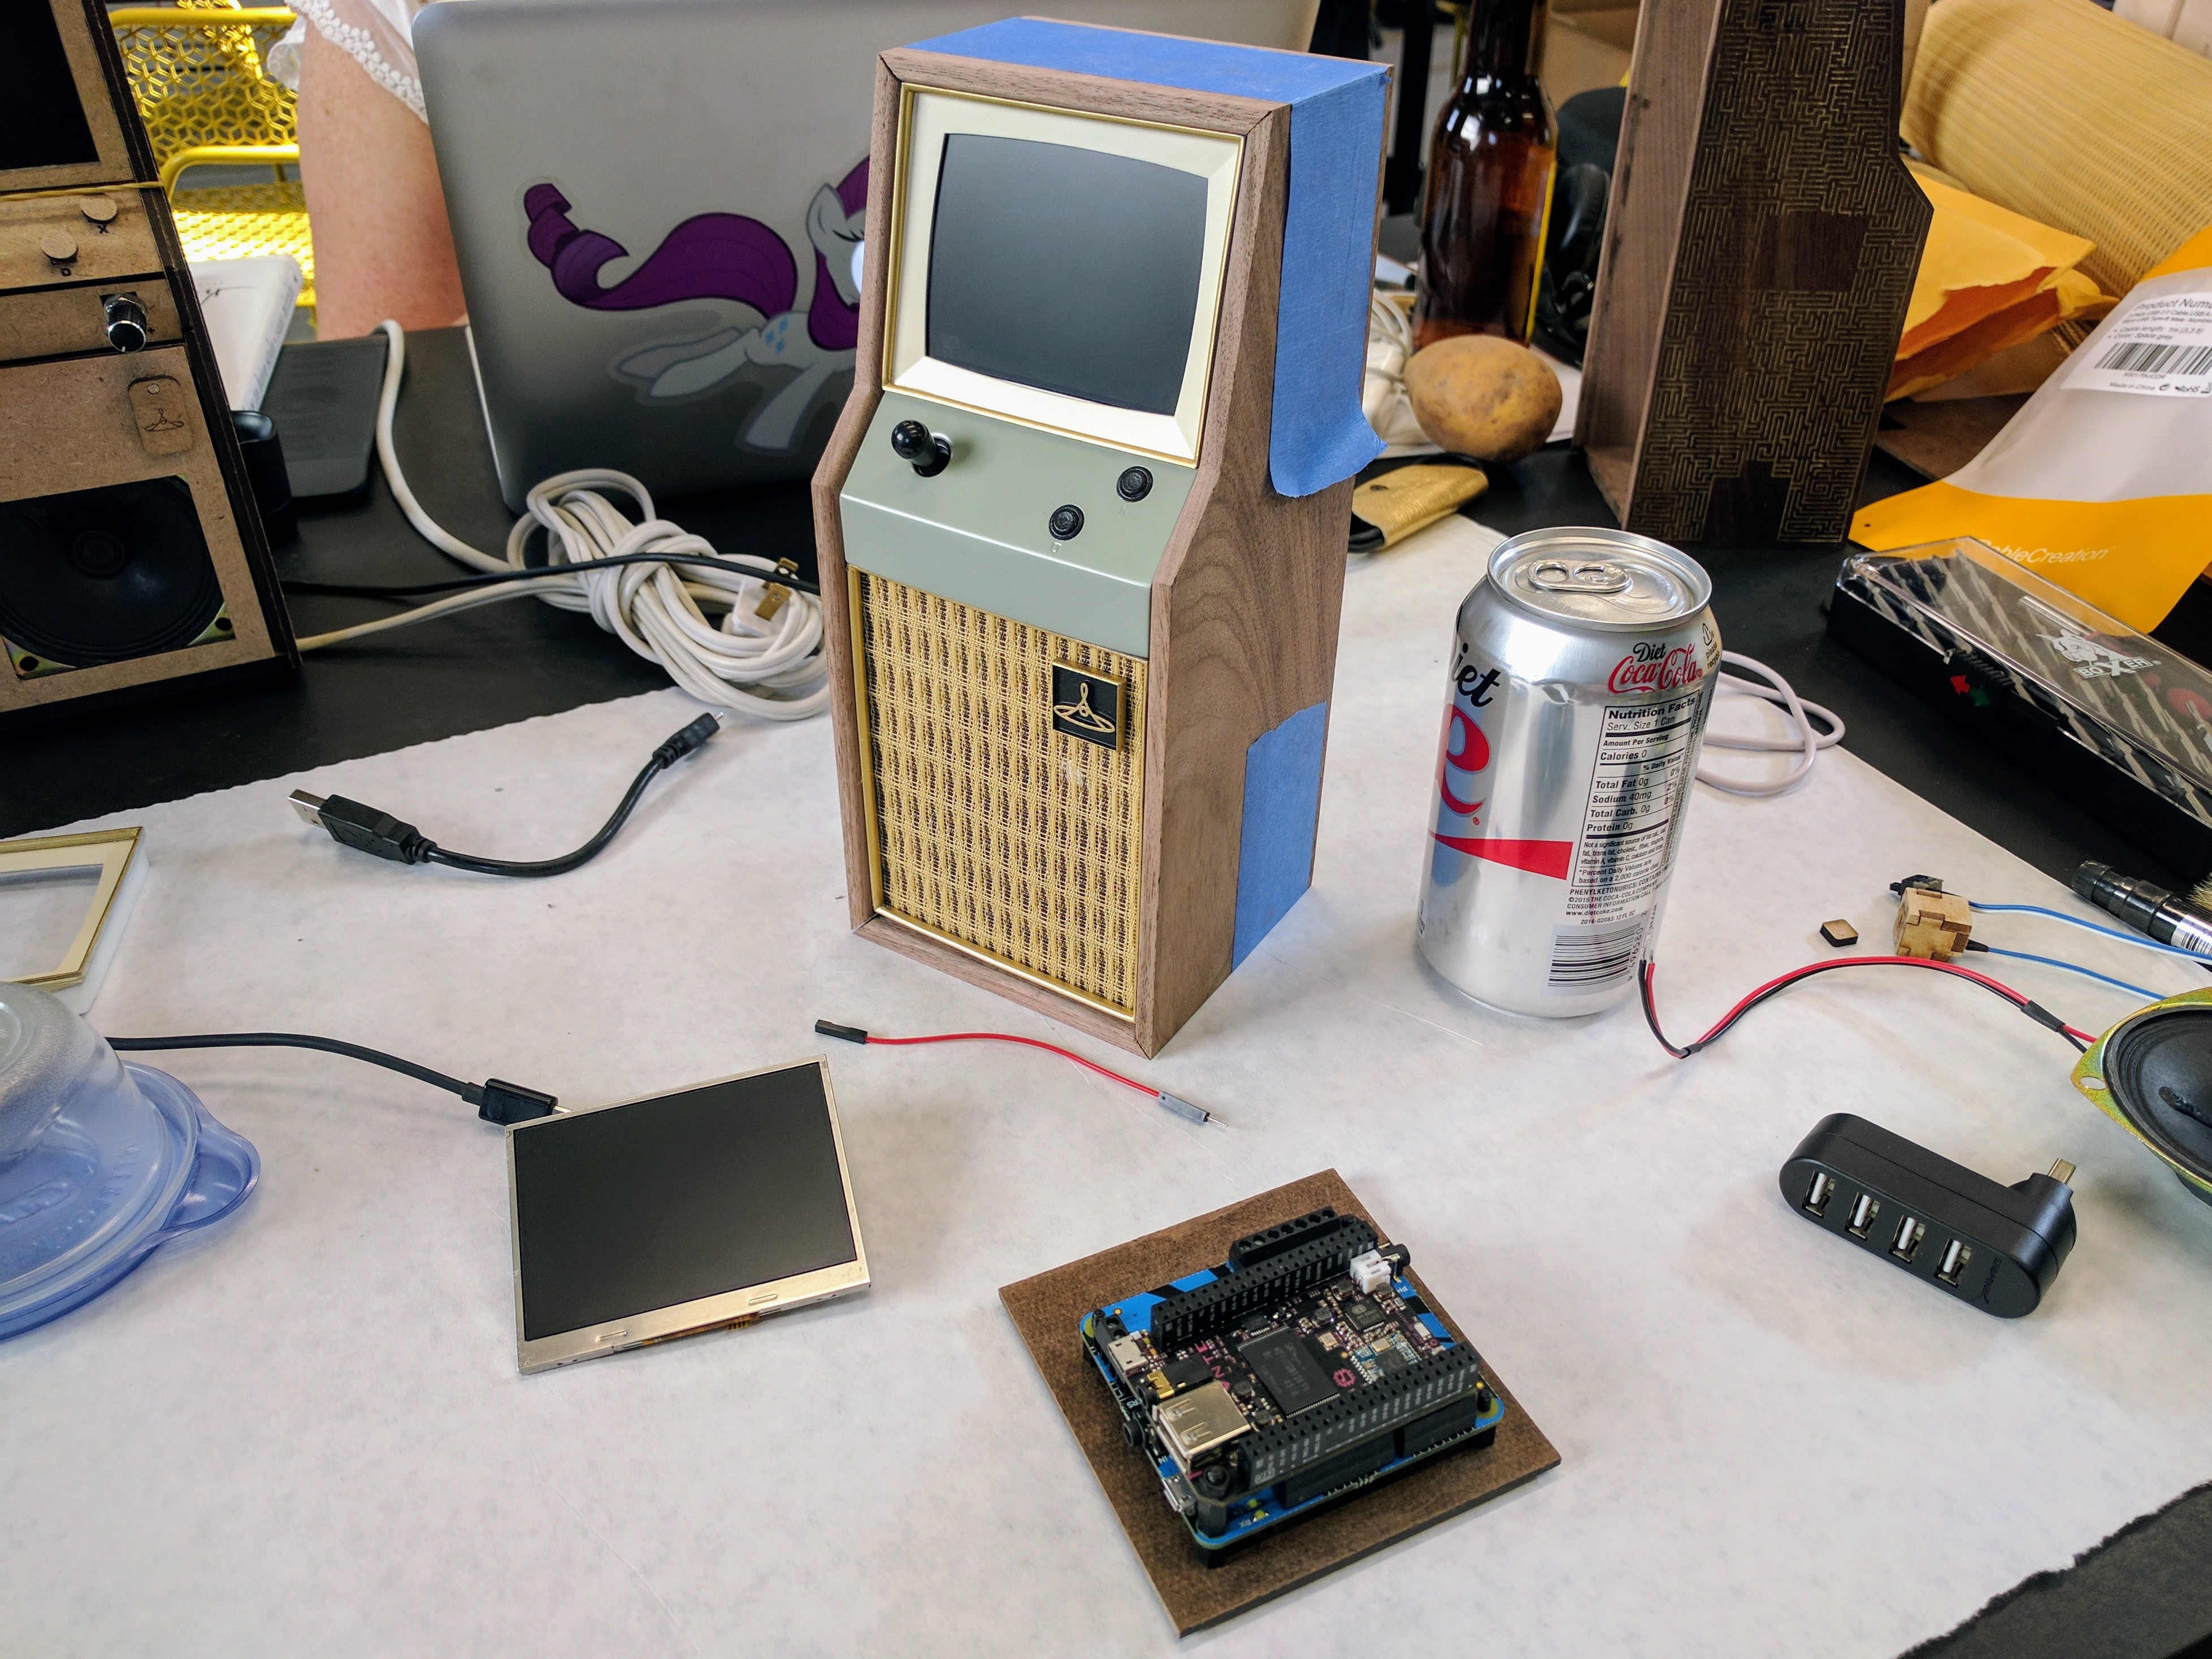
Near final prototype made out of final build materials (can of Diet Coke included for scale)!
As mentioned in my last post, I needed to finish designing the exterior of the College of the Creatives Cabinet, and to build a more complete looking prototype made out of final build materials (walnut hardwood, masonite, and plastic) to show potential backers (and the public in general) what they were helping us send to our select group of cultural influencers, and/or they could get at the highest pledge level. It's with all of this in mind that I challenged myself to make a final looking cabinet over the next 2 weeks!

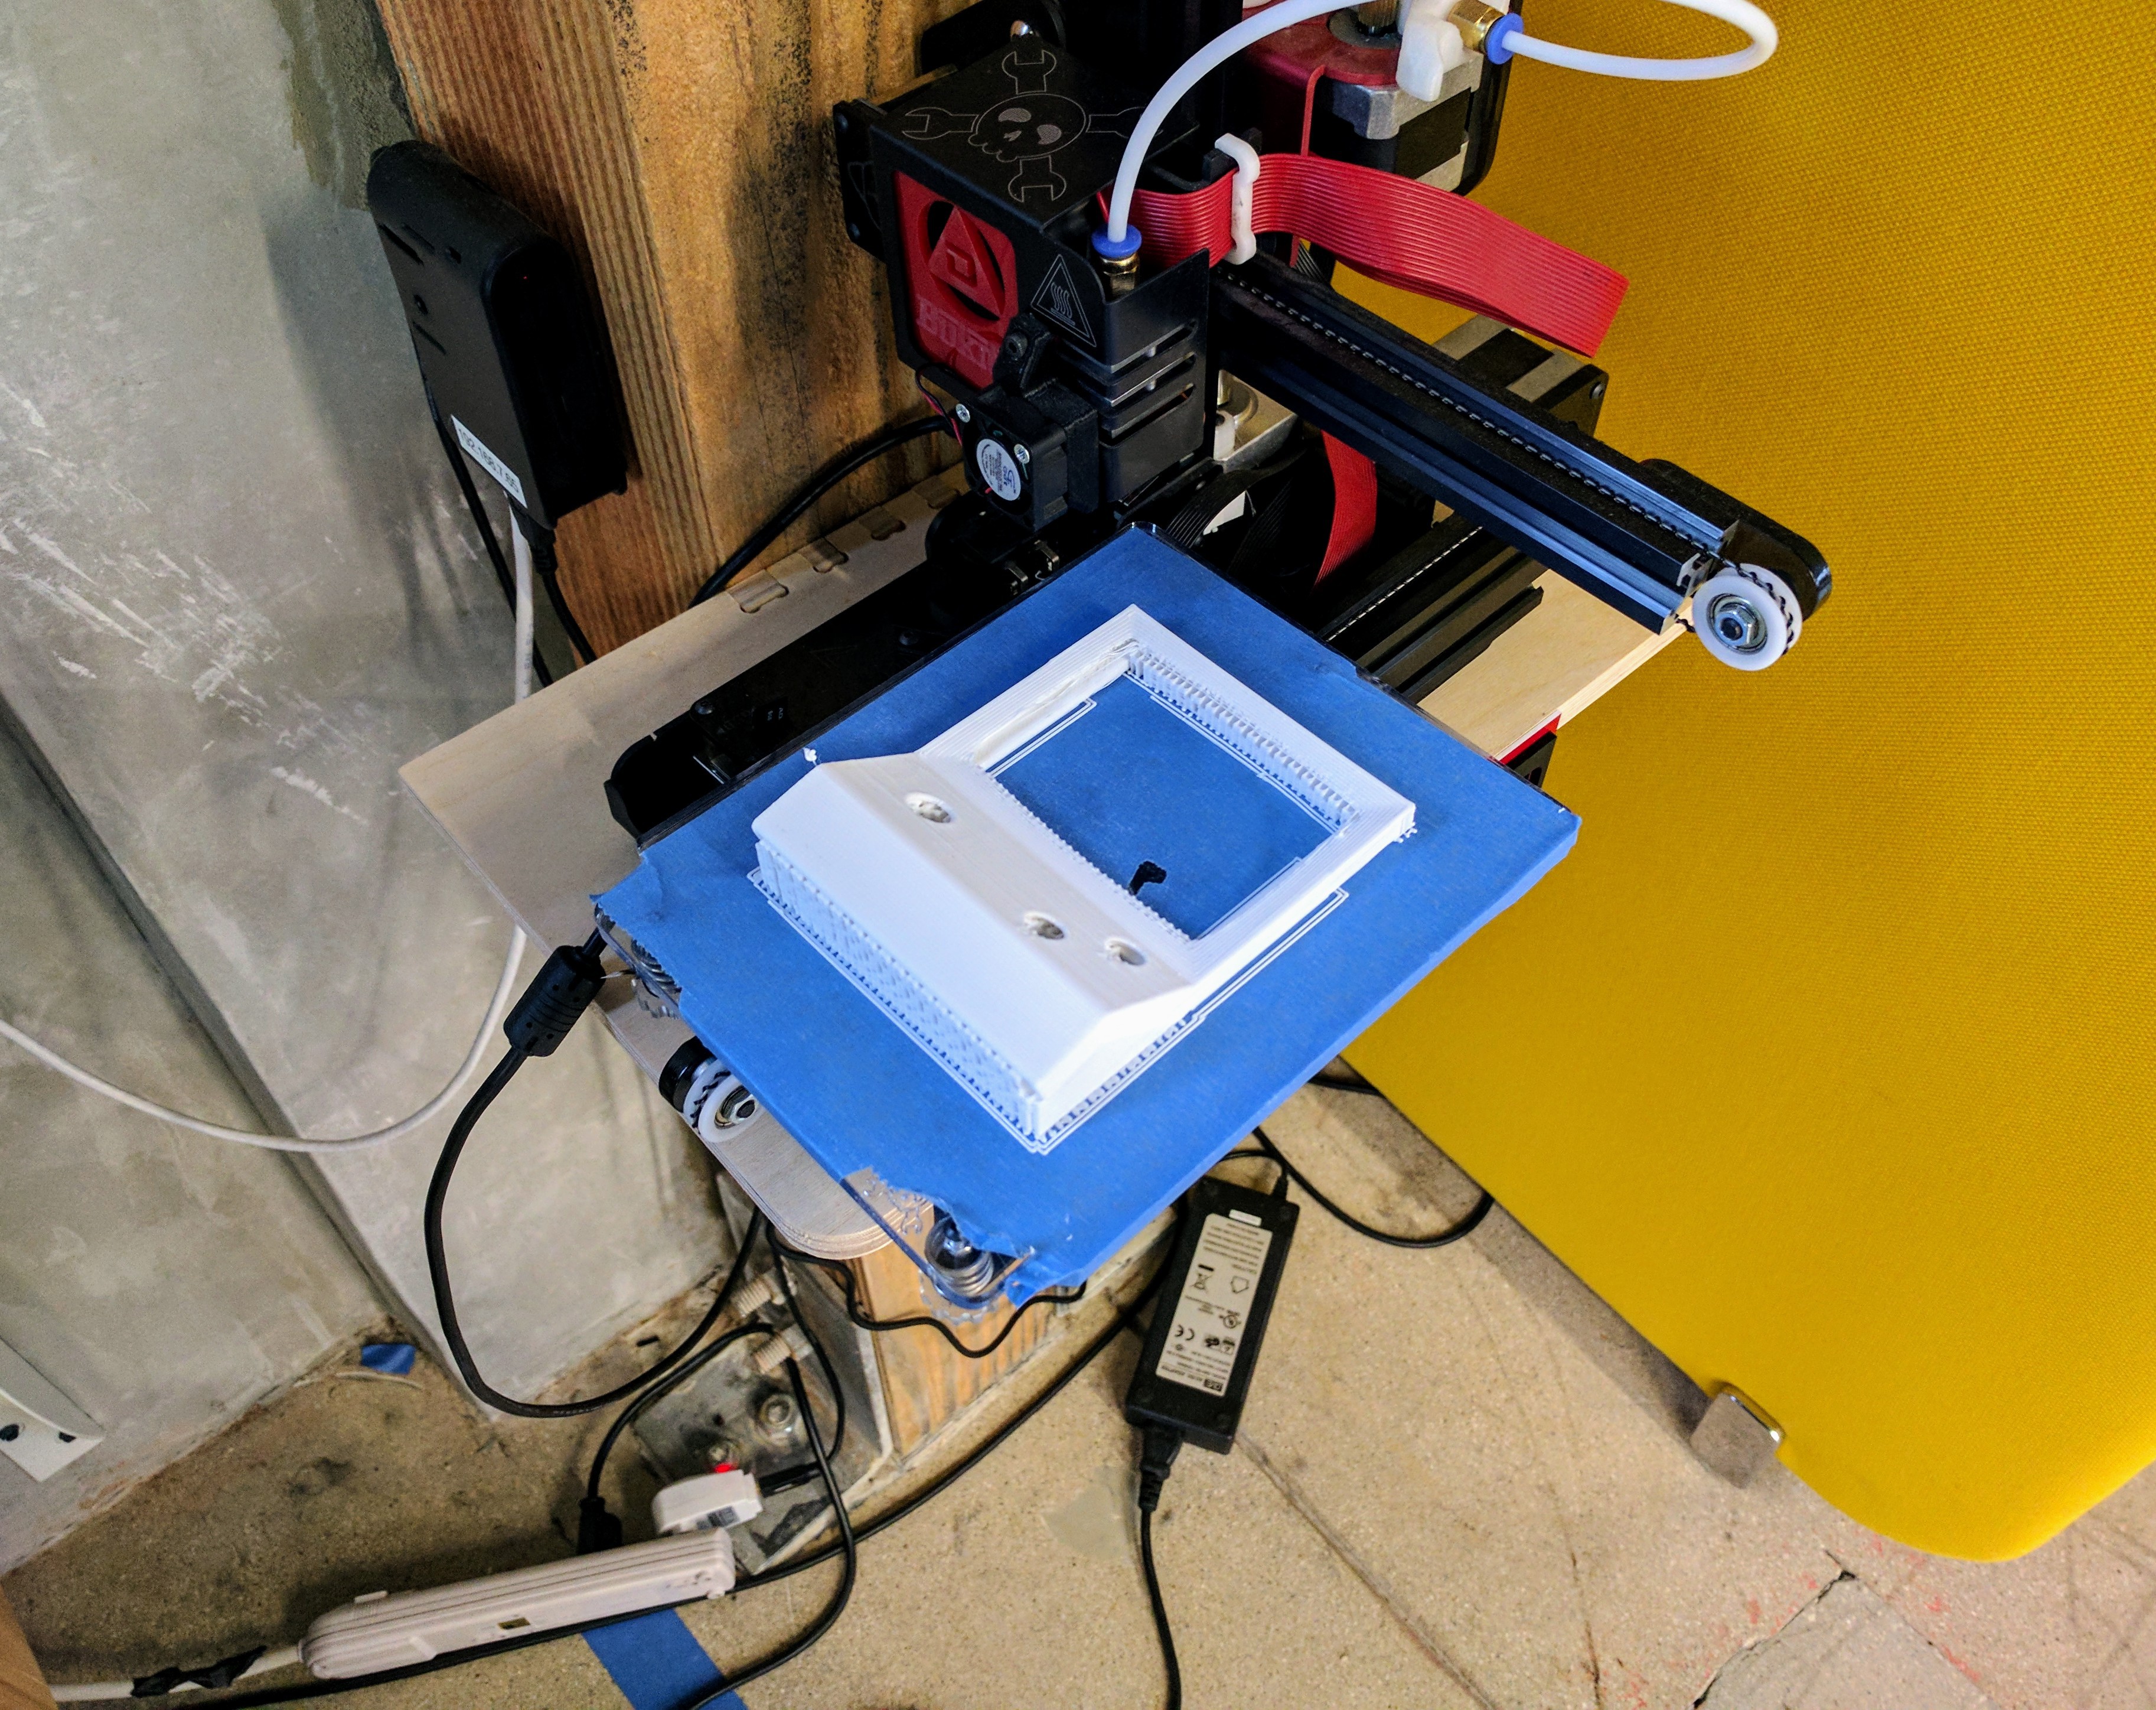
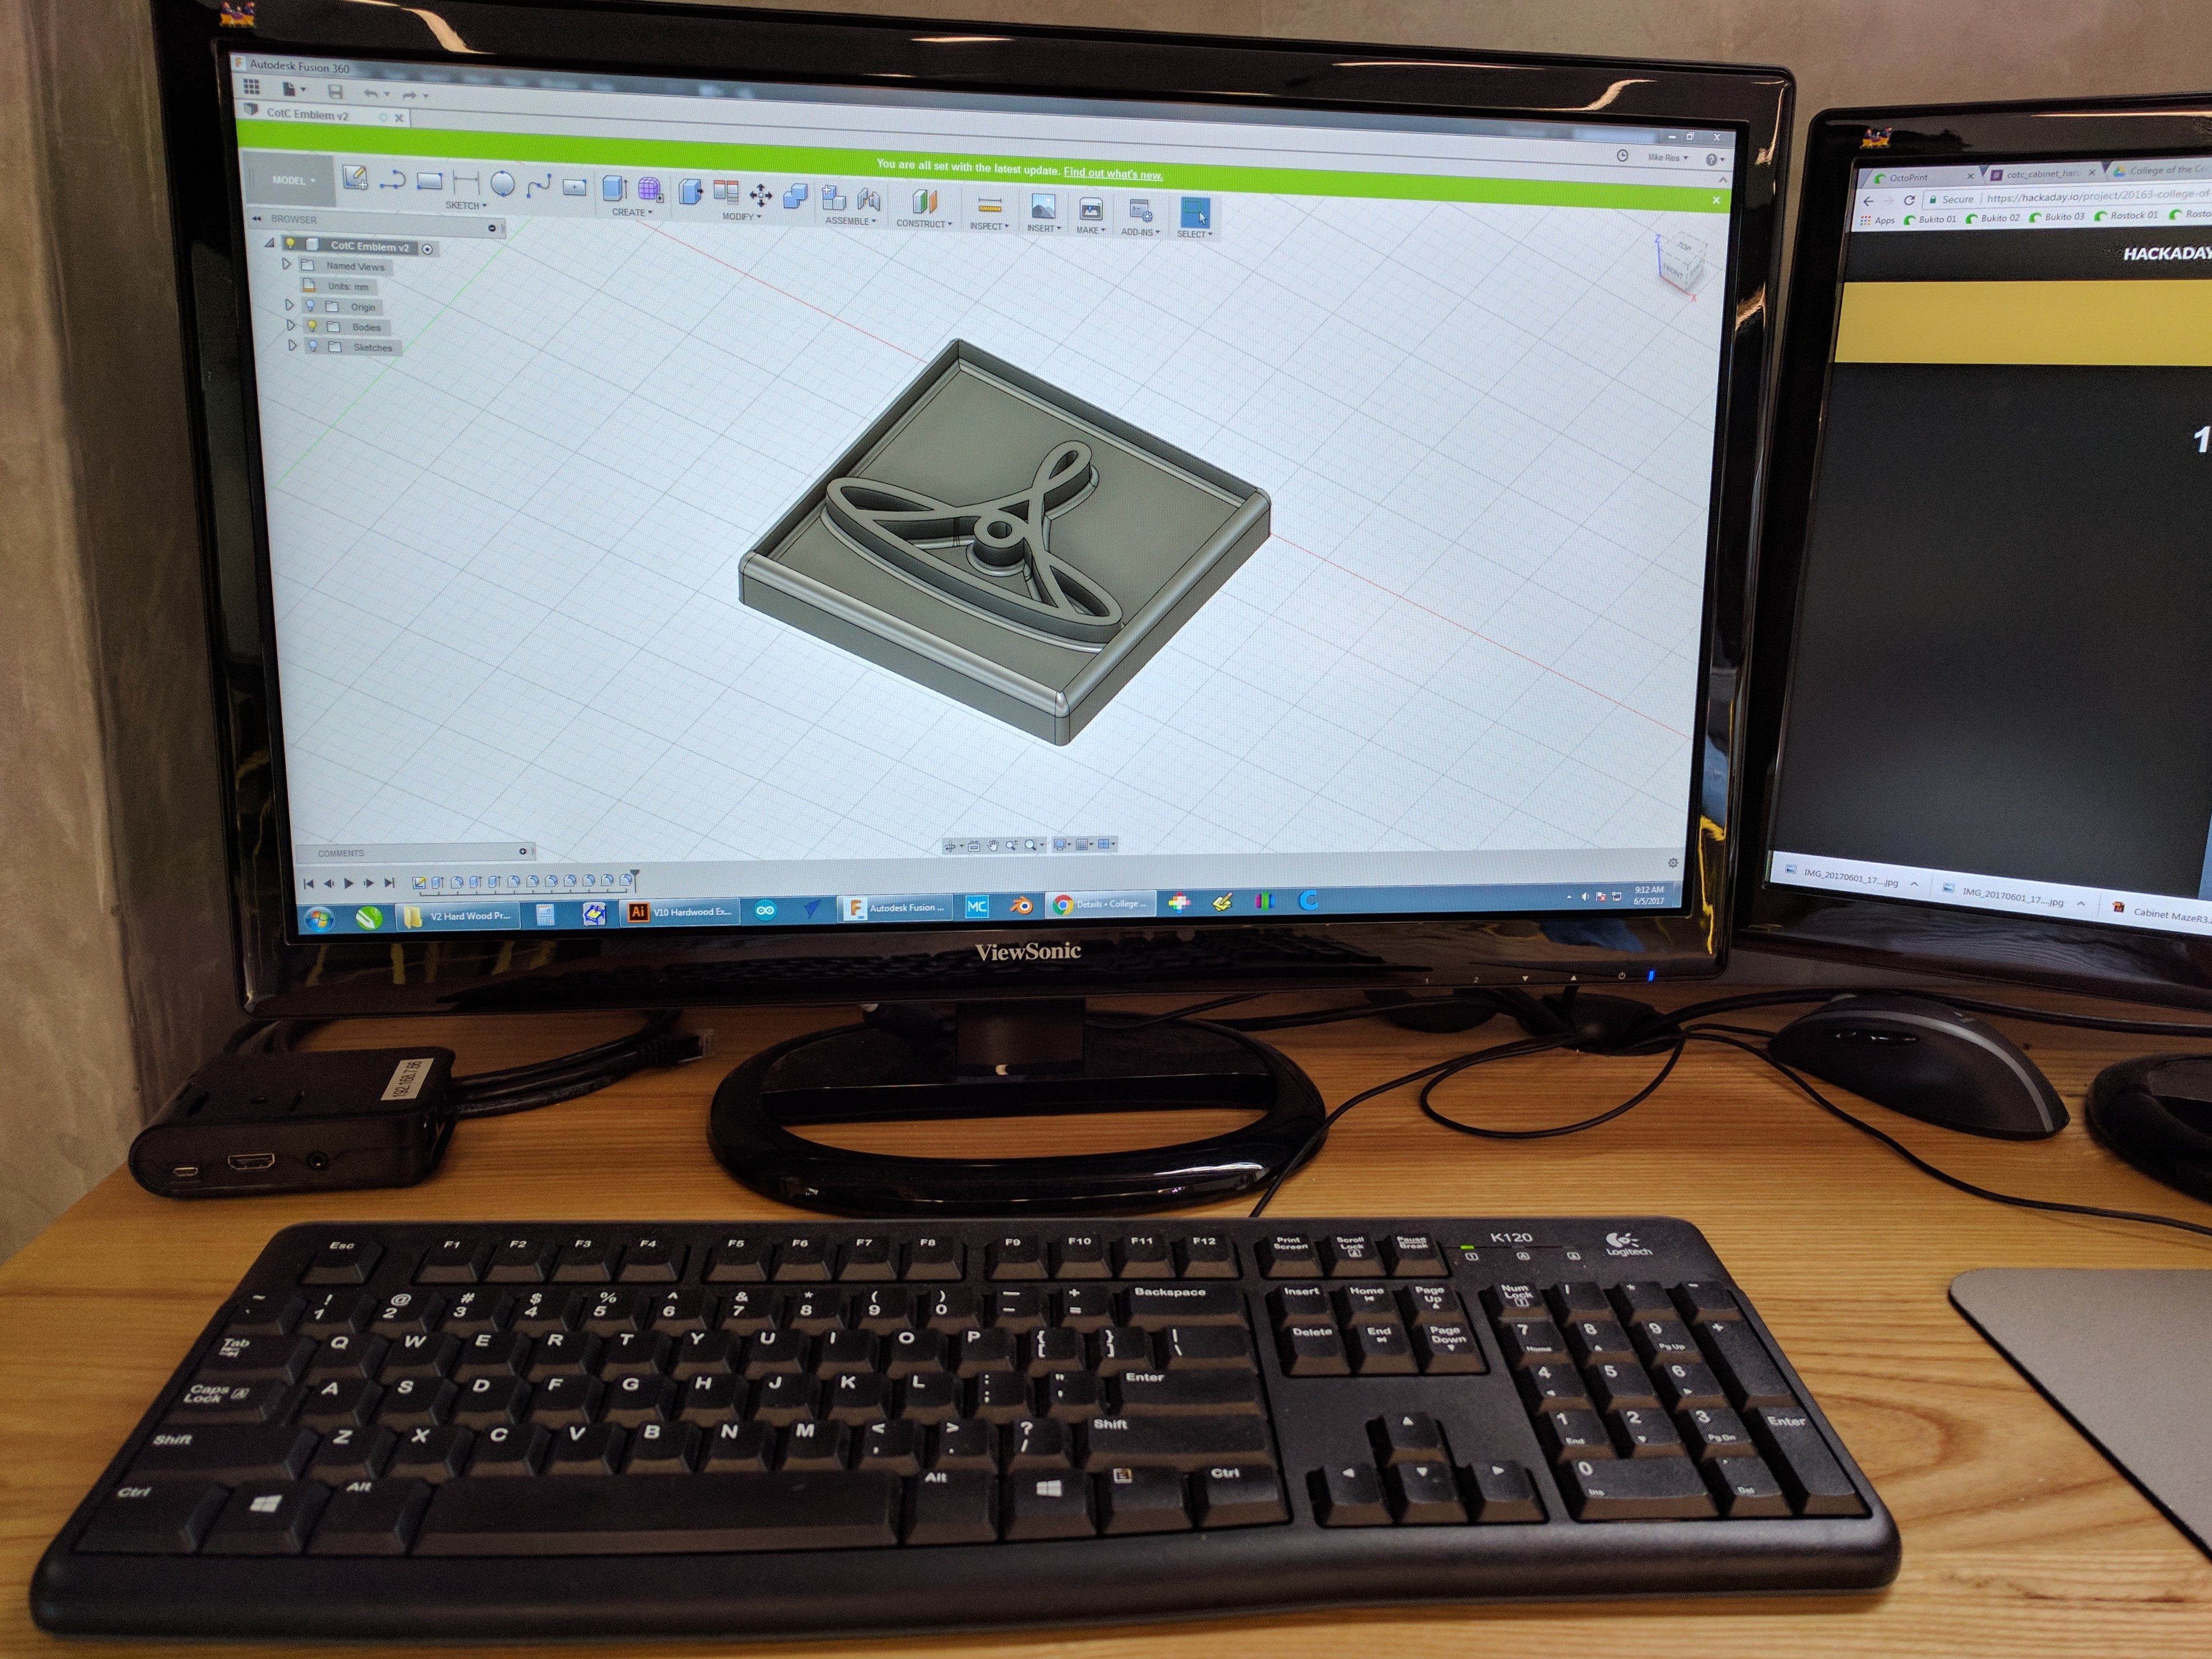
First things first, I needed to complete my design in a computer aided drawing (CAD) program so I could start rapid prototyping the cabinet's parts on the DesignLab's Buquitos and Formlabs Form 2 3D printers. As previously mentioned, I'm a artist+designer 1st, and hobbyist maker/tinker a distant 4th or 5th... While I've played around in CAD programs like TinkerCAD before and ordered 3D printed parts on Shapeways, I've never actually designed, developed and printed my own models on a 3D Printer I physically hadaccess to. Further complicating all of this is the fact that I've never had to engineer and then build a complex piece of consumer electronics with integrated mechanical systems like this on my own... Before I could start I needed to get up to speed in Fusion360, and subsequently spent the weekend of May 20th mainlining Fusion360 tutorials on YouTube, followed by 3 frustration full days designing, redesigning, starting from scratch multiple times before eventually getting to the point that I was parametrically designing+revising my model (Fusion360 is a powerful, if not clunkily designed piece of software!). I'm proud to say that by Wednesday May, 24th I was able to personally print MY very first prototype part (as pictured below)!
My first EVER 3D print on a Deezmaker Bukito!
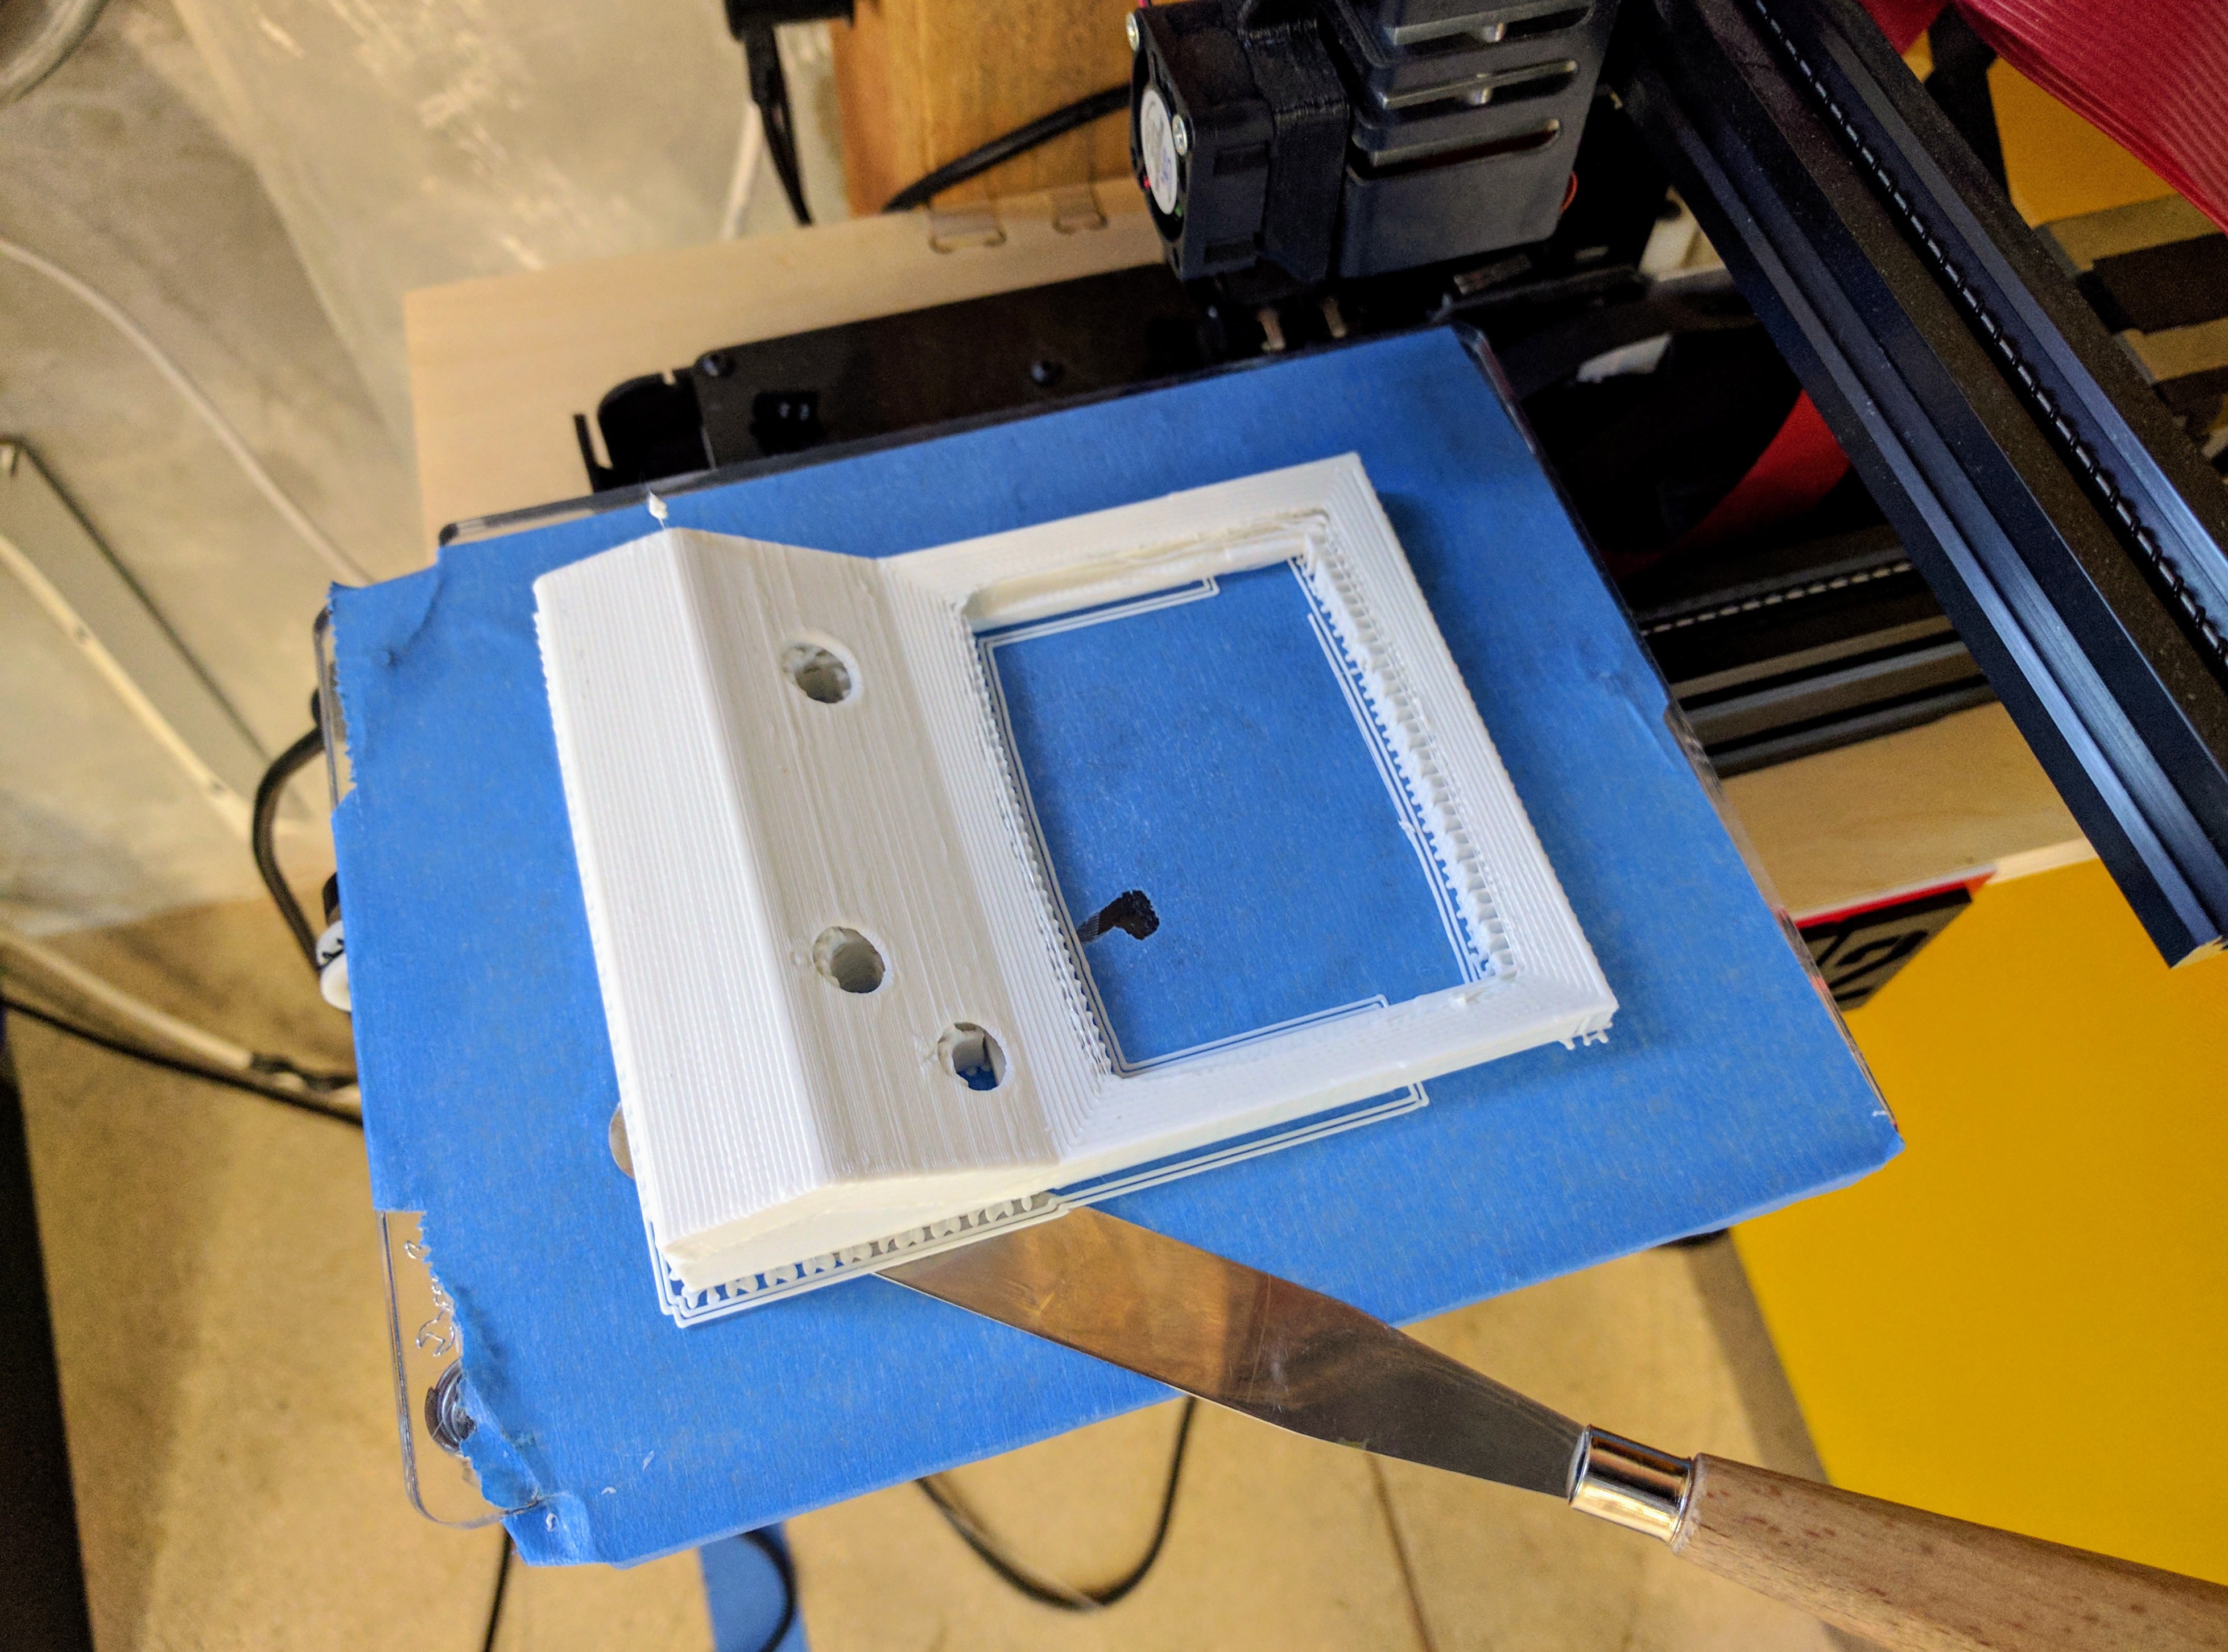
Pulling the print off of the Bukito... I have to admit that the fidelity wasn't what I expected at first, but thankfully the prints got better with each consecutive print...
I never knew supports would be such a pain in the ass... Definitely my least favorite part of printing using a PLA based printer.
By about the 3rd Bukito Print I had the print quality dialed in to about as good as it was going to get on the Bukitos, and had also managed to make several significant changes to my Fusion360 model.

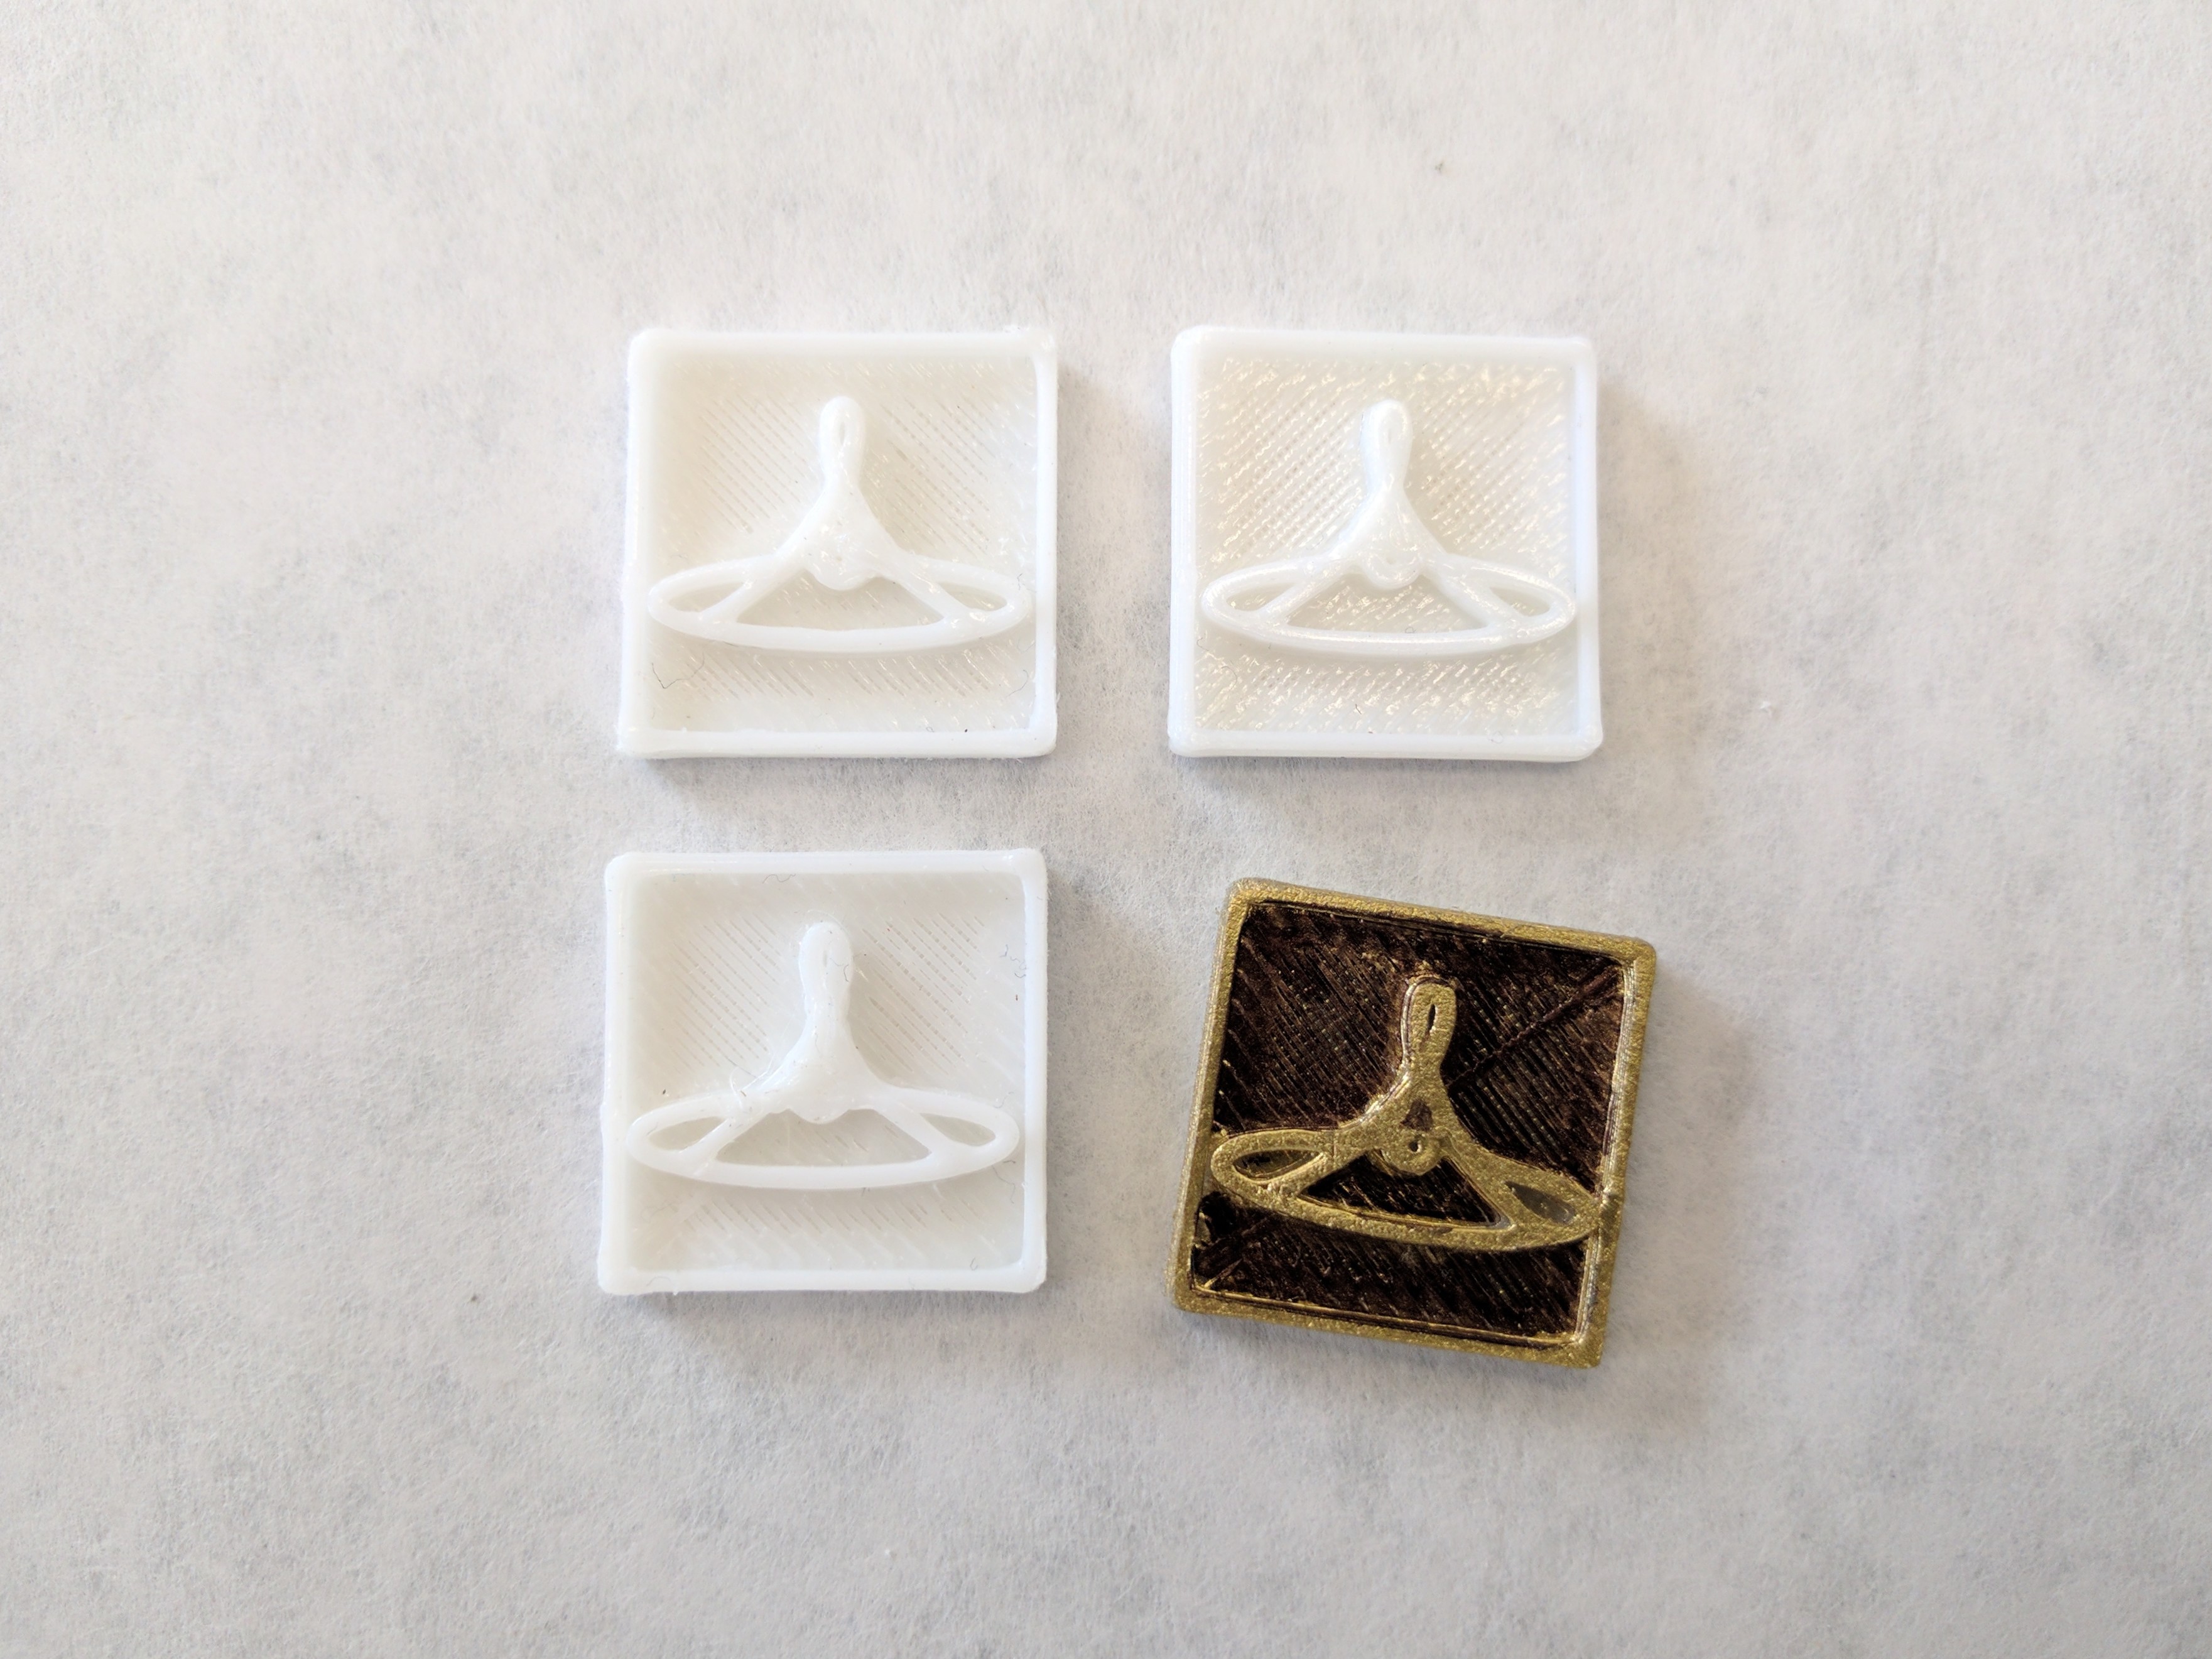
In total I made 3 prototype screen bezel parts out of PLA before moving on to the Formlabs Form 2 and it's high resolution resin prints! BTW, having access to the Bukitos to rapidly prototype, and adjust my design on the fly was awesome, and something I could definitely get used to!
While the Form 2 printer can be messy and slimey, I LOVE working with this printer! It's resolution is supremely better, AND way more accurate than anything the Bukito's are capable of doing, and without the need to fiddle with it's settings!
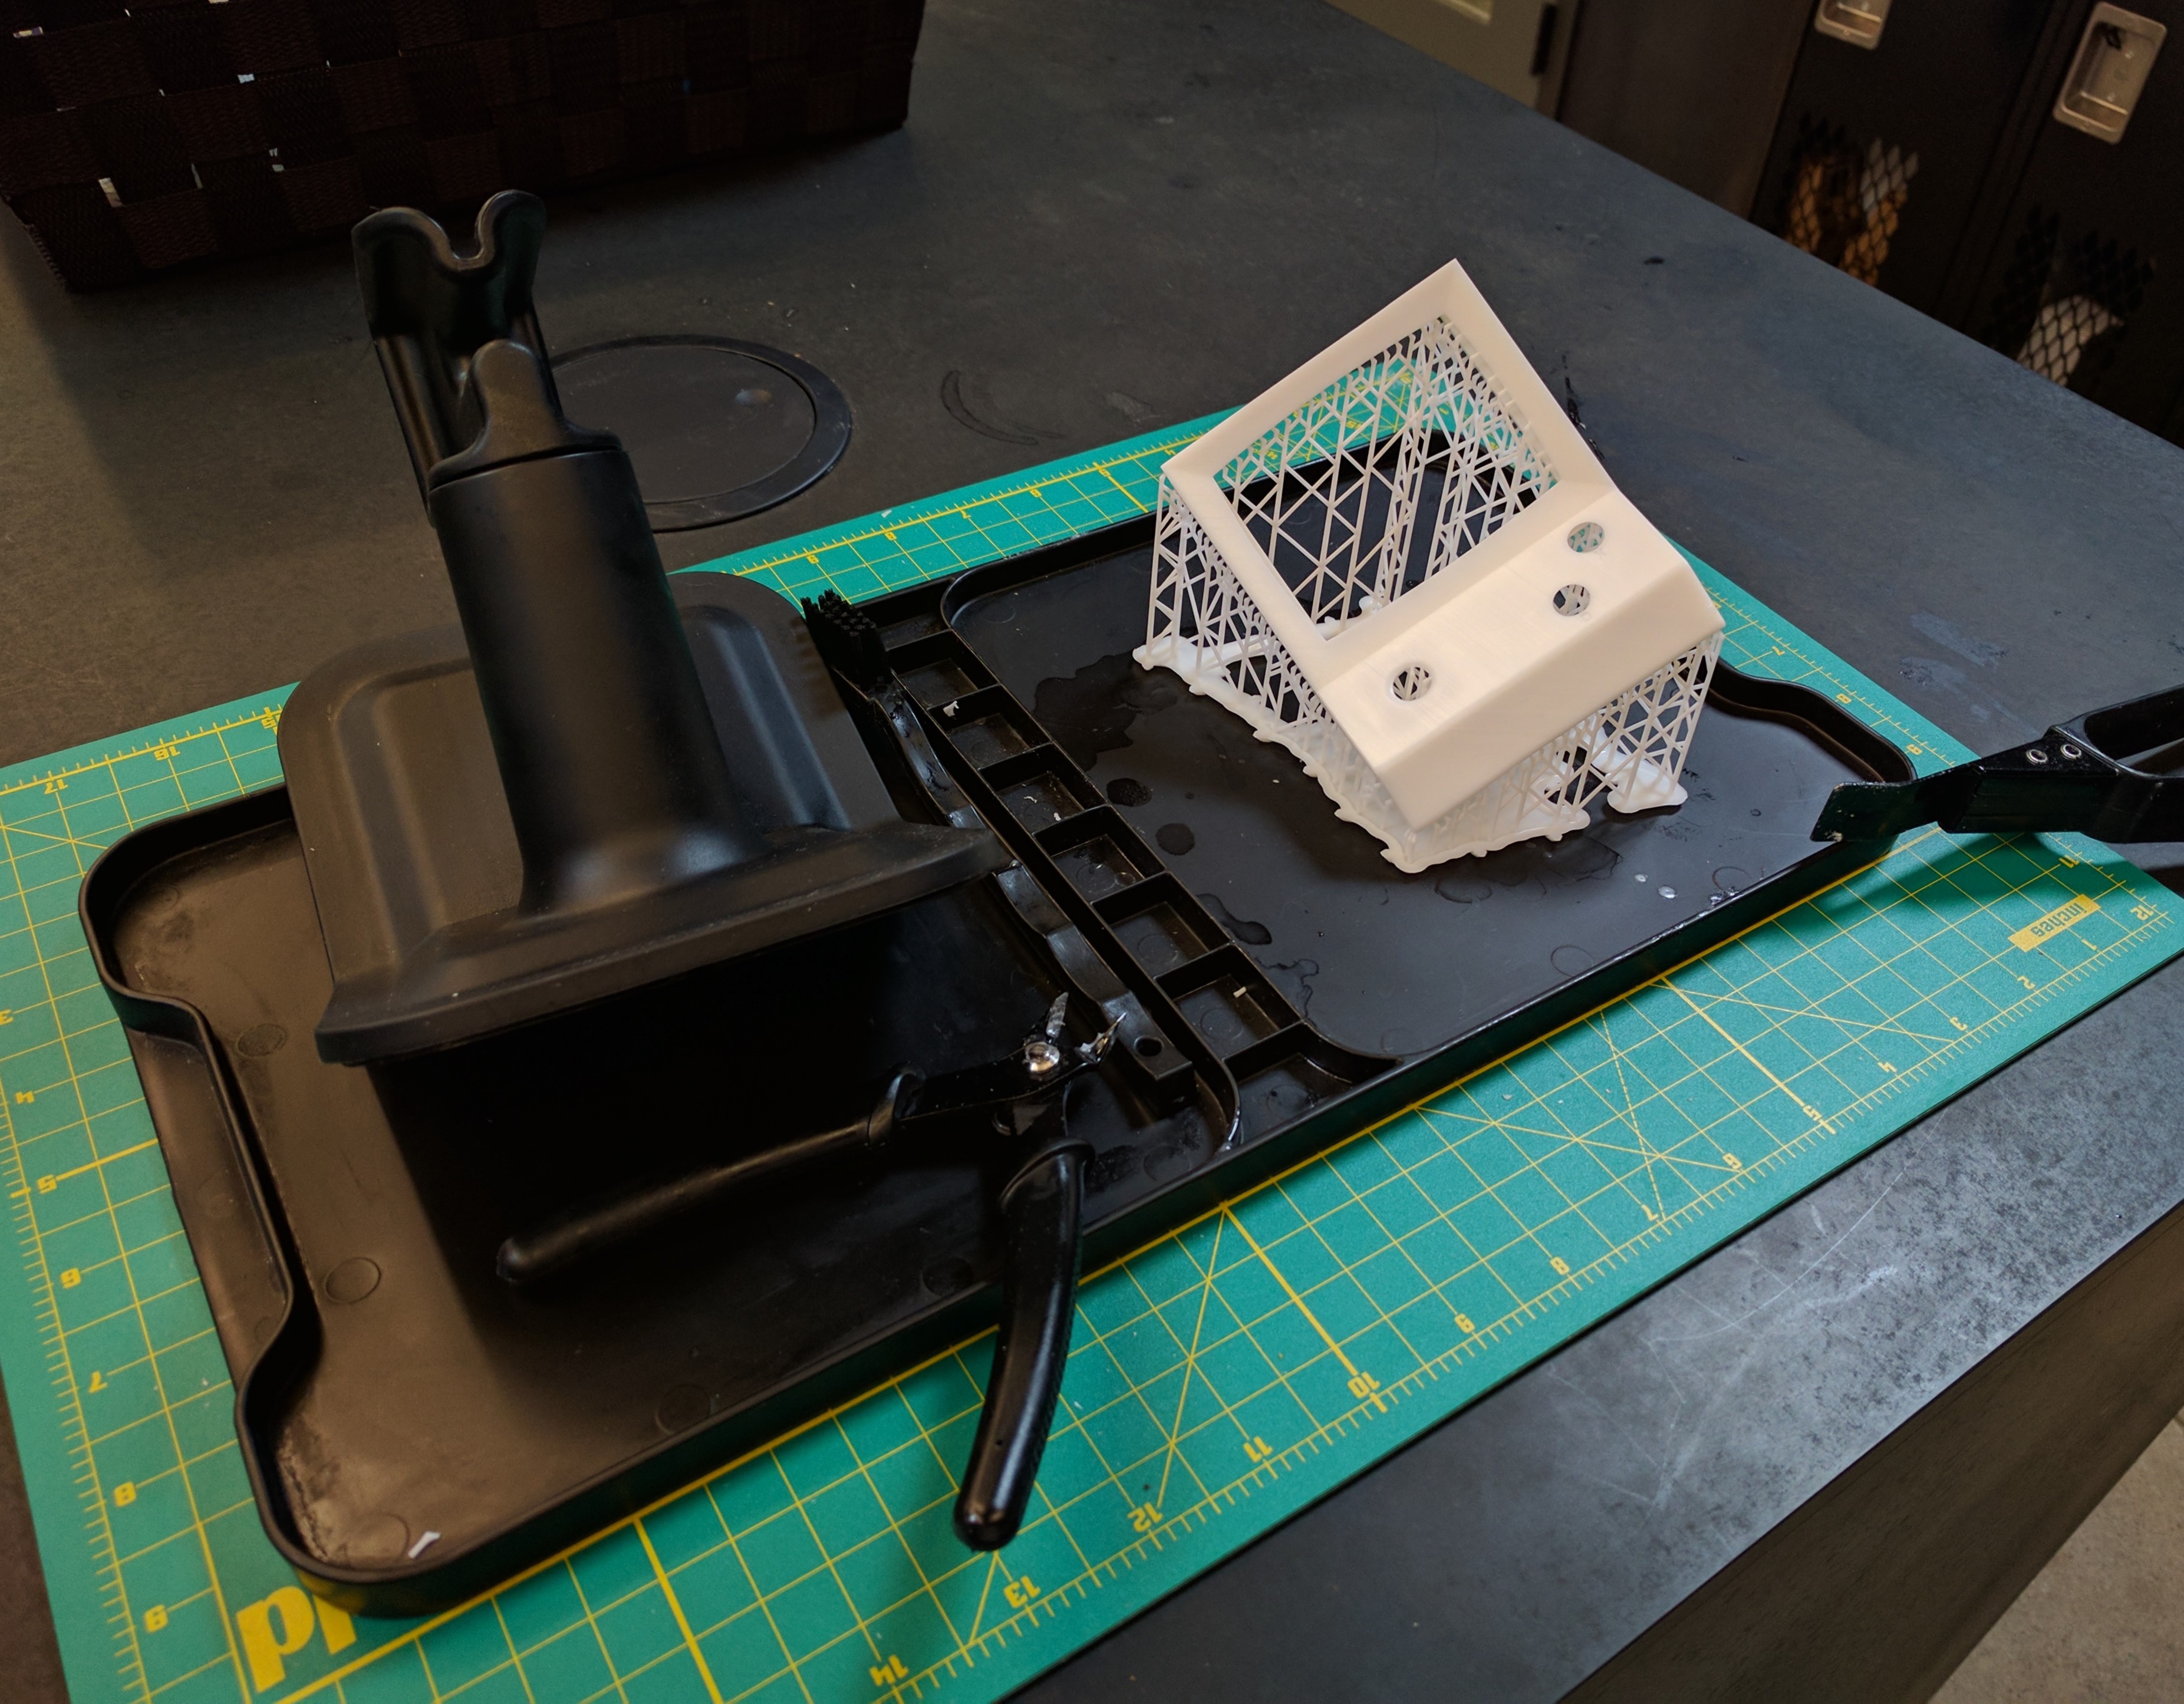
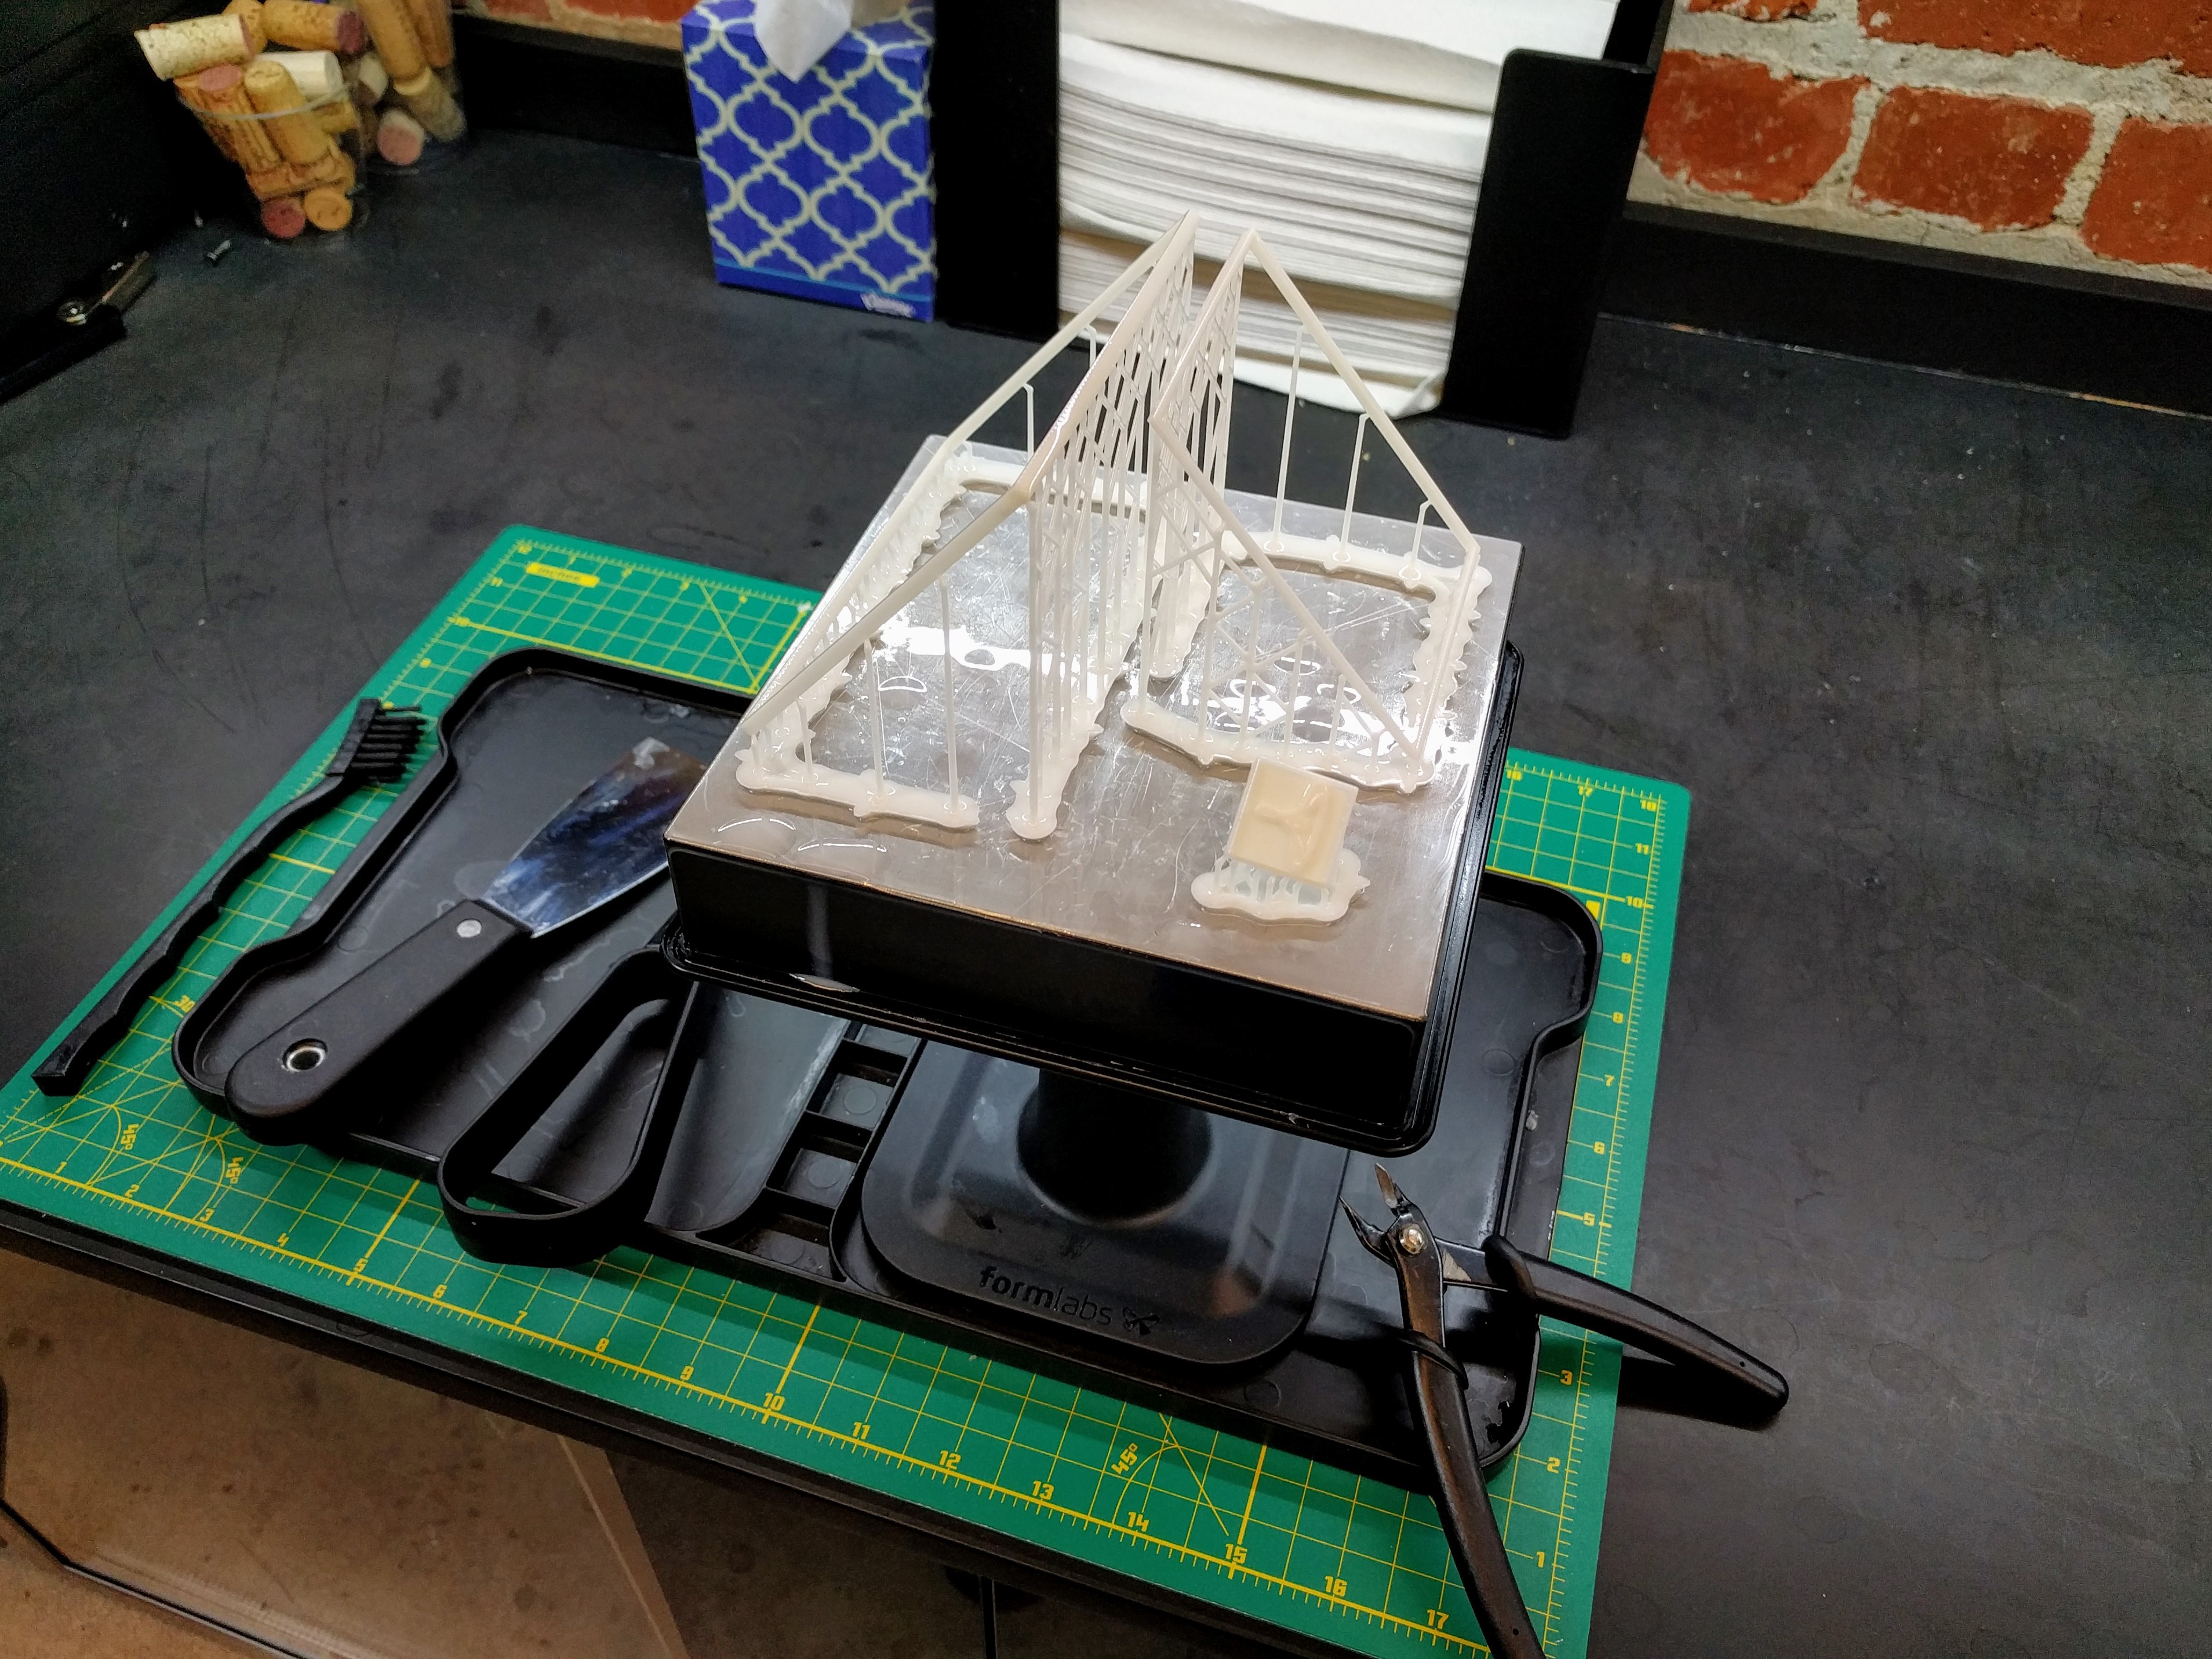
While messy, I LOVE the Form 2, and will happily deal with the goopy nature of its resin prints if given the option every time!
While waiting for my second Form 2 screen bezel model to print I went back to my old friend the Epilog Laser Cutter, and started cutting sample MDF parts I could use to test the fit and finish off the cabinet's final expensive walnut parts with.
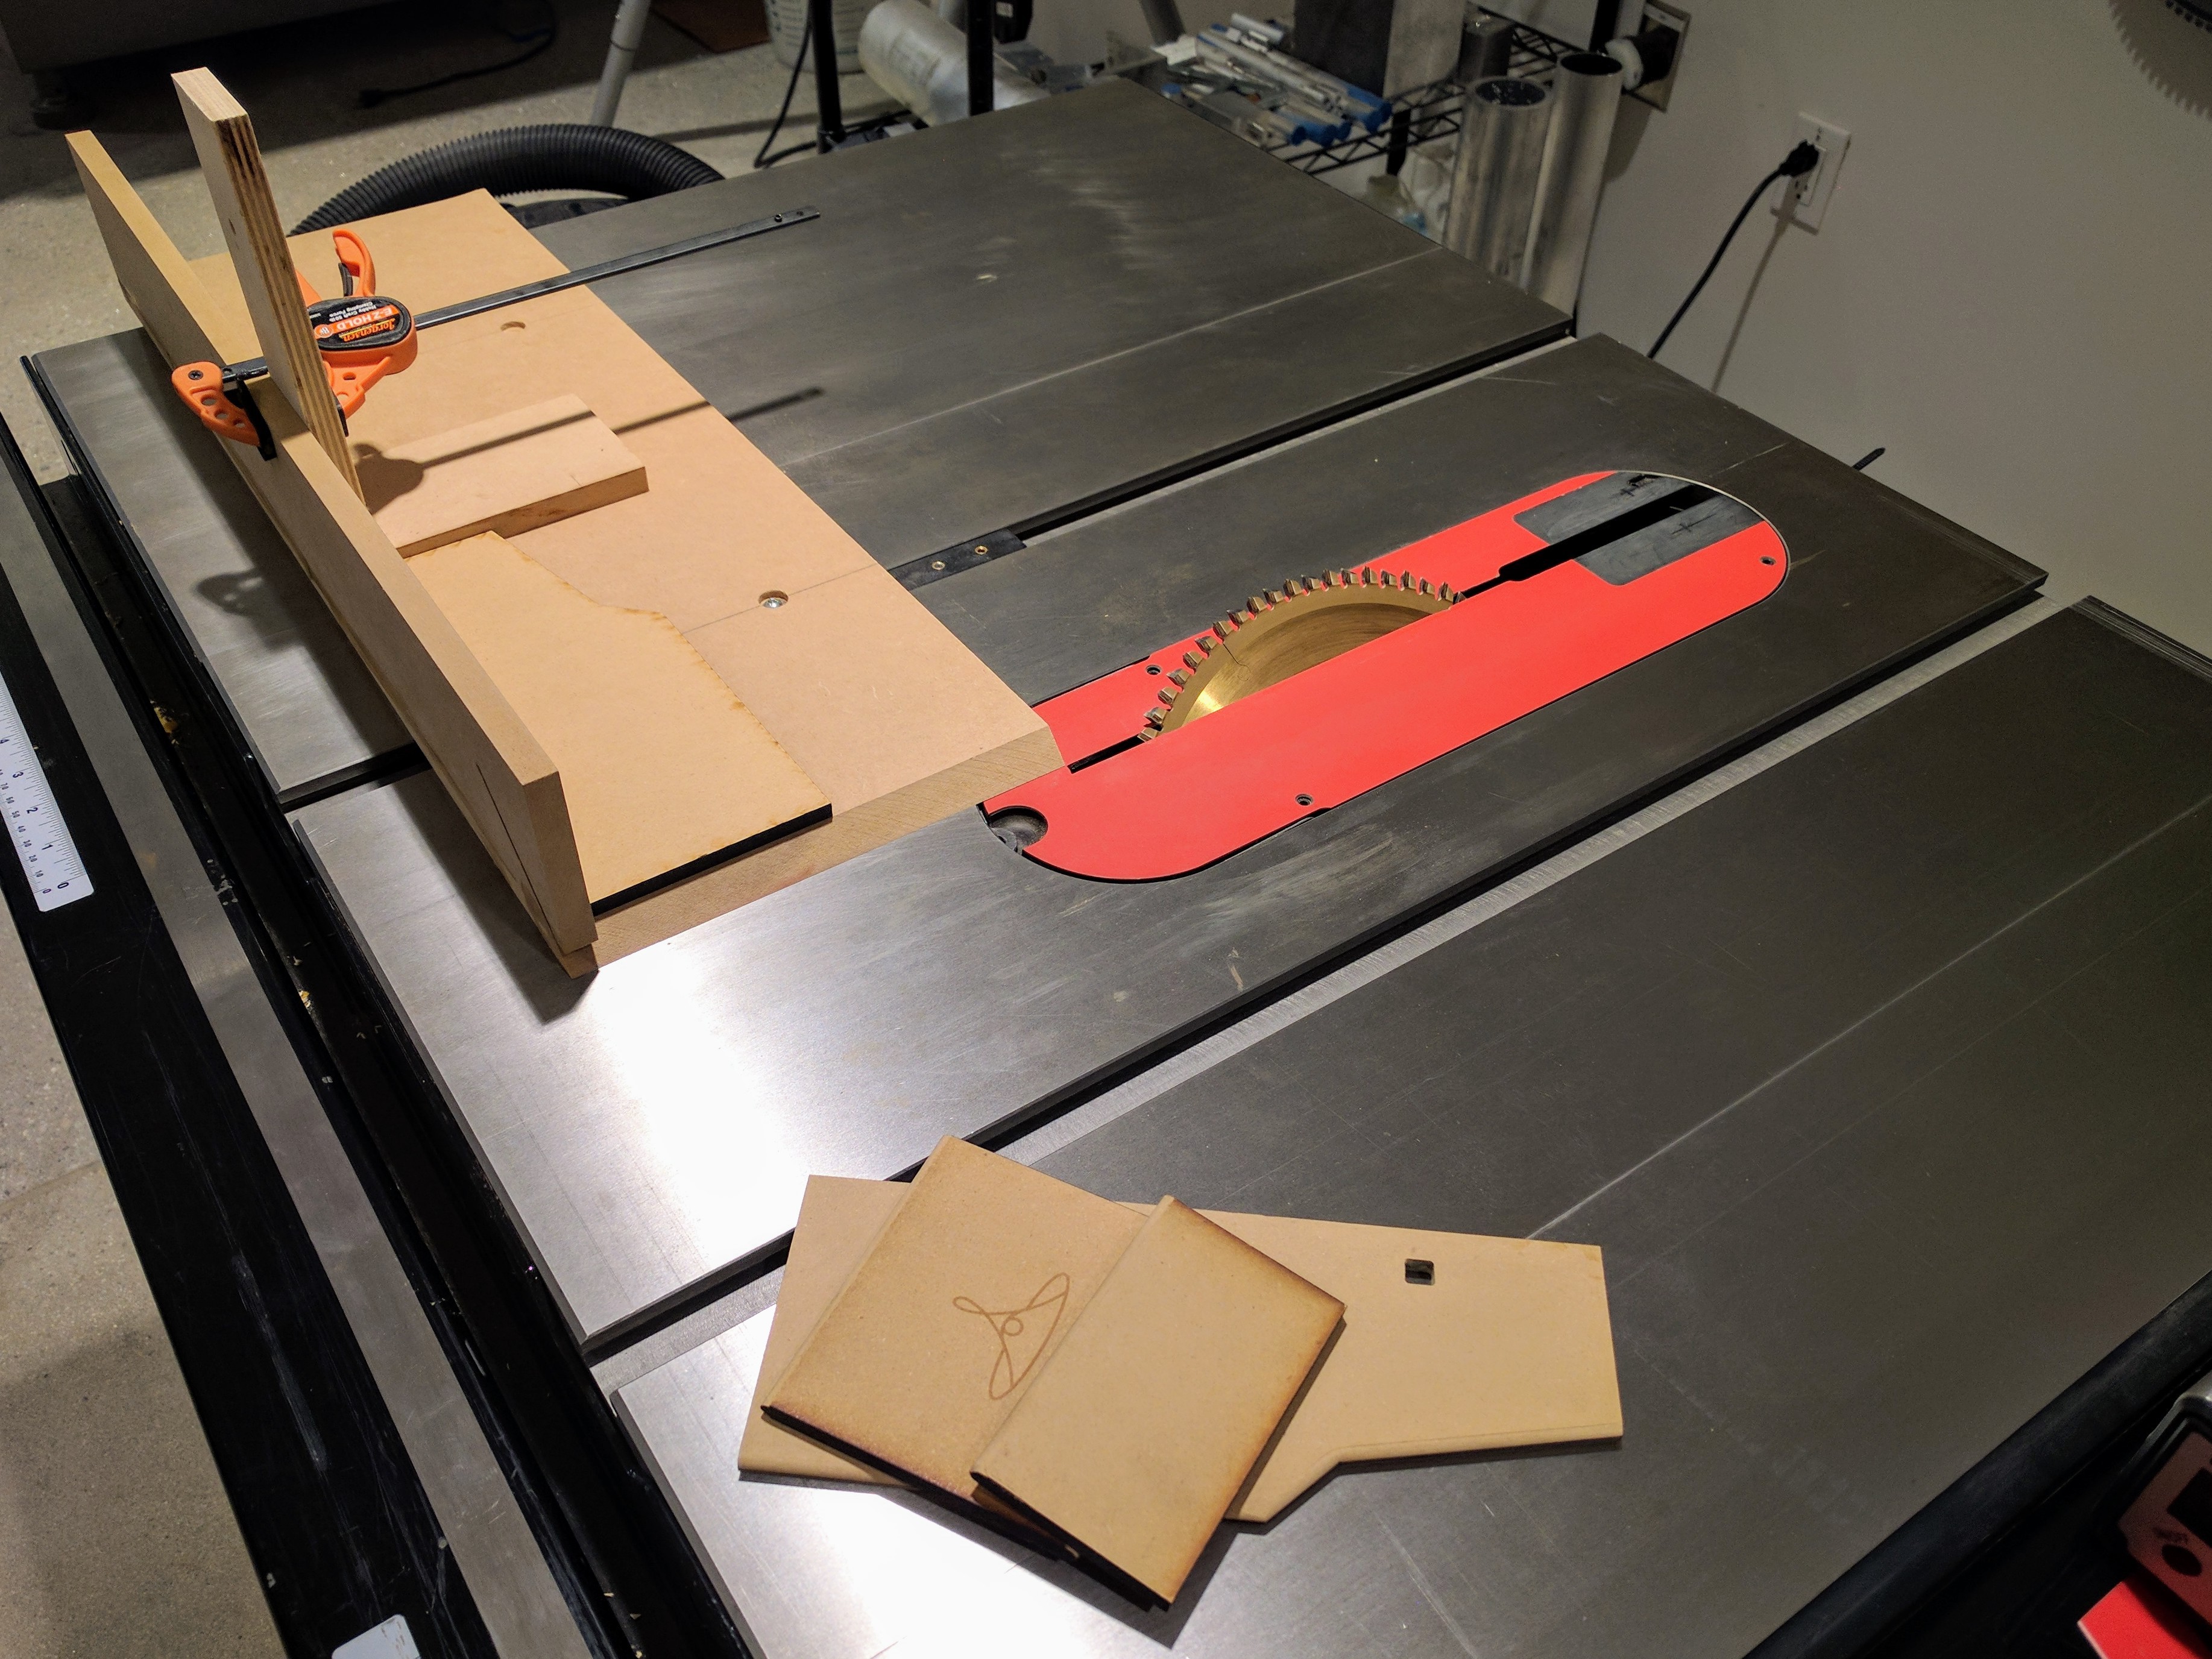
With the MDF parts cut on the laser cutter, I then set about testing the table saw in the Lab to see what kind of mitered joints it would produce.
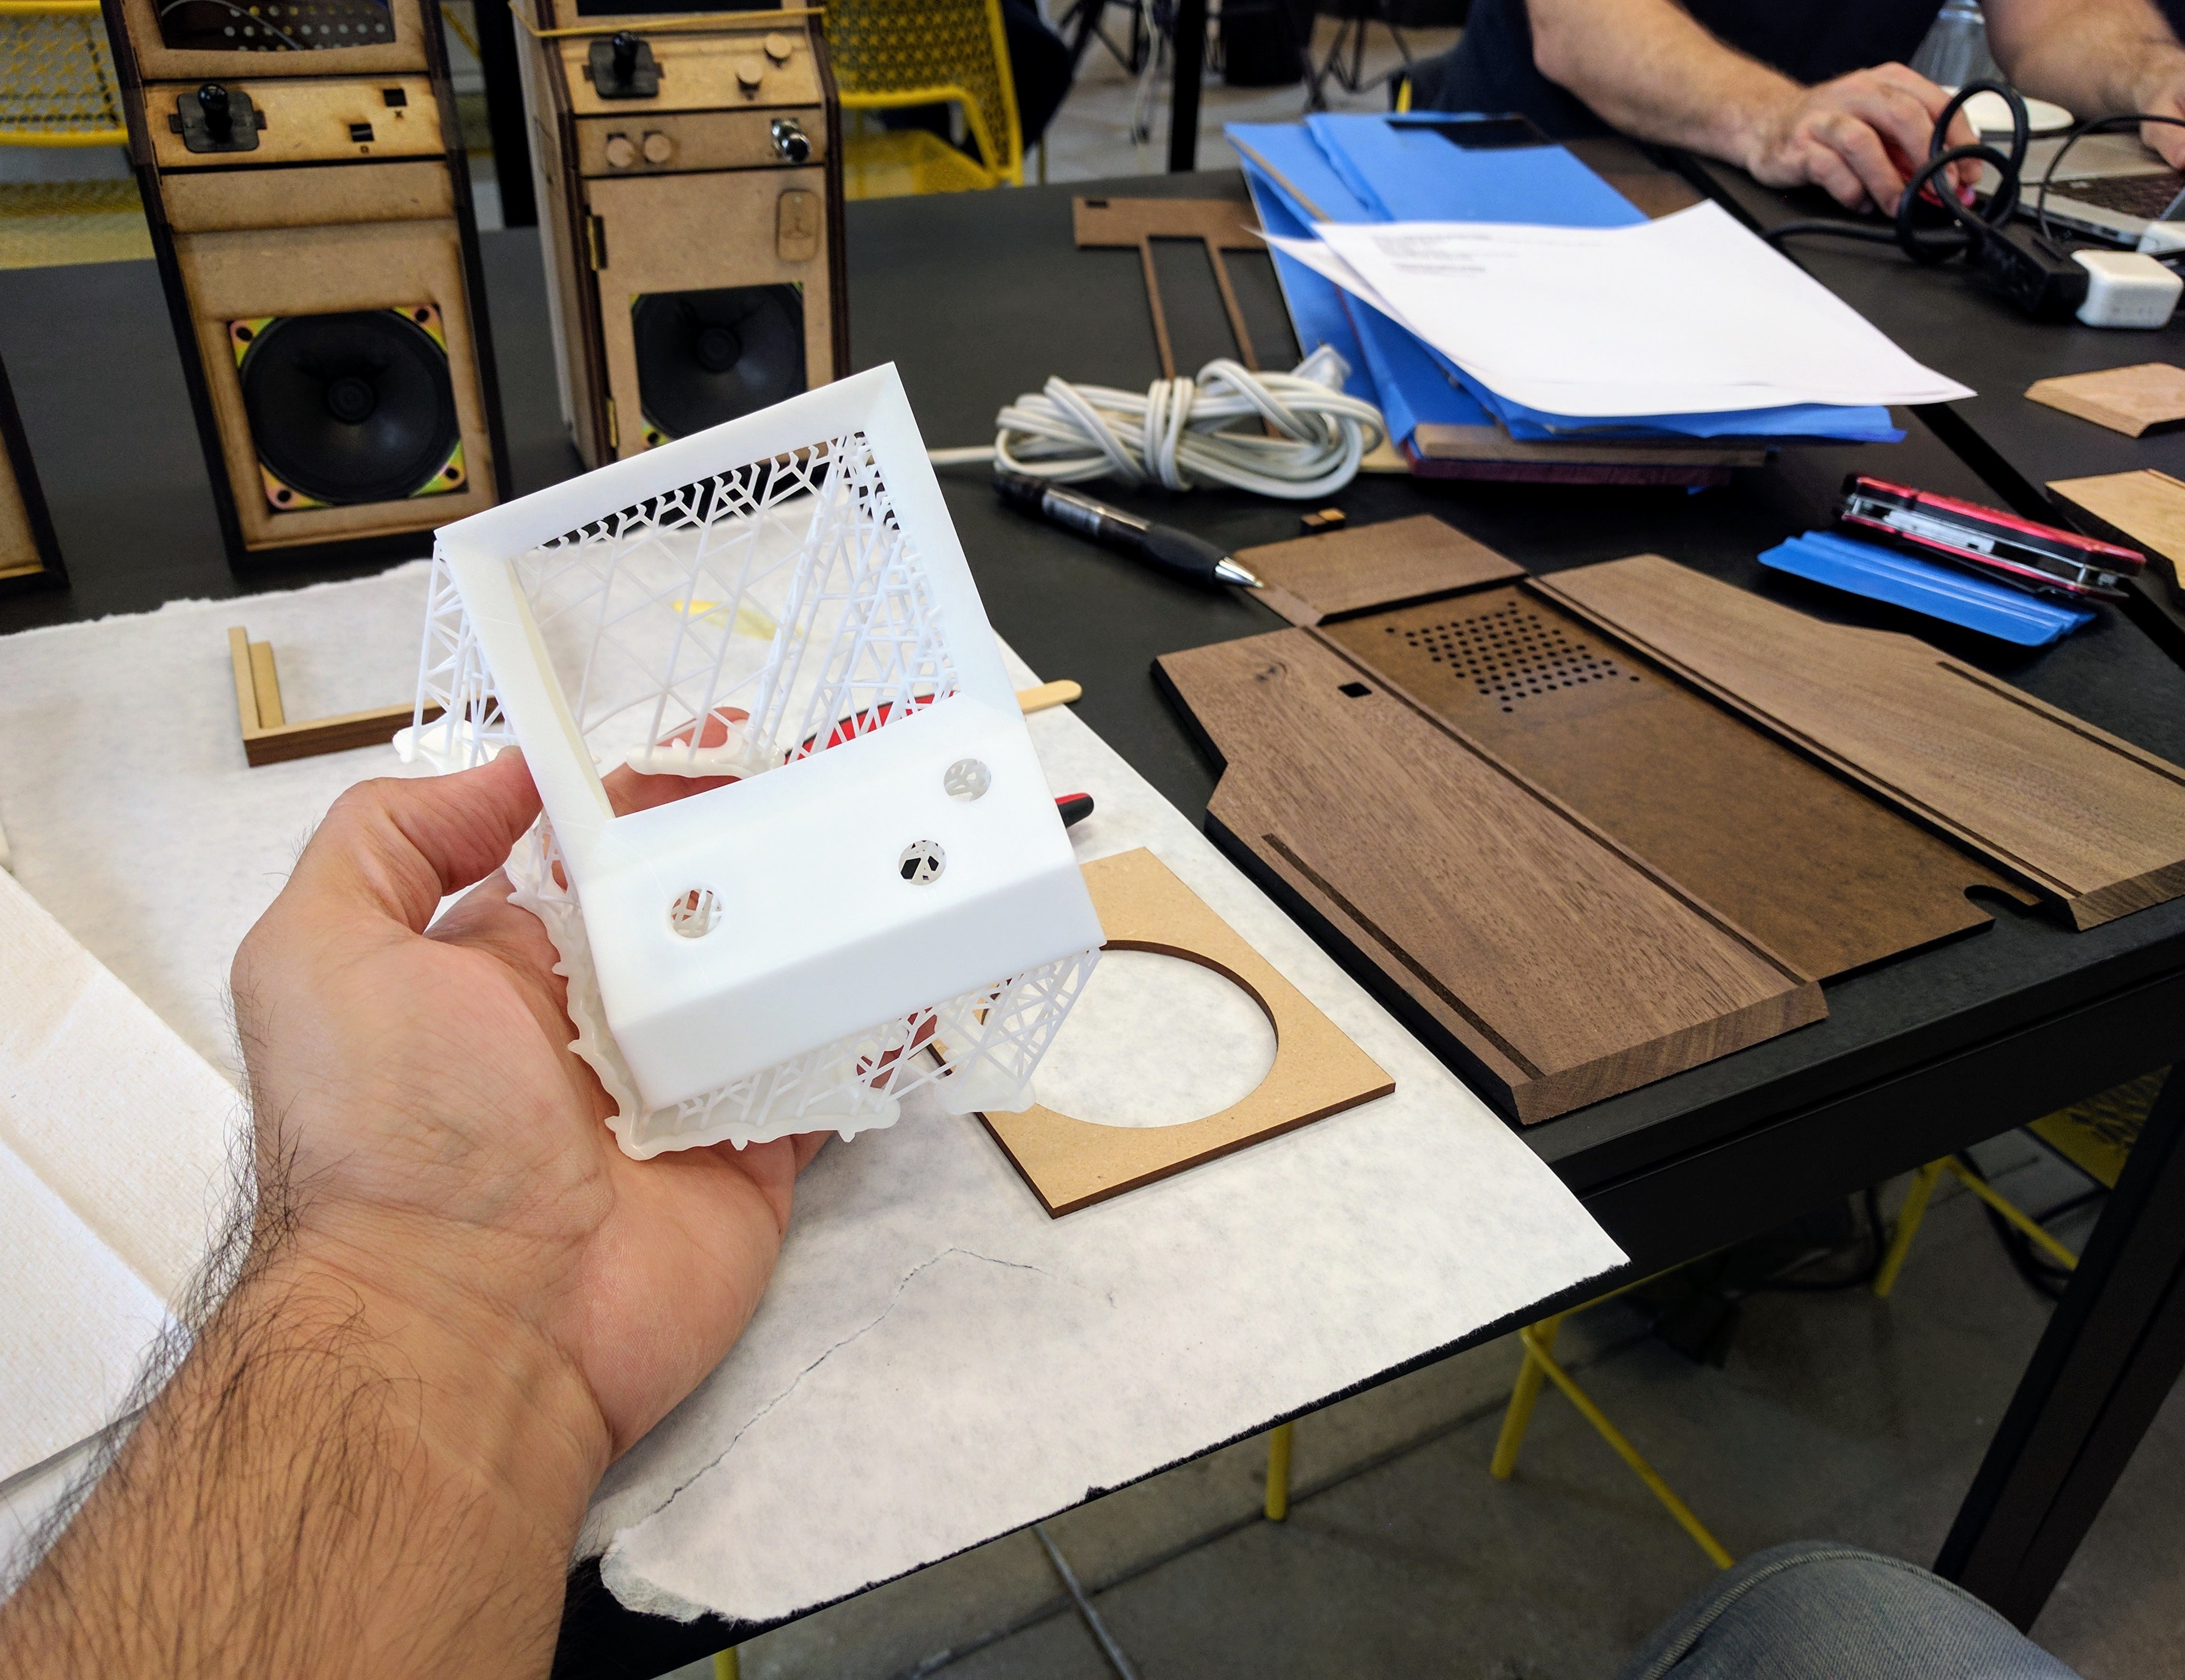
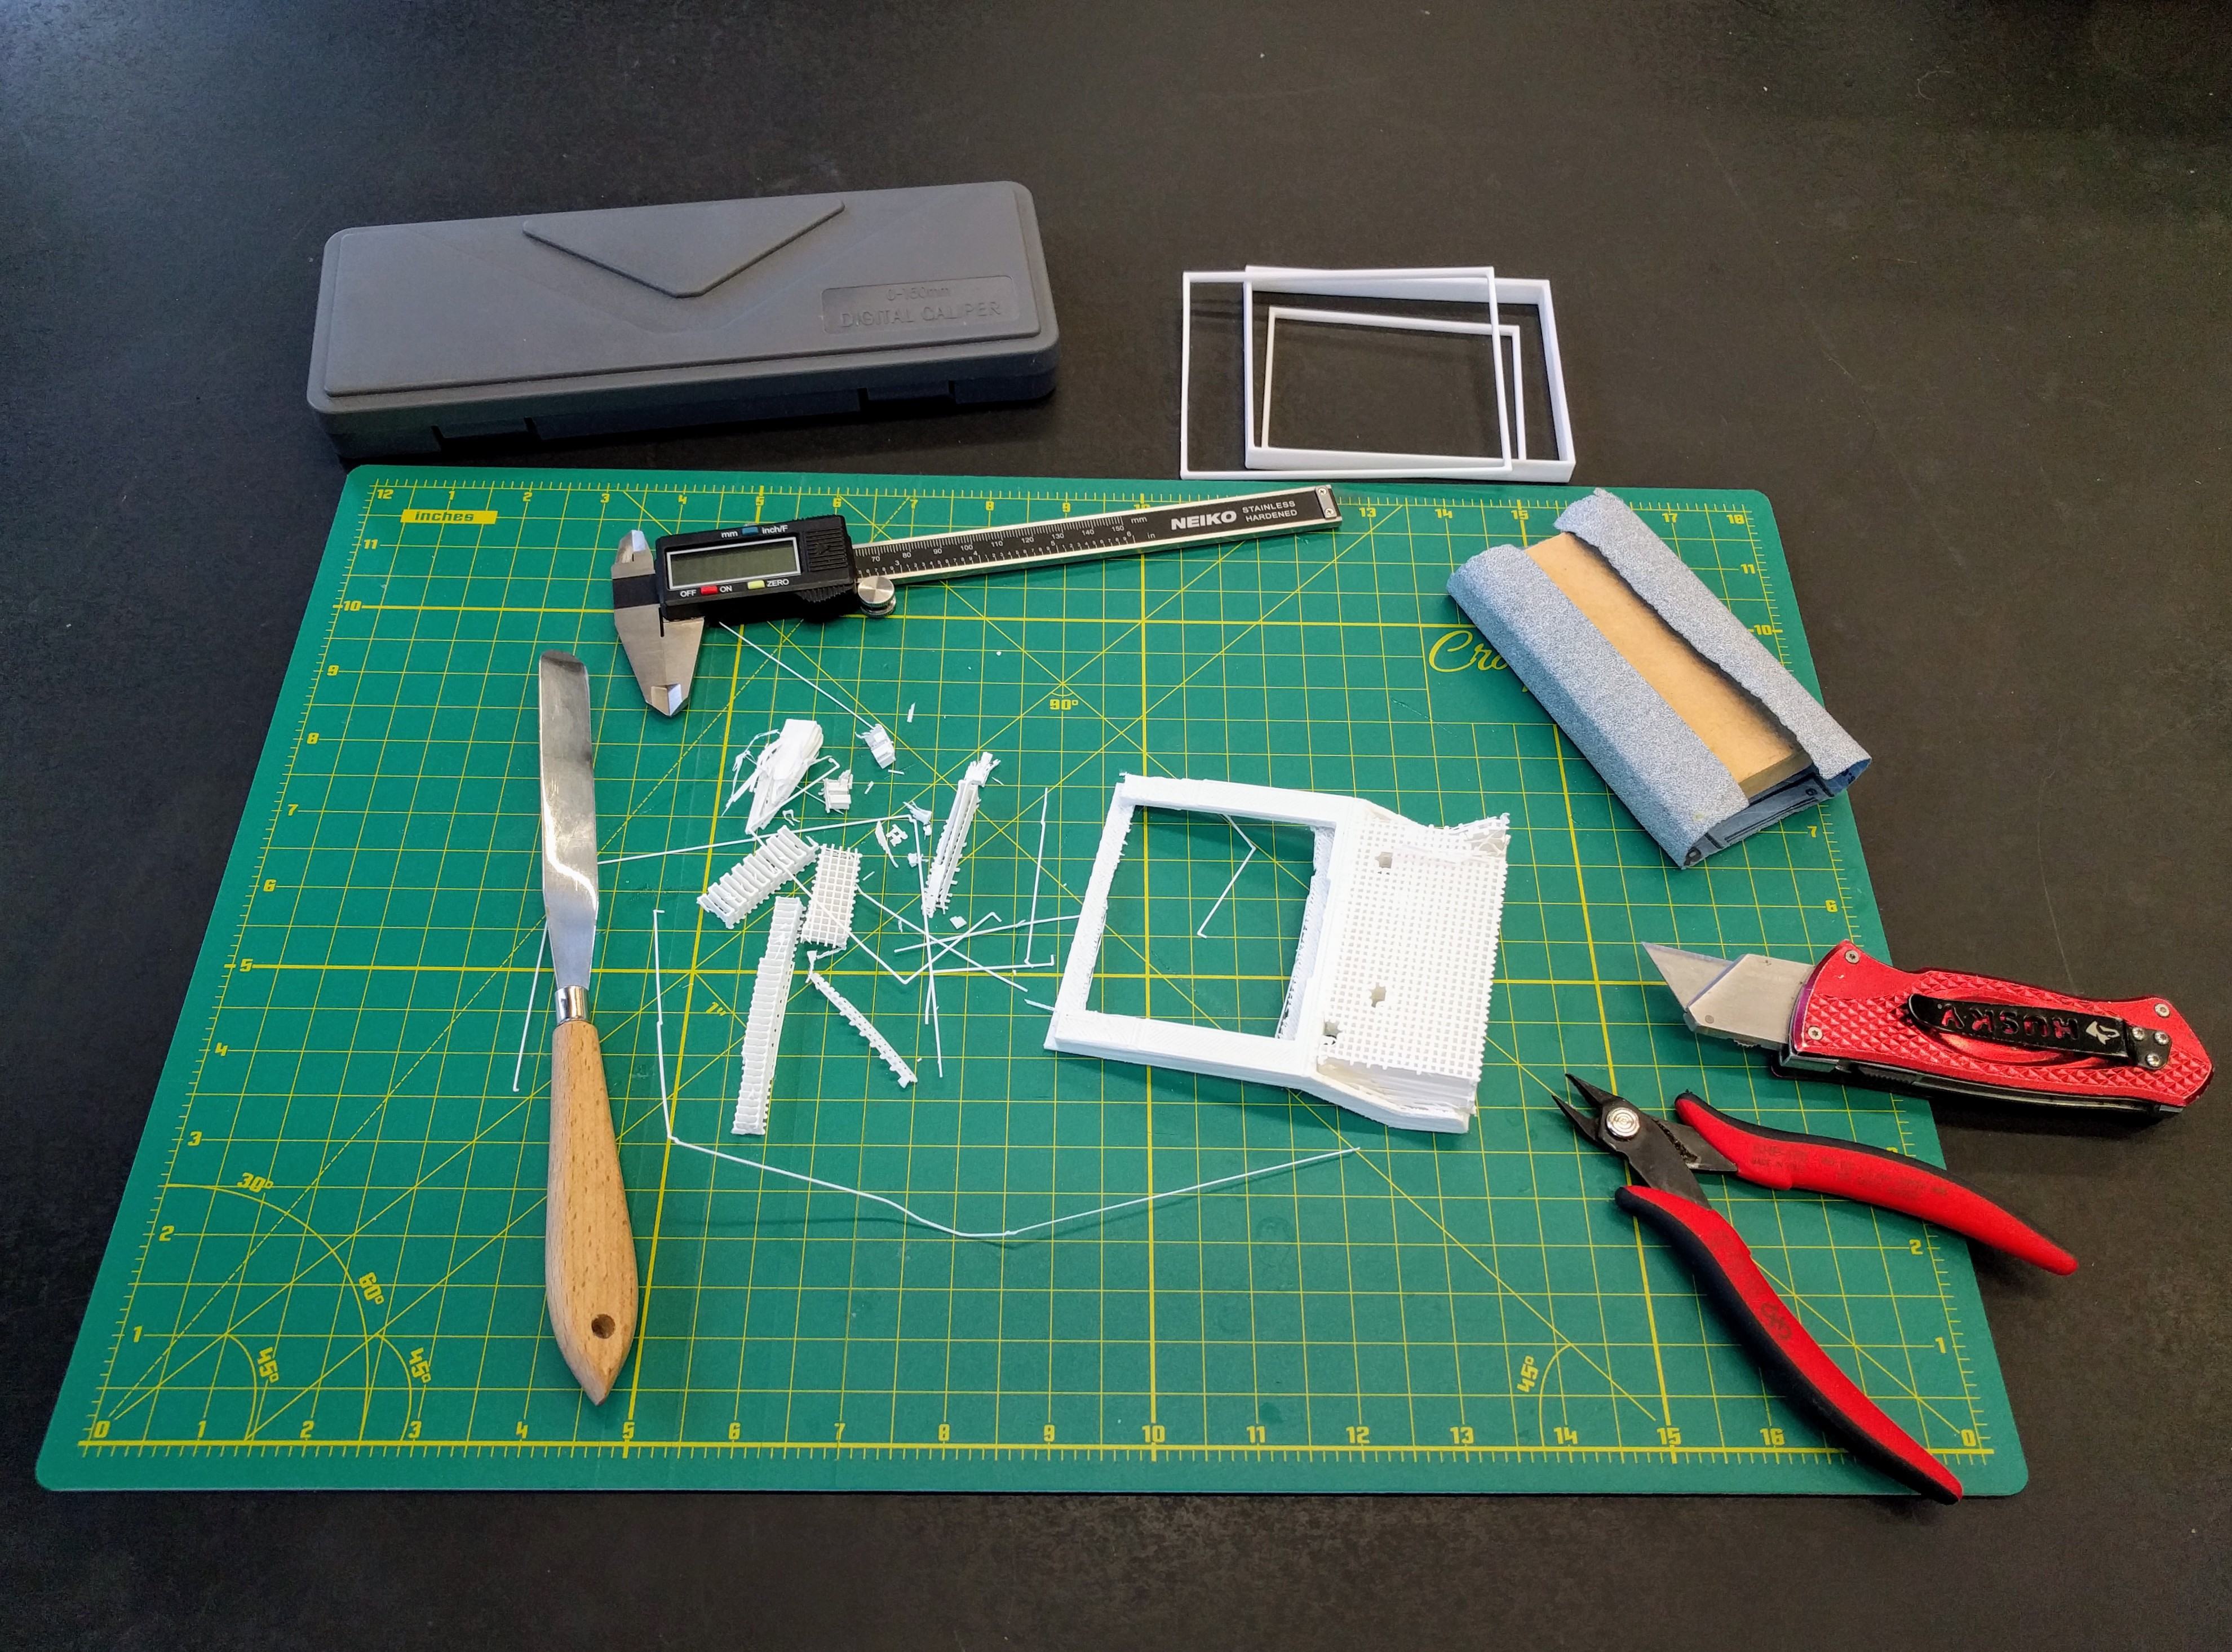
With my two screen bezel parts now printed in resin, my wood cabinet parts now cut, I removed the models supports (which were far easier to remove on the Form 2 prints than the Bukito prints), and started prepping them for paint.
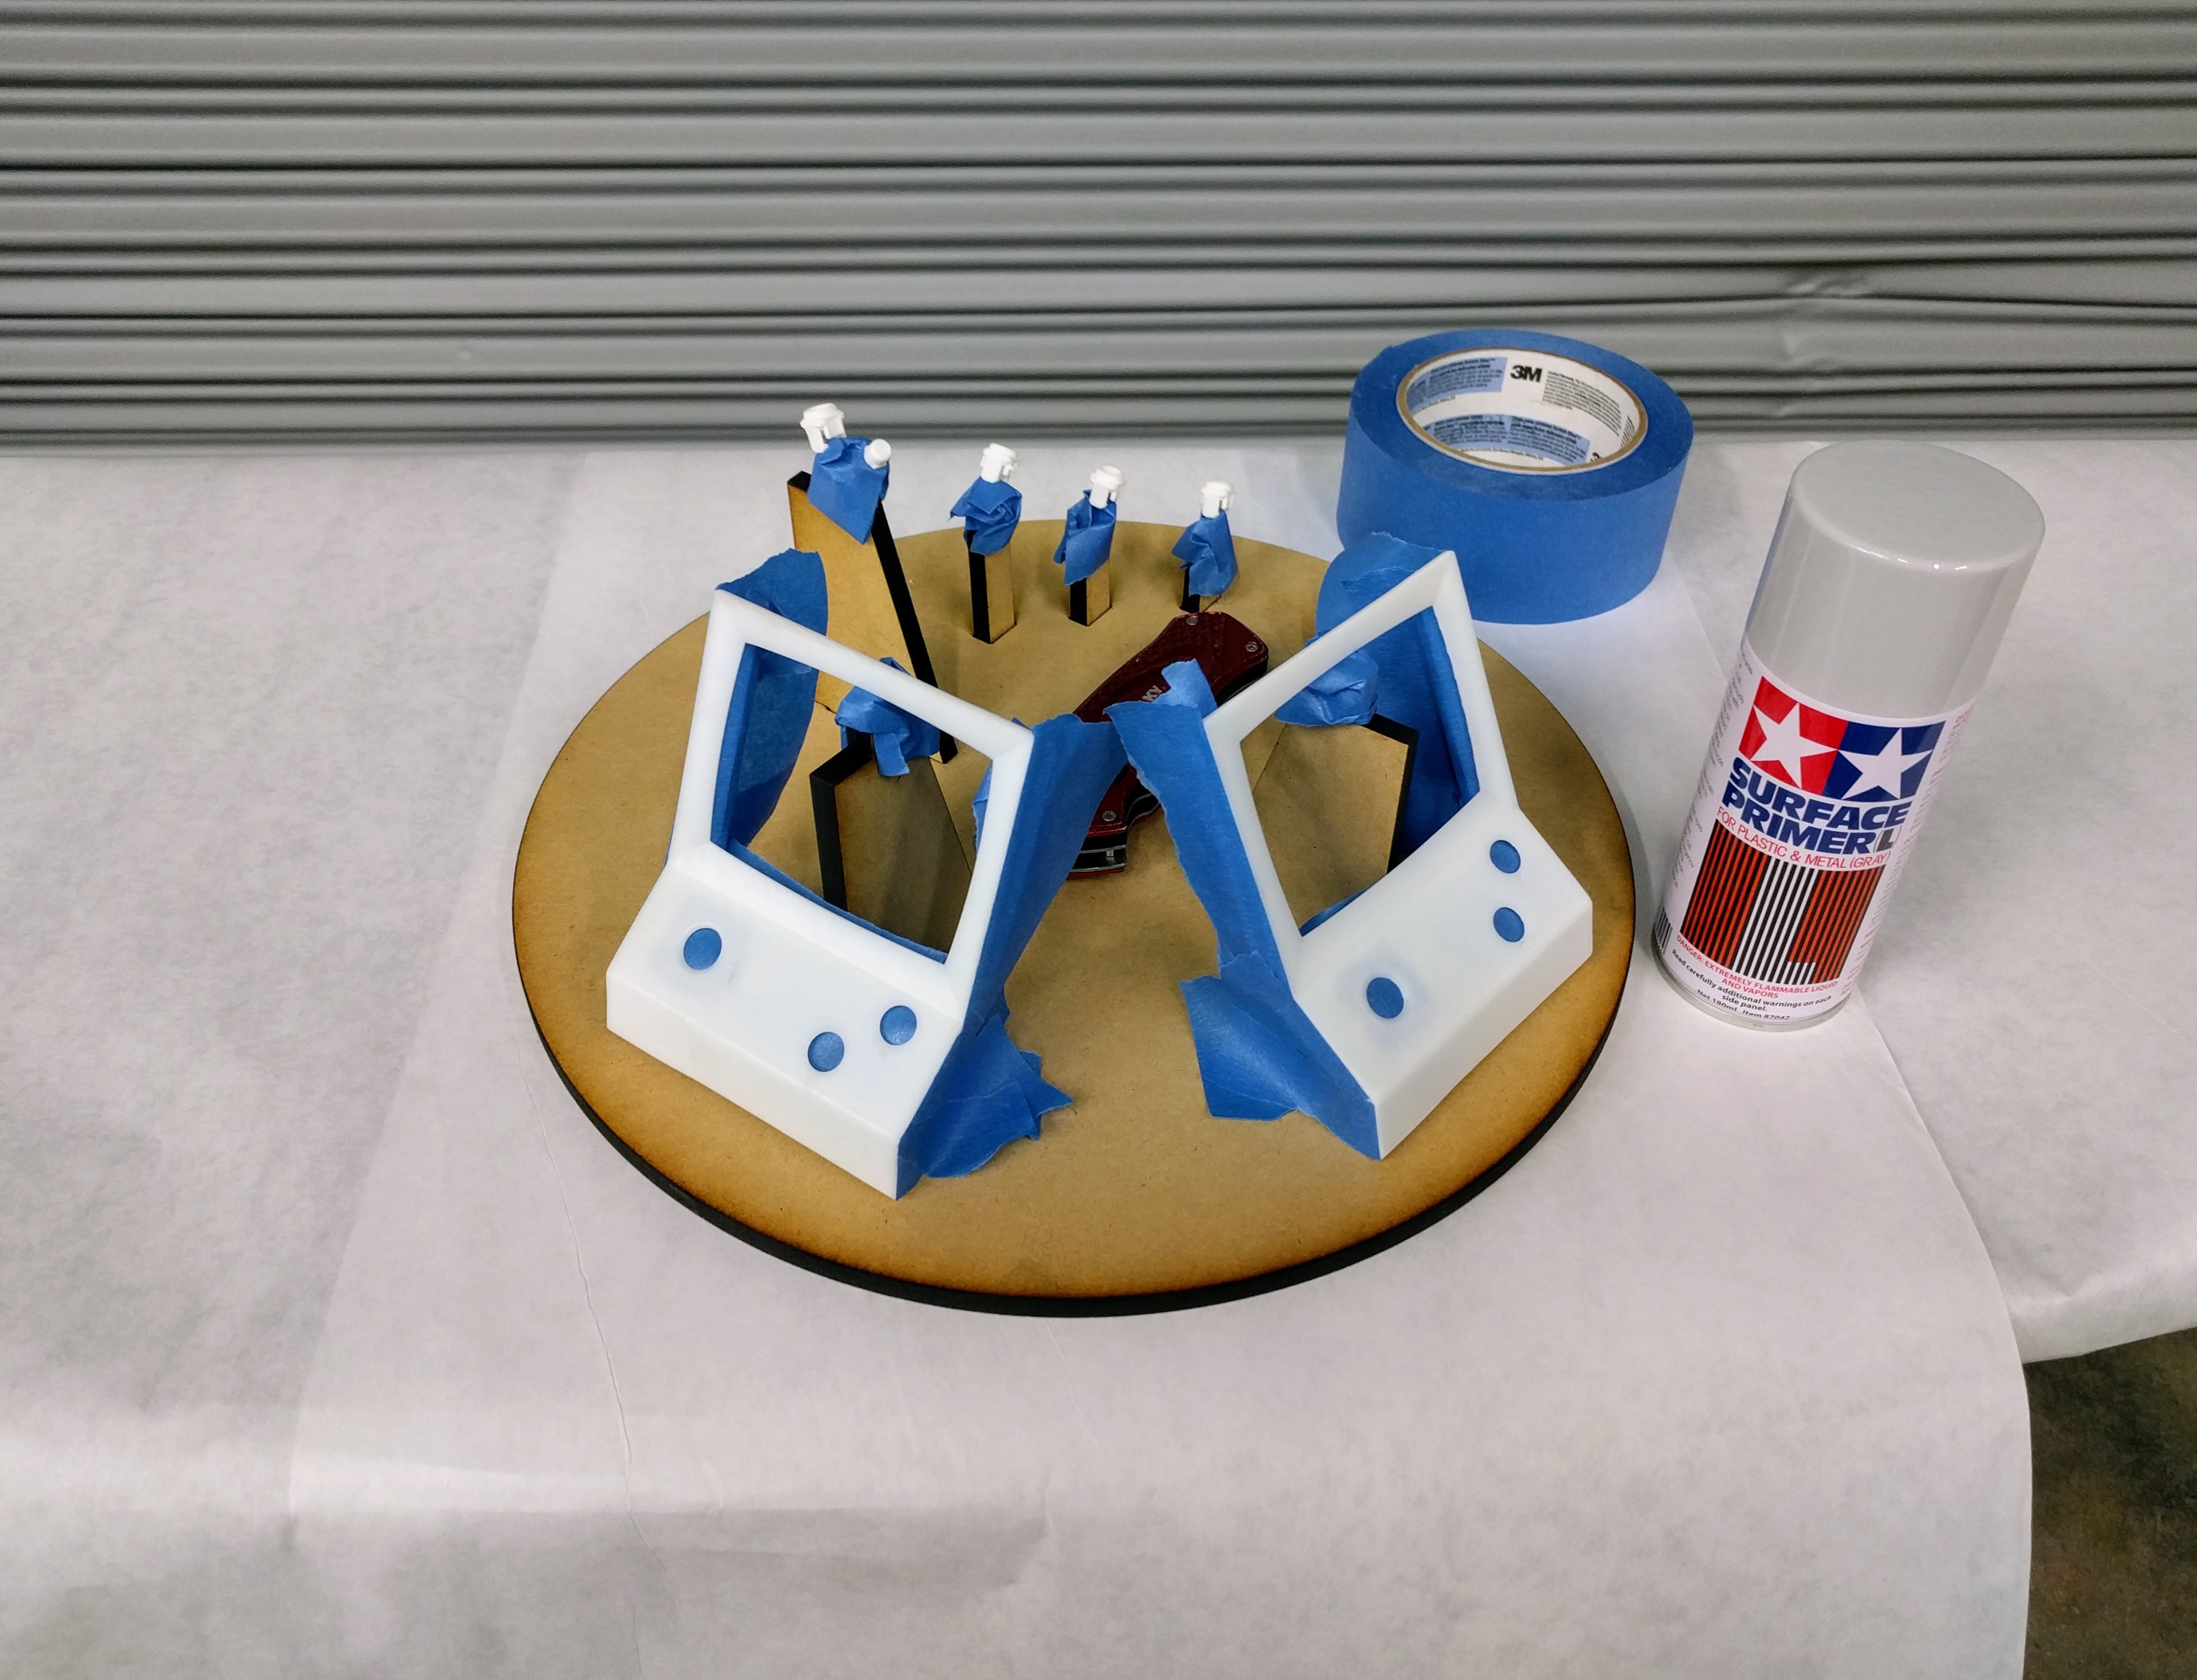
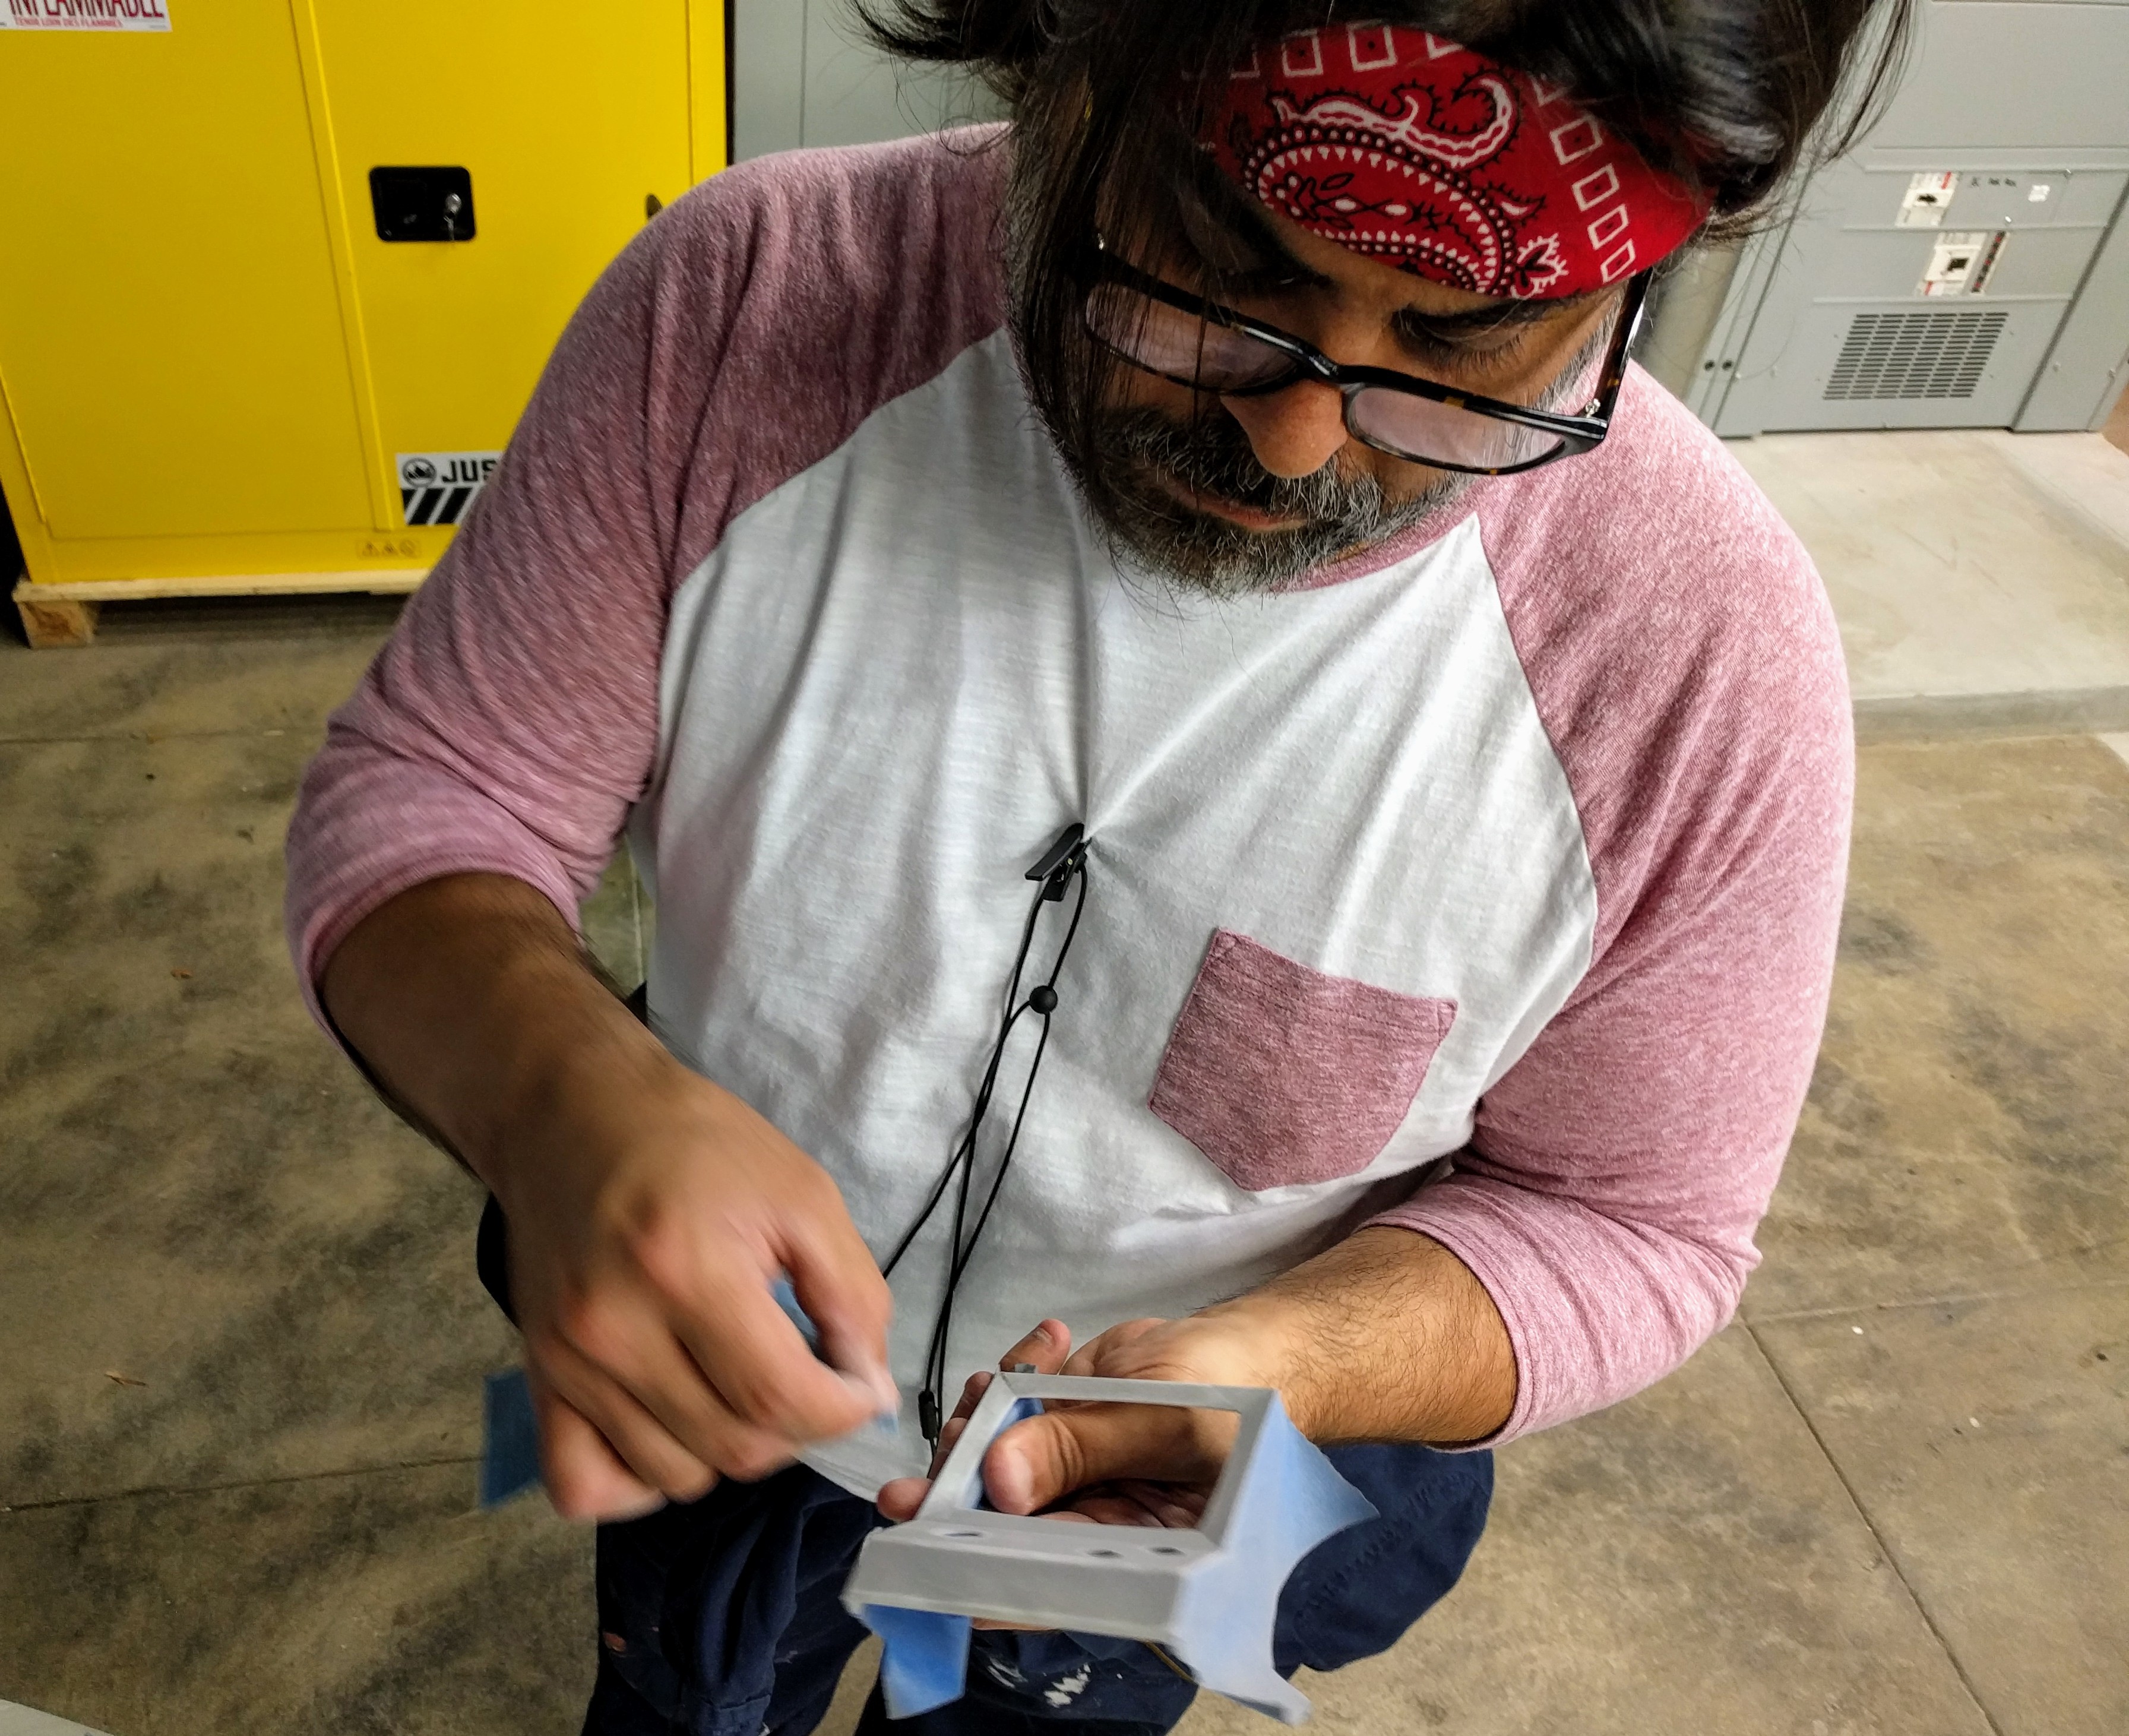
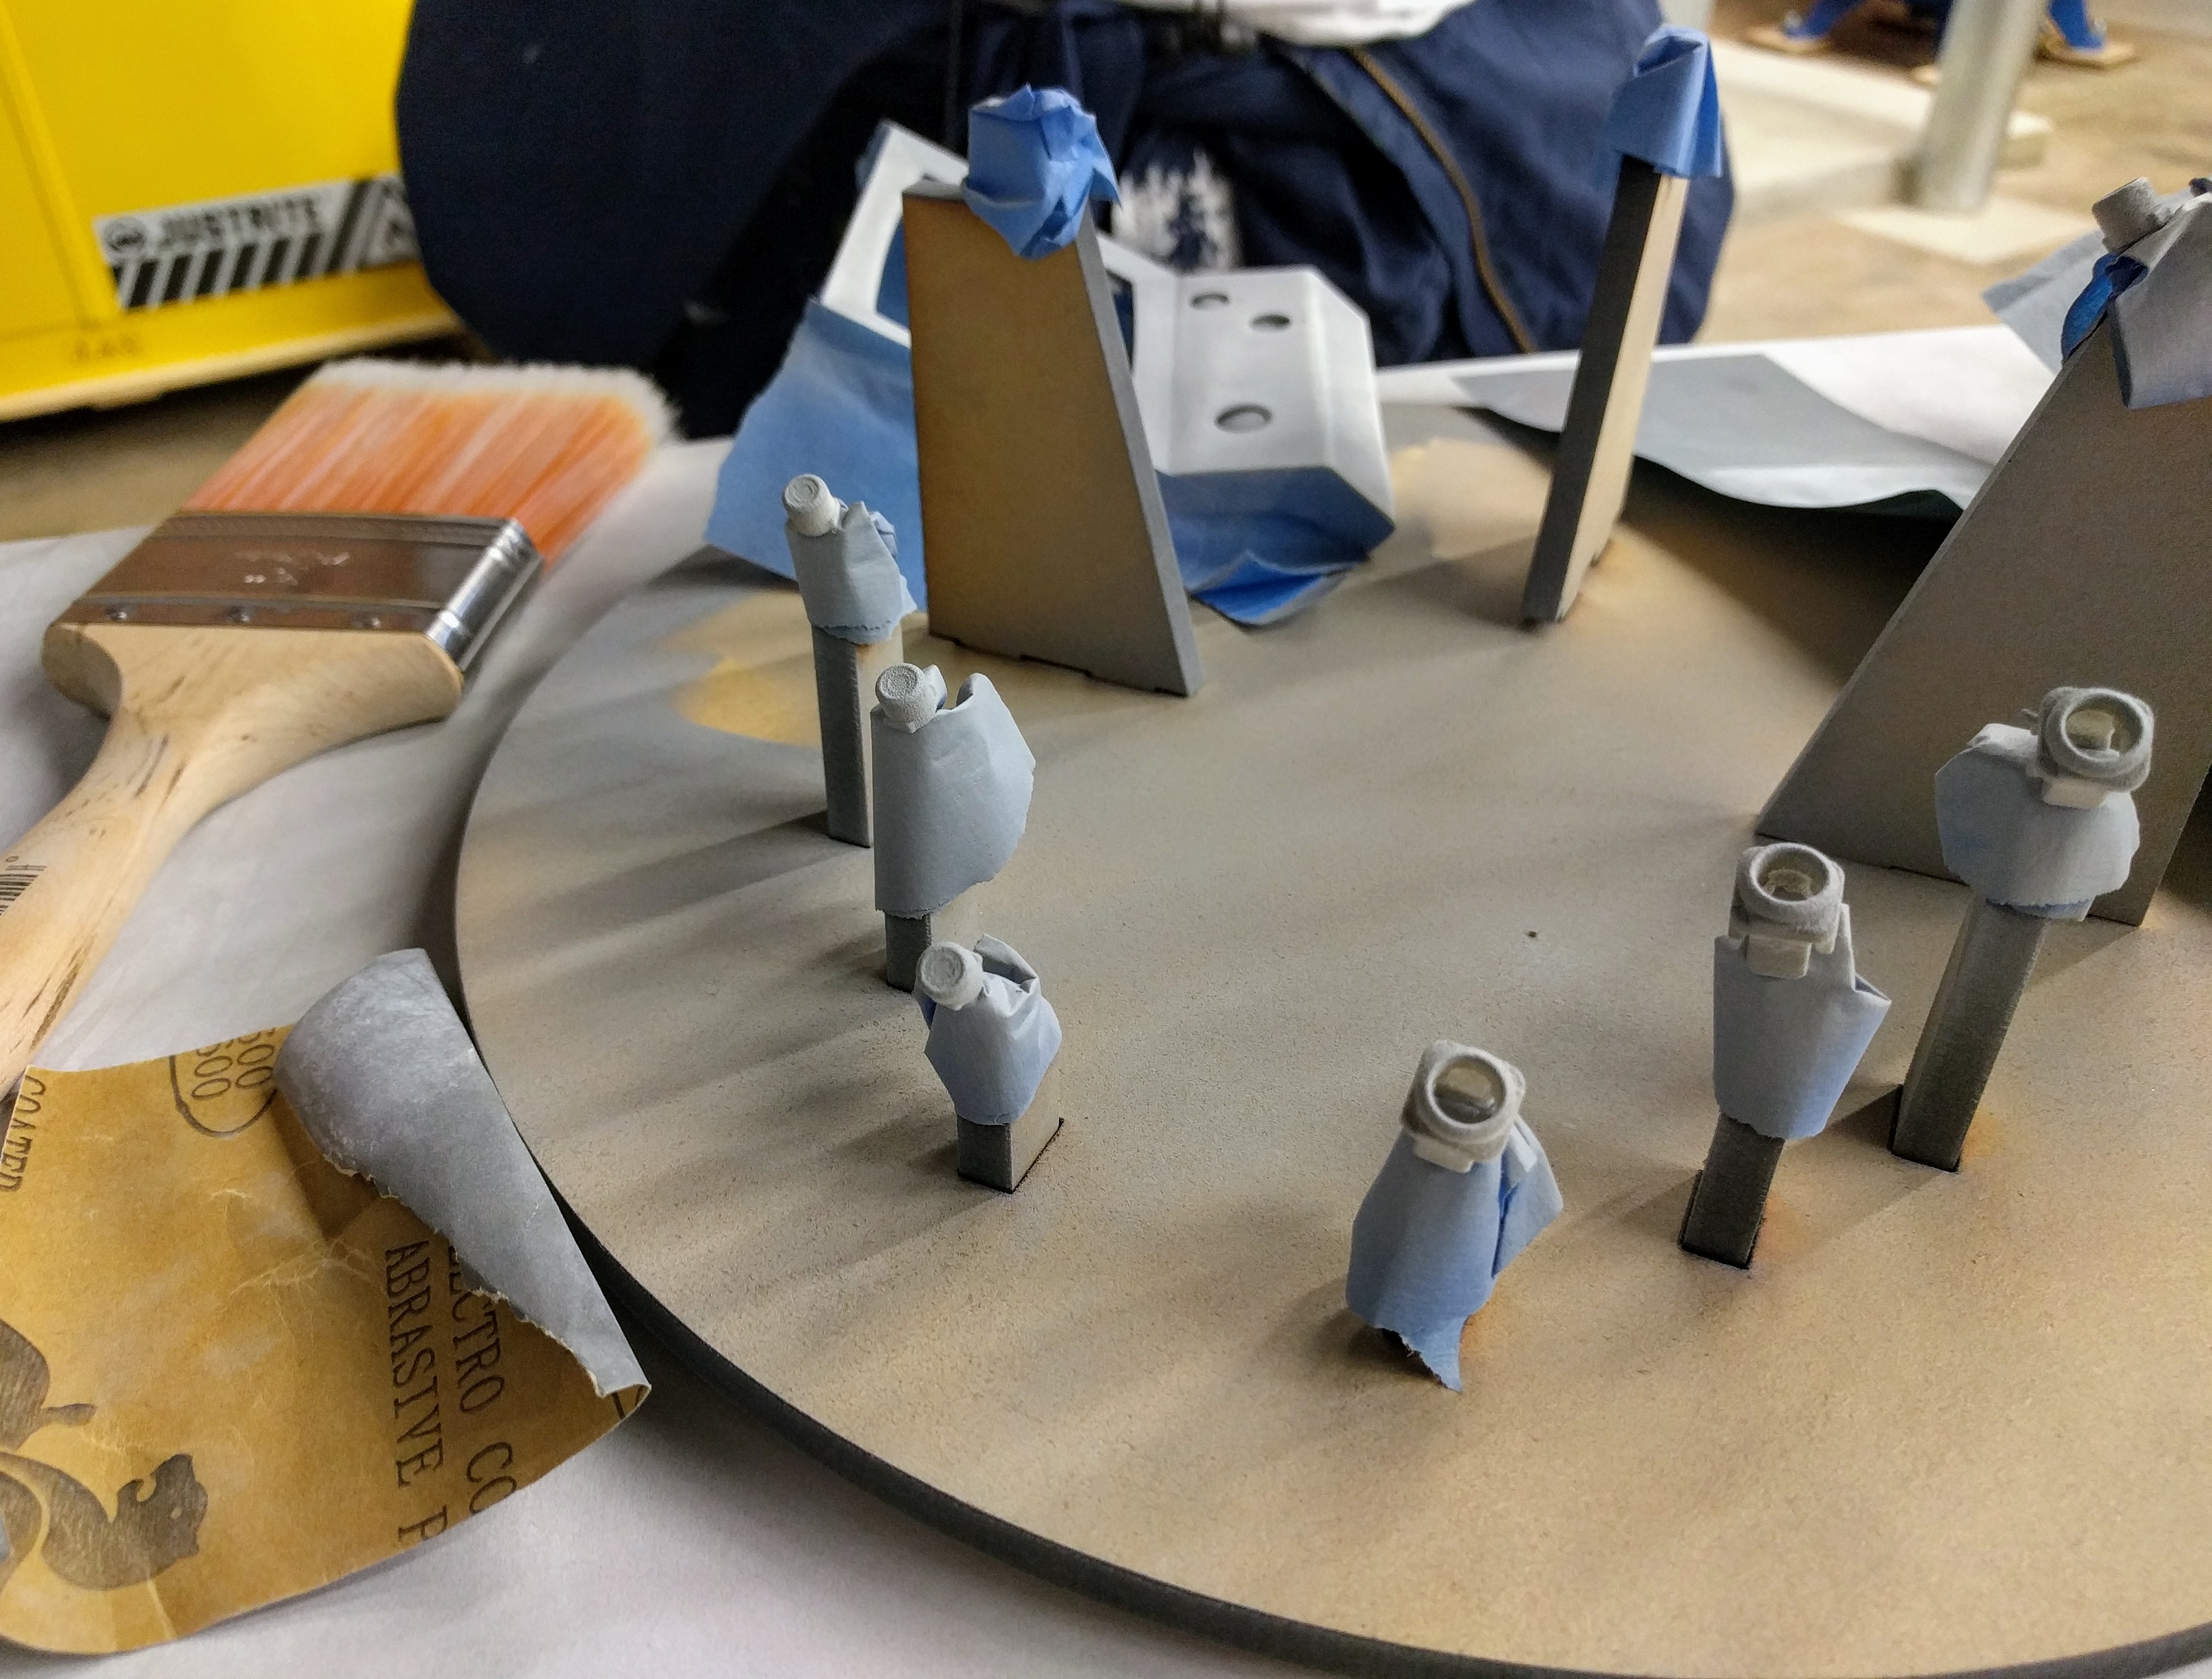
After removing the supports, I did a quick rough sand on the bezels and micro switch button covers in anticipation of priming them.
After priming my resin parts I sanded, sanded, and sanded them some more using ever finer sandpaper. Short of wet sanding these parts, I primed+sanded these parts multiple times until I got the finish I wanted....
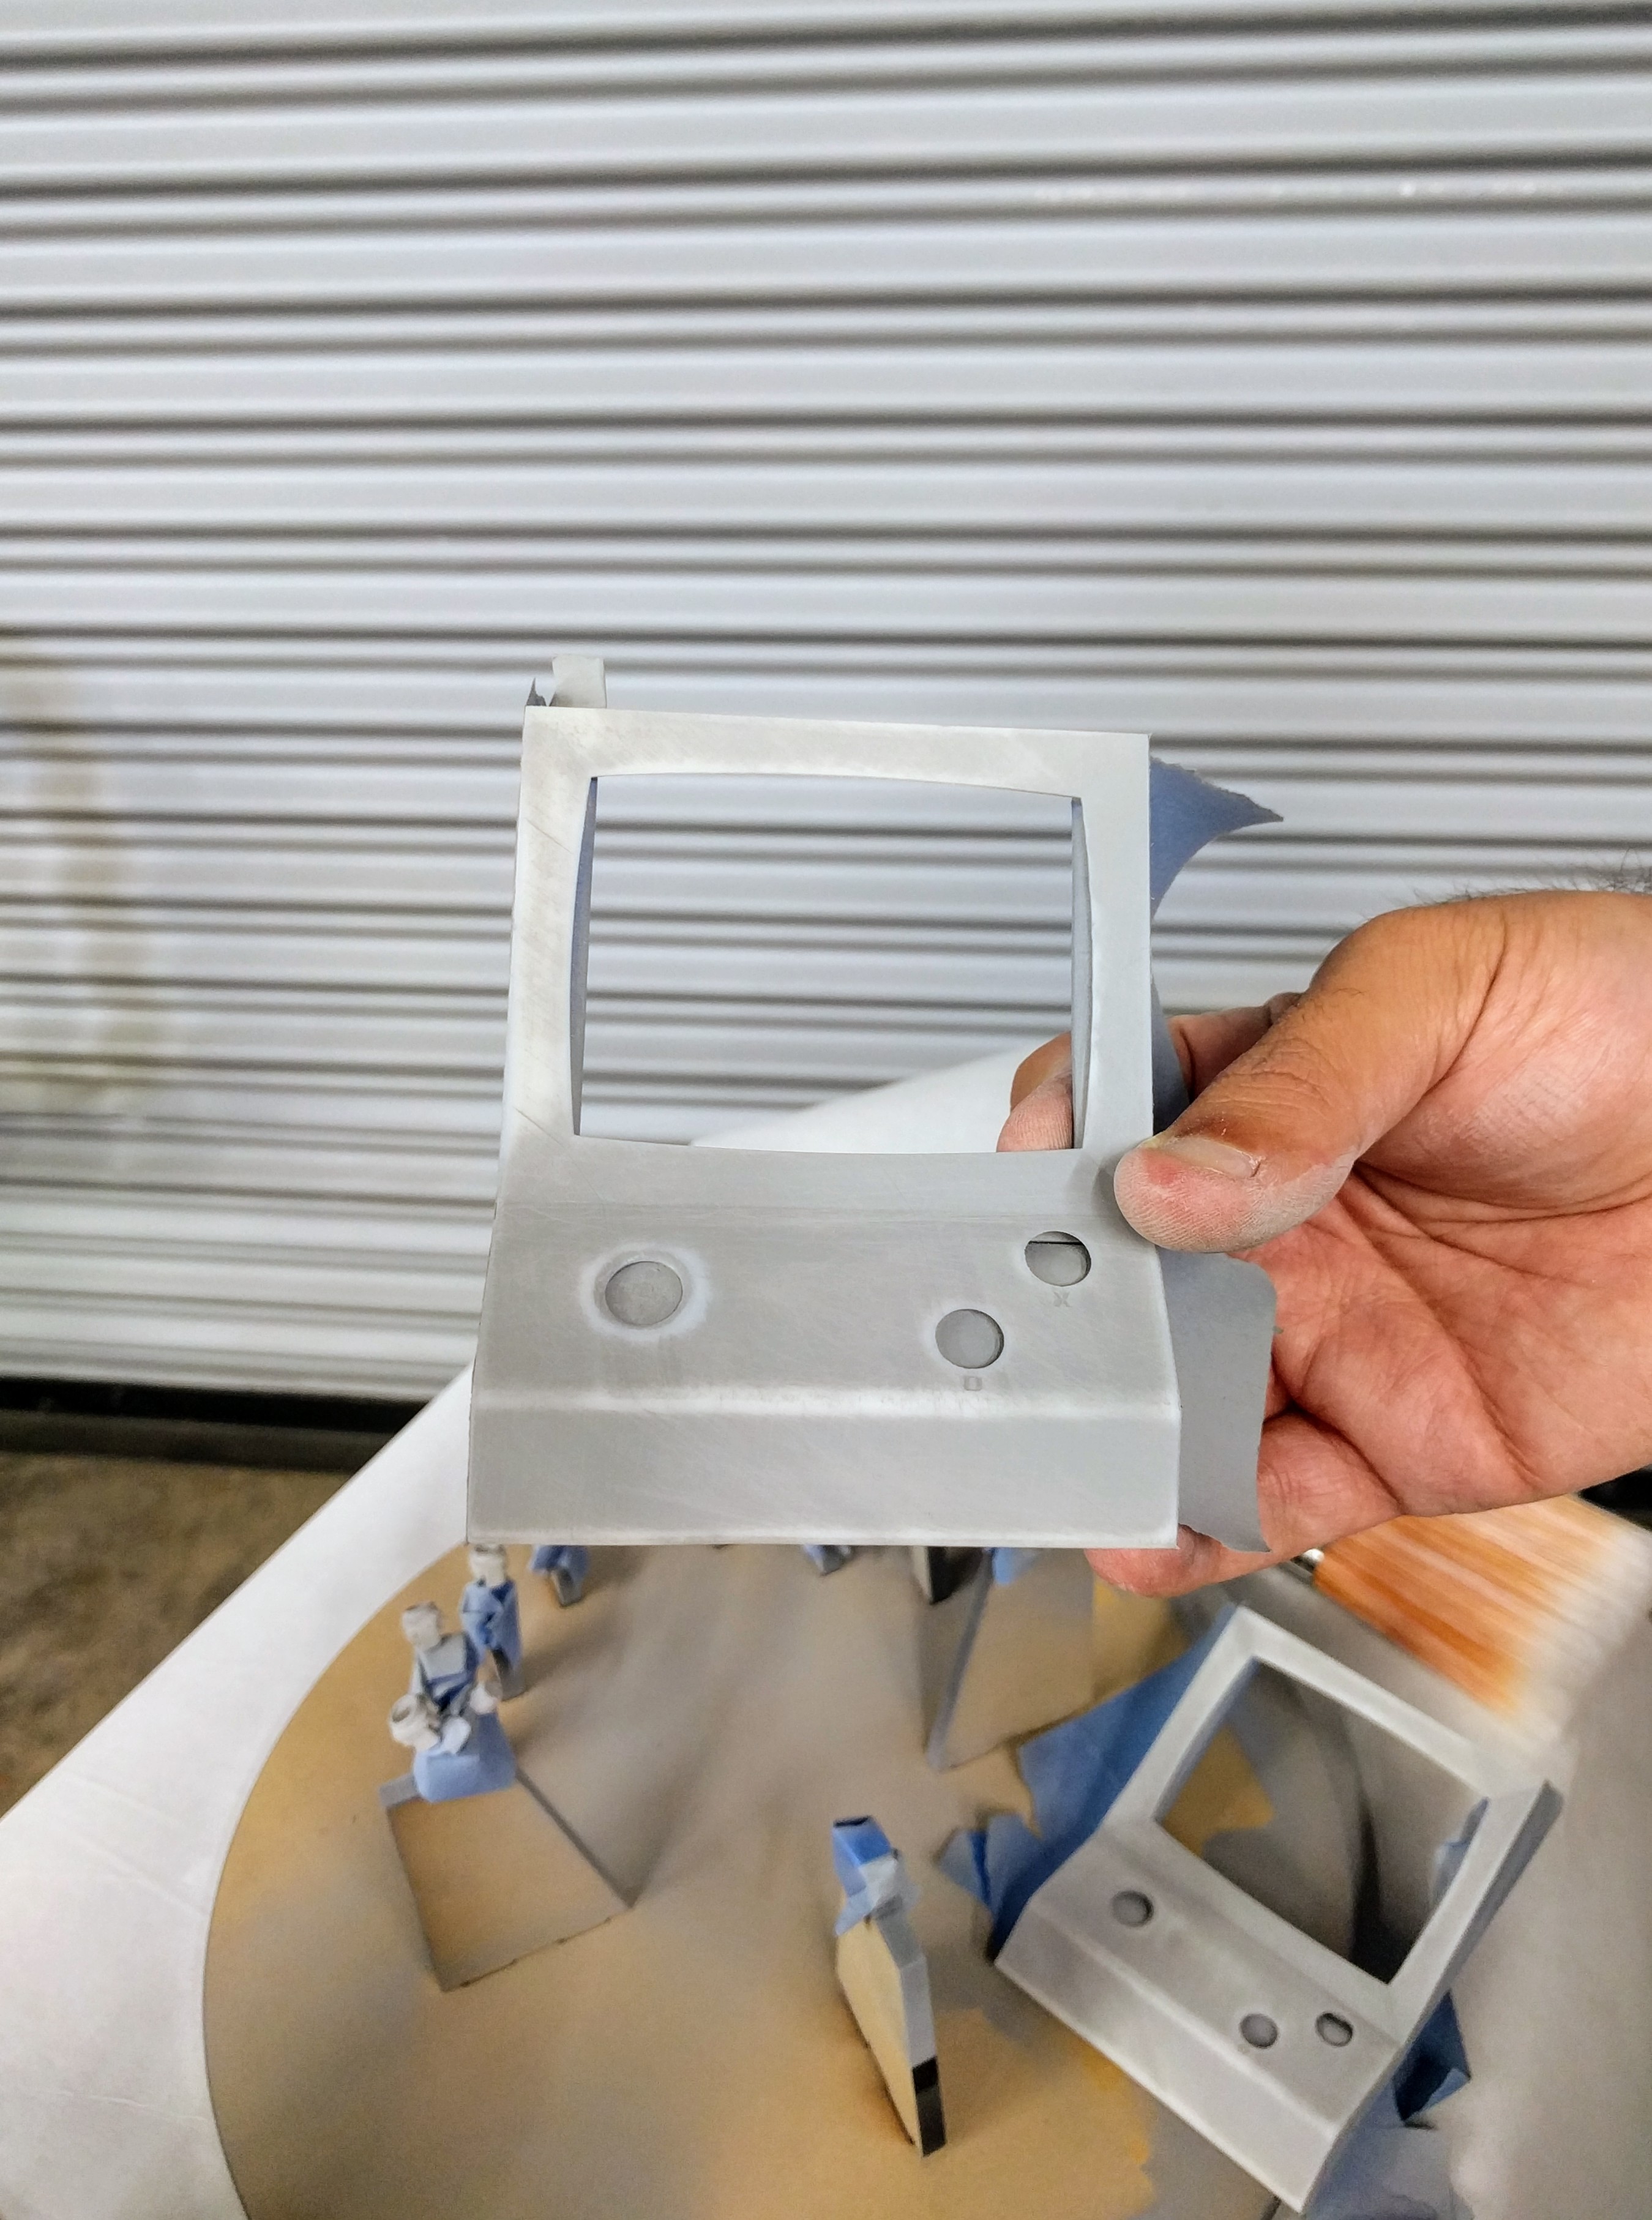
Thanks to the Form 2 It didn't take as much work as I thought it would to get these parts to the point that I felt they were ready for paint!
With my parts cut, printed, sanded, primed, and now painted I next needed to start test fitting the cabinet's finer details (like the above pictured speaker trim) and hand finishes (beyond their appearances the cabinets needs to feel nice in hand, a large part of which is remedied by eliminating the cabinet's many sharp corners thanks to it's blocky shape! This required some experimentation with the hand router on less expensive materials, MDF and redwood, before moving on to my walnut parts).
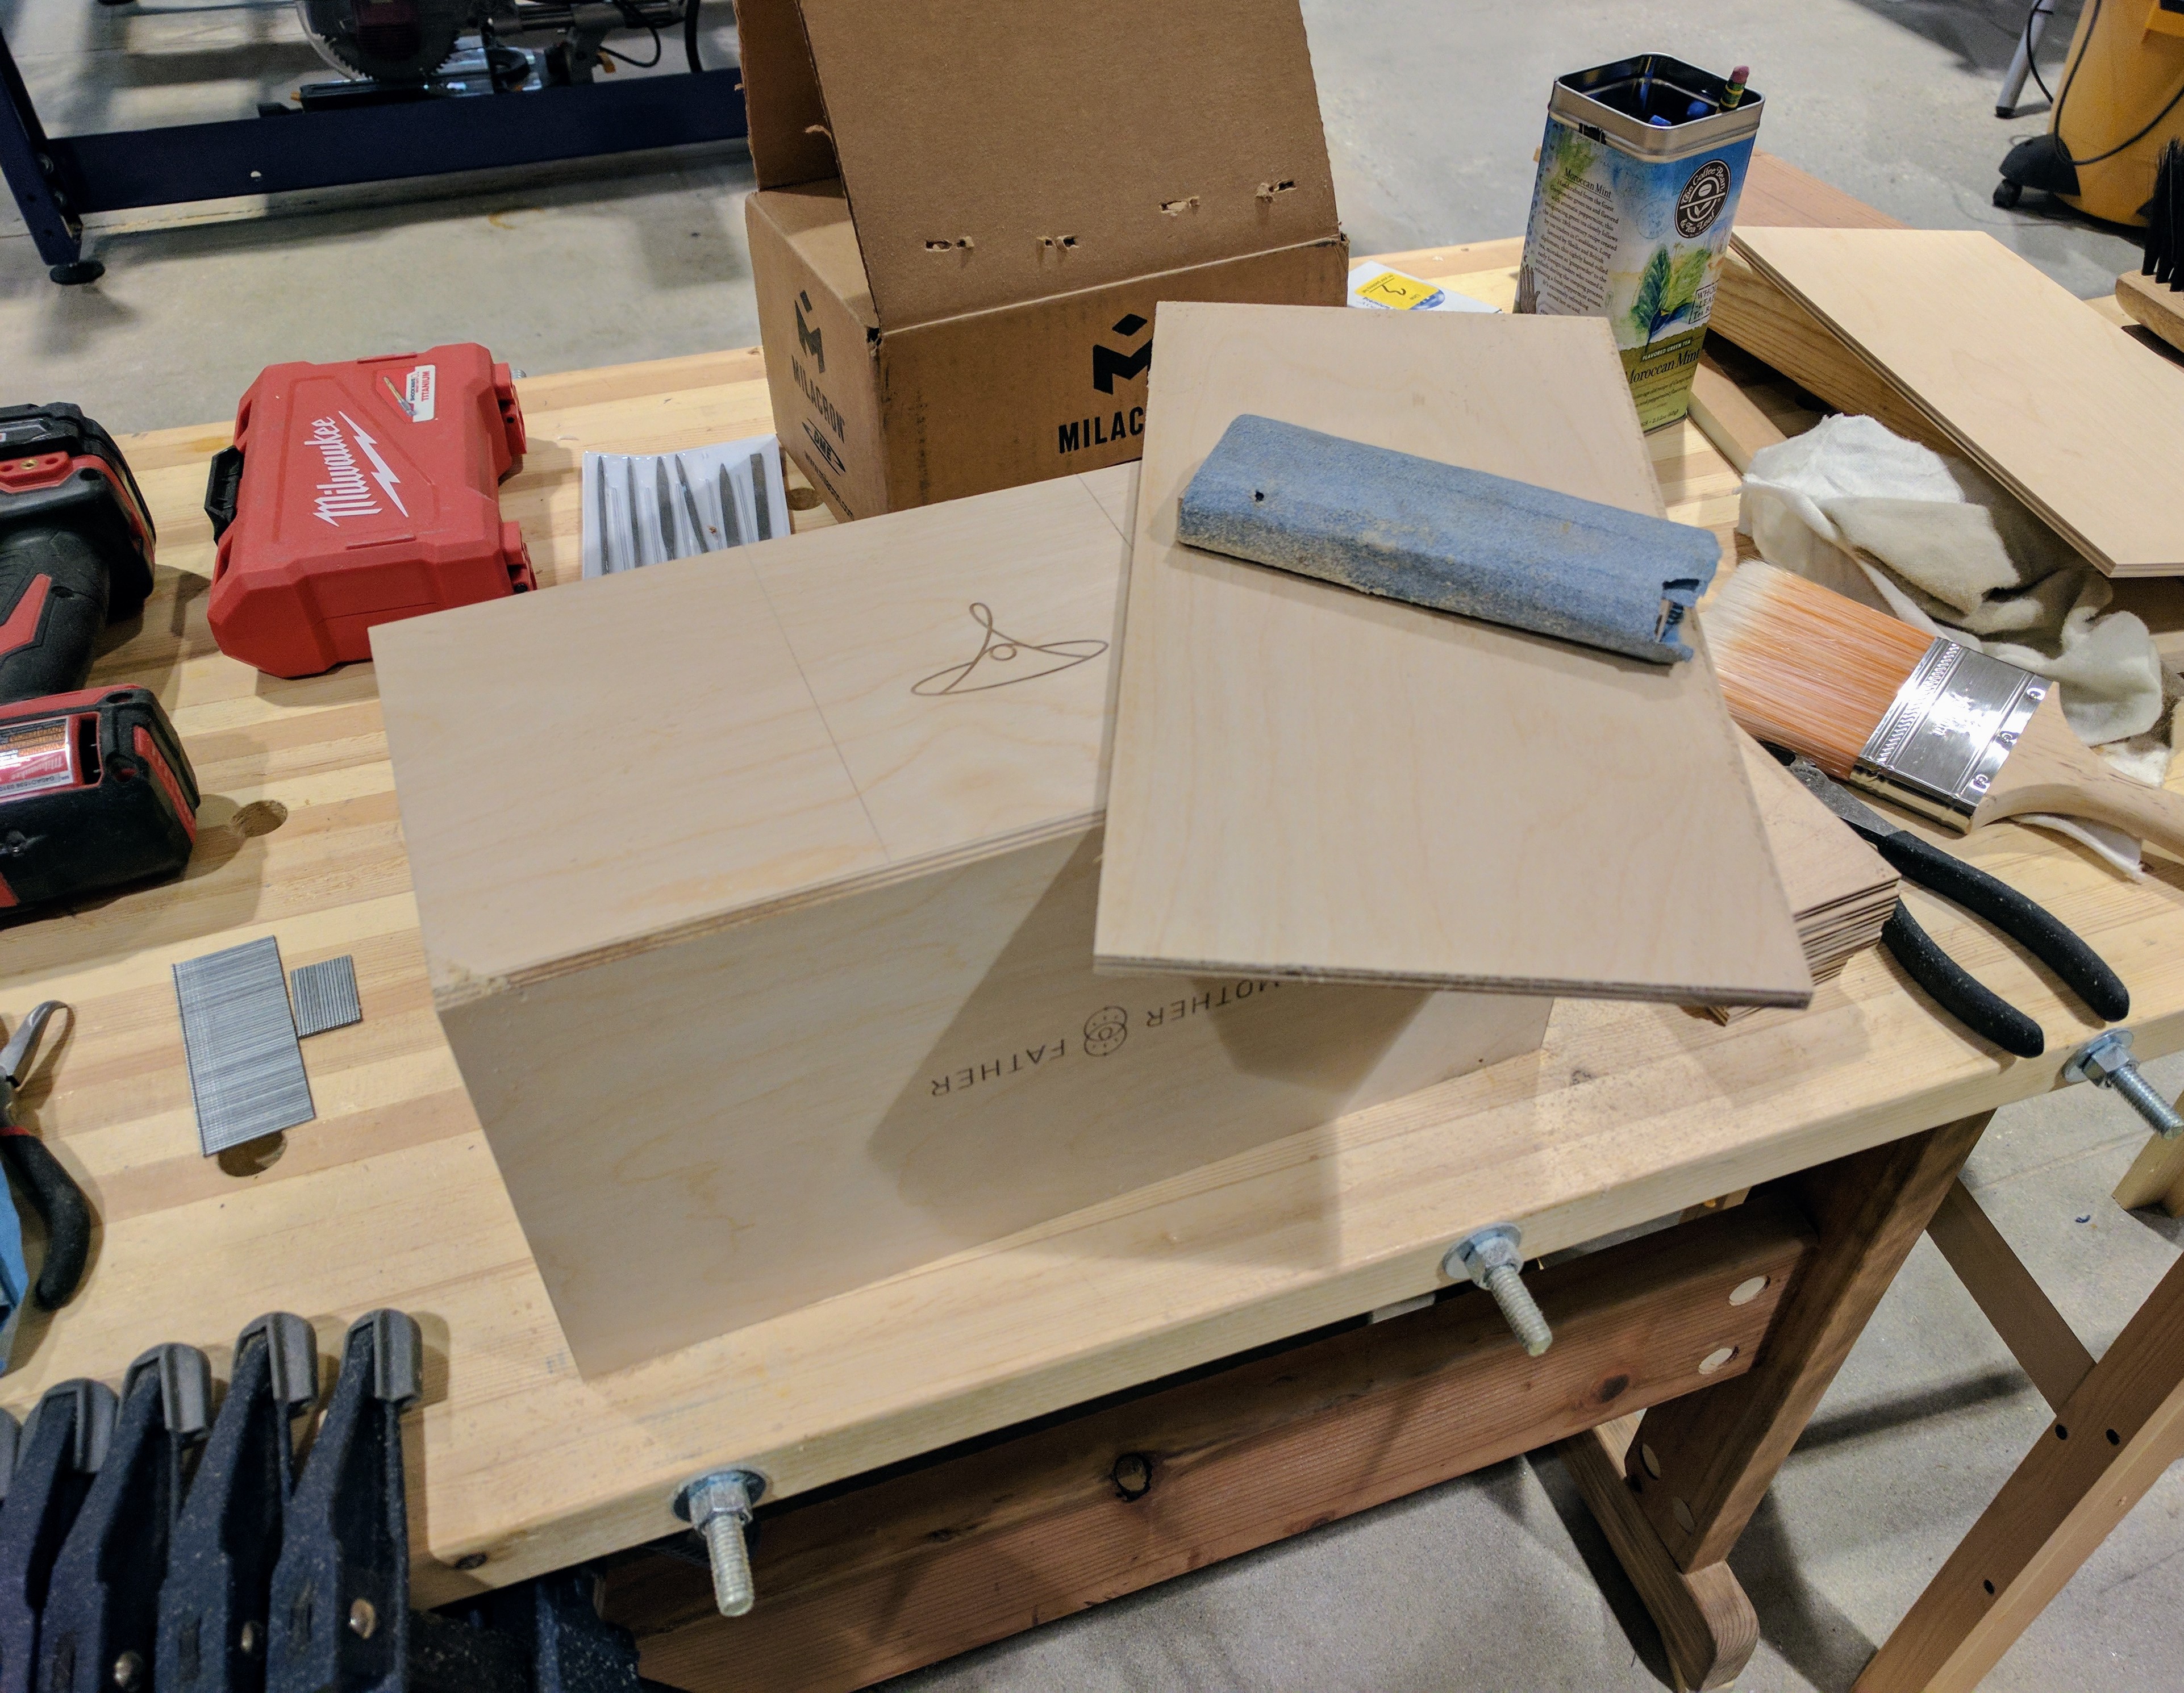
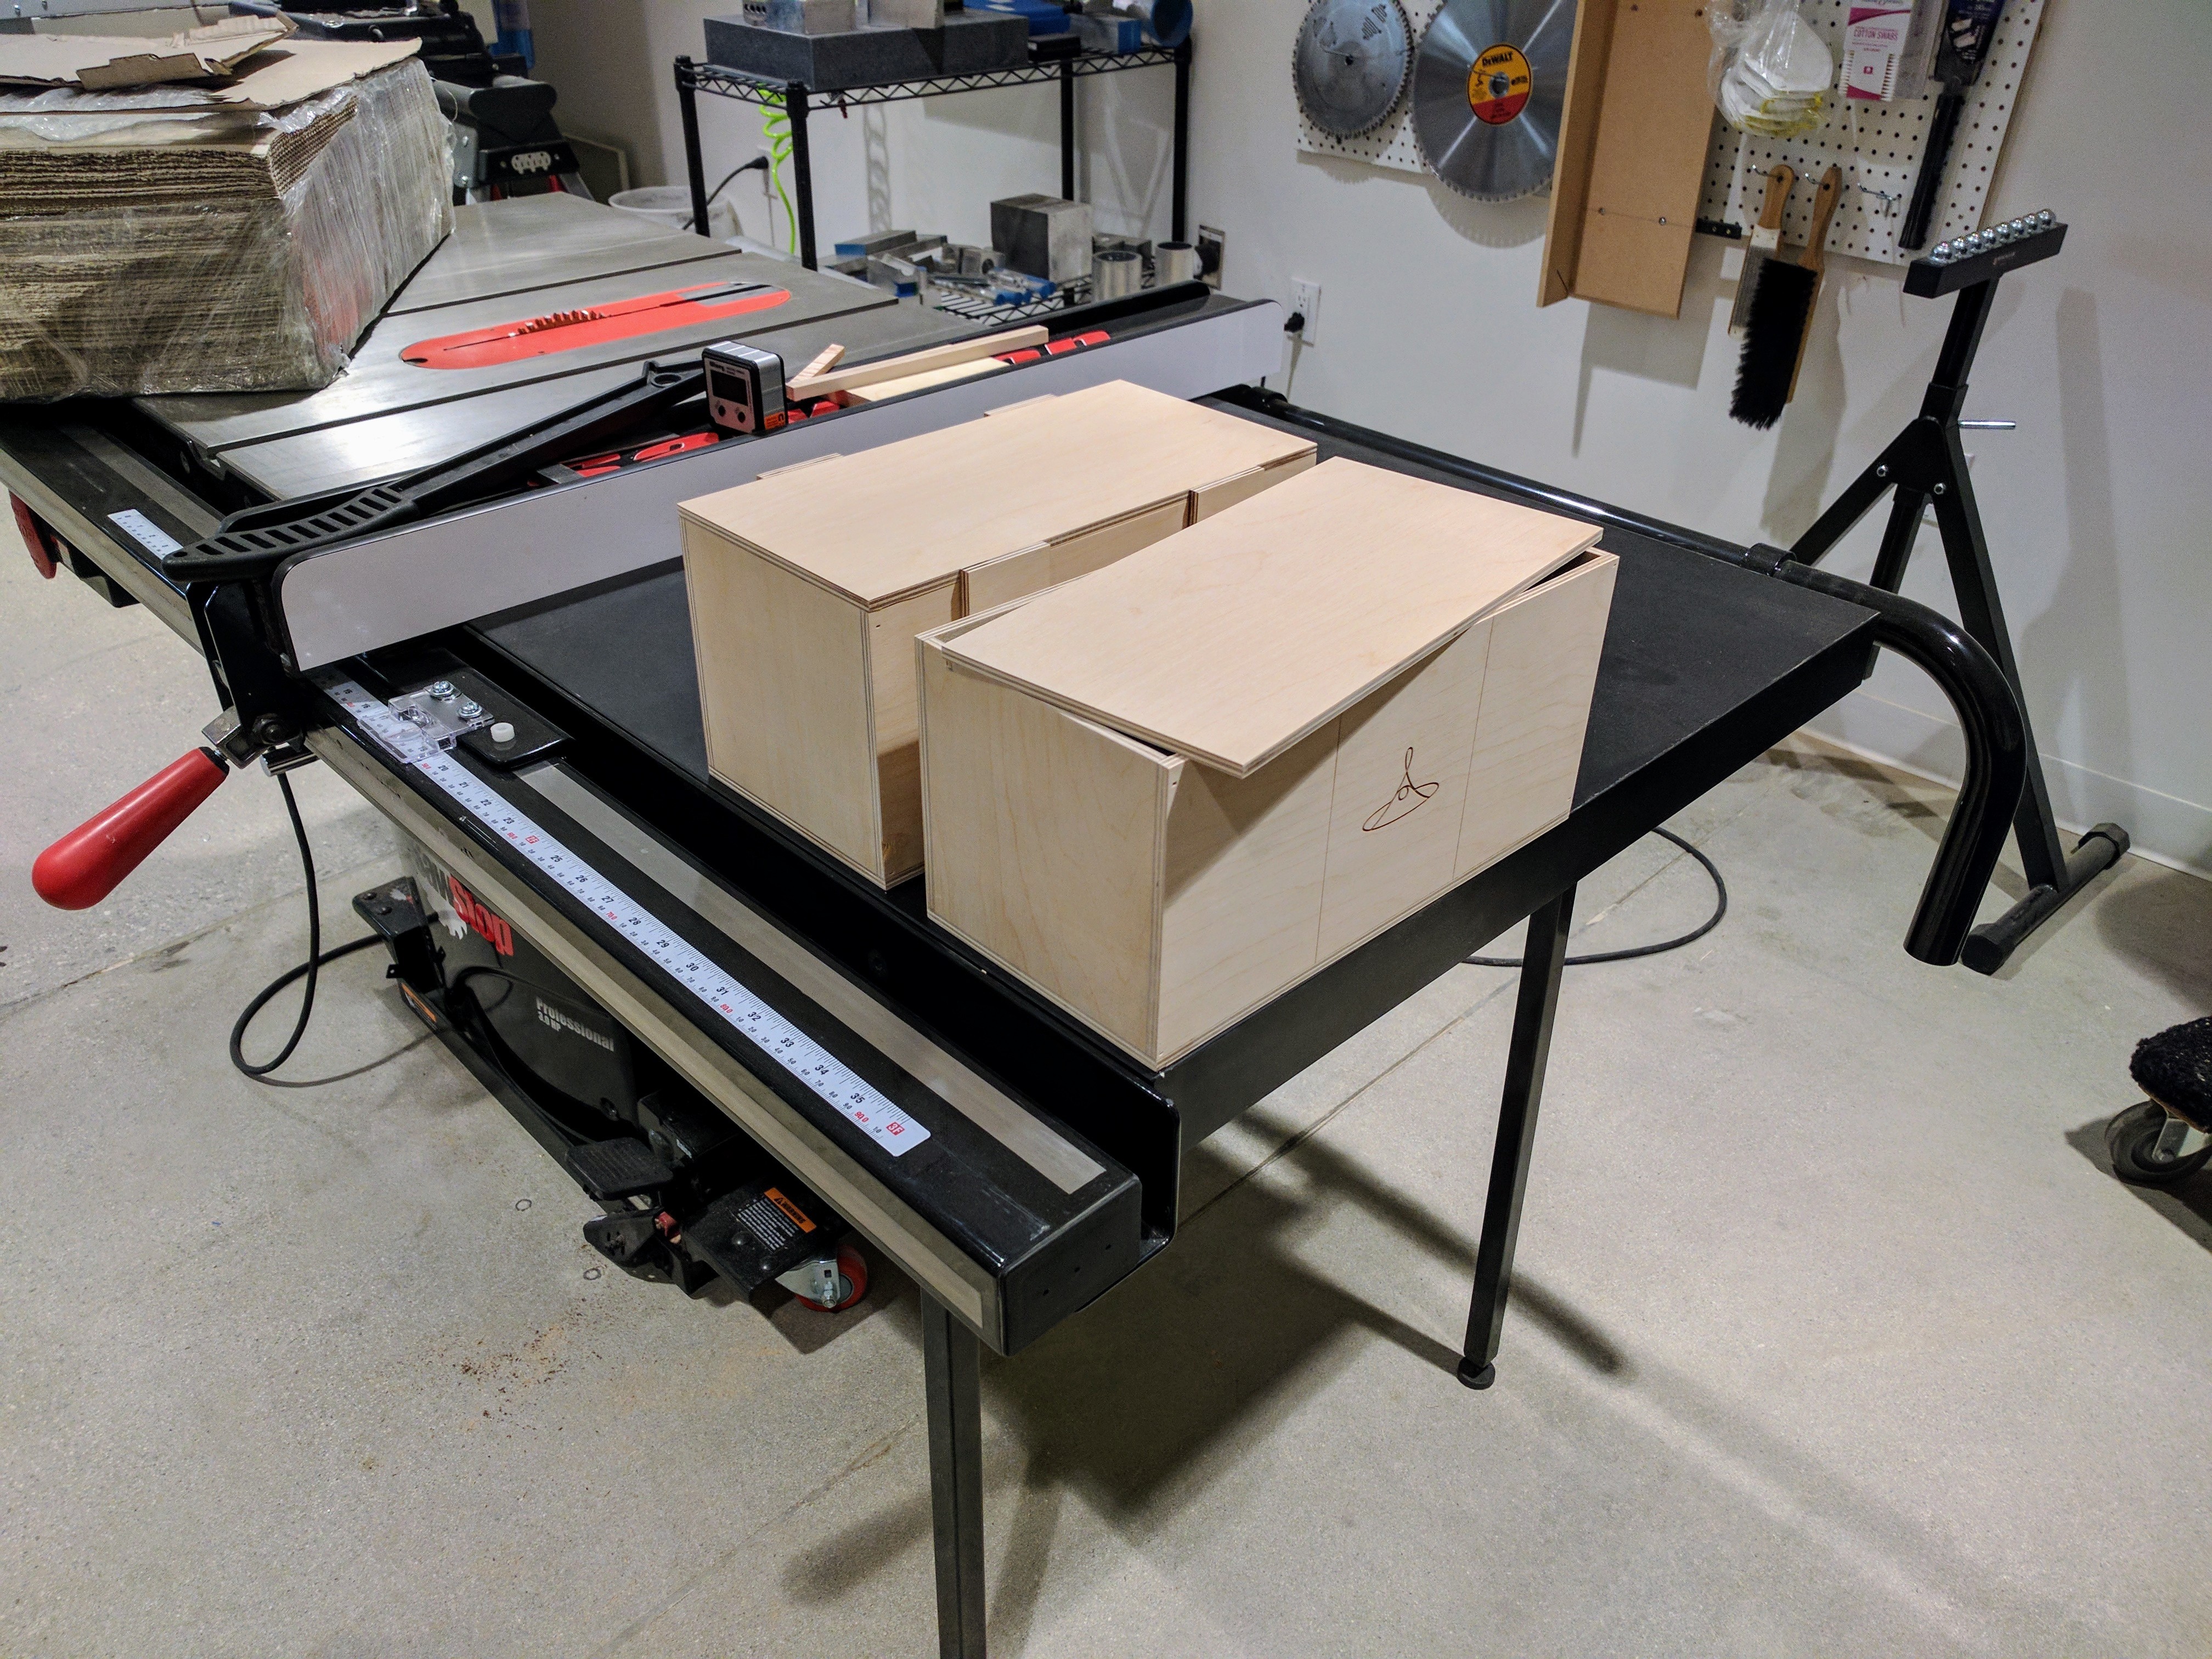
With my first batch of small parts and finishing details now completed, and my Fusion models adjusted thanks to the the test fit, I started my reprints on the Form 2 and switched my attention over to the plywood crates. Using my existing crate design I used the Epilog laser cutter to cut down 1/4" Baltic Birch Ply into parts for 3 crates. Using wood glue and brad nails I managed to get them assembled in a couple of hours. With my 3 crates assembled, I then proceeded to finished them with putty and sandpaper.
With the crates done, Maggie started mocking up badges with the College's logo on them (as seen on the crates) I would be putting on the speaker grill found on the front of the cabinet to hide the keyhole in the final version. Using Illustrator, Maggie created multiple badges in multiple sizes cutting them out of paper, and affixing them to the front of our V.9 prototype until we reached one we felt was appropriately sized for the front of the cabinet (I forgot to photograph this portion of the process, sorry -Mike).
At this point designing in Fusion360 was a lot easier for me. The badge only took me an hour and some change to design!
With my Fusion360 file created, it was as easy as 1-2-3 test printing our badge design on the Bukito!
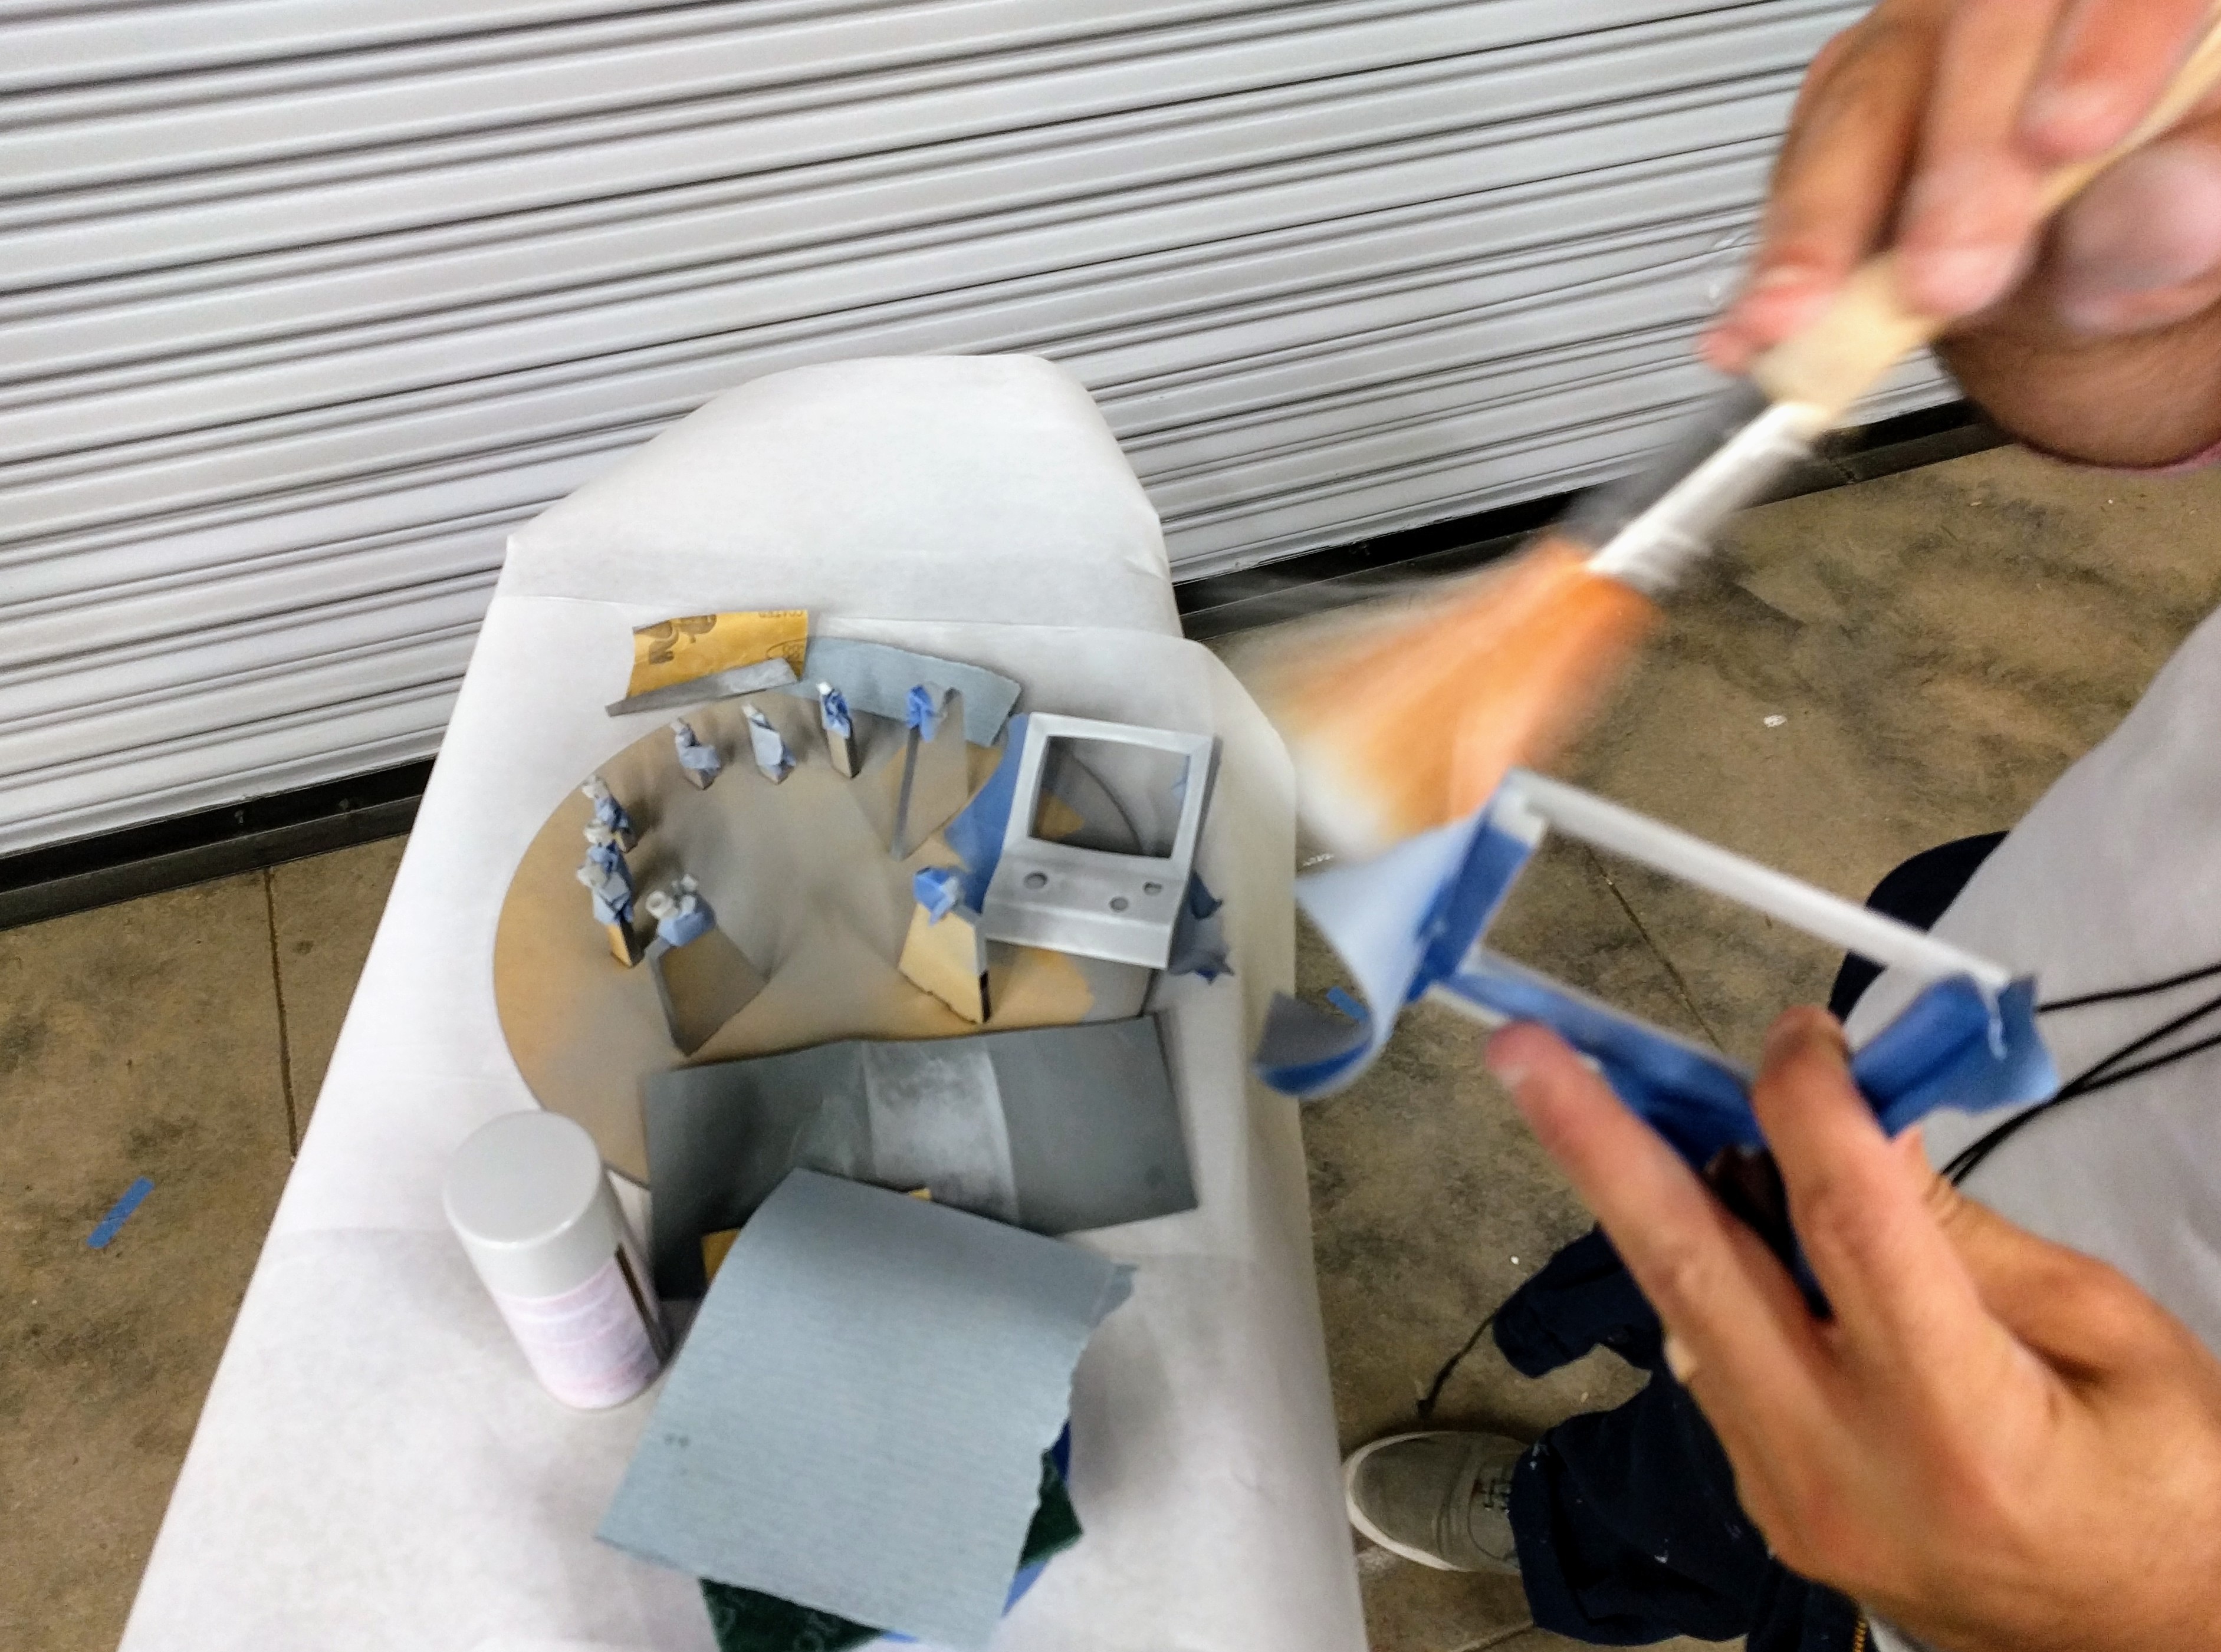
With the badges printed, I then switched to testing paint and color (using a combination of spray paint and permanent marker)! Luckily for us, my color choices worked out, and I quickly figured out how to apply paint in my second try on the final Form 2 resin prints (using spray paint and a sponge)!

With the badge now worked out, I then switched back over to resolving the cabinet's finish and feel in hand. Starting with MDF, I tested a couple of router bits and plunge depths. Once I'd gotten the bevel I wanted on the MDF parts after multiple tests, I switched over to routing the redwood (I'd found in the Lab's composite room) parts I'd cut out on the Epilog laser cutter.
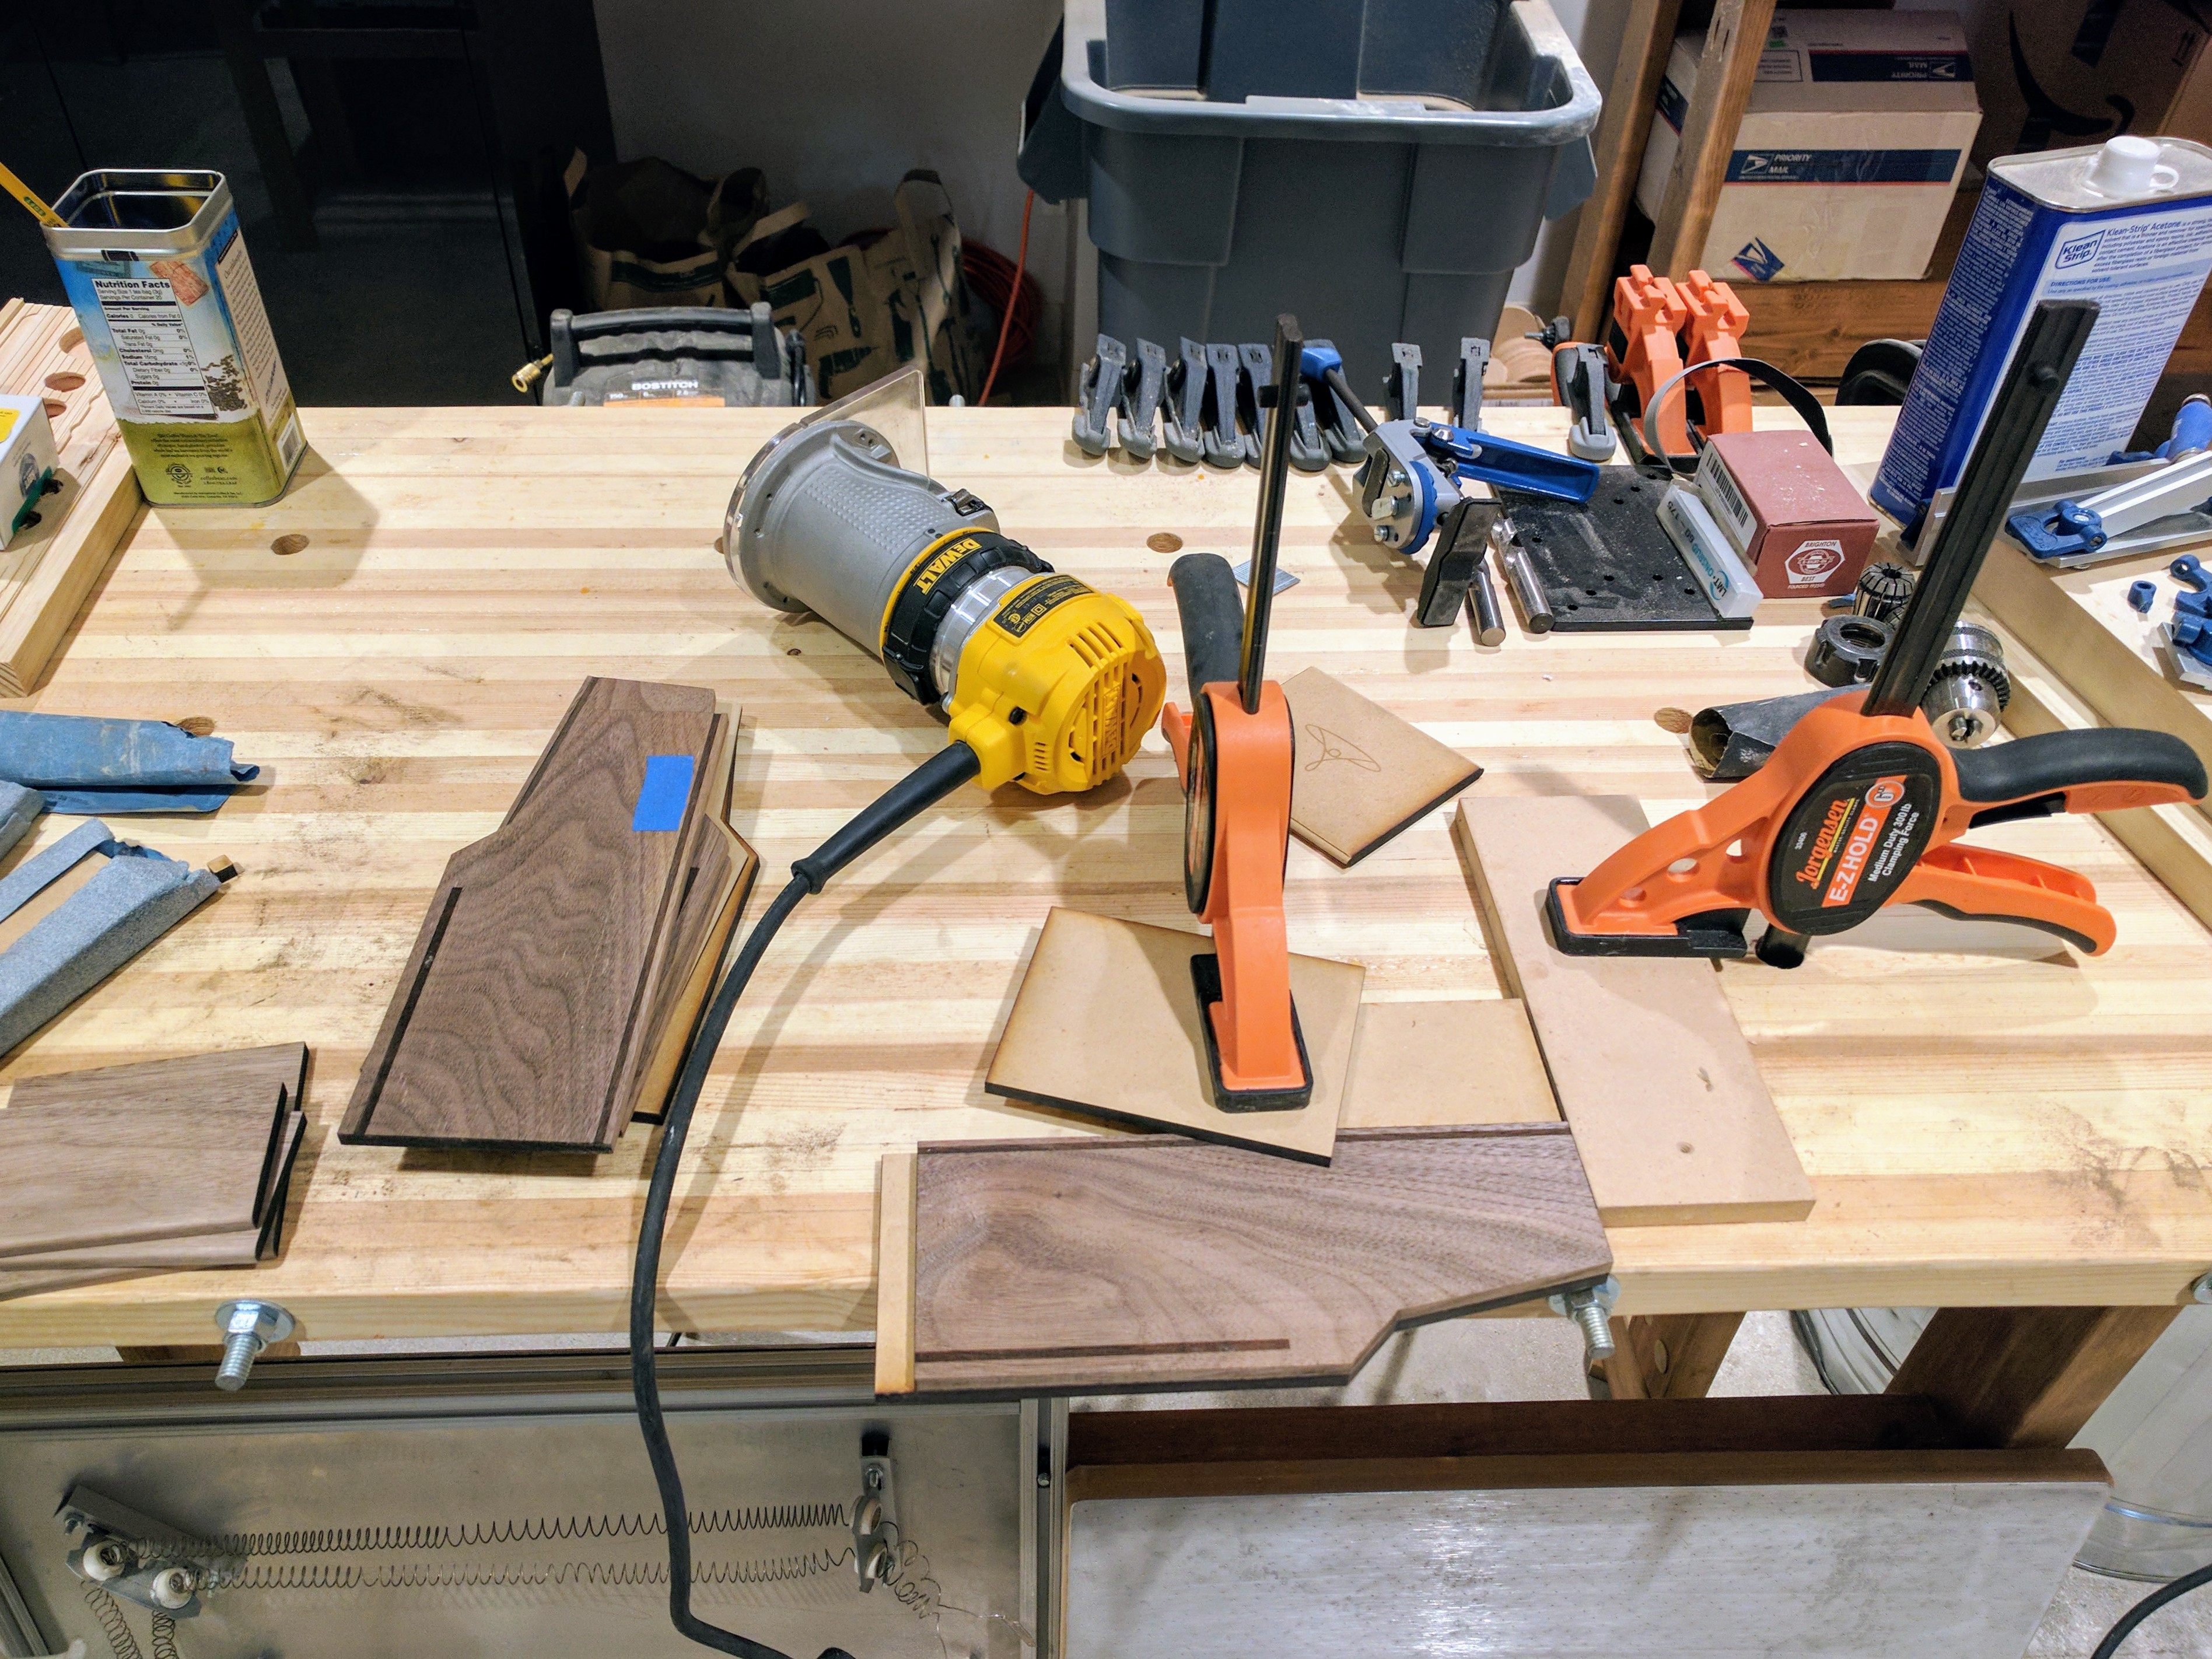
After a couple of successful routed cuts on the set of redwood parts, I decided it was best to only route the interior of the cabinet. With that decided I set about routing the interior edges of the walnut cabinet (as pictured below).
With 3 crates finished; 3 resin cabinet bezels now printed, sanded, and painted; and 1 near final finished cabinet somewhat assembled it was now time to try to figure out how-to create the brass inlay maze I planned on putting into the sides of the cabinets...
With a near final (and sacrificial) cabinet ready for inlay testing I decided to try my luck... and got less than impressive results... Don't get me wrong, the Epilog made a beautiful looking maze engraving into the sides of the cabinet however...
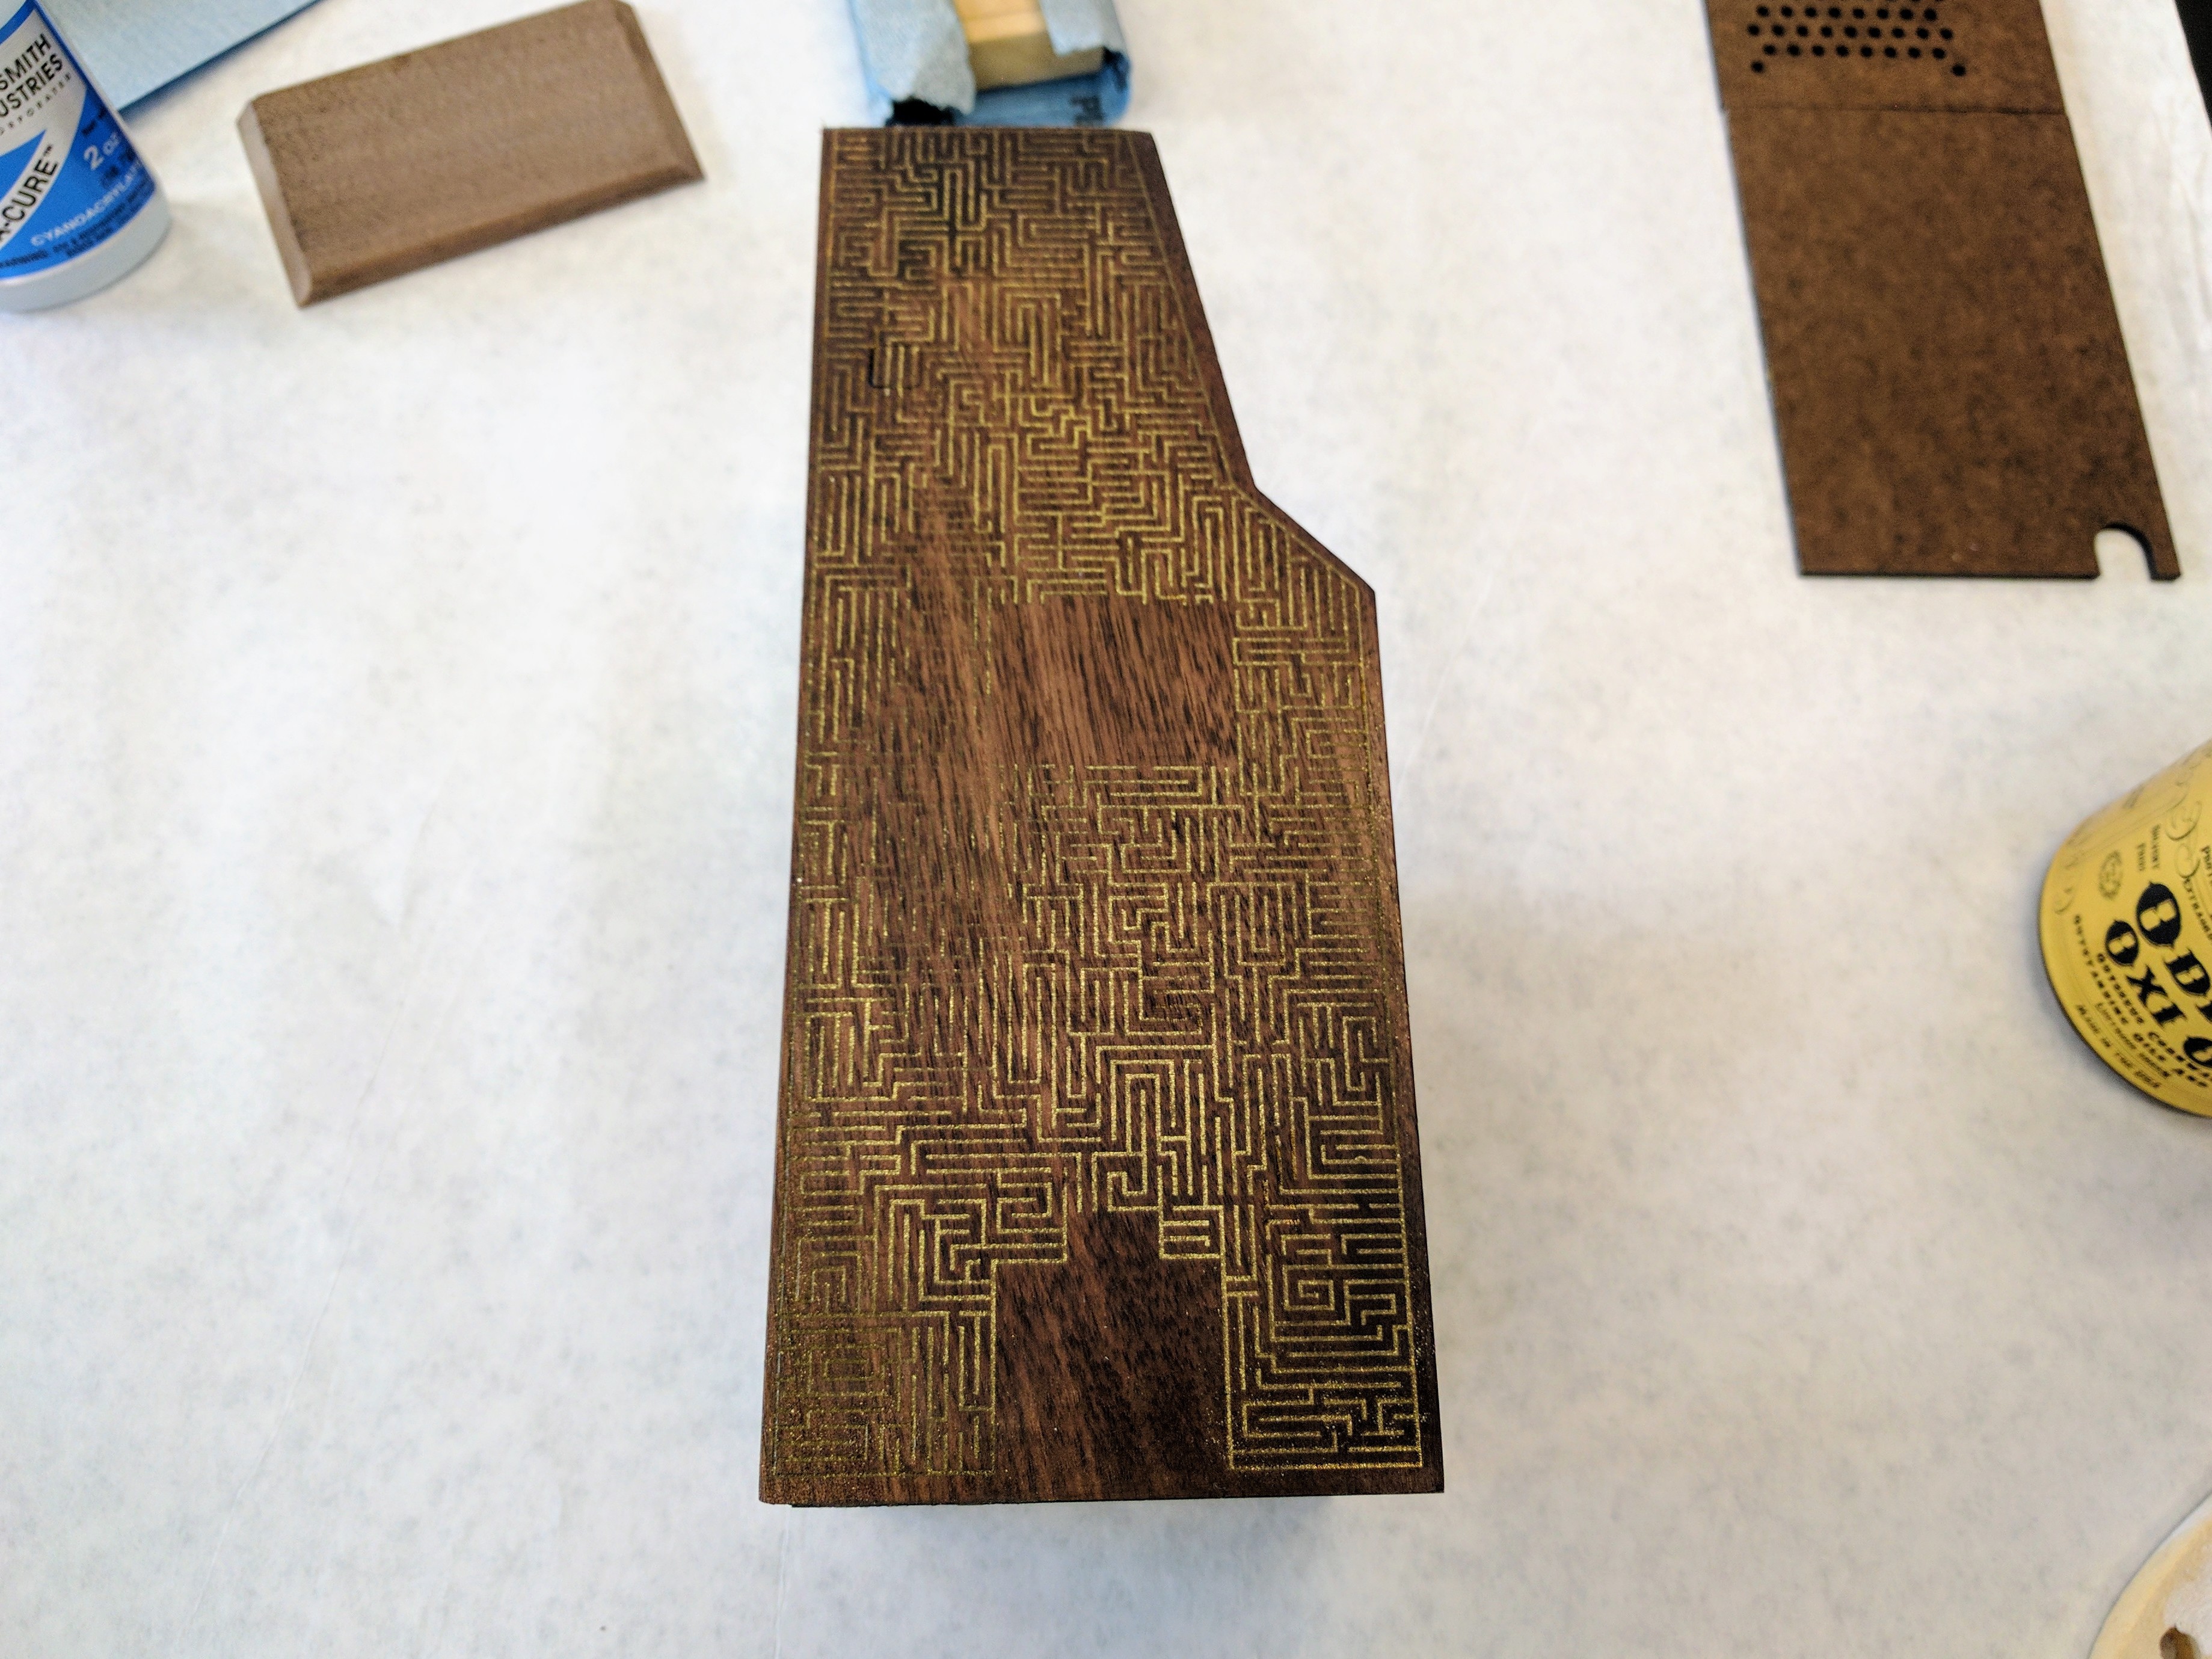
Getting the sides of the cabinet to hold+show brass shavings and or spray paint satisfactorily to give off an inlay effect i was looking for has proven difficult to achieve in the time I've given it, as the following pictures will more clearly show...
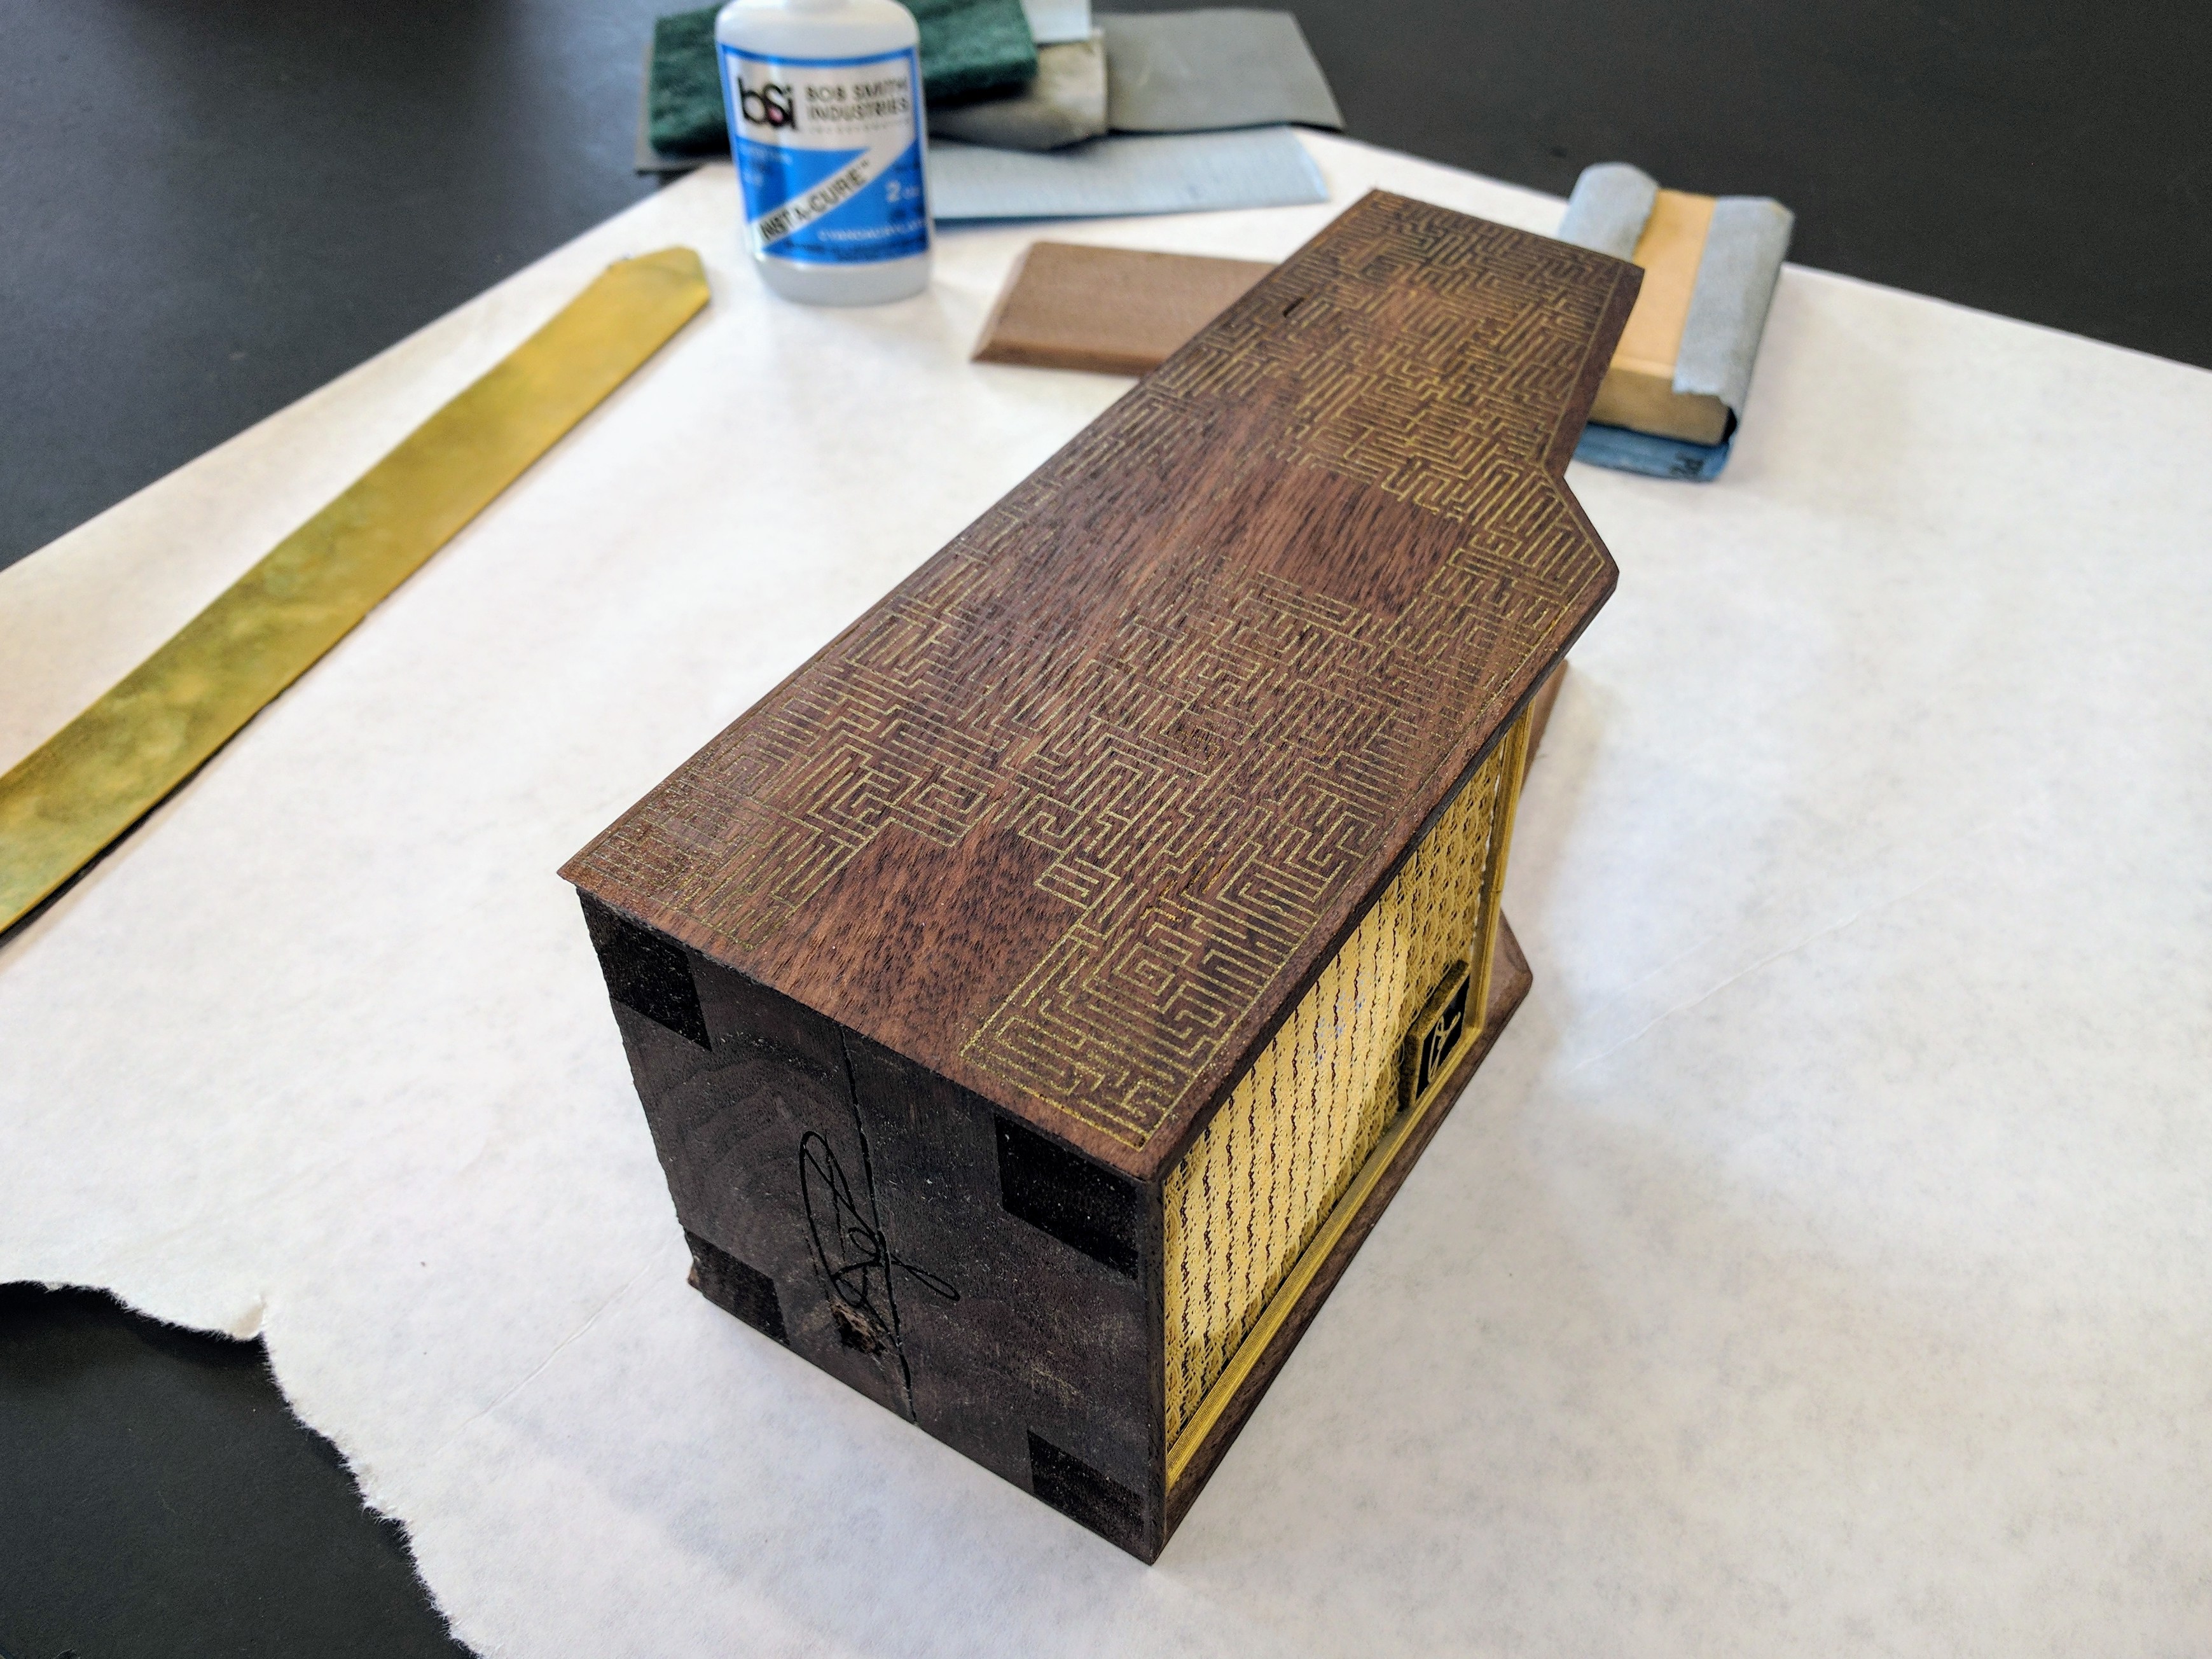
Attempt at brass inlay using filed down brass shavings+super glue on very tiny and detailed traces...
Attempt at an inlay style affect using spray paint sprayed into the channels the laser cutter rastered out...

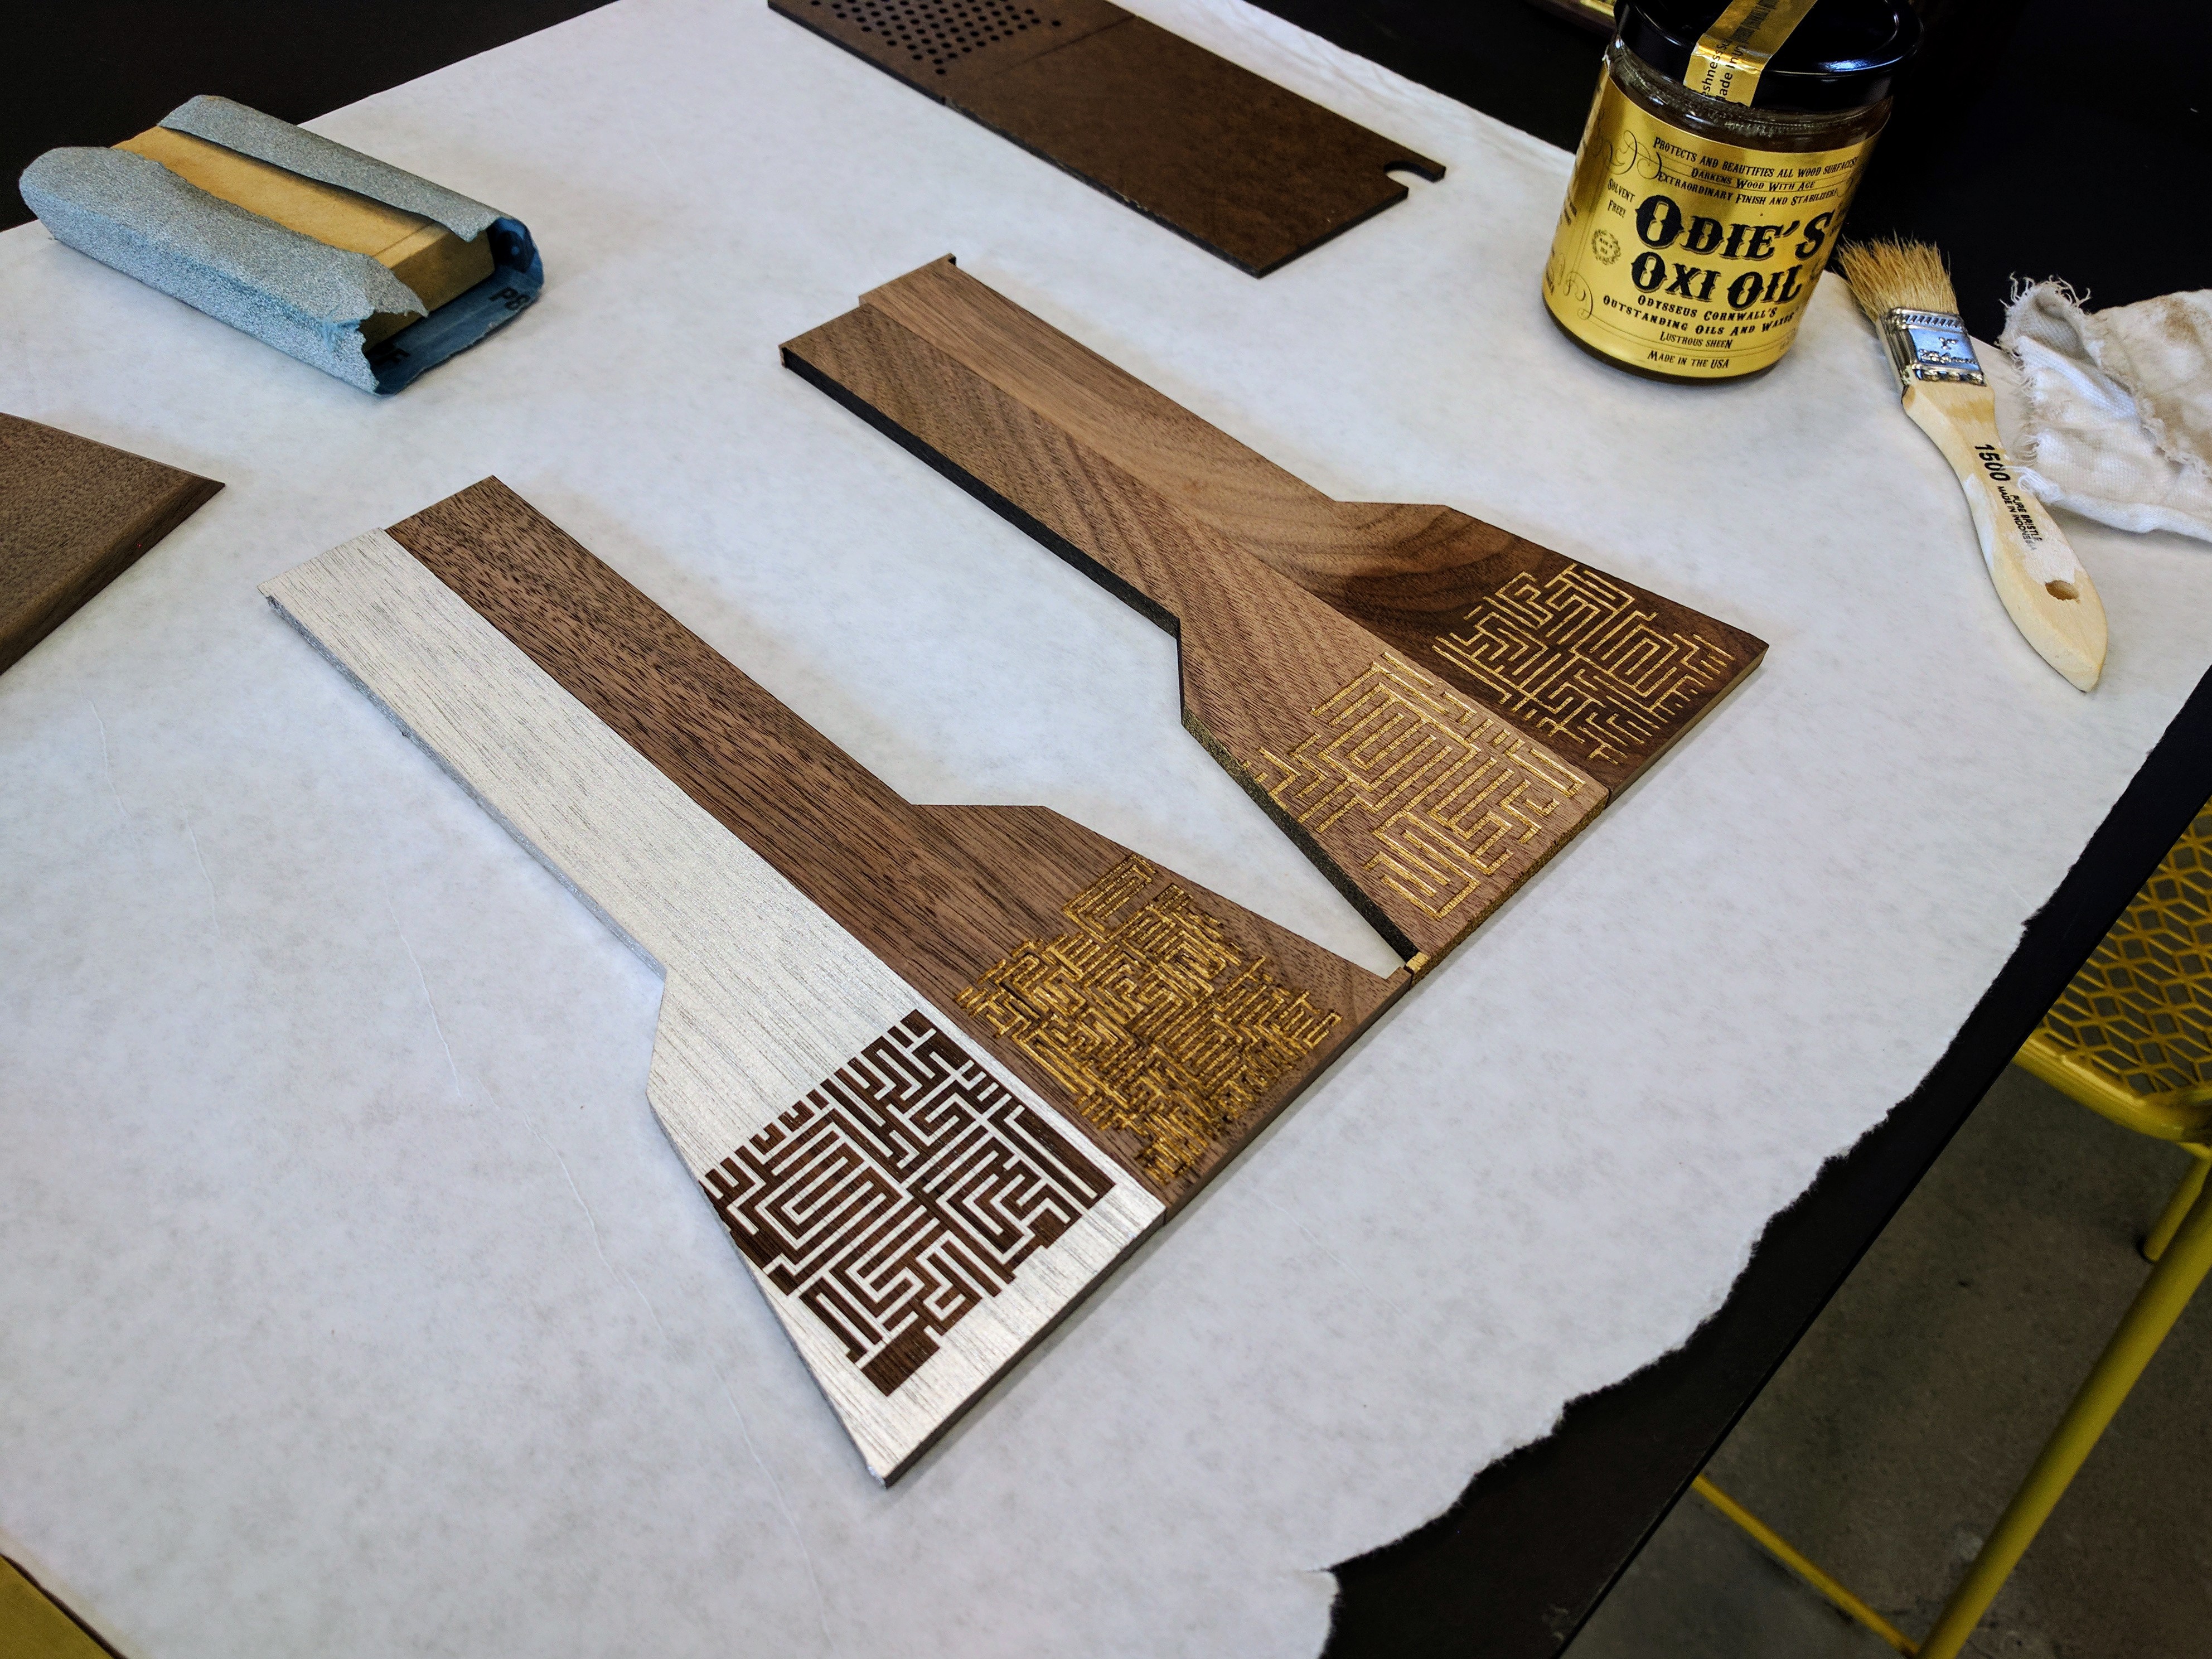
Thankfully, Maggie showed up after a day of failure (spent ruining my near finished, but admittedly sacrificial) cabinet, and took the time to test various applications of paint on wood+laser rastering, which resulted in the excellent samples (pictured above). The long and short?... Thicker+shallower raster lines etched out of pre-painted surfaces seem to be the way to go!
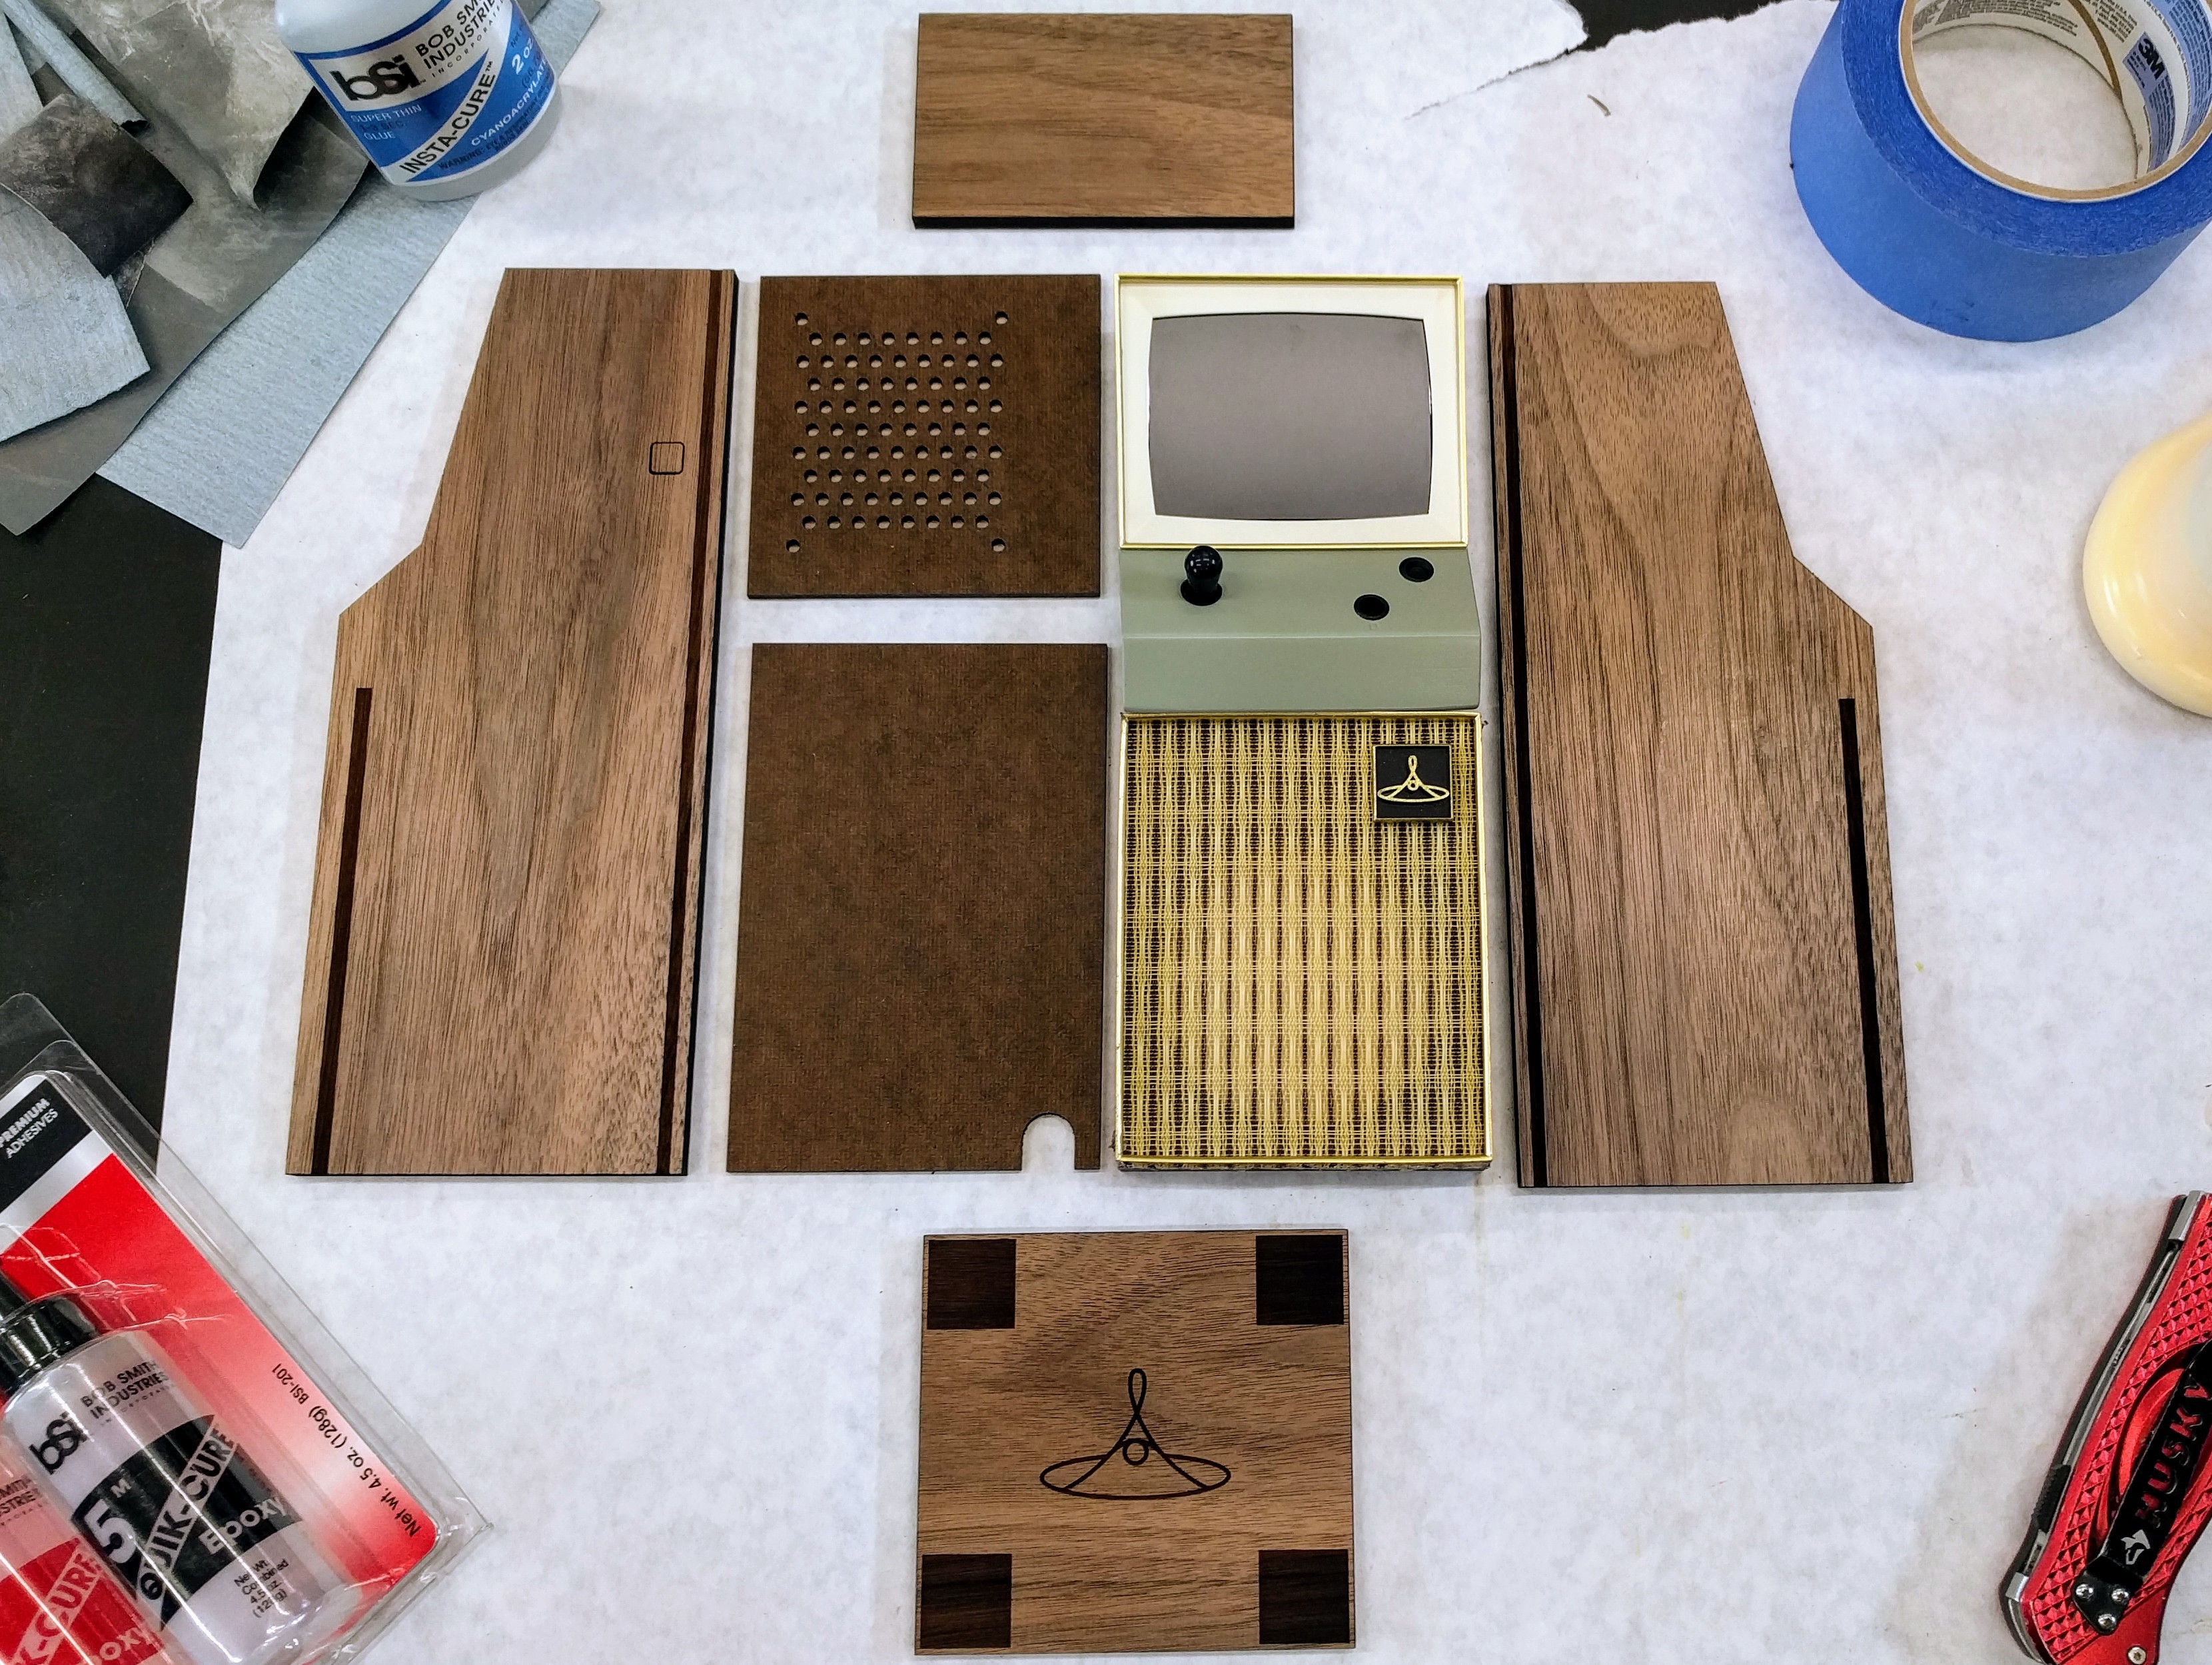
With Maggie now fully applying herself to the maze inlay problem, I was able to switch my focus back over to assembling a functional cabinet (without the maze and puzzle components) made out of walnut, masonite, and plastic (not cut from found and sacrificial walnut I'd scrounged in the lab.
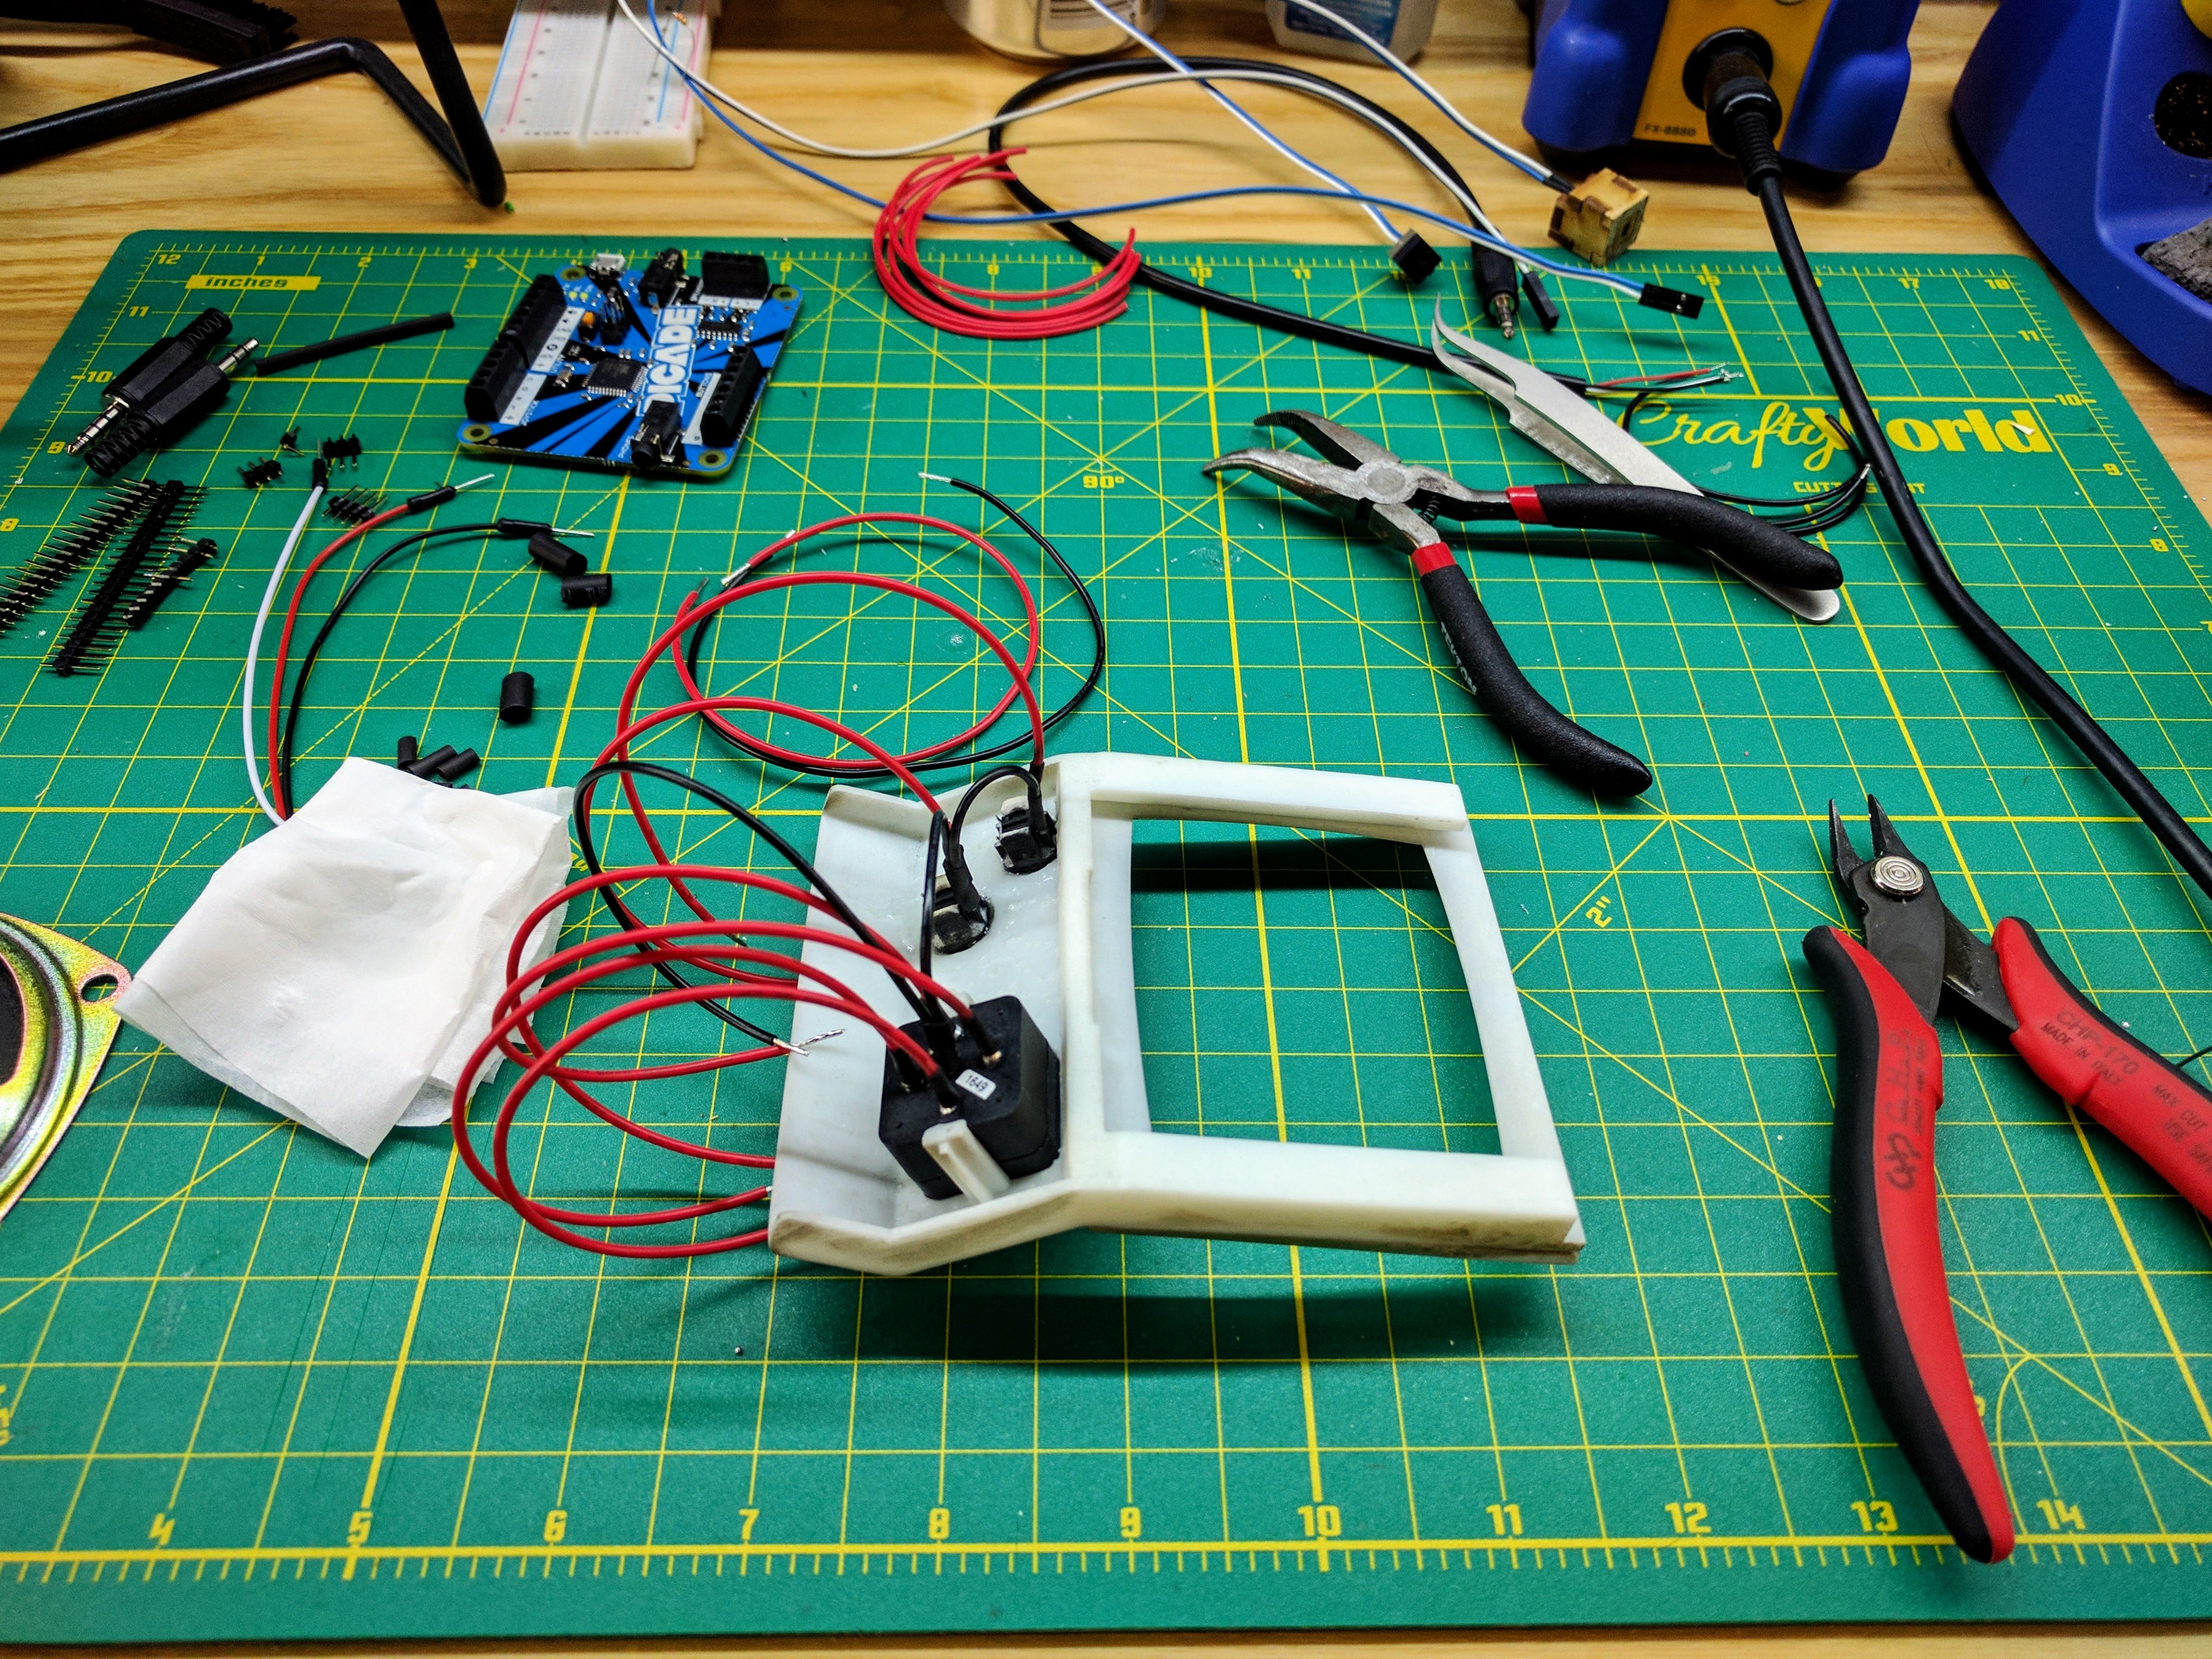
First things first, I needed to wire up the controls I'd attached to the screen bezel
using the wiring harnesses I'd cut and soldered together.
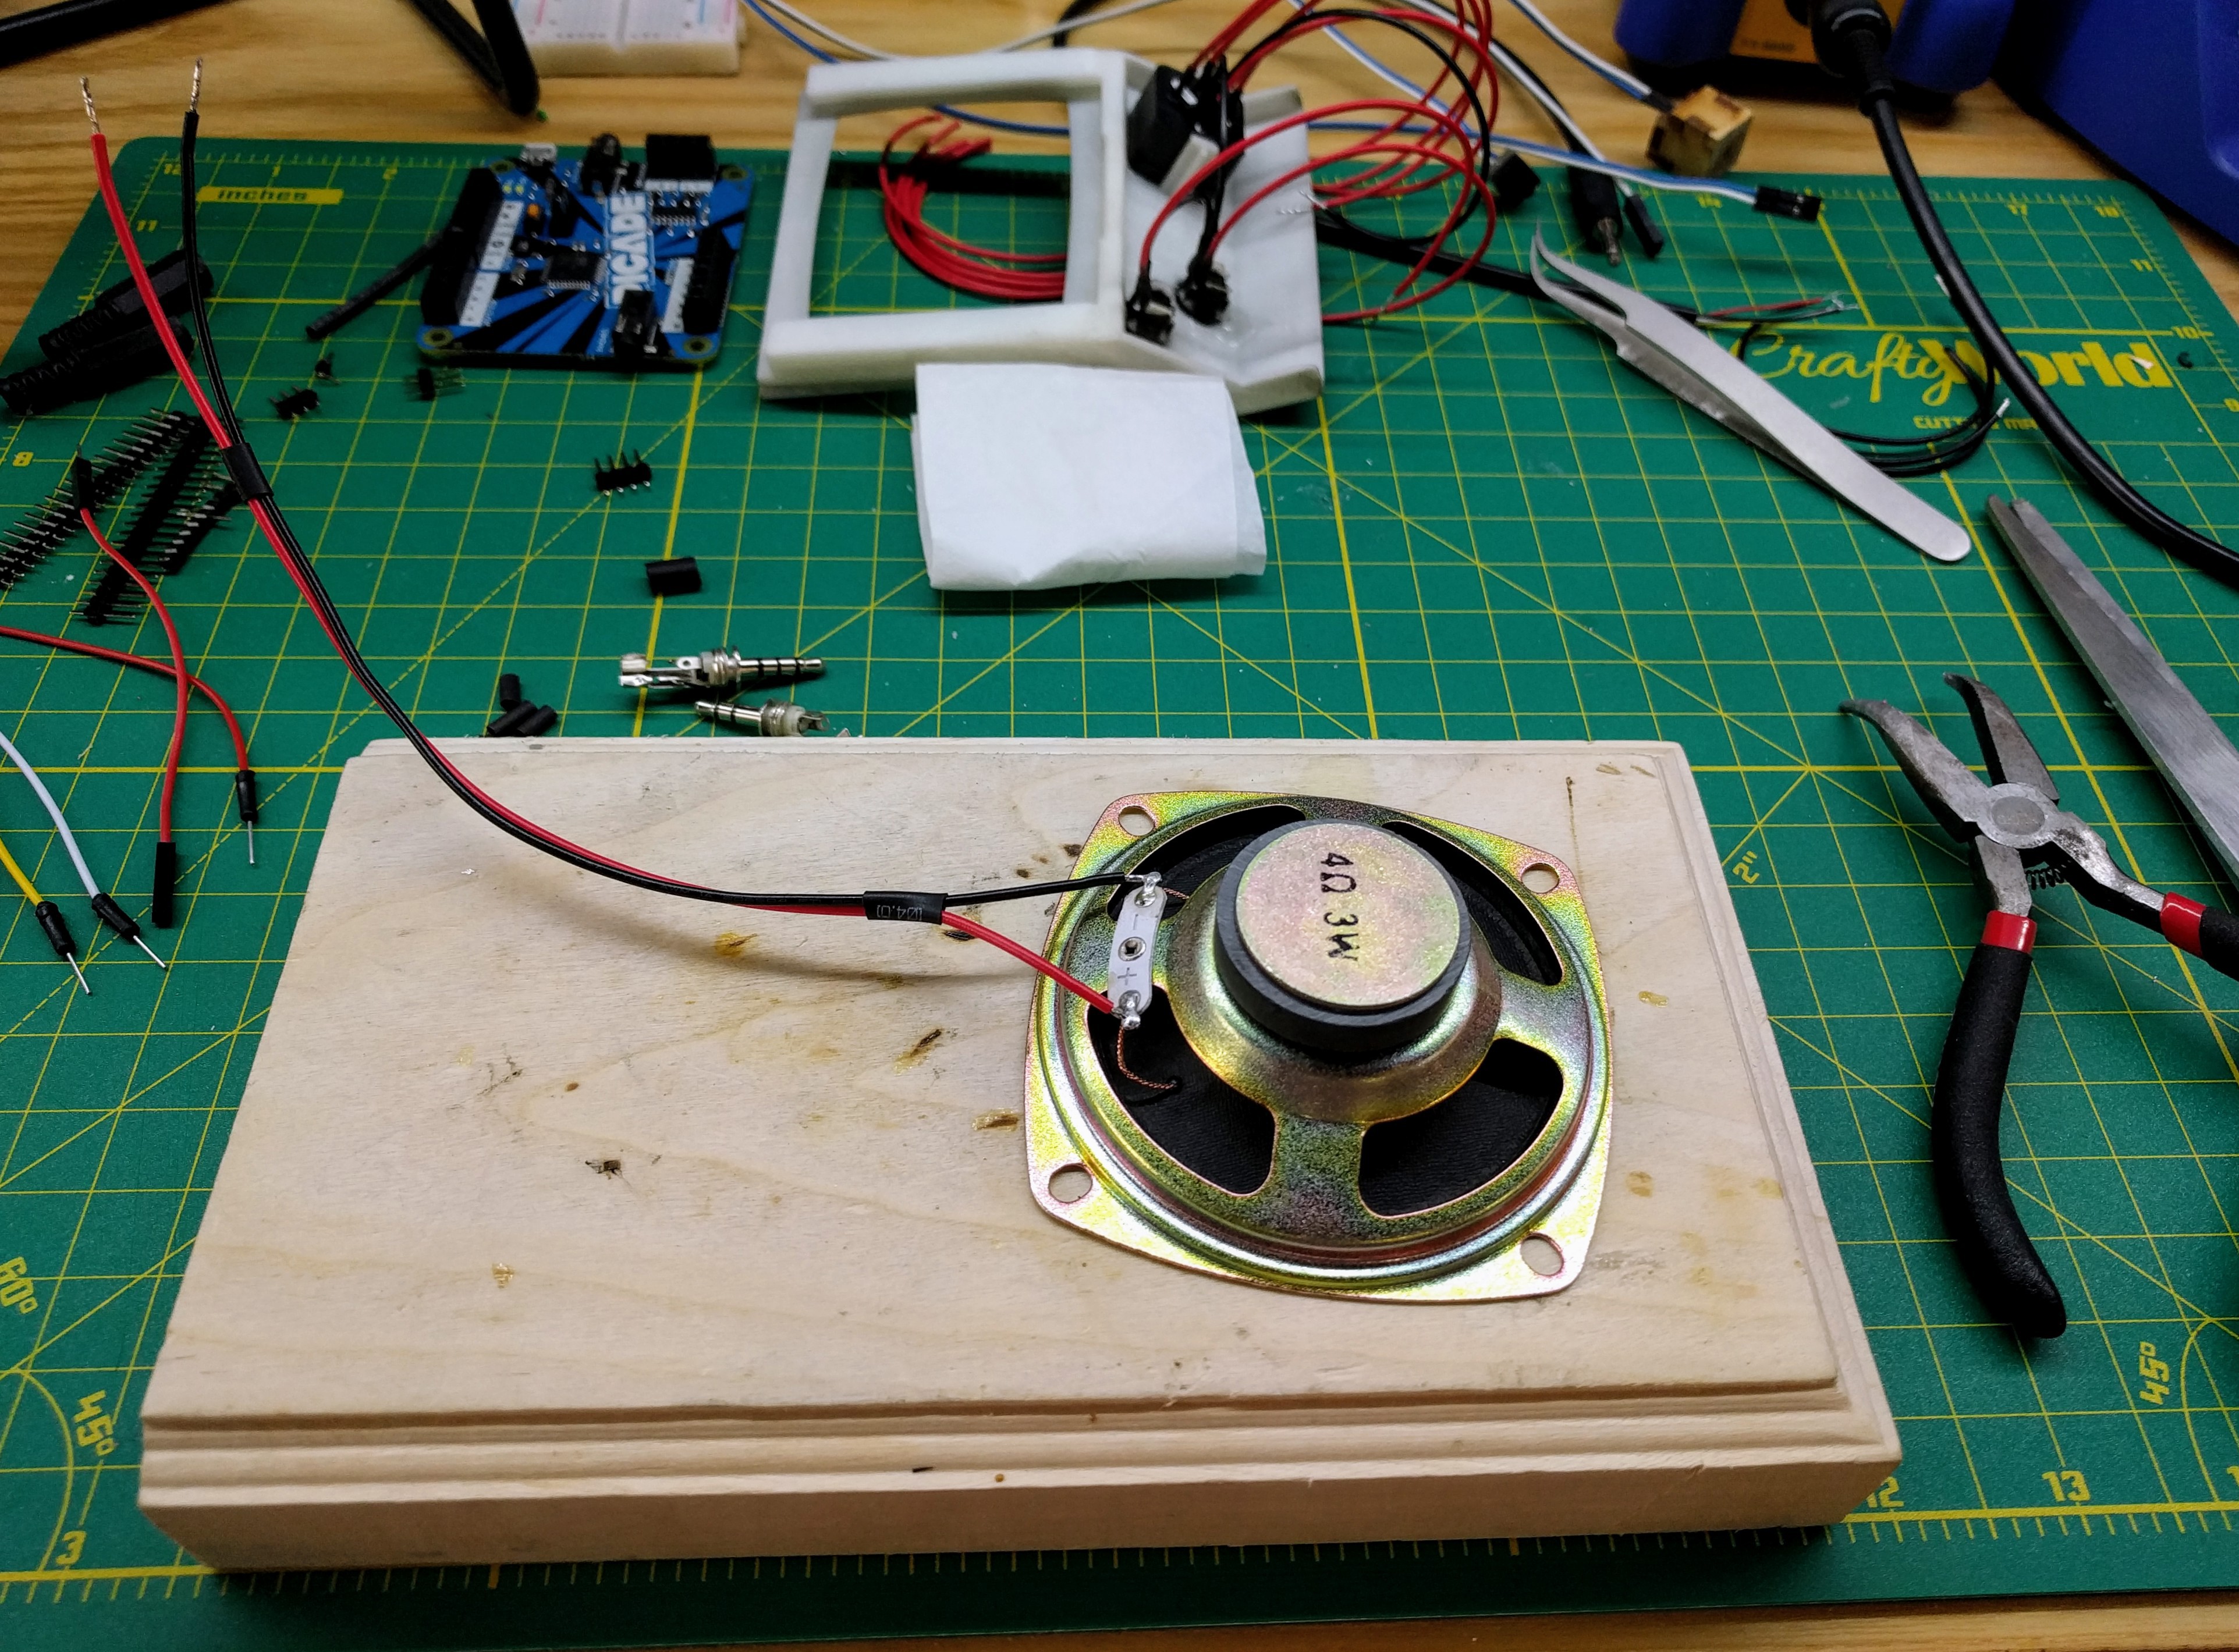
Next I needed to wire up my speaker...
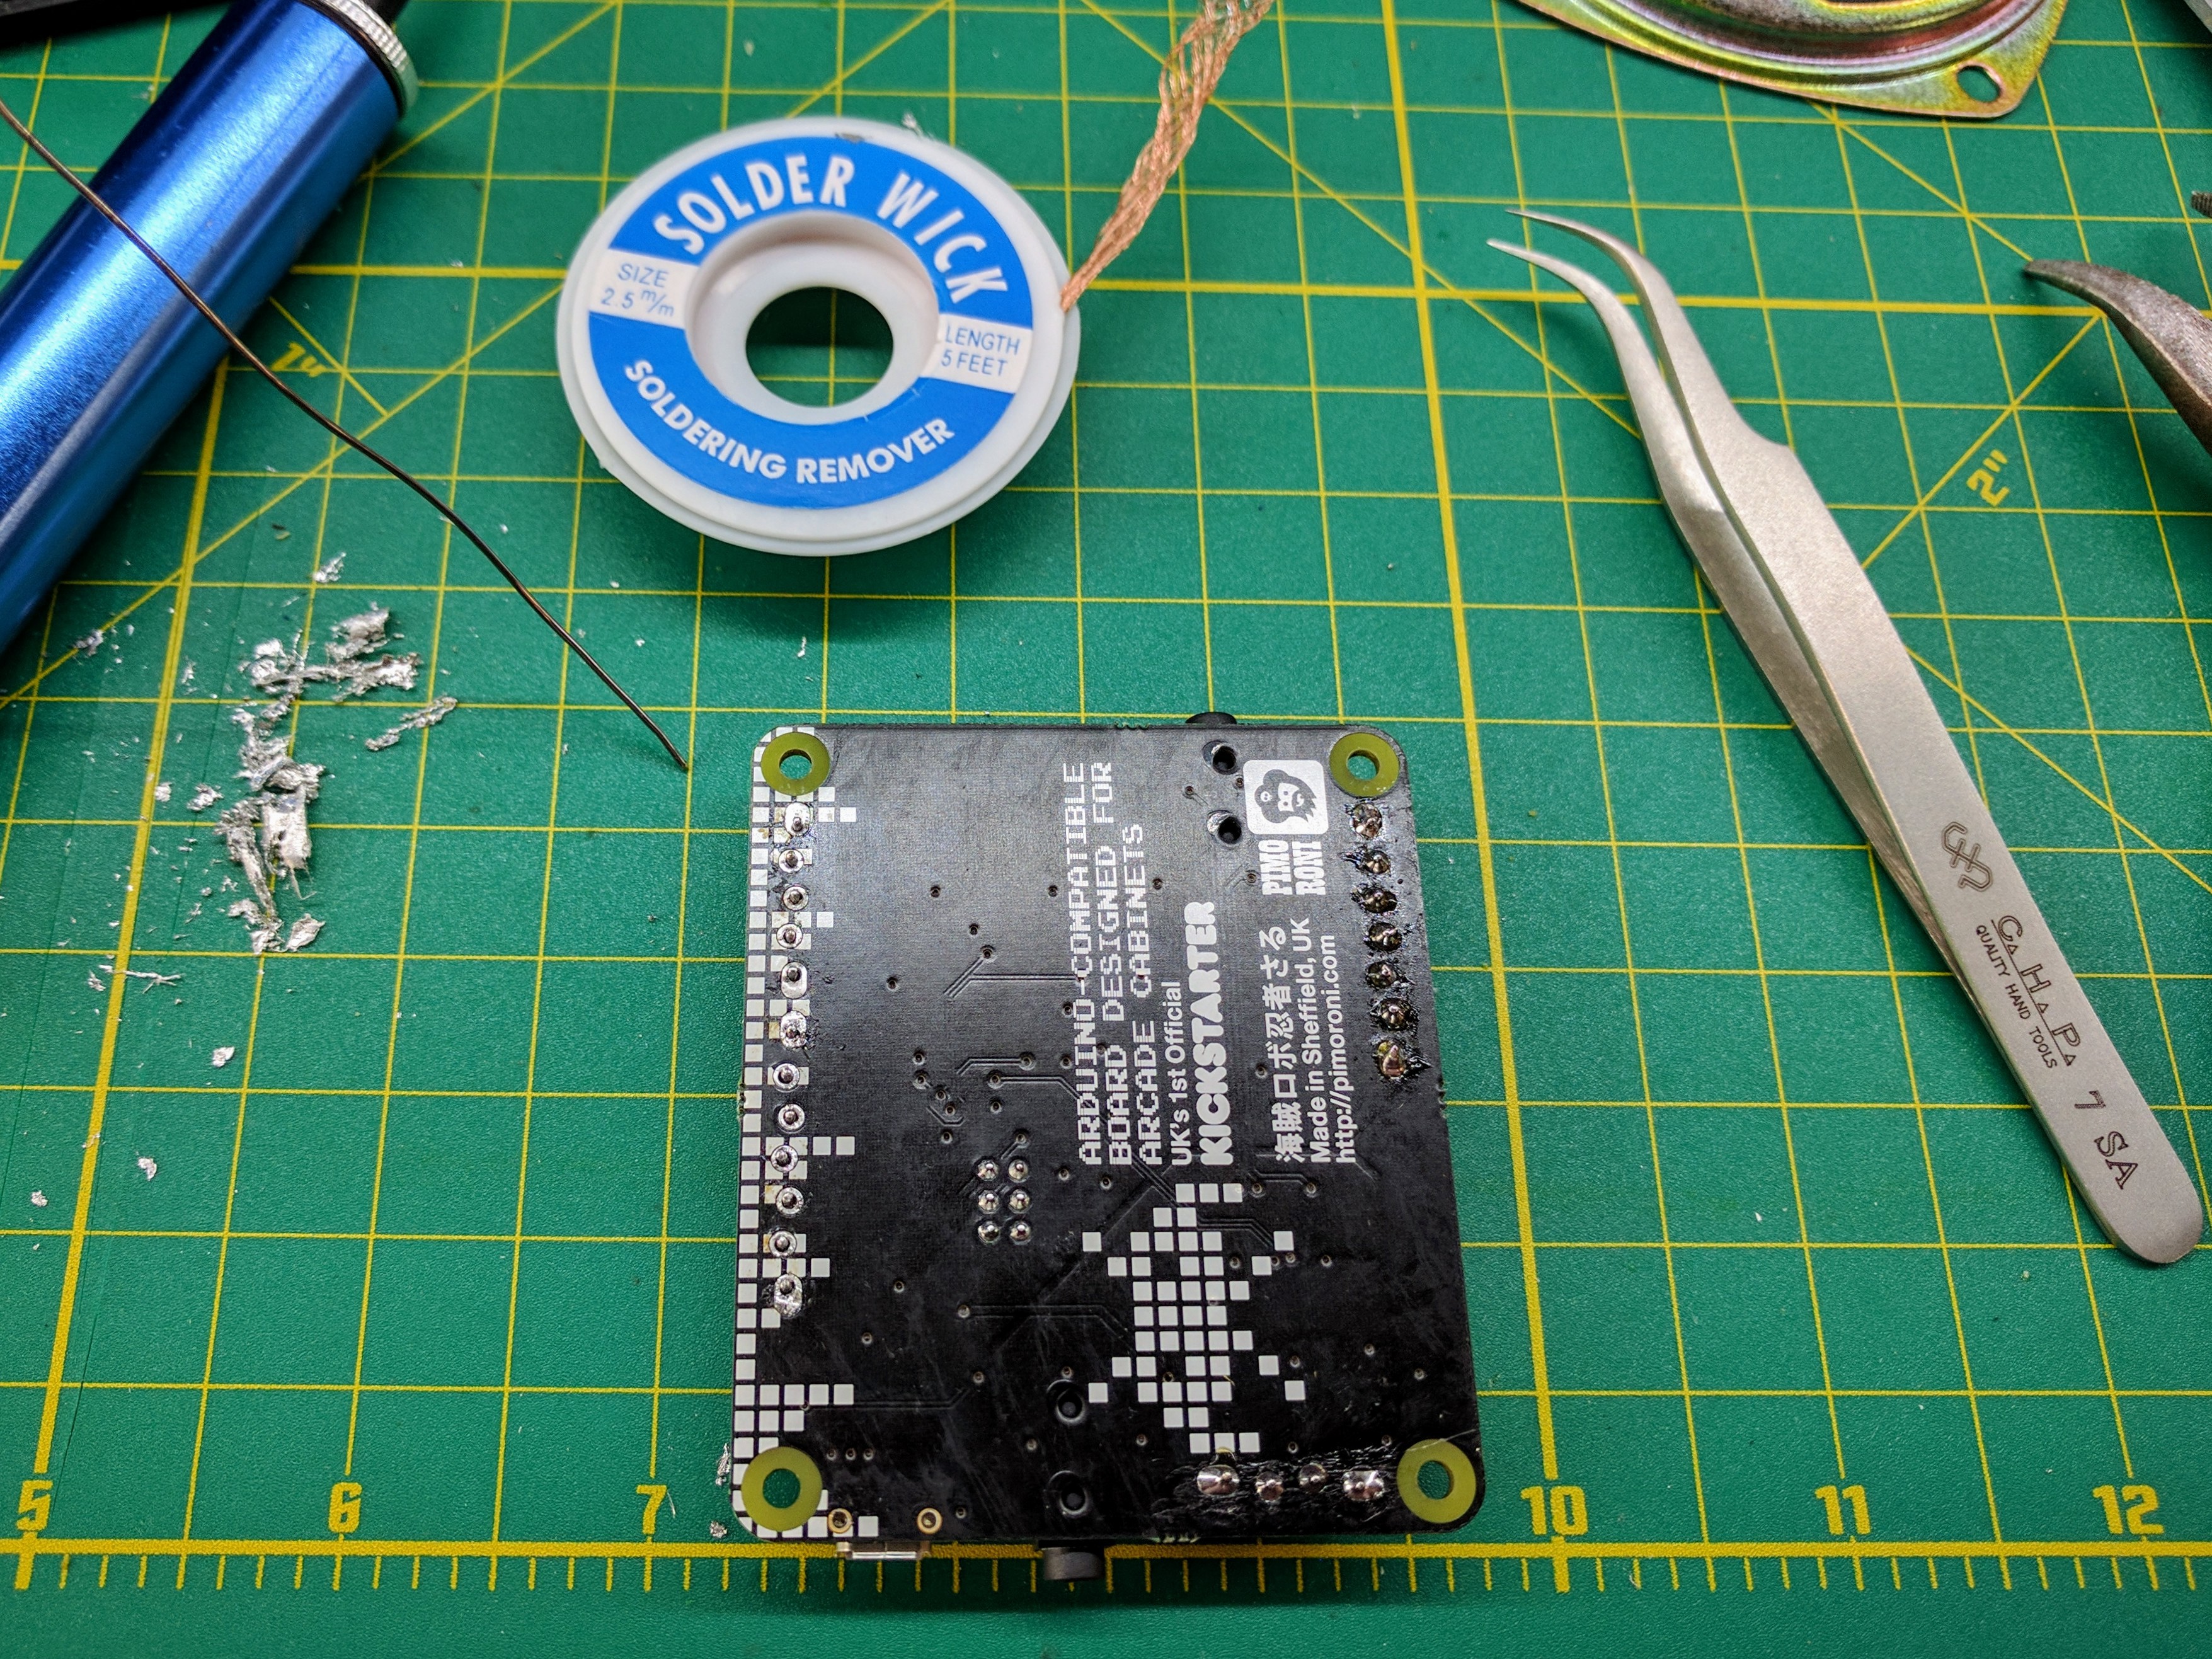
Followed by a resolder of the Picade screw terminal blocks (due to the board's placement in the cabinet, I needed to move them)...
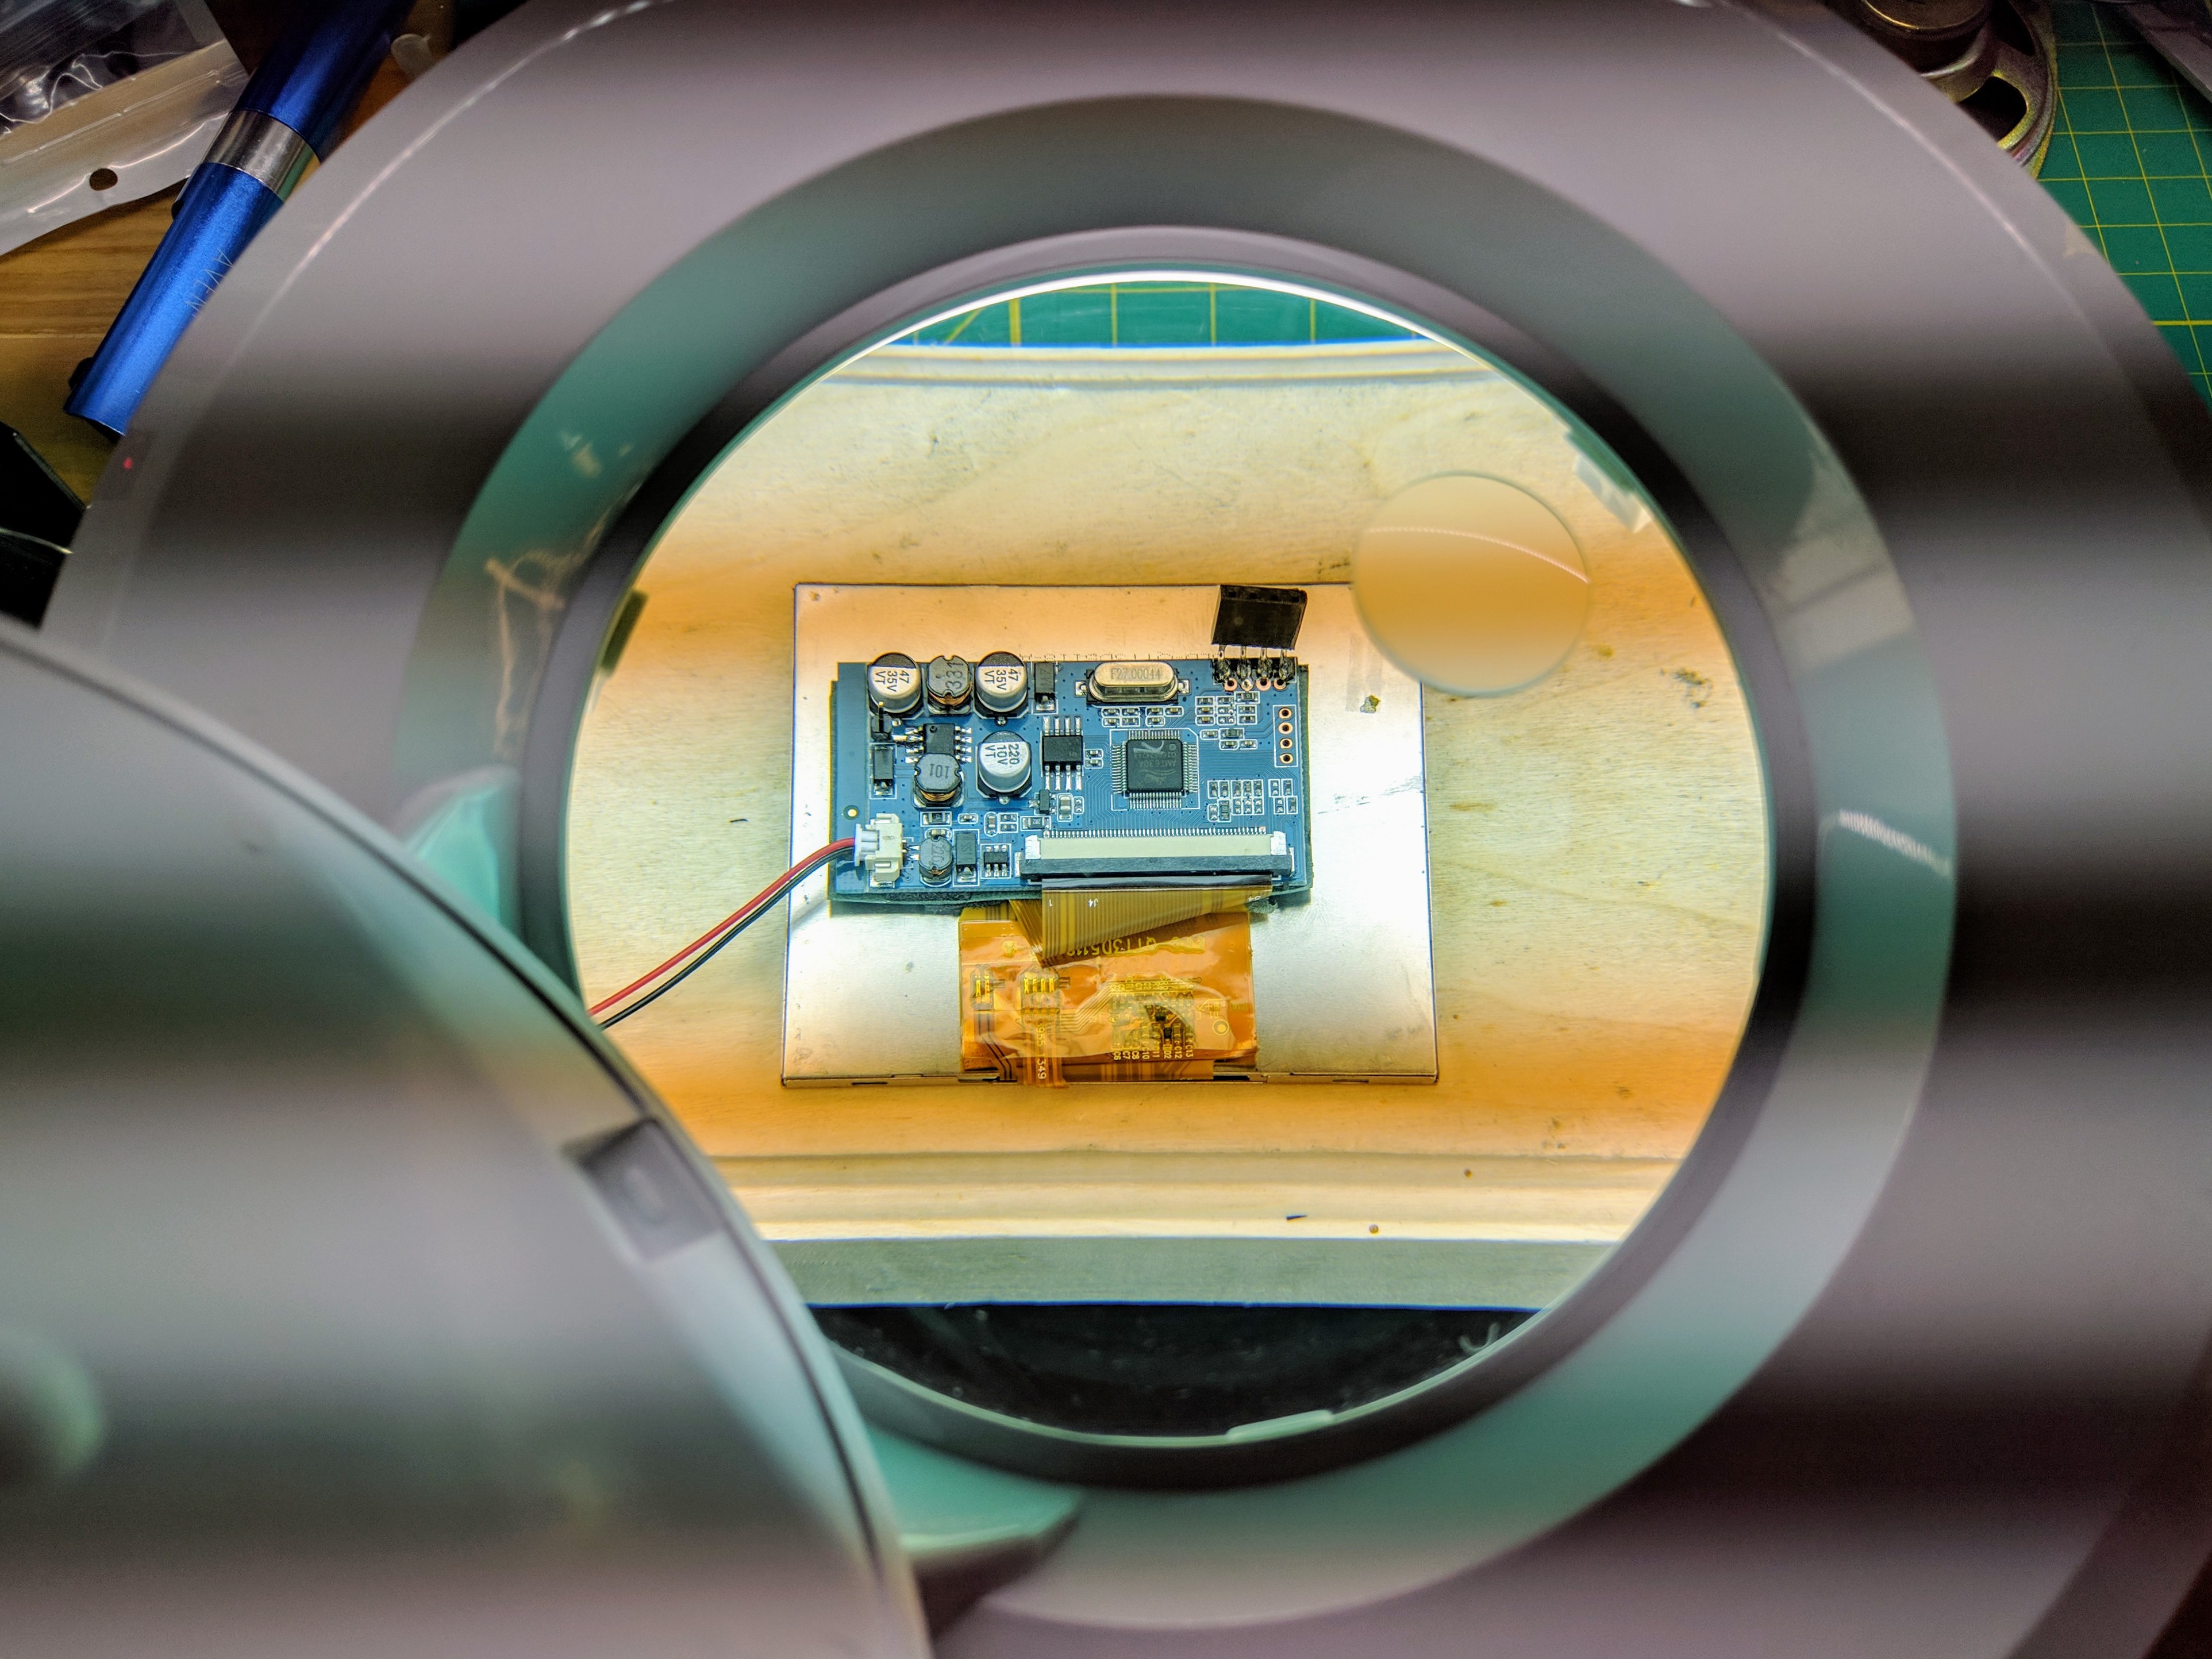
Plus a delicate screen soldering operation under magnification...
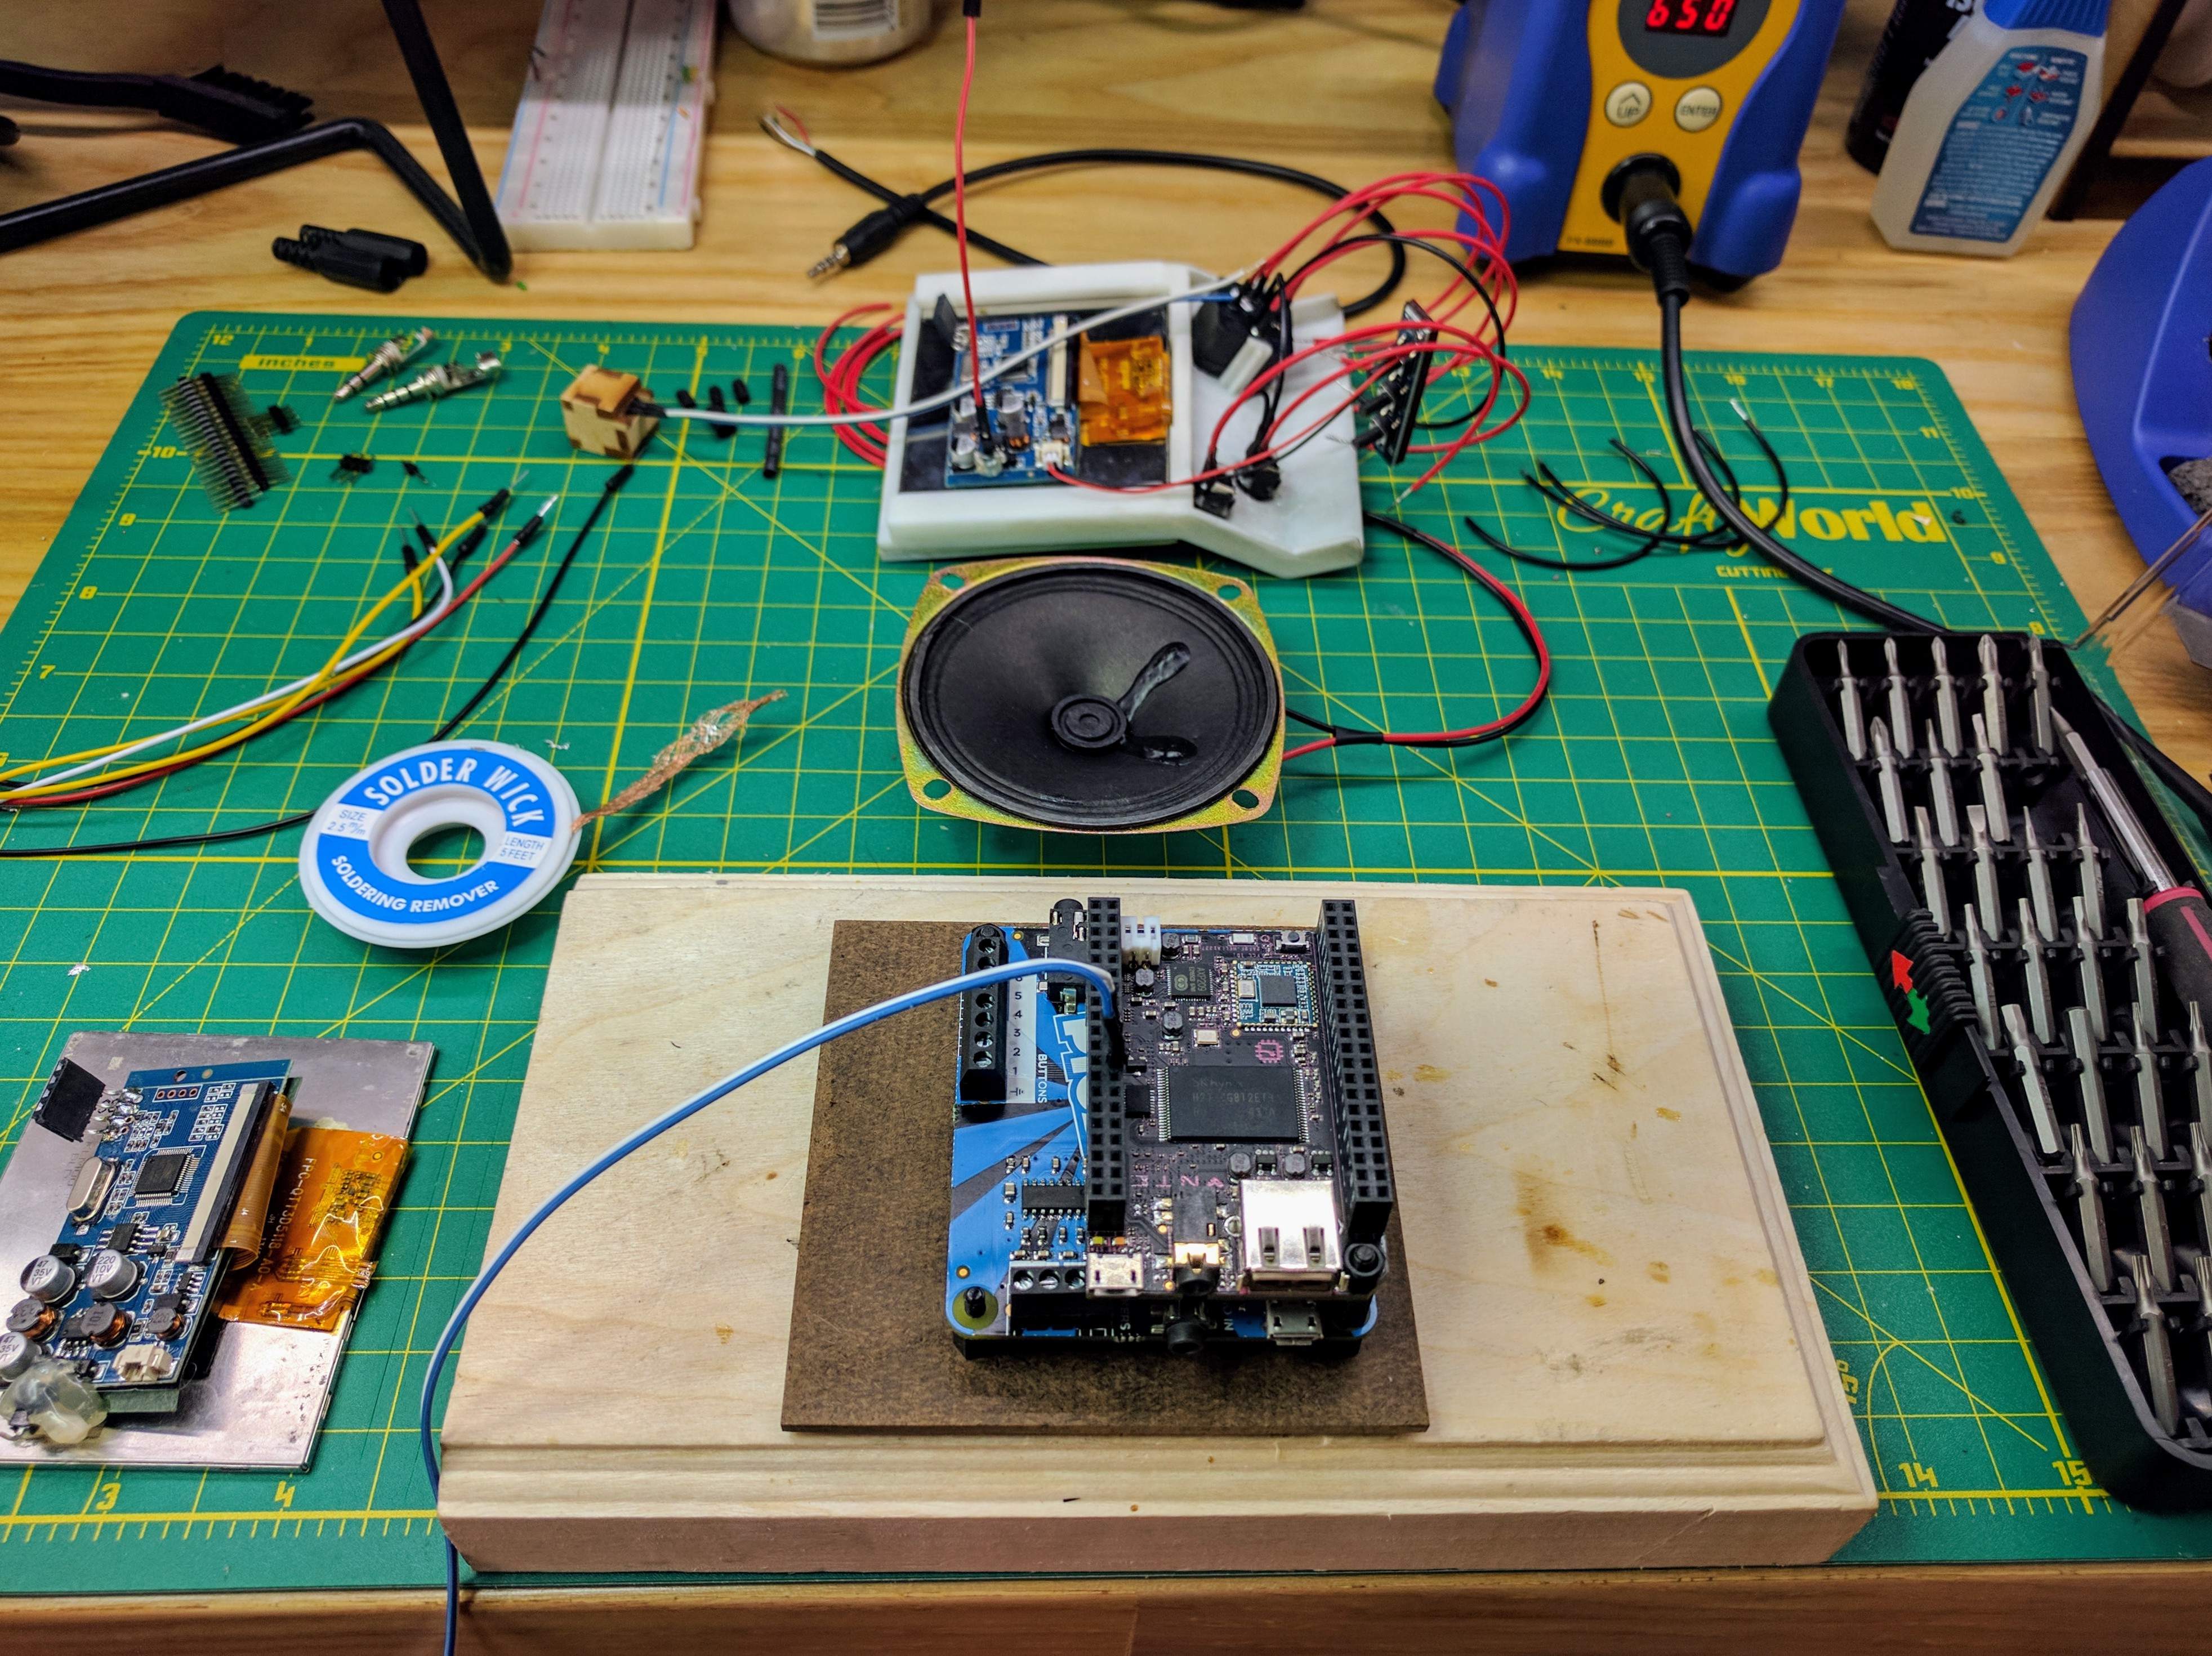
Stacking of my PCBs (a NTC C.H.I.P. and Pimoroni Picade) using nylon standouts attached to my masonite back...
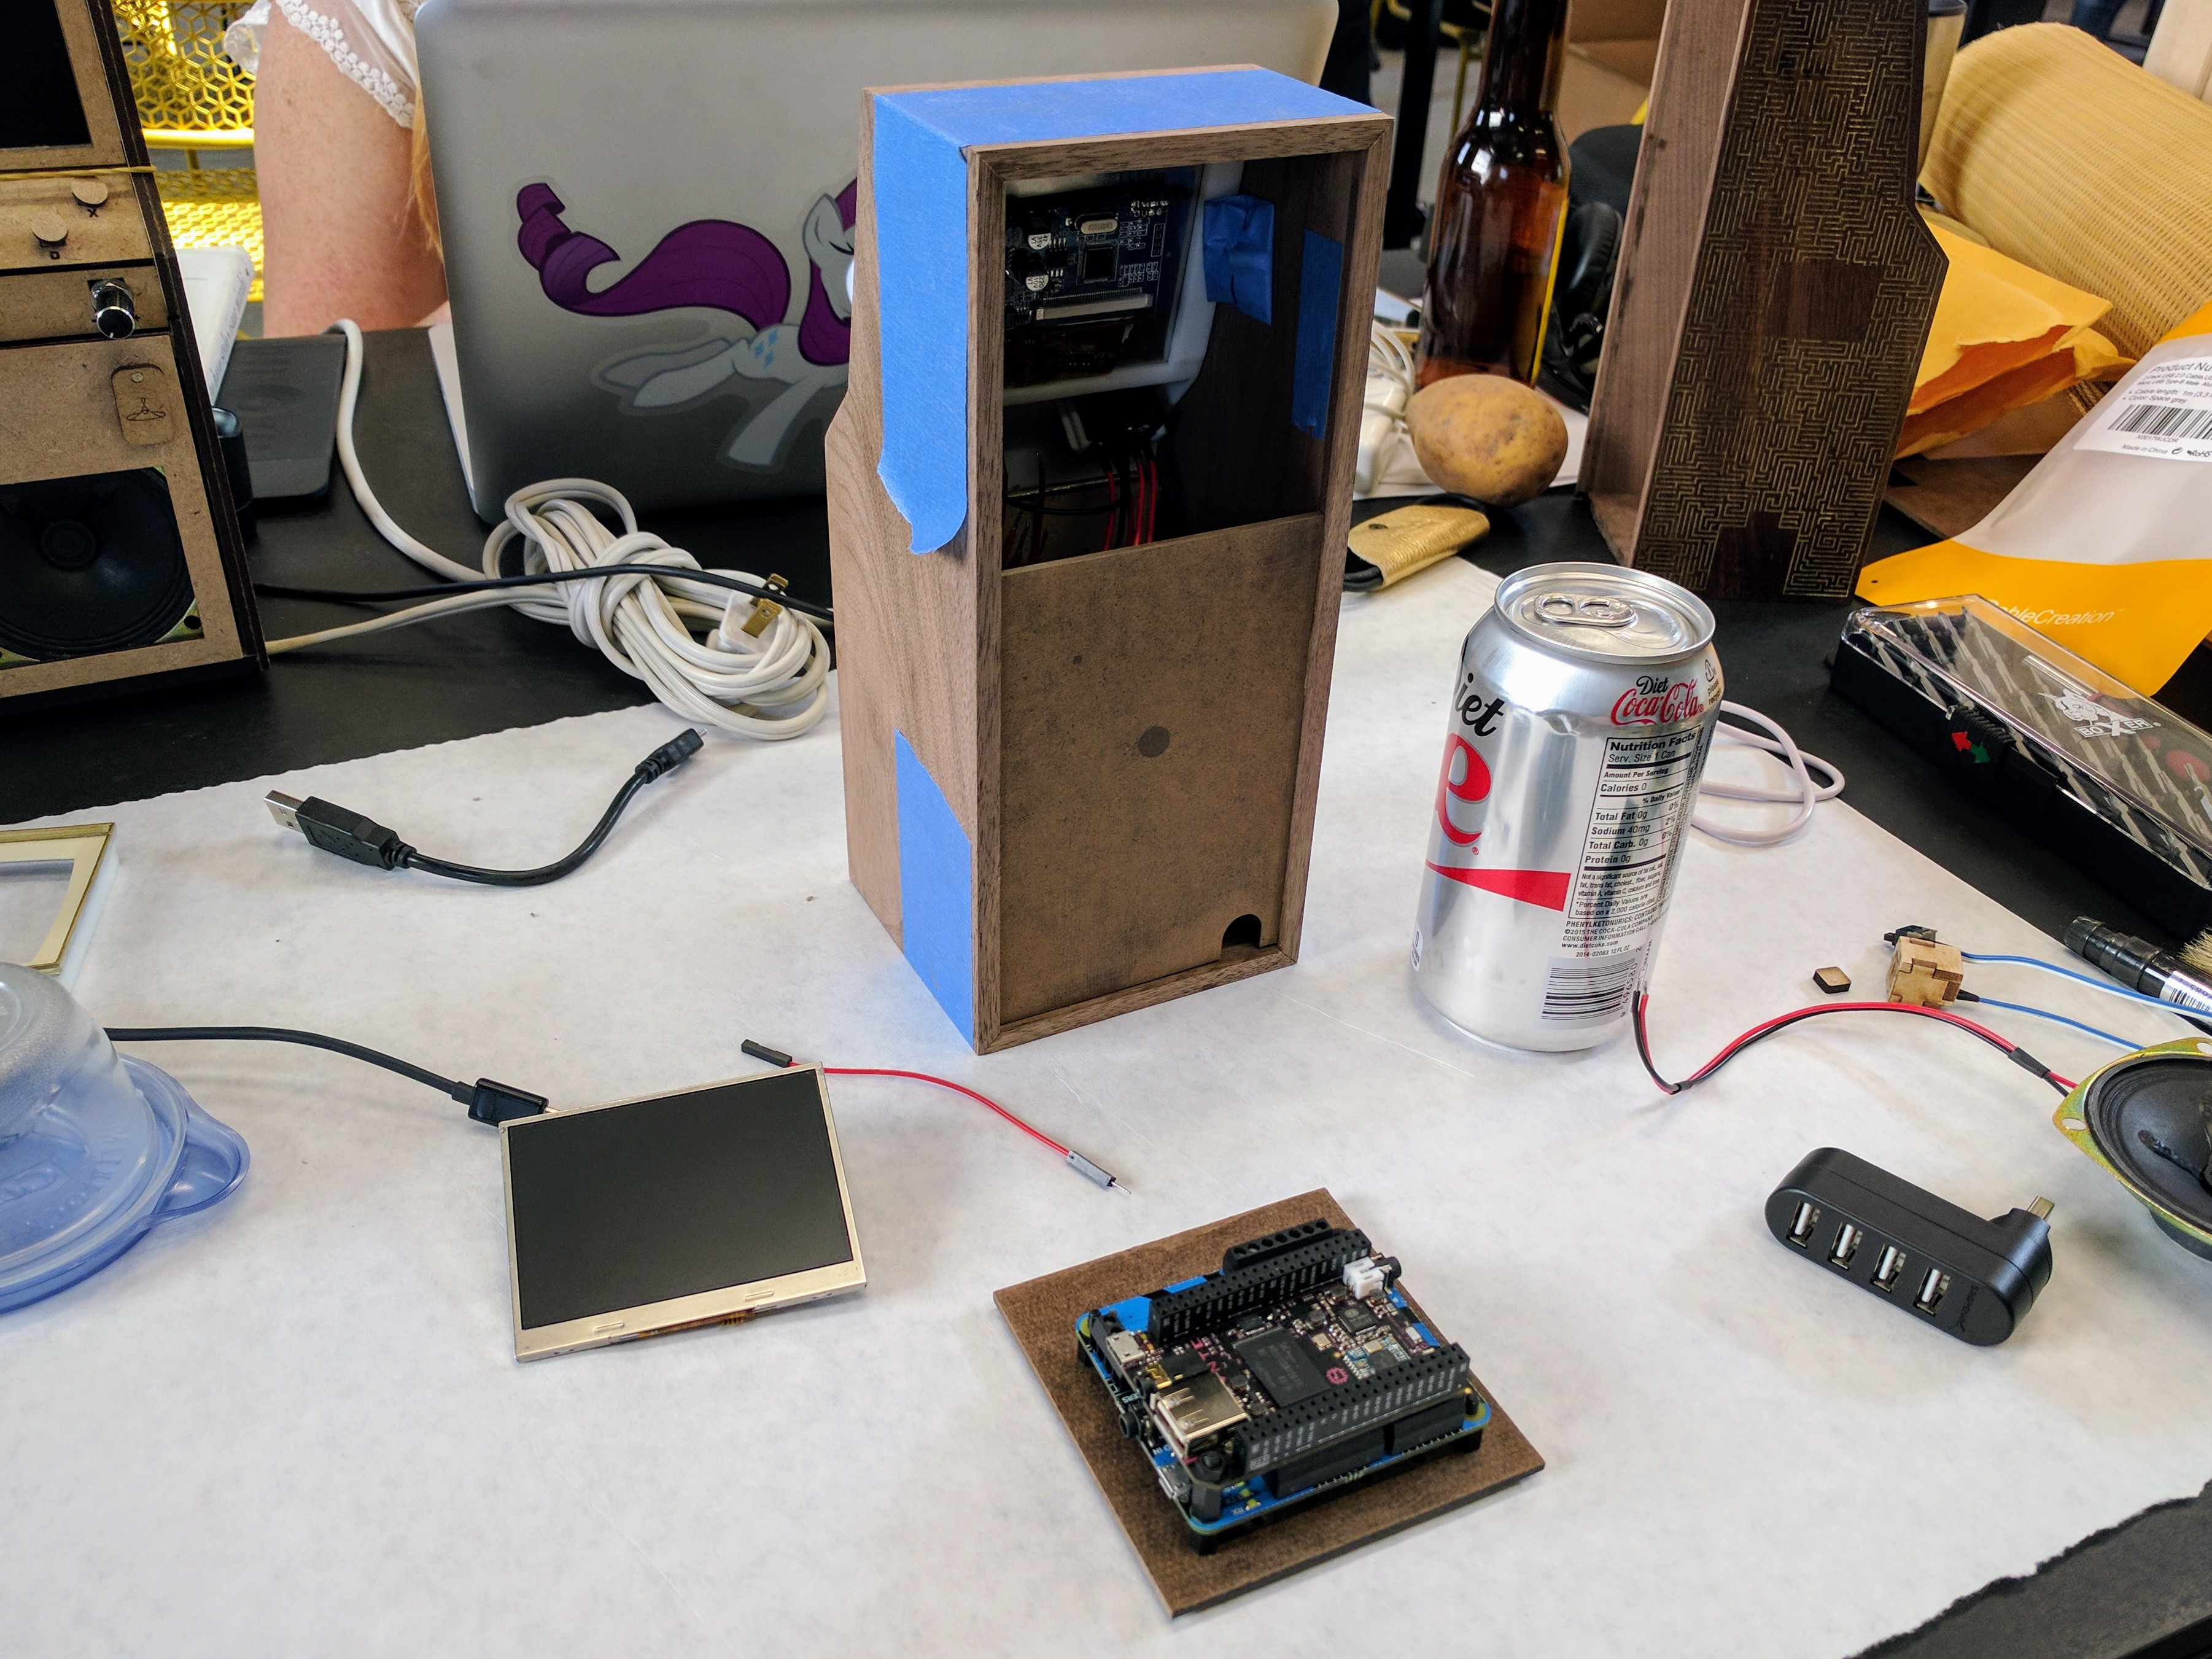
Culminating in their integration into a fully assembled cabinet.
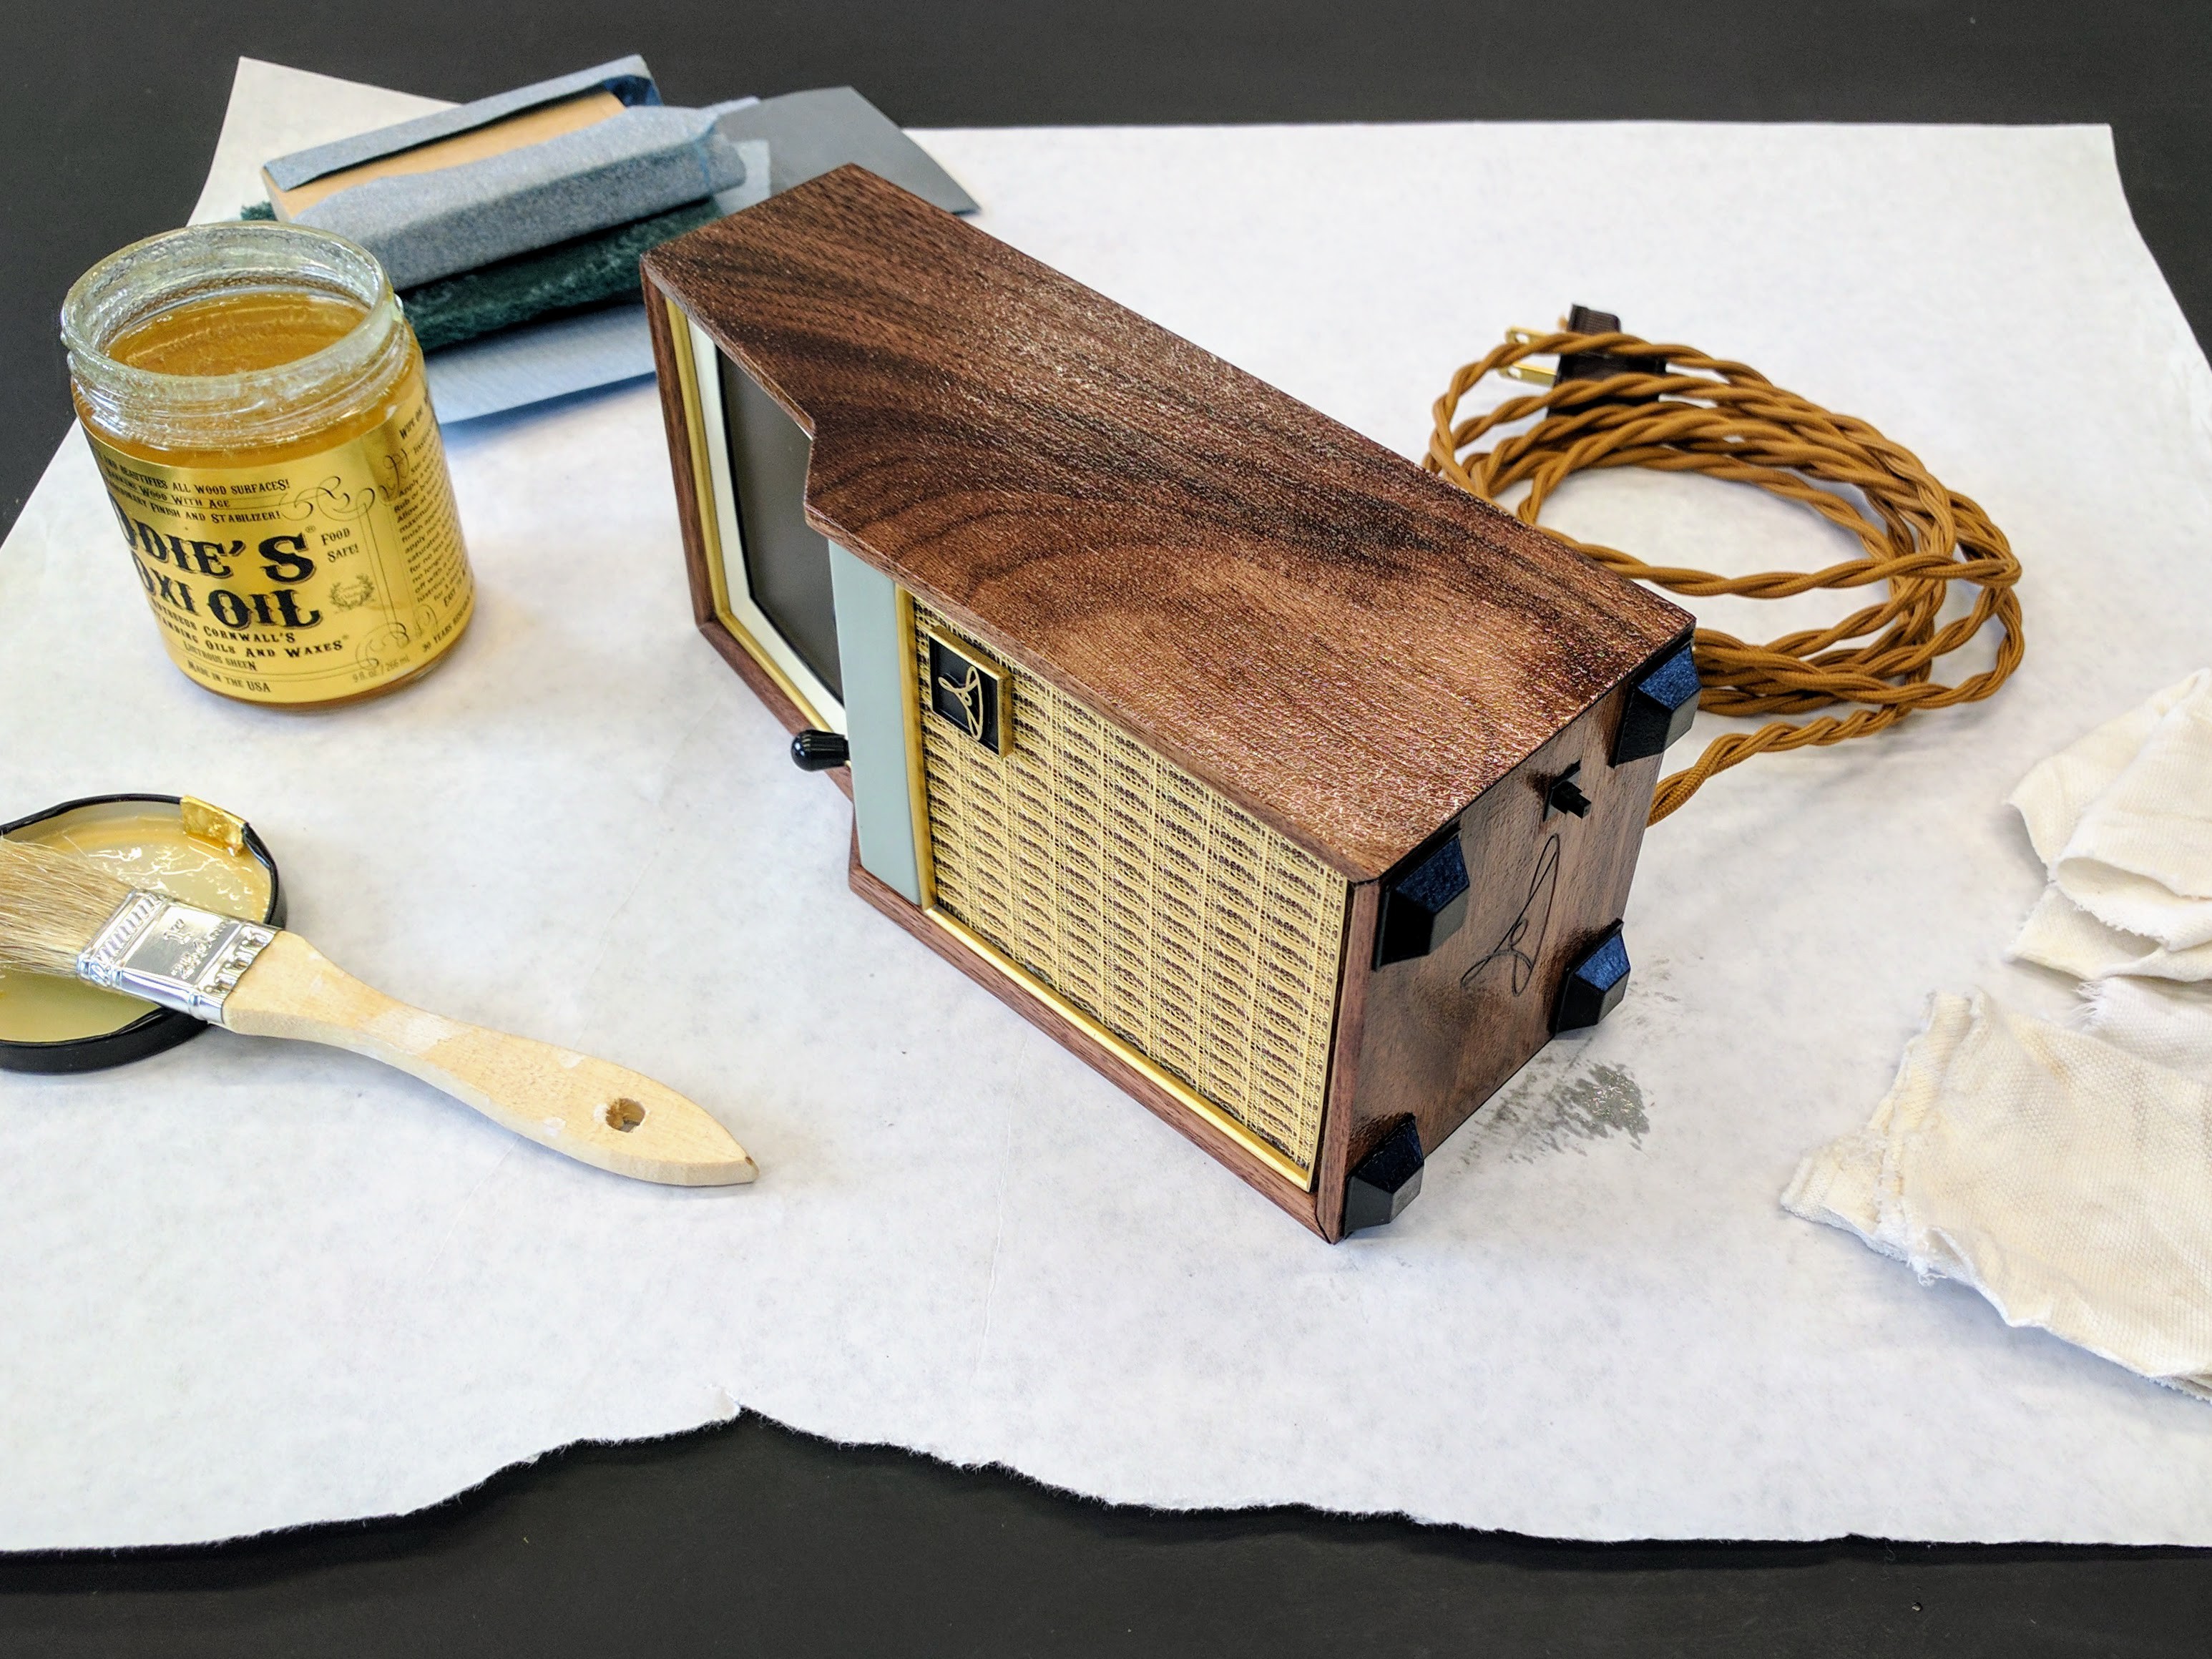
Once I'd gotten it all assembled I applied several coats of wax to the cabinet and polished it by hand using cotton rags!
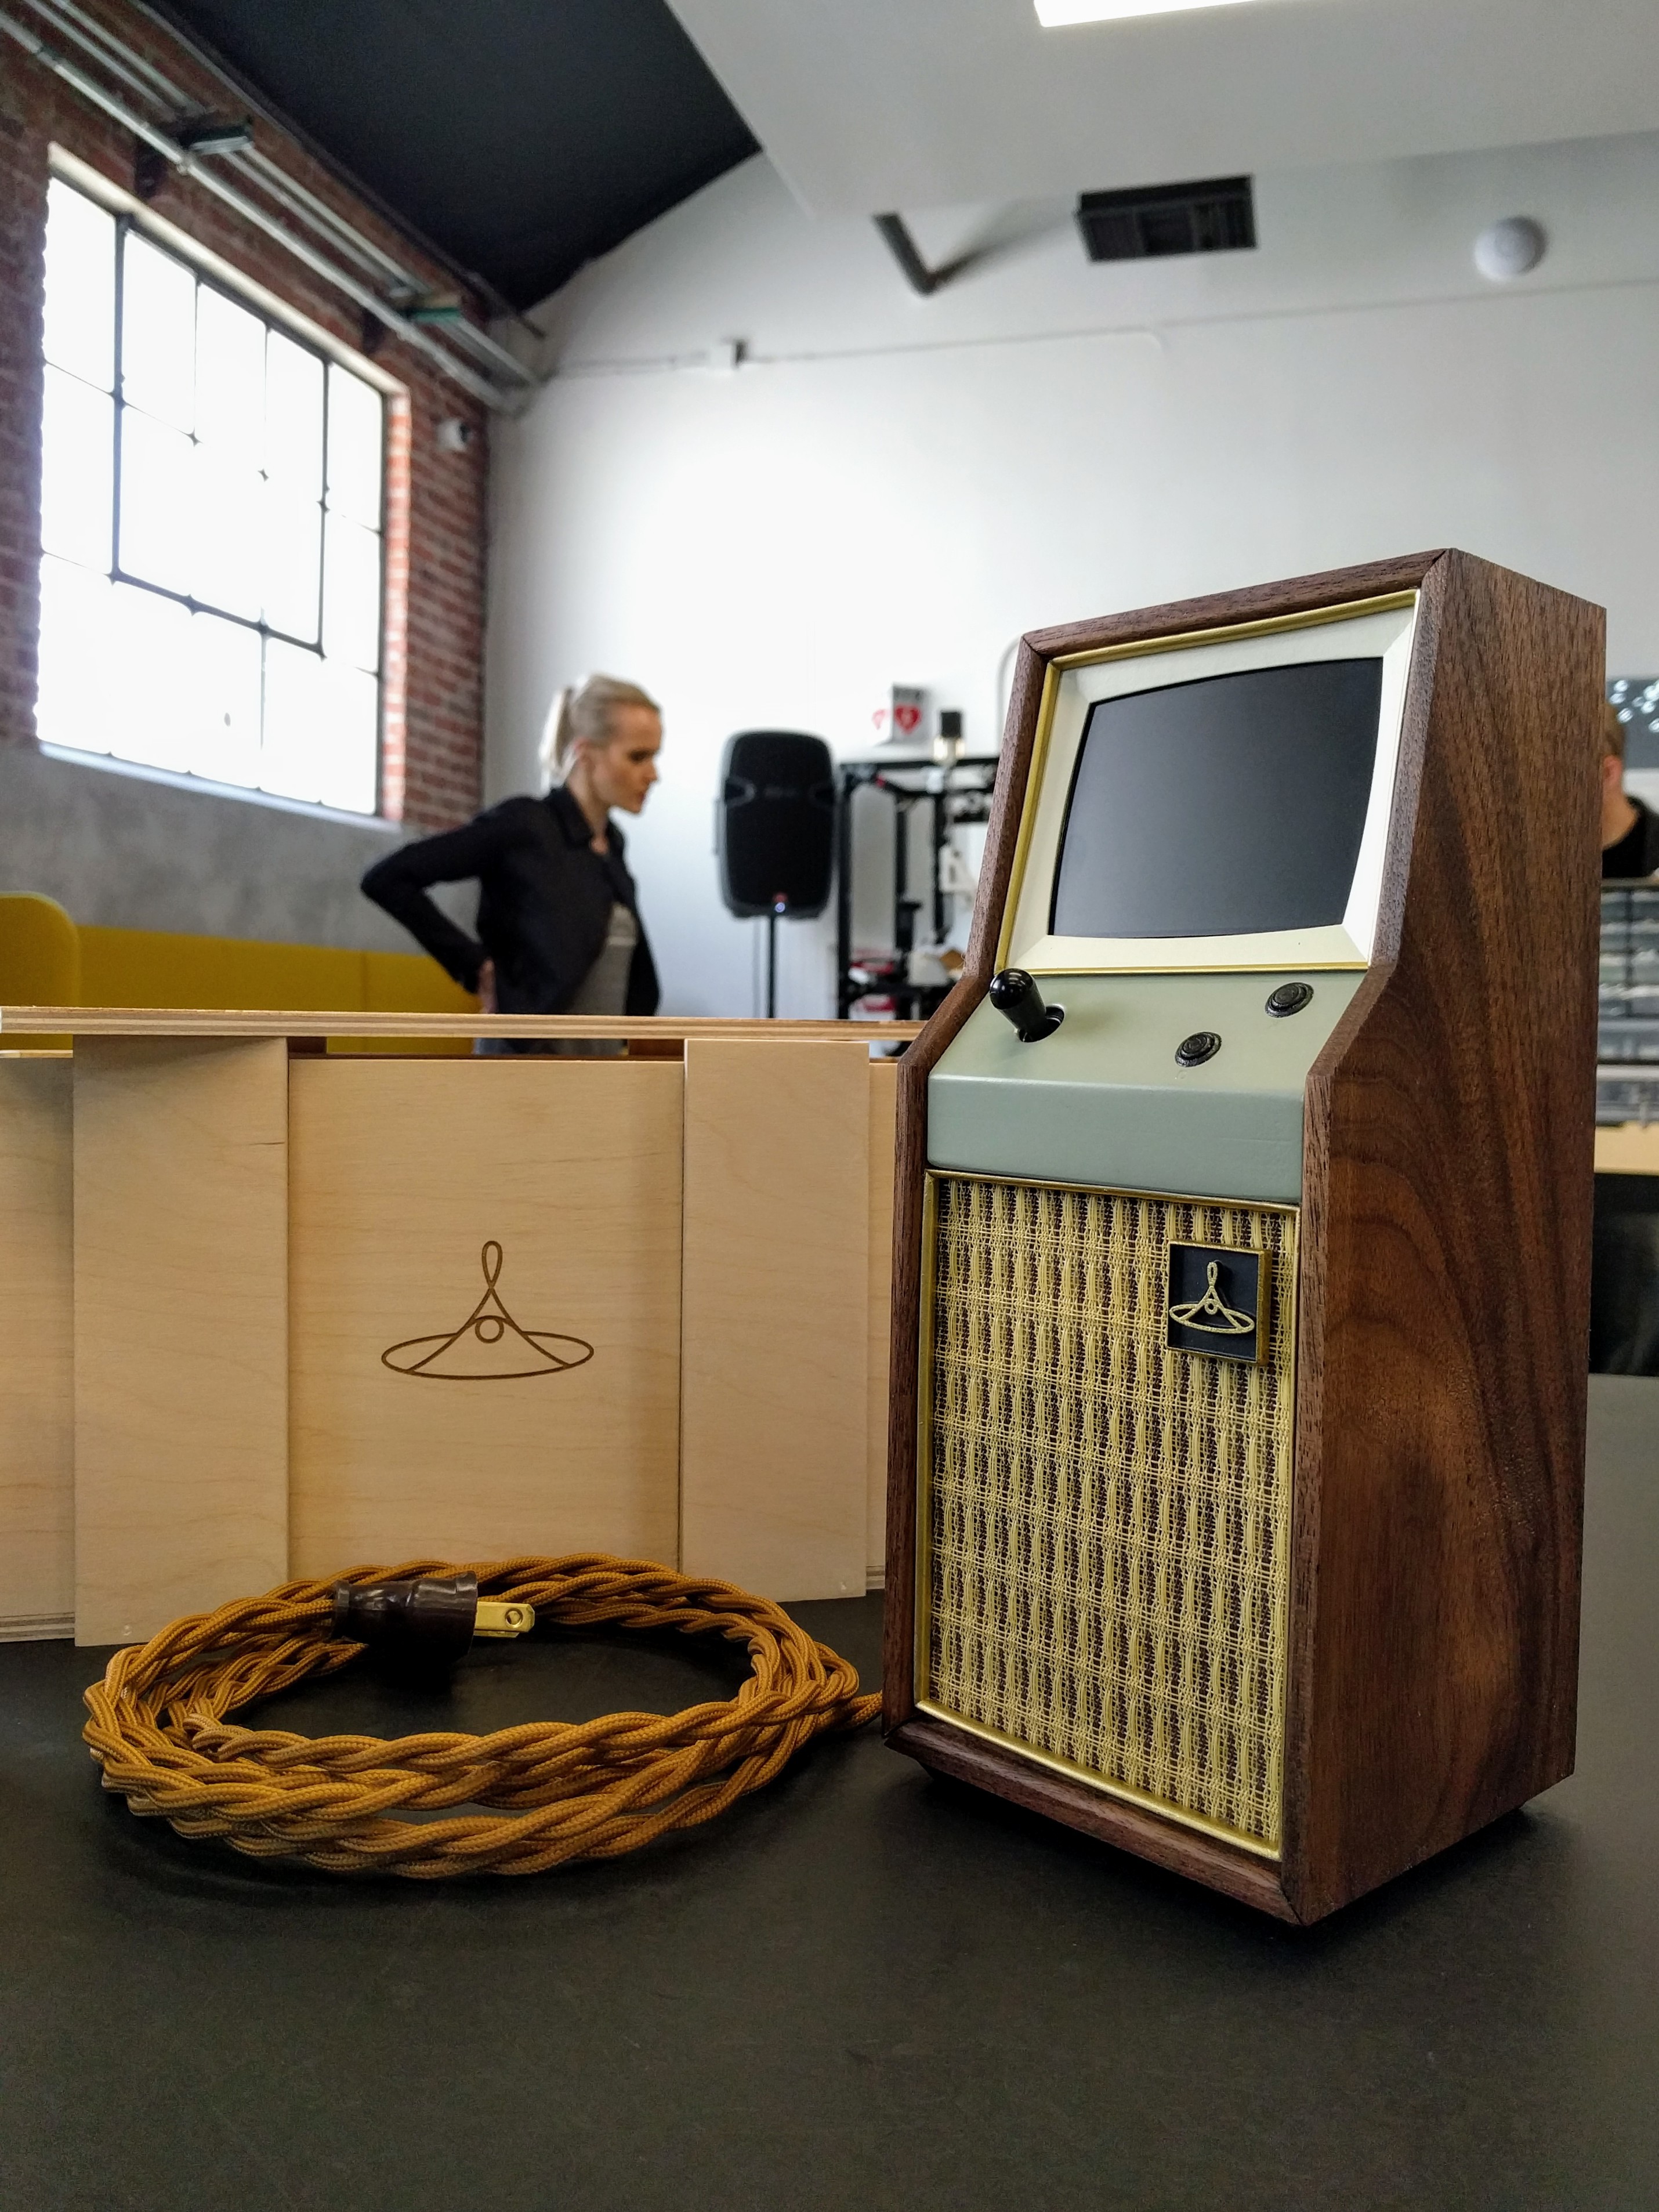
Here's another look at the fully assembled cabinet! Next steps?.. Figuring out the maze inlay, and hopefully getting a new prototype together with all of the puzzles+secret compartments integrated into it from the V.9 prototype. Hopefully we can get the funding we need to make it happen, as we're quickly running out of runway with less than a month left in the lab + the real world breathing down our necks (Mamma and Poppa have gotta eat)! Please make a pledge and share our Kickstarter if you haven't already, as we can't complete this project without your help! THANKS
Discussions
Become a Hackaday.io Member
Create an account to leave a comment. Already have an account? Log In.
Thanks Richard! Looking forward to getting it all done!
Are you sure? yes | no
Looks great
Are you sure? yes | no