 Grégory Paul
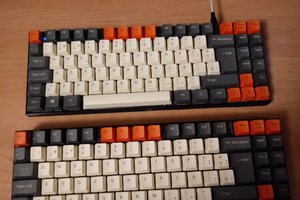
I’ve ordered a Satan PCB board, a case and a plate to finish my keyboard.
Initial idea was to use a laser cuter but it’s not easy to get access to one.
A DIY 60% mechanical keyboard based on Cherry MX blue switches
Already have an account? Log in.
To make the experience fit your profile, pick a username and tell us what interests you.
I’ve ordered a Satan PCB board, a case and a plate to finish my keyboard.
Initial idea was to use a laser cuter but it’s not easy to get access to one.
I’ve found some PCBs and aluminium case shell on ebay so I ordered that to finish my keyboard.
I won’t be was i was thinking at first (using a laser cutter to build the « plates » myself) but at least, I will finalize that keyboard and make use of my Cherry switches.
I’m building a 3 key prototype. It’s pretty ugly since it was cut « by hand » but the idea is to test it before using a laser cutter.
The keyboard is working using https://github.com/tmk/tmk_keyboard/
Now it’s time to customize the keys (mute, volume up and down).
I just found out about keyboard-layout-editor.comkeyboard-layout-editor.com and http://www.keyboardcad.com/.
Theses tools allow you to design your keyboard and then generate the SVG to laser cut it.
It makes thinks really easy. Wonderful !
The case
The next part of the process is to design and build the case.
The case is composed of 4 plates :
In picture :
        _
     __|_|__
    /       \
+----------------+
|                | 1.5mm « base » plate
+----------------+
|   |       |    |
|   \_______/    | 5mm « supporting » plate
+----------------+
|     |   |      |
|     |   |      | 5mm « spacer » plate
+----------------+
|                |
|                | 5mm « bottom » plate
+----------------+
The goal is to design 4 SVG files that will feed a laser cutter.
Since I’m not familiar at all with that process, I'm thinking to first design a 3 keys keyboard (volume up, down and mute).
That will limit the costs if things goes wrong.
Inspiration to build my mechanical keyboard came from an article from « beastie.lesfurets.com ».
I like the visible micro-controller (a Teensy 2.0) but I’m thinking to use a more traditional layout (without numerical pad).
Components
I ordered almost all parts, including :
DSA key means they can be placed anywhere ; other families (DCS or SA) means keycaps are different according the row, see http://pimpmykeyboard.com/key-cap-family-specs/ for further details.
For the micro-controller, II will reuse a Teensy I already bought.
Your keyboard should not act as a keyboard.
You should test each socket using a wire. You can use http://www.keyboardtester.com/tester.html for that.


I want to make a keyboard too! I am excited to see the PCB files. I got everything but a PCB :D
Sorry for the very late response but I wasn’t able to do the initial project (from ) so I finally used a Satan GH60 PCB & cases (see components)

 Sergio Costas
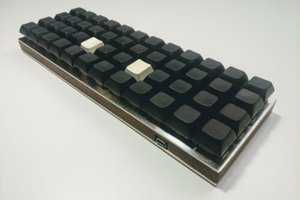
 Alex K
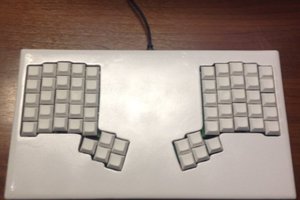
 Warren Janssens
I won’t use a PCB but simply solder keys one to each other like https://github.com/mathieubolla/sik_keyboard
But you may find keyboard built with a PCB in my keyboard rss feed : https://rsstodolist.appspot.com/?n=keyboard&l=100