 Carl Strathearn
- Example of full system run
// A little about myself : I am a PhD scholarship student at the University of Huddersfield in England studying the field of bio-robotics. I have a Masters (Scholarship) with distinction in advanced animatronics and a first class degree in creative programming. I have been studying animatronics, A.I and robotics at the university for the past several years and I have been lucky enough to correspond and work with with some of the top robotic engineers in the field, win numerous academic awards, exhibit my work in international exhibitions and nominated finalist in the acclaimed IRobot competition held in conjunction with national robotics week (U.S.A) 2016.
I want to start by introducing you to the concept of animatronics / bio-robotic design. The field of animatronics / bio-robotics encompasses variable disciplines from engineering, programming and design to chemistry, mathematics and physics. Of course you are not expected to know all of these areas in excruciating detail.. but it is always good to have a simple grasp of these factors when designing / prototyping and finally constructing a robotic system. Animatronics / bio-robotics different from traditional robotics in the exterior emulation of naturalistic function and form. For example, a robot may be represented as a metal cube with no reference to animalistic design, whereas animatronics via definition are founded on conceptual / living organic simulation.
1. Design
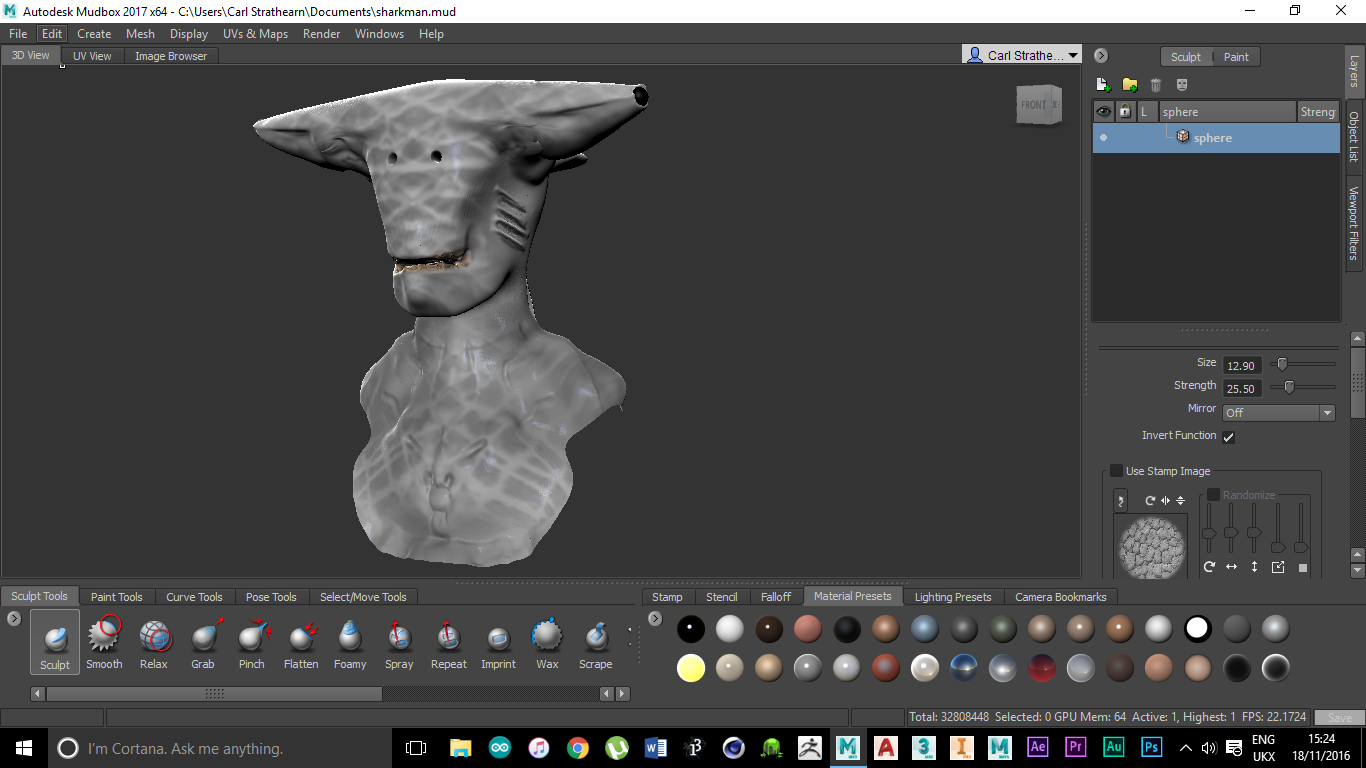
// Example of some of my 3D design work from (2016)
Lets start !! First of all we need to think about our character, its environment and purpose. From these attributes we can configure the systems capacity, operation and requirements. I recommend starting your design process on good old fashioned pen and paper. A good exercise is start off by drawing characters you are familiar with e.g childhood cartoon favourites or past designs and try to visualise how that character functions kinetically. This may sound like a simple process but it is crucial as it is the first step in visualising the how the system will perform. Imagine coming face to face with your character, think about scale, materiality and function. I was once told I had the best workshop with all the cutting edge technology at my 24 hour disposal.. all I had to do was imagine it in my head and run a simulation of procedure.
2. System Design
Now we are not just thinking about our characters form, we are imagining it in its natural environment. If for instance our character is a humongous hulking monster it will have constraints in terms of movement and momentum. These physicality's will apply to our system design. We can achieve a more natural operation if we prototype our system before implementing it in the final project. You can do this on paper, practical prototype or virtual simulation. Each of these processes has advantages and disadvantages. Practical prototyping takes time and money but will give you a greater feel for the mechanism and its capacity / limitations.. virtual simulation has a tendency to mis-represent dynamics and material / mechanical constraints such as weight and external factors that may cause system failure.
3. Lets now examine the project that we will follow to the end of this tutorial.

This is a simple skeletal form I made out of thermo-plastic I took it from the internal dimensions of a resin head cast I had made for a different project and it was a great start for this system. Of course you can make your own using a cast of whatever you have designed (3D Printed, Clay Sculpt or life-cast) and then get the correct size by examining the exoskeleton against the final form. You can use whatever material you think is most suitable, it is normal to use standard casting resin but for the sake of this project I thought thermoplastic would be a great safe alternative for beginners.
The teeth I had made by a professional dental practitioner which where left over from a past project and I embedded the teeth into silicone glue pigmented with red paint. If I was to make a set of teeth from scratch it would with bite into a block of thermoplastic / miliput and take a cast from that. If you require different teeth, it is best to sculpt these in clay, (I use monster clay) and then take a silicone mould of them and cast them in white resin and detail as required.
4. Building your mechanisms
Here is the set up for my jaw and tongue mechanism, I do not plan to go into too much detail here as I have already covered this design in my other project and the jaw formation is exactly the same set up as that.
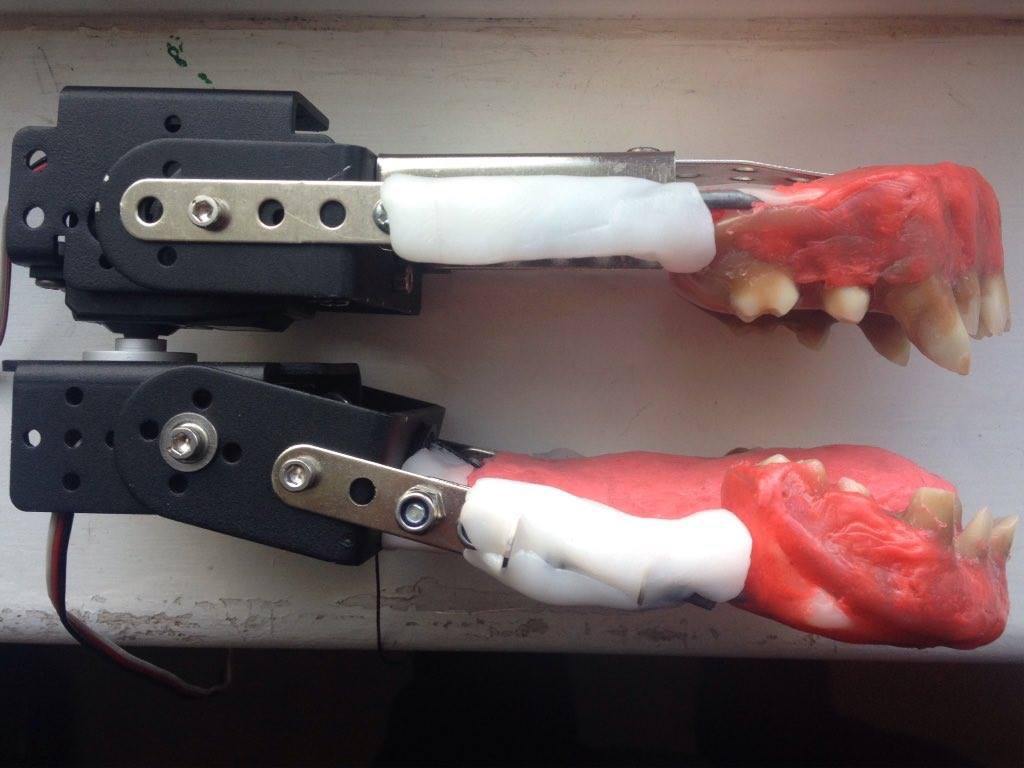
I will however talk about how the tongue system was made. I started off with a length of cable tie and in increments of 2 cm along the length of the cable tie I made spheres with small mechano brackets, threaded through this is a length or tri bind - 100lb fishing wire. Attached to the end of the wire is a servo that pulls the wire along its vertical axis but as the L brackets are in a linear formation along the cable tie the tongue curls give a great natural operation.
// Example mechanism from a larger scale project, using a two way system to send the tongue over the bridge of the teeth.
Eyes:
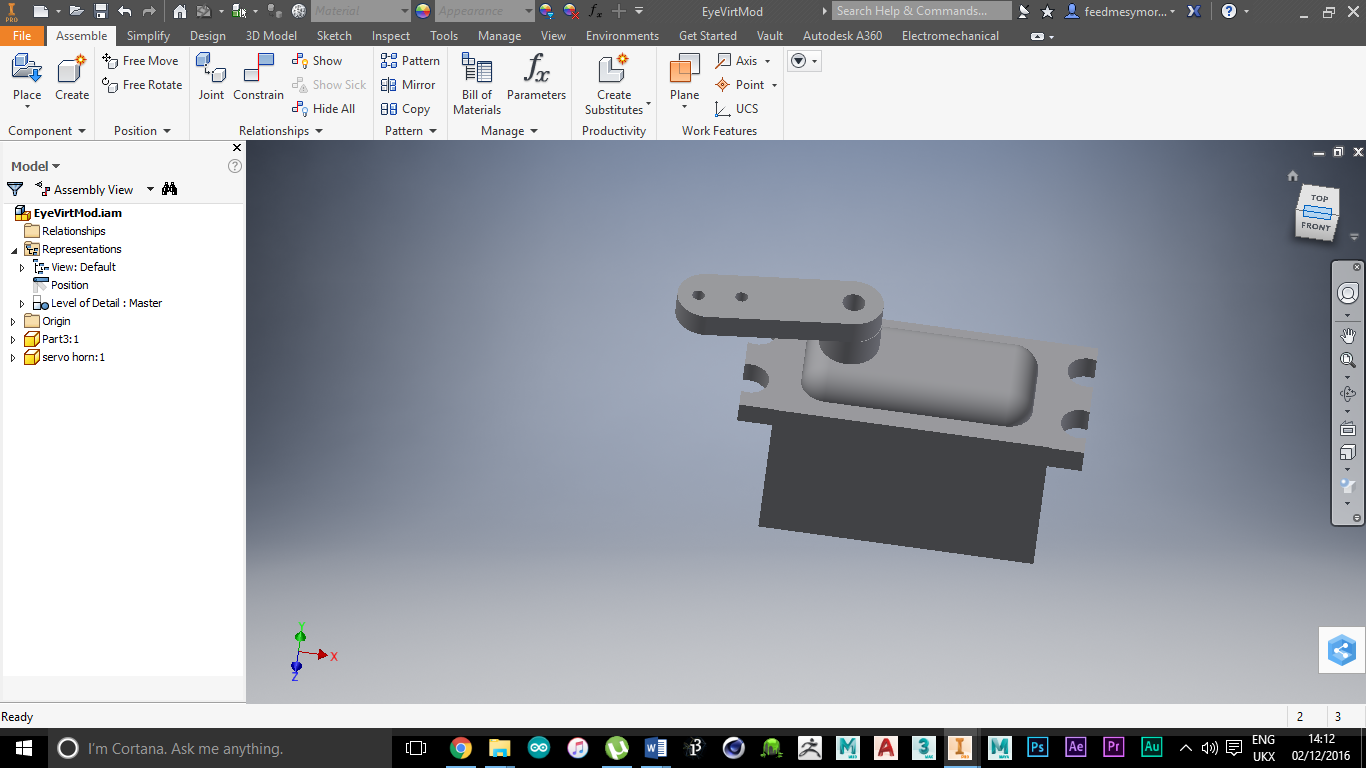
The eyes are simply two servo rigs connected together by a splitter wire so they run the same signal simultaneously. The mechanism is simple and I will add some schematics later on but for now you can see how they run in the following video.
Expression: