 Giovanni
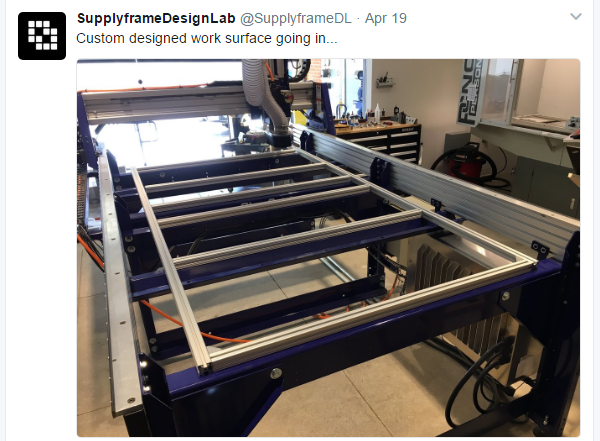
If you follow the SupplyFrame Designlab's twitter (which you definitely should), you might already know that the ShopBot is undergoing an intense revamp by Dan. That will allow us to have a more flexible work area.
And not being able to use the ShopBot means... time to use the Formlabs Form2! I am just a few steps away from preparing for plastic injection, and the process I usually follow could be summarized as follows:
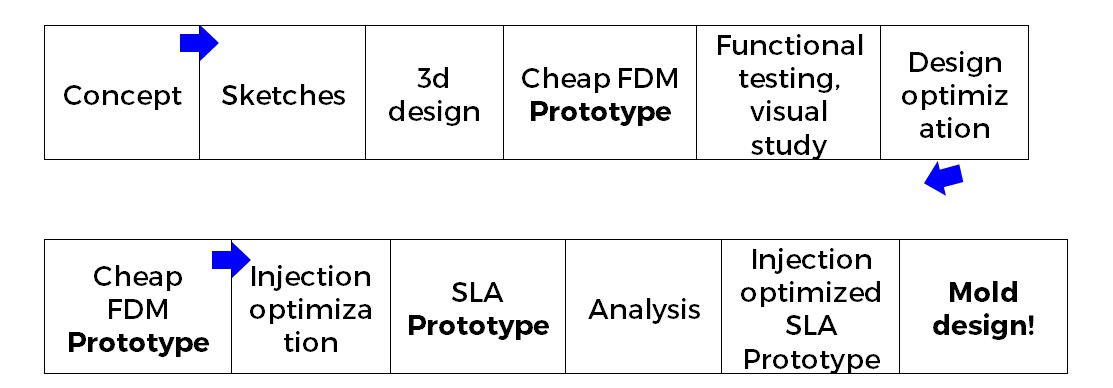
Looks like a lot of steps but unless you know exactly what you are doing, this is what helps me achieve the best results in a relatively short period of time.
And so we can see a lot of prototyping in the process. FDM is by far the cheapest and quickest option so there's where we study form and function. Lot's of screw ups and fun and games. We make some physical assumptions too. Once the design has been optimized, it is time for the real stuff: To adapt the part for the manufacturing process of choice. In this case it will be plastic injection with 3d-printed cavities. Time to optimize, add draft angles, study plastic flow, etc.
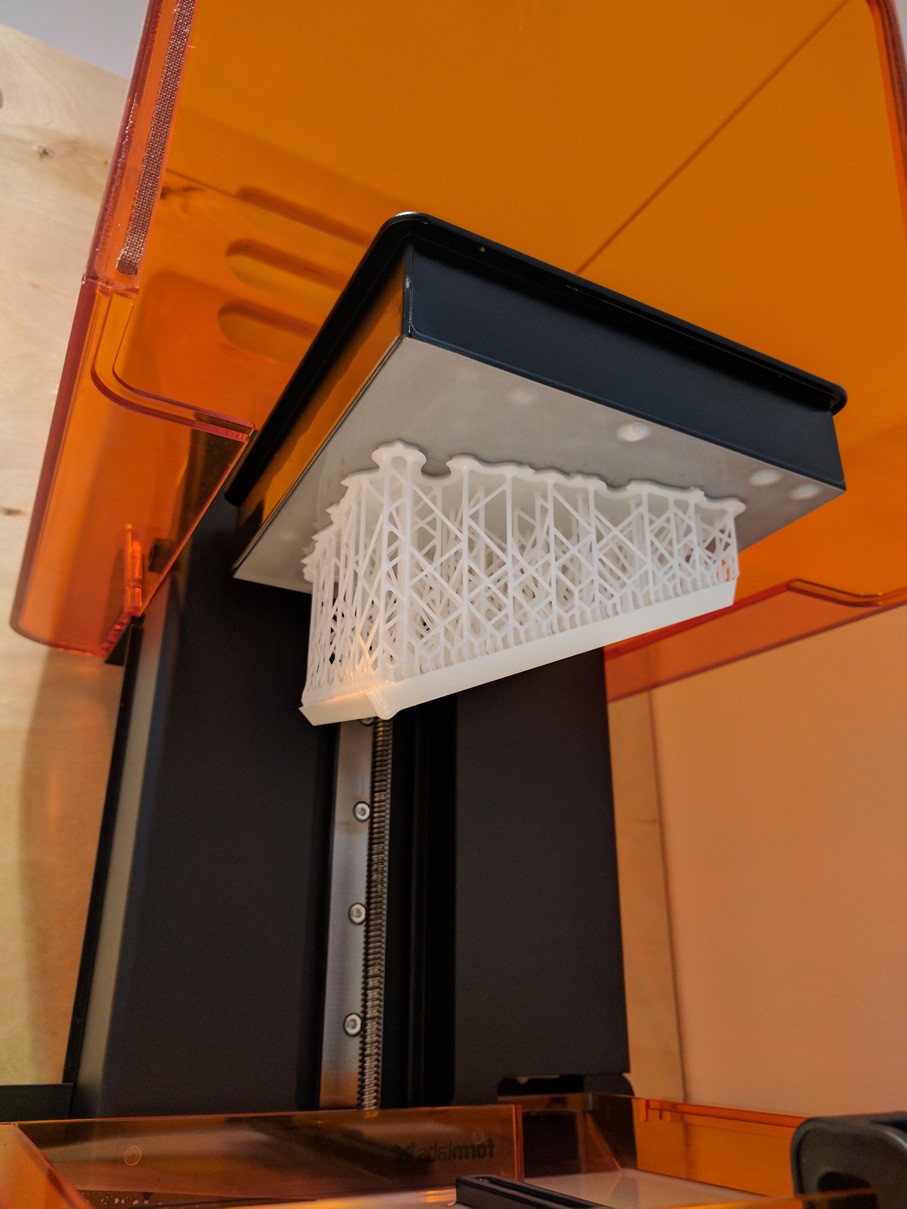
SLA models are not perfect but they are the next best thing available: Inspect angles, shapes, etc. I thought my model was ready but a few things showed up there. Among them: draft angles made the ribs too thick, so i "lifted" them up a bit, one rib was missing, and the bamboo soap dish that rests on this tray barely fits (I could have noticed this last part with an FDM prototype!). Time to go back to the drawing board and work around the edges. Most Design Software have a draft angle analysis but I have found Fusion 360's to be really easy to use:
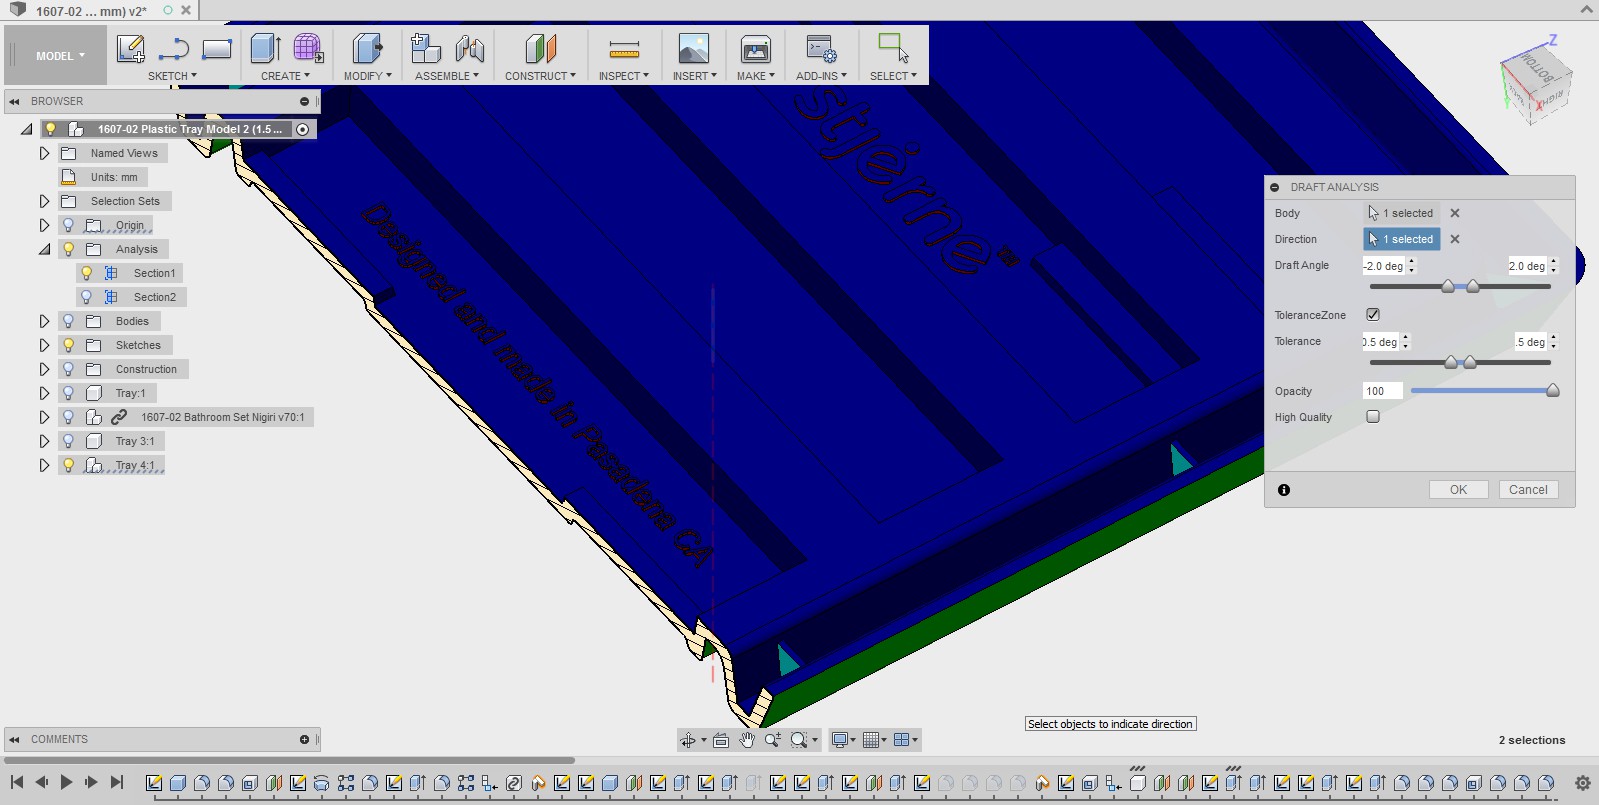
Dave tells me that I should give the 0.01 in tall letters some draft angle but I'm still not convinced. Will I regret not following his advice?
And the new model is printing now!

Discussions
Become a Hackaday.io Member
Create an account to leave a comment. Already have an account? Log In.