 Colin Alston
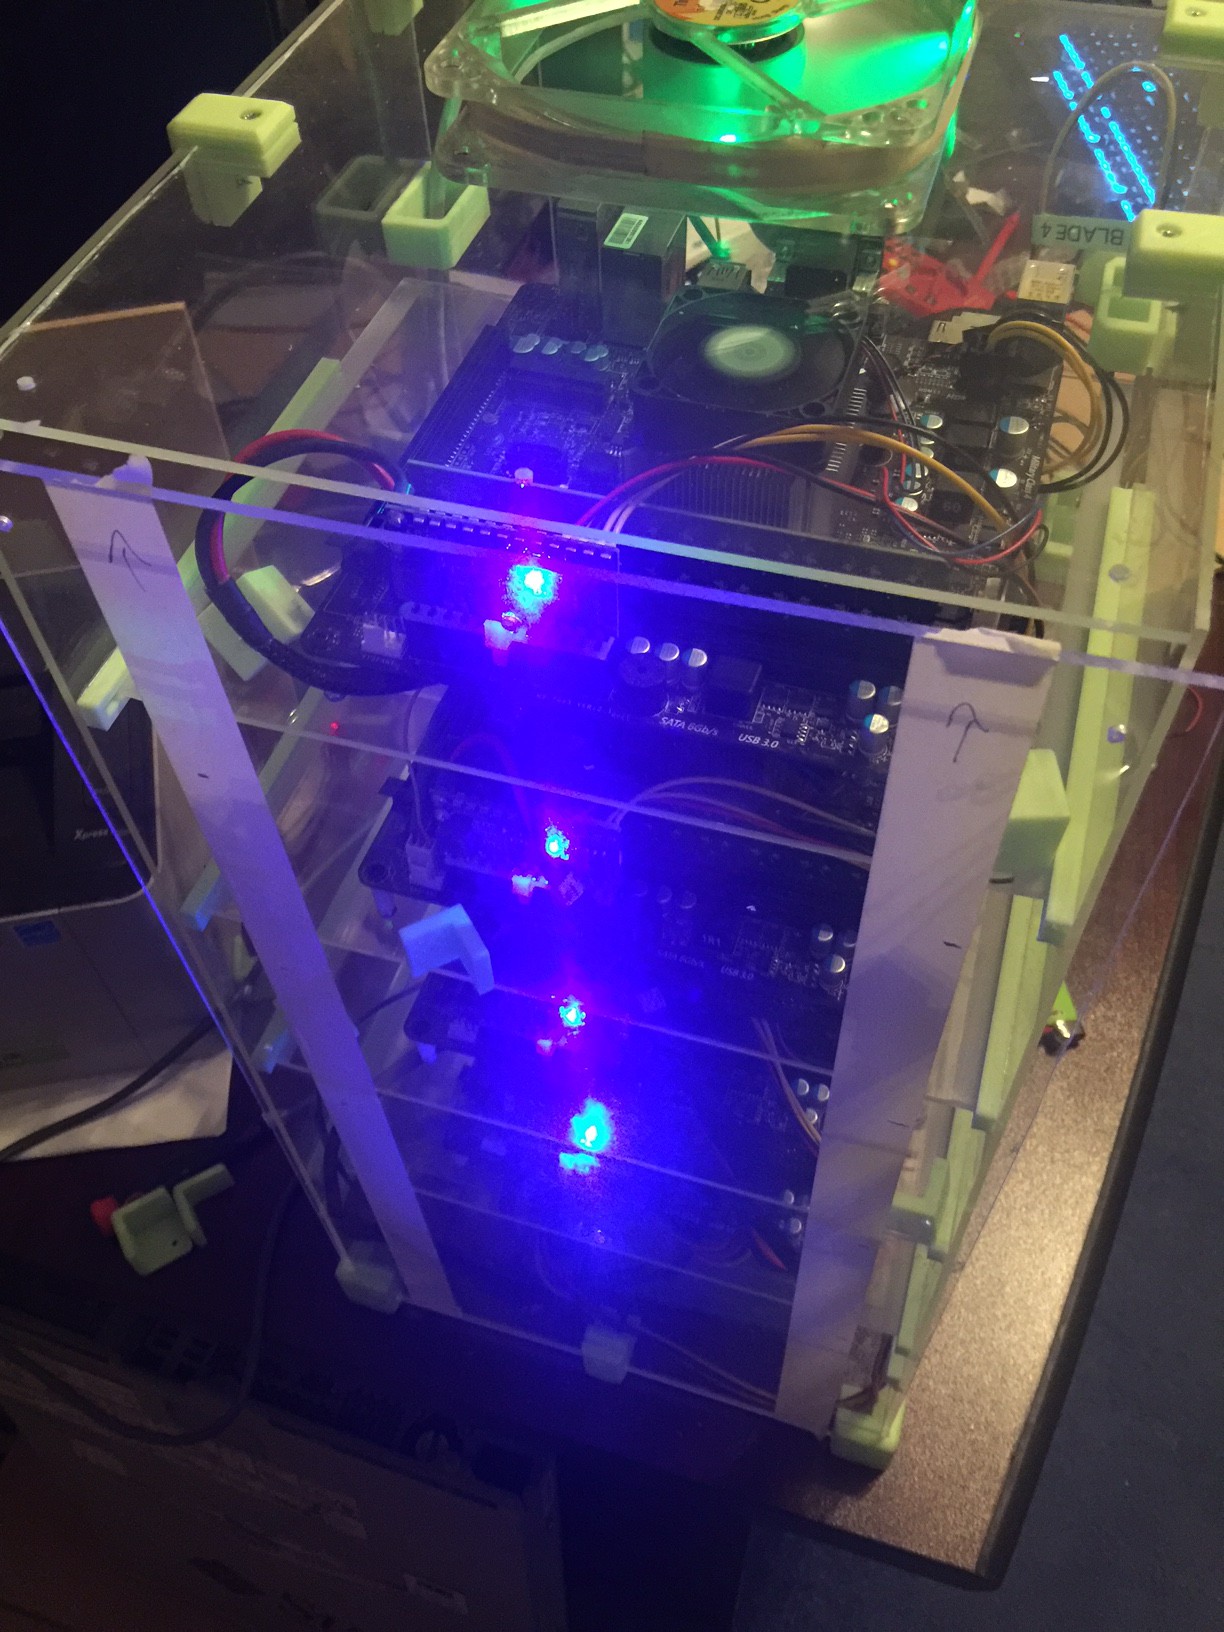
I decided to work on improving cooling a bit in the machine. I didn't really make much provision for it because I figured I could deal with it later. After 2 days of idle cooling wasn't much of an issue, there were hot spots but nothing critical. Not having any airflow isn't sustainable though, so I decided to simply add a large 120mm fan at the top of the case to extract hot air, and then add some inlets behind each blade. In theory this should pull air through the back of the blades, up the front and out the top.
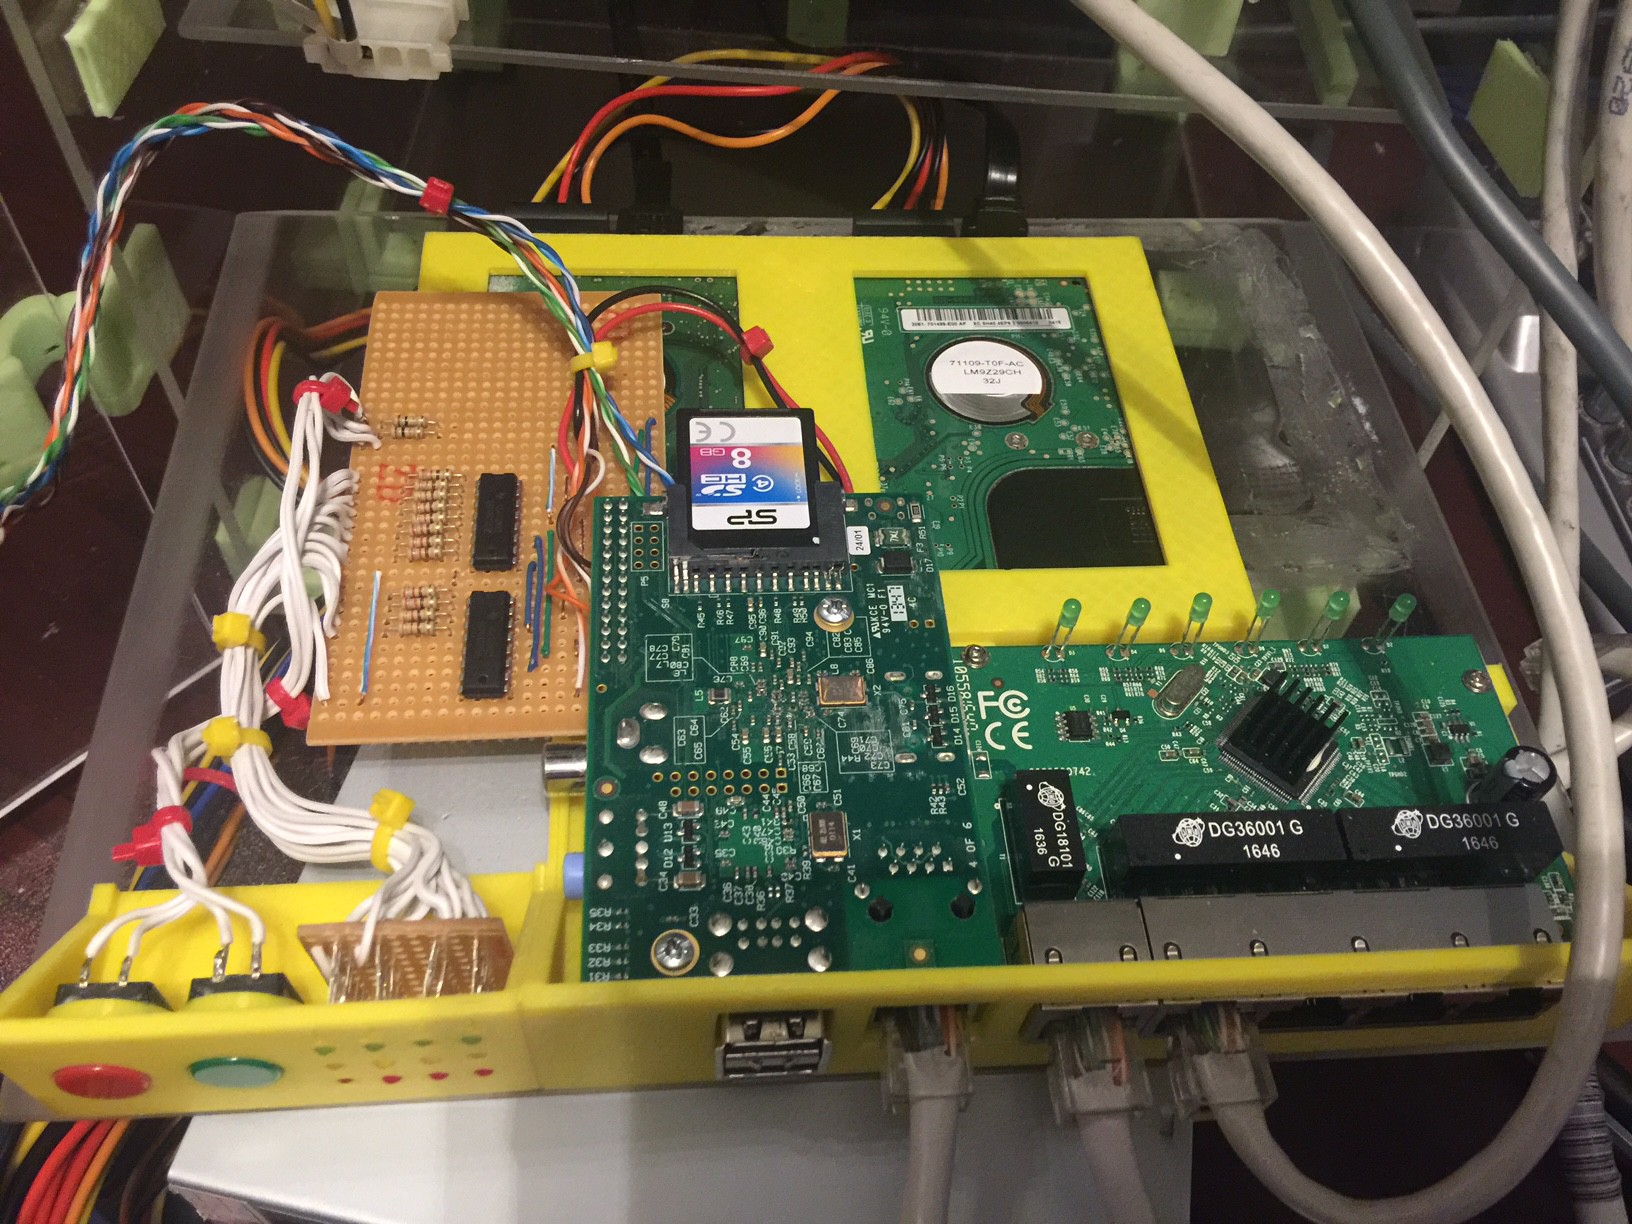
Since I had it all open I decided to fix whatever was going on with the 4th node's power control, turns out the transistor had bent slightly and the emitter was making contact with the base resistor - luckily this is not fatal since all it does is holds the base down to ground which doesn't harm either the transistor or the GPIO but it's still a layout design lesson for future.
While I was doing that I got a better picture of the management node and the 2.5" drive bays I had added to it.
Next I got to cutting a hole for the fan, which was simple enough with my trusty Dremel. The spare fan I had has a green LED in it, not sure it really works with the PicoPSU's blue lights and all the other light but I don't care for now.
An interesting side effect of my case design which I discovered is it's pretty easy to slip out the back and top panels without taking the entire box apart. This made life a lot easier - just undo the screws and slide it out of the clamps and there we go!

I 3D printed a baffle to go on the top to hide the ugly fan and direct hot air back. This probably isn't ideal since there will be some recycling of air between the inlet and outlet but this isn't a Cray or an overclocked gaming PC so it will probably fine.
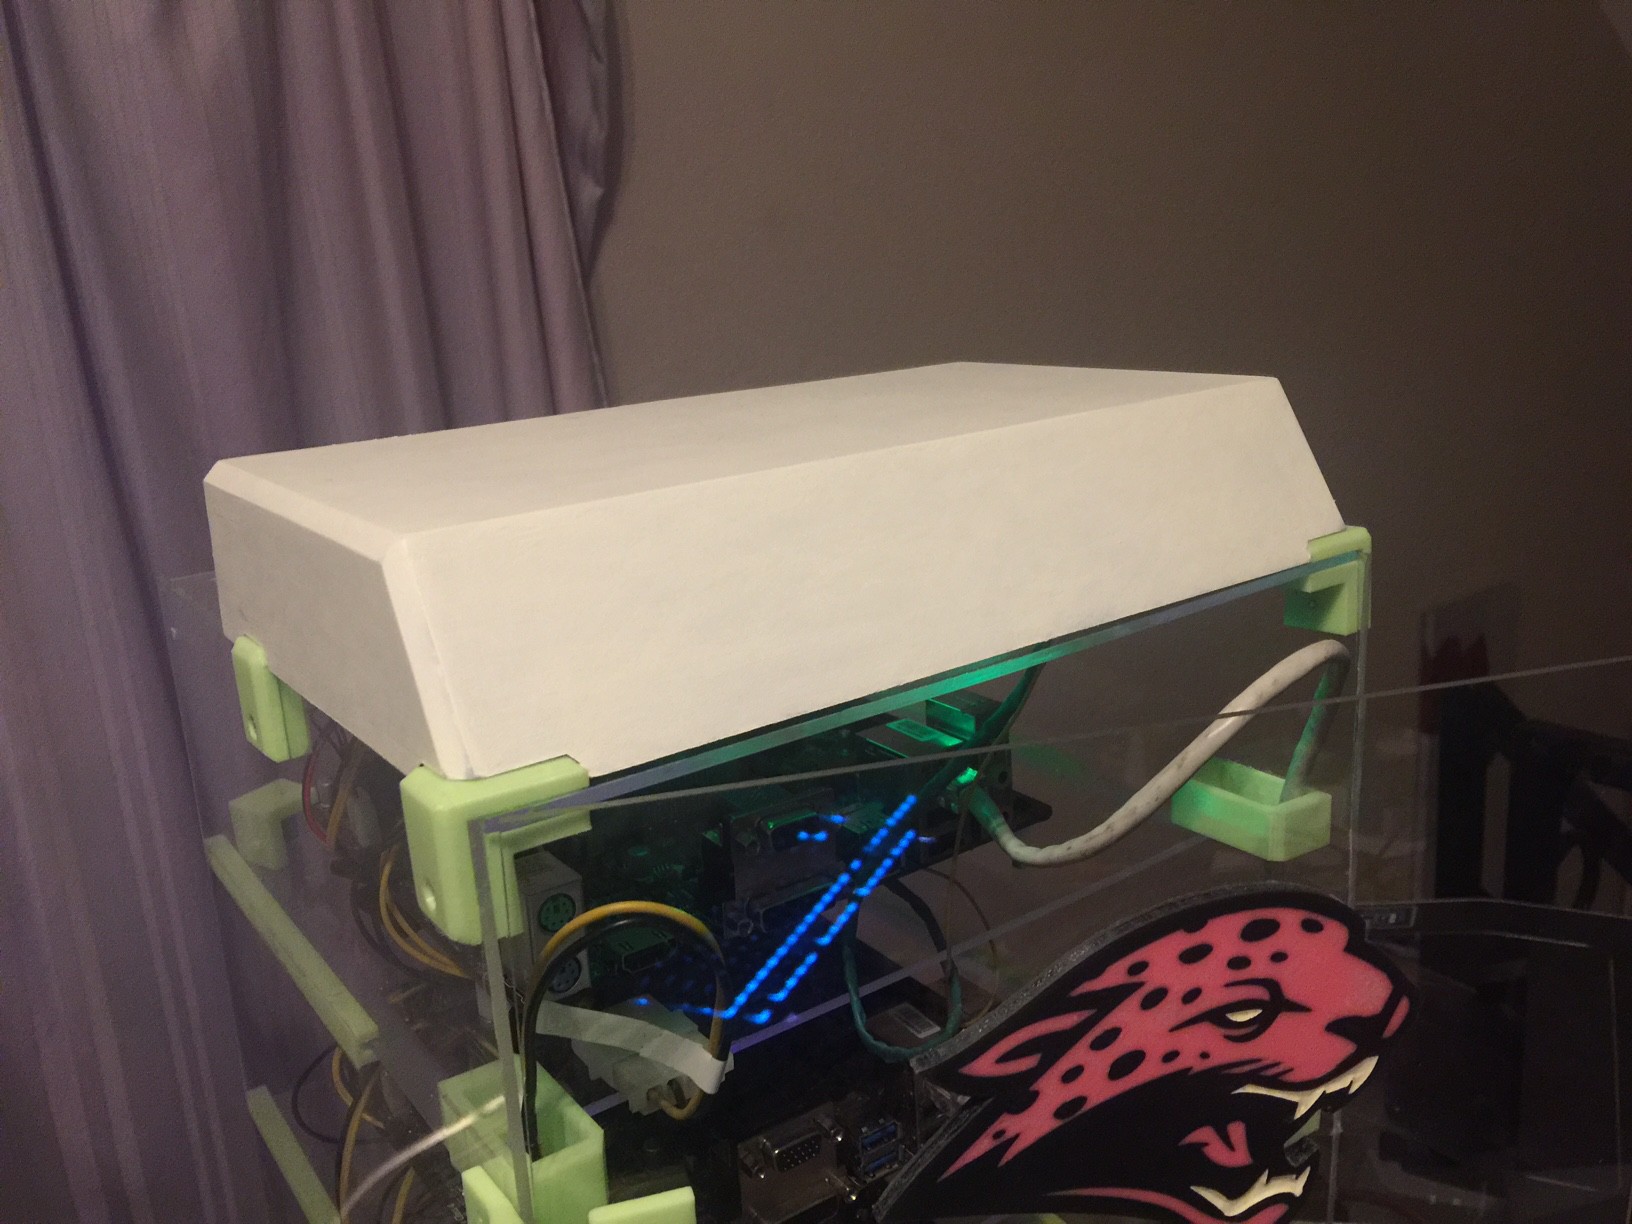
The baffle is a pretty simple design that clips onto the clamps holding the case together. There's enough friction for a good fit but easily removed without having to poke inside to undo screws or clips. It's mostly decorative though, and to prevent things falling in through the top onto compute node 4.
That's it for now, I'm going to find some matching paint for the baffle next and cut the vents and power supply mounting into the rear panel next, then it's time to get into some software.
Discussions
Become a Hackaday.io Member
Create an account to leave a comment. Already have an account? Log In.