 onFile
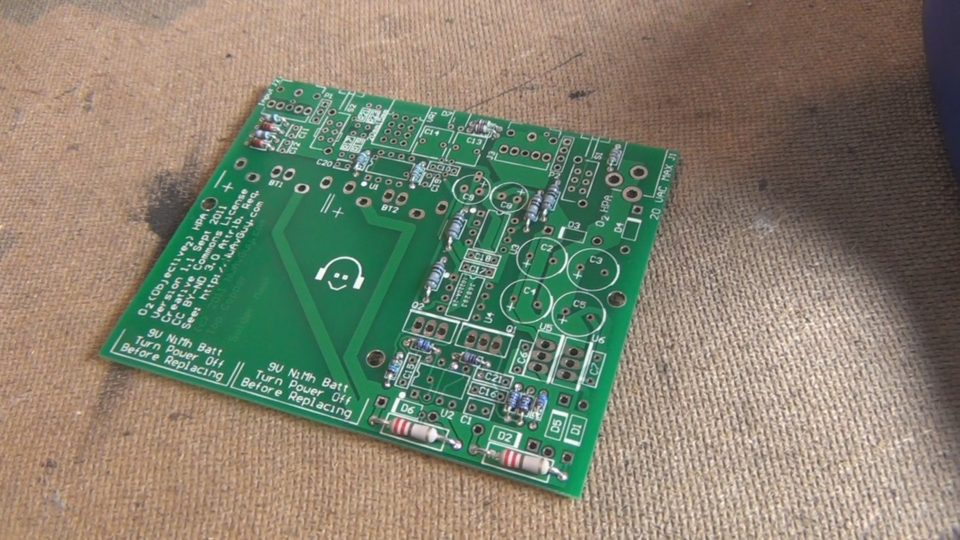
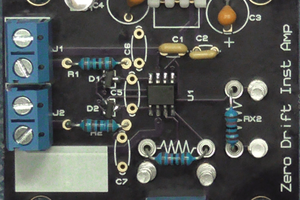
This amp was designed by NwAvGuy back in 2011 and has since been a staple of the high end headphone community. NwAvGuy released all of the plans for free under on his website. So, if you are interested in building on yourself I recommend you take a look through there. The parts list for the amp can be found here and all the parts can be bought through Mouser.
Assembly is pretty straight forward. Just find where the component goes on the PCB and solder it in. However, I do recommend starting with the smaller parts and working your way up to the larger parts to avoid any clearance issues.
I started with the resistors.
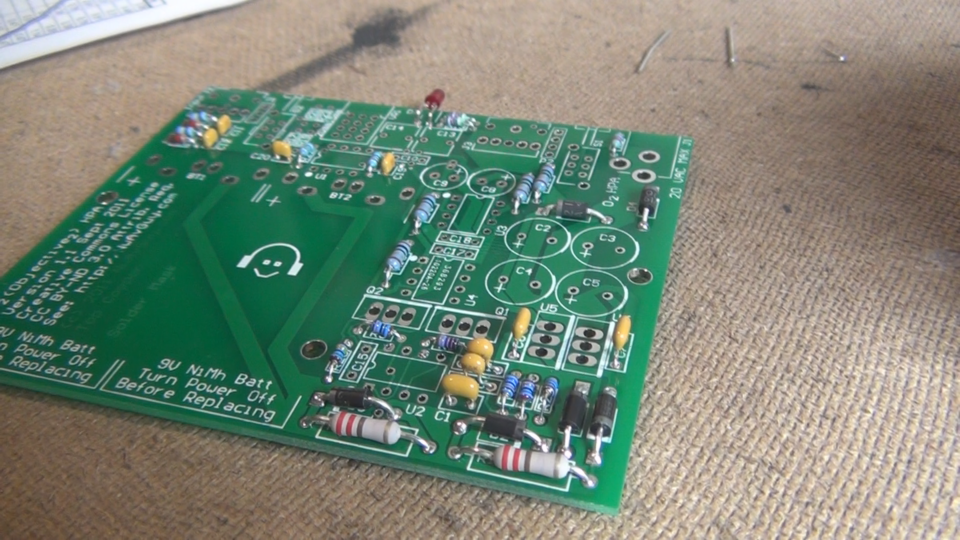
Then the diodes and ceramic capacitors.
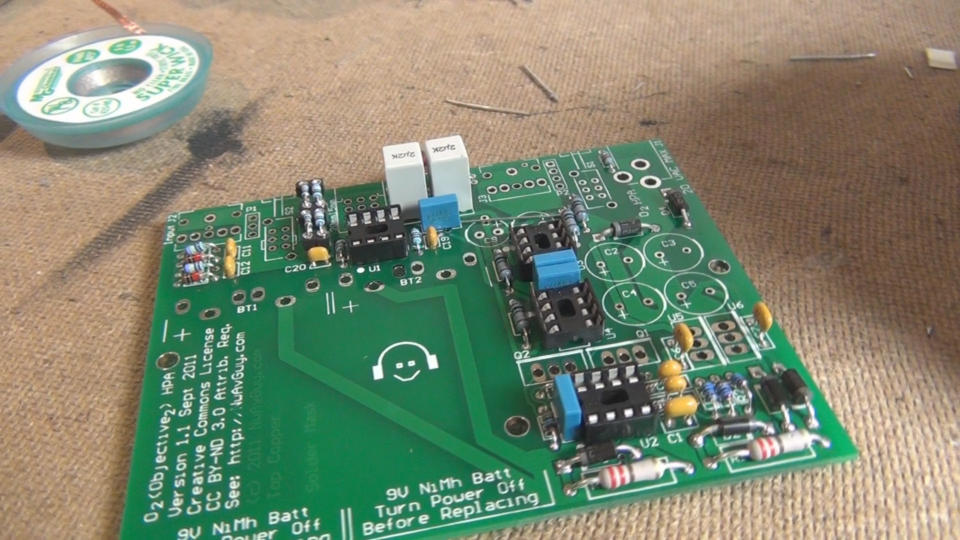
Then the plastic capacitors and IC sockets.
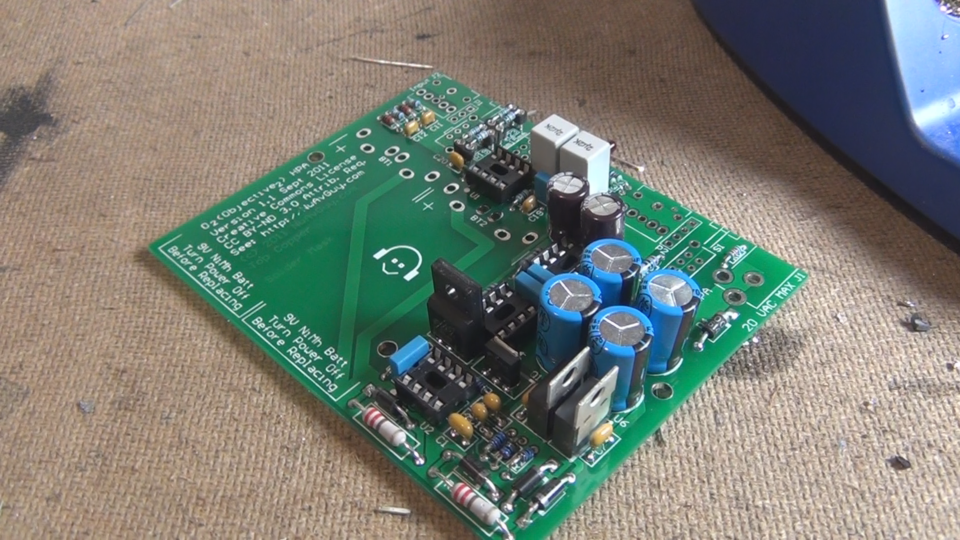
Then the electrolytic capacitors, voltage regulators, and mosfets. It's important to have all the resistors installed before installing the mosfets as the resistors will protect them from static shock.
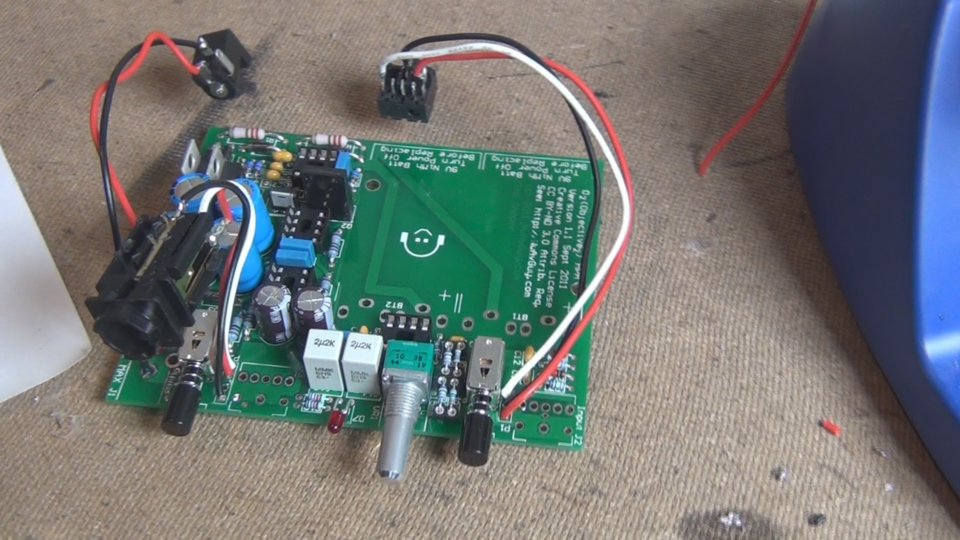
At this point the board is done being assembled and I recommend you go through the testing procedures on NwAvGuy's website. Or you can just plug in a cheap pair of headphones and hop nothing explodes. It's up to you. If all the tests pass then you should now have a functioning headphone amp! Just put it in a case and listen to some music.
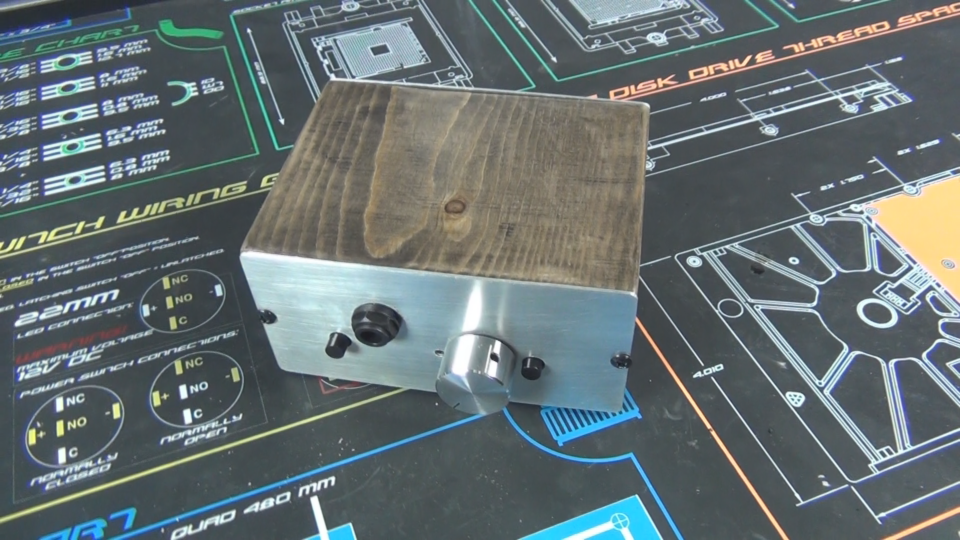
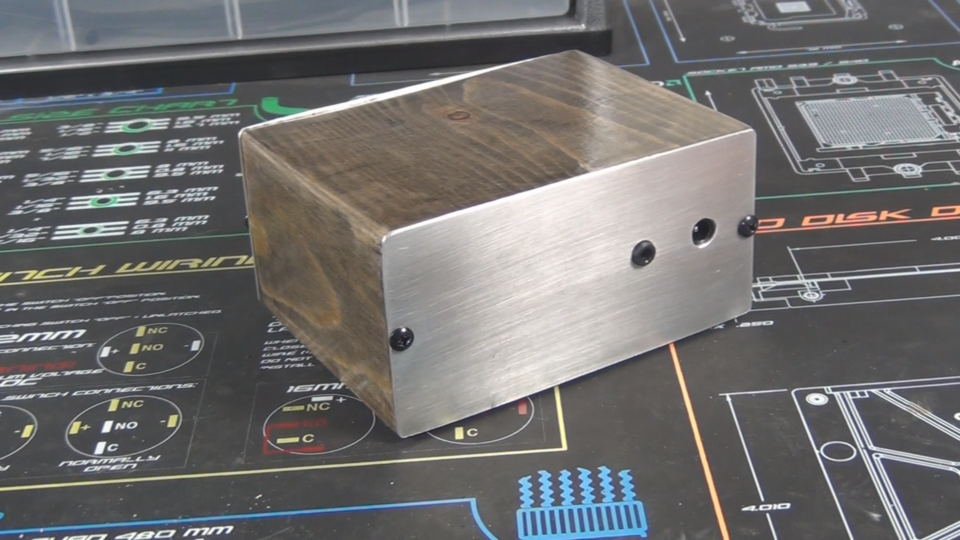
Here is the video showing how I built my case:
And here are some pictures of the final product.
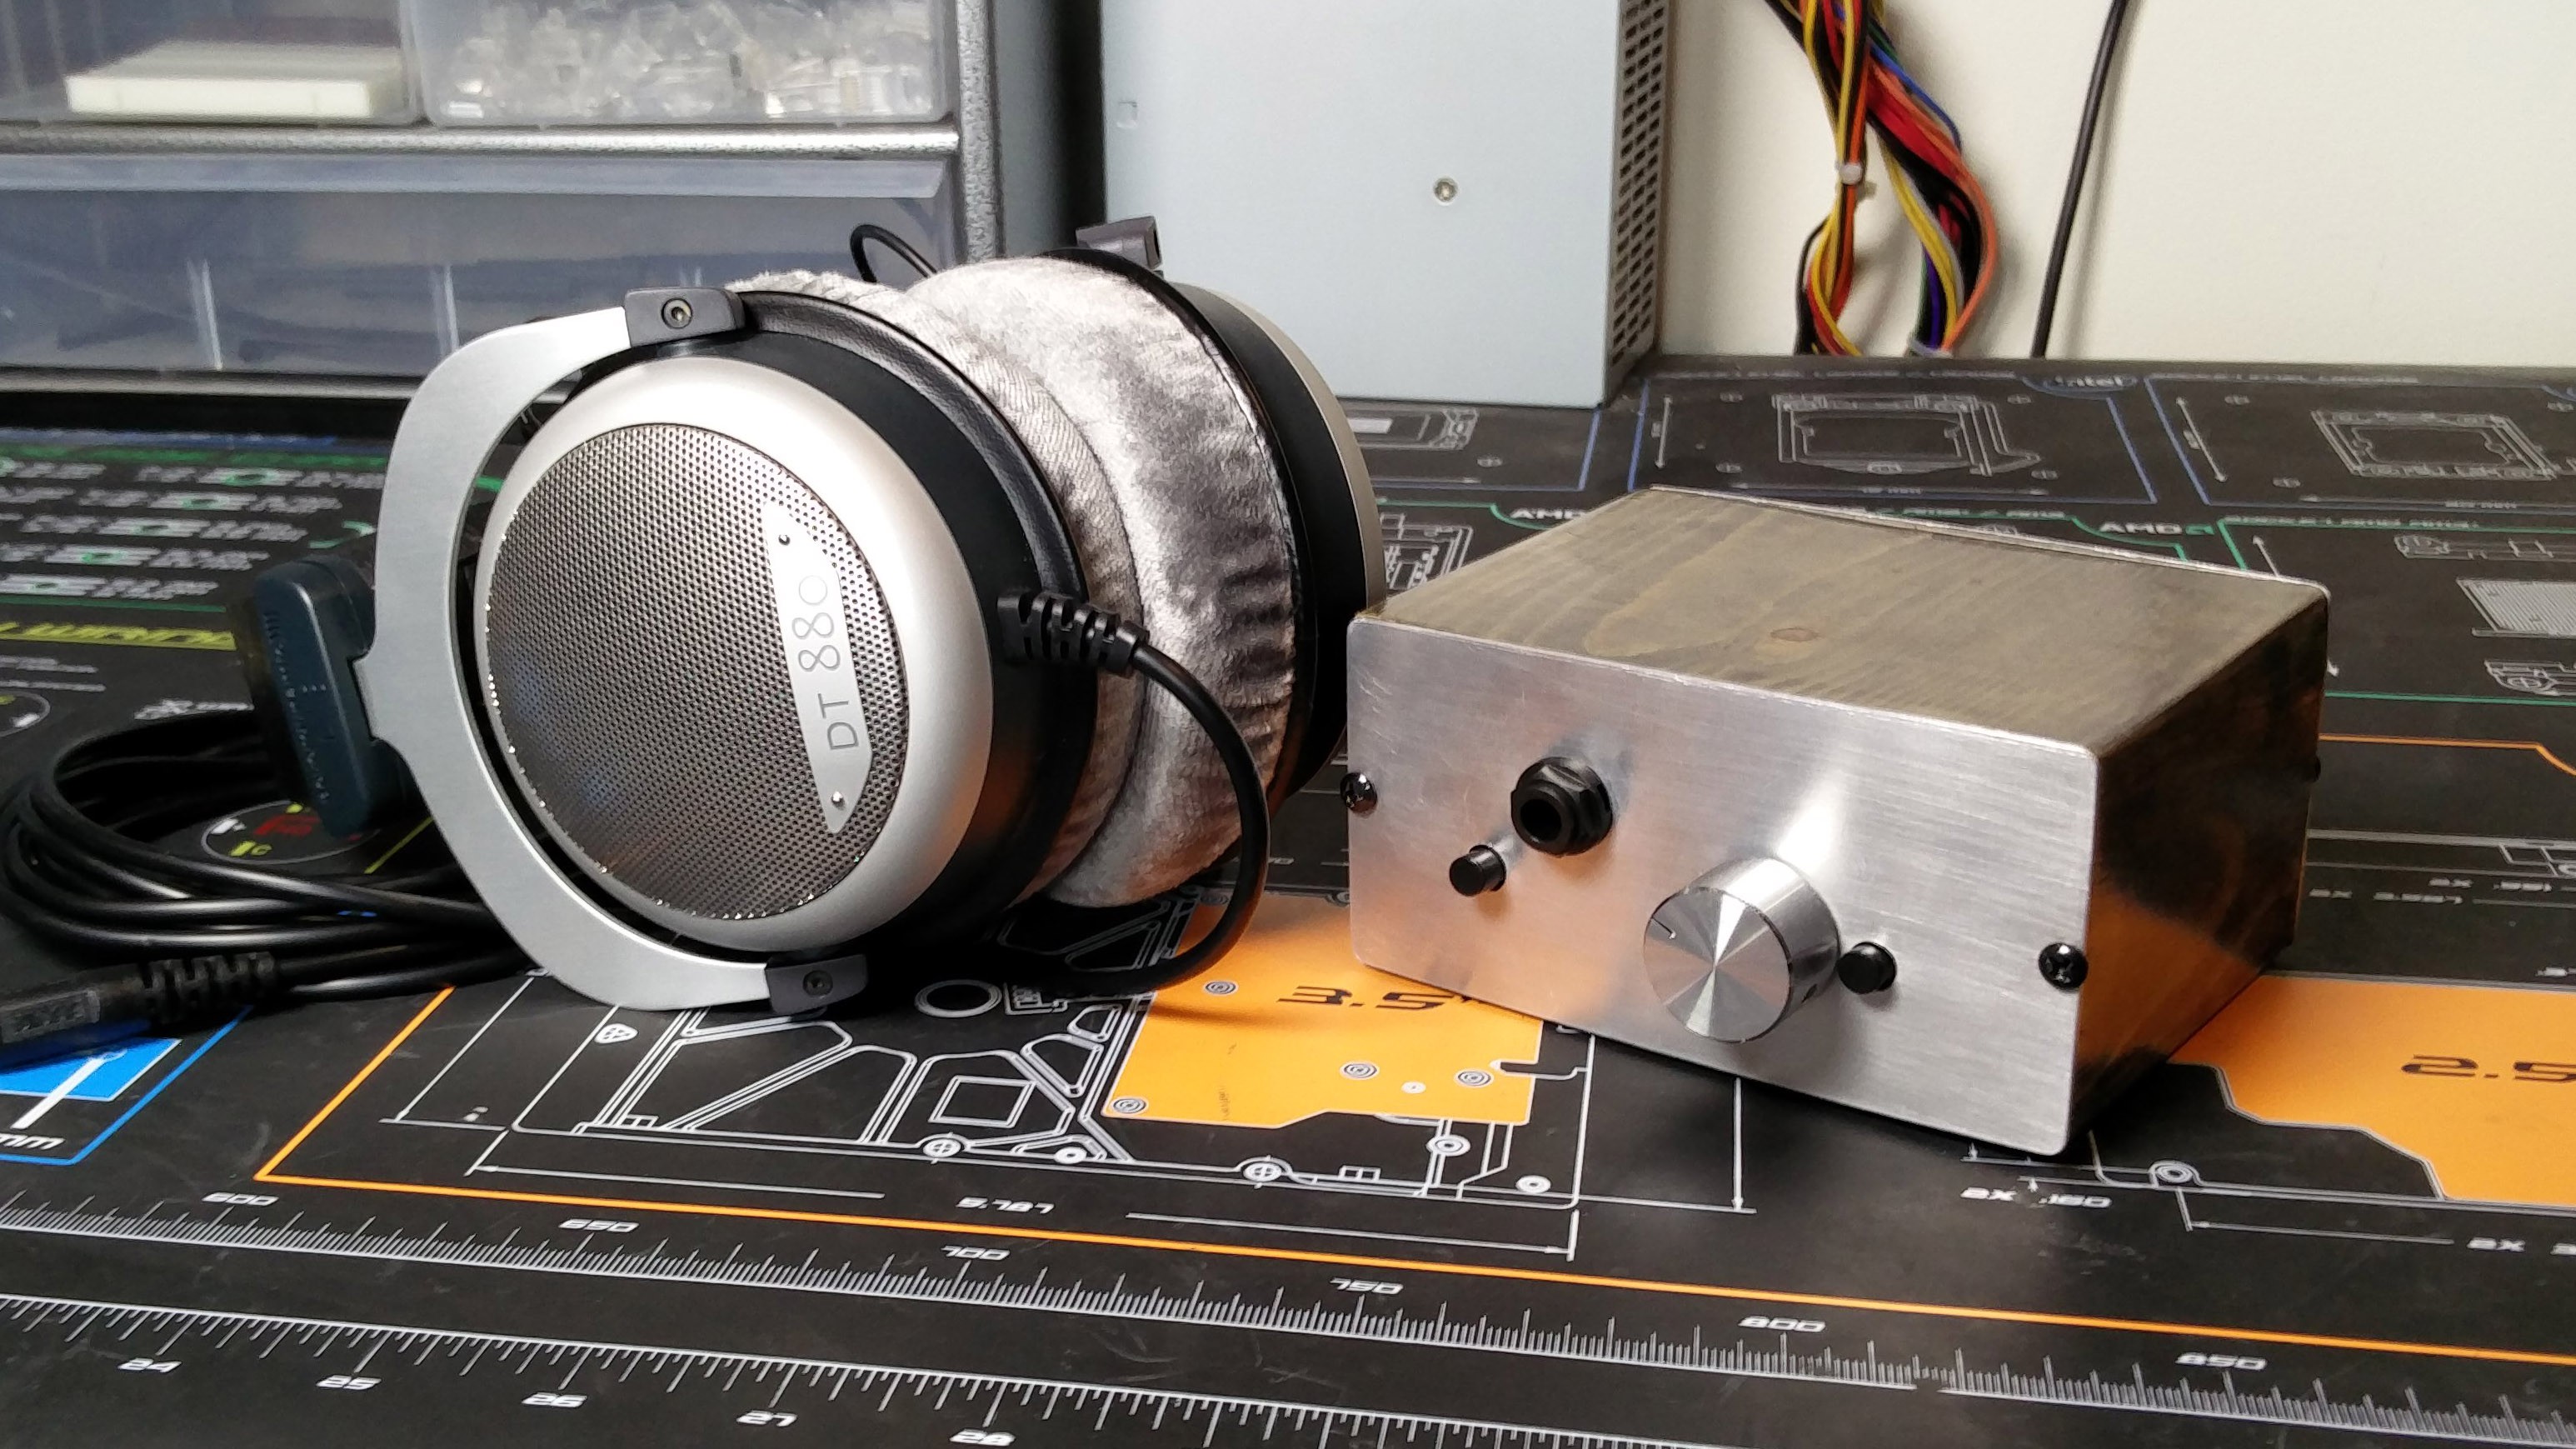
The building process was quite fun and finished product is totally worth it. So, if you are in the market for a new headphone amp I highly recommend you try and build your own.

 bherd
bherd
 Harry Mallon
 Kris Slyka
Finally you made the project on here, next you need to do the keyboard.